Inspiration
Flood simulations can be difficult to use and even harder to explain. A person may need to choose a location, configure a scenario, review assumptions, start a long-running calculation, inspect several results, replay the flood, and compare it with another run.
An AI agent looking only at buttons and pixels could easily choose the wrong setup or mistake the colour of an animation for a real result.
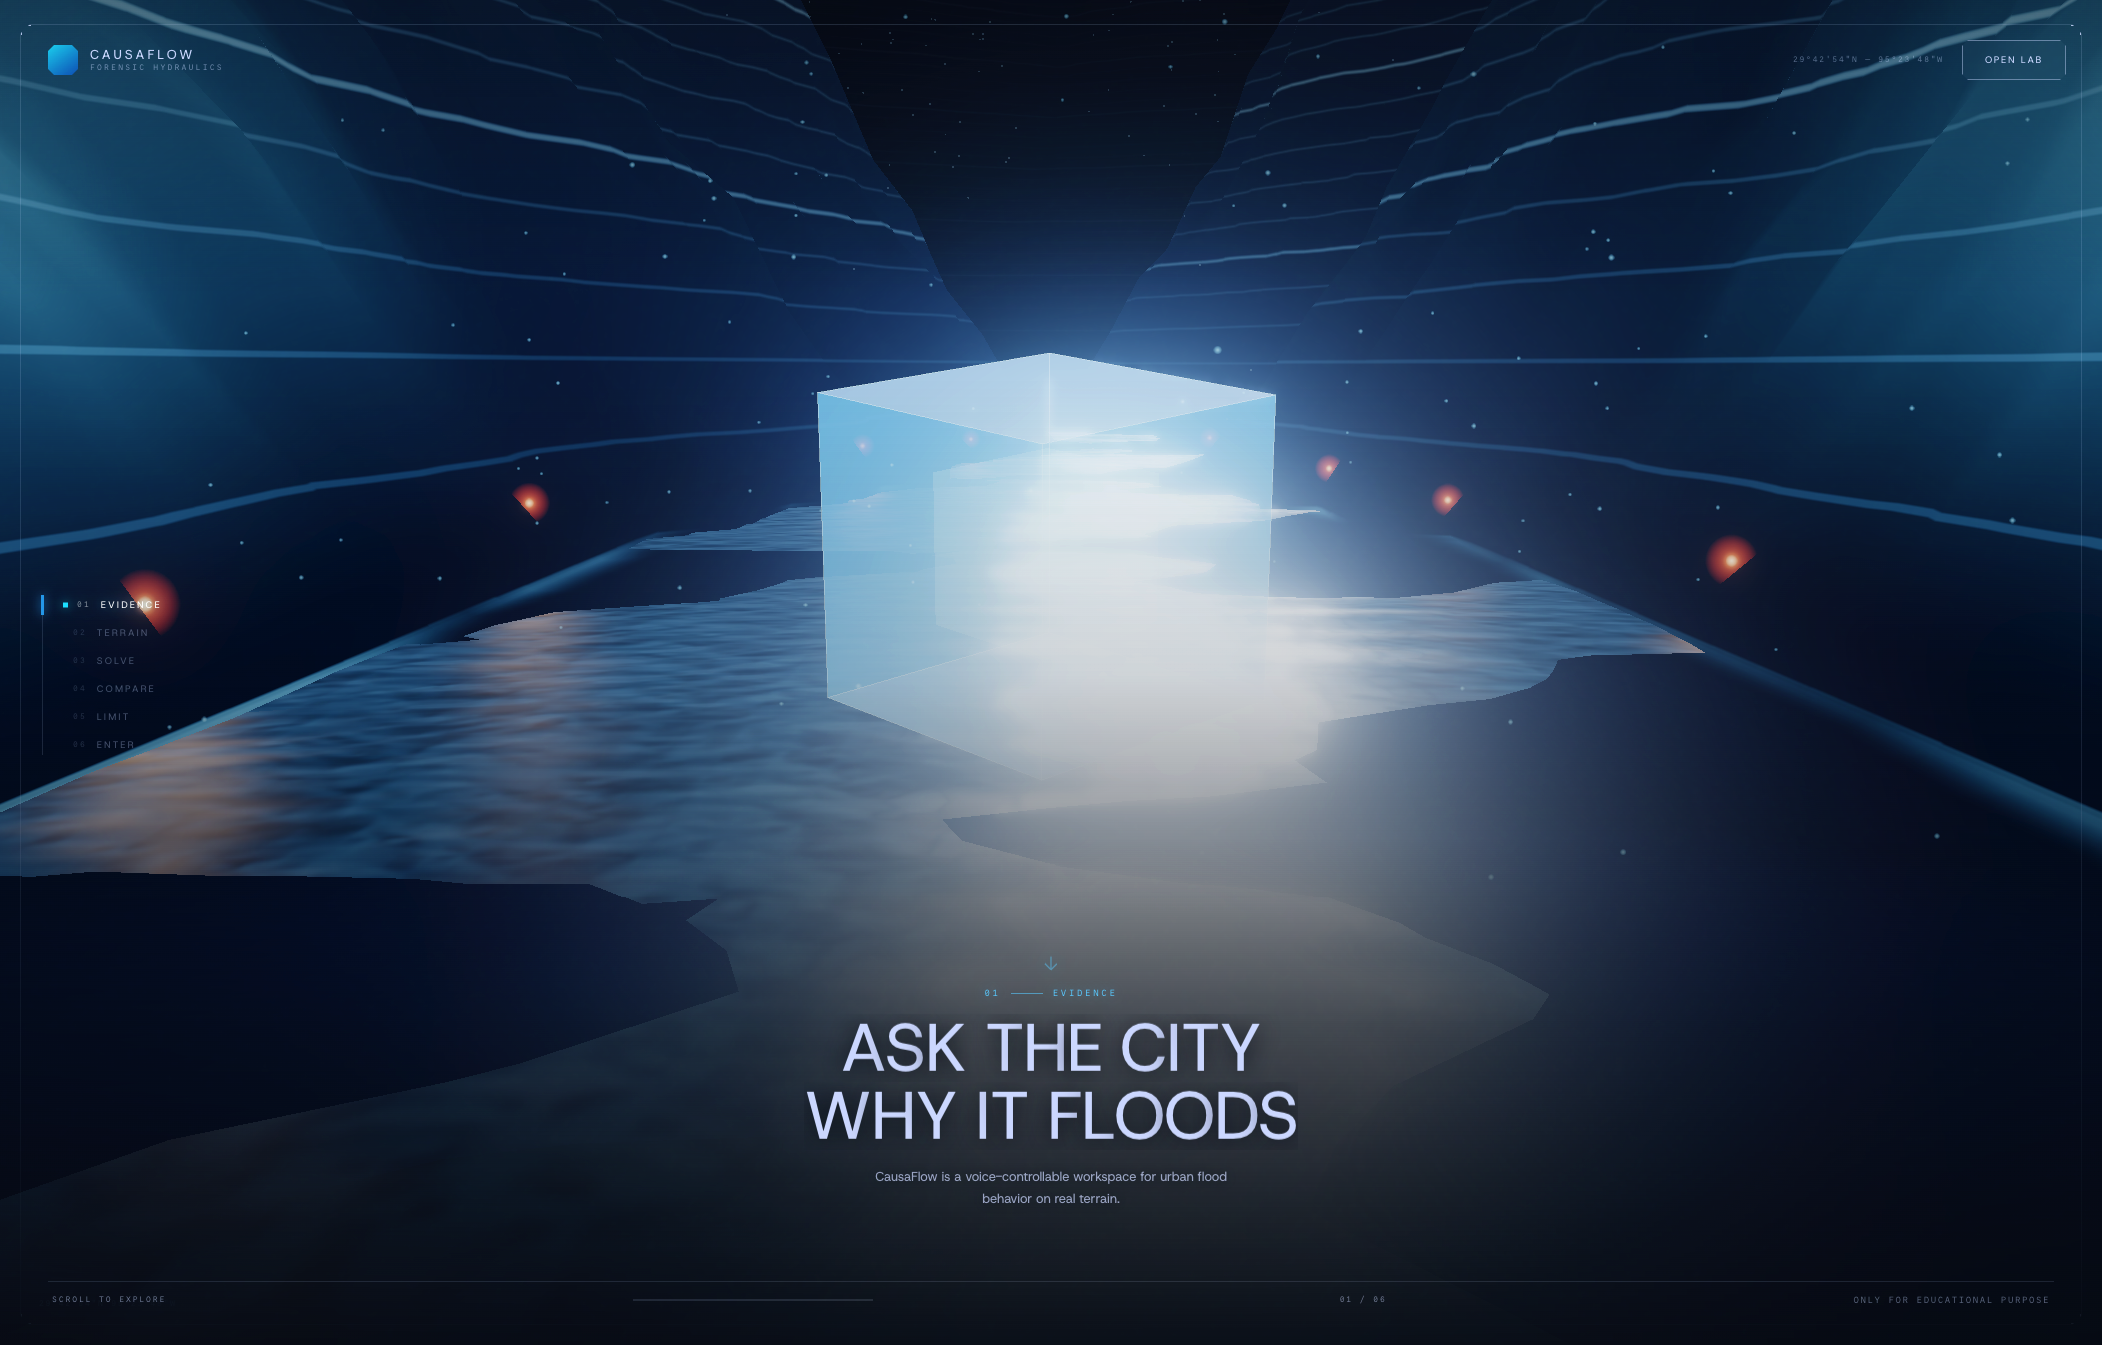
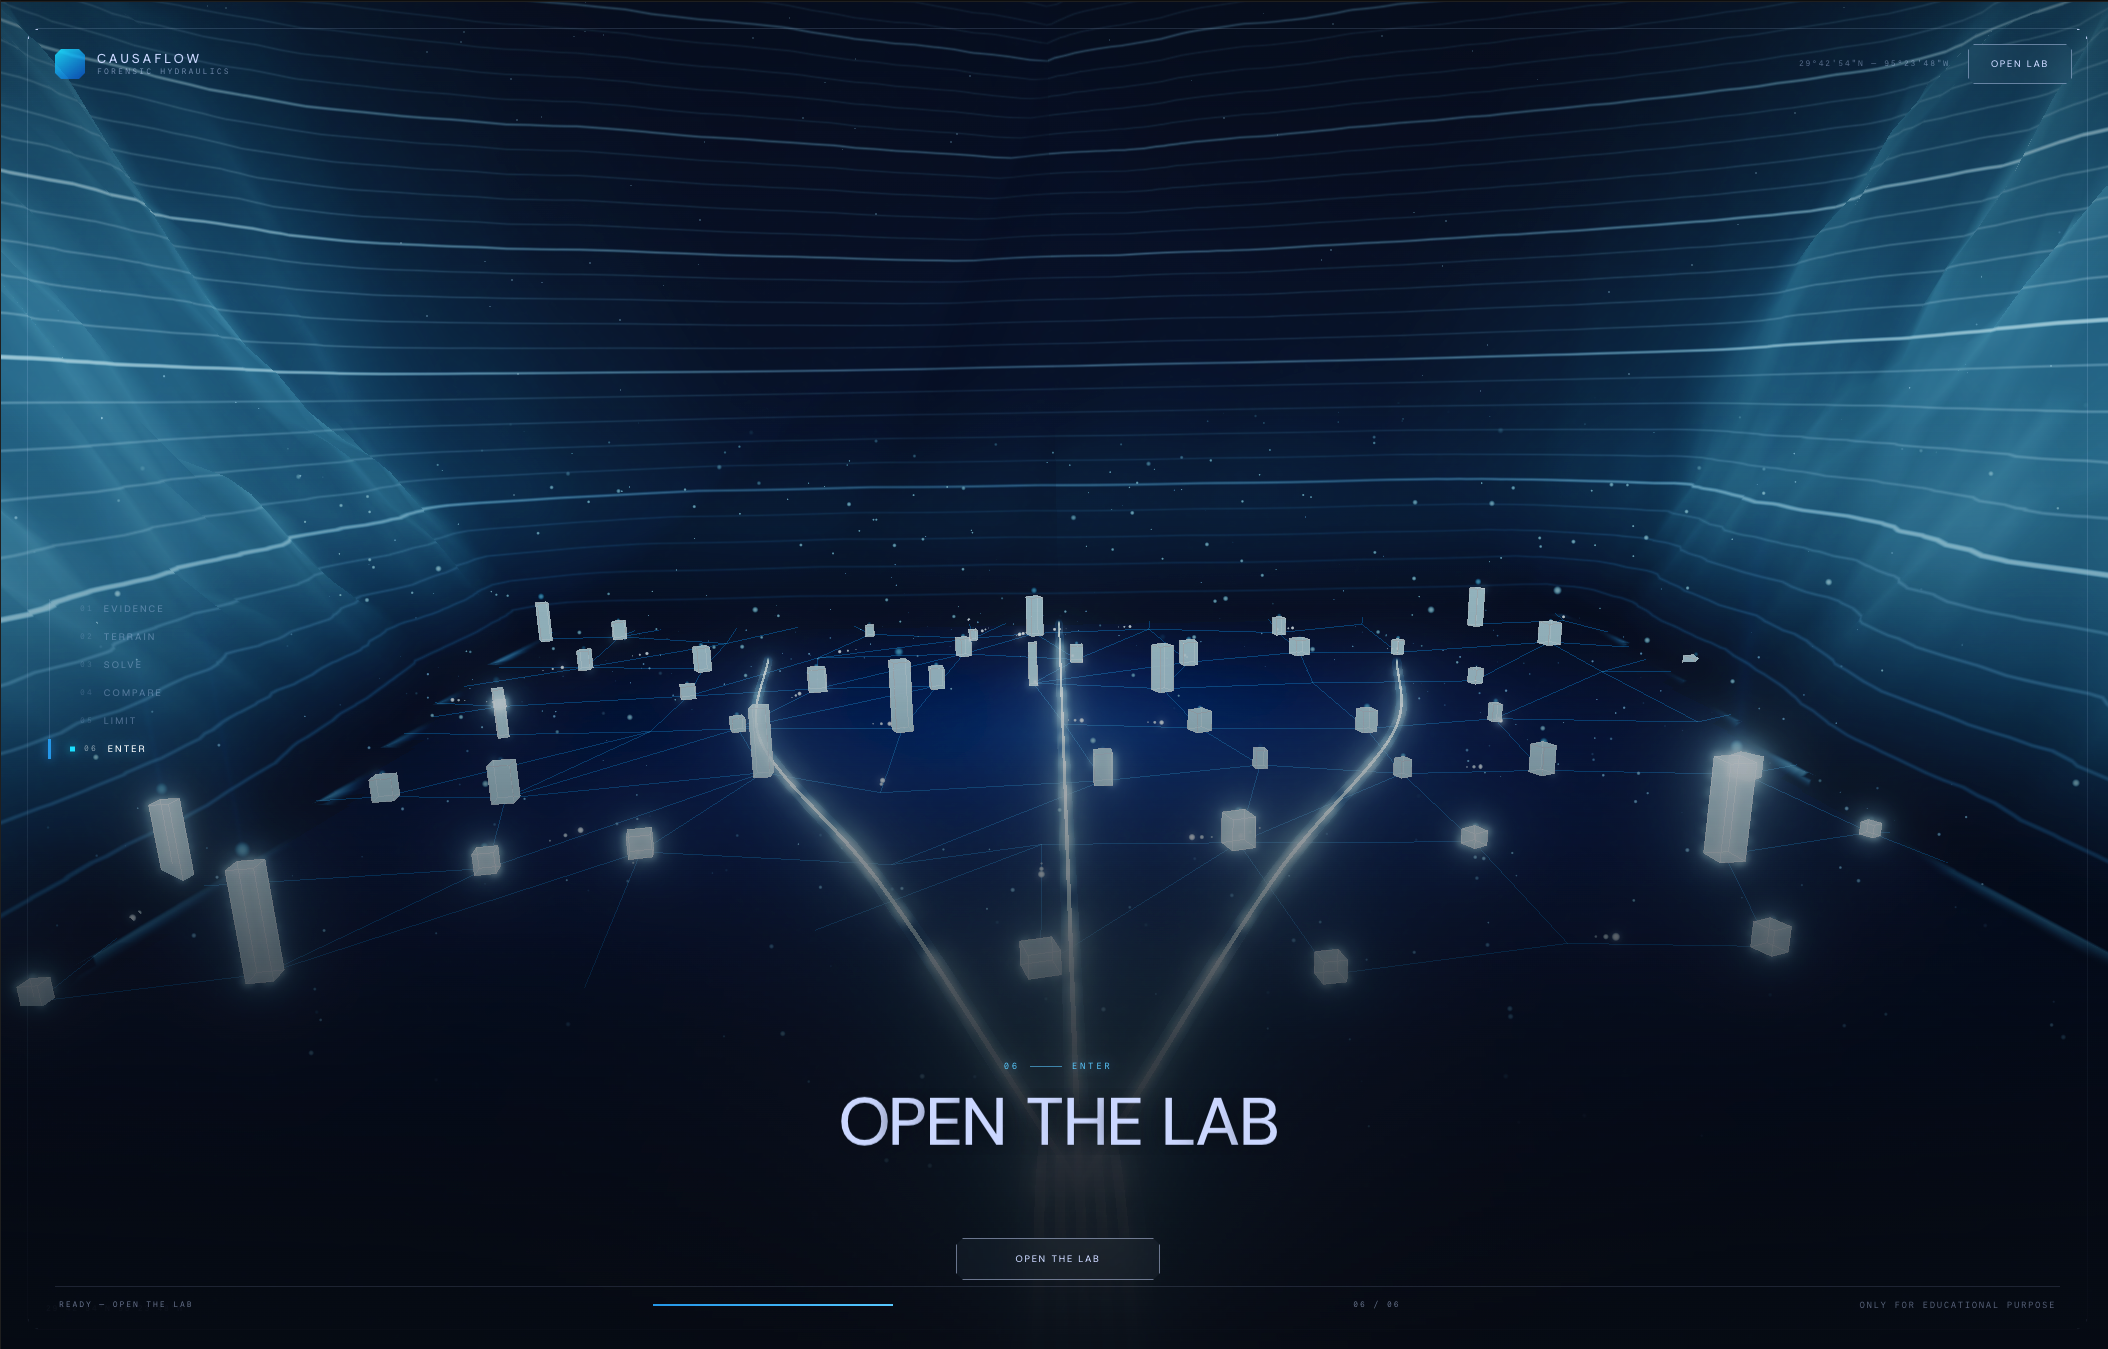
I built CausaFlow to solve both problems. It is an urban flood investigation lab where a person asks the question and a WebMCP agent safely handles the multi-step work inside the application.
What CausaFlow does
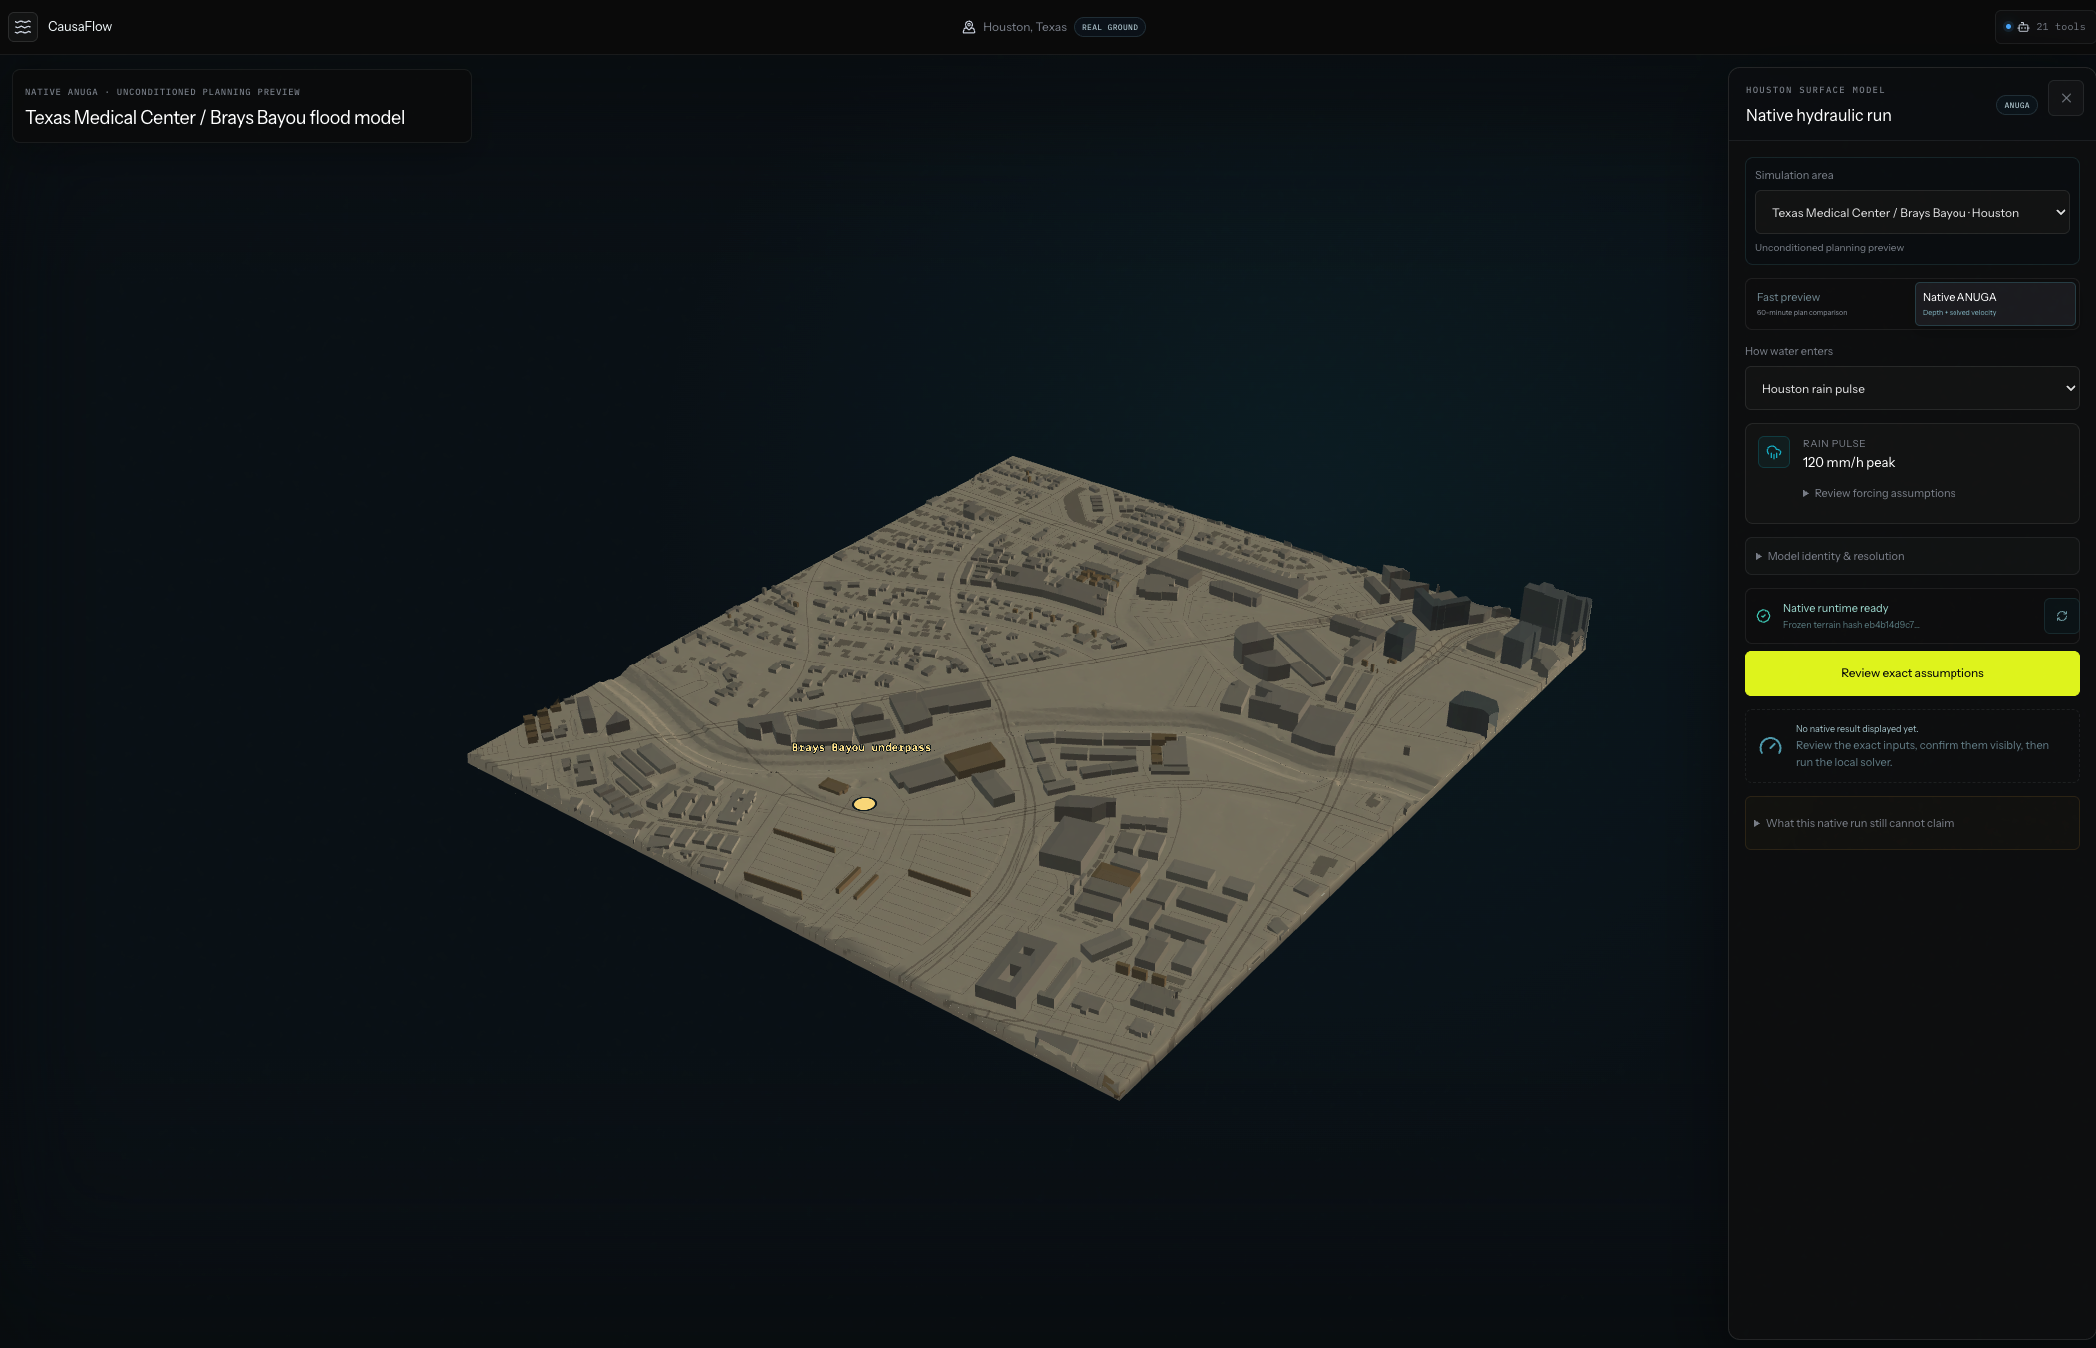
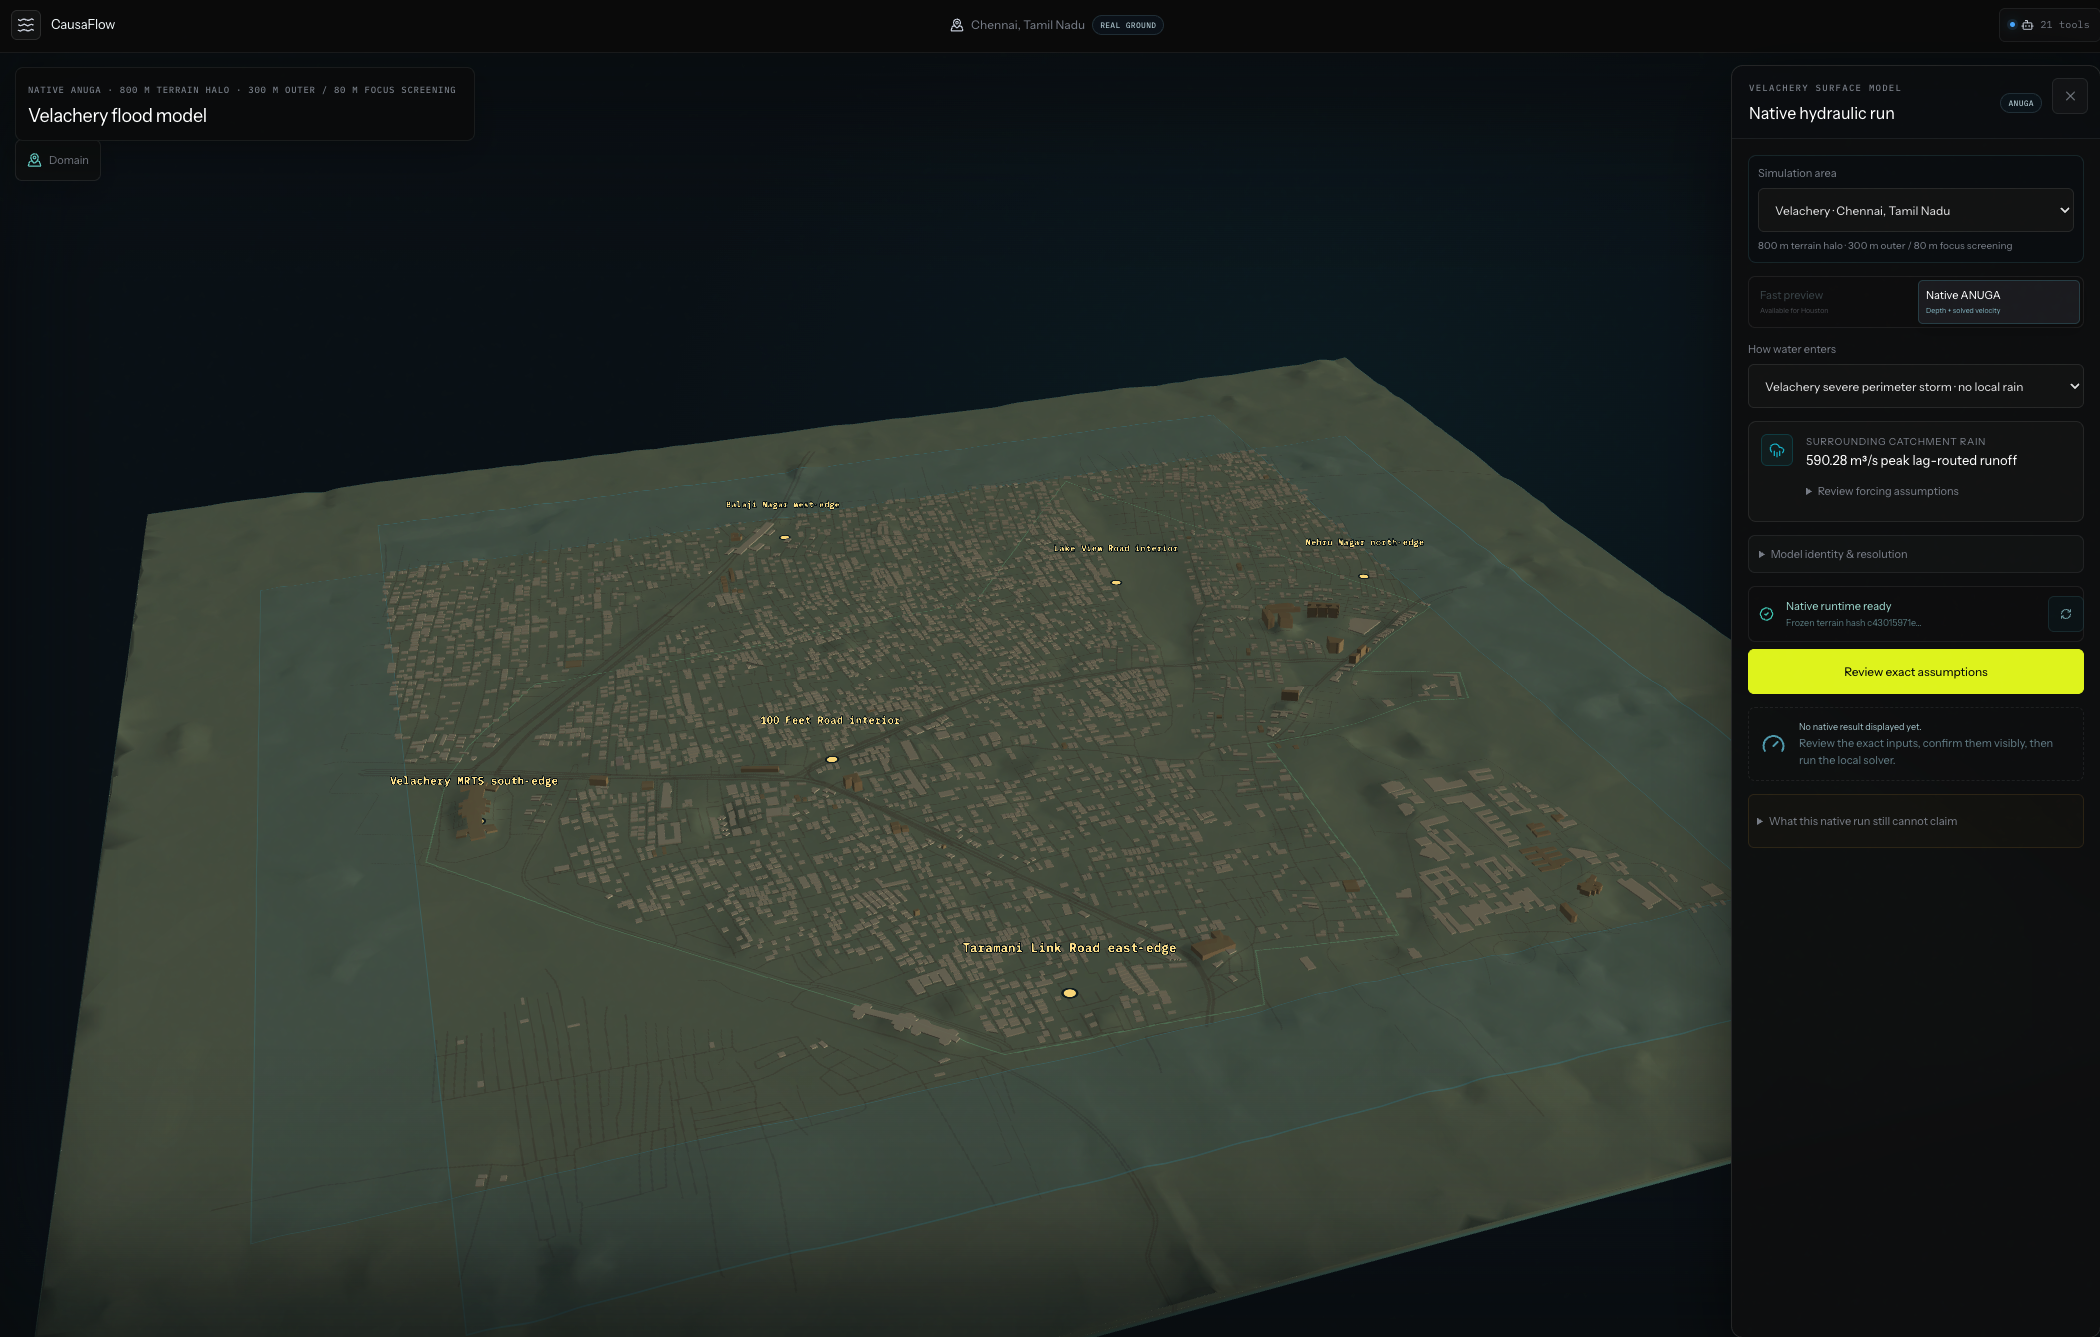
CausaFlow lets people explore flood situations in two study areas:
- Texas Medical Center and Brays Bayou in Houston
- Velachery and its surrounding area in Chennai
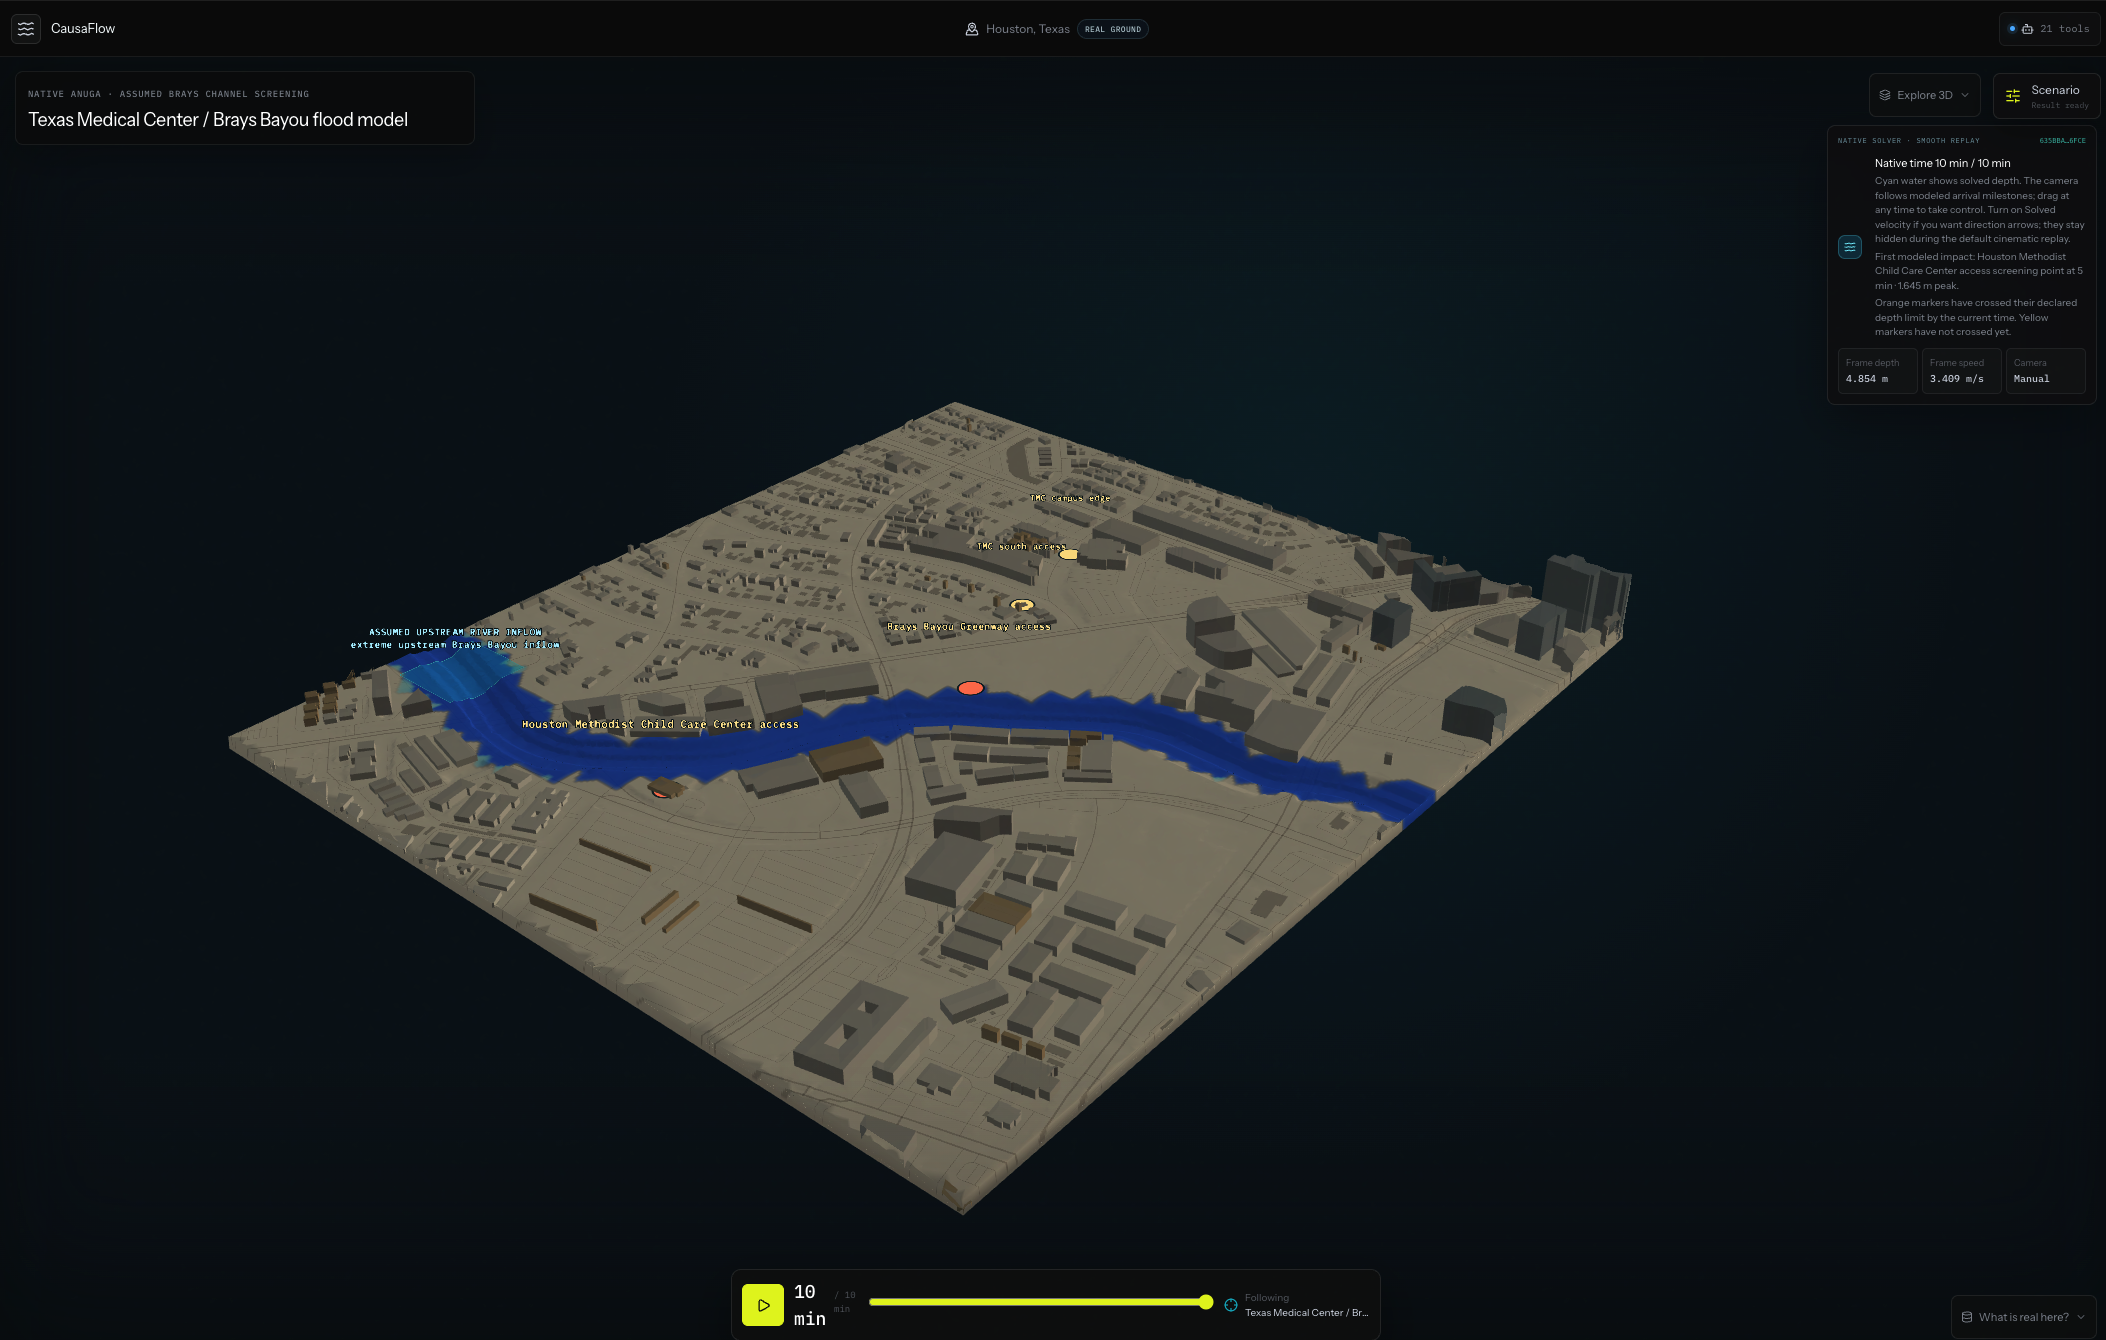
In Houston, CausaFlow can test heavy rain, a river carrying more water than its assumed capacity, or blocked drains along a hospital access road.
In Velachery, it can keep rain off the city itself while applying severe rain around its boundary, then show which monitored neighbourhoods are affected first.
Each completed run provides more than an animation. It reports water depth, speed, affected area, arrival times, water accounting, assumptions, limitations, and result identities that can be checked later.
Why WebMCP is a strong fit
Flood investigation is not a single-button task. It is a chain of connected decisions and actions.
Without WebMCP, an agent would have to guess its way through a complex 3D interface. It could select the wrong scenario, run an outdated setup, lose track of which result is displayed, or describe what the animation appears to show instead of reading the actual numbers.
WebMCP gives the agent direct access to clearly defined actions and exact application state. The agent knows which study area is active, which scenario is staged, whether the user has approved it, which calculation is running, which result is displayed, and what the result actually says.
This makes CausaFlow faster and easier to use while keeping the person in control.
What people and agents can do together
The person provides the goal, judgment, and approval. The agent handles the repeated application work.
For example, a person can ask:
Block every represented drain along the hospital access road, show when the route becomes unsafe, then reopen the fewest drains needed and run the same storm again.
The WebMCP agent can then:
- Open the correct Houston study area.
- Place the represented drains along the access road.
- Stage the blocked scenario.
- Show the assumptions on screen.
- Wait for the person’s explicit approval.
- Start and monitor the flood calculation.
- Read the completed numerical result.
- Save it as the comparison case.
- Run the tested intervention under the same storm.
- Compare both results and move the camera to the important location.
Completing that entire sequence manually would require navigating several controls and carefully tracking two separate results. With WebMCP, the person can remain focused on the investigation while the agent handles the mechanics.
Every important action remains visible in the interface, and the normal controls remain available as a fallback.
How I implemented WebMCP
I register the application’s tools directly through document.modelContext.registerTool.
The tools are divided into two groups:
- Flood tools for inspecting capabilities, staging scenarios, requesting approval, starting calculations, monitoring progress, reading results, controlling playback, sampling locations, and comparing runs.
- Workspace tools for changing study areas, reading the visible scene, moving the camera, and focusing on important results.
Each tool has a clear description and a strict input format. Tools that only read information are marked separately from tools that change the application.
CausaFlow also protects the workflow in several ways:
- A calculation cannot begin until the exact staged scenario has been approved.
- Every scenario change creates a new revision, preventing an agent from approving an older setup by mistake.
- The user’s request to run a scenario is recorded as explicit authorization.
- Long-running calculations return progress instead of leaving the agent guessing.
- Completed results have stable identities and cannot be silently changed during replay or comparison.
- The agent reads numerical results from the application instead of estimating values from the animation.
WebMCP is the access and coordination layer. It does not create the flood results. The calculations come from the flood-simulation software used by CausaFlow.
Key demonstration: Hospital Lifeline
Hospital Lifeline represents eight drains along a 771-metre hospital access road.
With every represented drain blocked, the access checkpoint crosses its 15-centimetre test limit after 270 seconds and reaches a maximum depth of approximately 32.8 centimetres.
I tested the zero-drain case and every individual-drain alternative. Reopening D7 was the only single-drain option that kept the checkpoint below the limit. Its maximum depth fell to approximately 12.7 centimetres, and D7 removed approximately 311.6 cubic metres of water.
The WebMCP agent can run the blocked case, run the D7 case under the same storm, compare them, and take the user directly to the checkpoint.
How I built it
I built the interface with Next.js, React, TypeScript, Three.js, and deck.gl.
The flood calculations run through ANUGA using Python. I also use EPA SWMM for separate drainage checks.
Houston uses frozen USGS elevation data. Velachery uses frozen Copernicus elevation data with OpenStreetMap context.
I packaged the application with Docker and deployed it through Coolify.
Challenges I faced
The first challenge was keeping the agent helpful without giving it too much control. I solved this by exposing small, clearly limited tools instead of one unrestricted command.
The second challenge was preventing stale or unapproved scenarios from running. I added revision checks and explicit approval before every calculation.
The third challenge was making sure the agent reported real results rather than guessing from the animation. The result tools return exact values, assumptions, warnings, and limitations.
I also had to make the flood calculations, terrain files, interface, WebMCP tools, and production deployment work together inside one Docker container.
Accomplishments I’m proud of
- Five complete flood demonstration flows
- A multi-step WebMCP workflow that works without clicking simulation controls
- A safe approval boundary before calculations begin
- Direct result inspection instead of visual guessing
- Result replay, camera control, and comparison through WebMCP
- 74 unit and regression tests
- 23 flood-calculation checks
- 11 production browser tests
- A public Docker deployment with no login required
What I learned
I learned that WebMCP is most useful when a task involves several connected steps, visible state, and important decisions.
The agent should not replace the person. The person decides what question to ask and whether a scenario should run. The agent makes the application easier to operate, keeps track of the steps, and returns the evidence needed to understand the result.
I also learned that an impressive animation is not enough. A responsible flood tool must show its assumptions, limits, and actual numbers clearly.
What’s next
I want to add more cities, carefully controlled terrain uploads, downloadable reports, and shared investigation sessions.
I also want to test CausaFlow with planners and flood experts to learn which questions and comparisons are most useful in real planning work.
CausaFlow is currently a planning and learning tool. It is not a flood forecast, evacuation recommendation, engineering design, or guarantee of safety.
Built With
- anuga
- bun
- cloudflare
- codex
- coolify
- copernicus-glo-30
- deck.gl
- docker
- epa-swmm
- next.js
- openai
- openstreetmap
- playwright
- python
- react
- tailwind-css
- three.js
- typescript
- usgs-3dep
- vitest
- webmcp
- zod

Log in or sign up for Devpost to join the conversation.