Inspiration
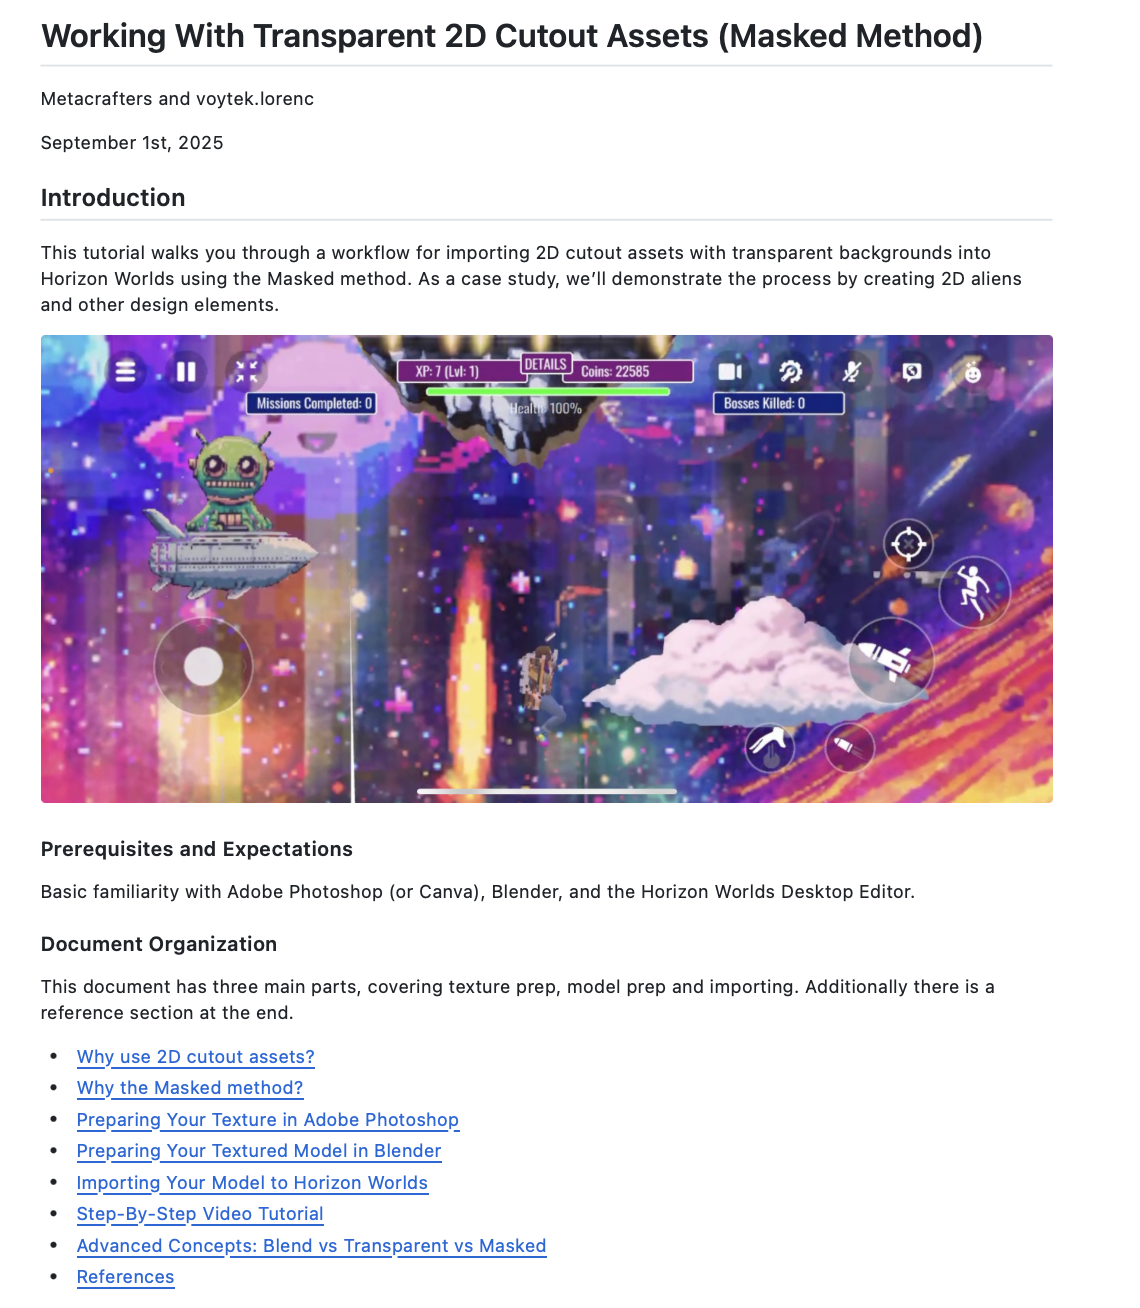
While working on our game Space Jumpers we identified a need for importing visually appealing 2d cutout images into our game. This project sparked our investigation into a reliable workflow for cutout assets, which we now aim to share with the Horizon community.
What it does
This tutorial provides a step-by-step guide for importing 2d cutout assets into Horizon Worlds, using little cute aliens as an example. It covers the complete workflow from texture creation to in-world implementation, organized into three stages: 1. Texture Preparation (Photoshop): Create a 2K texture, add an image, and export as a transparent PNG.(MATERIAL_BA.png). 2. Model Preparation (Blender): Apply the texture to a 3D model, ensure proper UV mapping, and name the material correctly (e.g., ending with _MASKED). Export the model as an FBX file with the appropriate settings. 3. Importing to Horizon Worlds: Upload the FBX and PNG files into the Horizon Worlds Desktop Editor, and place the asset in your world.
The tutorial also covers advanced transparency concepts, comparing Blended (Unlit), Transparent, and Masked materials, including naming conventions, lighting behavior, and alpha channel effects.
How we built it
We leveraged video recording and editing, screen capture, screenshot annotation, and GitHub Markdown to produce this tutorial.
Challenges we ran into
Navigating GitHub pull requests was a steep learning curve, as this was a new process for us.
Accomplishments that we're proud of
We successfully created a tutorial that is accessible to beginners while also addressing advanced concepts for experienced creators.
What we learned
We gained hands-on experience with new GitHub tools and workflow techniques.
What's next for TUTORIAL: Working With Transparent 2D Cutout Assets (Masked Method)
We plan to create additional tutorials and continue sharing the knowledge we are developing with the Horizon community.


Log in or sign up for Devpost to join the conversation.