-
-
Skill Logo
-
Welcome screen
-

Game in progress notification
-
Asks if the user is ready to start the game
-

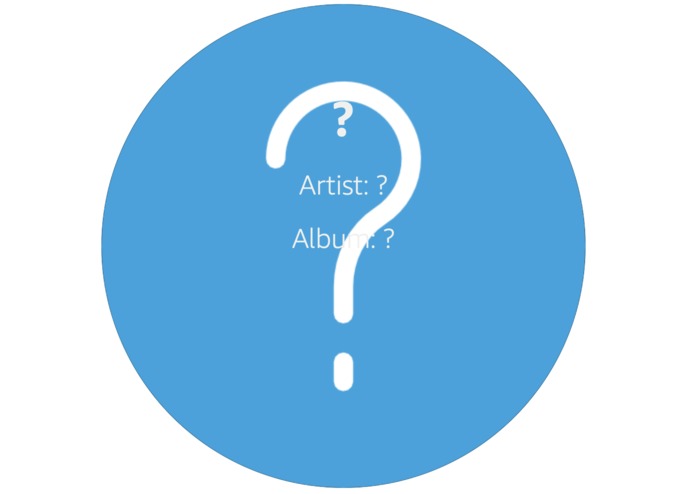
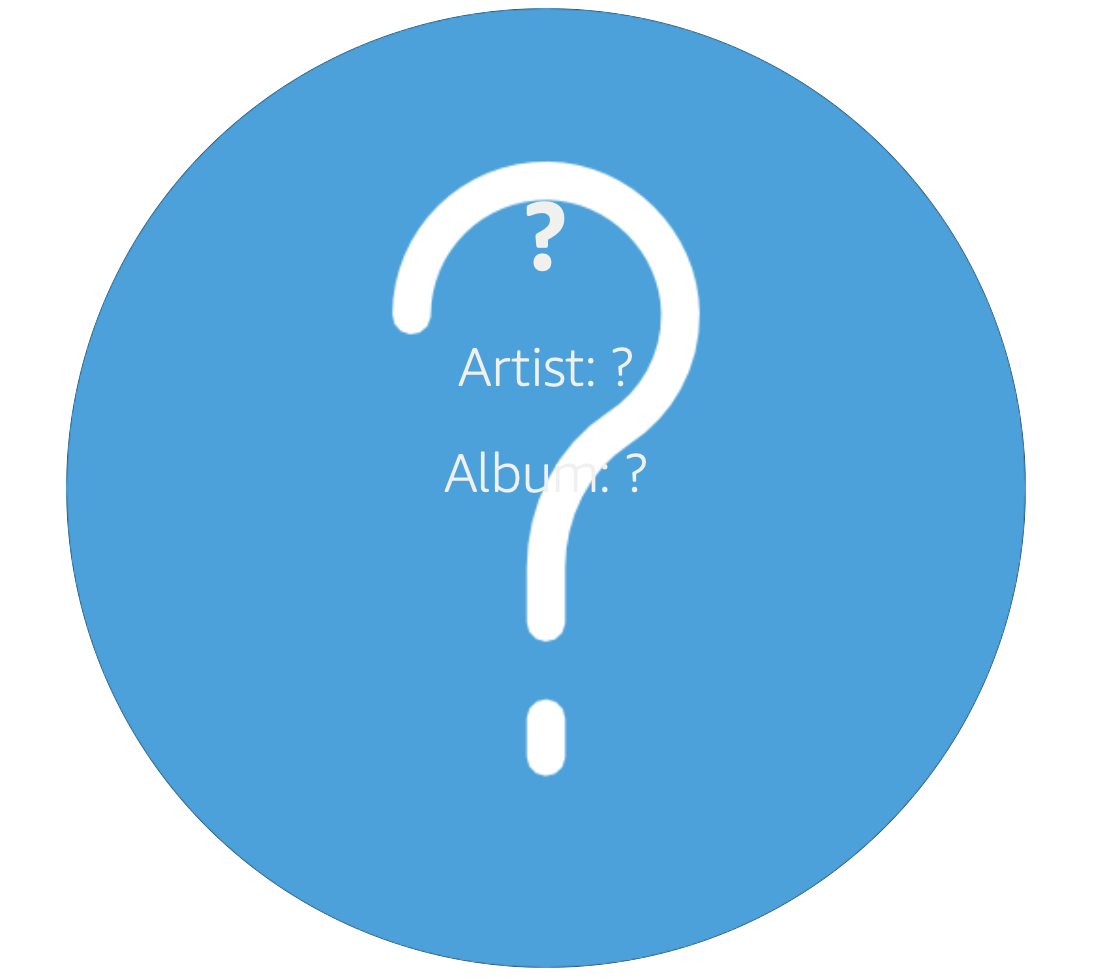
Displayed when song is playing
-
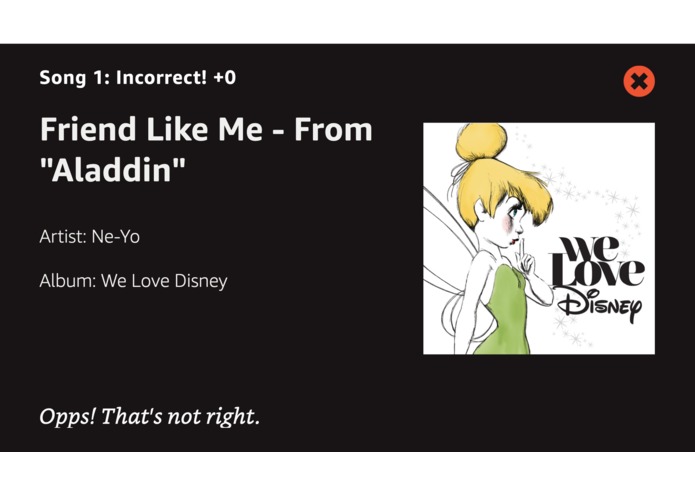
Incorrect song screen
-
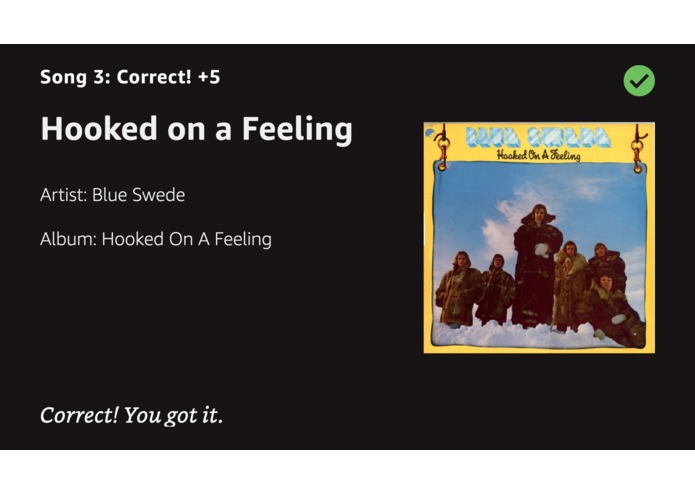
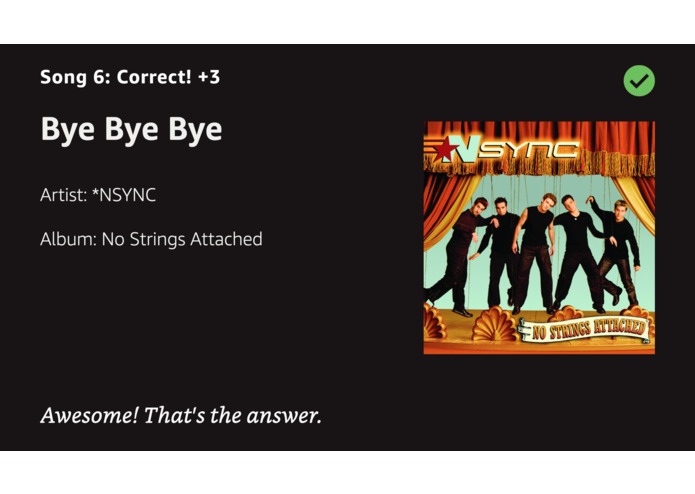
Correct with artist and song
-
Correct with only song
-

Results screen
-
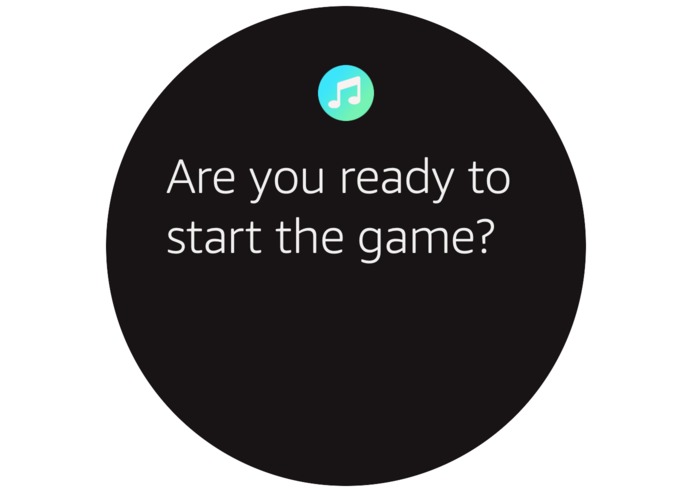
Asks if the user is ready to start the game
-
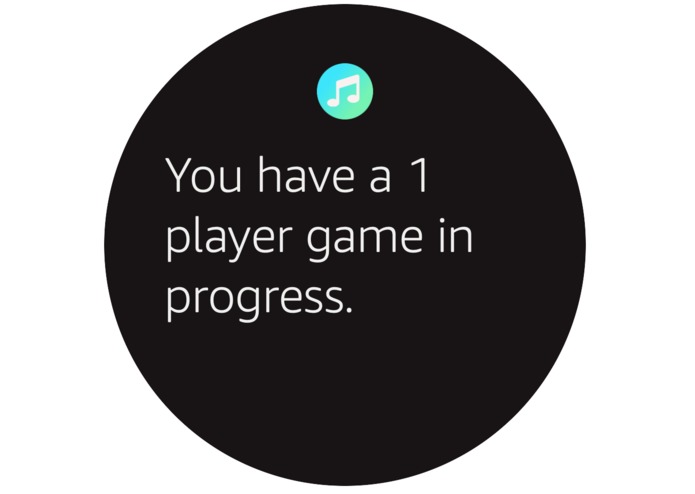
Game in progress notification
-
Displayed when song is playing
-
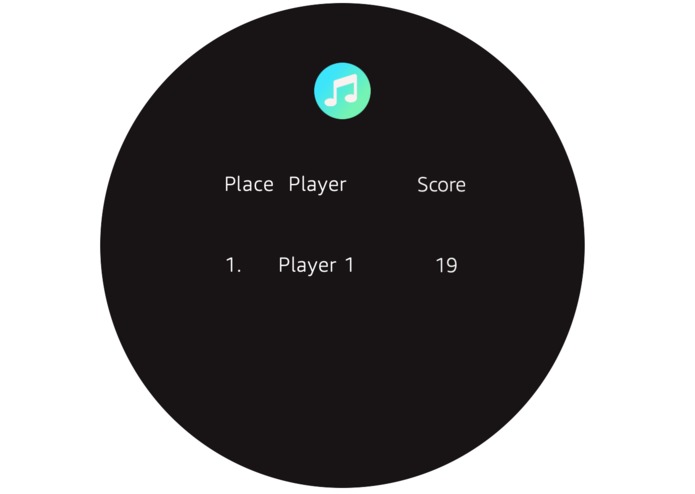
Results screen


Inspiration
When walking to class or driving, I like to listen to my Spotify playlists. When a new song starts playing, I often find myself guessing the song title as sort of a mental game with myself. The idea of being able to play a game tailored to my own quirky habits was the driving force to build “What's That Song.”
What it does

While there are Alexa Skills that have users guess songs, these skills are not customizable. With “What's That Song,” users can play the game using their followed Spotify playlists as their song pack. This allows users to play with public playlists or their own personalized, custom playlists.
Along with being customizable, “What's That Song” is available in the following locales:
- US English: en-US
- UK English: en-GB
- Canadian English: en-CA
- Australian English: en-AU
- German: de-DE
Additionally, “What's That Song” is playable as a singleplayer or multiplayer game for up to four players with the use of Amazon Echo Buttons.
It is also prepared with the Alexa Presentation Language (APL), enabling the skill to have beautiful visuals on screened devices, such as the Echo Show or Echo Spot.
Additional Information
My project is not endorsed, or sponsored, by Spotify AB.
Built With
- alexa-skills-kit
- amazon-alexa
- amazon-cloudwatch
- amazon-dynamodb
- amazon-ec2
- amazon-iam
- amazon-lambda
- amazon-web-services
- spotify

Log in or sign up for Devpost to join the conversation.