-
-

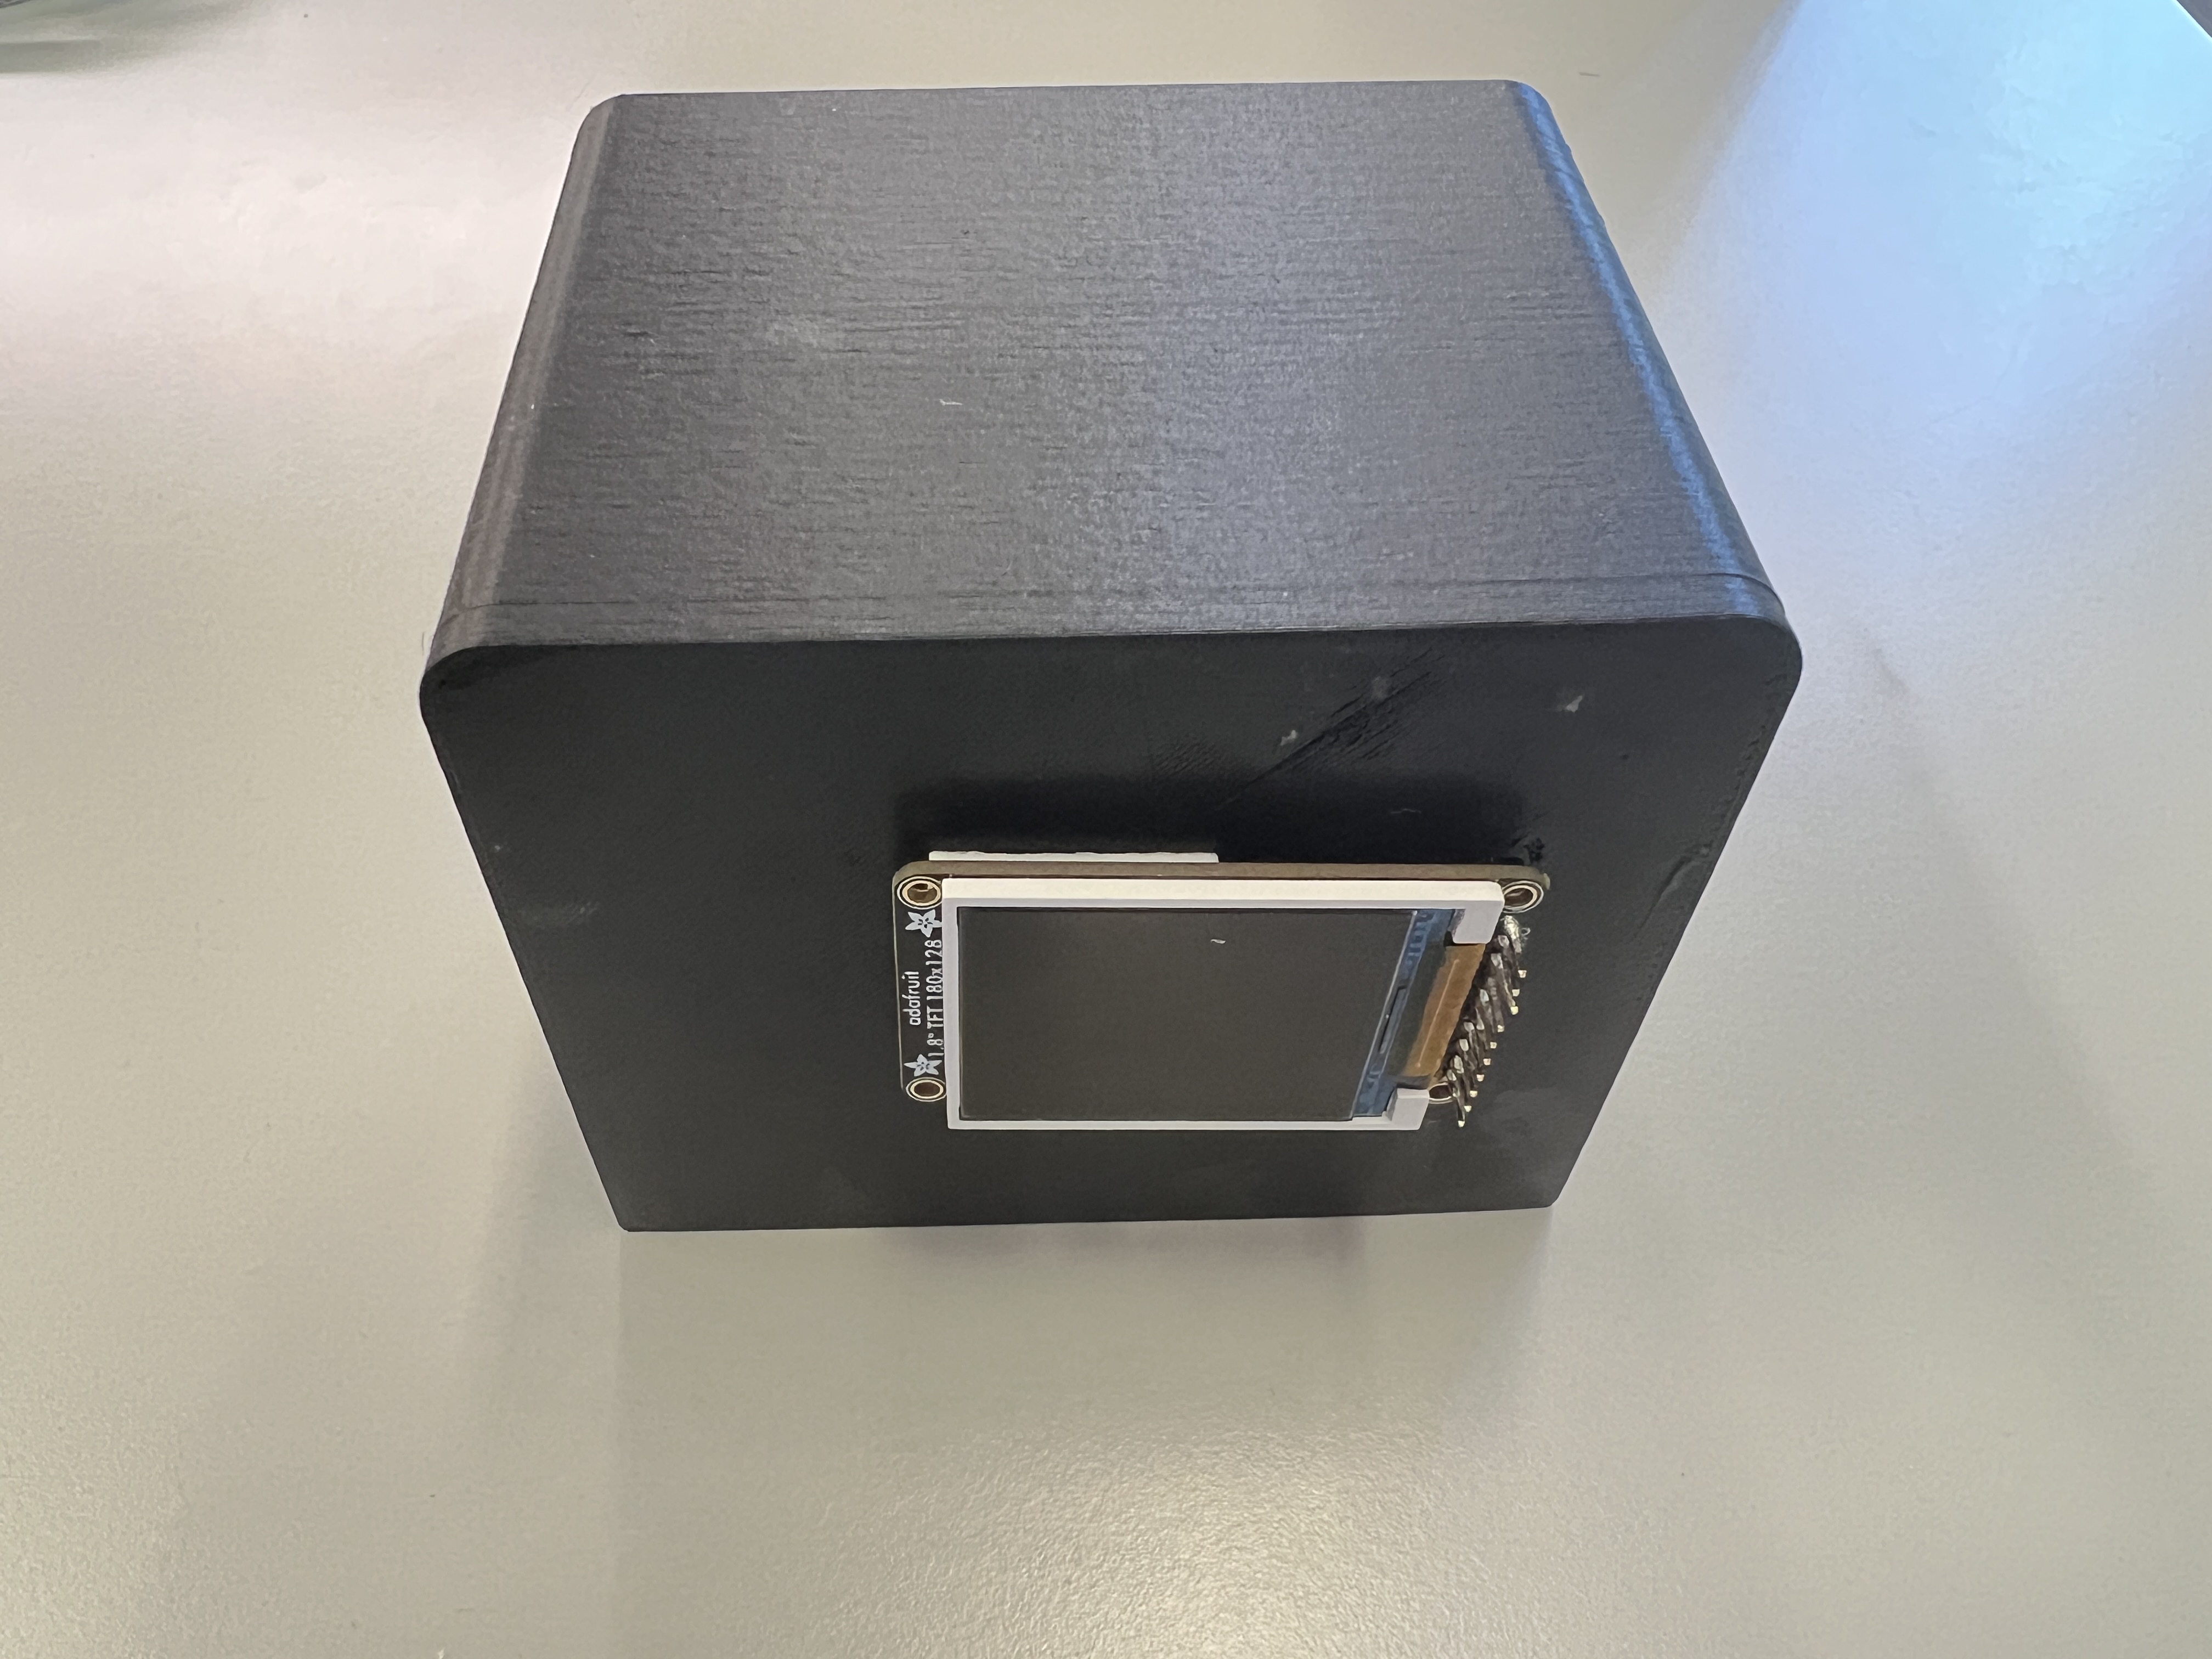
Front
-

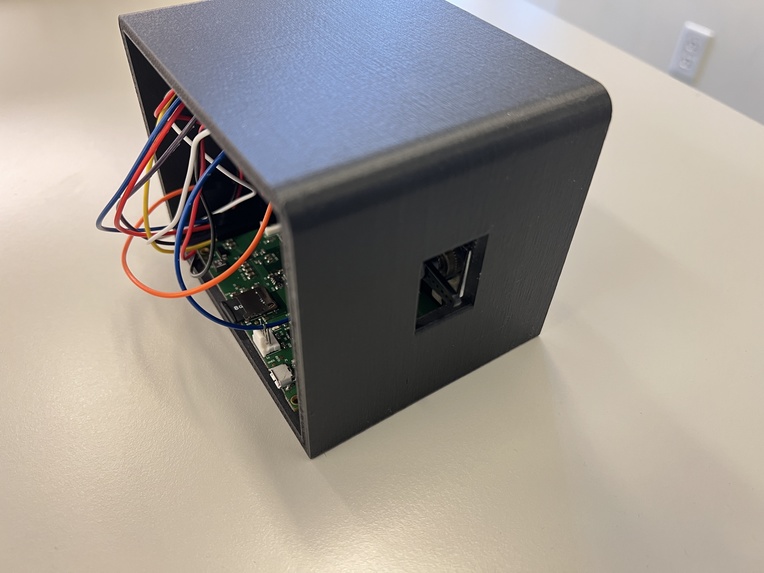
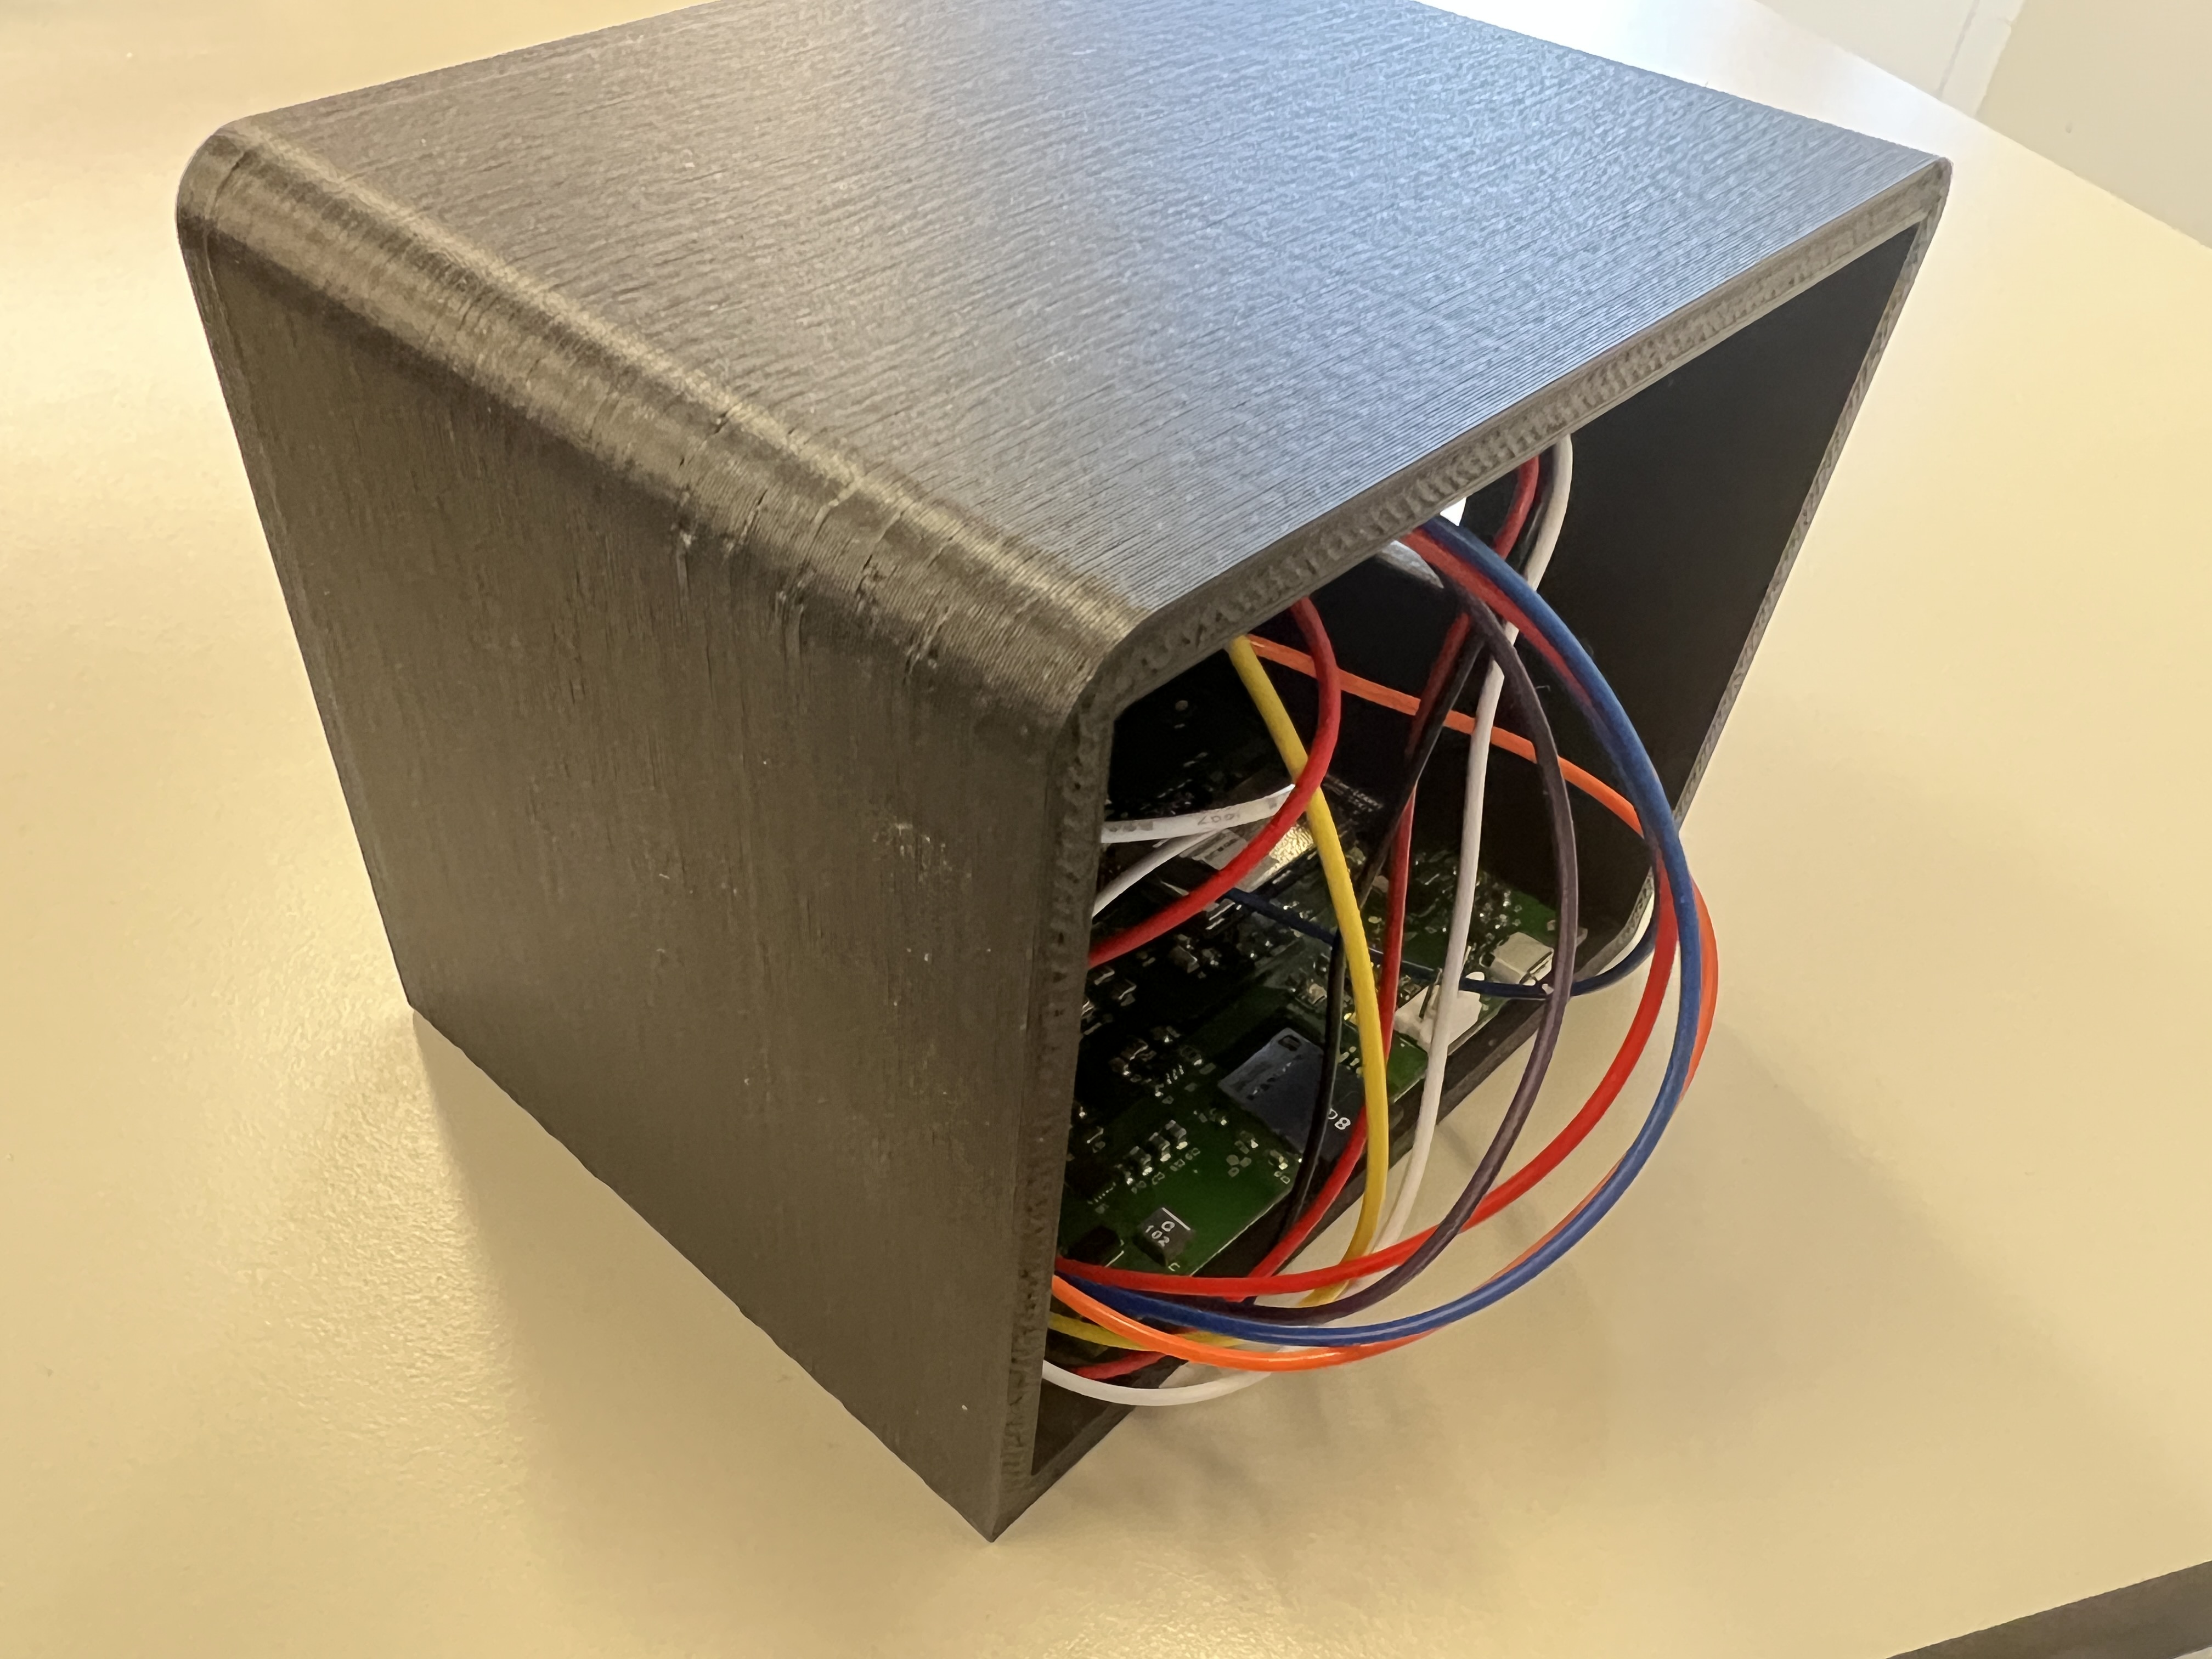
Back
-
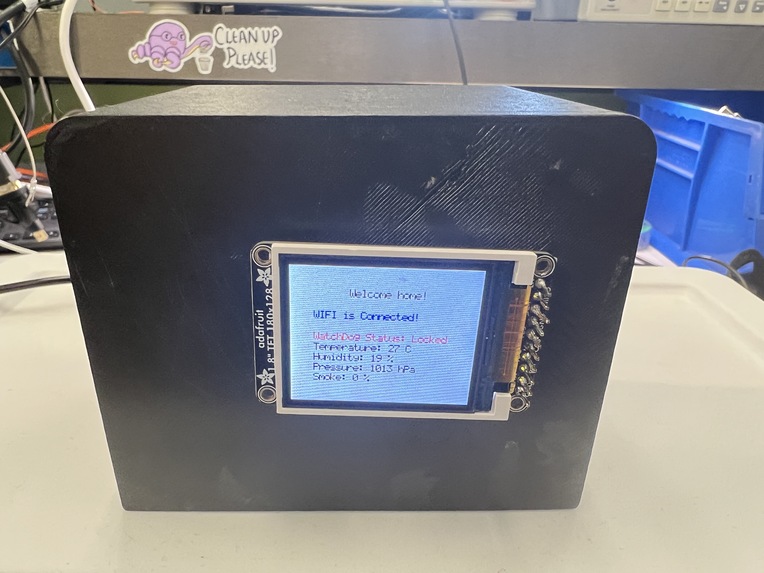
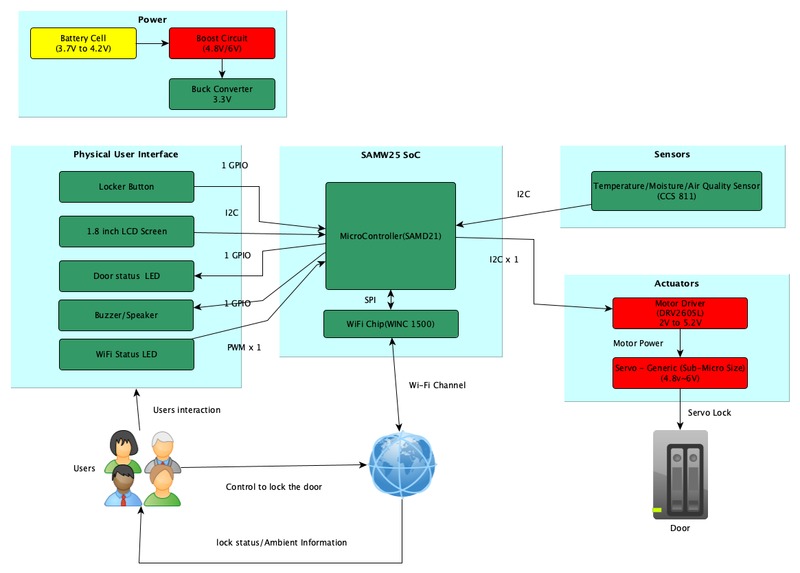
System Working
-
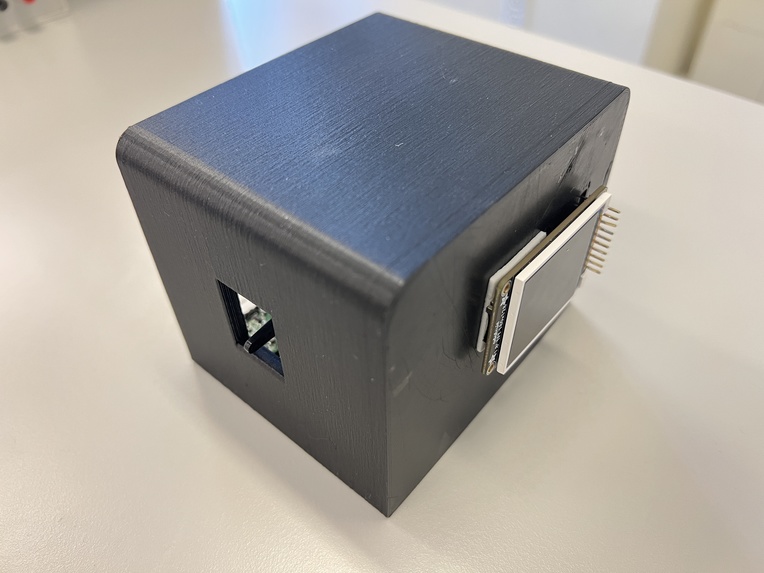
Right Side
-
Left Side
-
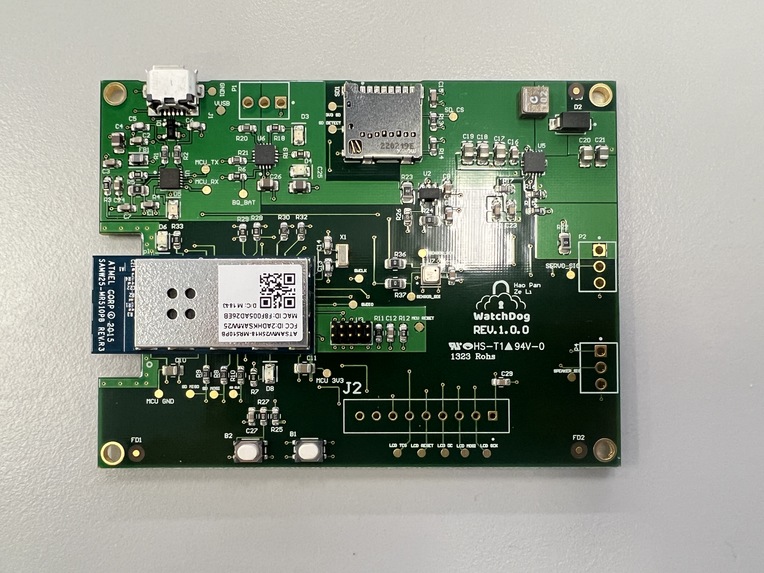
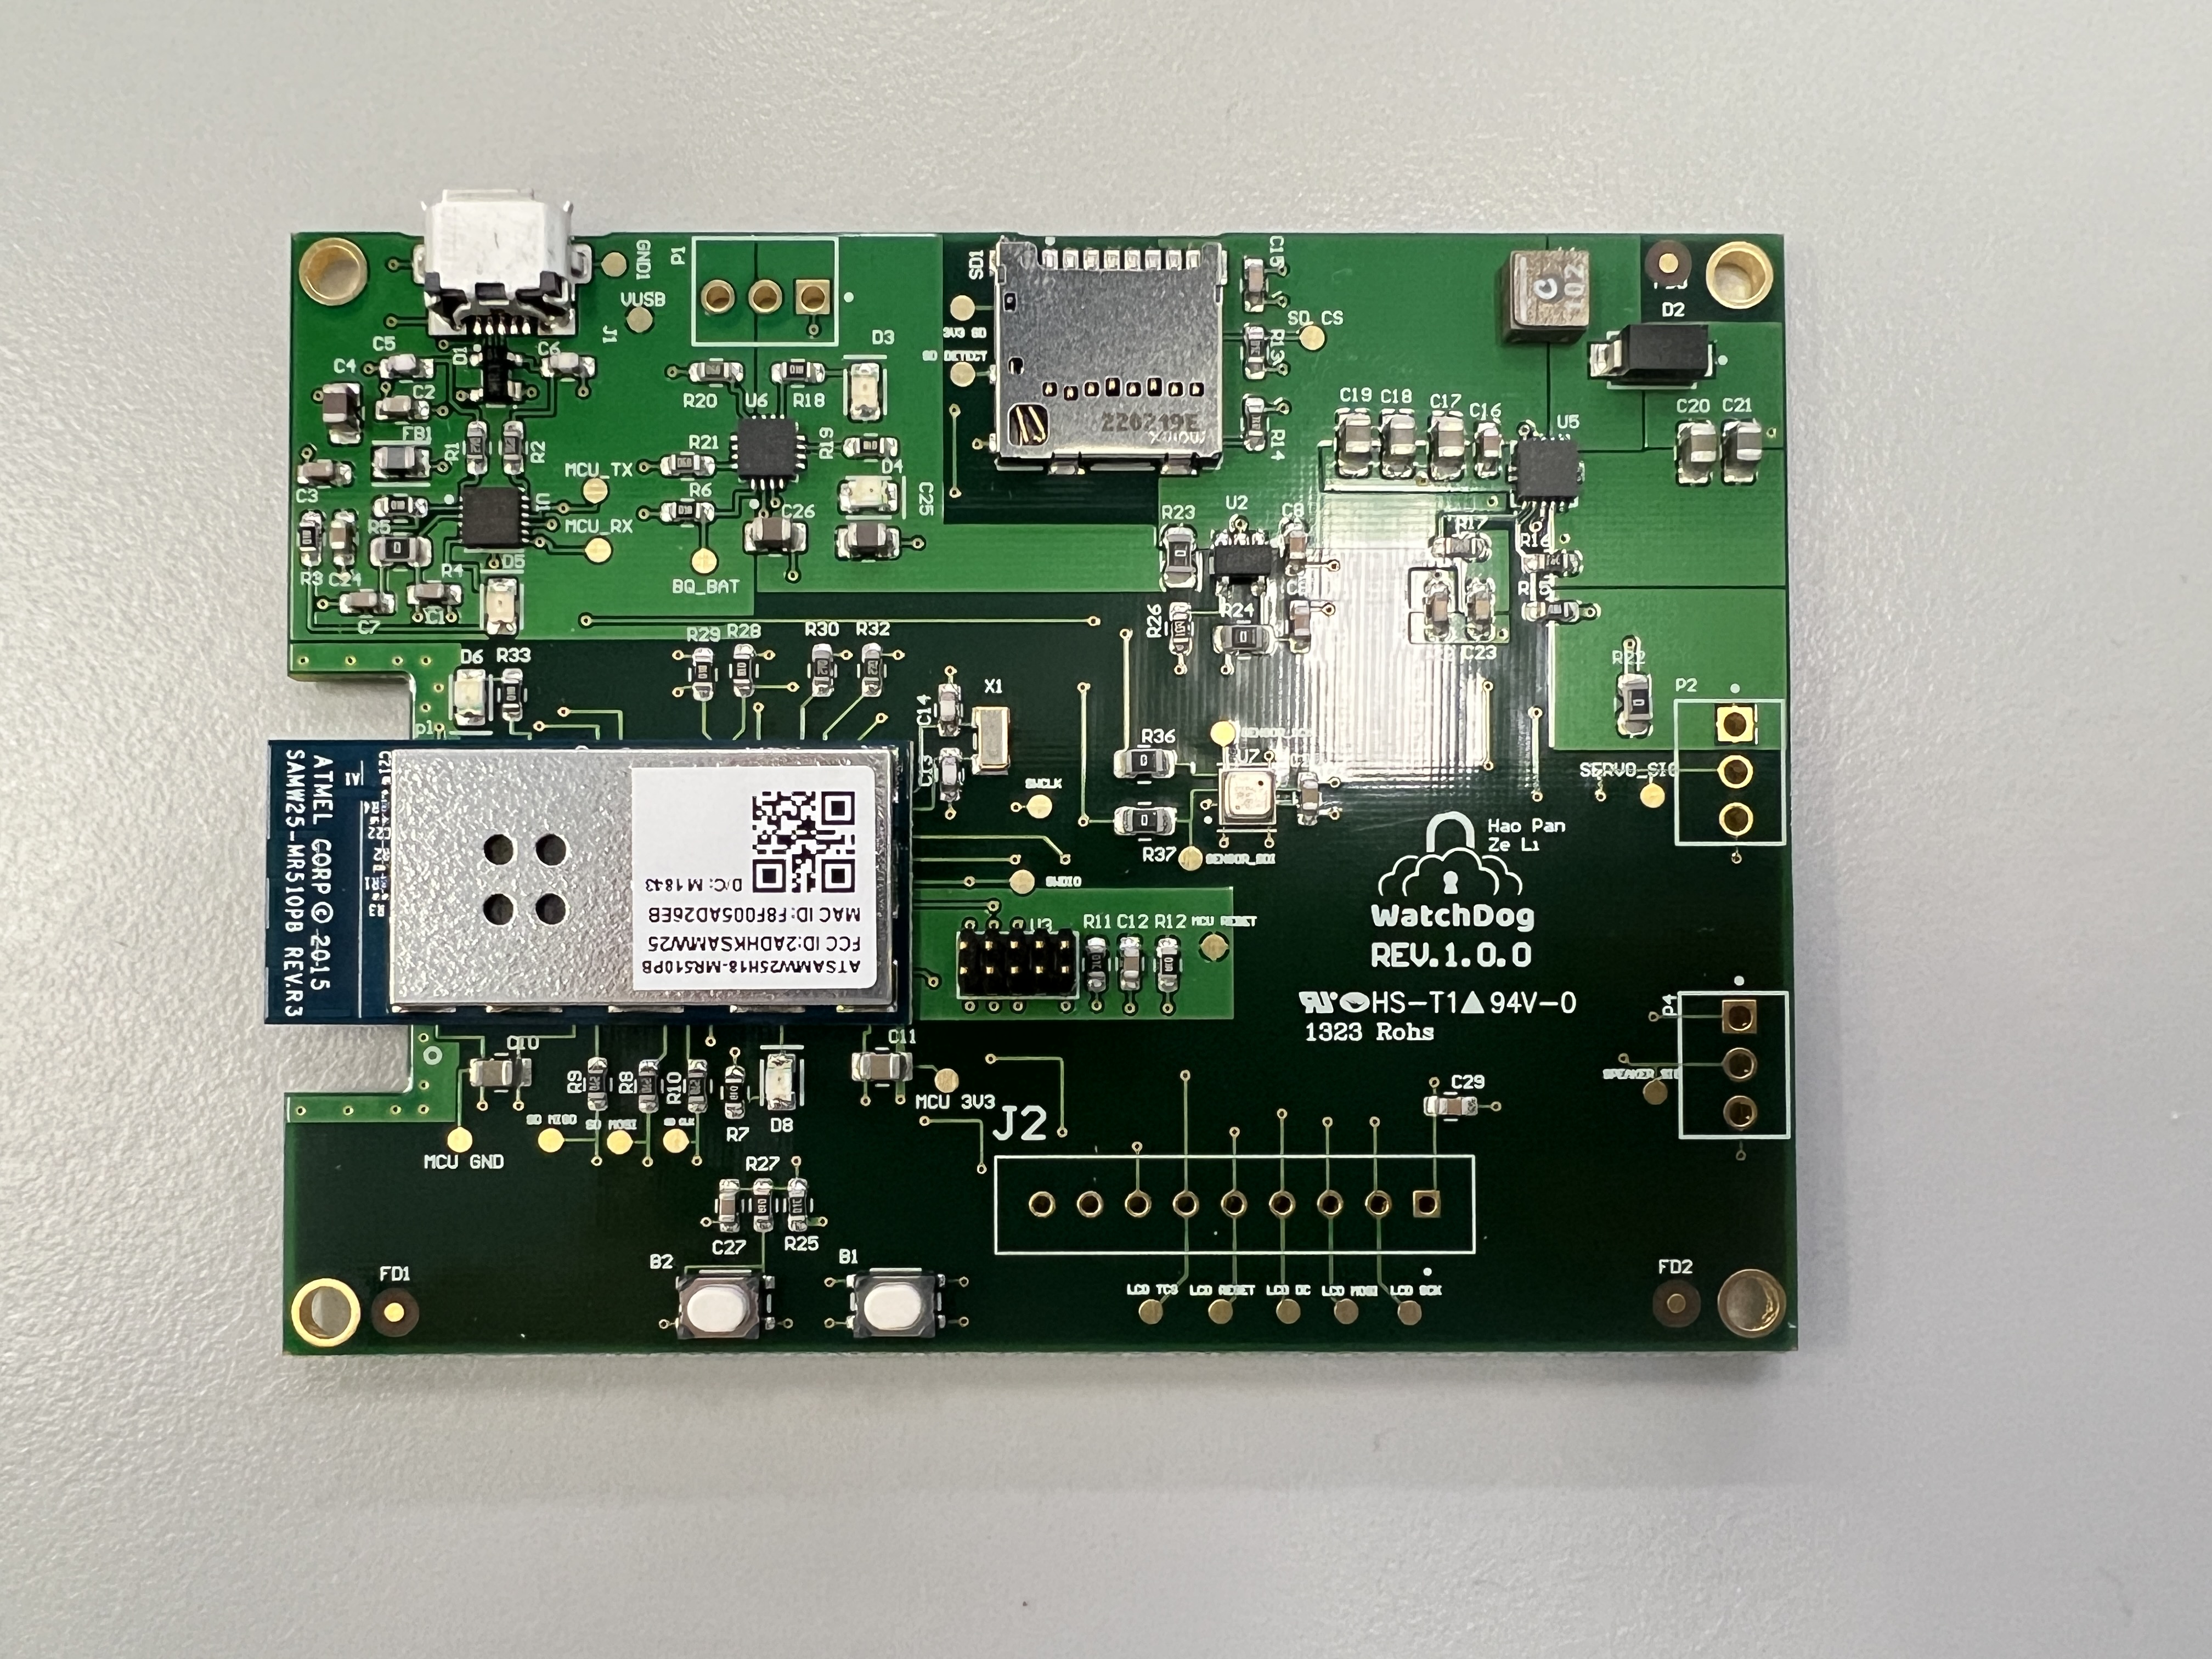
PCBA Top
-
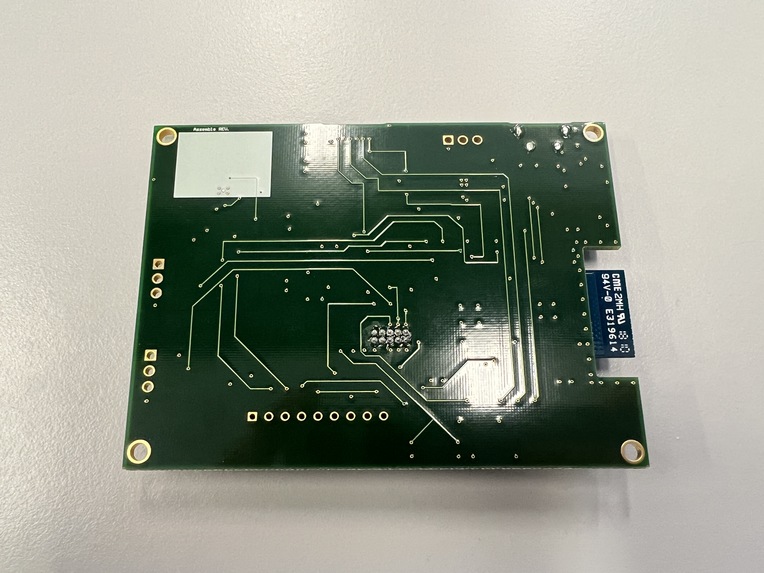
PCBA Bottom
-

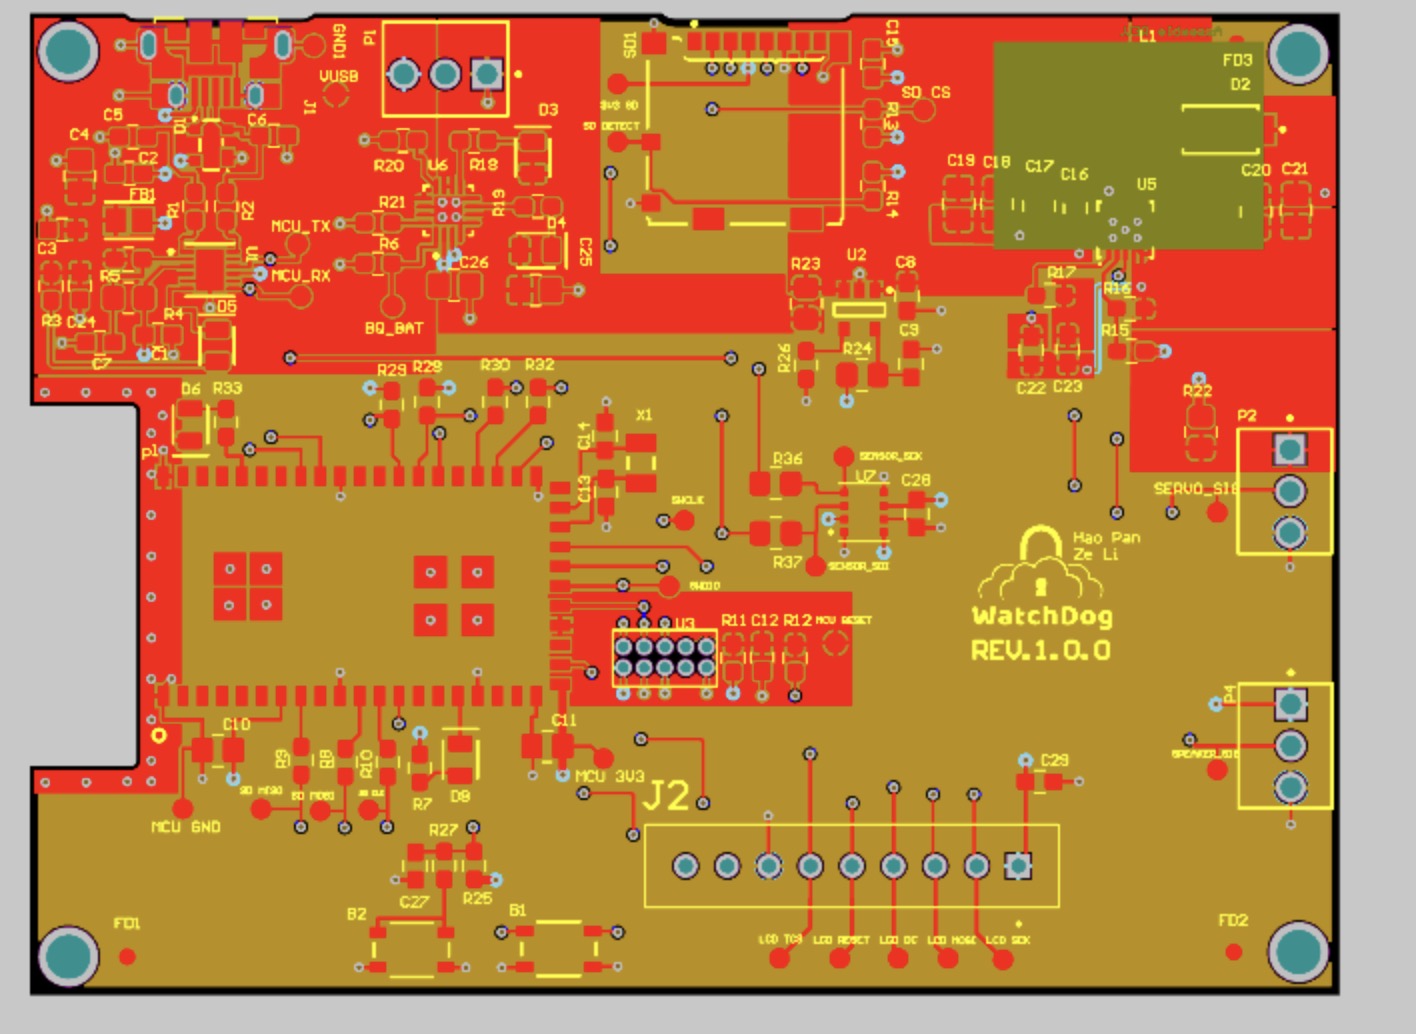
PCB2D
-
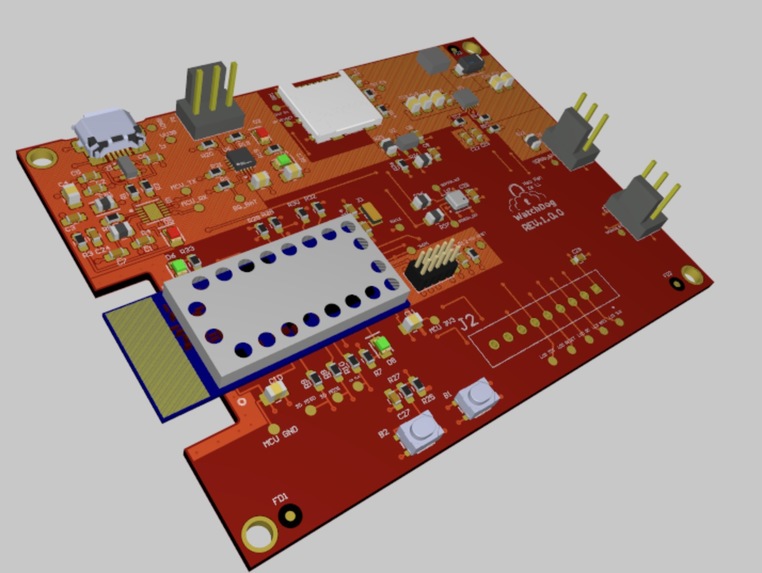
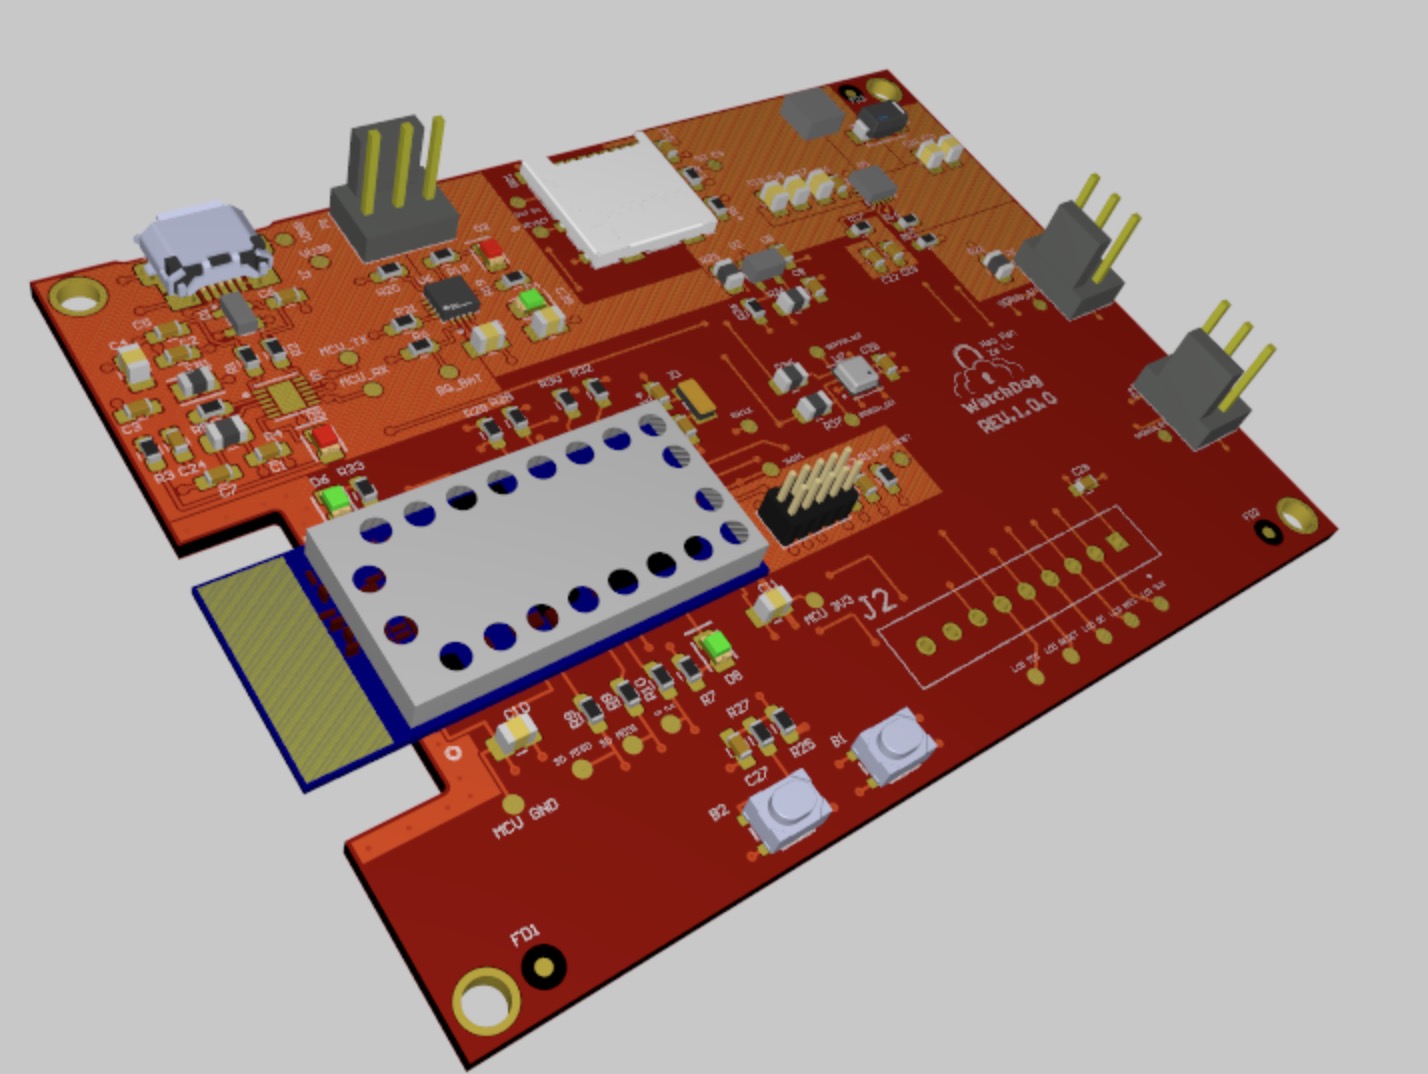
PCB3D
-
NODERED_BACK
-

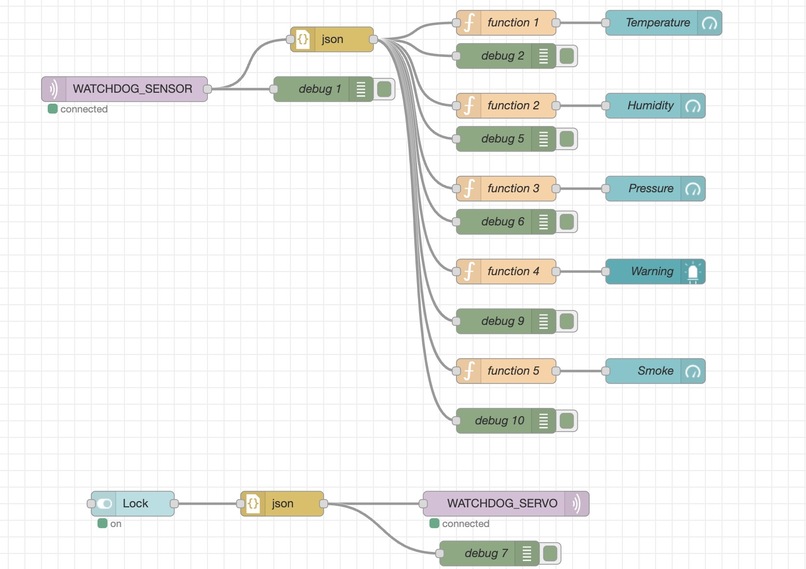
NODERED-FRONT
-


Inspiration
We want to build a smart home locker to control the door for homes.
What it does
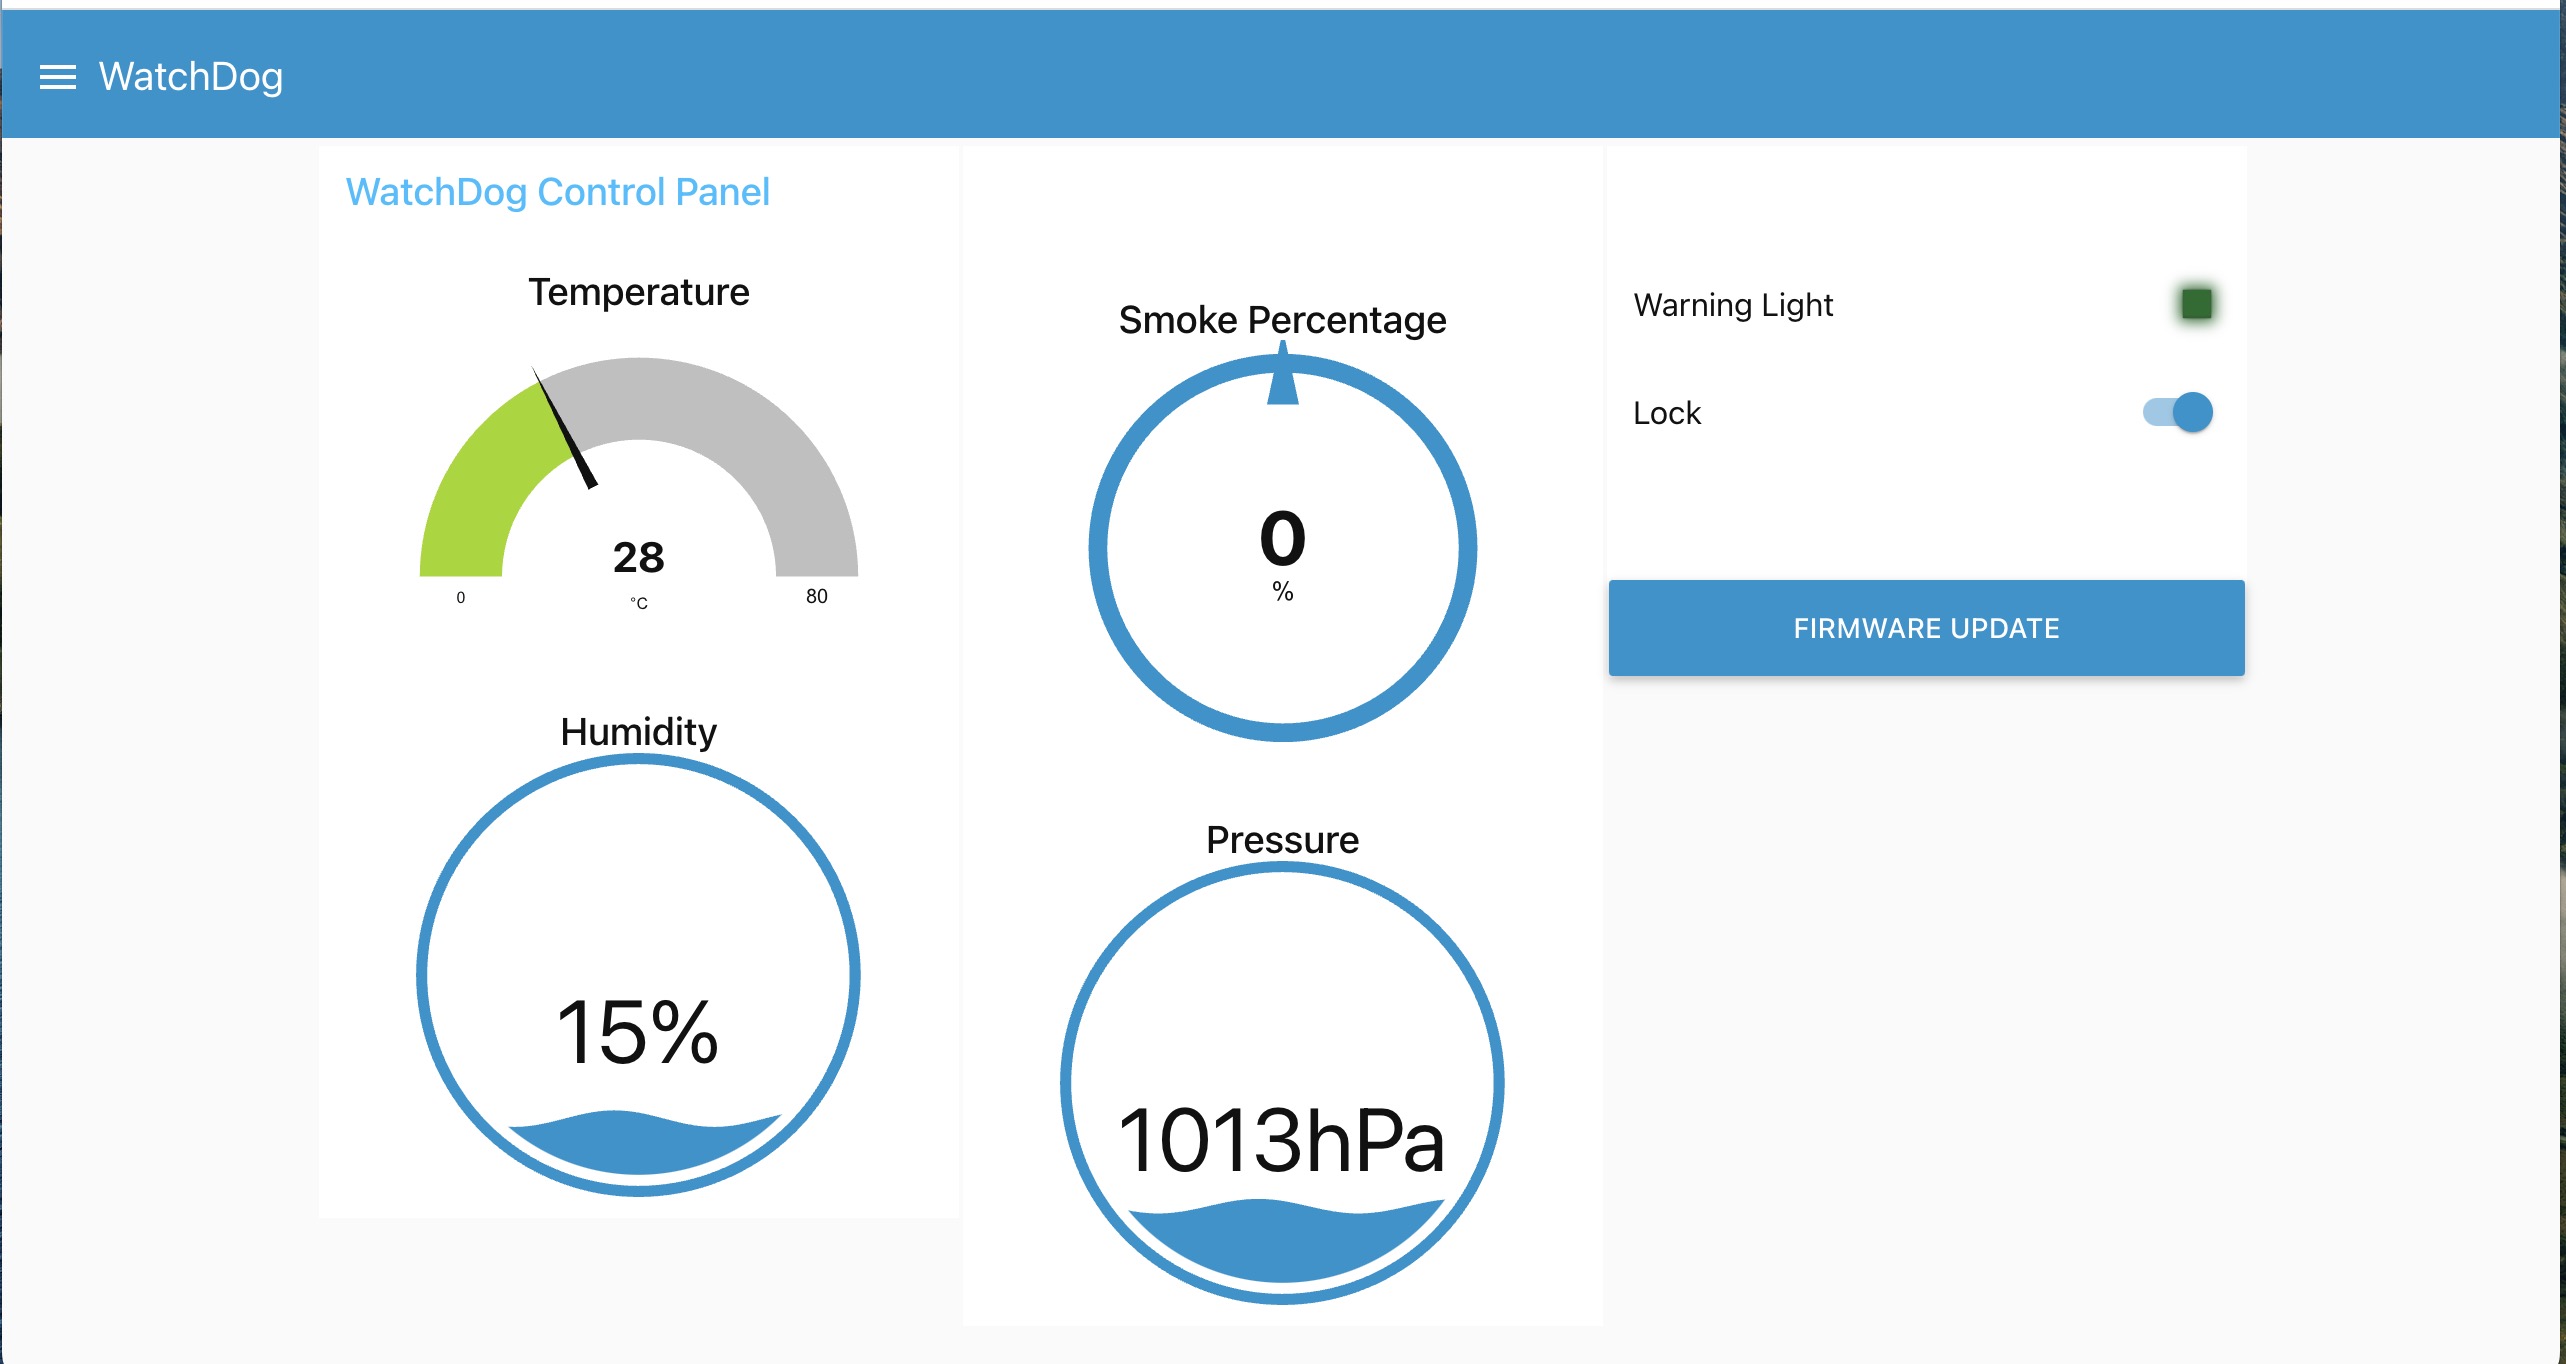
Basically, it automatically detects the conditions when the door needs to be locked or opened, and delivers the corresponding information to the users through the web.In addition, users can also get extra information about their home environment.
How we built it
In this project, we use the SAMW25 microcontroller and sensors or interfaces including temperature and humidity sensor CCS811, servo and speaker/buzzer.
Challenges we ran into
- Hardware Debugging: In contrast to software debugging, hardware debugging proved to be more challenging due to the numerous potential sources of issues that were difficult to identify and resolve. The multiple layers of abstraction present in sensors, actuators, and other components within a device further complicate the process of pinpointing specific failures and their causes.
- While developing the SPI driver for our LCD screen, we discovered that the existing custom library was incompatible with our chip. However, after adjusting the SERCOM/PIN settings and incorporating the polled SPI master library into our project, the driver functioned properly.
What we Learned with the Prototype
While constructing the prototype, we gained valuable experience in writing drivers for I2C communication, as well as managing Pulse Width Modulation (PWM) and Serial Peripheral Interface (SPI) protocols. Additionally, we acquired extensive knowledge on integrating IoT devices with the internet, implementing MQTT communication, and facilitating over-the-air firmware updates.
What we learned
Reflecting on our experience in this course, we have gained invaluable knowledge in various areas. Some of the highlights include:
1.PCB Design and Manufacturing: We designed a 4-layer PCB, learned best practices for PCB design, the rationale behind design rules, how PCB design differs in high-frequency systems, and essential considerations for designing battery management systems.
2.Tools and Software: We became proficient in using Altium Studio, Microchip Studio, TI Webench, Atmel Start, logic analyzers, GitHub, yEd, and MQTT-related software.
3.Coding for Embedded Systems: We learned the fundamentals of FreeRTOS, Atmel Hardware Abstraction Layer (ASF), and writing drivers for various devices. The course also introduced us to boot-loaders and Over-The-Air Firmware Updates (OTAFU). We adopted best practices, such as organizing code into .c and .h files instead of cluttering the main code.
4.PCB Basic Skills: We developed expertise in soldering and bringing a PCB to life by following good practices.
What's next for WatchDog
The subsequent steps to advance our project from the proof of concept stage to the final product include:
1.Reducing the overall size of the PCB 2.Developing a mobile application 3.Refining the mechanical assembly 4.Addressing minor details, such as adding mounting holes to the PCB and repositioning headers 5.Conducting field testing of the device 6.Investigating the feasibility of a rechargeable battery prototype
PCB Design
Altium Link:link
Node Red Design
Demo Link:Node Red Demo Link
Json Link:Node Red Json Link


Log in or sign up for Devpost to join the conversation.