-
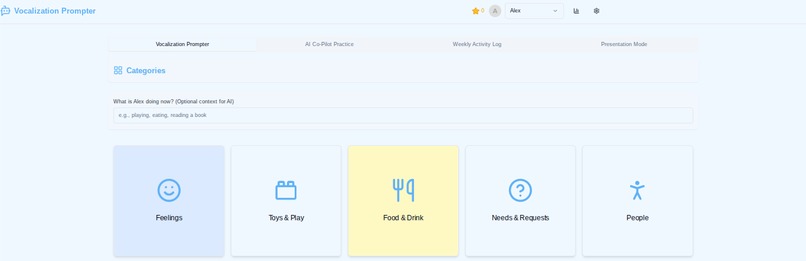
Home page of VocalisationPrompter.
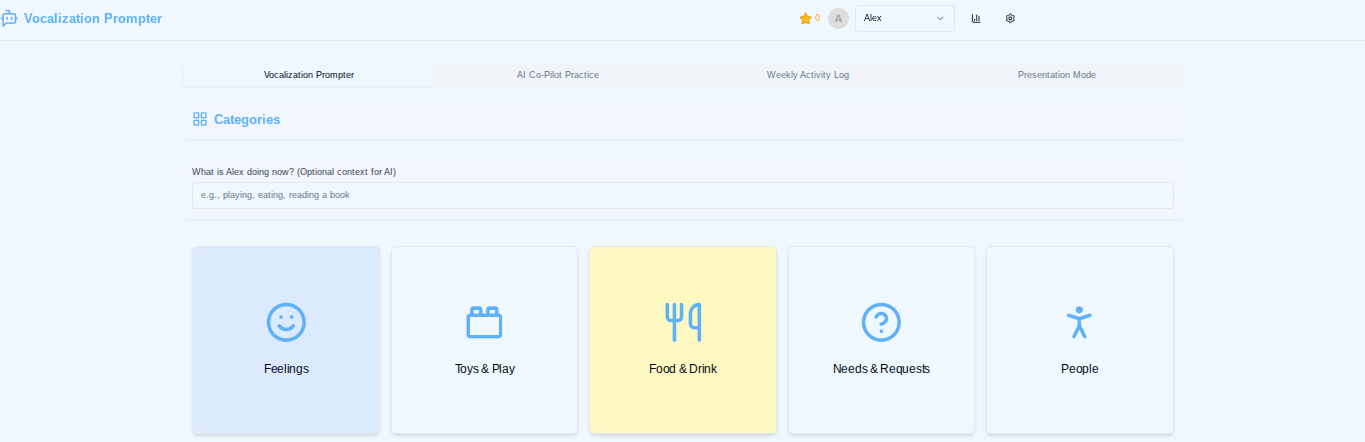
Vocalization Prompter
Vocalization Prompter is an innovative AI-powered Augmentative and Alternative Communication (AAC) app designed to encourage verbal communication, particularly for individuals like children with Level 3 Autism. It dynamically assesses user input and contextual factors to suggest phrases, introducing a customizable delay before offering full AAC support, thereby fostering active speech attempts.
Core Features
- Smart Verbalization Prompts: AI-powered suggestions that adapt to user input, activity, emotion, and time.
- Visual Vocabulary: Customizable grid with categories, words, and phrases.
- User Profiles: Personalized settings (delay, voice) and progress tracking.
- Adjustable Verbalization Delay: Customizable timer for prompting verbal attempts.
- Progress Tracking: Logs verbalization attempts, successes, and AAC usage with a points/rewards system.
- Speech Practice Tools:
- Text-to-Speech with emotional cues.
- AI Pronunciation Help with mouth shape guidance.
- "Practice with Camera" for visual feedback.
- Web Speech Recognition for "Speak & Check".
- AI Conversation Co-Pilot: Practice social scenarios using voice.
Tech Stack
- Framework: Next.js 15 (App Router, Server/Client Components, Turbopack)
- Language: TypeScript
- UI: React, ShadCN UI, Tailwind CSS
- AI Integration: Genkit (Firebase) with Google Gemini Models
- Browser APIs: Web Speech API (SpeechSynthesis & SpeechRecognition)
- Icons: Lucide Icons
Getting Started
Prerequisites
- Node.js (LTS version recommended)
- npm or yarn or pnpm
Setup Environment Variables
This project uses Genkit, which requires an API key for the AI models (e.g., Google Gemini).
- Create a
.envfile in the root of the project (this file is gitignored as per the.gitignorefile). - Add your API key:
env
GOOGLE_API_KEY=YOUR_GEMINI_API_KEY
You can obtain a Gemini API key from Google AI Studio. Note: Thesrc/.envfile is not used for this purpose.
Running the Development Server
First, install the dependencies:
npm install
# or
yarn install
# or
pnpm install
Then, to run the Next.js development server (for the UI):
npm run dev
This will typically start the server on http://localhost:3000 or the port specified by your environment (e.g., 9002 as seen in logs).
To run the Genkit development server (for the AI flows, in a separate terminal):
npm run genkit:dev
Or, for watching changes to AI flows:
npm run genkit:watch
Open your application's URL with your browser to see the application.
The Genkit developer UI usually runs on http://localhost:4000.
Project Structure Highlights
-
src/app/: Main Next.js application pages and layouts. -
src/components/: Reusable React components.-
src/components/app/: Application-specific components. -
src/components/ui/: ShadCN UI components.
-
-
src/ai/: Genkit AI flows and configuration.-
src/ai/flows/: Specific AI functionalities.
-
-
src/context/: React Context providers for global state. -
src/lib/: Utility functions, type definitions, mock data.
Available Scripts
In the project directory, you can run:
-
npm run dev: Runs the Next.js app in development mode with Turbopack. -
npm run genkit:dev: Starts the Genkit development server. -
npm run genkit:watch: Starts the Genkit development server and watches for AI file changes. -
npm run build: Builds the Next.js app for production. -
npm run start: Starts the Next.js production server. -
npm run lint: Lints the codebase using Next.js's ESLint configuration. -
npm run typecheck: Runs TypeScript type checking.
