-
-

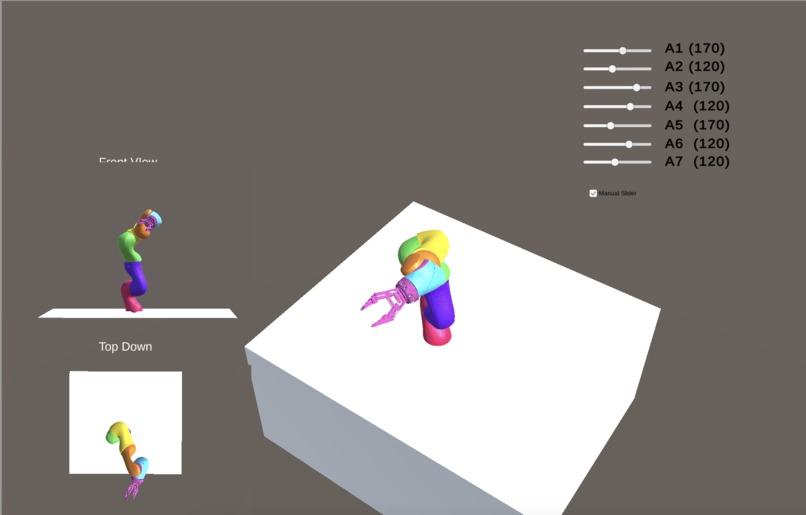
Angle 1
-
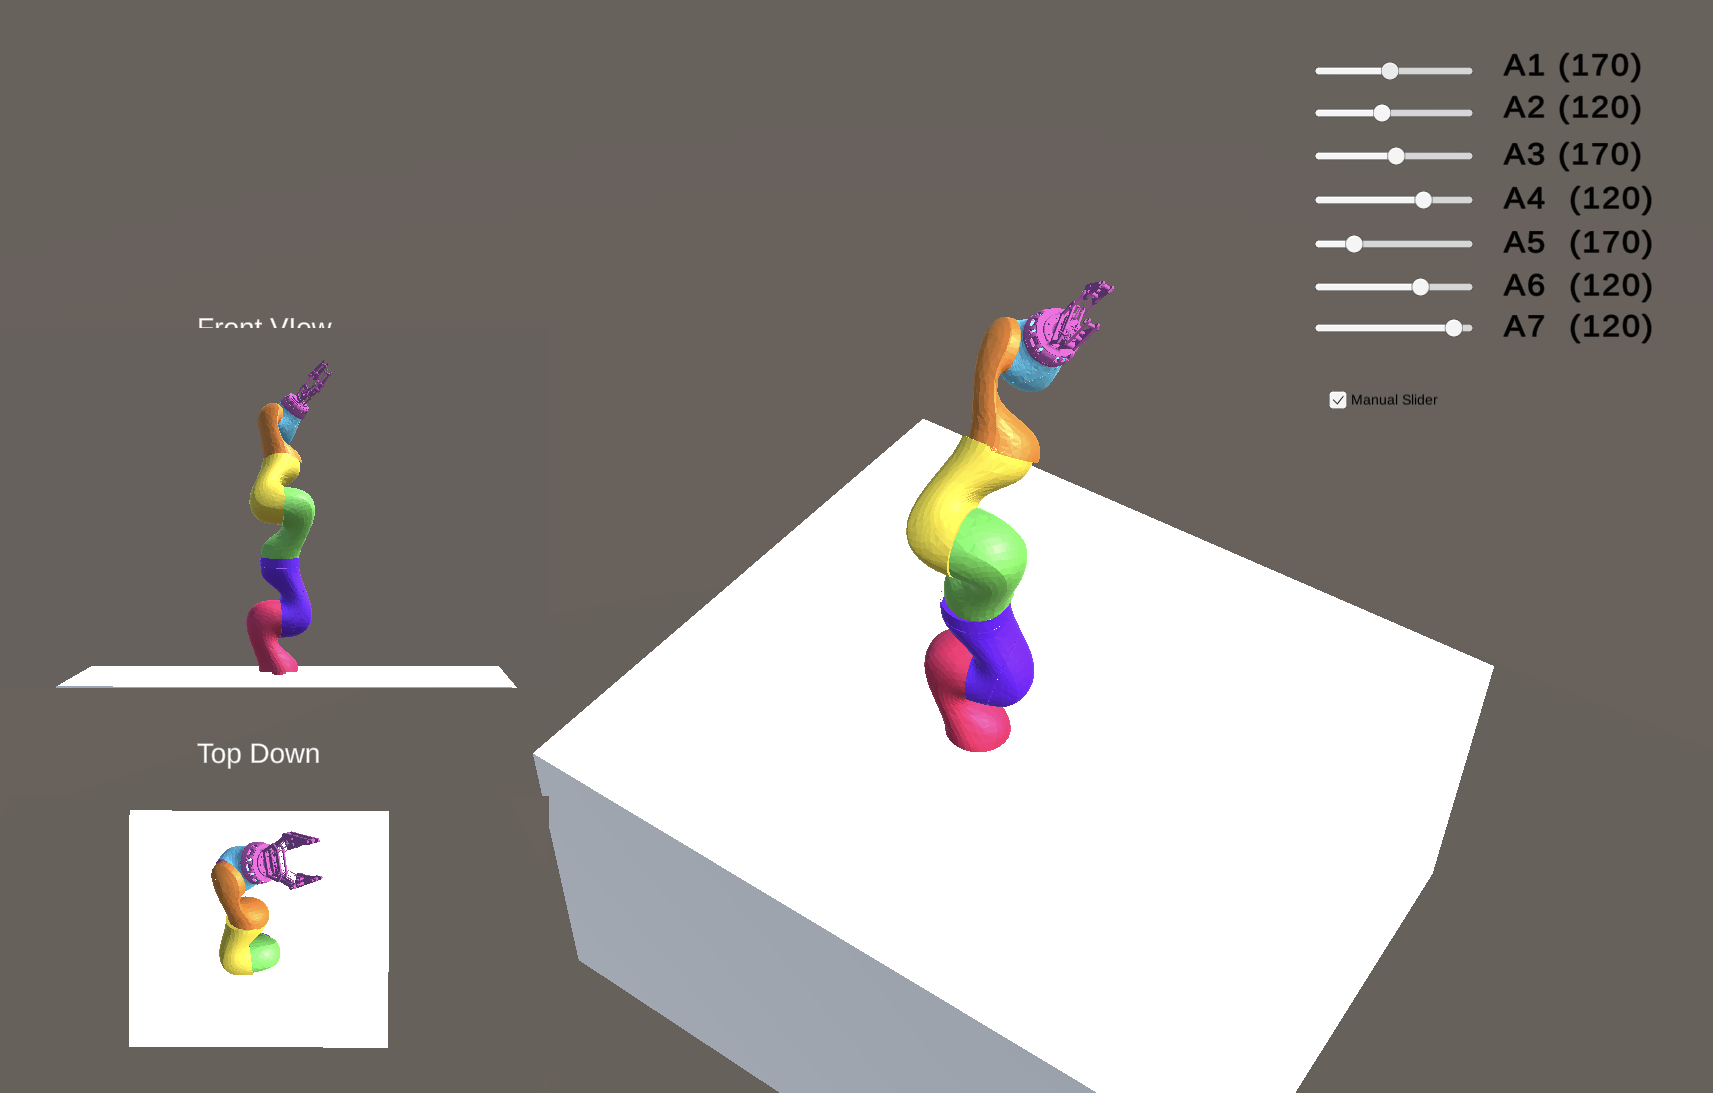
Angle 2
-

Simple flow chart for our project


Visualizing the Movements of Kuka 7 Node Robot Arm through Unity and C
Inspiration The inspiration for Visualizing Kuka 7 Node Robot Arm came from our interest in robotics and automation. We wanted to create a tool that could help engineers and researchers visualize the movements of a Kuka 7 Node Robot Arm. Coming into the hackathon, we wanted to do something related to that and we ended up running into Mitchell of Kinetic Vision who told us that there was a challenge relating to visualizing the movement of the robot.
What It Does Visualizing Kuka 7 Node Robot Arm is a web application hosted through WebGL that allows users to interactively visualize the movements of a Kuka 7 Node Robot Arm through the use of sliders. Users can adjust the angles of each joint and see how it affects the position of the end effector. The application also includes a variety of pre-built sequences that demonstrate the capabilities of the robot arm. The application is also able to interpret the CSV file provided by Kinetic Vision to create a moving visualization of the Kuka 7 Node Robot.
How We Built It We built this web application through primarily Unity since it is an amazing tool for modeling 3d objects that require physics and because it is easy to publish through WebGL. We also used AutoCad, RoboDK, Blender, and Fusion360 to create the 3d models in the form of obj files for the motors that make up the robotic arm.
Challenges We Faced One of the biggest challenges we faced was getting the different parts of the robot arm to rotate with each other. This is because the location of one motor is relative to the one below it which caused some errors with rotating higher level motors. This was fixed through coding specific rotation scripts that would force the proper rotation. Another issue we had was with the 3d motors for each model not rendering correctly in Unity. An example of such an issue would be the center of the model and thus the rotation not being in the center of the actual mesh.
What We Learned Something we learned today about was prioritizing work and not underestimating the process. We had a list of features we wanted to have accomplished by the end of the hackathon but we quickly realized that we had to drop some of the features to make sure that the more important features like the rendering and movement were correct. One of the key components that allowed our simulation to work the way is does was with inverse kinematics, which is the use of kinematic equations to determine the motion of a robot to reach a desired position. We also were overconfident going into this because the tasks early on the process were easy while the process of putting everything together was significantly more difficult
Accomplishments We’re proud of the realistic 3D visualization we were able to create using Unity. We are happy with the front end and we find it simplistic.
What’s next for Visualizing Kuka 7 Node Robot Arm In the future, we plan to add more advanced features to Visualizing Kuka 7 Node Robot Arm, such as support for multiple robot arms and the ability to save and load custom sequences. We also plan to add onto this by adding the feature of recording robotic movements and converting those movements into a CSV that can be used for the physical robot arm.


Log in or sign up for Devpost to join the conversation.