
Inspiration
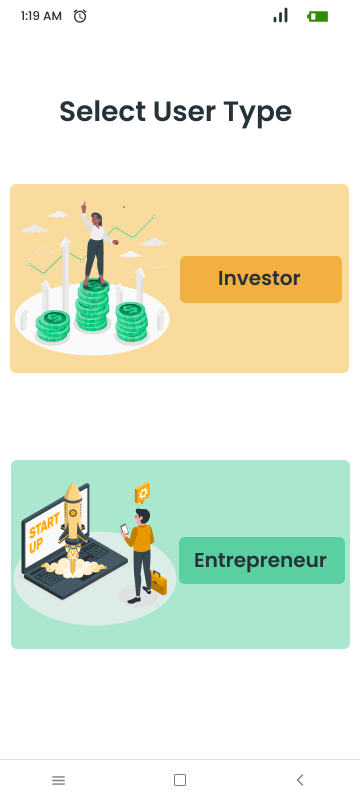
Being engineers it is our sole responsibility to find a solution which helps in the development of the society. Similarly while we were thinking of what we could do in order to help India improve its economy we came across the concept of local businesses not getting the accurate amount of funding hence leading to less revenue generation and loss. Keeping this problem in mind, we plan to create a platform which brings forward and connects all the investors and the local businesses across India focusing to provide "Development through investment".
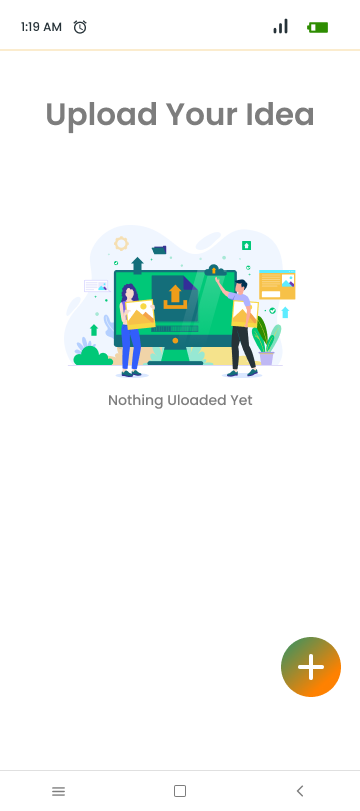
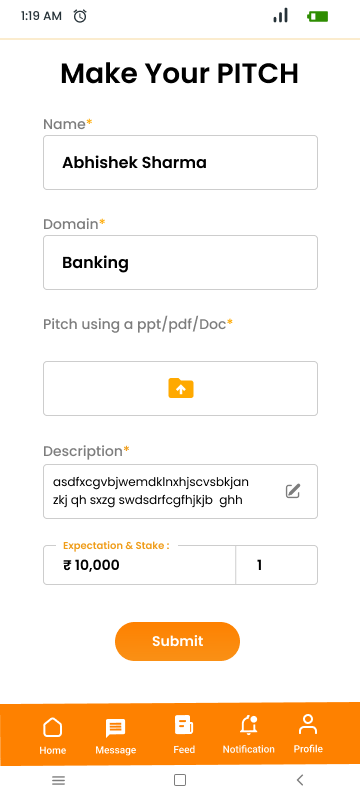
What it does
1- Helps local businesses , startups , business requiring funds by connecting them to potential investors 2- Helps India boost it's economy by reducing the number of shadow business 3- Mentors and financial advisors to help and guide the users and ease the method of traversing through the app model and gain investments
How we built it
Set Up Your Development Environment:
- Install Android Studio: Android Studio is the official integrated development environment (IDE) for Android app development. You can download it from the official Android website.
Create a New Project:
- Open Android Studio and create a new Android project.
- Choose a project template (e.g., Empty Activity, Basic Activity) that best suits your app's requirements.
Design the User Interface:
- Use the XML layout files to design the app's user interface. You can use the drag-and-drop interface in Android Studio's Layout Editor or write XML code manually.
- Create the various UI components, such as buttons, text views, and input fields.
Write Java Code:
- Implement the app's functionality using Java. This may include activities, fragments, and other components.
- Set up event listeners for user interactions (e.g., button clicks).
Implement Features:
- Define the features and functionalities of your "Unnatify" app. For example, if "Unnatify" is a task management app, you'll need to implement features like adding tasks, editing tasks, and marking tasks as complete.
Handle Data:
- Decide how you'll store and manage data. You can use SQLite databases, SharedPreferences, or other storage options depending on your app's needs.
- Implement data retrieval, storage, and manipulation operations.
Testing:
- Test your app thoroughly on different Android devices and screen sizes to ensure it works correctly.
- Use the Android Emulator or physical devices for testing.
- Address and fix any bugs or issues that you encounter during testing.
Publish Your App:
- Once your app is ready and tested, you can publish it to the Google Play Store. You'll need to create a developer account, prepare app assets, and follow Google's guidelines for app submission.
Challenges we ran into
1-Platform Fragmentation: Android devices come in various screen sizes, resolutions, and hardware capabilities. Ensuring your app works correctly and looks good on all of them can be challenging.
2-Data Storage and Retrieval: Implementing efficient data storage and retrieval mechanisms, especially if your app deals with a lot of data, can be complex.
What's next for Unnatify
1-Implenting Software as a Service Model (SaaS) 2- Involving venture capitalists , incubation centers for better funding and pool guidance 3- add a speech to text converter , allowing the local residents to communicate with the mentors and financial advisors with ease 4- making the app multilingual (English / Hindi)
Built With
- android-studio
- figma
- firebase
- java
- material
- okhttp3
- picaso
- retrofit
- xml

Log in or sign up for Devpost to join the conversation.