-
-
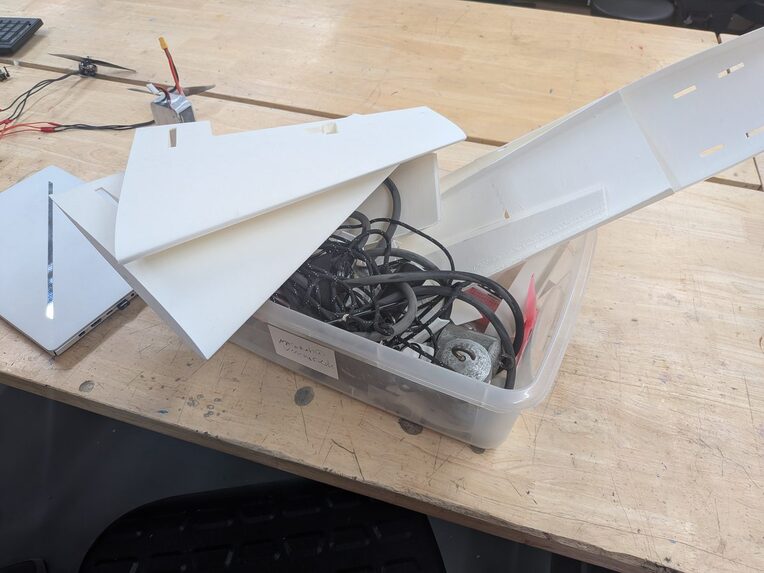
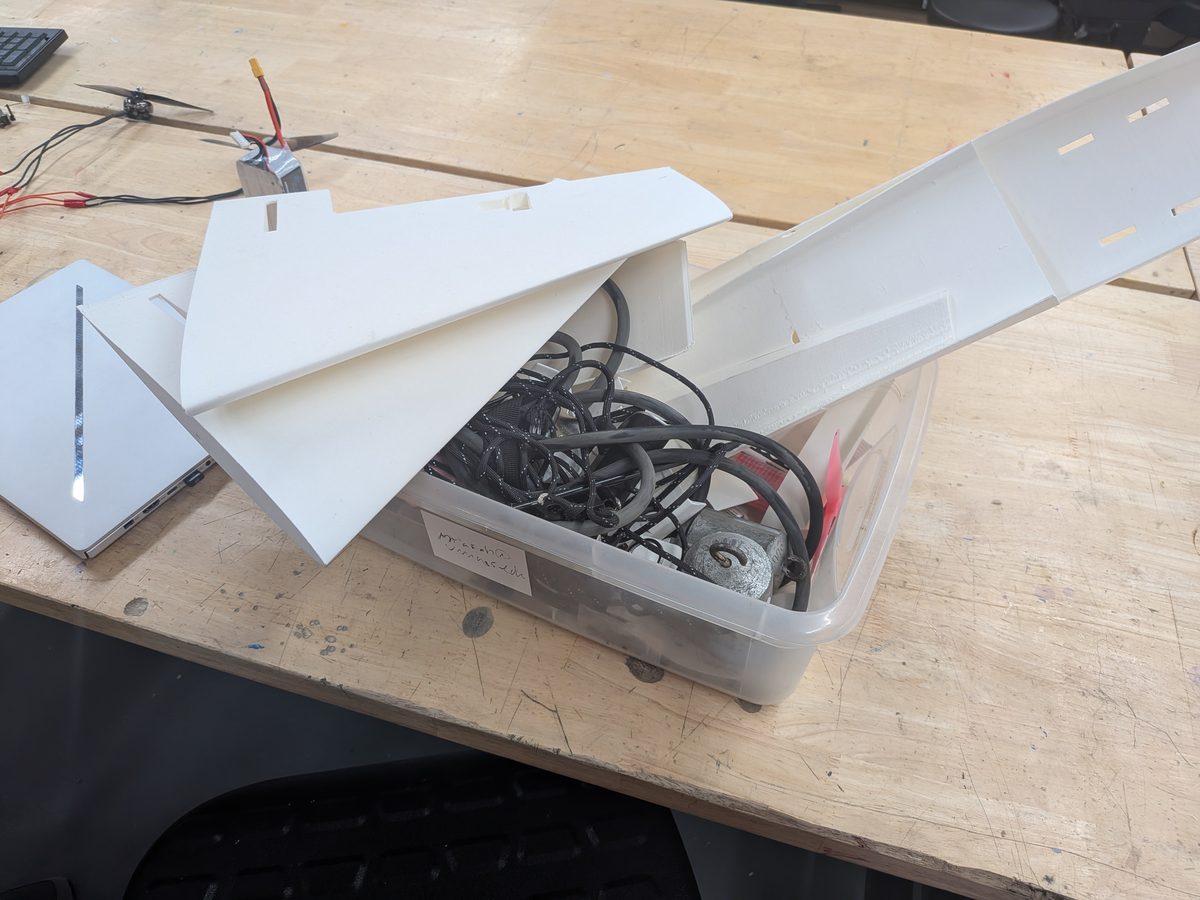
Stage 1: Got the prints! (Also was training AI overnight)
-
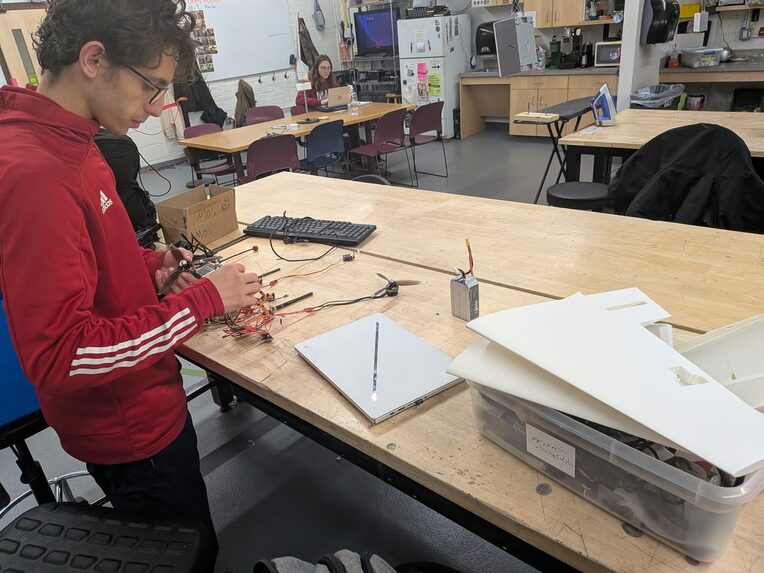
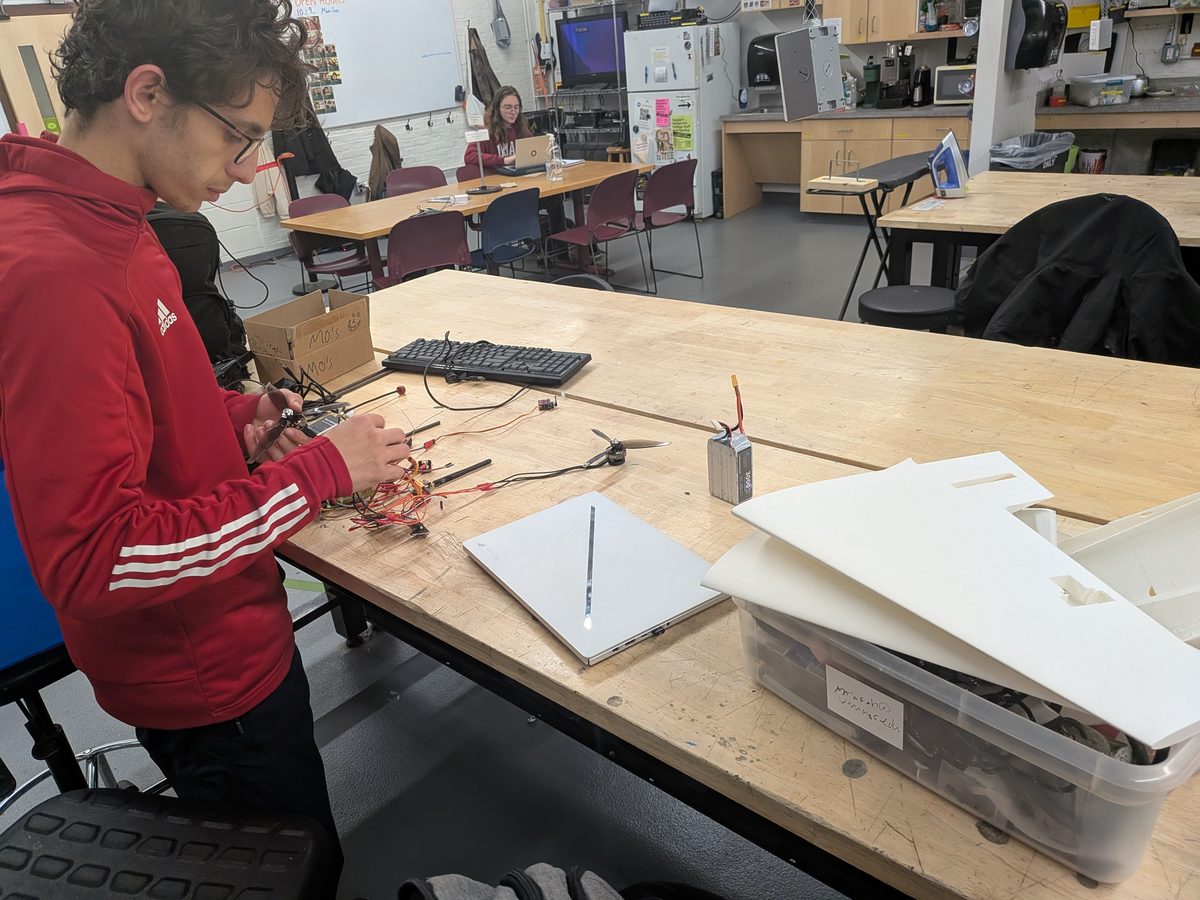
Stage 1.5: Wiring... (Still training AI)
-
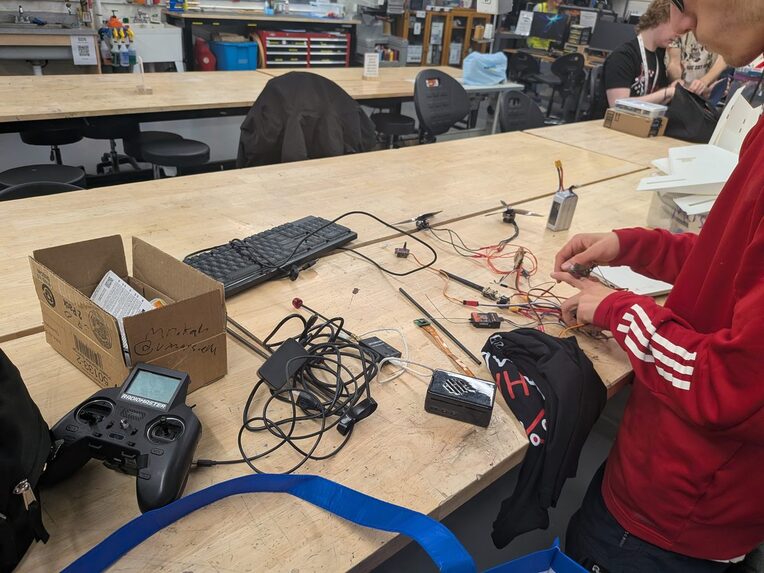
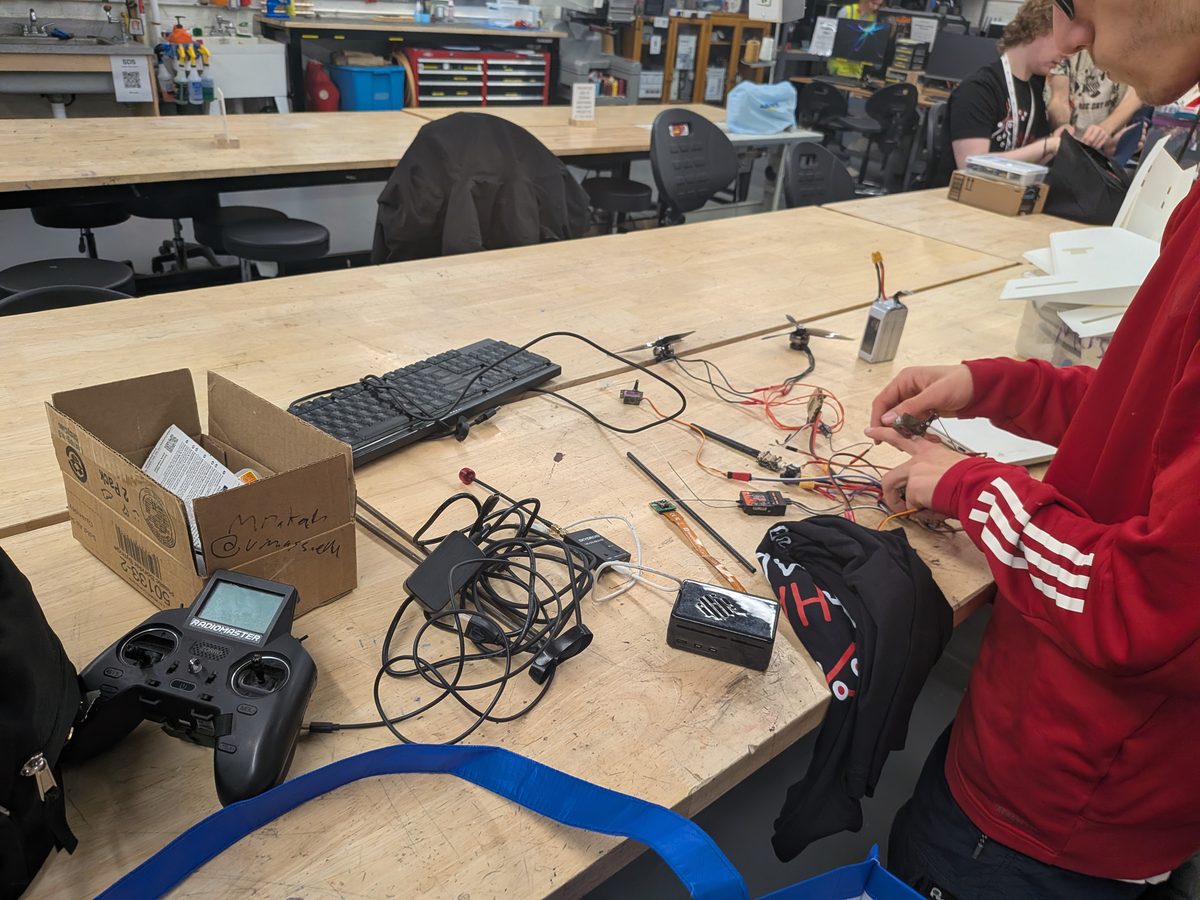
Stage 2: STILL wiring... (And STILL training AI)
-
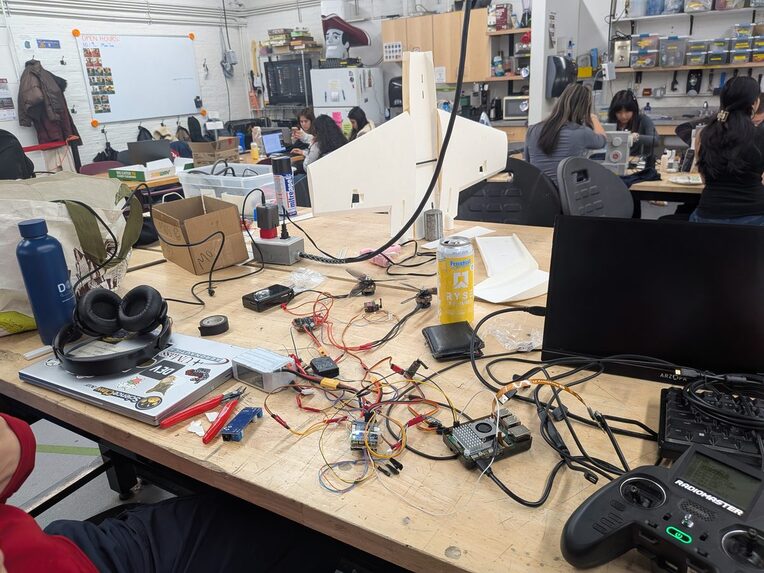
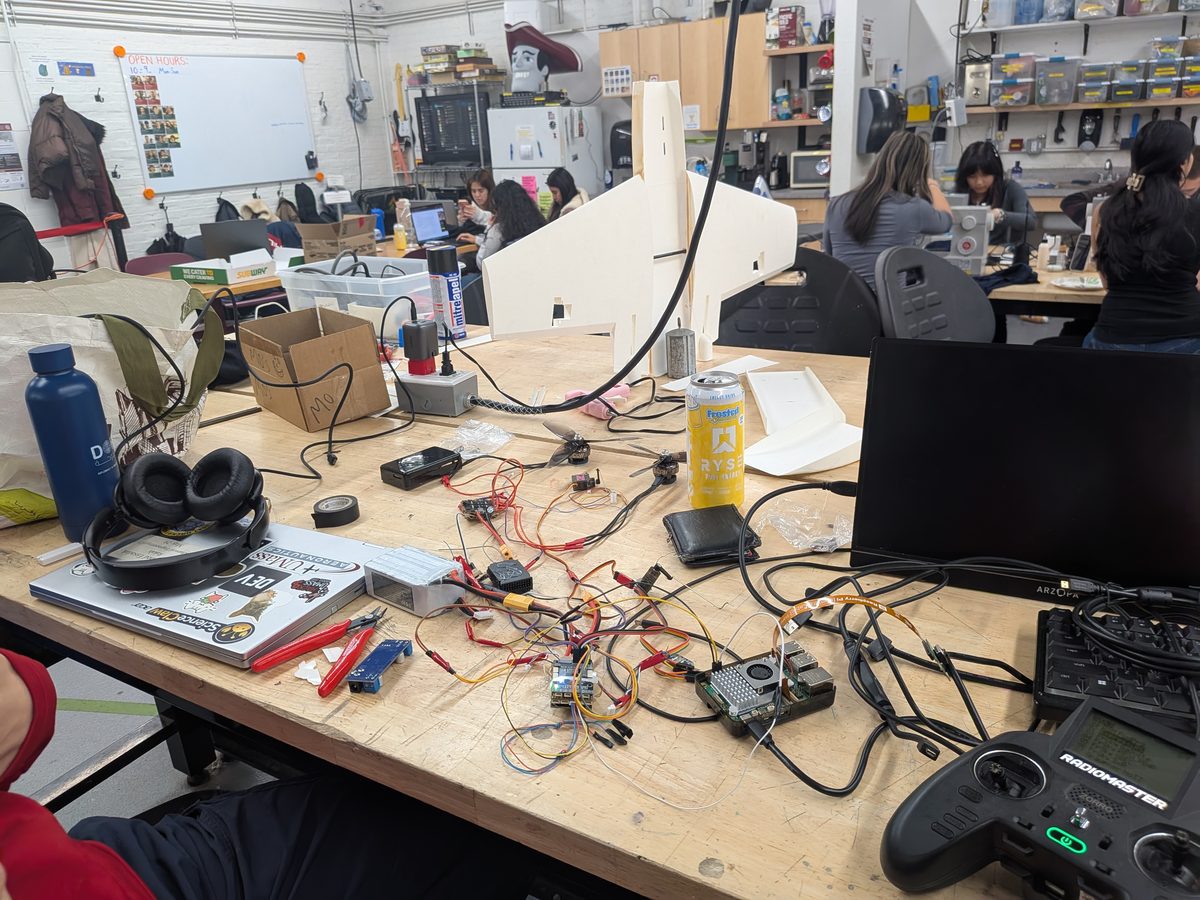
Stage 3: Epoxied everything together to dry! Set up and beginning to mess with RP5! Trying to hook it to a monitor and failing...
-
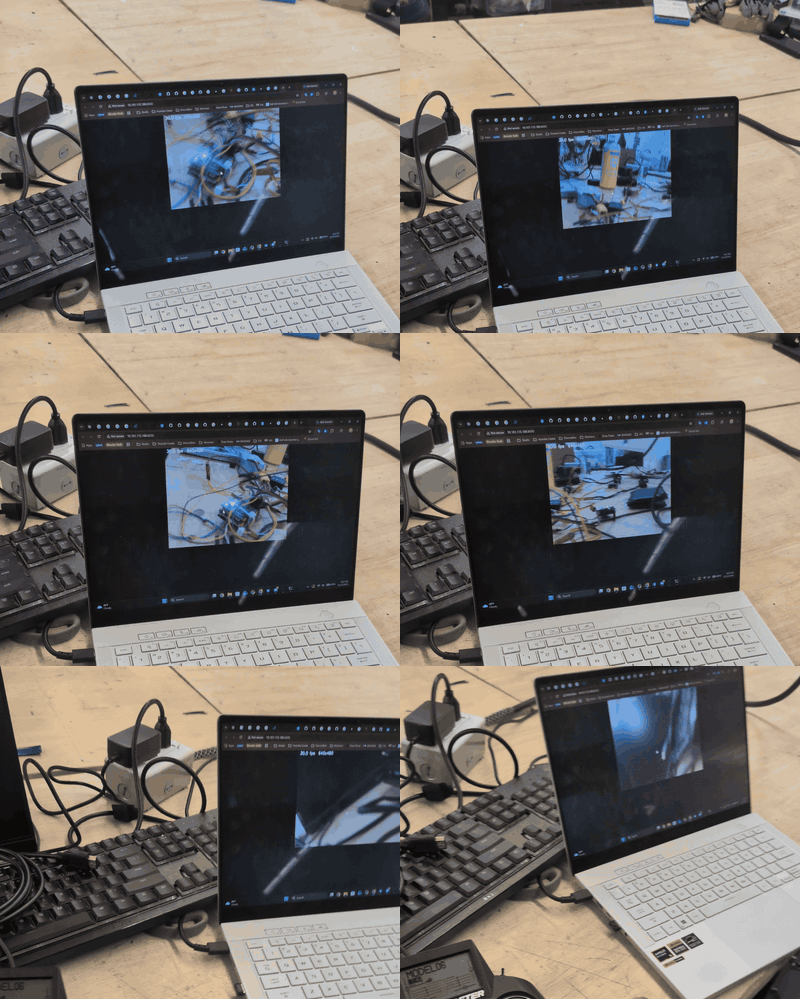
 GIF
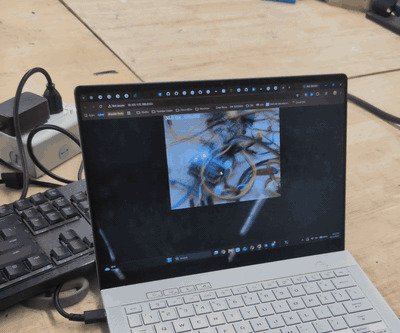
Stage 4: Got the RP5 camera working and transmitting to laptop through SSH! (No cable!) (That cable connected to my laptop is my charger)
-
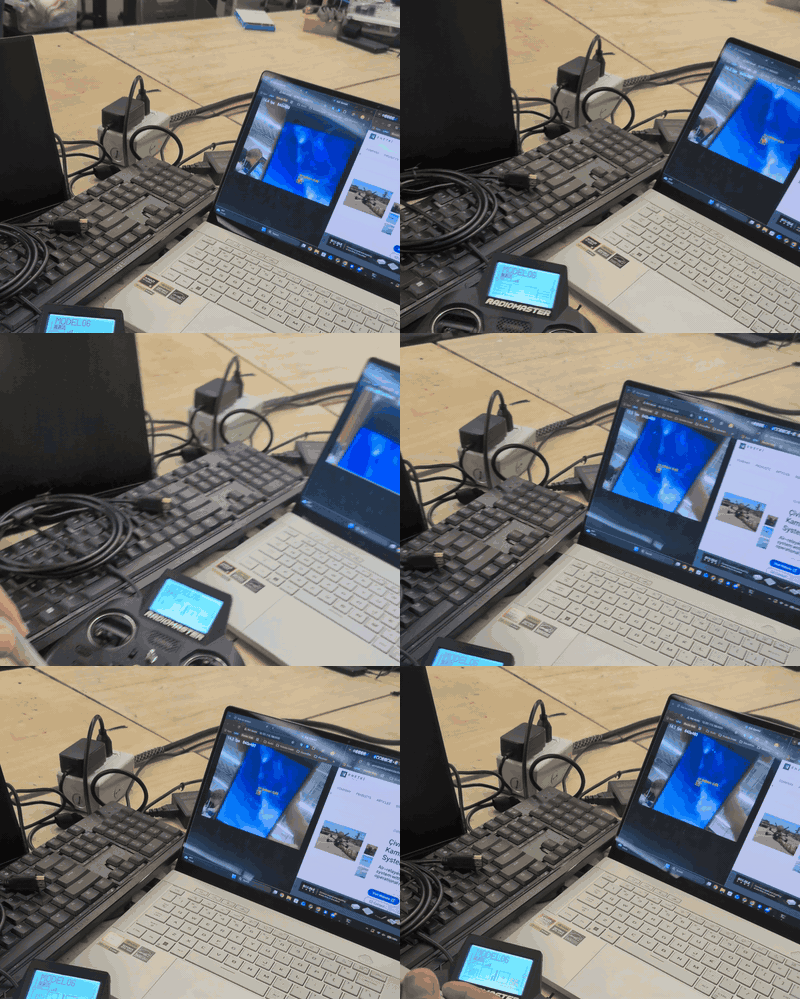
 GIF
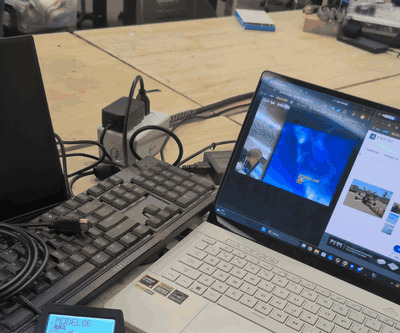
Stage 5: Got it to box in potential objects to lock in on!
-
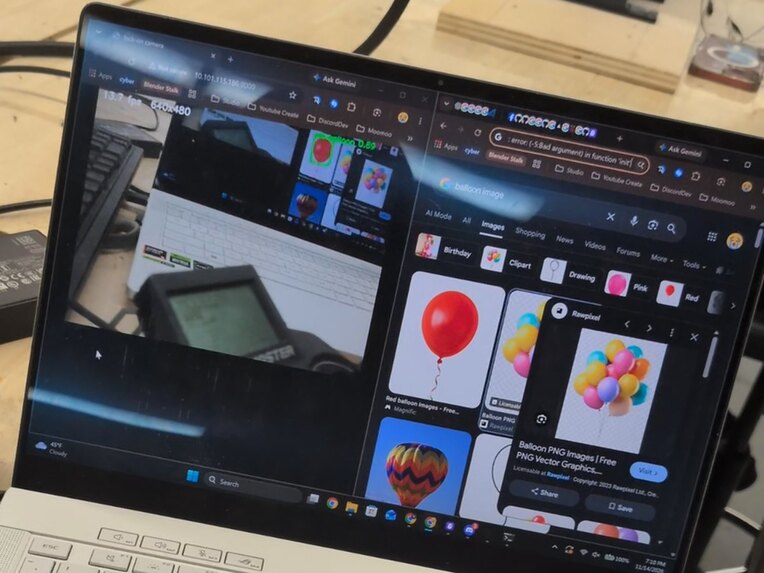
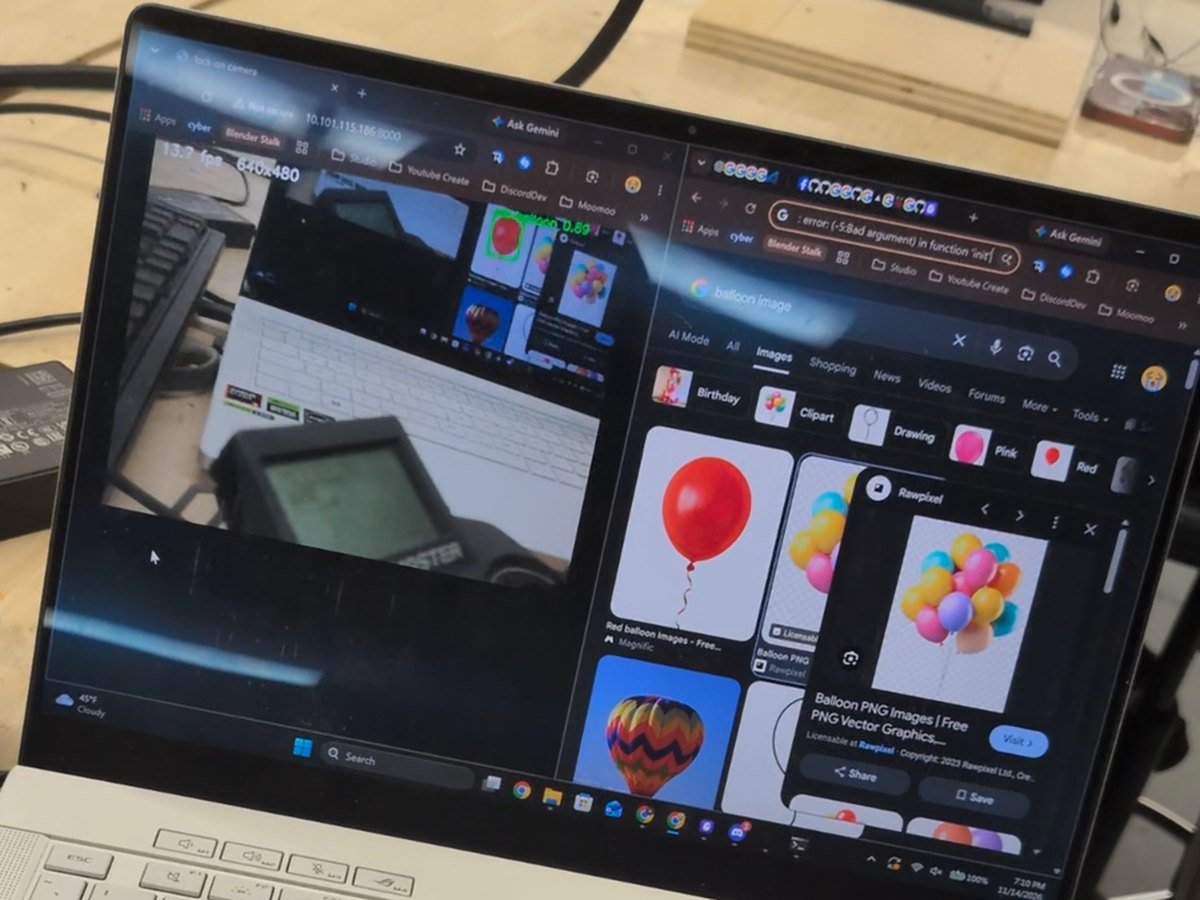
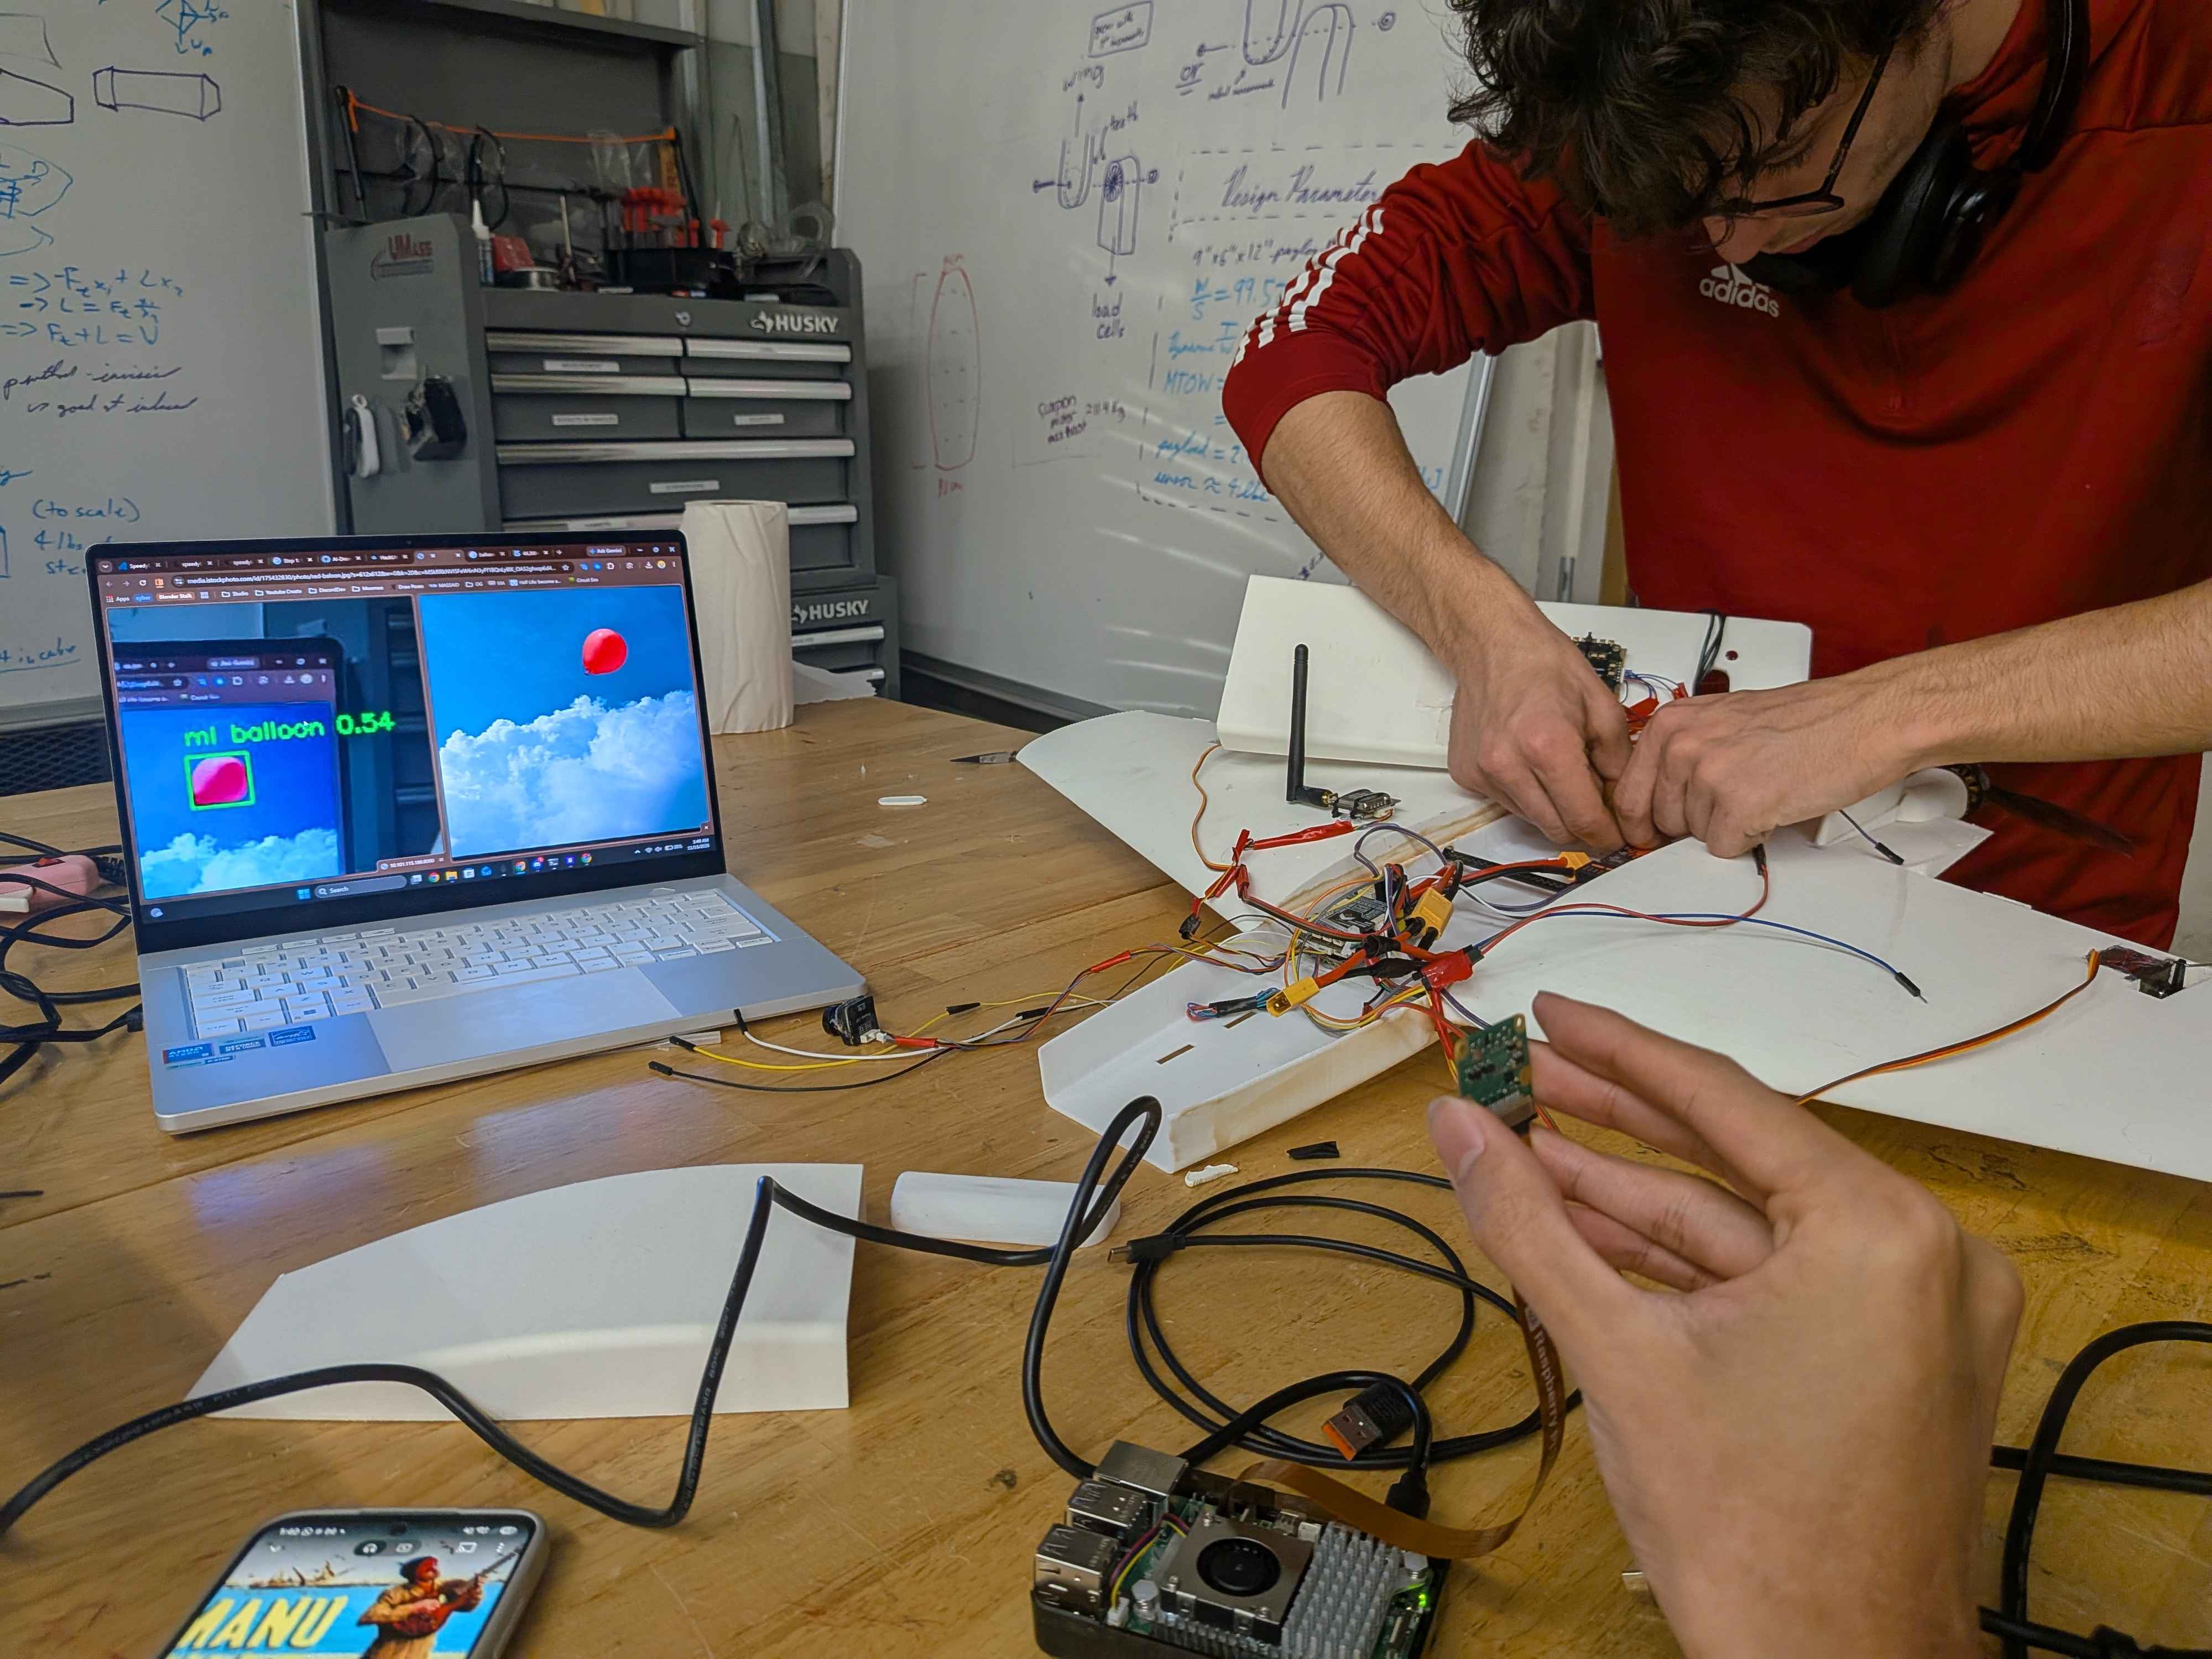
Static image of RP5 detecting a red balloon on the screen!
-
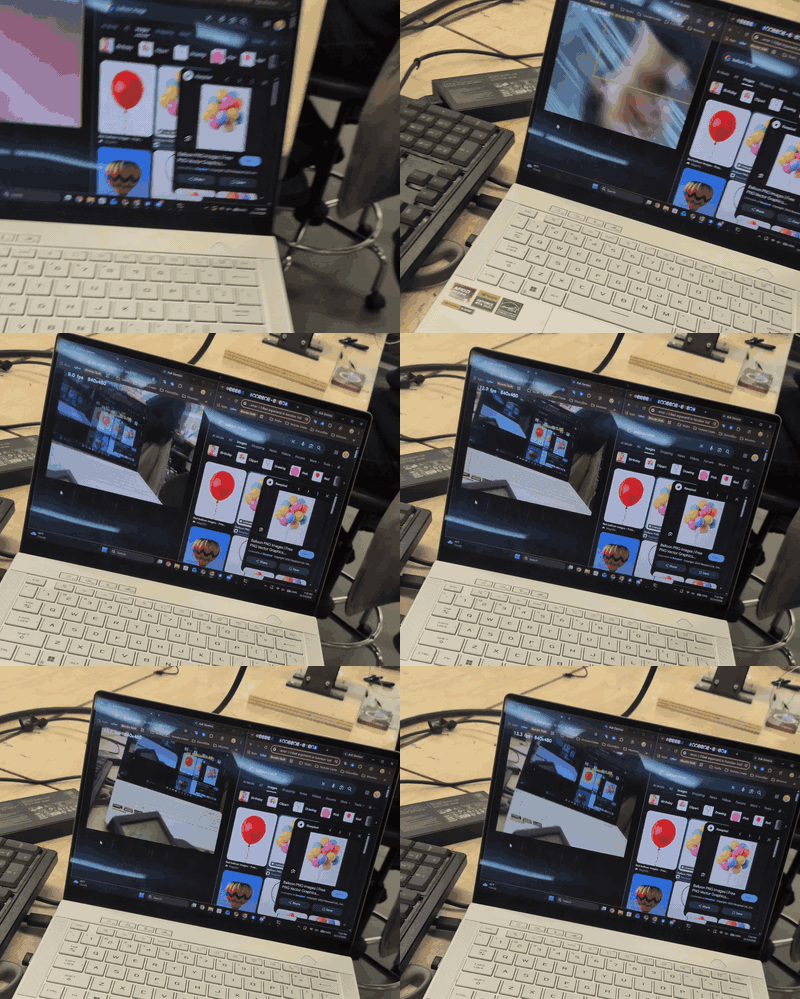
 GIF
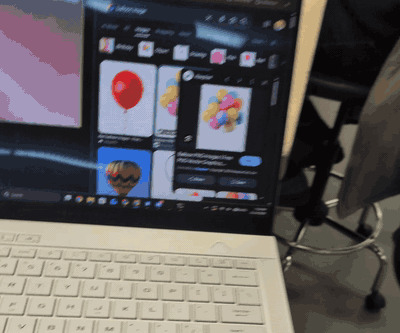
Lock-in box jumping between the different balloon candidates on the screen!
-
 GIF
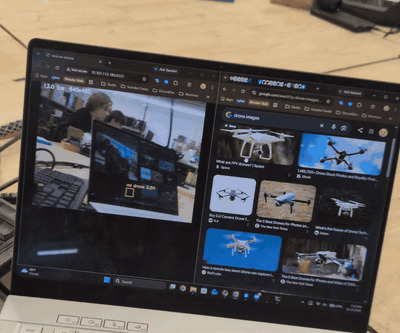
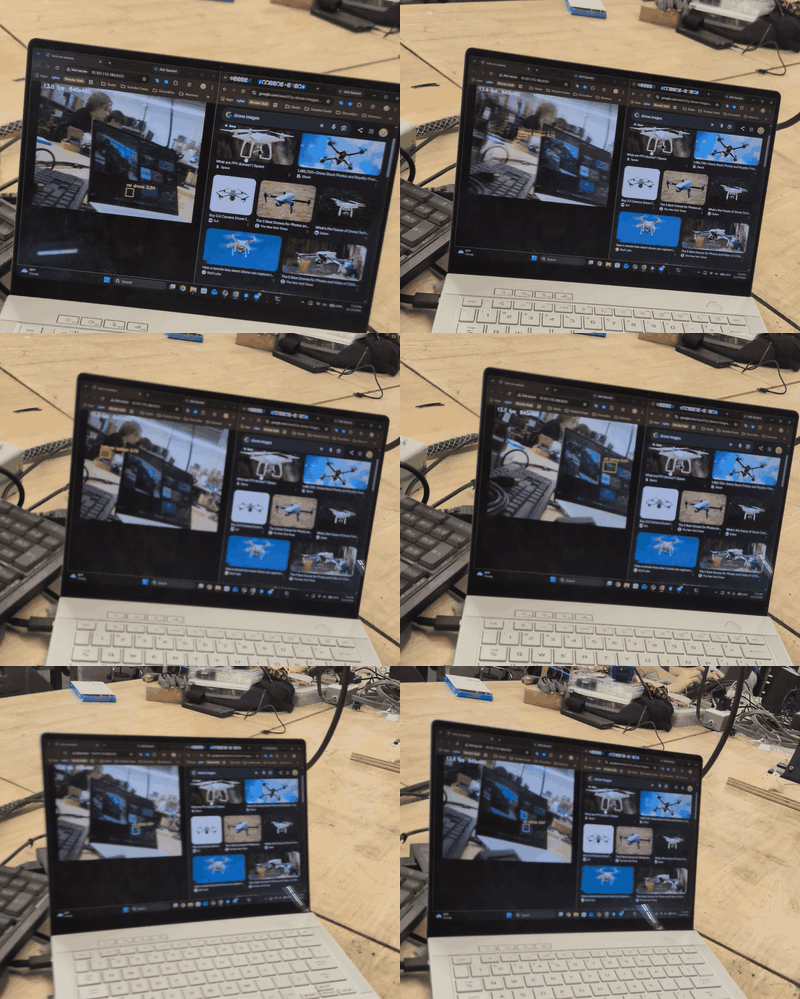
Practical use demo of ML detecting drones
-
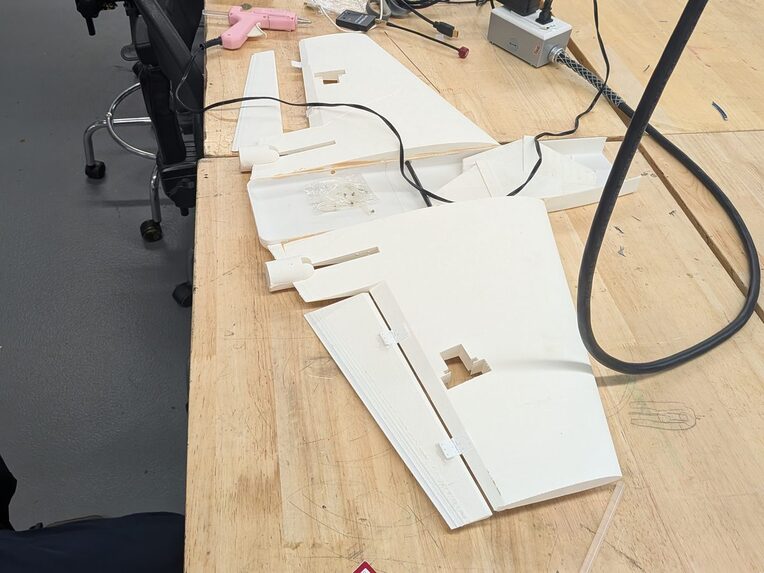
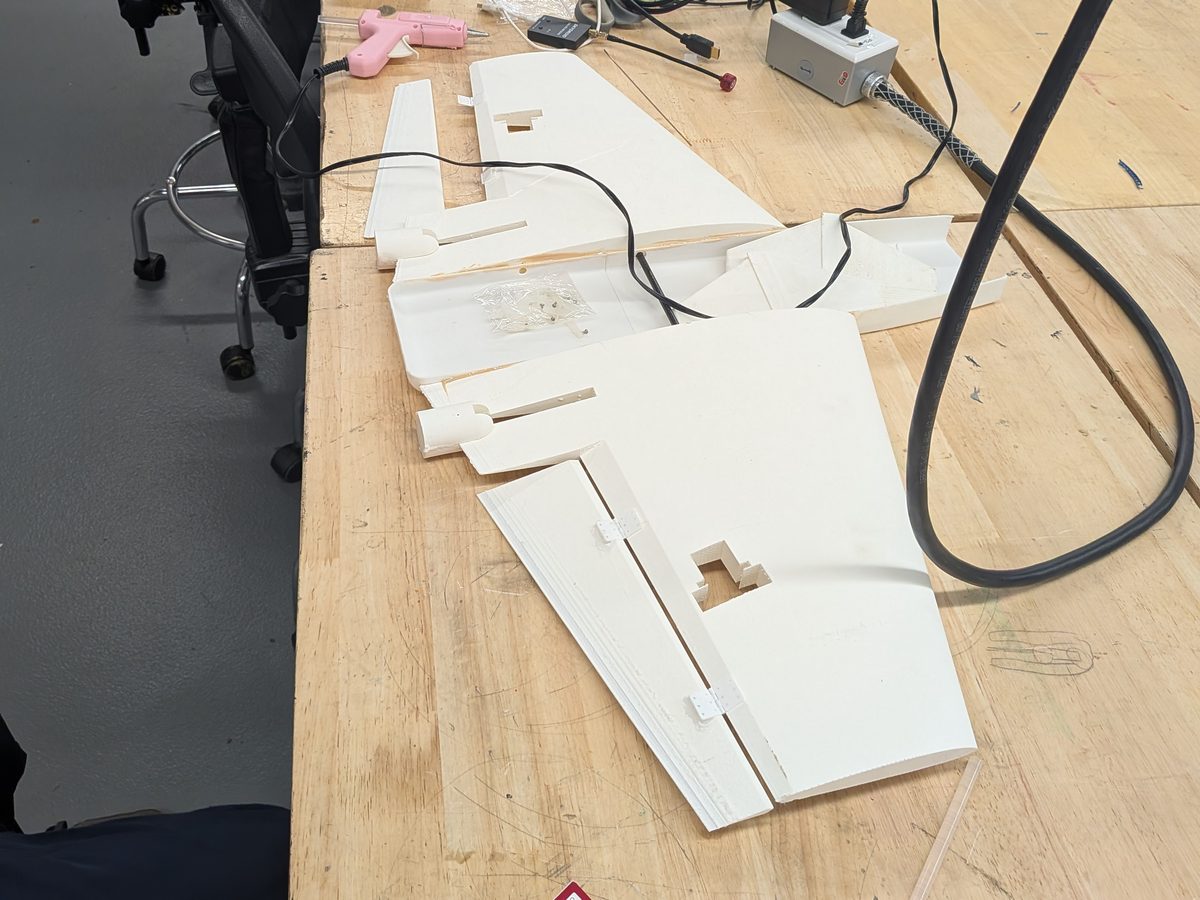
Stage 6: Epoxy dried! Putting the print together... luckily found nice hinges lying around in the makerspace.
-
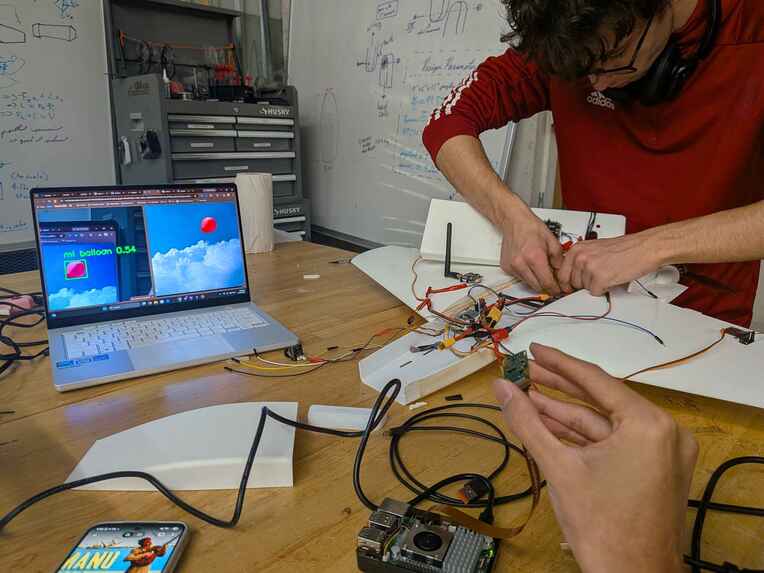
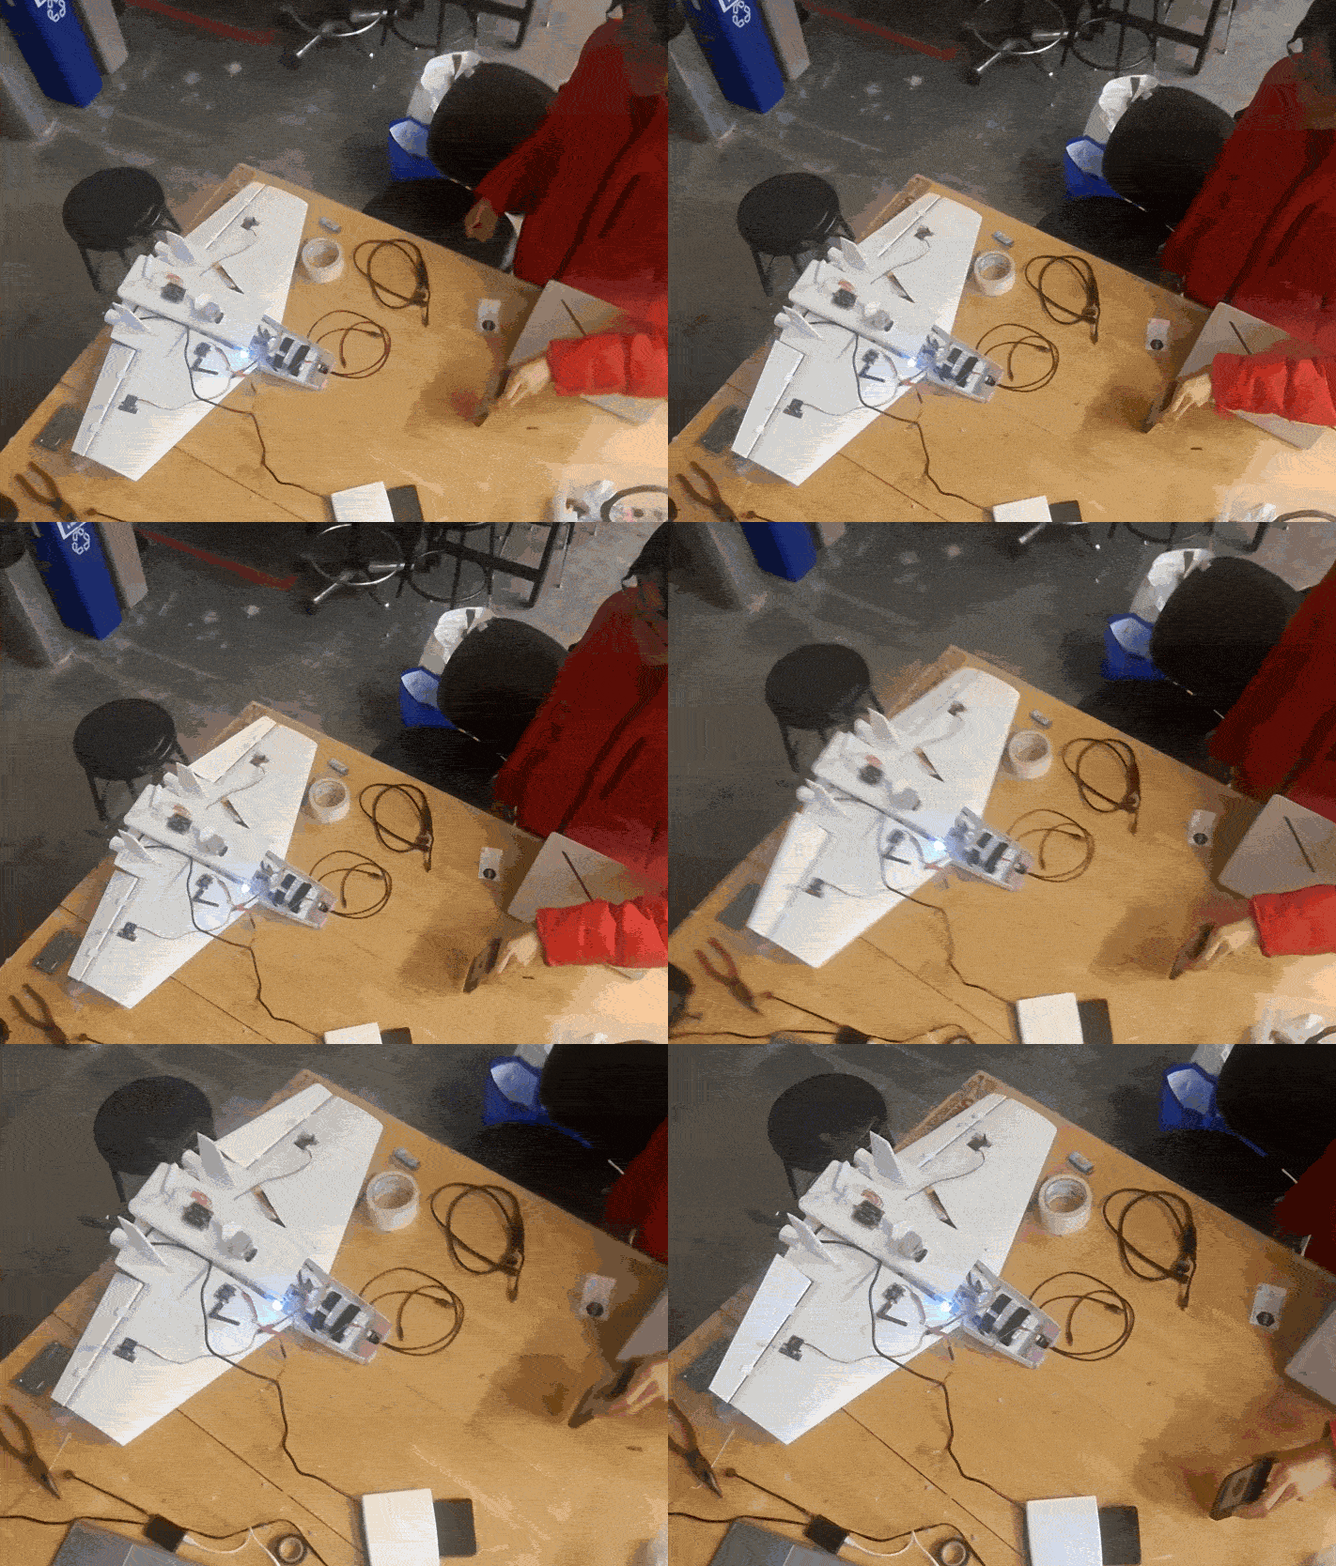
Stage 7: Stuffing all the electronics in! Got a peak image of everything at once (thumbnail potential?)
-
 GIF
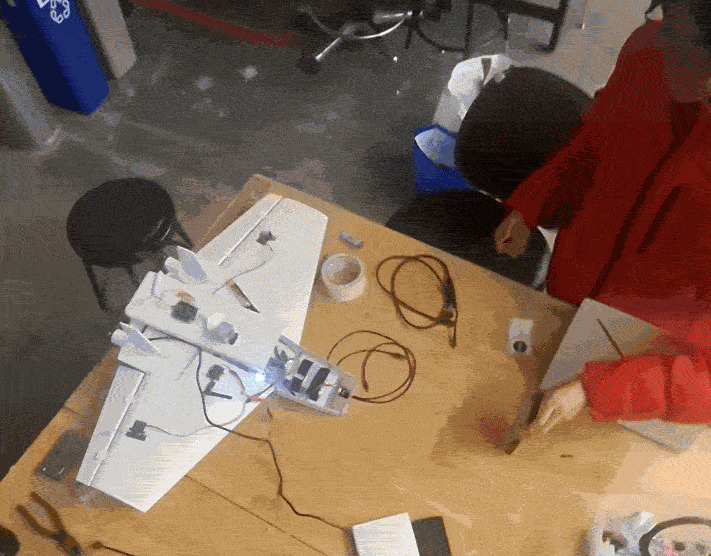
Stage 8: Final product before demo video! The phone has a image of a balloon and the UAV reacts to predict its trajectory pop it!
💡 Inspiration
Eagles hunting "Birds"
Police in the Netherlands once trained eagles to snatch drones out of the air. We wanted to build our own eagle: a small plane that hunts down flying targets by itself.
The drone war in Ukraine showed how much damage cheap drones can do, and how expensive it is to shoot them down. Interceptor missiles often cost far more than the drones they hit. We wanted to see how far a cheap plane, a Raspberry Pi and a camera could go toward intercepting a flying target on their own.
We also grew up on Bloons Tower Defense 6, where the whole game is popping balloons. We had no real drones to test against, so we made balloons the main target. The detector still recognizes drones, so the same pipeline can go after them.
✈️ What it does
UAV Balloon Popper hunts down stray balloons. We added a Raspberry Pi 5 and a Camera Module 3 to a flying wing running INAV on a SpeedyBee F405 Wing flight controller. When the pilot flips the lock-on switch on the RadioMaster Zorro, the Pi:
- Sees the balloon or drone with a YOLO11n model running on the Pi.
- Aims by turning the detection into a line-of-sight angle, with the plane's own roll and pitch removed.
- Leads the target with proportional navigation, the guidance law that interceptor missiles use.
- Steers by sending bank and pitch targets to the flight controller, while a 15 ft altitude floor keeps the plane out of the ground.
When the switch flips back, control returns to the pilot in under 100 ms. If the Pi crashes, control returns in about half a second. The radio beeps while a target is locked.
🔧 How we built it
We built it in four steps:
- Design. We designed the body in Onshape.
- Print. We printed it in the makerspace in PLA Aero, a lightweight foaming PLA made for RC aircraft.
- Electronics. We soldered the electronics and wired the flight controller to the radio receiver and the Pi.
- Guidance. We built the guidance system on the Raspberry Pi, with help from Claude Opus 5.5.
Airframe and radio (Mohamed). Mohamed built the whole plane during the hackathon: the CAD, the printing, the epoxy work, the wiring, and linking the flight controller to the transmitter.
Vision, guidance and the Pi link (Henry). Henry trained the balloon and drone detector, wrote the homing guidance, and connected the Pi 5 to the flight controller so it could take control through scripts.
Detection. We fine-tuned YOLO11n on about 20,000 drone images and a filtered set of balloon images. Then we exported it to NCNN so it runs at around 13 fps at 640x480 on the Pi. A color and motion detector covers frames the model misses, and a tracker fills the gaps between detections.
Guidance. A camera on a banking plane sees the target swing around even when the target isn't moving. So we read the plane's attitude from INAV and extrapolate it with the gyro to the moment the frame was exposed. Adding the plane's heading to the target's angle in the image gives a line-of-sight angle (λ) that only changes when the target actually moves relative to the plane. Proportional navigation then turns the rate of change of that angle into a turn rate (ω):
$$ \omega = \frac{\psi_{err}}{\tau} + N \dot{\lambda}, \qquad N = 3 $$
Here ψ (psi) is the heading error to the target and τ (tau) is a 1 s time constant. A coordinated turn at airspeed V needs this bank angle (φ):
$$ \phi = \arctan\left(\frac{V \omega}{g}\right) $$
For pitch, the Pi aims the nose at the target's elevation plus the wing's angle of attack, because INAV holds the nose angle, not the flight path.
Steering through INAV. The Pi writes its targets into INAV's RAM over MSP, the flight controller's serial protocol. A chain of 14 INAV logic conditions applies those targets only while the lock-on switch is up, the Pi's heartbeat is fresh, and a target is locked.
Testing. Every software module runs against fake hardware, with 175 passing tests. A closed-loop simulator flies the plane, camera and latency together. In it, the median miss distance on a balloon is 0.5 to 1.1 m at speeds from 15 to 45 m/s with 150 ms of latency.
🧱 Challenges we ran into
- We fried our buck converter. The 6S battery puts out roughly 25 V, and we burned out the buck converter that steps it down for the electronics. We plugged in the battery without measuring the converter's output first.
- The flight controller wasn't running what we thought. We designed around Betaflight's MSP RC override, then found out on the bench that the board runs INAV 6.1.1, which has no such feature. We rebuilt the control path around INAV's logic conditions. INAV only runs them at 10 Hz and in whole degrees, so the guidance had to be designed around that.
- The Raspberry Pi 5 wouldn't cooperate. It was our first time using a Pi 5. It wouldn't drive a monitor and kept crashing, so we ran it headless over SSH with nothing but bash. Connecting a Linux box to UMass's eduroam is a nightmare, so the Pi ran on a phone hotspot. This ended up faster than a desktop: no more unplugging and replugging the Pi between tests.
- Our first balloon dataset was wrong for the job. Generic balloon photos are mostly party balloons indoors, and the set was full of hot-air balloons. The model learned to find balloons at birthday parties, not balloons against the sky. We filtered out hot-air balloons, retrained with sky in mind, and tested on real sky photos.
🏆 Accomplishments that we're proud of
High accuracy in the detection system:
| Test | Result |
|---|---|
| 🛸 Drone detection (held-out test set) | 96.6% mAP50, 97.8% precision |
| 🎈 Balloons against open sky | 43 / 43 found, 0 false alarms |
| 🔁 Pi vs. laptop model | 392 / 392 detections matched |
Every bench test passed. In the stationary demo, the elevons respond to where the balloon is in the camera's view, banking and pitching the plane toward it.
📚 What we learned
- Use the multimeter before you plug in the battery. Checking voltages first takes a minute. Not checking cost us a buck converter.
- SSH and Linux are worth it. Henry had been learning bash and Linux recently, and this was the first chance to use it for real. Working over SSH turned out faster and less fragile than plugging in a monitor and keyboard.
- A dataset has to match the job. Generic "balloon" pictures don't cover a balloon floating against open sky. Before training, think about what the camera will actually see.
- Read the firmware before designing around it. One
versioncommand at the start would have saved us a redesign. - Controlling a plane from a camera is mostly about frames of reference. The detector was the easy part. The hard part was removing the plane's own motion so the guidance only reacts to the target.
🚀 What's next for UAV Balloon Popper
Test flight, and popping some balloons! 🎈💥
Built With
- ca-glue
- determination
- dfm
- epoxy
- flight-controller
- inav
- lua
- machine-learning
- onshape
- pla
- pla-aero
- python
- raspberry-pi
- self-trained-ai
- soldering


