-
-
Your portable key to productivity!
-
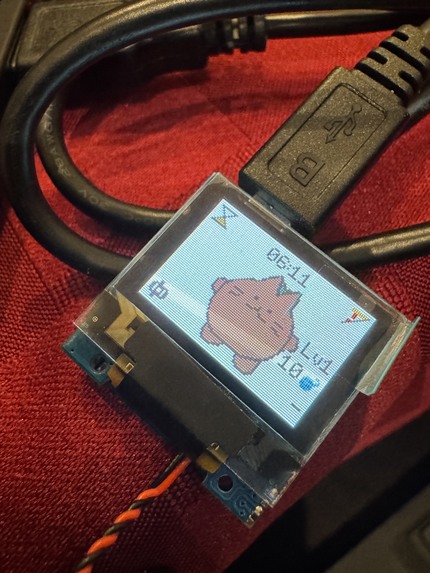
Tomatchi in action
Inspiration
Traditional phone-based productivity apps can lead to checking notifications and doomscrolling, so we wanted to move the timer completely off the phone. We also thought users would be more motivated to work if we gamified the productivity loop. The Pomodoro technique famously started with a tomato-shaped kitchen timer, so we're bringing that tactile device back to the desk with Tomatchi.
What it does
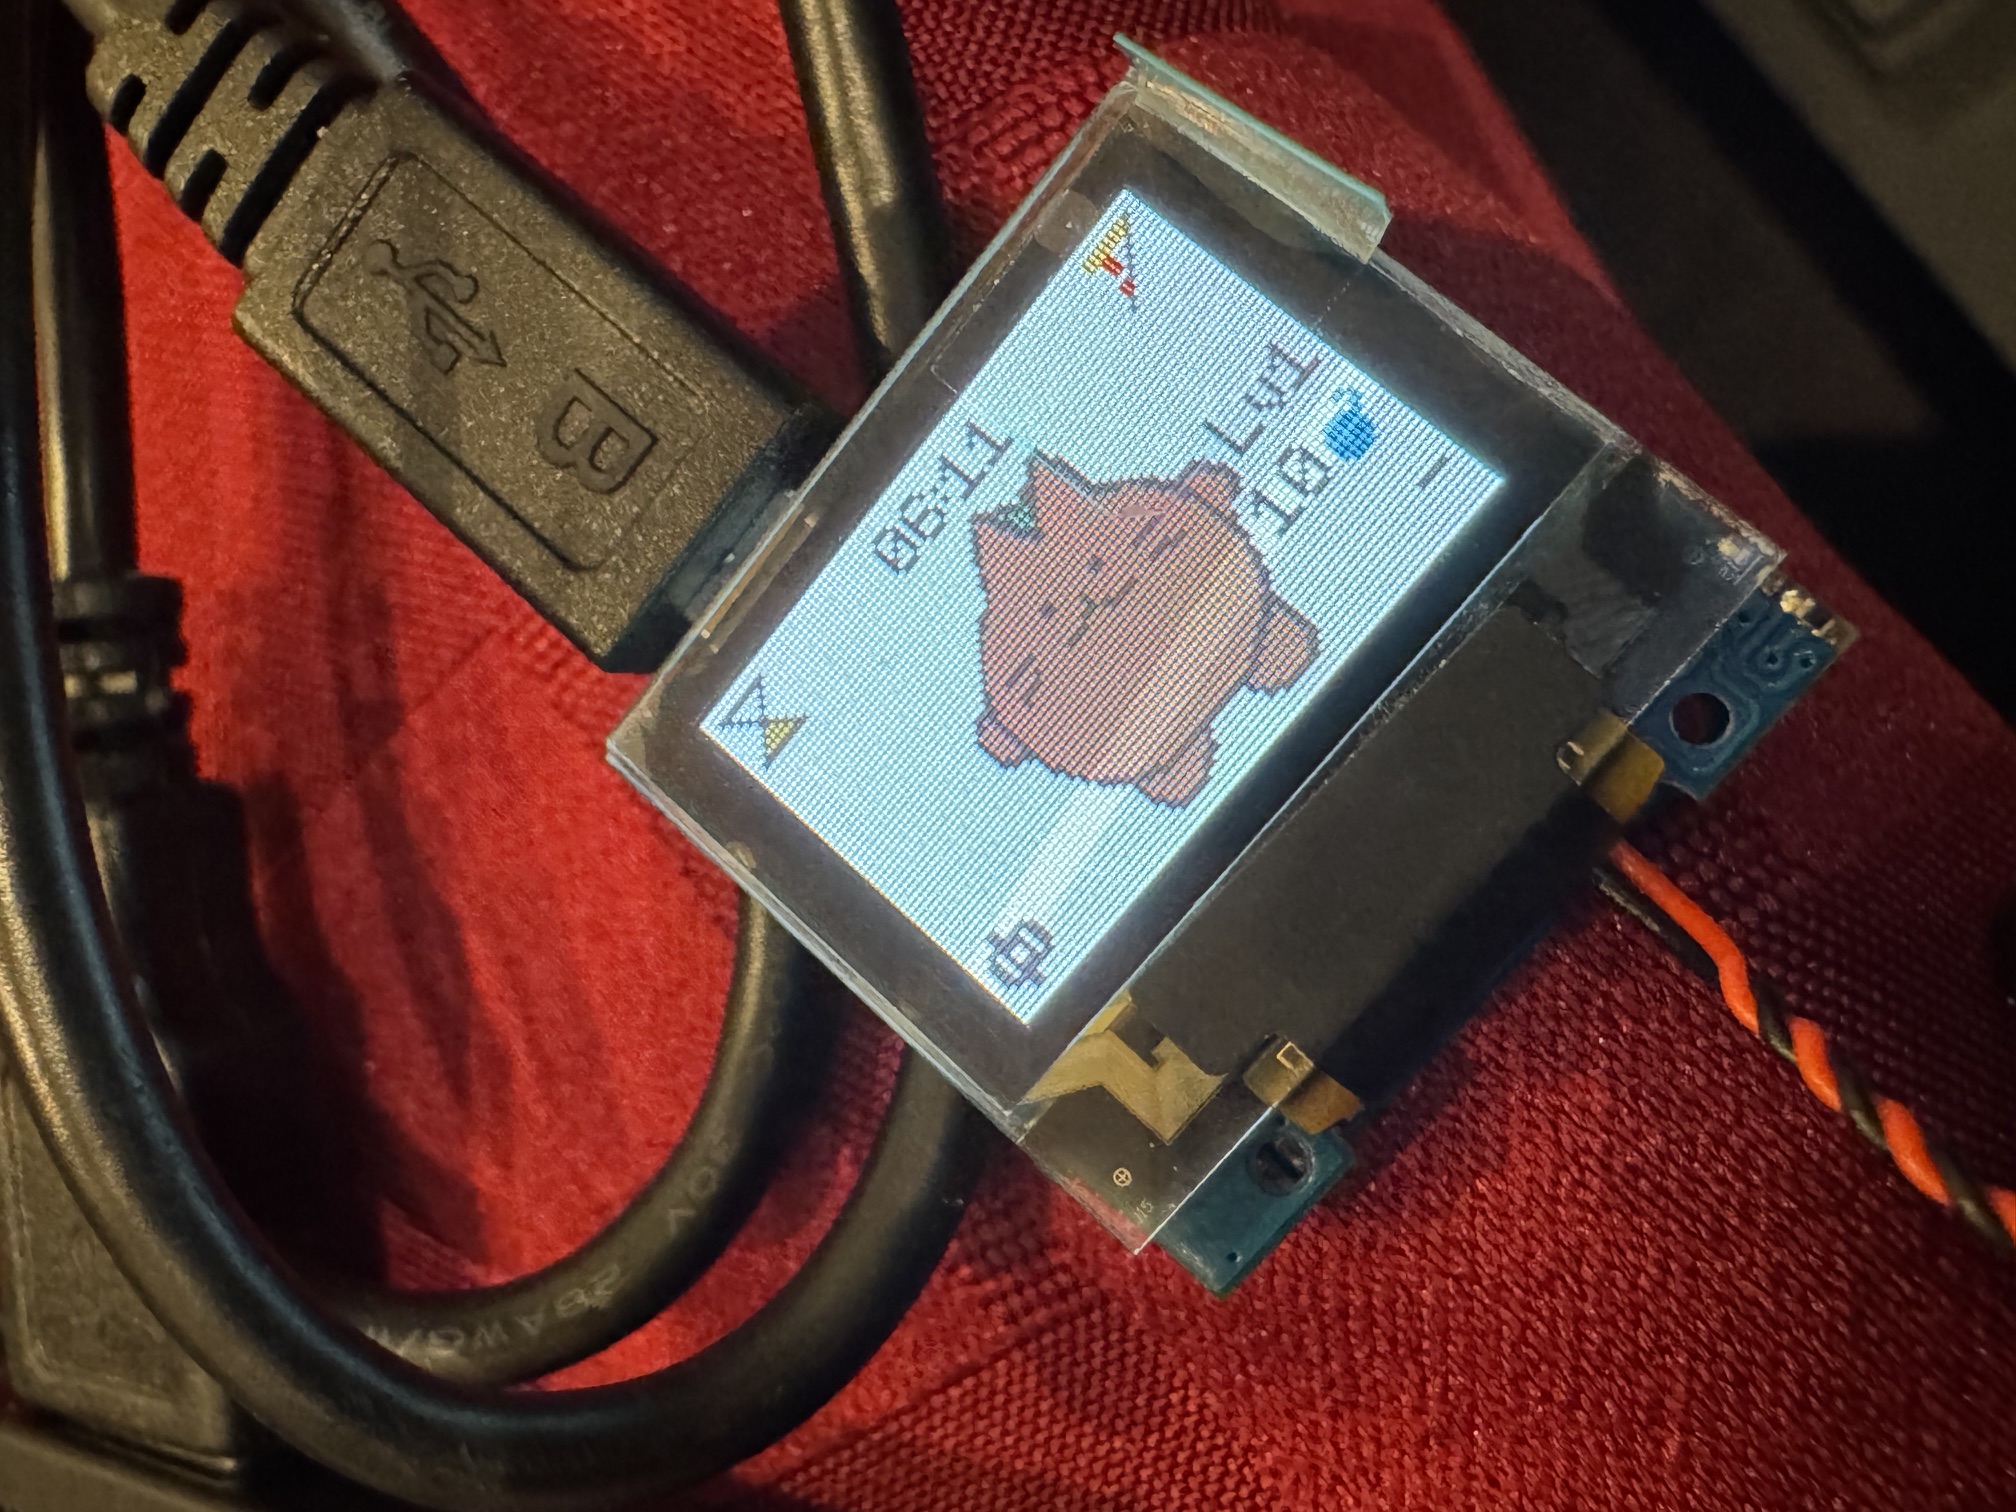
Tomatchi is a digital pet, desk clock, and Pomodoro timer, all in one tiny screen. It monitors your keyboard and camera activity with CV during focus sessions to give you bonuses when you're extra productive, or look sad when you're distracted. Completing work sessions rewards you with you yarn to buy jollof rice and coffee for Tomatchi, while breaking focus or missing timers makes it upset. You can:
- Start timers with automatically calculated breaks to earn yarn and XP
- Feed Tomatchi different foods by spending yarn
- Manage Tomatchi's various moods
- Pet Tomatchi when it's feeling down
- Track laptop camera, keyboard activity, or both to earn extra yarn
- By being productive, level up Tomatchi for rewards
How we built it
- We start at the TinyCircuits TinyScreen+. When the user presses a button, it travels through the USB adapter to our app controller, which is the main entrypoint.
- we do this by having a wire codec, encoding jsons into and decoding bytes
- The app controller also receives the system clock/ticks and is the source of truth.
- The app controller sends the command/input to the timer and/or feeding rules, which are configured by a
config.yaml.- These rules then return the proposed event or a rejection/no-op for invalid requests like feed command during a focus screen
- Once it has a new event, it will add the event to sqlite
- We use sqlite because we want a lightweight structured database
- It is append only, so we can apply and find the new game state → we’ll have save points and rebuild from there → think of a WAL (write-ahead log)
- Once the sqlite commits the events, the controller can apply the event to gain a new game state.
- The screen presenter + emotion selector will take in the current runtime state and the new game state to choose what to next render on the screen as well as which animation to cue, which will go back through the usb adapter to the TinyScreen+
Technologies
Laptop:
- CPython 3.14 - application runtime
- uv - dependency + virtual-environment management
- Ruff - formatting + linting
- PyRight - static type checking
- Pyserial - laptop-to-pico usb communication
- Discover serial devices, open serial connection, read buttons, send screens/animation
- Pyyaml - Reading and validating yaml config
- SQLite - local append-only event history and recovery
- Pynput - global keystroke counting without storing keys/text
- OpenCV - Haar-cascade front-face-presence webcam capture
- Python standard library
- json - compact JSON Lines protocol
- unittest - tests
- threading/queue - serial workers and input handling
- dataclasses/typing - typed immutable contracts
- Sqlite3 - database access
TinyCircuits TinyScreen+
- C++/Arduino — firmware runtime
- Arduino CLI 1.5.1 — compiling and flashing firmware
- TinyCircuits SAMD 1.1.0 — TinyScreen+ board support package
- TinyScreen 1.1.0 — built-in 96×64 OLED display and button access
- ArduinoJson 7.4.3 — JSON Lines protocol parsing and validation
- USB CDC (SerialUSB) — communication with the laptop
- Receive screens and animation commands
- Send button presses and heartbeat responses
- TinyScreen+ standard APIs
- millis()/micros() — timing, button debounce and non-blocking animations
- digitalRead() — physical button input
- Generated C/C++ sprite arrays — BGR332 pixel art stored directly in firmware
- TinyScreen+ built-in hardware
- ATSAMD21G18A microcontroller
- 96×64 SSD1331 color OLED
- Four built-in physical buttons
- MicroSD/Audio TinyShield
- DAC on A0 — procedural sounds and embedded PCM playback
- MicroSD support is not currently active because no card is installed
Challenges we ran into
- We originally wanted to use a Raspberry Pi Pico and larger RGB LCD. However, we had issues bringing up the LCD and eventually concluded that it was defective. Therefore, we had to pivot and opted for a TinyCircuits TinyScreen+
- We didn't know how to define our XP system. We decided to go with the video game classic of making early levels easy to progress through, giving users meaningful reinforcement. We then gradually increase the difficulty, preserving long-term progression. We want XP to represent completed focus time and long-term progression, so for bonus tasks we give currency, not XP.
- Defining our currency (yarn) system also brought some difficulties. We decided yarn should be given in small quantities to keep each unit understandable and reduce the visual noise for our small screen. We also decided to allow productivity factors such as characters typed and attention to grant extra yarn, since yarn is consumable and doesn't represent long-term progression.
- We encountered a race condition between a) checking if a keyboard is available and setting the IS_TRUSTED flag and b) checking the IS_TRUSTED flag. This kept insisting that the keyboard was unavailable. This was fixed by a simple listener.wait() function.
Accomplishments that we're proud of
- Sunday 3 AM: got the cute tomato cat animated on the TinyScreen+! Yay!!
- Our kawaii sprites
What we learned
- Bring up your hardware ASAP to make sure it's not defective
What's next for Tomatchi
- Allow yarn to buy more types of food, unlock new tricks/animations, and buy clothing for your Tomatchi


Log in or sign up for Devpost to join the conversation.