-
-
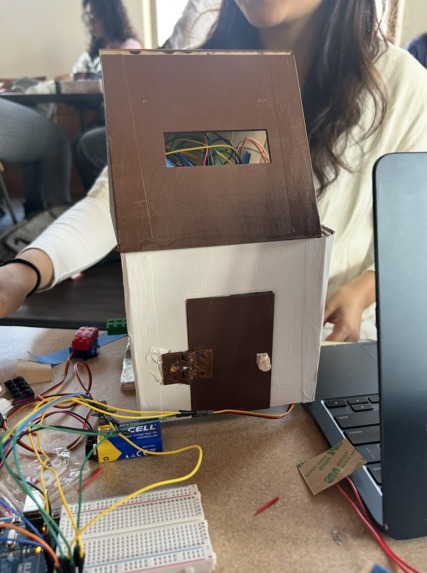
TerraHut Prototype
Inspiration
We wanted to focus on the Environment Category for an extra challenge. Particularly, environmental problems faces a unique difficulty: being understood and reinforced by everyday consumers. As such, sustainability is often overlooked in daily life, resulting in food waste — which is what we wanted to address. With our TeraHut dehydrater, we are converting food waste into an organic composting method that households could easily do for plants around their houses. We are highlighting fruit peels to be used for TeraHut because it concentrates on the nutrients that the fruit peels can give a plant and how it also decomposes faster when it's scattered amongst the plants. This is a highly valuable issue to address for TeraHut as any fruit peels that are thrown away contributes to landfills and increases the release of methane gas, as it's not being put in the soil and it's anaerobically decomposing in a non-organic environment.
What it does
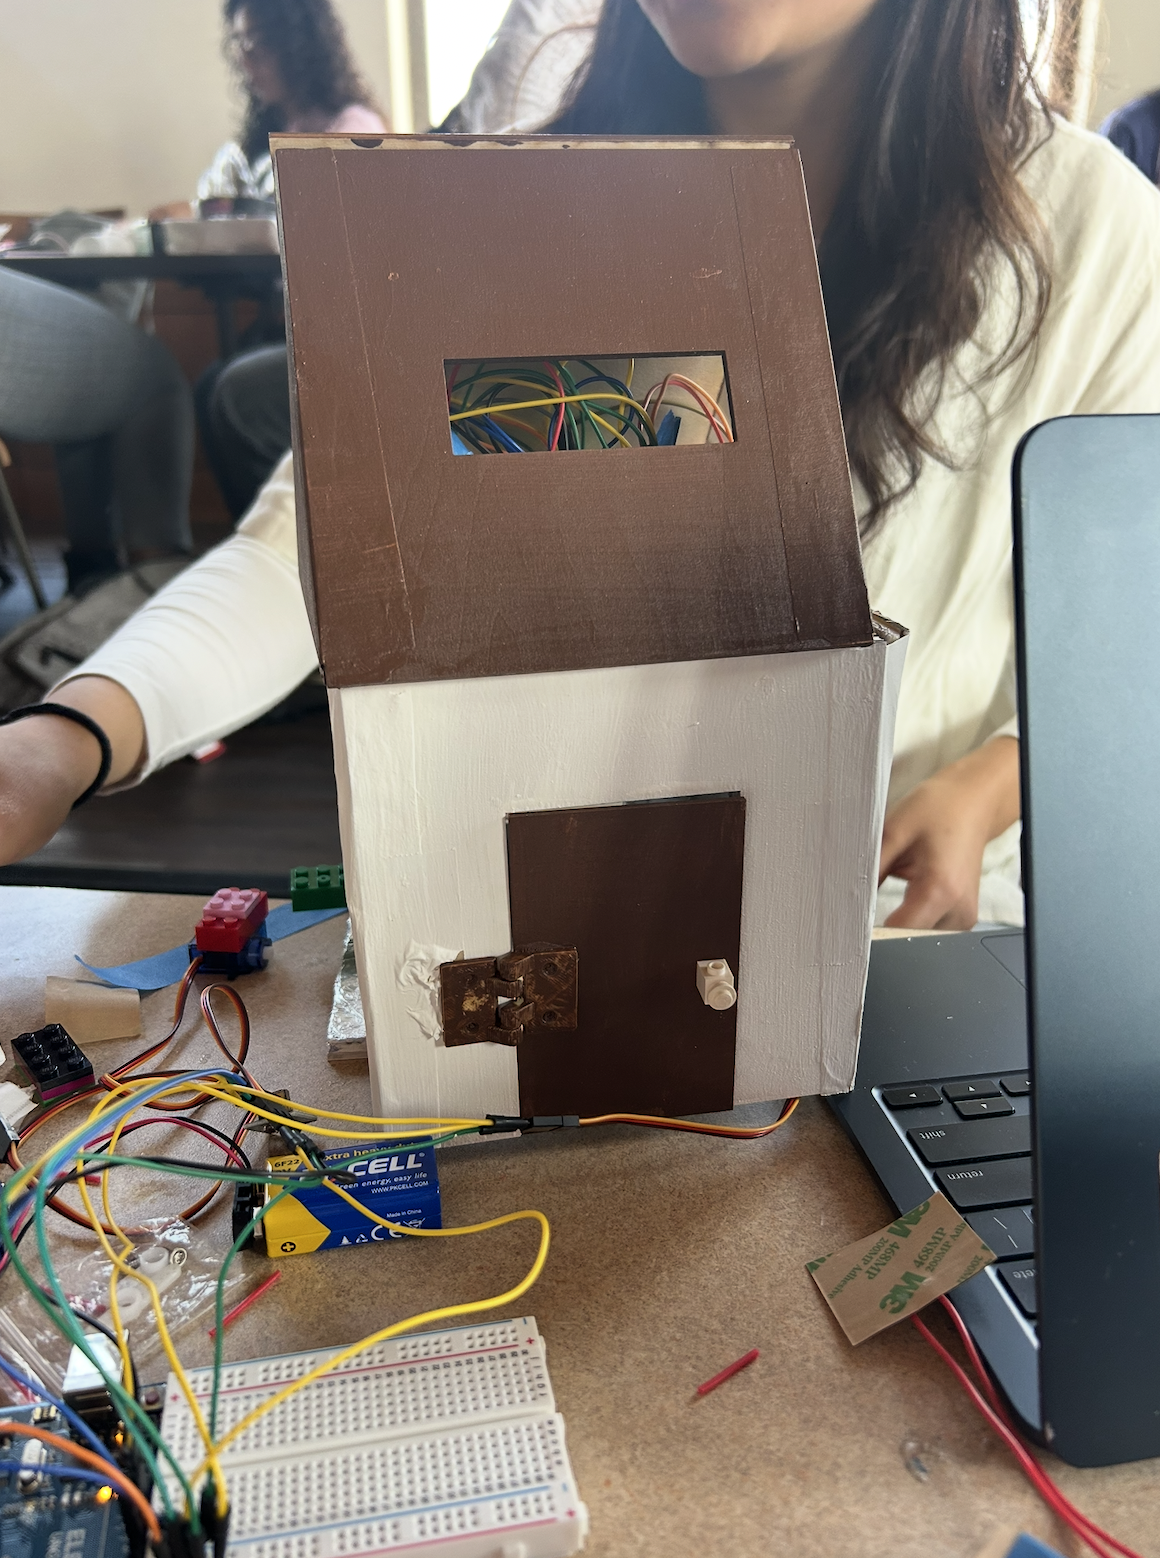
The TeraHut heats any of your leftover fruit peels using Arduino heater modules. First, place your fruit peels using the opening slot or "door" on the side. Then, users have the option to attach dongles to TeraHut. With the dongles, they can attach it into the soil or pot of plant they plan to fertilize. Otherwise, if the user doesn't want to use the dongles, they can leave TeraHut on any countertop. Once the TeraHut is secured on a surface, use the remote to turn it on, which signals the device to instantaneously start heating up. Users can monitor the temperature as it's displayed on a thermometer screen on the roof. Once it reaches a certain temperature/time (depending on the fruit peel and the user), the user can open latch at the bottom with the remote, adding the dehydrated fruits on the plant for healthy and organic composting. There are also gaps in around TeraHut for ventilation.
How we built it
Charlotte - Programmed 4 heat modules to heat up at the same time; they're all connected to a screen that displays the current temperature. Alyssa - Laser-cutted all plywood pieces and assembled and painted the "birdhouse" with paper and superglue. Sydney - 3D-printed custom door hinges for the opening latches and hand-made the dowels (for lack of access to a laser-cutter on the 2nd day). All - Together, we assembled and tested TeraHut's first prototype.
Challenges we ran into
- Integrating the Arduino into TeraHut (e.g. spacing, wire management)
- 3D printing the hinges as the first print didn't function.
- Testing and ensuring the program worked.
Accomplishments that we're proud of
- Adding aluminum foil on top of styrofoam to streamline the heating process.
- Adding the hinges for easy access to the Arduino and fruit peels inside.
- Having the latch on the bottom electronically open.
What we learned
- Plan for all constraints in measurements that affects the overall measurements of the plywood (e.g. Arduino servers attached at the bottom sides)
- Testing is the most important thing so that we could iterate.
What's next for TerraHut
- Increase the voltage for the temperature.
- Hide the Arduino's more and make it look more aesthetically pleasing
- Fix dimensions of the roof to fit any electronic
- Automate the bottom latch
Built With
- 3dprinting
- arduino
- c++
- lasercut

Log in or sign up for Devpost to join the conversation.