-
-
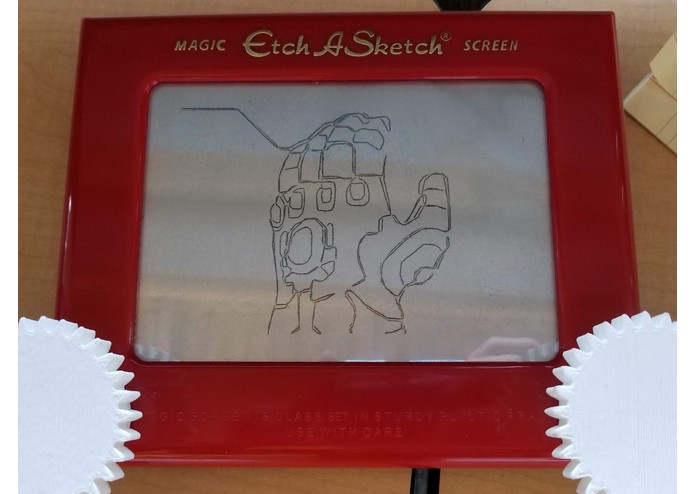
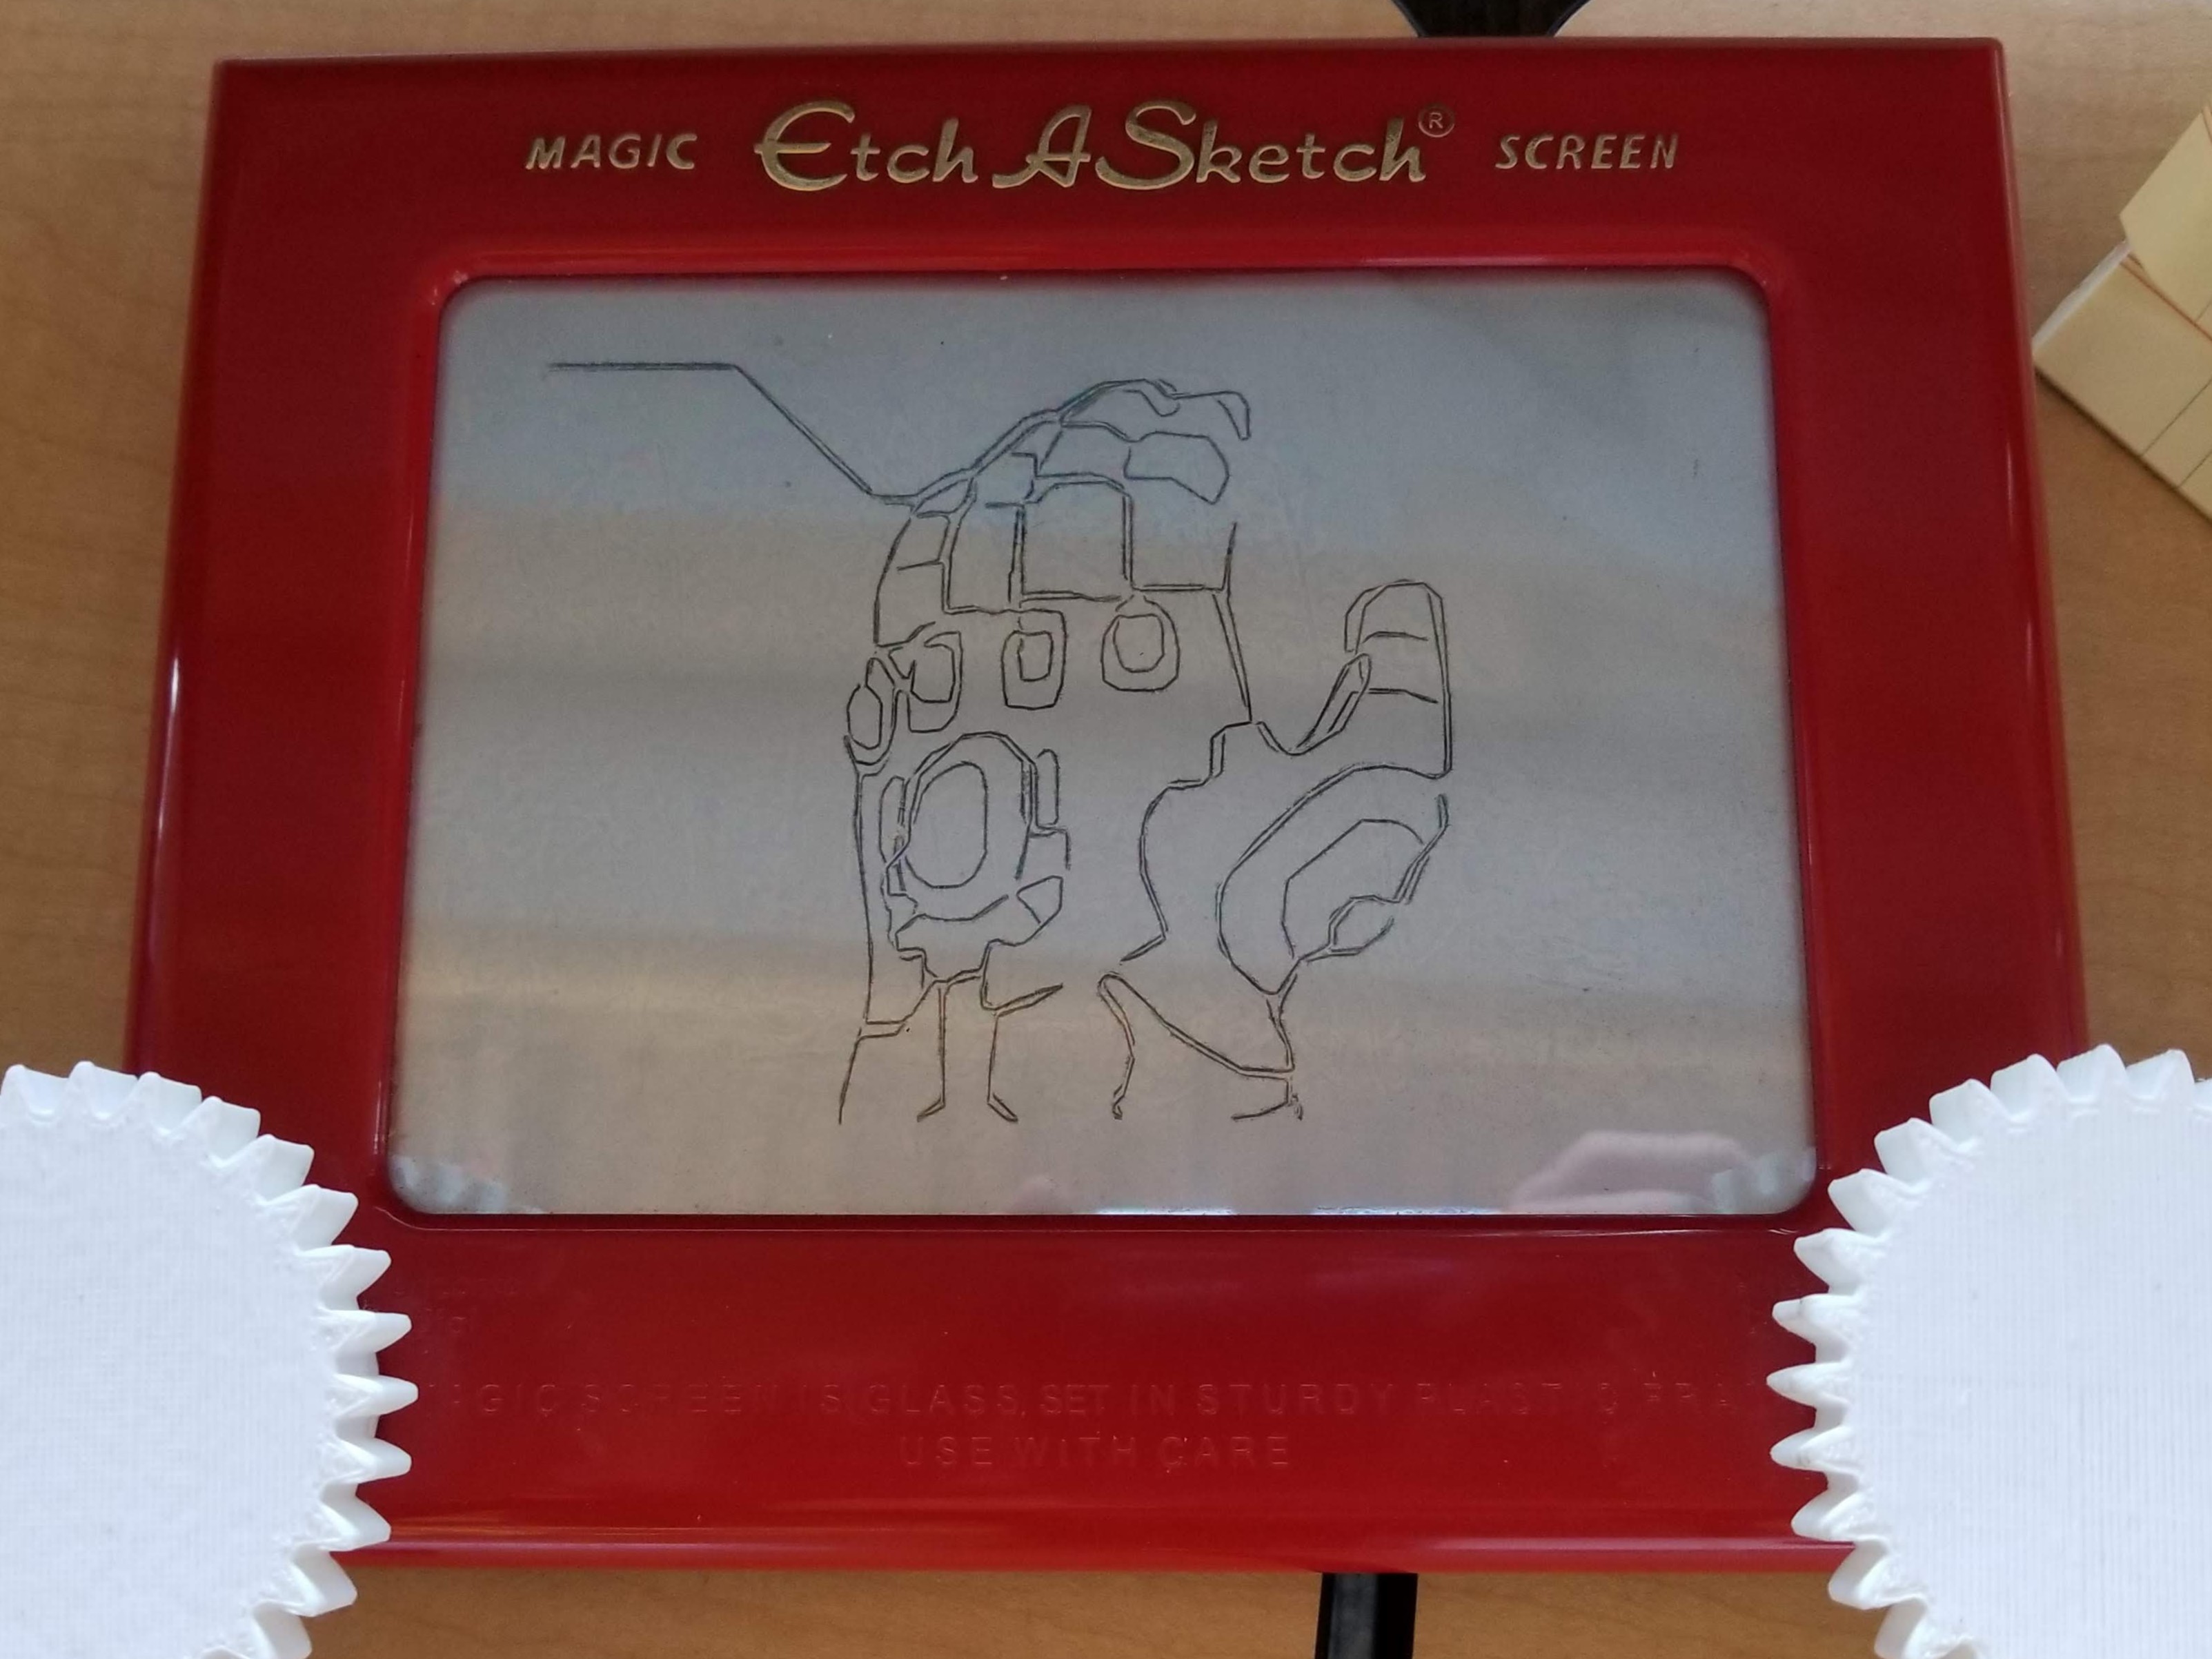
infinity gauntlet
-
a testude
-
inspiration
Inspiration
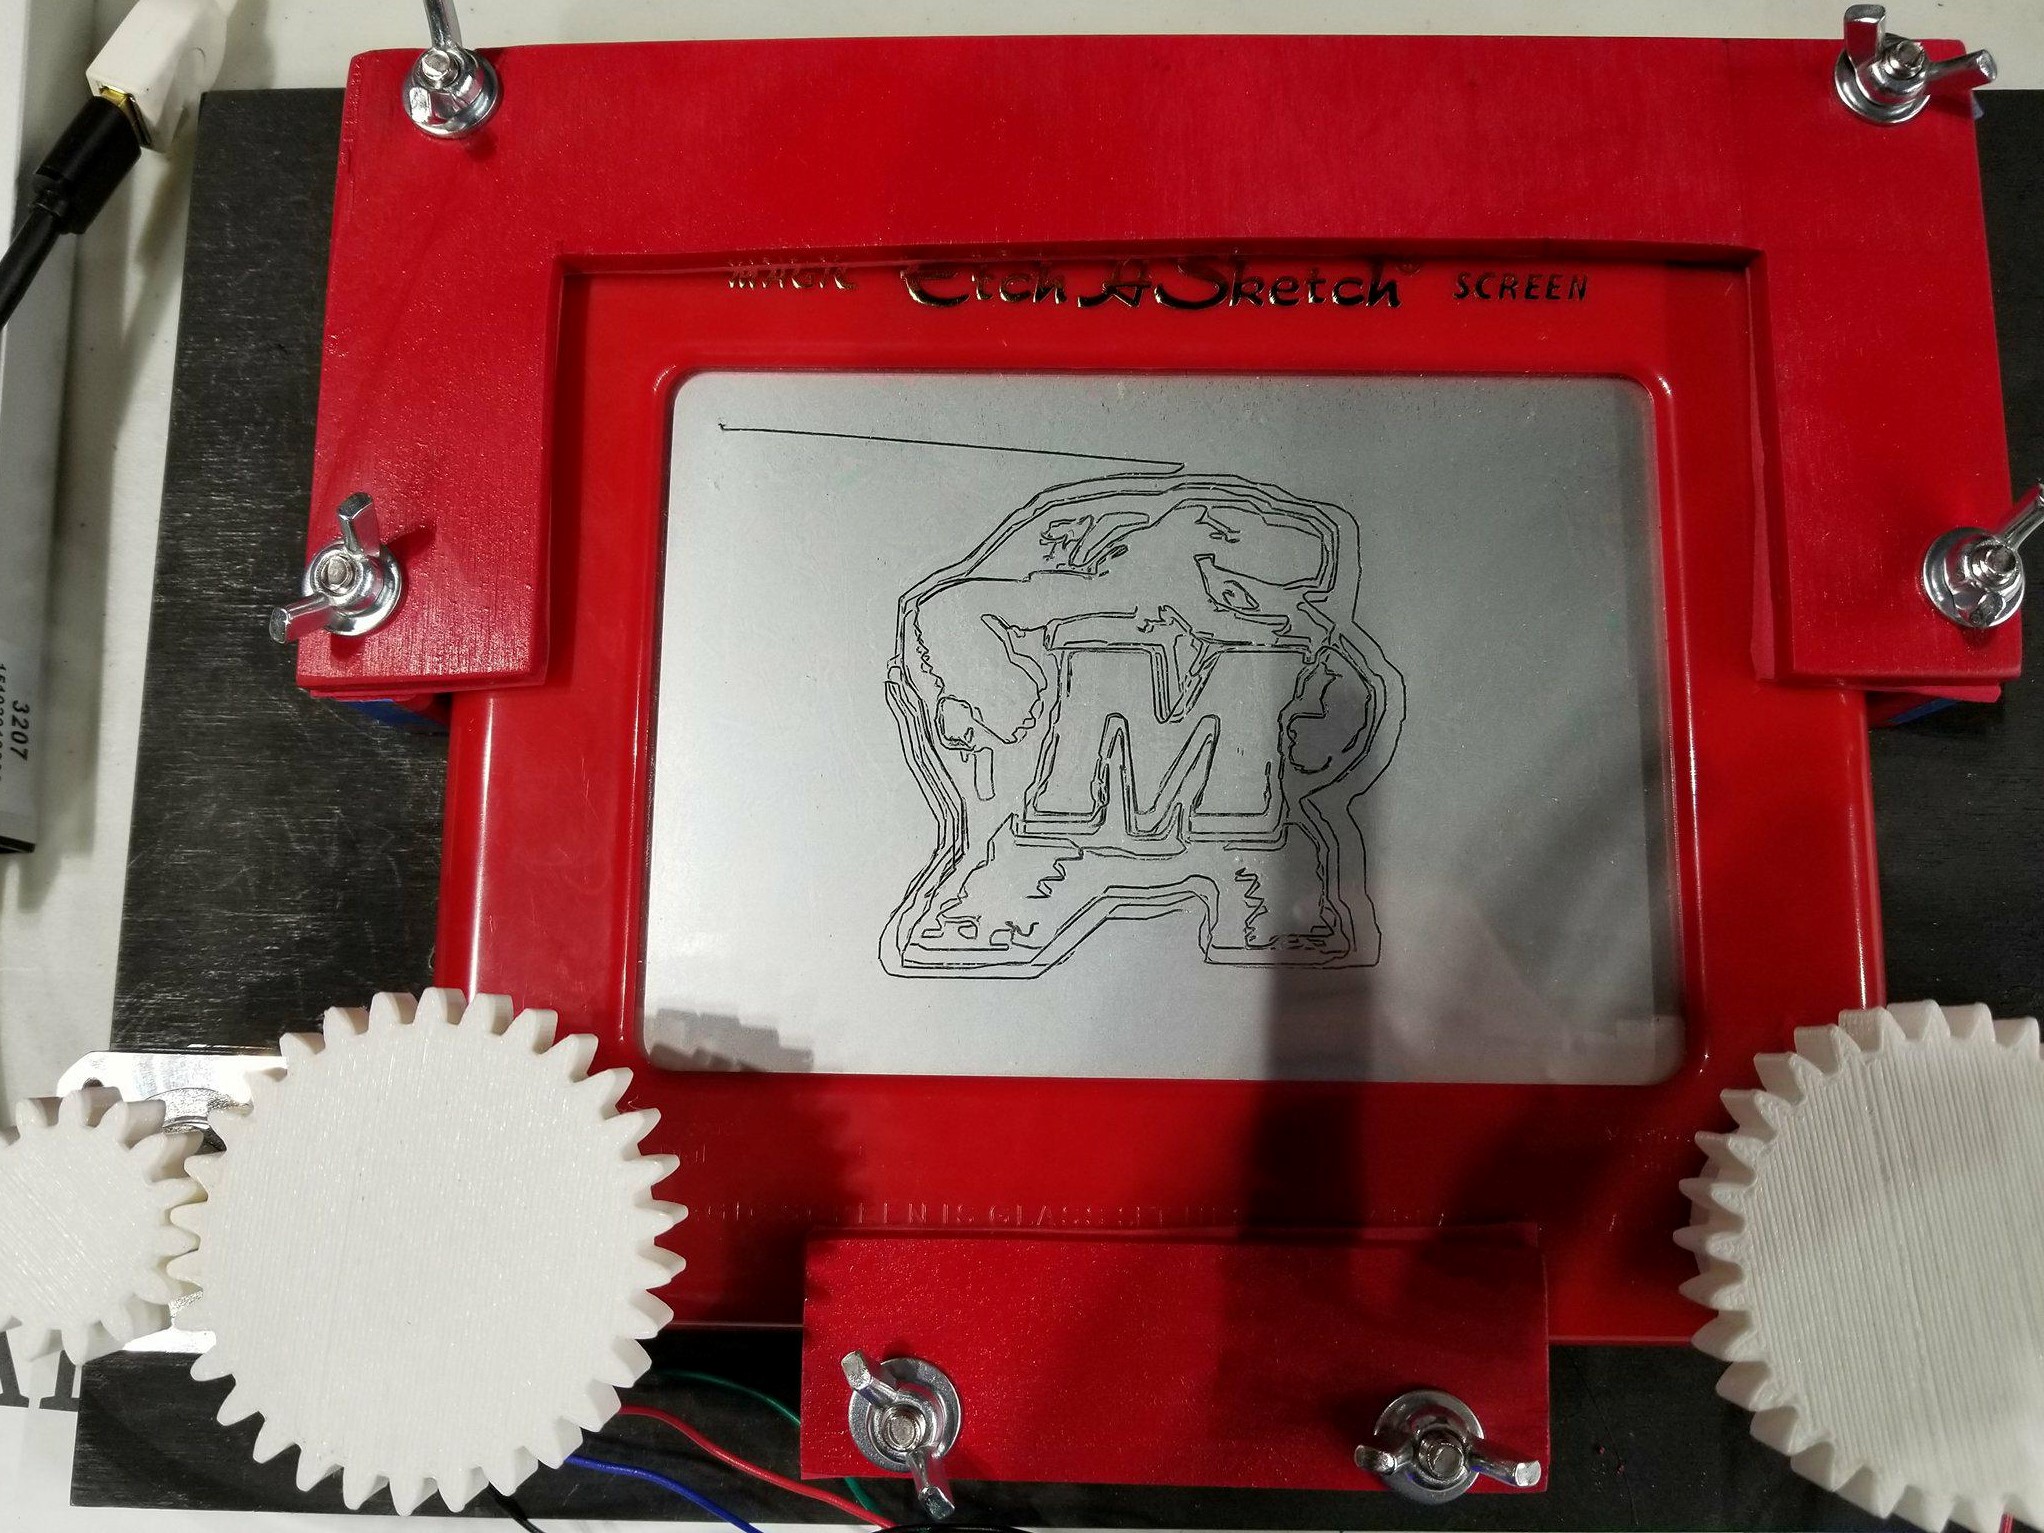
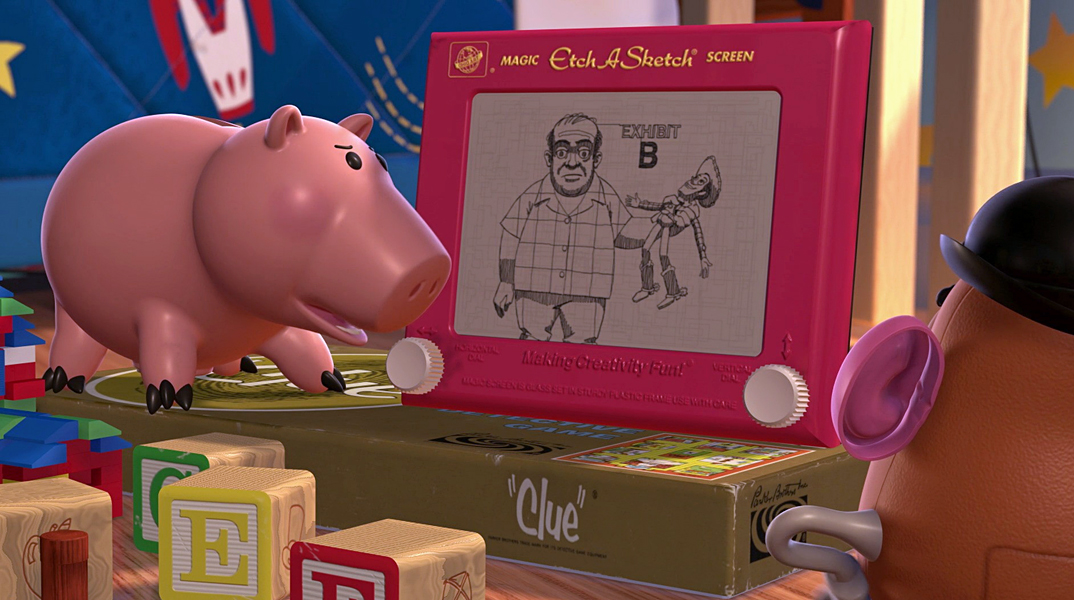
We've all seen Toy Story, and our favorite part was when Woody dueled the Etch-a-Sketch, Western style. We sought to recreate that experience, but with our own pictures instead!
What it does
A standard image file is processed using Python image processing software, which reduces the picture to a single set of ordered points. This information is sent to an Arduino microcontroller, which uses stepper motors to turn the knobs of the Etch-a-Sketch.
How we built it
Image Processing.
The goal is to have an algorithm that accepts an arbitrary image and produces an etchable path. Images are first converted to grayscale and the canny edges are extracted. These edges are want we want the etch a sketch to draw. However, there is no guarantee that these contours are connected and often are not. To connect them we consider the binary edge image as a graph where black pixels are vertexes and adjacent black pixels share an edge. We then use depth first search to find all the connected components in the image. Starting with an arbitrary component we use A* to find approximate shortest path to the next connected component. We then draw this path, and repeat the process with this new, "gaint component" until all components are connected. For the A* heuristic we randomly sample each component in the image, find the closest pair of points (with one point belonging to the giant component), and use distance to the point that does not belong to the giant component as the heuristic. This step was key in making the problem computational feasible. The final step is to use a depth first search to produce a single contour, representing the image we want to draw.
Serial Communication:
Points are sent to the Arduino as a a sequence of two 2B unsigned integers corresponding to x and y coordinates. Because serial port communication can send a maximum of 64B reliably, point packets are capped at quantities of 16 each. A serial connection is established from the computer to the Arduino, and a handshaking procedure ensures that the Arduino has finished processing all points in memory before requesting the next packet.
Stepper Motor Control:
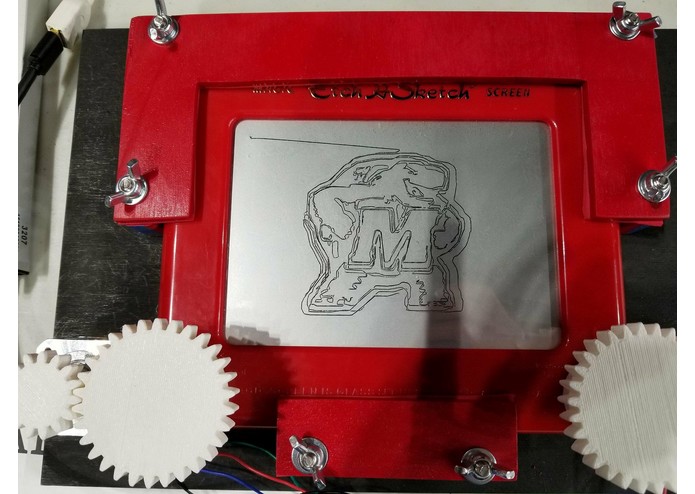
We first had to write our own libraries to control the stepper motors, as the library that comes with the Arduino IDE is blocking, thus prevents simultaneous and independent control of multiple motors. We created a non-blocking class that allowed the issuing of single steps in either direction then created another library which could take a vector (x and y coordinates) for the motors to move by, and synchronize the steps of the two motors to create a line at the proper angle. The library could then be used to move along a stream of points and create a full drawing. To securely attach the motors to the Etch A Sketch, we 3D modeled and 3D printed two sets of gears, one pair which fit snugly over the Etch A Sketch's knobs and one pair which attached to the shaft of the motor. Finally, we had to do all of the wiring necessary to control the motors.
Challenges we ran into
At first, we just connected each motor to a motor driver, but this drew too much current through the drivers, causing them to overheat and not be able to reliably issue the correct output patterns. When we discovered the issue was excessive current, we switched to controlling each motor with two separate motor drivers, with their input and output controls tied together. This halved the current going through each of the drivers and reduced the heat enough for multiple minutes of uninterrupted drawing time.
Accomplishments that we're proud of
Finishing a hardware hack successfully!
What we learned
Heat is the true enemy
What's next for Sketch Ya Later
Storing processed images on the Arduino's static EEPROM memory to be drawn after processing.


Log in or sign up for Devpost to join the conversation.