-

Login Page
-
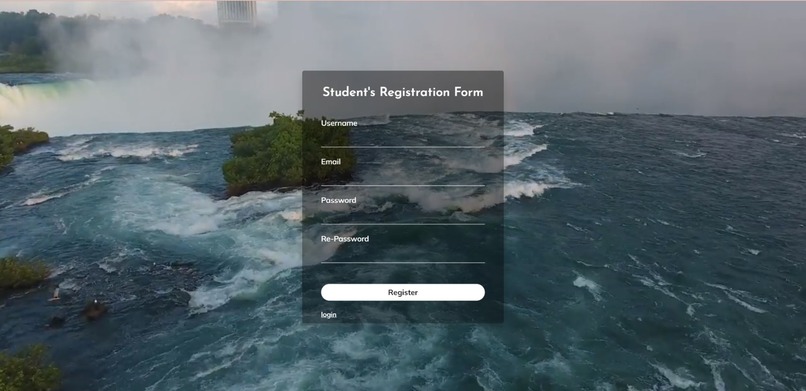
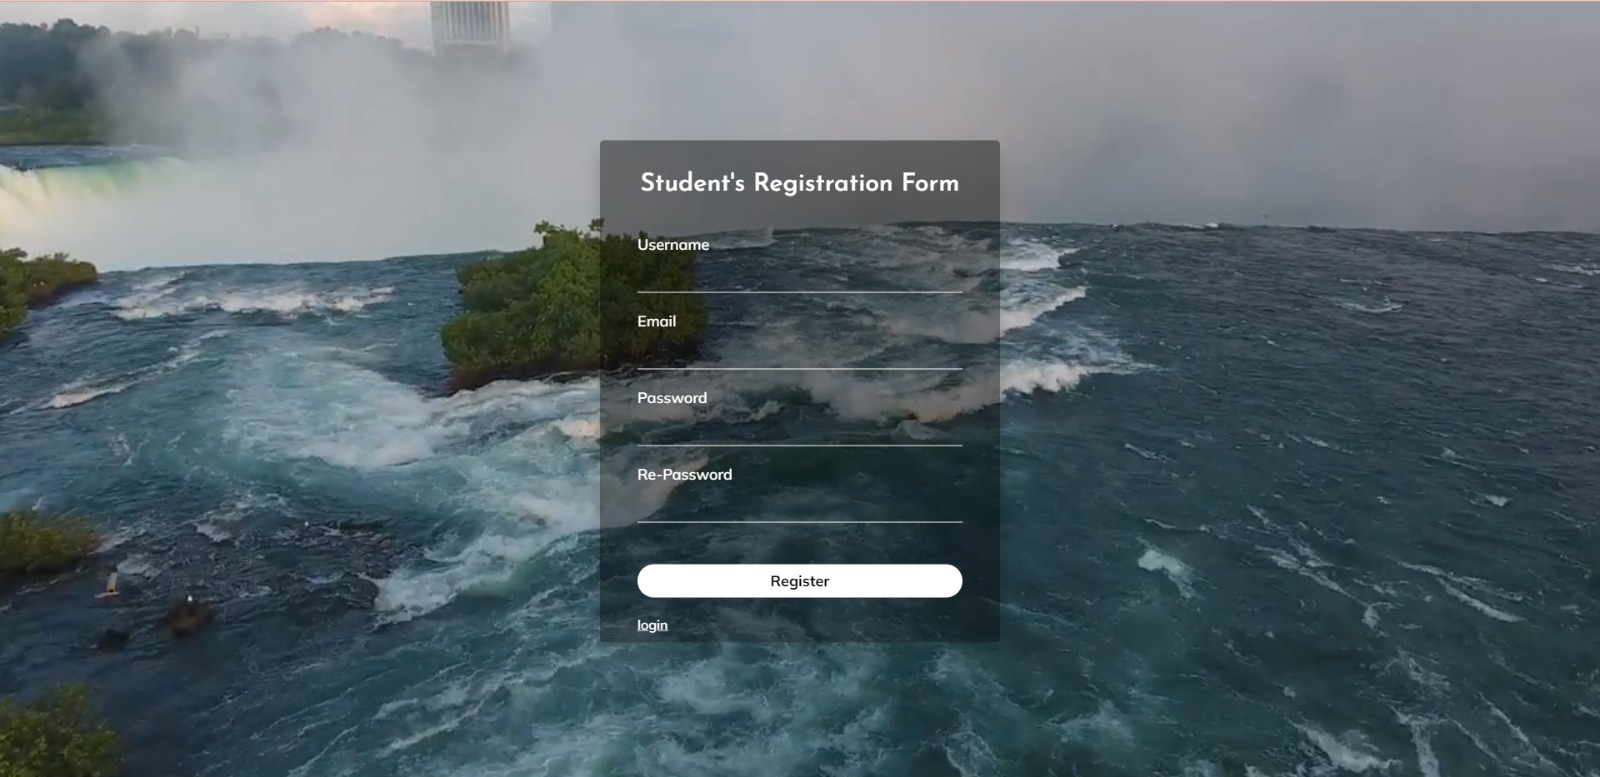
Student Registration Page
-
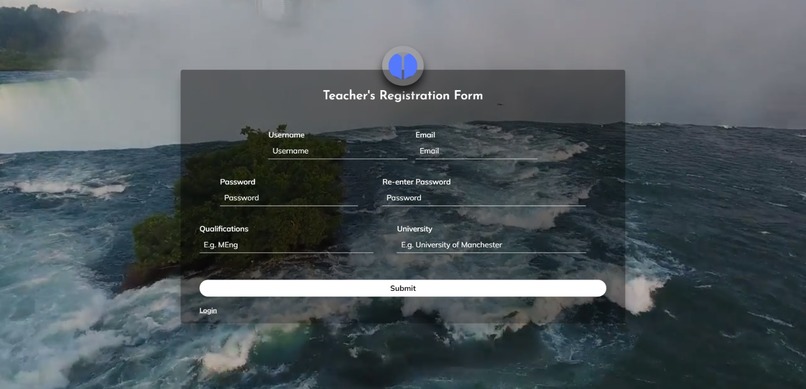
Teacher Registration Page
-

Forget Password Page
-

Student Home Page
-
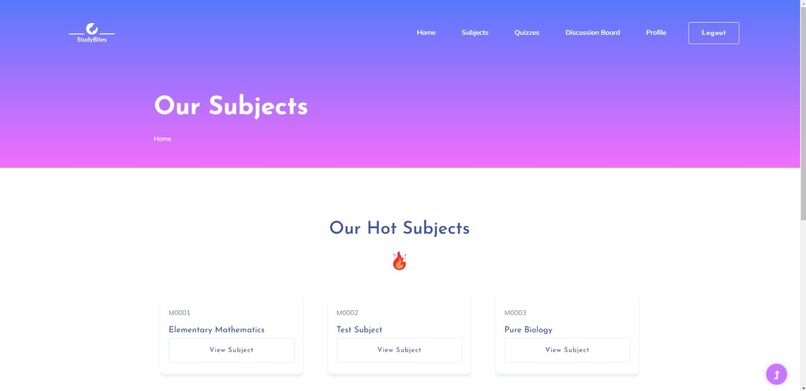
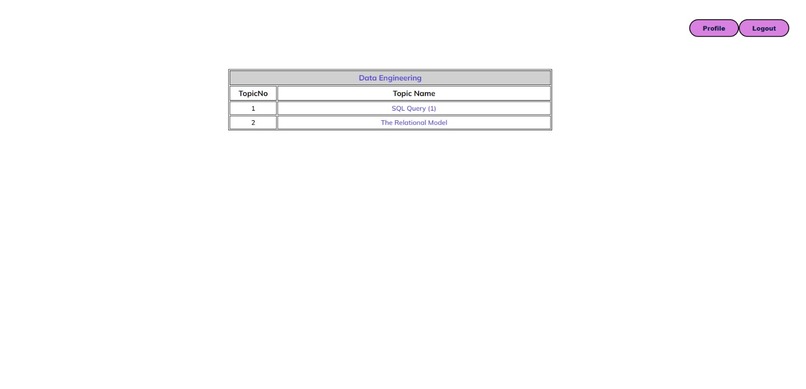
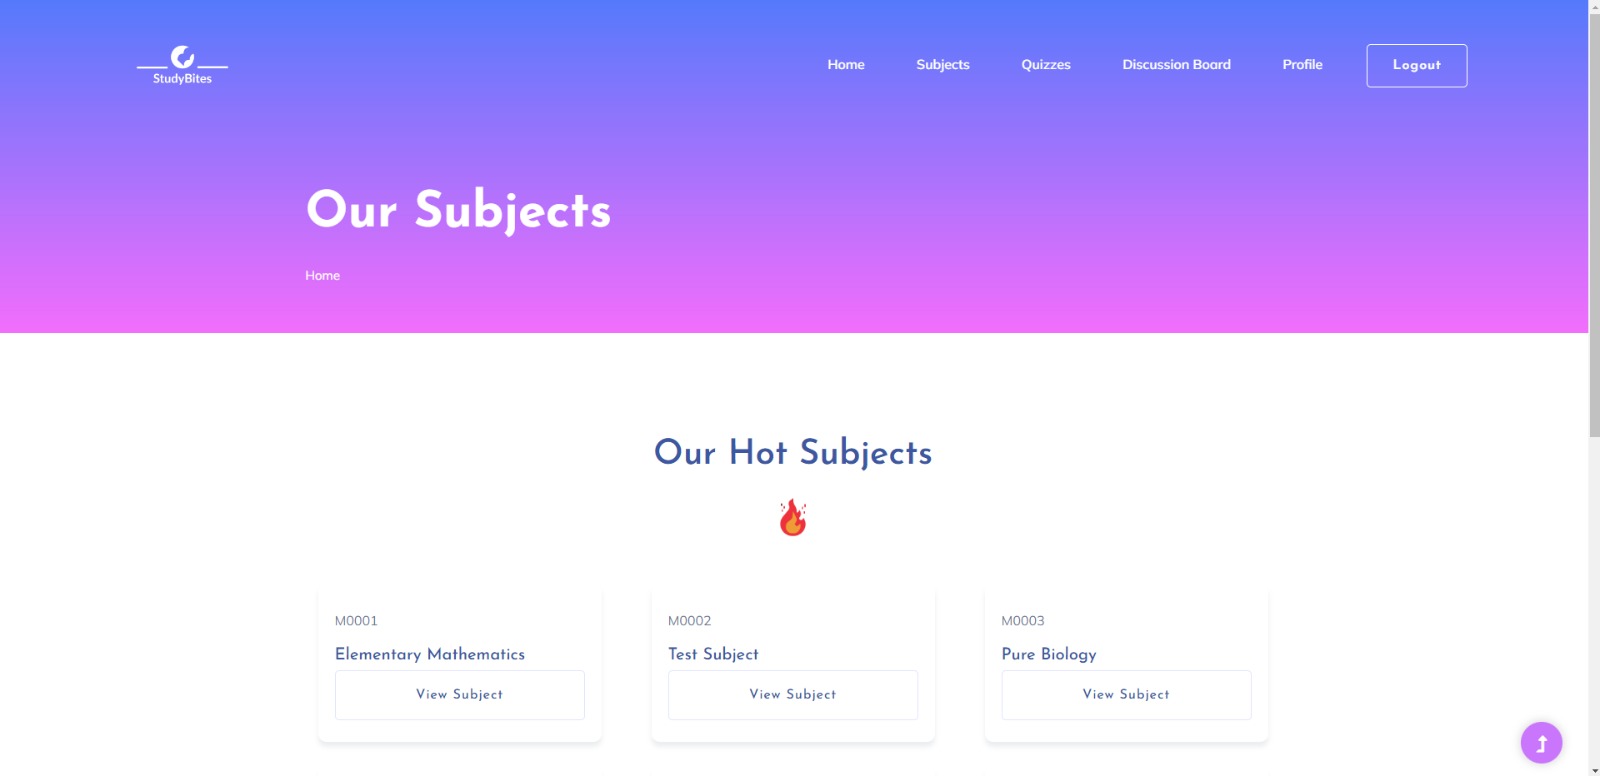
Subjects Page
-
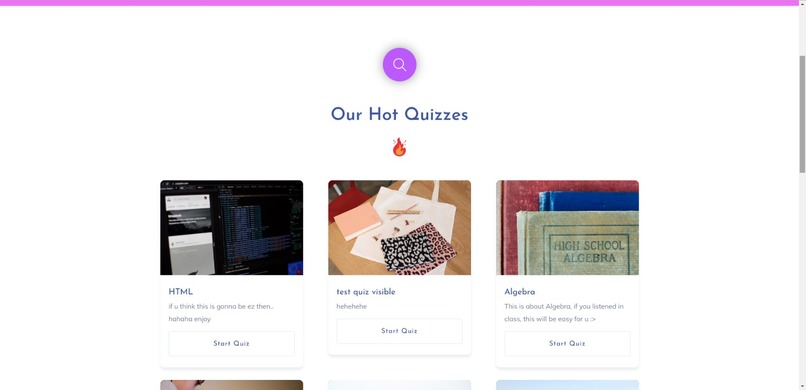
View All Quizzes Page
-
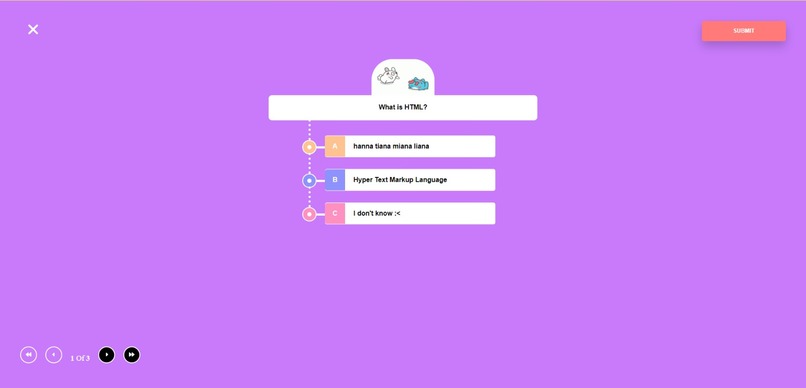
Quiz
-
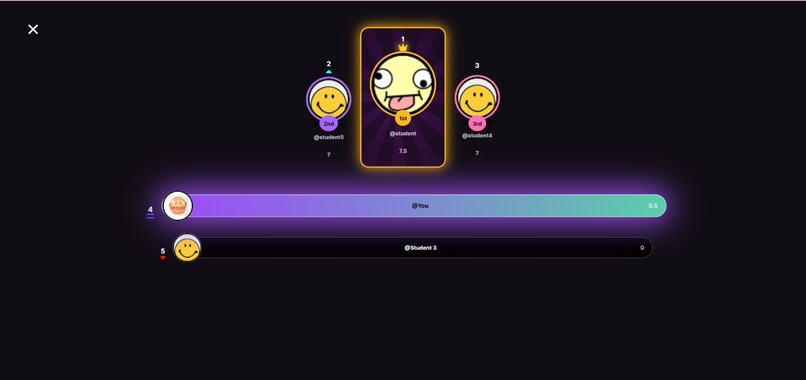
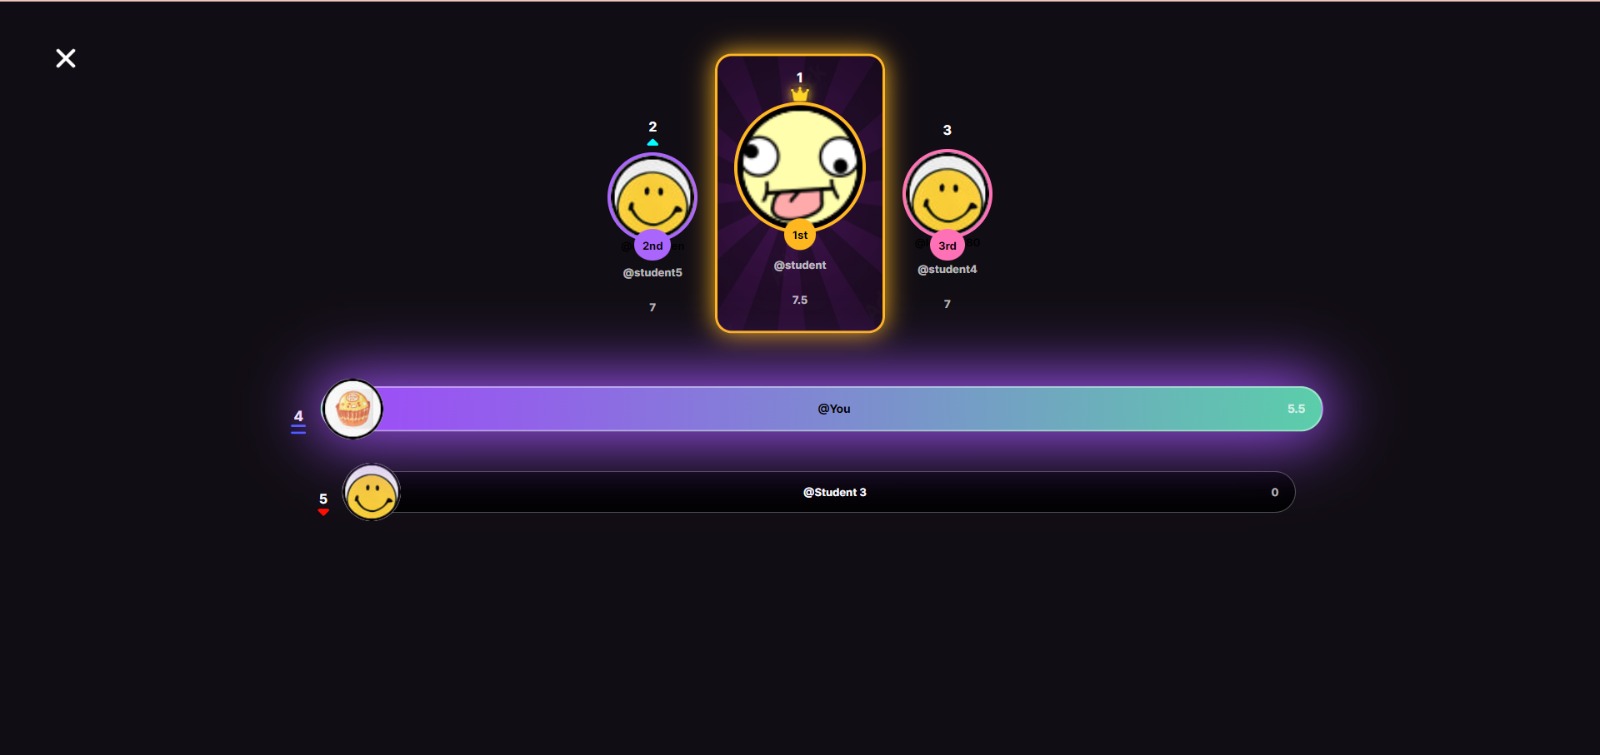
Leaderboard
-
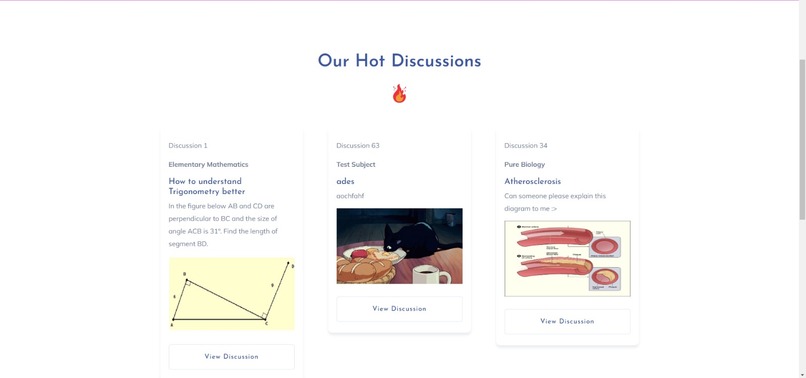
View All Discussions Page
-
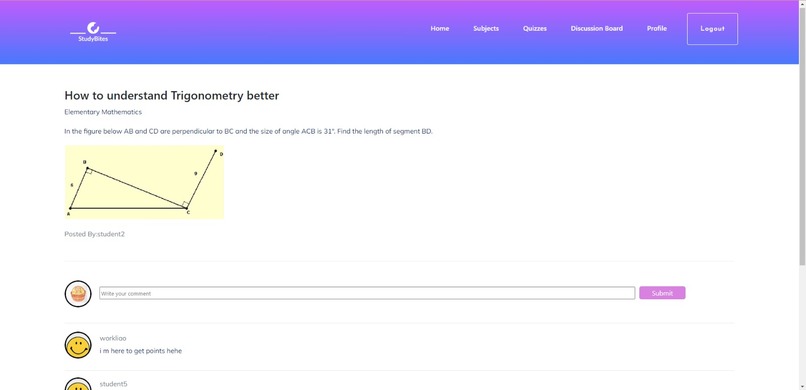
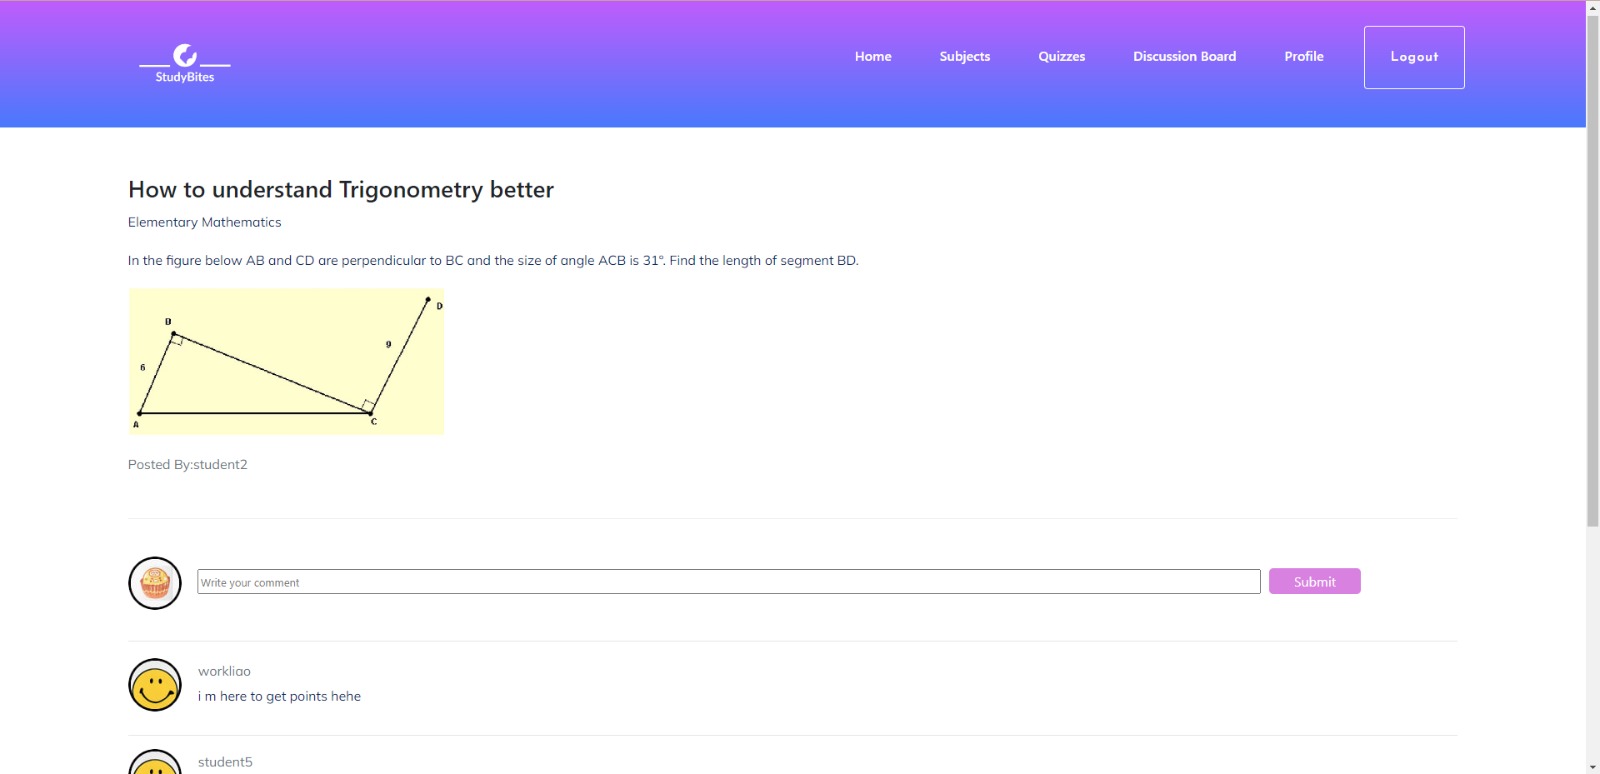
Discussion Page
-
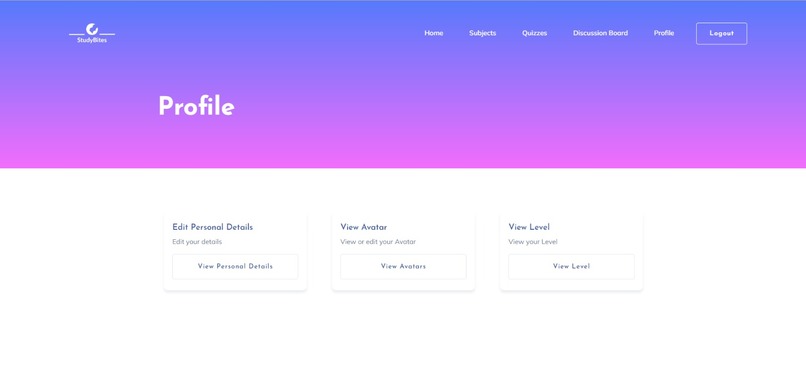
Profile Page (Student Interface)
-
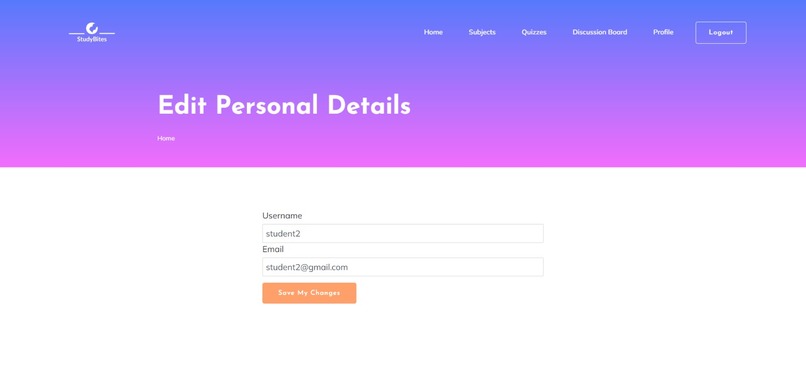
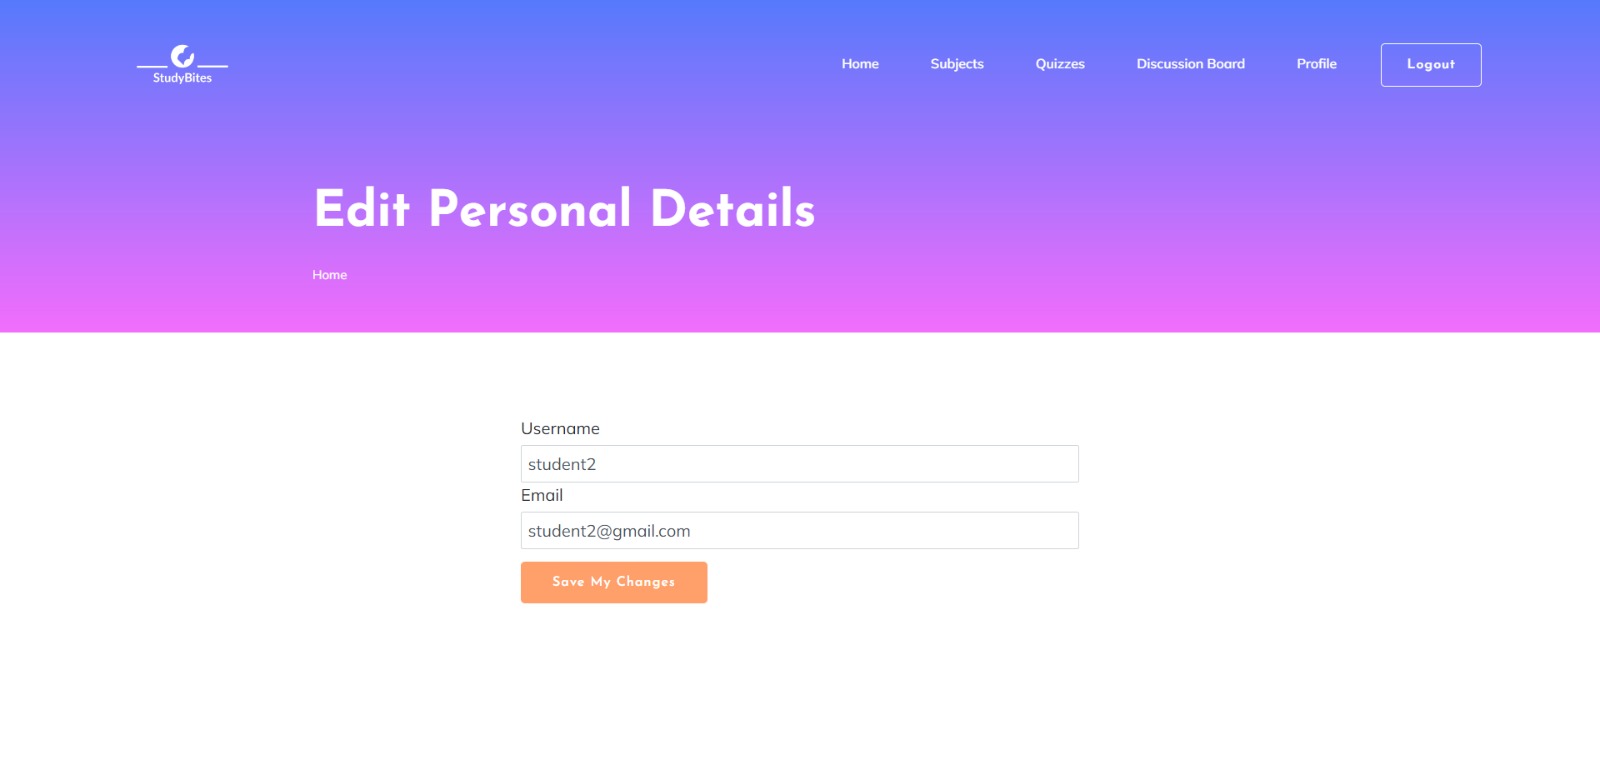
Edit Personal Details
-
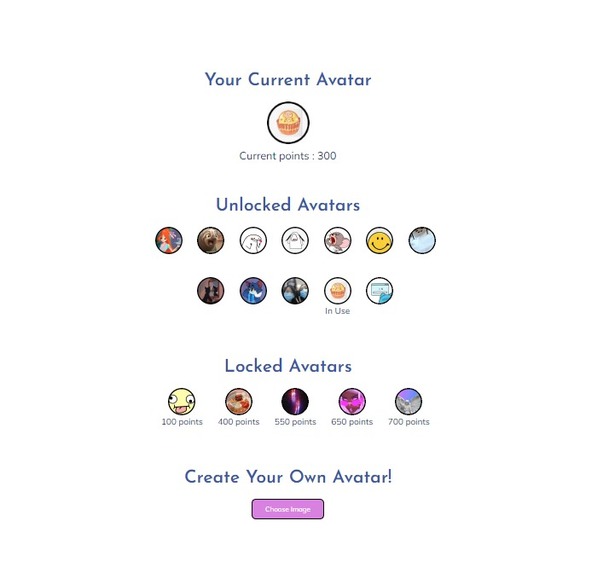
View Avatars (Student's Interface)
-
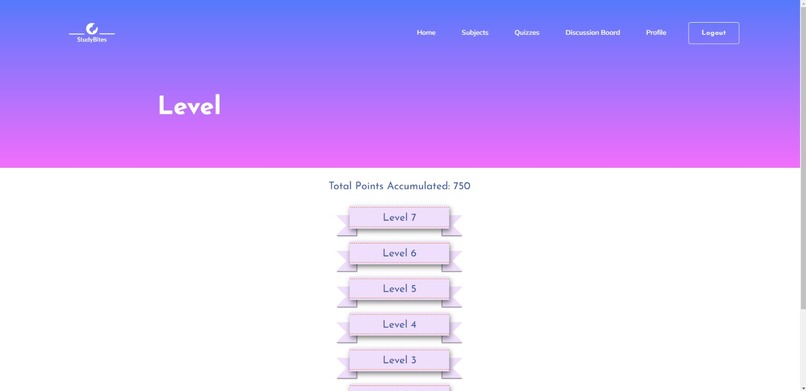
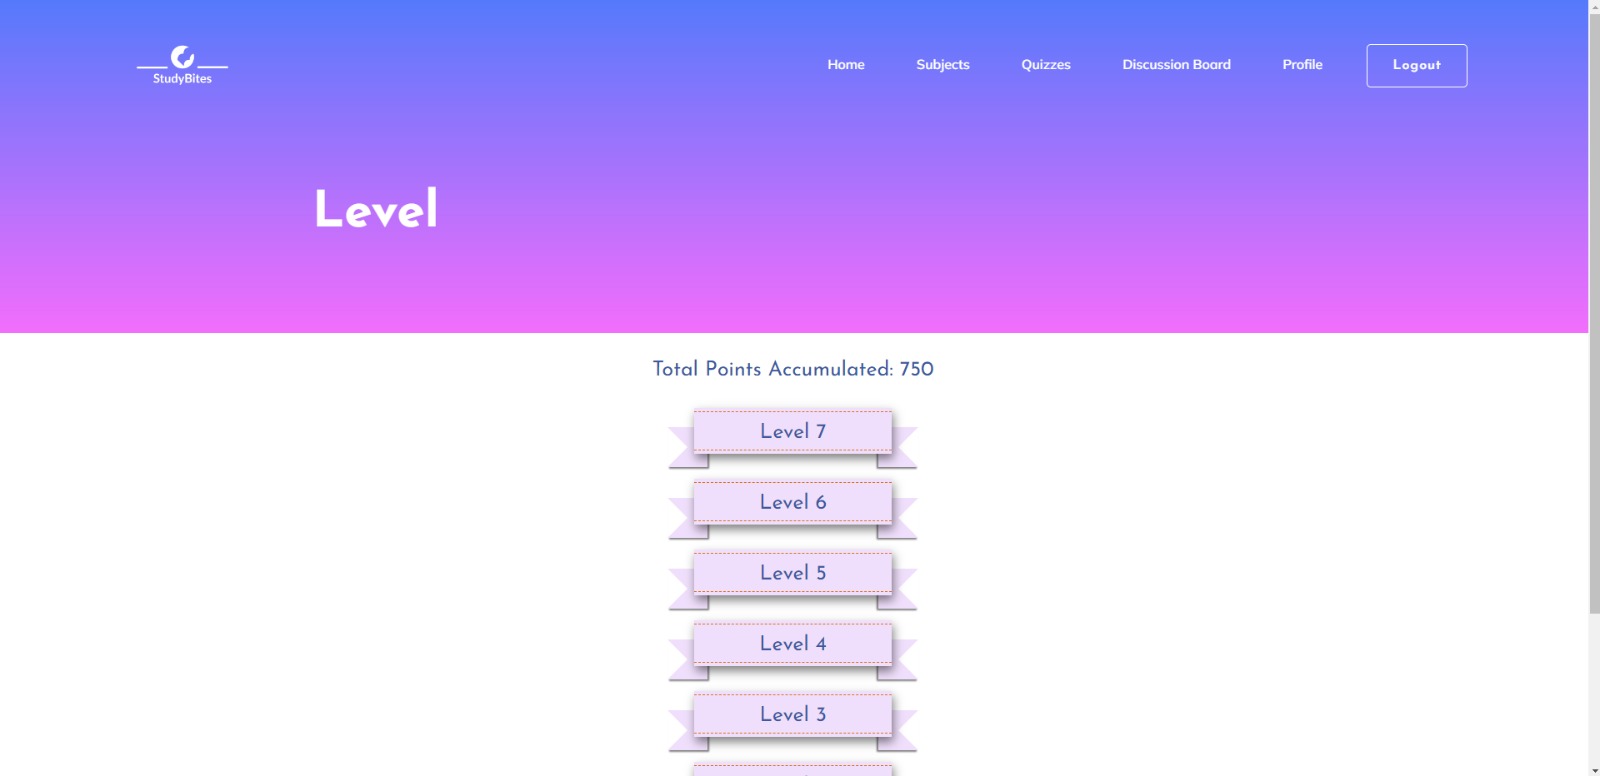
Levels Page
-
Teacher Home Page
-
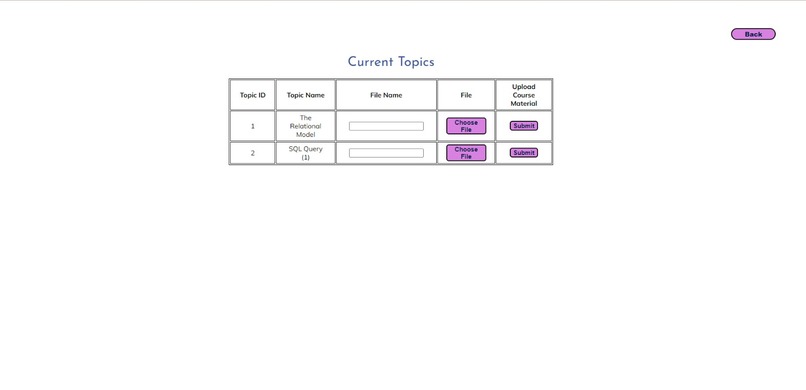
Add Course Material Page
-

Manage Course Materials
-
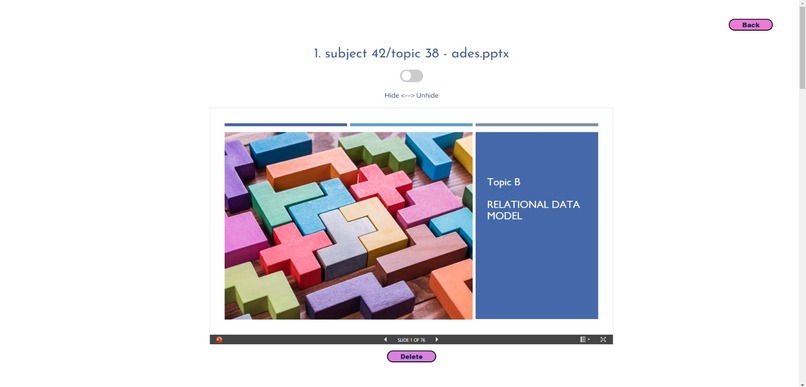
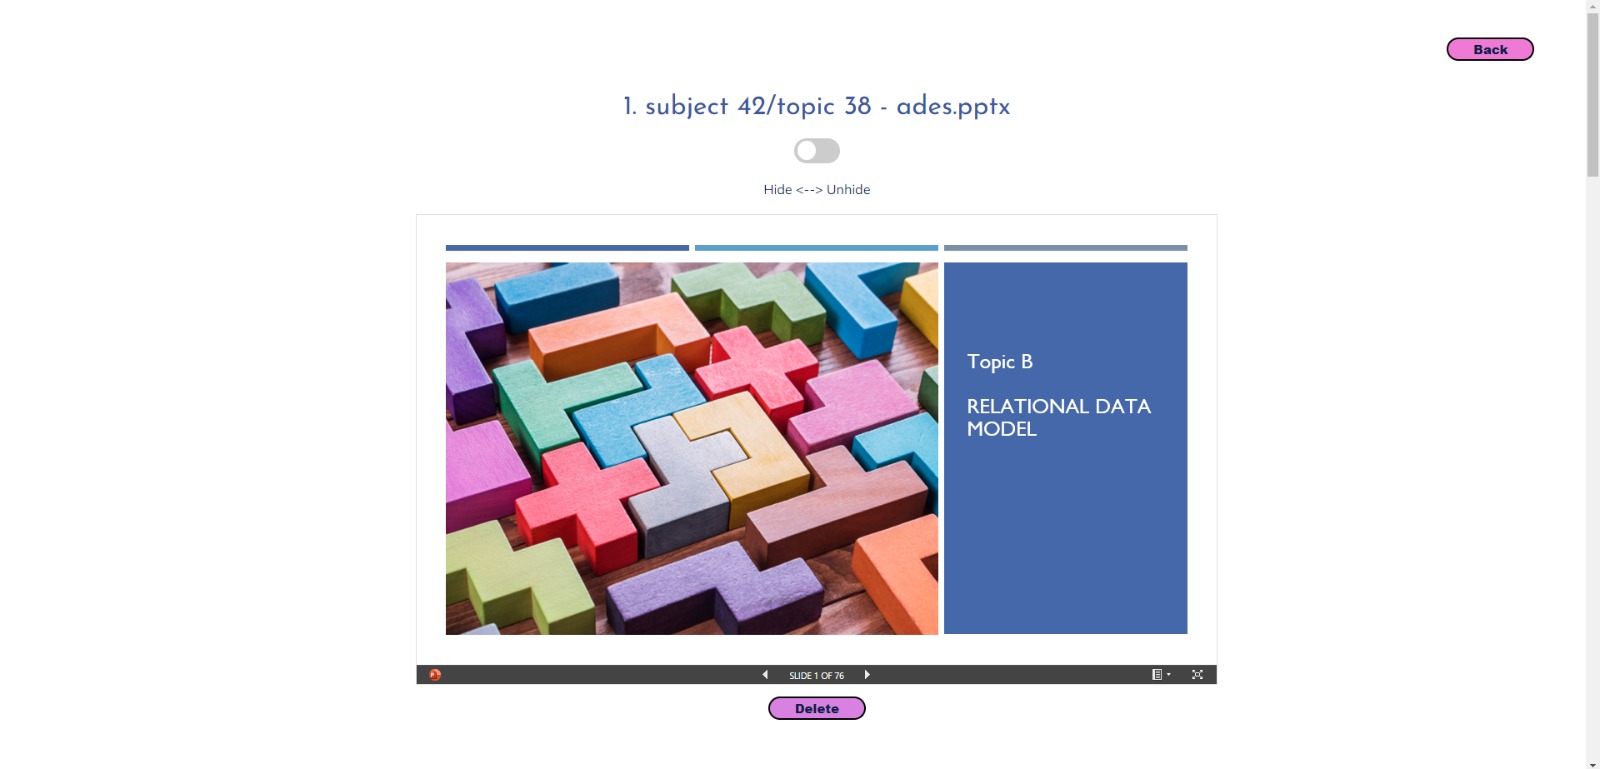
View Course Materials (Teacher's Interface)
-
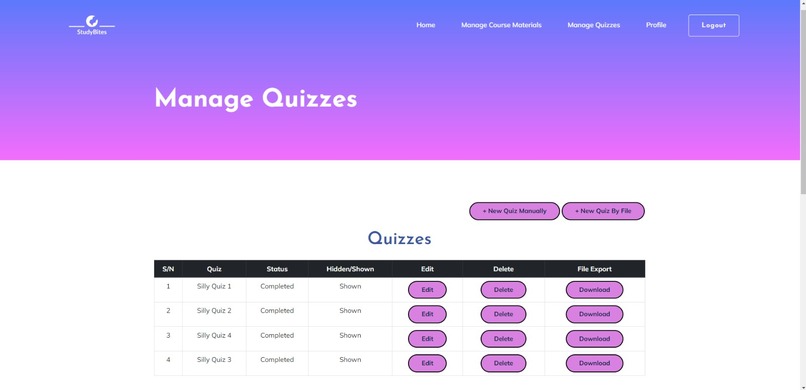
Manage Quizzes
-
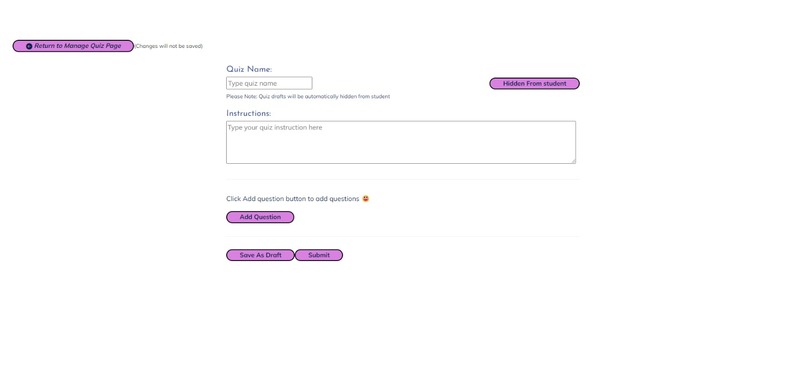
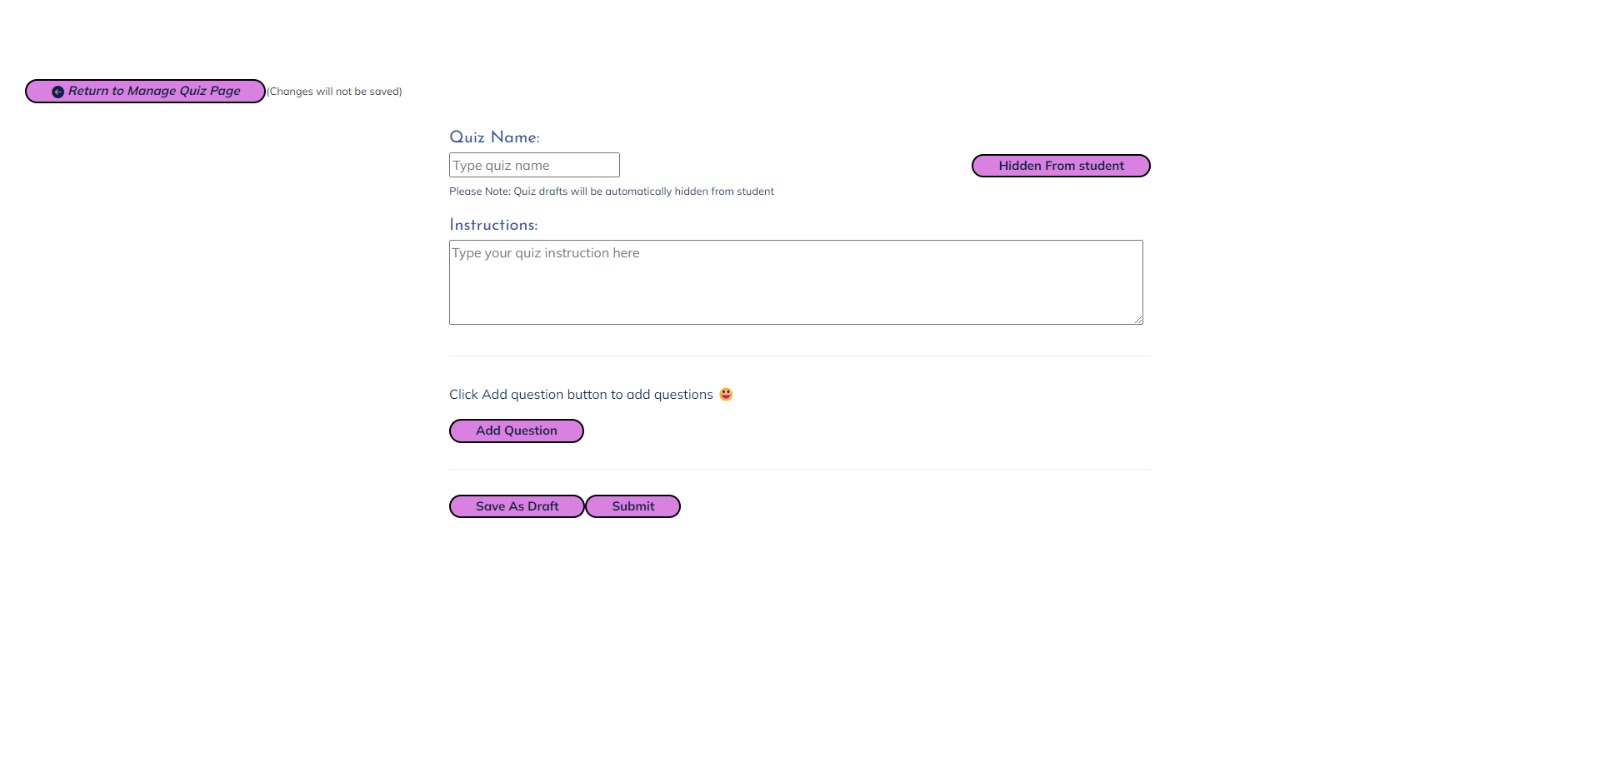
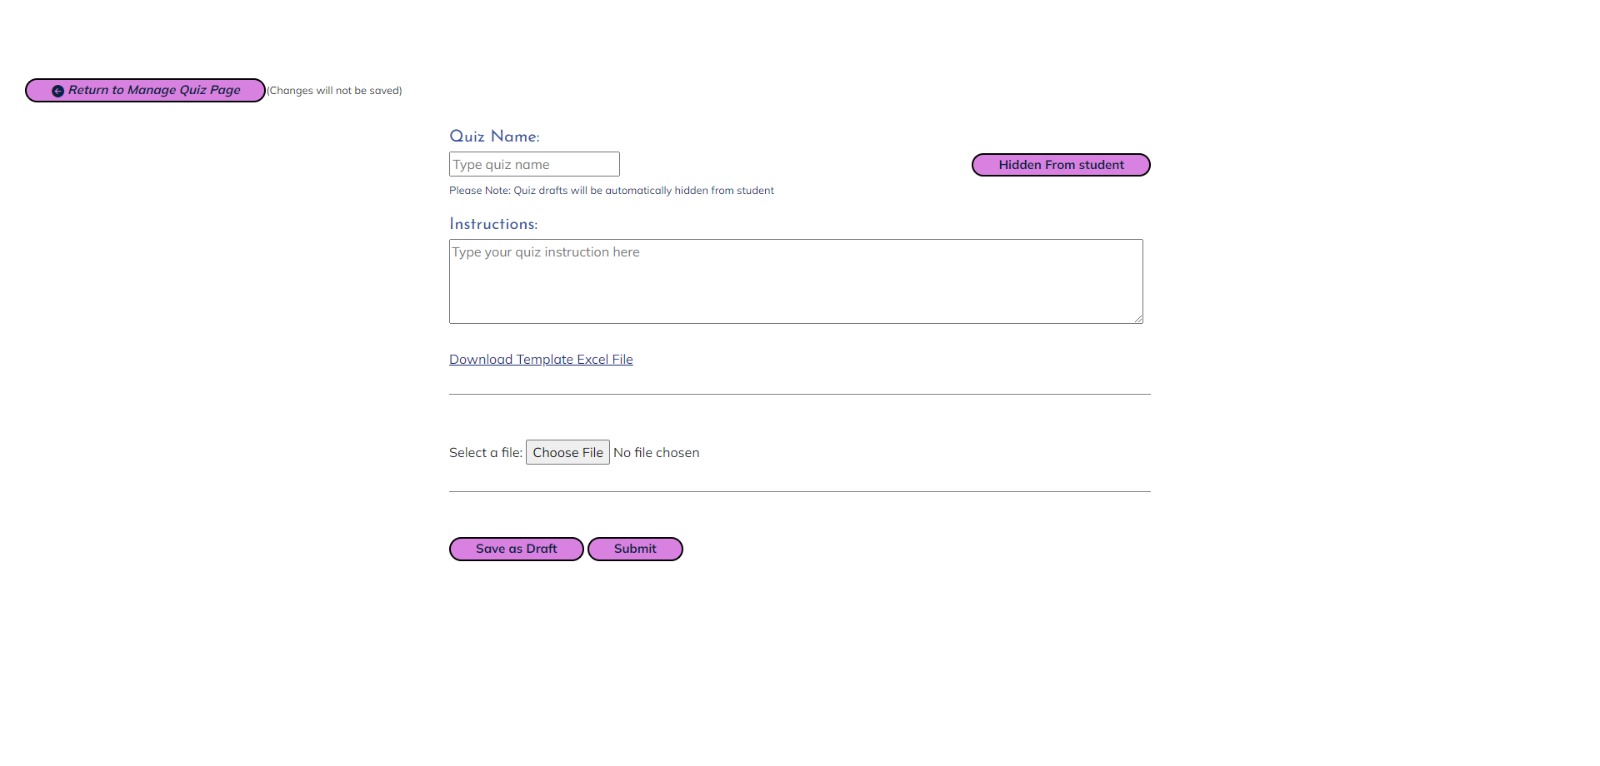
Create new Quiz
-

Edit Quiz
-
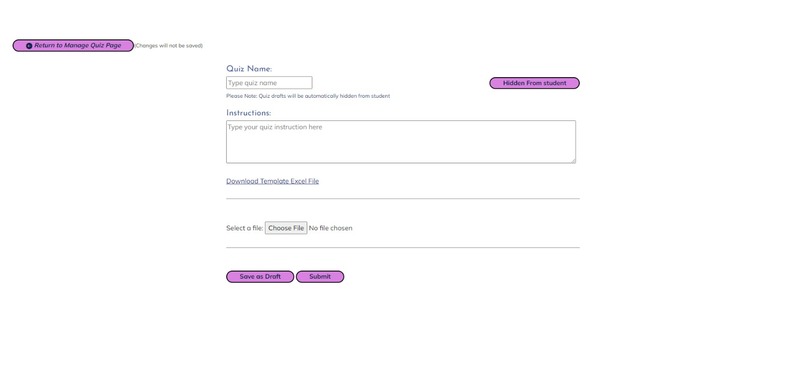
Create Quiz using an Excel File
-
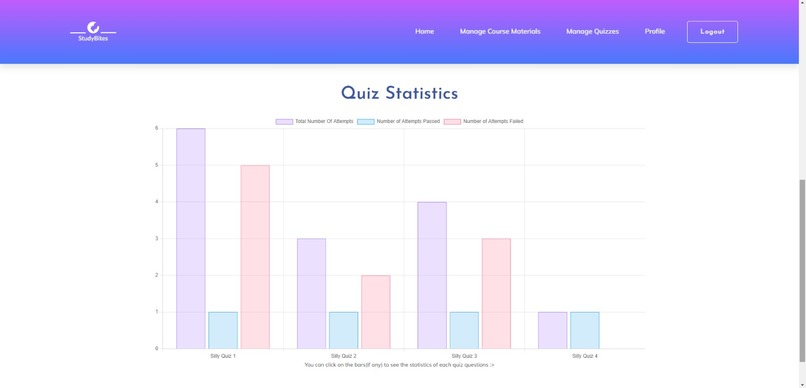
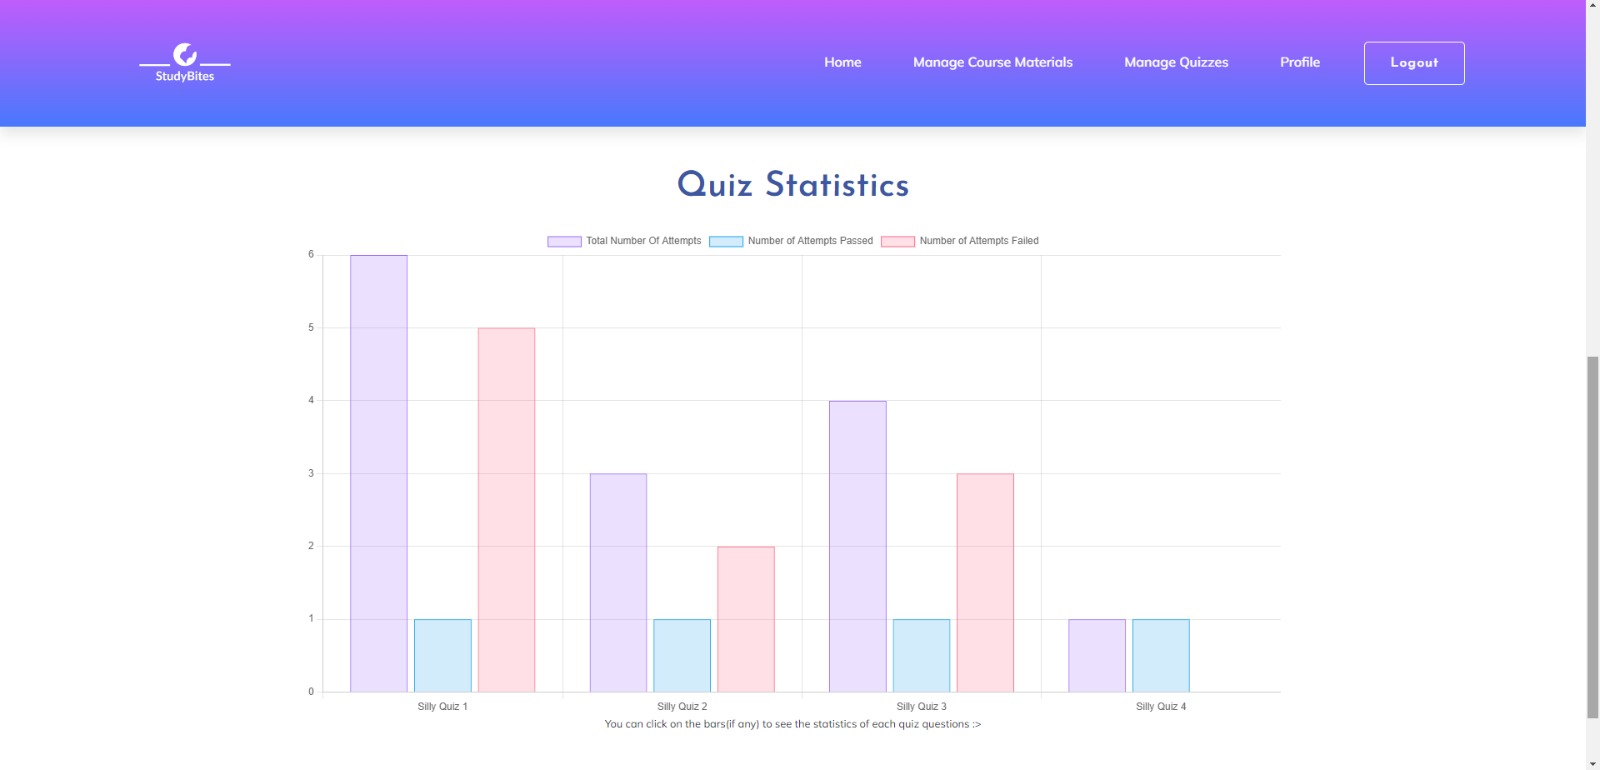
Quiz Statistics
-
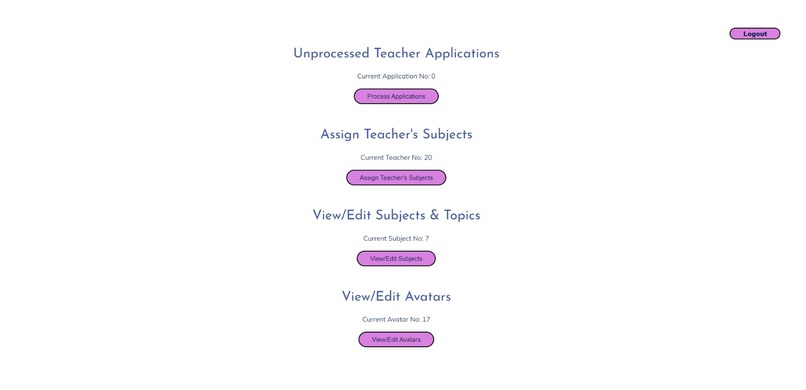
Admin Home Page
-
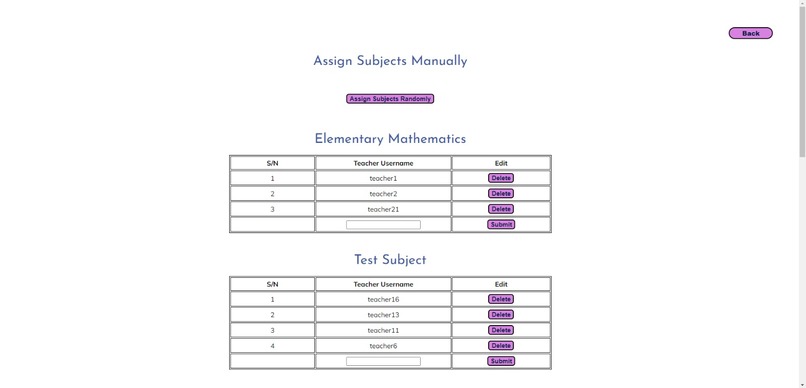
Assign Subject to Teachers Manually
-
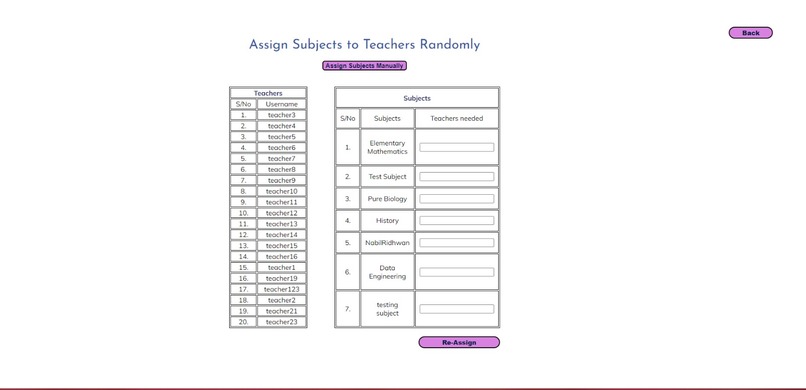
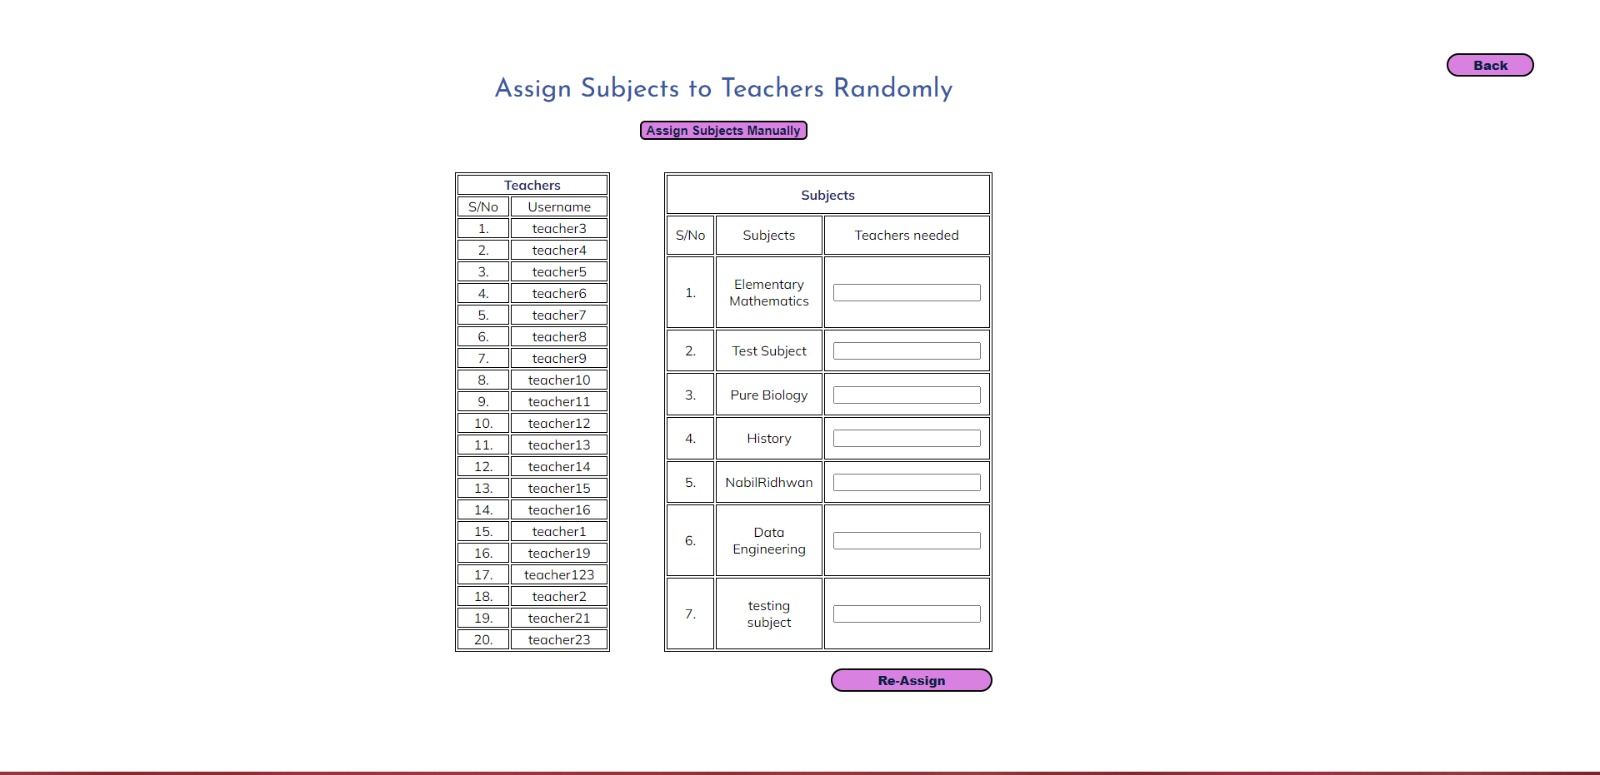
Assign Subject to Teachers Randomly
-
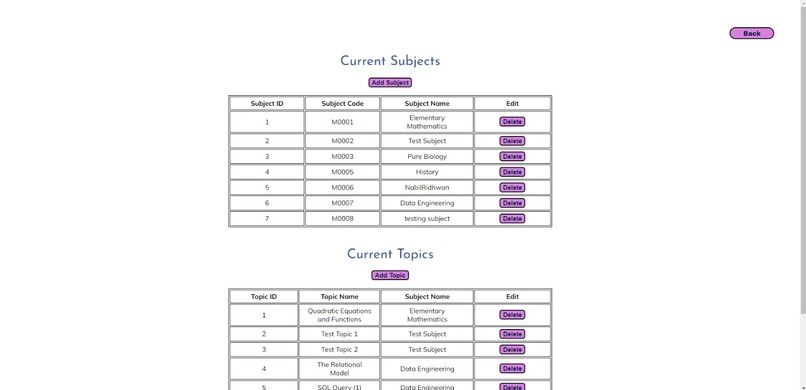
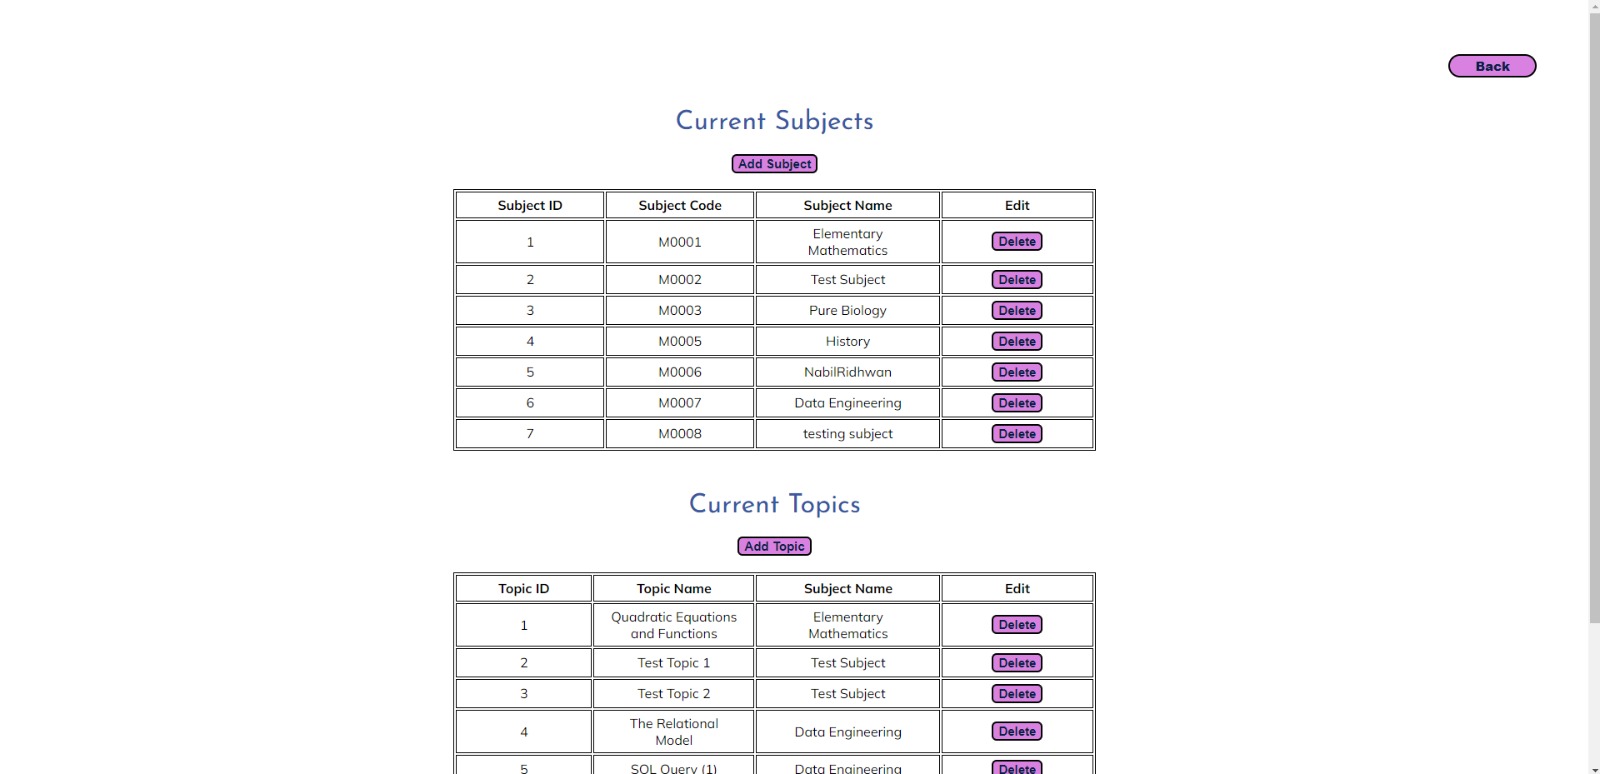
View/Edit Subjects Page (Admin Interface)
-

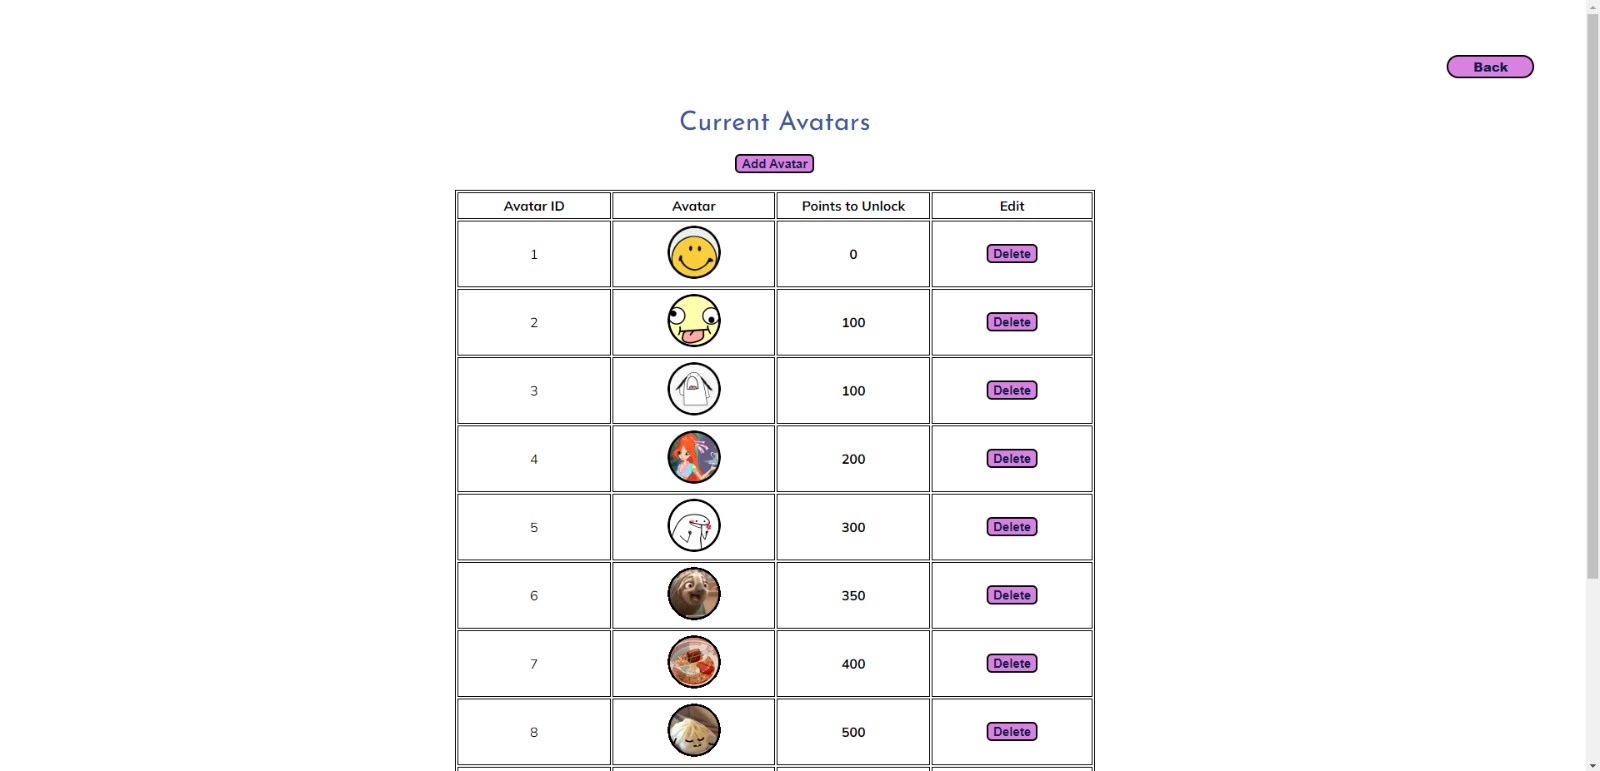
Edit Avatars


Inspiration
While researching a topic to embark on for our ADES project, we stumbled upon the possibility of making an educational website. We then started to brain storm and list down the problems we had with educational websites that we use currently or used in the past. Ultimately, we concluded that most educational websites had poor navigation and were not very user-friendly. In addition to that, we also noticed that educational websites lacked the functionality to allow their users to challenge themselves or practice what they had learned from the courses that they had spent their precious time looking through and also lacked the functionality to allow users to ask questions to clarify any doubts they had whilst going thru the topic. Therefore taking all of these problems into consideration, we decided to make an educational website that serves to be entertaining, educationally beneficial, and user-friendly for the users using the website.
What it does
The website provides a platform for students to learn their content in a more entertaining manner as well as provides them a space to learn content from other students using the discussion feature. This website also provides a platform for teachers to upload their content in a more fun and entertaining manner in order to better engage and encourage their students to have fun while learning.
How we built it
We used a combination of programming languages we learned in Year 1 which includes HTML, CSS, and Javascript to configure and build the front end of our website. We also used Vanilla Js and AJAX to retrieve data from the back end to show in the front end or send data obtained from the front end to the back end. We integrated React in the later part of our project development to learn and apply a new programming language as well as make the pages that we had currently more fun and interesting. Cloudinary was used for uploading images, documents, powerpoints and etc for use on the website. Sockets were also used to better facilitate the quizzes made on the website. Eslint was also used to ensure that codes always followed a format and various packages such as node mailer, chart js, fuse js, and excel package/library were used to make other interesting features on our website such as sending an email for changing password, creating charts to show quiz statistics and allowing quizzes to be converted into excel or allowing excel sheets to be converted into quizzes.
Challenges we ran into
Ruo Xuan
One of the challenges I faced was integrating React into our website. At first, I thought that we were supposed to create a whole new react app for our website in order to use React like creating a mobile application. Hence, I needed to consider what has to be run in the netlify host in order to compile the react app. However, after finding out that we can incorporate React into our websites through the CDN link, it was easier. But there were a few challenges I encountered. For example, how do I reuse a component through the import and export statement as the browser environment does not consider it as a module. The solution was to declare the type as “module” when including the script for the component. Another challenge was functions that were created outside and inside the scripts. functions that are declared in the components scripts are not global and cannot be reused outside of the scripts and are not defined when typed in the browser console. A way around it is to define it as a window function in order to make the function global and reusable.
Xuan Rong
One of the challenges I faced was integrating React into our website. I need to learn and implement React within 1 month. At first, I thought React was hard as it is a new concept for me to learn and implement. However, the more React videos I watched, the more I understood about React.
Jaslyn
One of the challenges I faced was figuring out how to allow users of the website to upload files on the client-side. Since our project was on the theme of e-learning, this feature was very important since teachers should be able to upload lesson materials to the website for students to view. Then, after doing some research, I discovered Cloudinary. I took one of the free courses they provided to learn about how to use their upload API as well as read through their documentation. Through this, I discovered their upload widget which I felt was more suitable than using the normal upload API since it provided features such as drag and drop files as well as choosing files from multiple places other than the file explorer. This would allow teachers to be able to upload materials from places other than their own computers easily and the upload widget would make the website more user-friendly. The best part about Cloudinary media upload is that it allows the upload of different types of files to the cloud, including images, videos, PowerPoint slides, documentation etcetera which would be very important for the teachers since lesson materials could come in all sorts of types. I was also able to use the Cloudinary image transformation feature to set the size and style for user avatars so that little styling would be needed when displaying the avatars. Another challenge after the uploading of files would be the displaying of files. At first, I discovered the HTML iframe and tried to display the files I uploaded in the iframe but it did not work for all types of files. After trying out various methods like Google Docs Viewer in the iframe, I settled on using Microsoft Office Viewer in the iframe as it worked the best for all the types of files I uploaded.
Shirin
One of the challenges I faced while making the website was to figure out how to configure and make the random assign function to allow admins to randomly assign subjects to teachers. Since this feature was very logic-heavy, I had to carry out some research and seek the help of the lecturer to craft a solution to the problem. After much trial, error, and a helping hand from one of my friends, I was able to build a solution to the problem by storing subjects and subject information in an array of objects and storing teacher information in an array of objects for teachers to show the details of the subjects and teachers available onto the page. Then when the admin keys in the number of teachers that they would like to assign subjects to, I did a check at the start to see if the admin keyed in the correct total amount of teachers as reflected on the page. If the admin fails to do so, they will be prompted to re-enter the values. However, in the case where the admin was able to successfully enter the correct number of values, the values entered will become the array length for the array that stores teacher information in the respective subject-object. Then the array of teacher objects will go through a for loop which will assign a teacher object to the teacher array in the respective subject object. After adding the teacher to the array, the teacher object will be removed from the array of teacher objects using a splice. This method of assigning ensures no teacher is reassigned to the same subject and also ensures that each teacher is assigned to at least 1 subject. After this arduous task of sorting and assigning in the front end, the array of subject objects will be sent to the back end to insert this data into the database table. It got even more complex as the backend code had to be configured as such it was able to insert multiple records at once without crashing. After going through another round of research, I discovered that I can use a multiple insert command in SQL to carry out this functionality.
Accomplishments that we're proud of
We are proud of the fact that we were able to pick up a lot of new and useful skills during the duration of working on this project. From learning react to make our pages more interesting to using sockets to better facilitate the quiz feature and to using Cloudinary to upload different types of materials to the website, we learned many new things to improve our website and make it more engaging and user-friendly. We are also proud that we were able to achieve the goal we set for the project which was to make a fun and engaging for all types of users to use no matter if a student, teacher, or admin is using it.
What we learned
We learned a lot of new things in the technical aspect which was learning how to utilise many new packages and tools to aid us in making the website we envisioned. In addition to that from a non-technical standpoint, all of us learned the importance of not aiming too high but aiming for the tree first when we are still on the ground then aiming for the sky when we reach the tree. We learned to manage our desires and expectations for the website and list down the features which needed the highest priority and we also learned to not be upset if were not able to apply all the features we wished to apply at the start of the project. Additionally, we also learned the importance of time management and learned how to manage our time effectively so that we can get all our features done at least a day or 2 before submission so that we can test the final product before we submit.
What's next for StudyBites
We are planning to further improve and maintain the current state of the website so that we can fix any minor bugs or setbacks we may have encountered but missed out on after submission. We are also planning to improve on our current features so that they can be more seamless for the users to use and add some modifications to improve the functionality of the feature. We are also considering changing the user interface for the admin and teacher interfaces to make it more appealing for them to use.
Trying out the website
Student
You can register as a student to try out the student features
Teacher
Username: teacher3@gmail.com
Password: cher3
Admin
Username: admin1@gmail.com
Password: admin1
Built With
- chart.js
- cloudinary
- css3
- fuse.js
- html5
- javascript
- nodemailer
- postgresql
- react
- scss
- socket.io


Log in or sign up for Devpost to join the conversation.