Inspiration
We like things that fly, way-overcomplicating projects by building a drone from scratch (and programming a Rasperry Pico as our own flight controller!), and pretty lights. Inspired by the beautiful night show at the Abbotsford Airshow, which featured an amazing drone show and Ghostwriter performance (sparklers and lights from a fighter jet!!), we thought it was a no-brainer to combine our technical interests of computer vision, controls programming, and building things to create Starpainter.
What it does
The goal of Starpainter was to build and code a drone from scratch, which takes an inputted path (e.g. a star, heart, or circle) and flies in that path; with the LED module attached to it and autonomous flying in a dark environment, Starpainter could "paint" this path in a long-exposure photo. The drone, using a Raspberry Pi PicoW and MPU 6050 (accelerometer/gyrometer), relies on CV (camera vision) to obtain position feedback for positional control.
How we built it
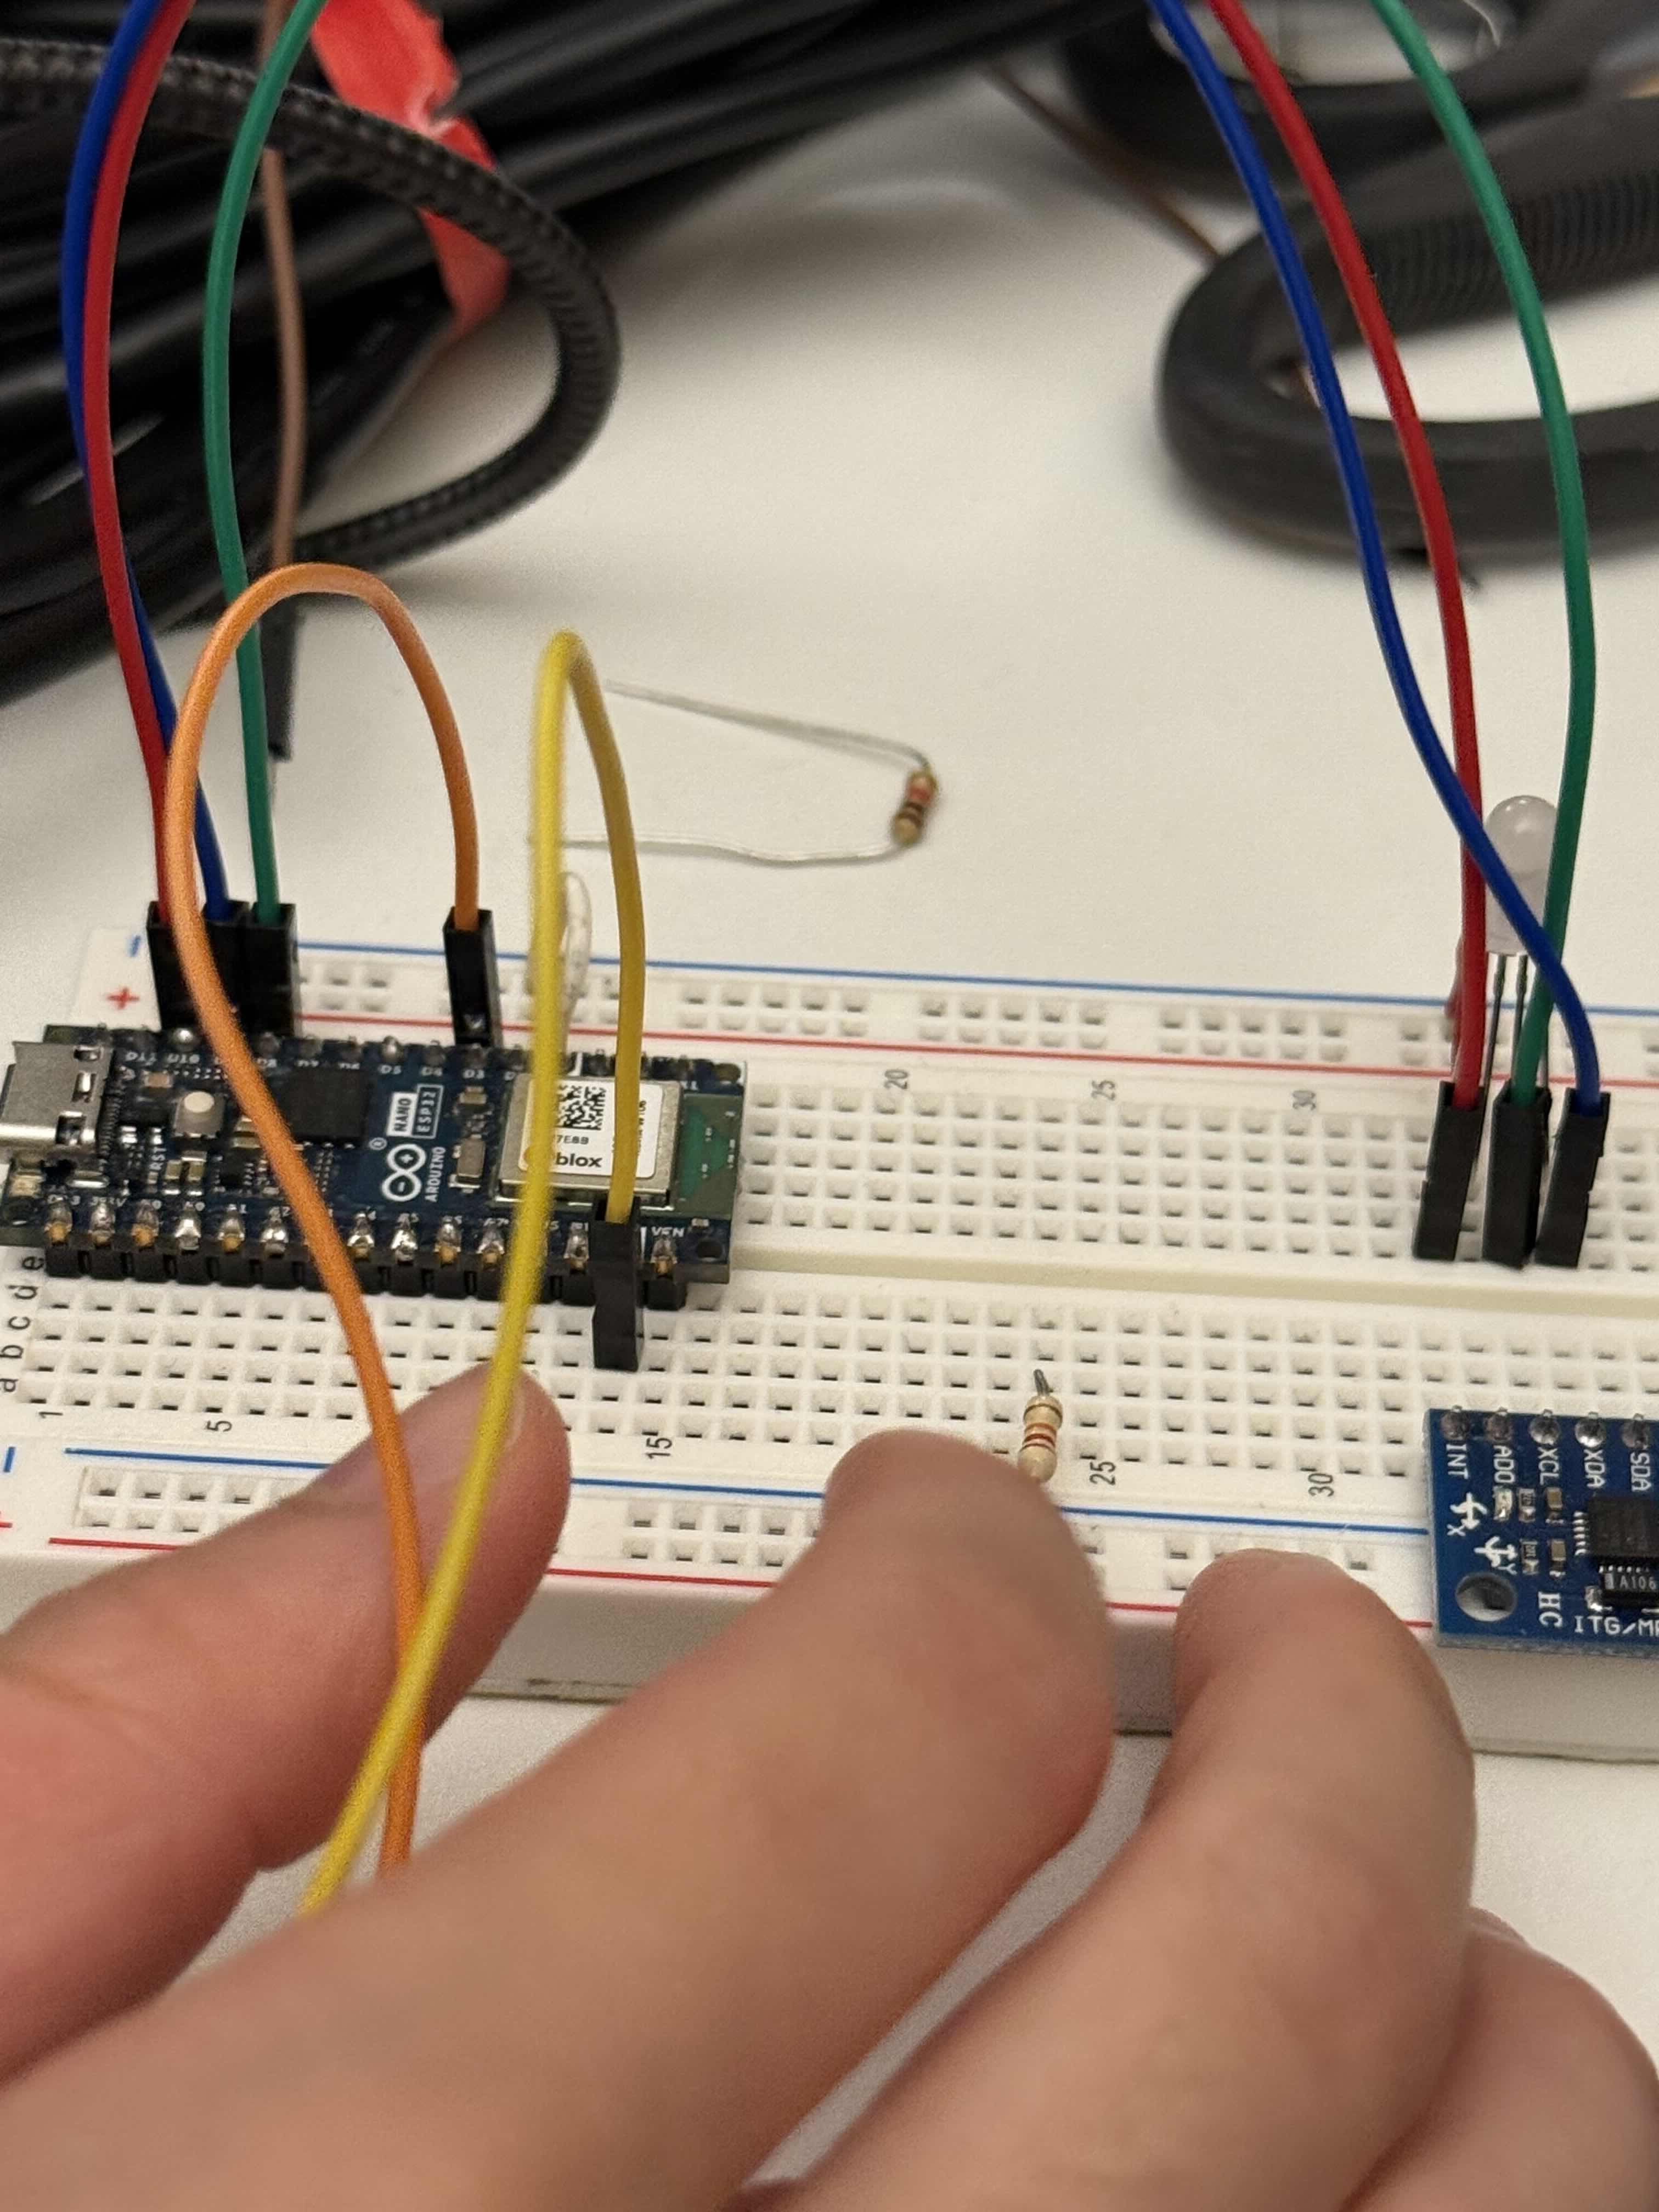
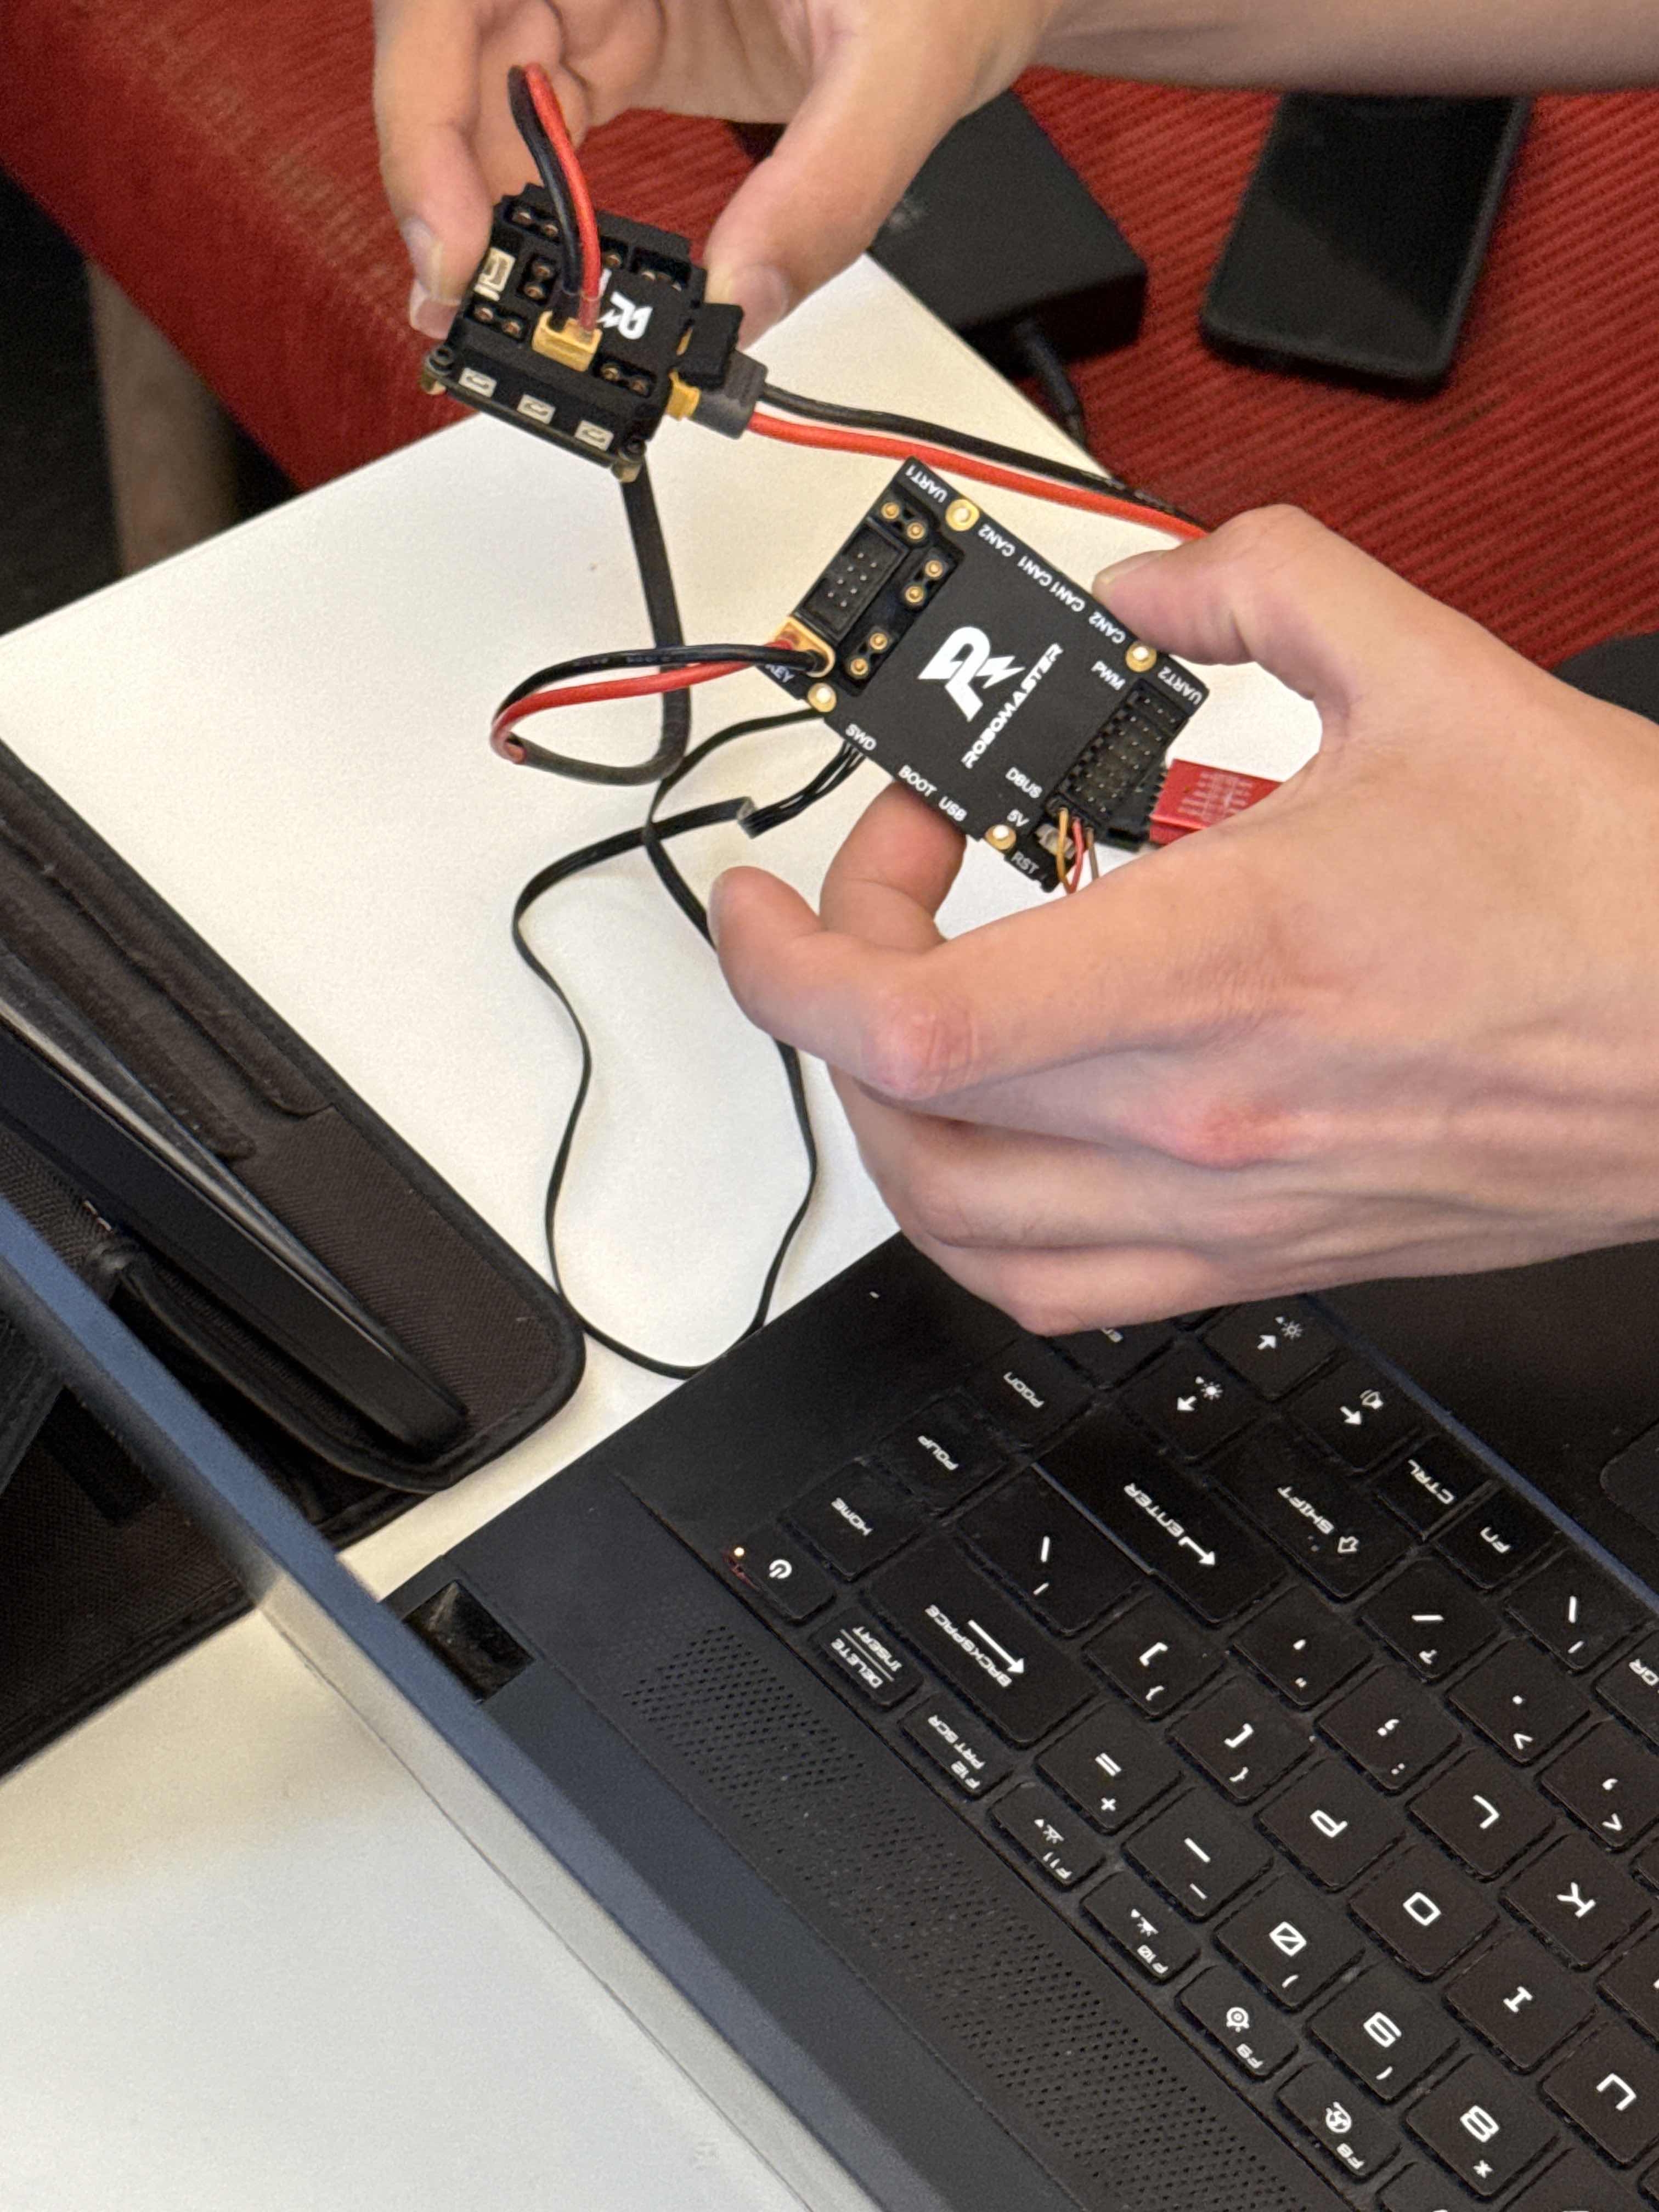
We built the drone from a kit - bringing our own soldering iron, wires, and tools - that included the chassis, motors, and speed controllers. We integrated them with the PicoW and adapted open-source flight control code for the controller and motors we were using (typically, one would purchase a dedicated flight controller circuit for the task). Separately, we programmed CV to recognize two markers (e.g. 2 LEDs mounted on opposite arms of the drone) and calculate the distance between them, so that we could see whether the drone was rotating, increasing altitude, or panning based on the position and distance between the markers.
Challenges we ran into
Many, many headaches were caused by initial attempts to use an Arduino Nano ESP32 as the flight controller due to unpredictable connection errors; additionally, we chose a highly challenging set of hardware to control, as we lacked barometers (for altitude feedback) and a proper flight controller.
Accomplishments that we're proud of
Lacking a 3D printer (or any teammates/friends) that were willing to share theirs, we came up with creative solutions to mount boards on the drone. We were very pleased with our idea to use a coffee cup lid as a mount, which was the perfect size, lightness, and shape - it even includes an ideally-sized hole to pass the motor power cable through. Additionally, getting the CV to work to the degree it does has been a huge accomplishment as it was our team's first time working with it.
What we learned
We learned how to program CV for the first time, how many things can go wrong even when just physically assembling the drone for a kit, and how to implement PWM control on both Arduino and PicoW. We began to implement a website to control LED color and brightness as well.
What's next for Starpainter
We'd love to finish up the project and build a proper UI for uploading flight paths of all kinds of complexity. It would be cool to build a tool that converts any image of an object (or several objects) into a flight path through a .dxf file format, g-code, or something similar. Additionally it would also be nice just to have "proper" sensors rather than hacking together position feedback from CV/doubly-integrated acceleration feedback from the accelerometer.


Log in or sign up for Devpost to join the conversation.