-
-
-
⁸
-
-
Inspiration
What it does
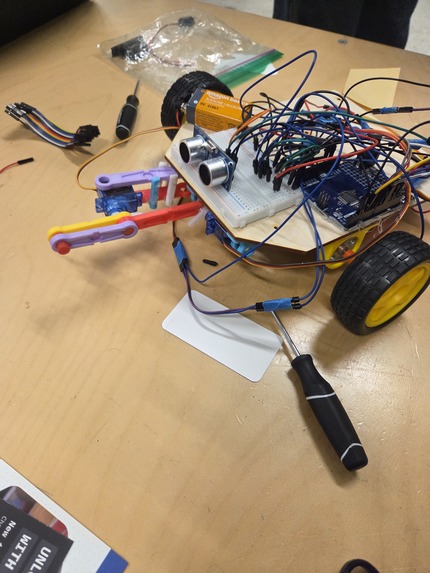
The robot was designed for autonomous navigation and action in the course provided. The main goal was to build a robot capable of completing a multi-stage task that integrates sensing, decision-making, and mechanical actuation. This project was divided into two phases, each focusing on one main task. First Phase In the first phase, using a colour sensor, the robot continuously detects surface colours on the track and makes real-time adjustments to drive accordingly to the path. Once it has identified the path, the robot can continue the route highlighted by the colour and successfully drive up the ramp, while maintaining stability. Once it has reached the target, the robot is reset and reprogrammed for the second phase. Second Phase In this phase, the robot uses the colour sensors again to identify its surroundings and to start circling around the center target. While circling, it can use the servo powered arm to attempt to hit the ball, using its continuous circular motion with its arm actuation.
How we built it
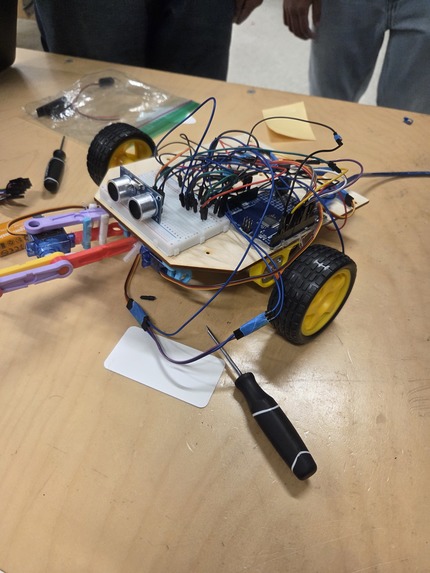
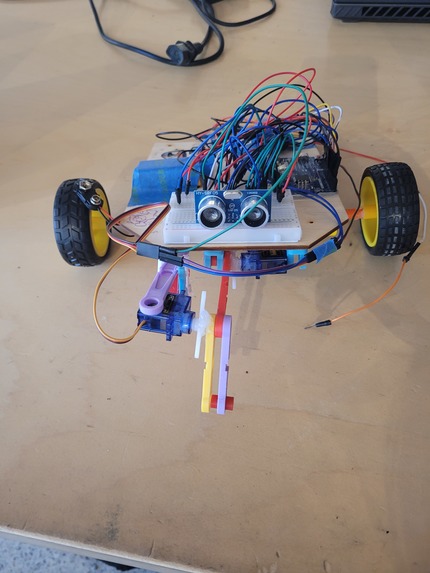
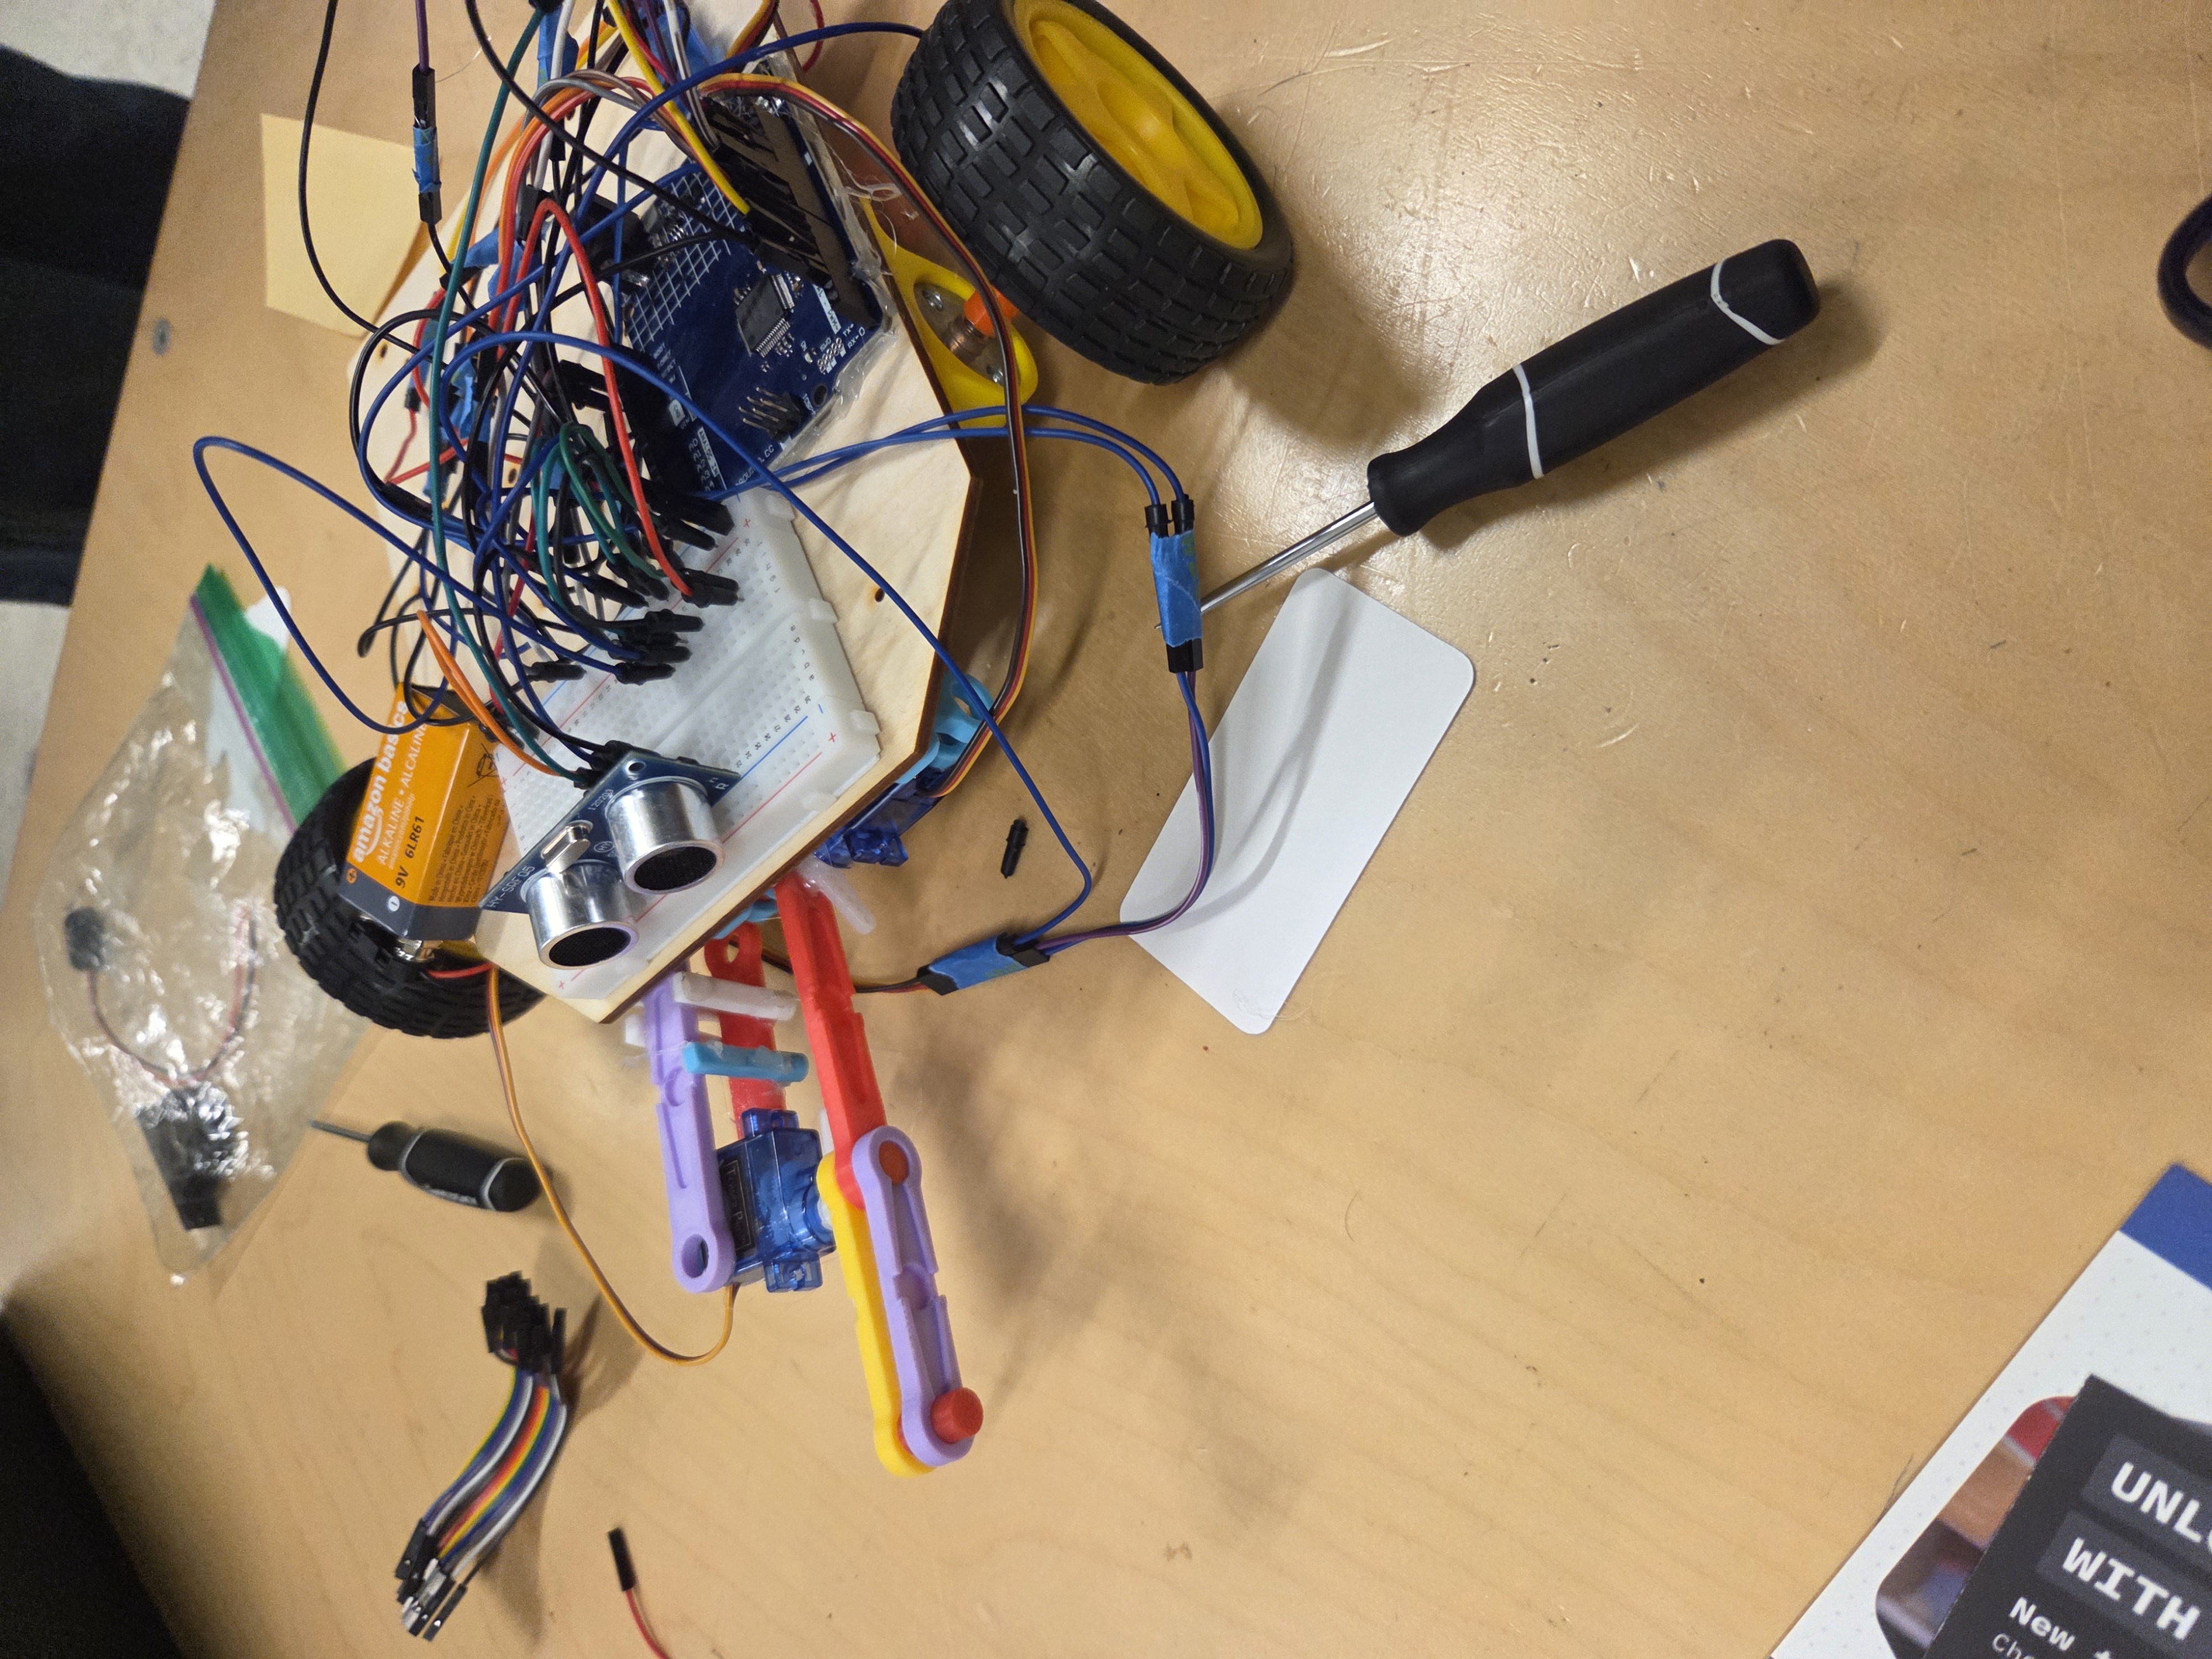
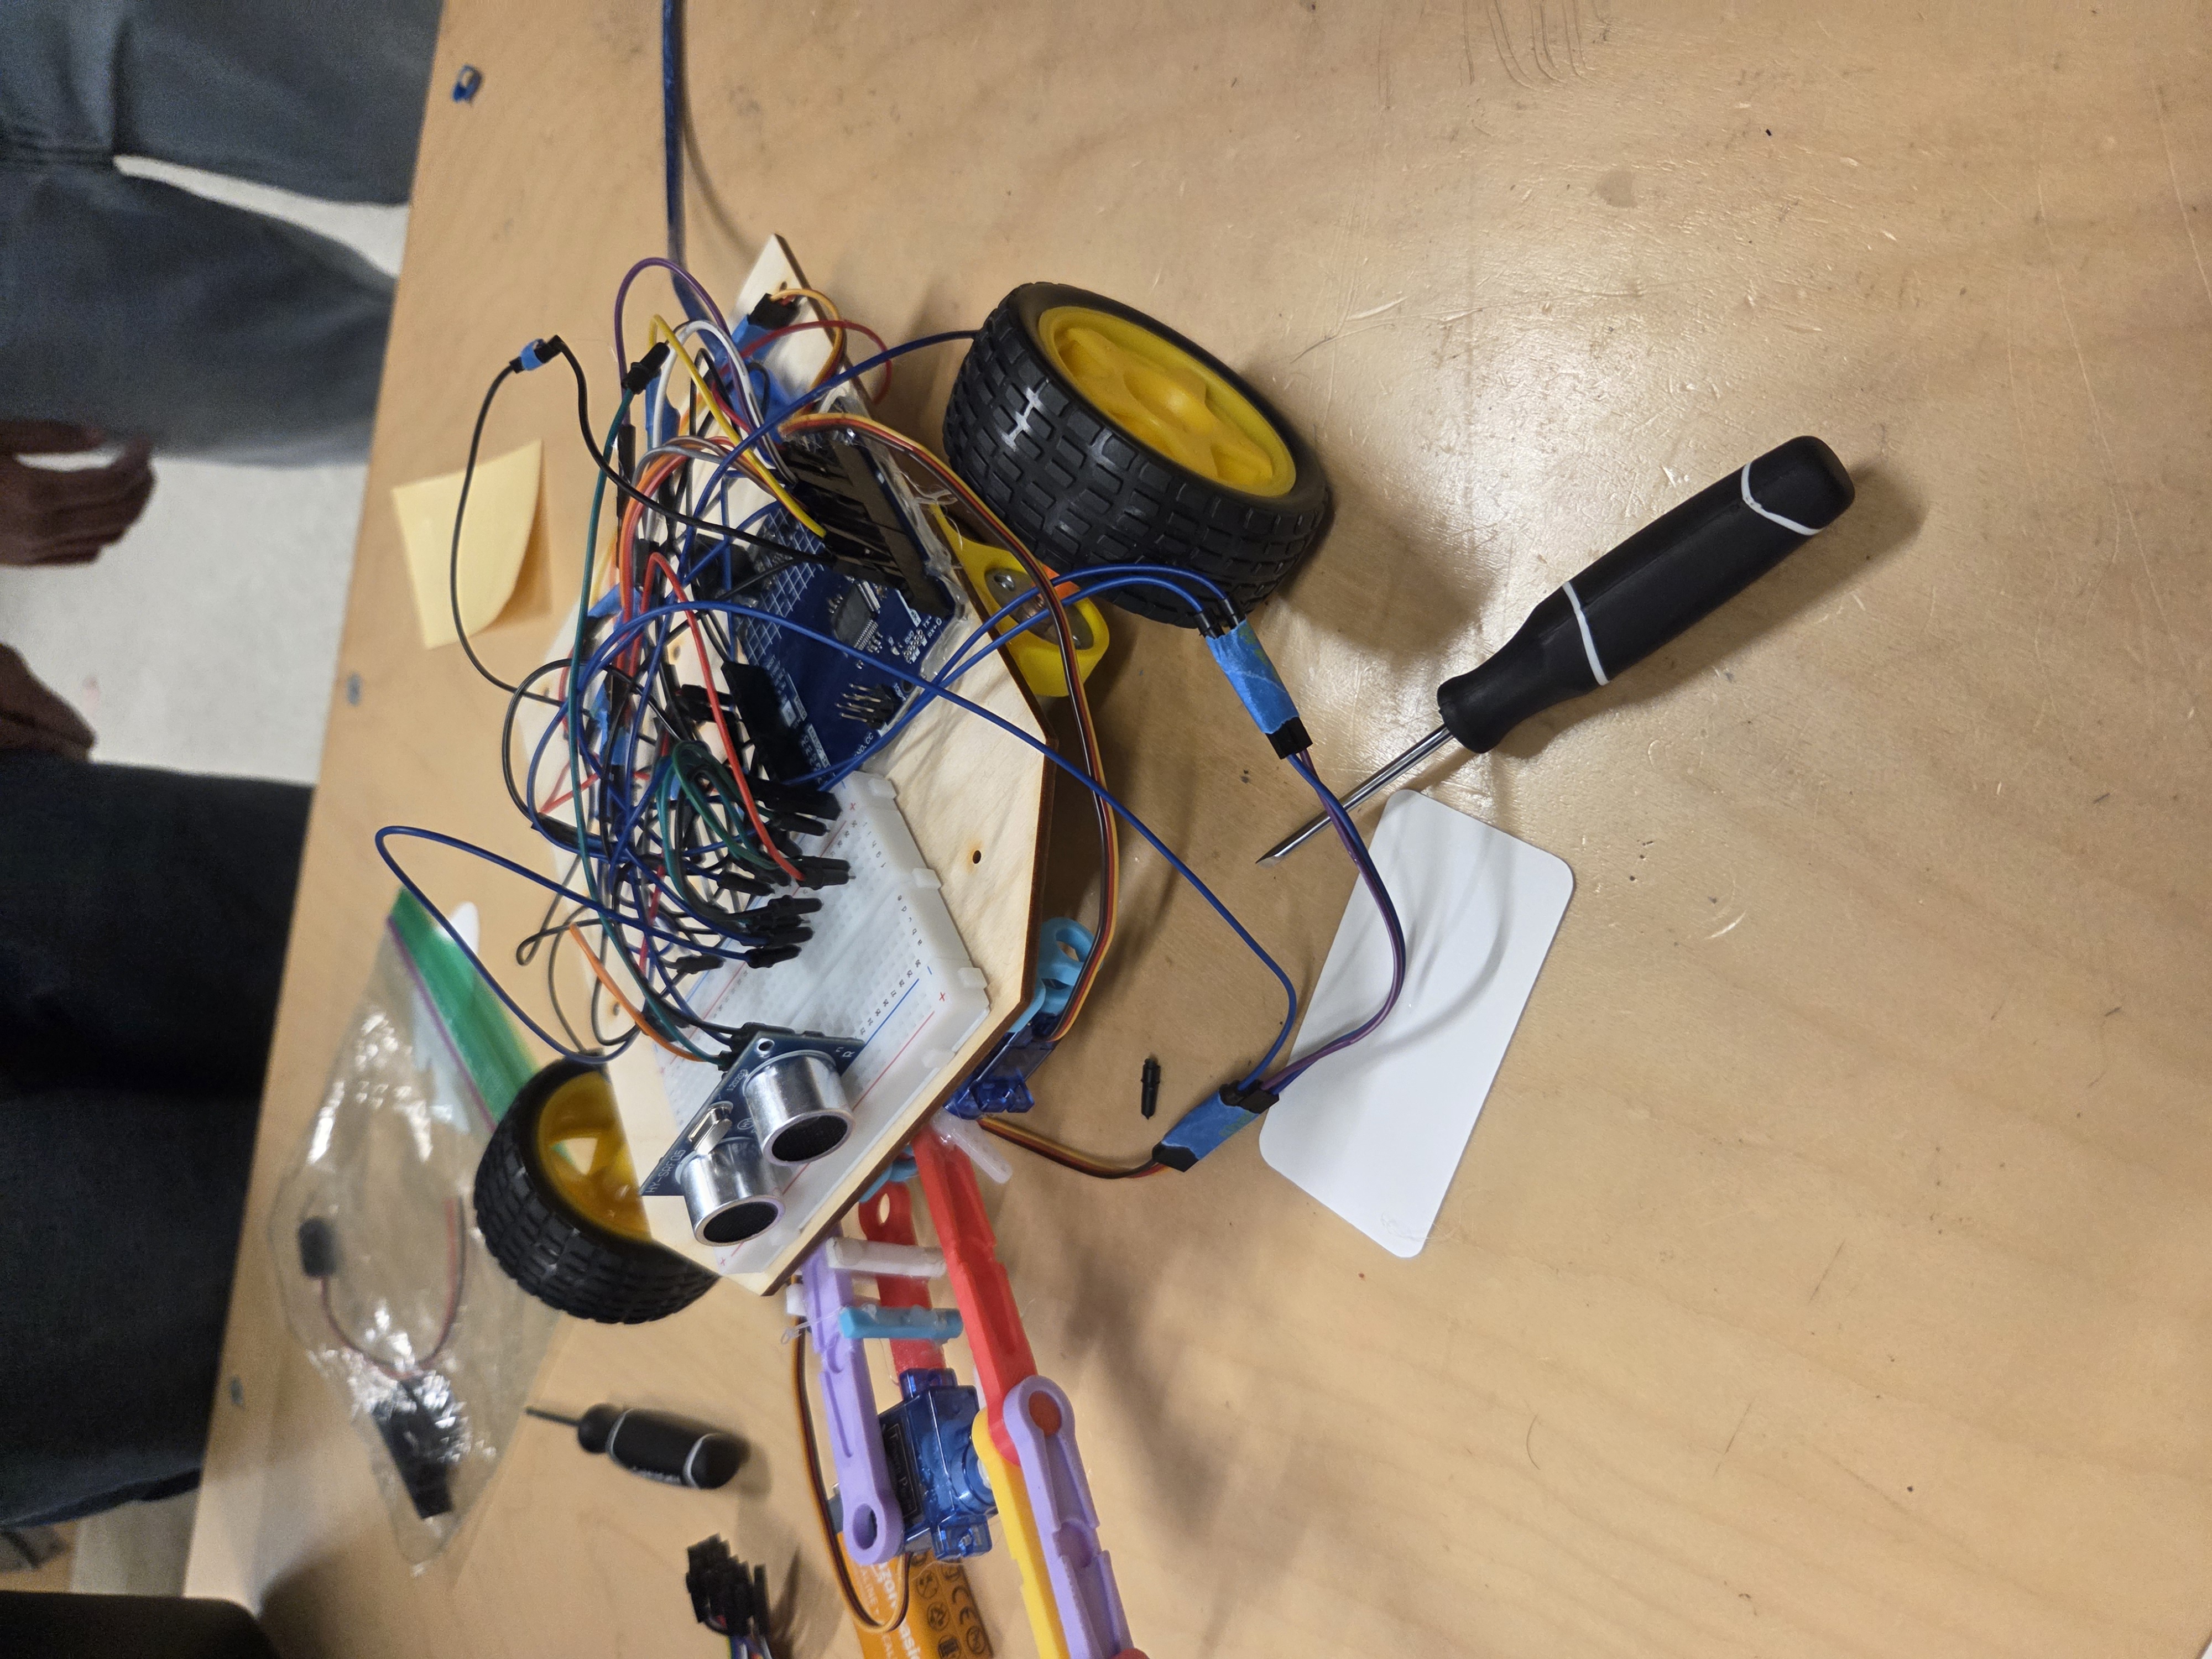
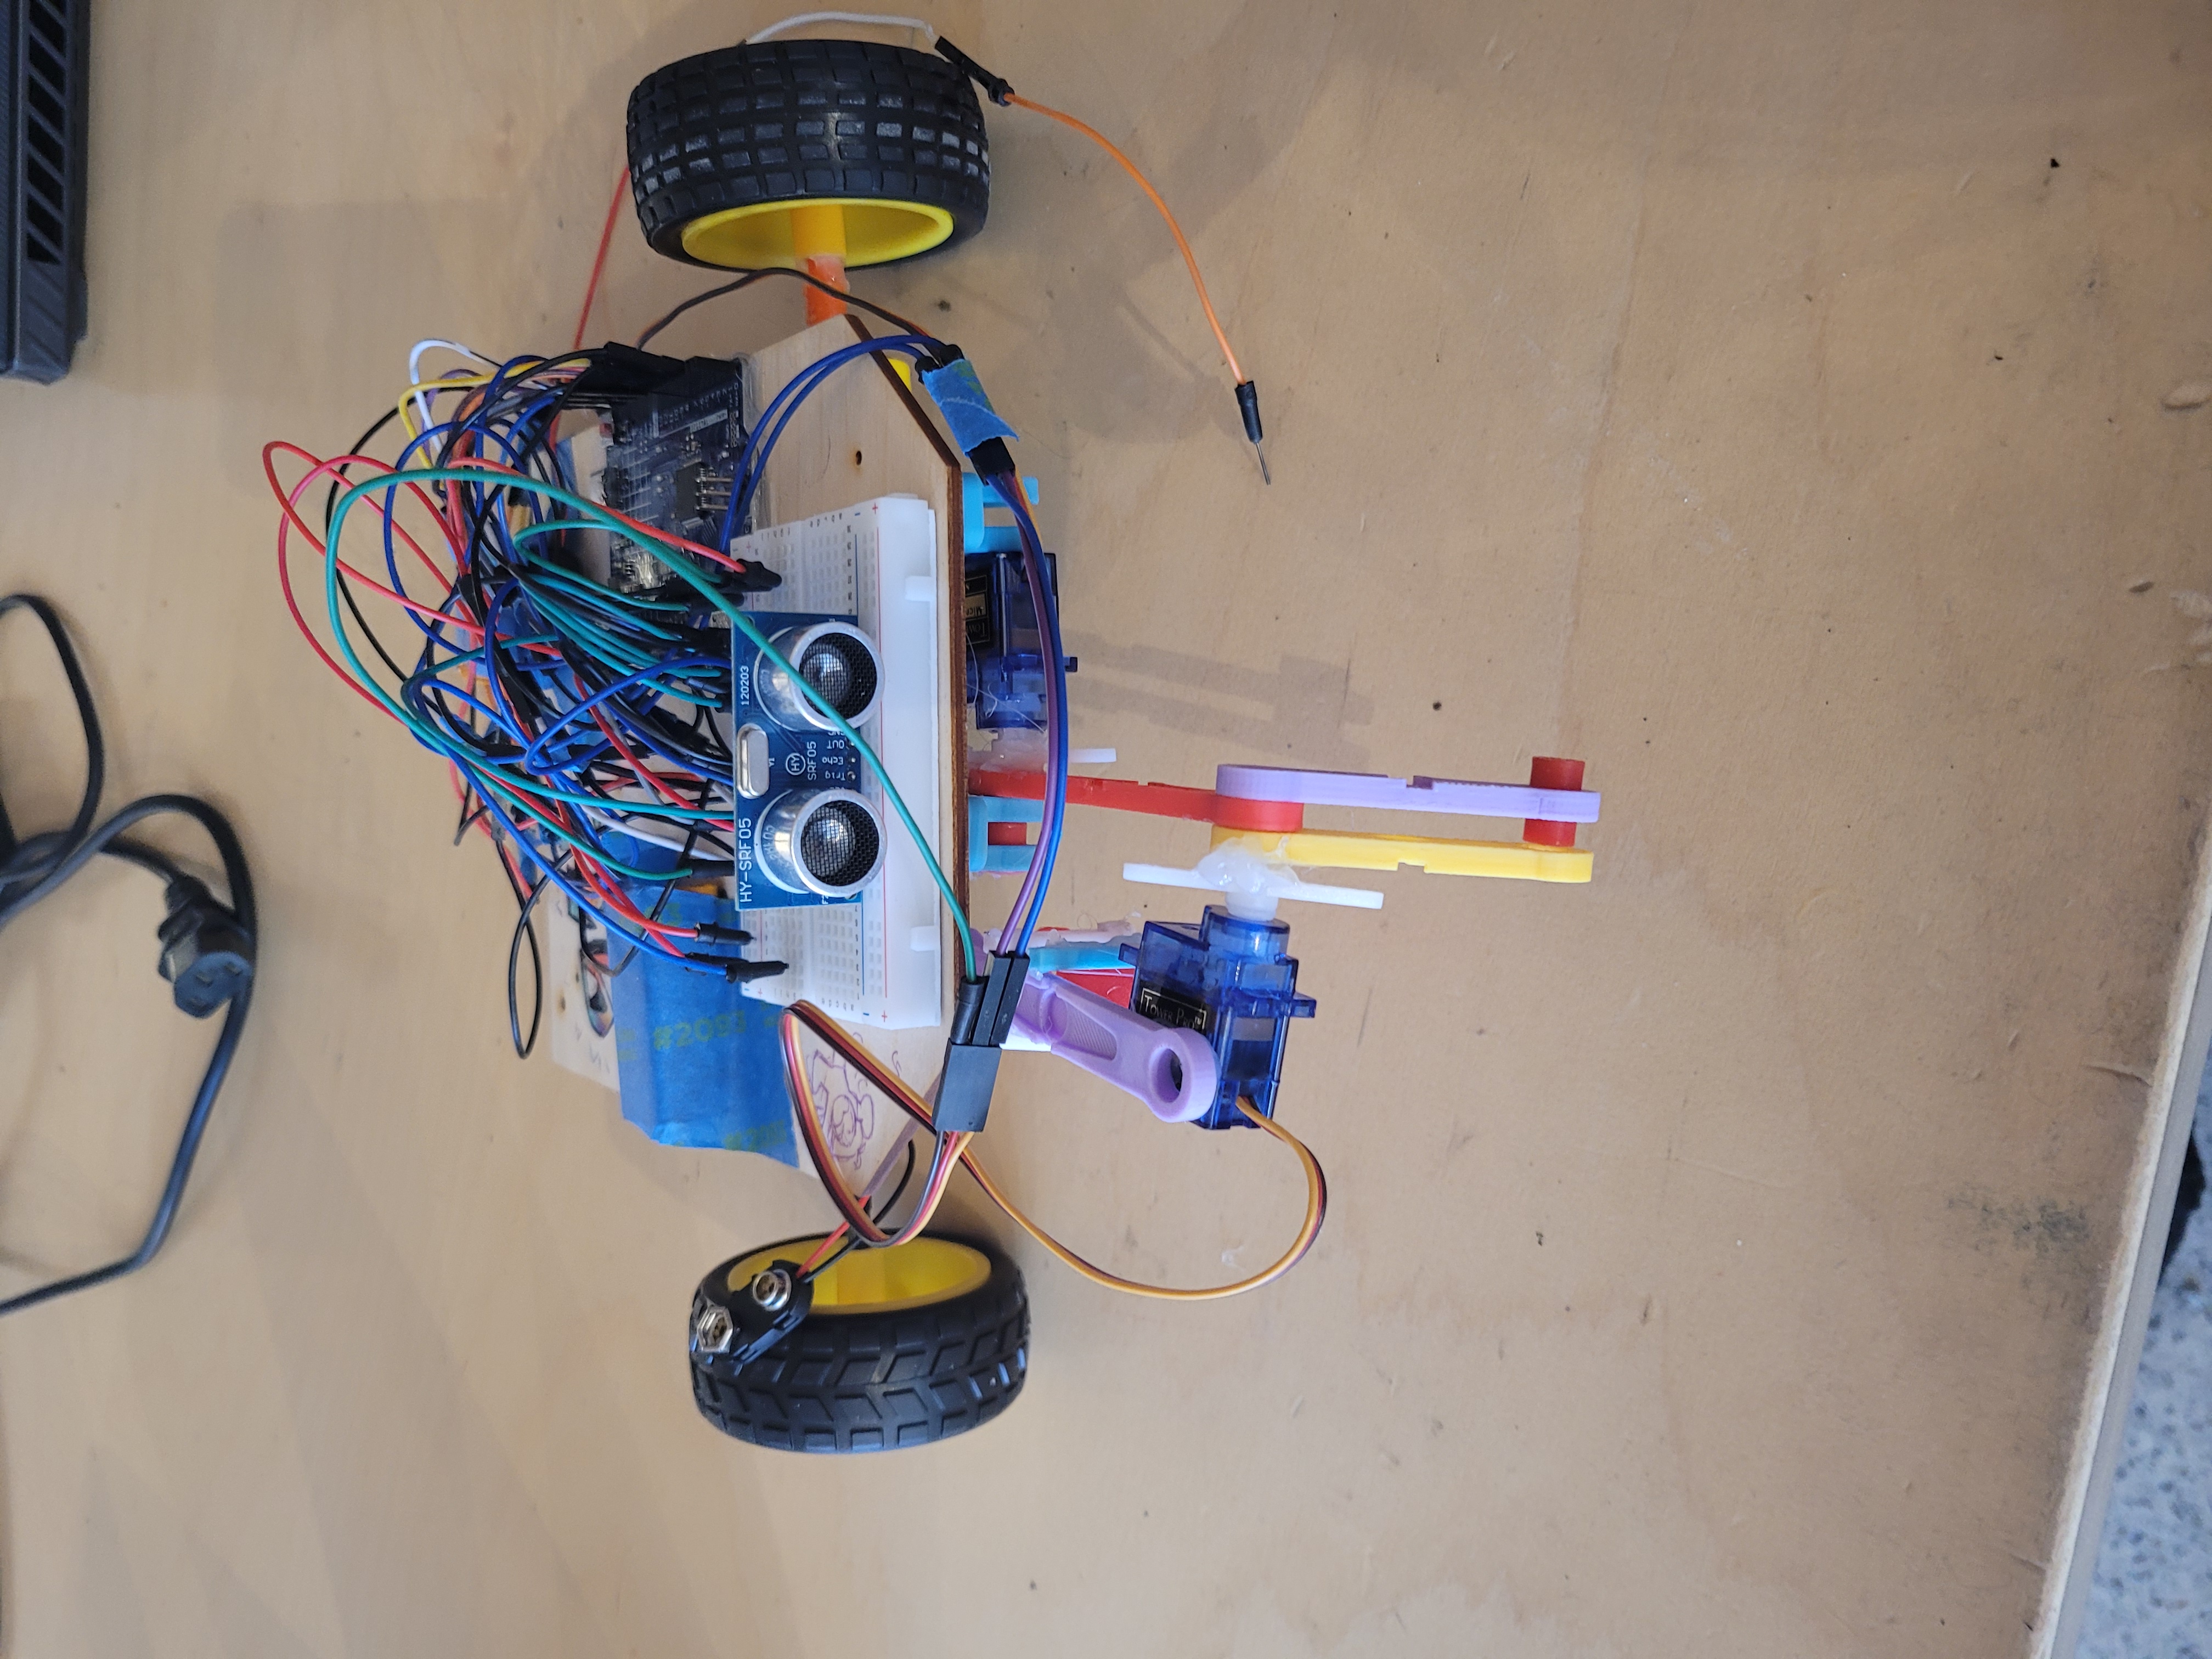
We used a wooden frame, with motors, motor controllers, a battery, an arduino board, wheels, a breadboard, and a lot of incredibly messy wiring which ended up costing us a lot of time. Everything is fastened together using a hot glue gun and tape.
Challenges we ran into
Sensor Inconsistency A major challenge we faced was with the inconsistency we faced with the sensors. The sensors were more sensitive than we realized, requiring the colour sensor for example to be quite inconsistent due to being a bit high up off the floor. This harmed us as it won’t follow the path given easily
Wiring Due to the complex nature of the robot, the wiring turned out to be rather confusing to navigate, and made it difficult when trouble shooting to find the problem at hand. It also made it difficult when programming, as sometimes we would be using the wrong pins for the wrong devices. The messy wiring also turned out to be sometimes a bit loose, causing weak connections.
Wheel Shaft Problems One problem we kept on running into was that our wheel shaft kept on snapping when trying to attach our wheel onto the motor. We spent a lot of time trying to make sure the wheels were secure, and getting replacement shafts.
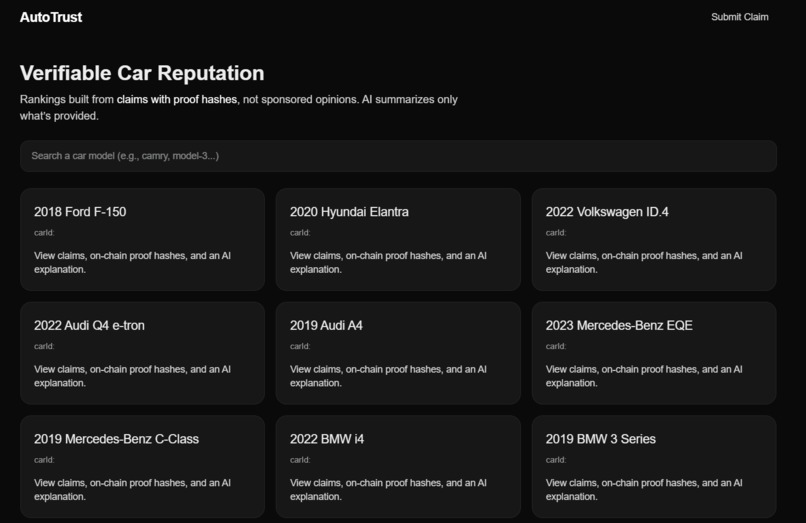
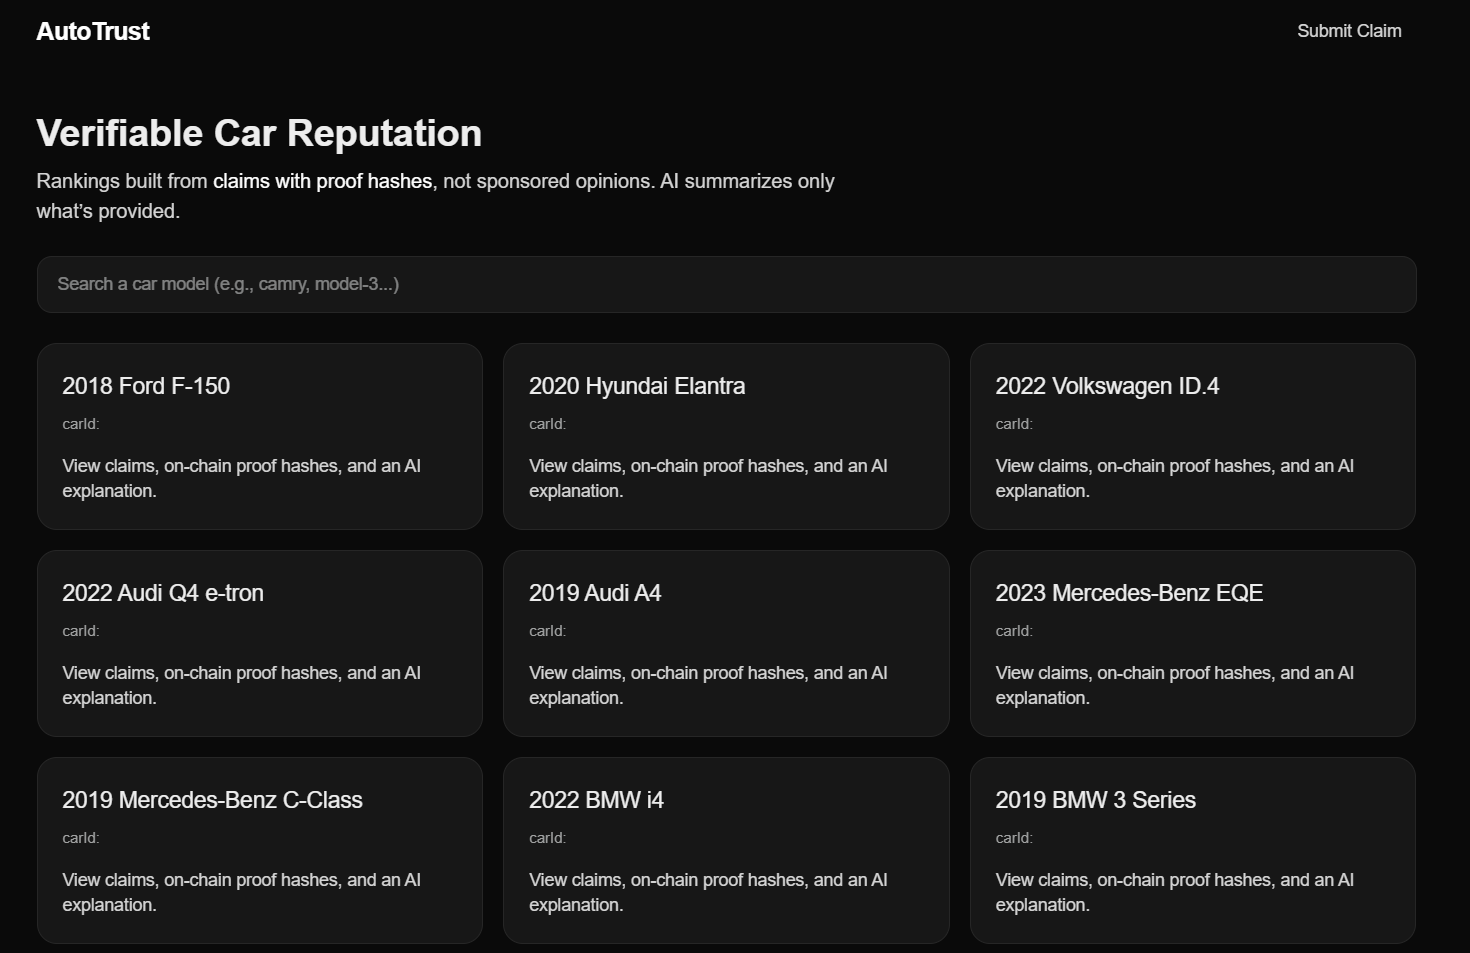
AutoTrust is built as a modern full-stack web application that prioritizes verifiability, transparency, and trust over traditional opinion-based review systems.
Frontend We built the frontend using Next.js (App Router) with React and TypeScript, focusing on a clean and premium UI that reflects trust and credibility. The styling was handled with Tailwind CSS, allowing for rapid prototyping while upholding a consistent and polished aesthetic. Some key frontend features include:
- A searchable car reputation dashboard
- Individual car detail pages showing claims, contributors, and proof hashes
- AI-generated explanations presented transparently as summaries, not reviews
- Subtle metallic typography to reinforce the theme of reliability All interactive features (search, claim-viewing, AI explanation requests) are handled client-side for responsiveness, while routing and layout are managed through Next.js.
Backend
The backend exposes a lightweight API that powers all data access. We use MongoDB as our primary database to store:
- Car records
- Reputation claims
- Contributor metadata Evidence summaries and proof references MongoDB’s flexible document model allows us to store structured claim data alongside optional proof fields (such as hashes or transactions IDs) without forcing rigid schemas, which is ideal for evolving claim formats.
All data is accessed through typed API helpers, helping the frontend and backend contracts explicit and easy to reason about.
Accomplishments that we're proud of
Due to it being all of our first time working with Arduino and hardware, we are really proud of the fact that we have a working car with working sensors and mechanics. We are really proud that the car turned out mostly like our design that we produced in the design phase, and how all of the parts can interact with the Arduino to produce results for the challenge. Though we faced many challenges, we still ended up with a viable result that can function in the challenge. Some major accomplishments we are all proud of were:
- Making the servo motors function so that they are able to try to pick a box, this was a major challenge for us, so finally solving it felt very rewarding.
- Taking the logic for colour sensing, and making it able to follow colour.
- Using the ultrasonic sensor to activate the servo motors to move the arm towards the theoretical box.
What we learned
Firstly, how to cobble together an Arduino board with motors, breadboards, and sensors. That was a new experience for pretty much all of us, since the bulk of us were CS major with absolutely zero hardware knowledge. How we came up with a something that resembles something of a finished products is beyond me, and it ultimately stands as a testament to what we've learned,
We've also learned to cut losses. From the get go, I've noticed that my group erred a bit more on the perfectionist side; We wanted the robot to score well on every single category, despite our limited time and resources. Except, we were wasting a lot of time splitting hairs, and it wasn't until testing period was over that we finished the actual first prototype. Paradoxically enough, we had to learn to be willing to settle for less in order to make the most of the scoring rubric.
What's next for Standard hardware challenge+AutoTrust
The next for our robot is to adjust the ultrasonic sensor to be lower, so it can have a better sense of it's surroundings, and detect distances more accuratley so we could use our servo motors to their full capabilities. The next phase for our robot is moving from Myhal Arena to the winter olympics, so it could use it's sensors and motor's to what they were meant to do!
Built With
- arduino
- mongodb
- react
- tailwind
- typescript


Log in or sign up for Devpost to join the conversation.