-
-
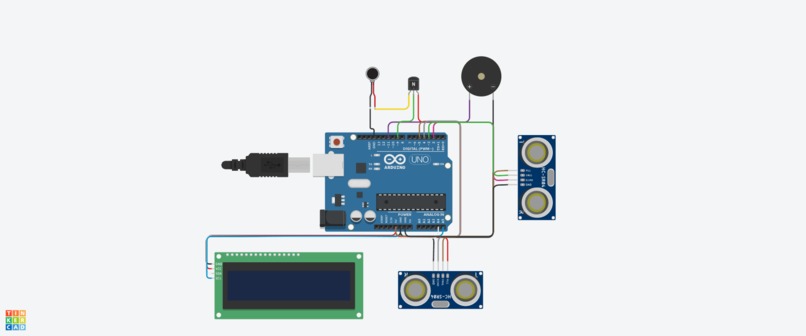
SAN Arduino prototyte
-
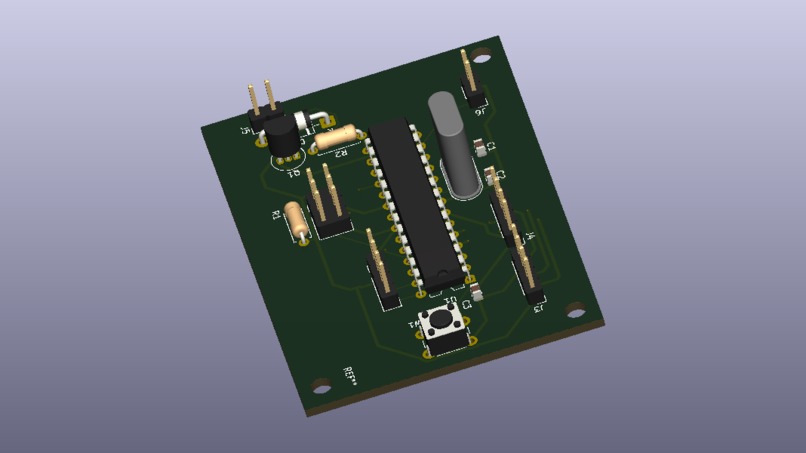
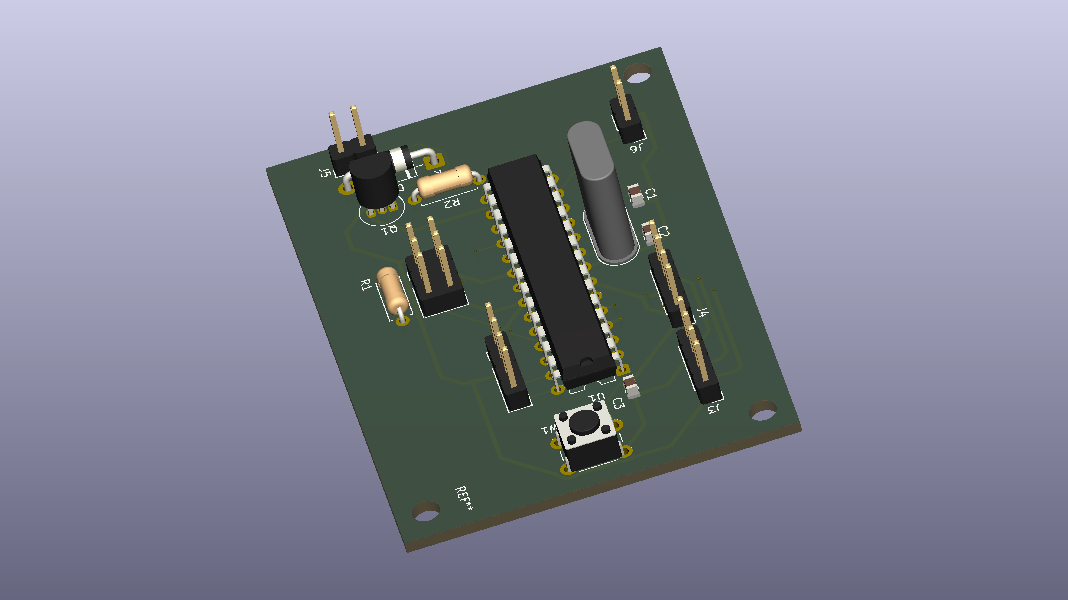
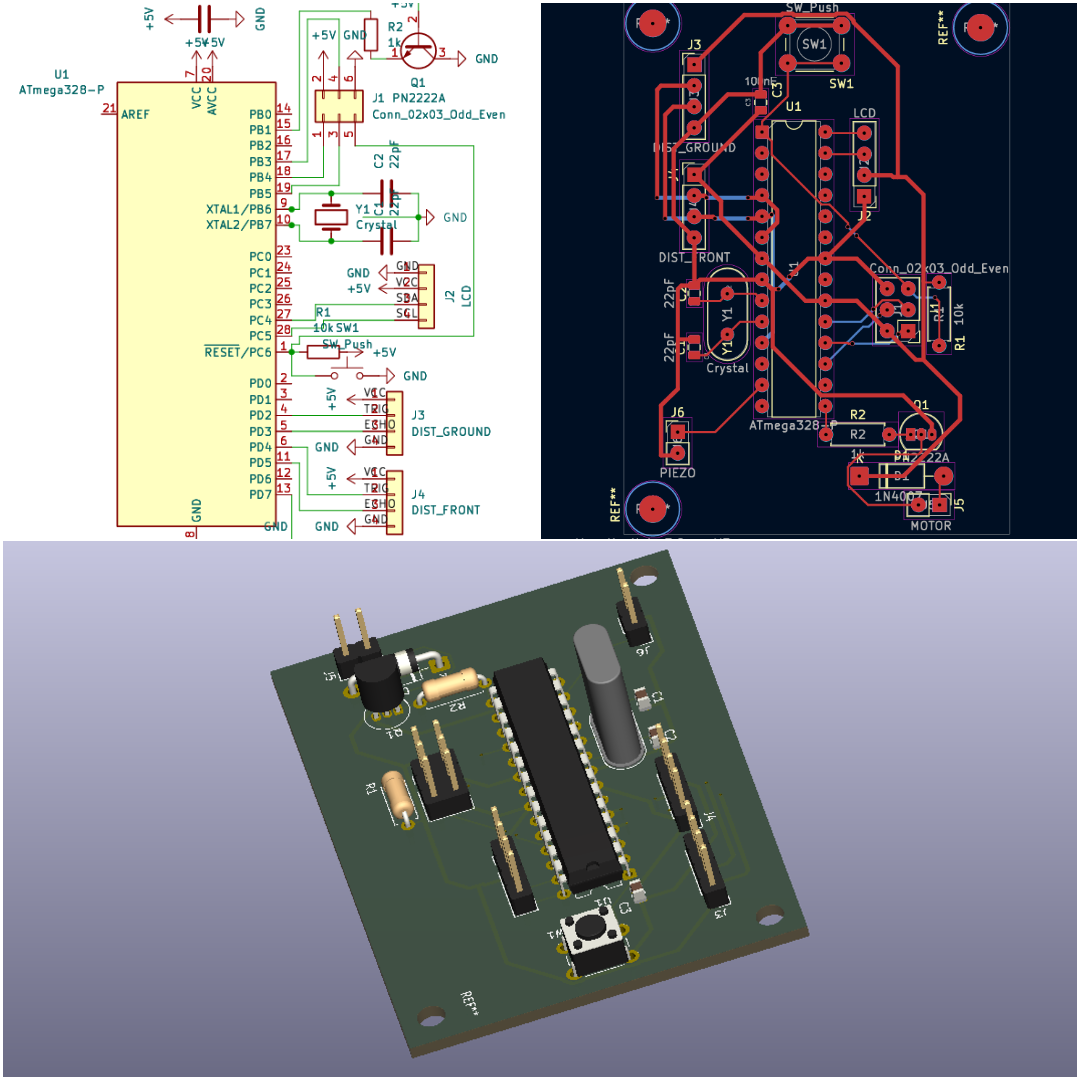
Final ATmega328P PCB design in KiCad
-
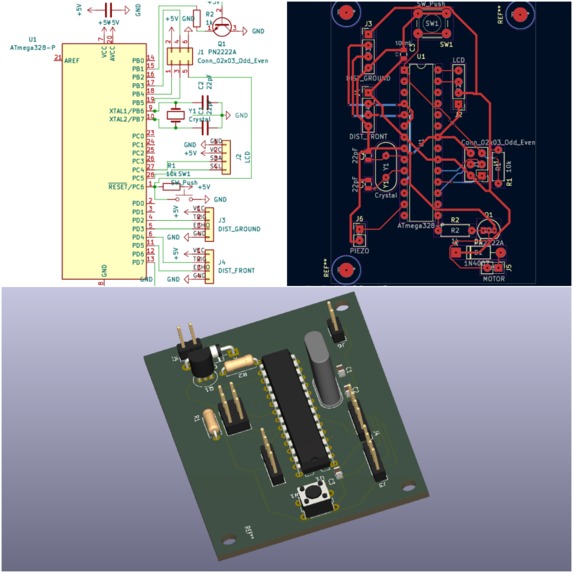
PCB layout with manual routing and component placement
Inspiration
I wanted to explore how a small embedded system could be designed to assist with navigation while also giving me experience beyond basic Arduino prototyping. I started with the idea of a sensor-based assistive device and gradually developed it into a more complete embedded hardware project.
What I built
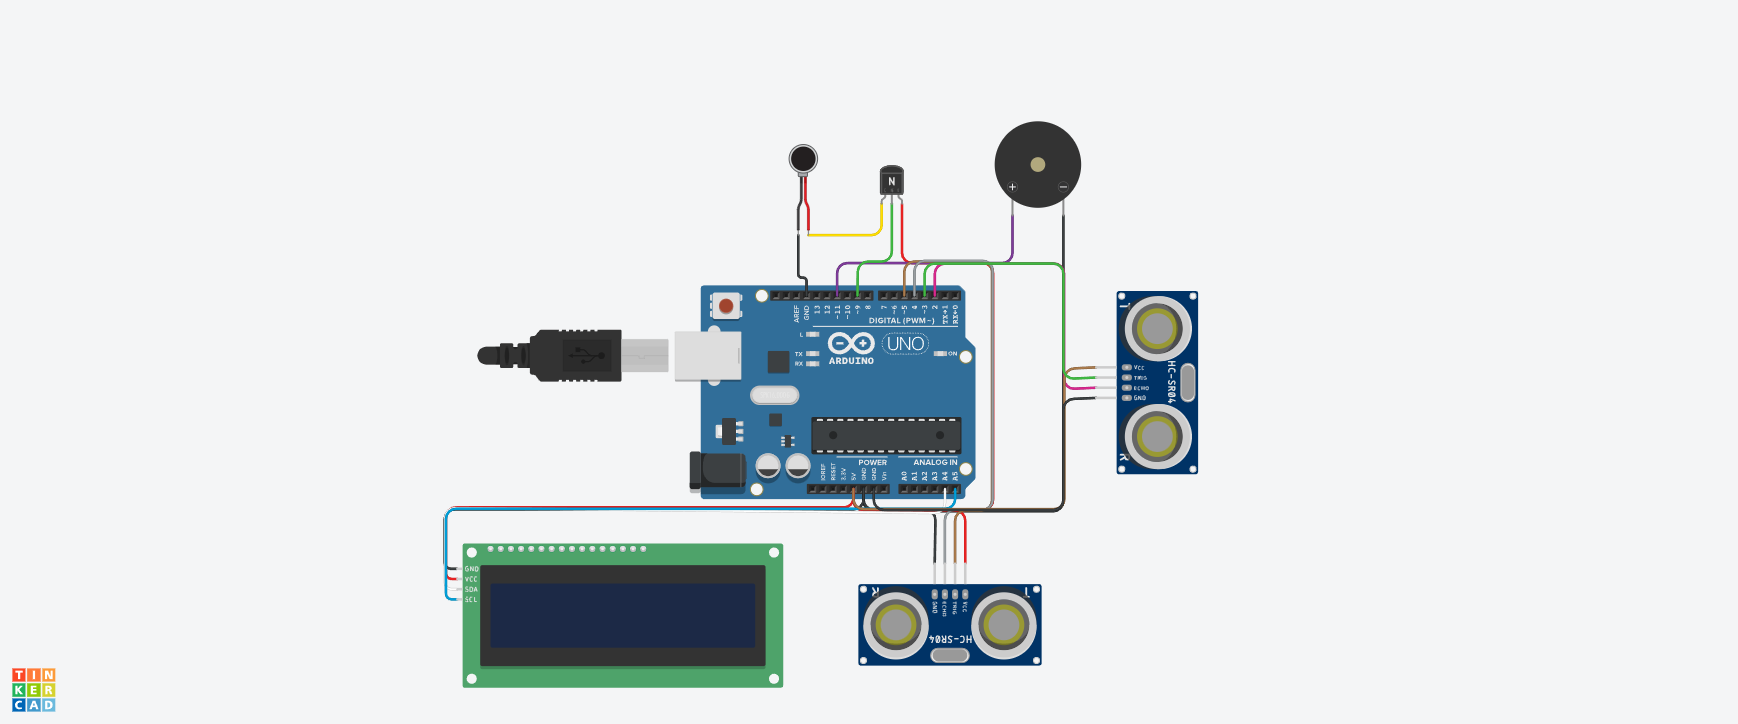
The Smart Assistive Navigator combines an ATmega328P-based embedded system with sensors and user feedback components. I first developed and tested the concept through Arduino-based prototyping and then moved toward designing a dedicated PCB rather than relying entirely on a breadboard.
For the PCB version, I designed the schematic and complete board in KiCad, including component selection, footprint assignment, placement, manual routing, design-rule checking, Gerber generation and BOM preparation. The current design is fabrication-ready, although I have not manufactured the PCB yet.
What I learned
This project helped me understand the difference between making a circuit work on a breadboard and designing hardware that could eventually become a real PCB. I learned more about schematic organization, component footprints, PCB layout, routing, DRC, fabrication files and documenting a hardware project clearly.
It also made me more interested in embedded systems and hardware engineering, particularly the process of taking an idea from an initial prototype toward a manufacturable board.
Challenges
One of the main challenges was moving from a working prototype to a complete PCB design. Component placement, routing, footprint selection and avoiding layout problems required several iterations and careful checking.
The project is still a work in progress, and my next step is to fabricate and test the PCB physically, identify any hardware issues and improve the design based on the results.


Log in or sign up for Devpost to join the conversation.