-
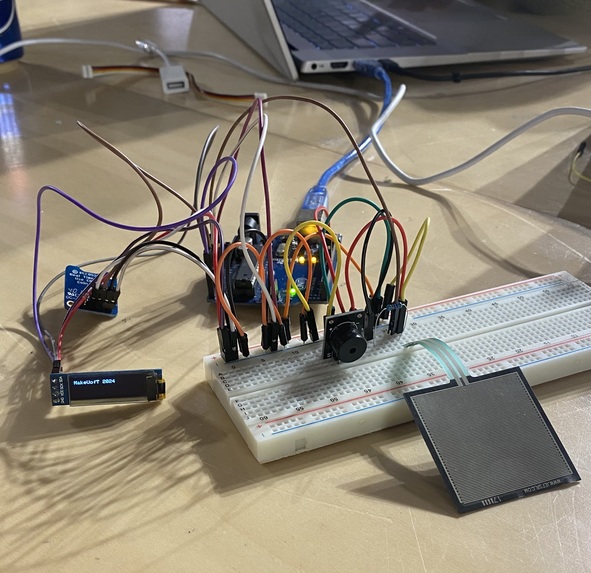
Design in progress
-

The Under-Box
-
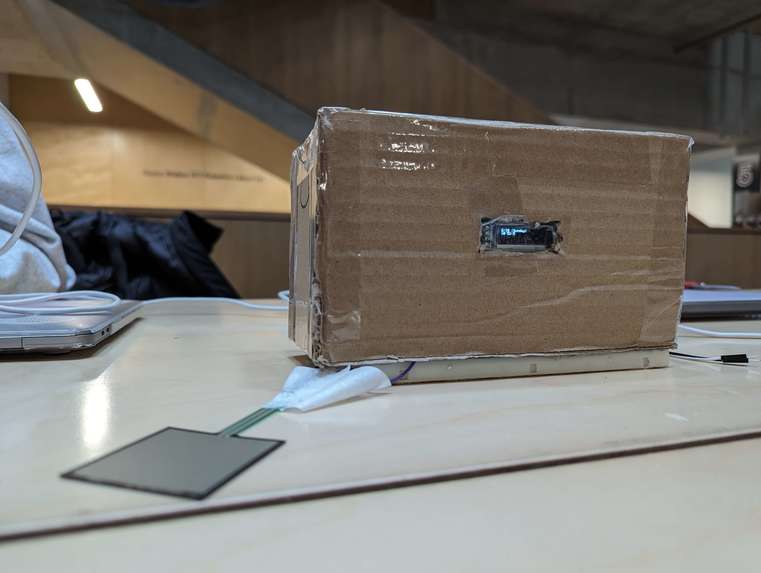
The covered alarm clock with the sensor out front

Inspiration
We were inspired by own difficulty to get out of bed in the morning as engineering students with very little sleep. We found that multiple alarms were needed to ensure you actually got out of bed, so one that went constantly until you actually left the bed would do the trick.
What it does
The alarm clock displays the current time and allows the user to set an alarm (but only on the computer). When it goes off, the only thing that will stop the tone is sufficient pressure on the force sensor, which is meant to be placed on the ground next to the bed. Therefore, one has to step out of bed fully in order to get the sound to stop.
How we built it
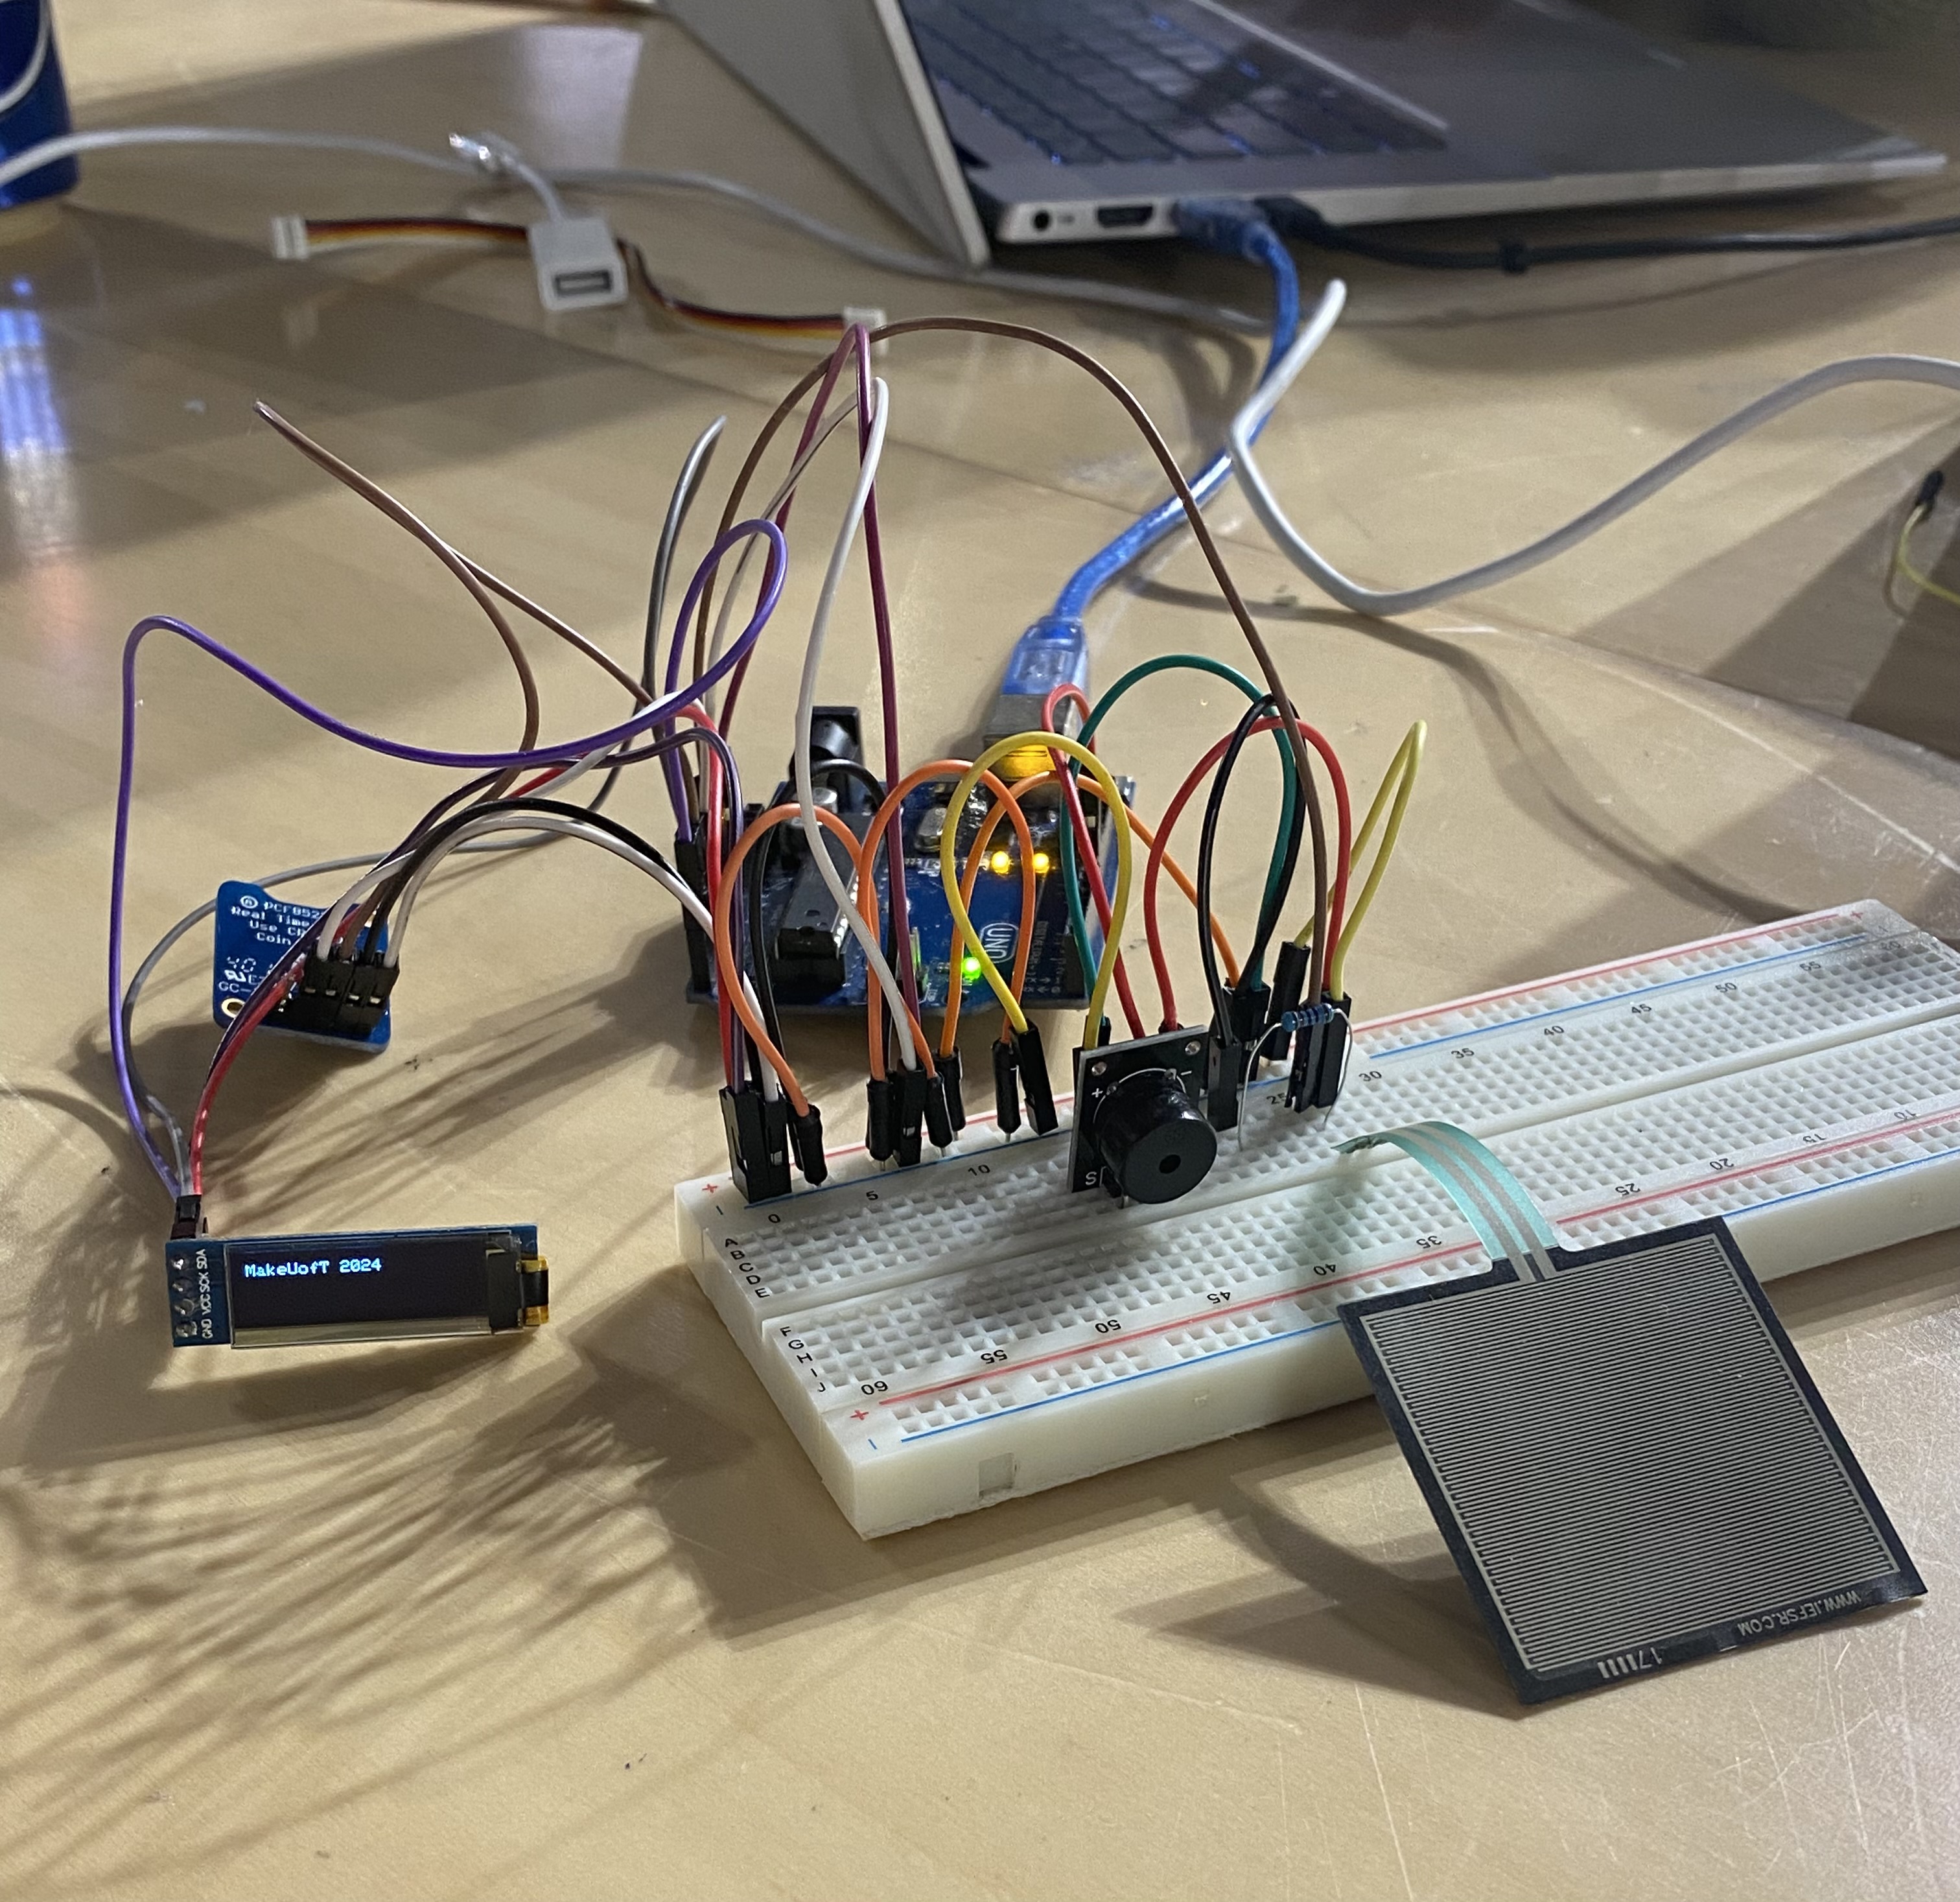
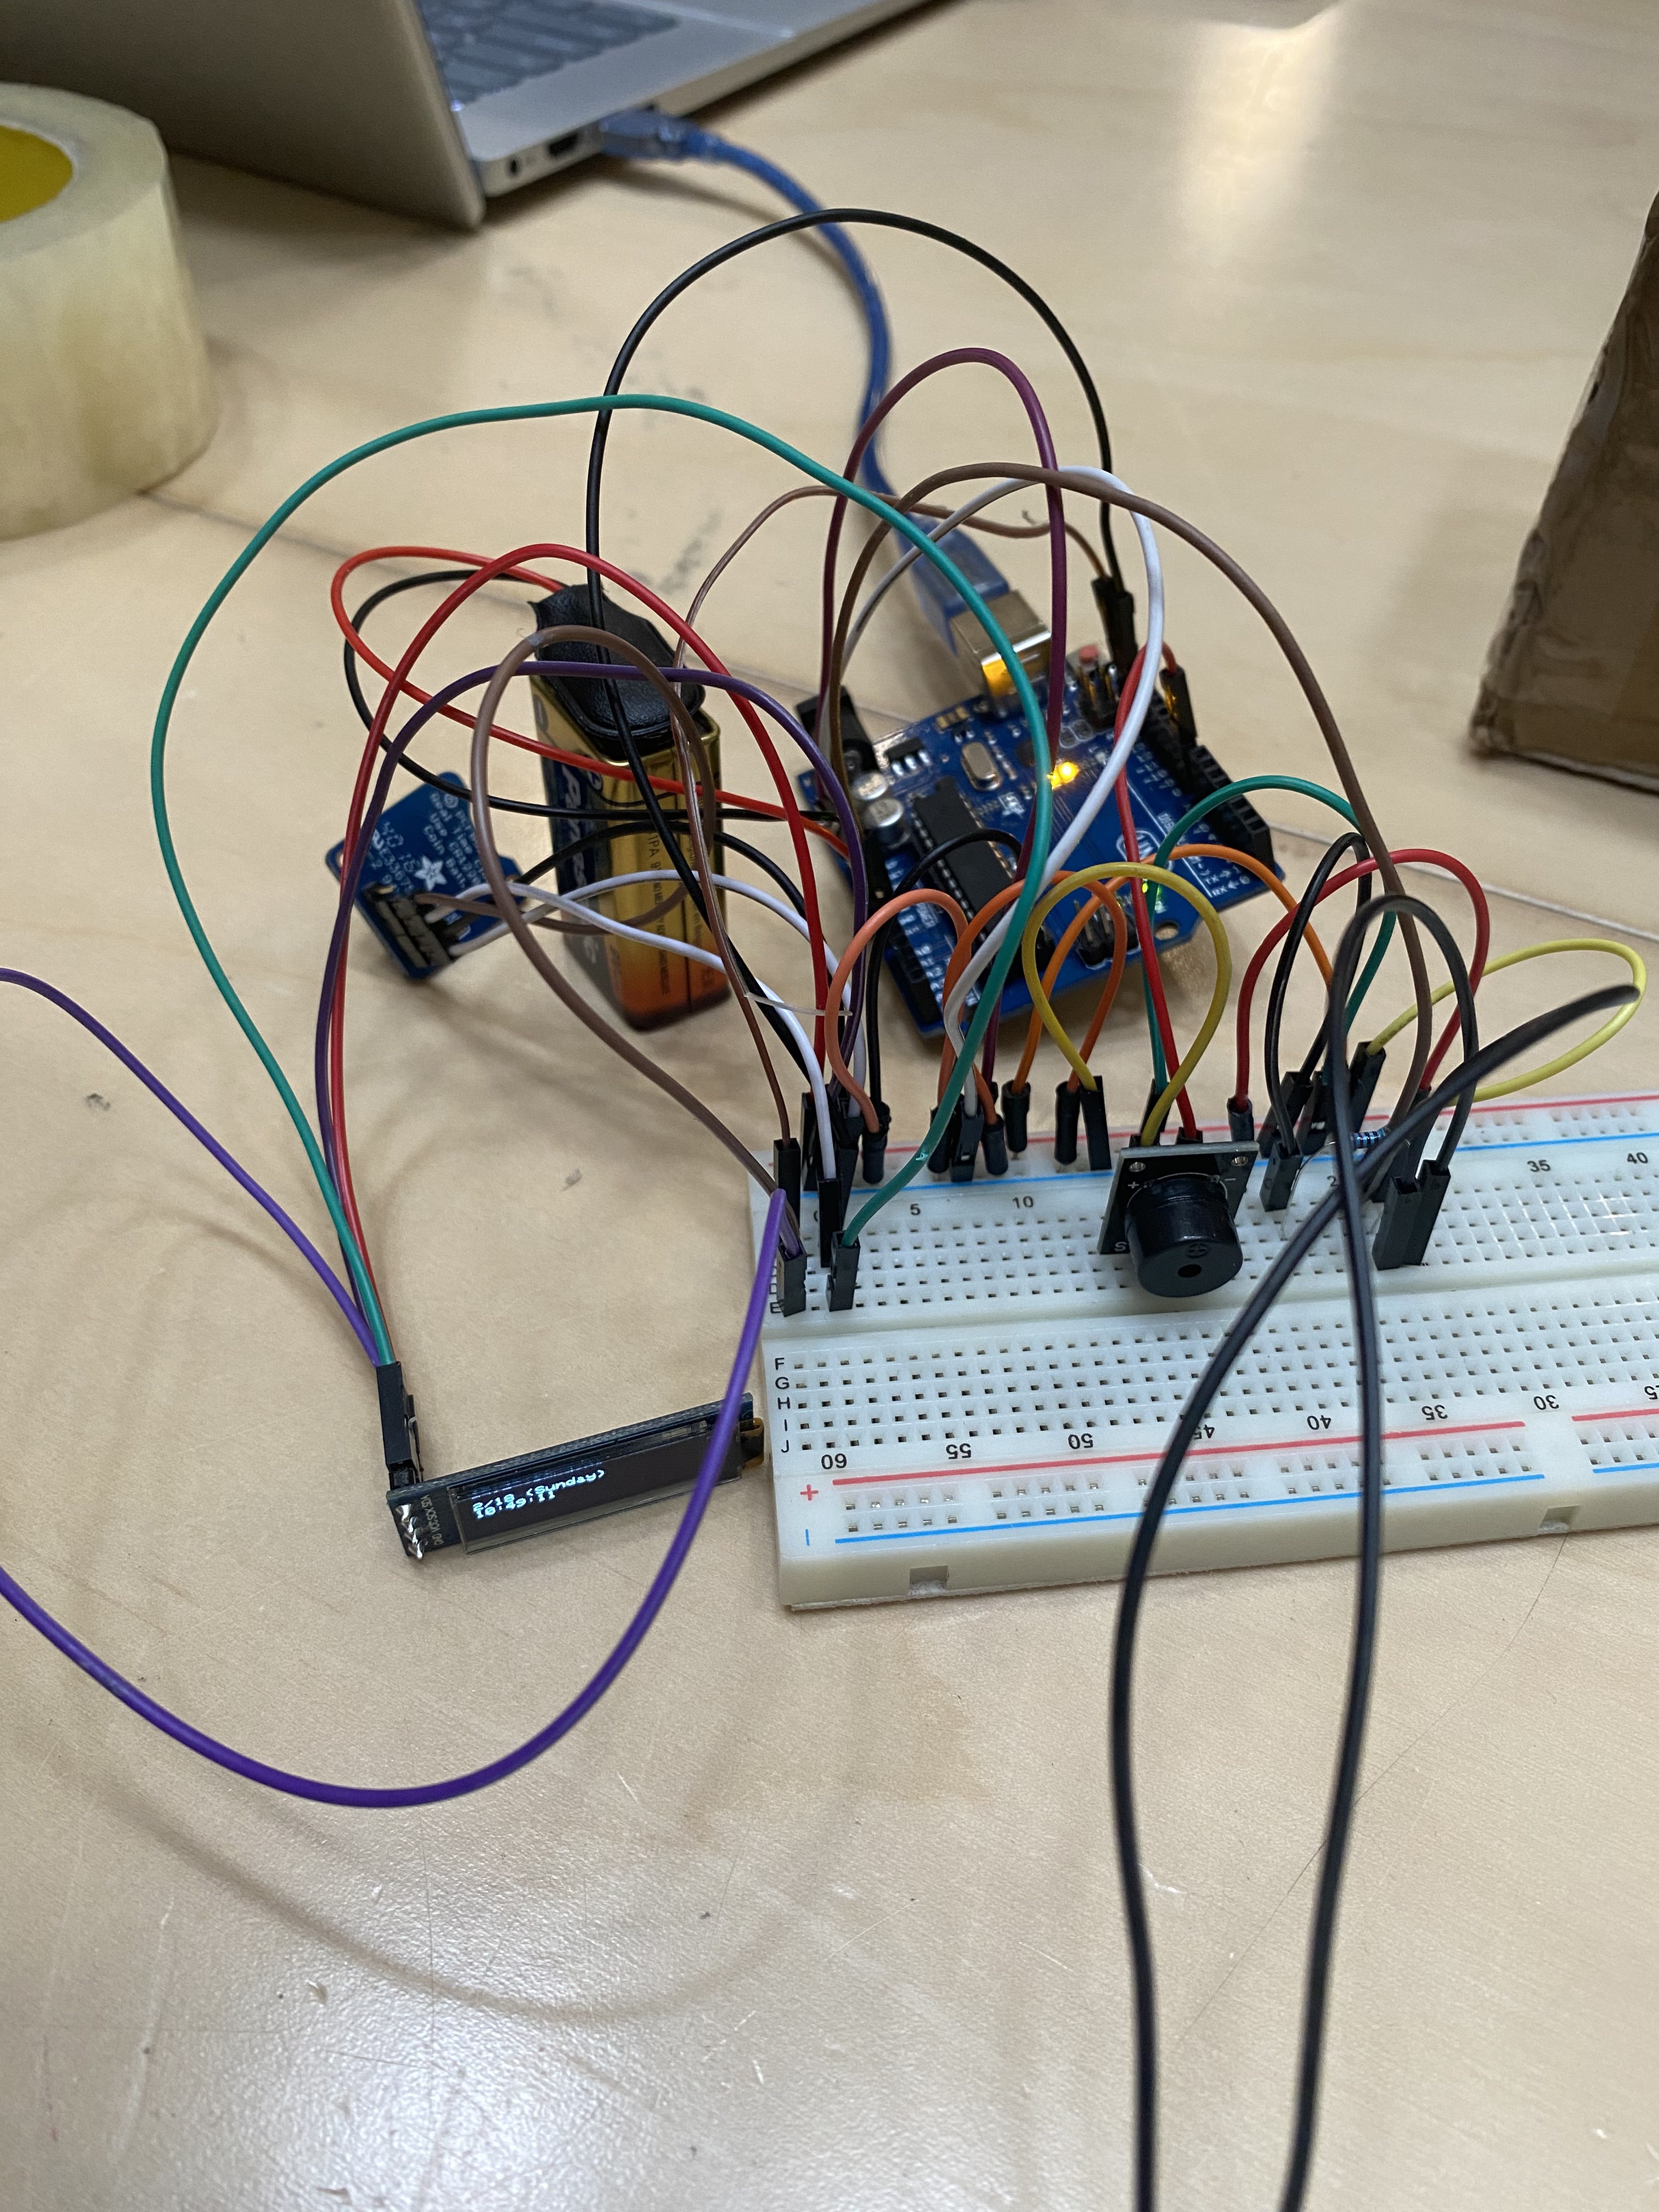
We built the alarm clock using an Arduino Uno, an RTC module, an OLED display, a buzzer, a force sensor and a breadboard. The code was done in Arduino code.
Challenges we ran into
Our team ran into many challenges due to incompatibility between modules and lack of knowledge of connections between the parts. Originally, we had ordered a 7-inch touchscreen to work as the interface until we realized that the screen wasn't meant to work with the Arduino Uno at all (after several complex adapter cables). The force sensor was difficult to connect to the rest of the circuit as the prongs on the end were very short and we weren't supposed to solder the pieces together. This led to it falling out of the breadboard constantly. On top of that, the RTC and the OLED screen were both meant to use i2c ports on the Arduino, and the Uno only has one such port, so we faced a lot of trouble trying to get them both to run from different ports.
Accomplishments that we're proud of
We're proud that we managed to get certain components of the design to work together, and that we didn't give up when parts didn't work well together - instead, we problem-solved and came up with an alternative method. As beginner hackers, we made real progress into understanding how the system works.
What we learned
We learned to always check the compatibility of pieces and to plan more thoroughly beforehand. Beyond that, however, we learned how to integrate sensors with the Arduino, import libraries to run the display, and wire up a complicated circuit on the breadboard.
What's next for Smart Alarm
Further improvements to aesthetic appeal, placing the force sensor further away from the alarm for a more accurate prototype, and replacing the tiny screen with one more legible at a quick glance.

Log in or sign up for Devpost to join the conversation.