-
-

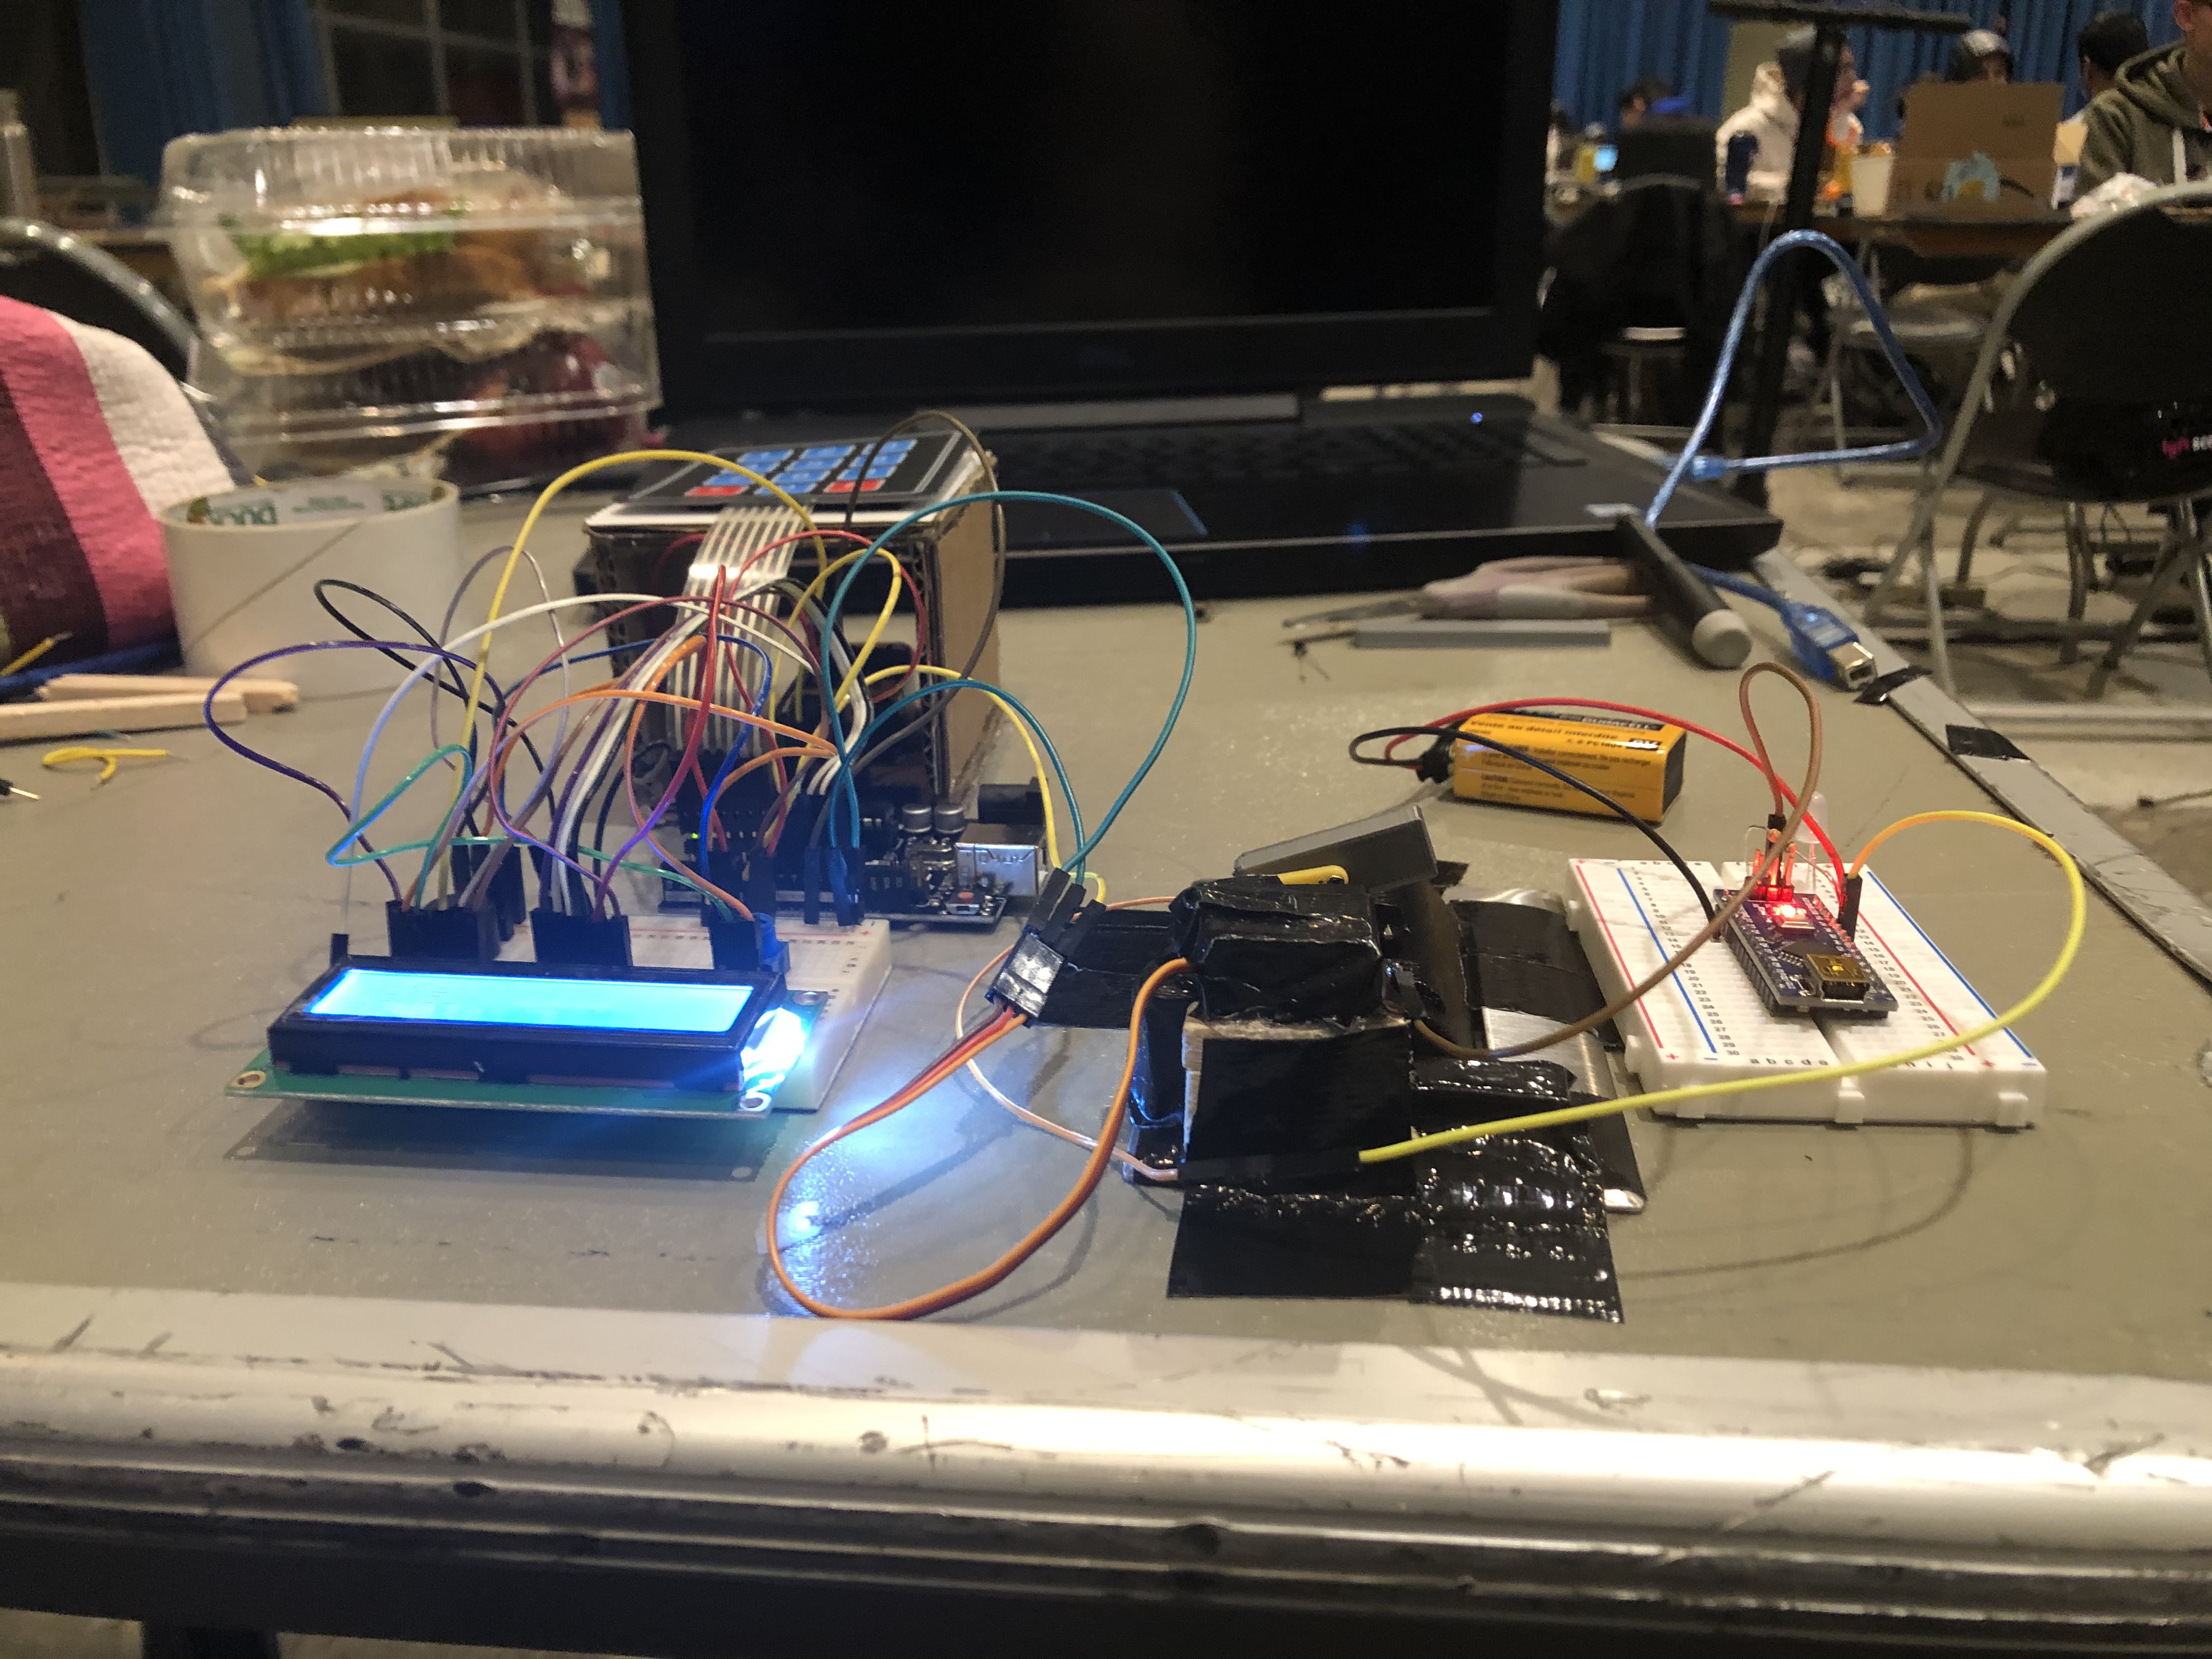
side view
-
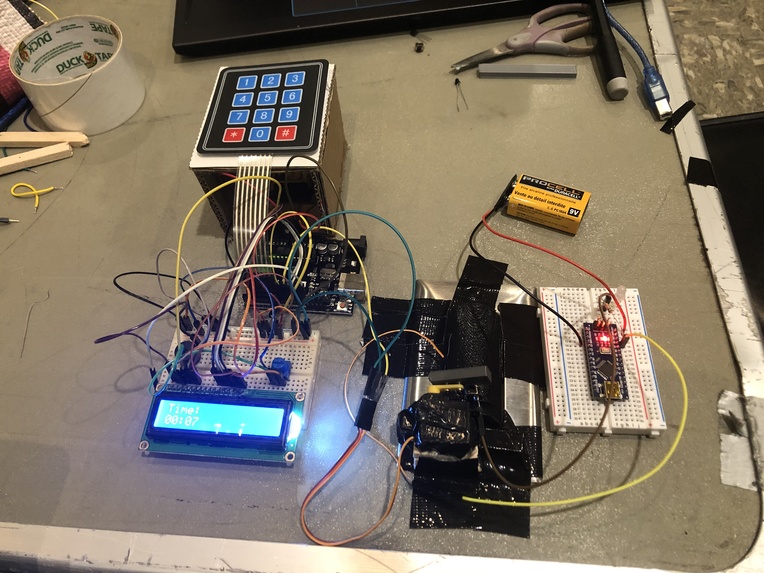
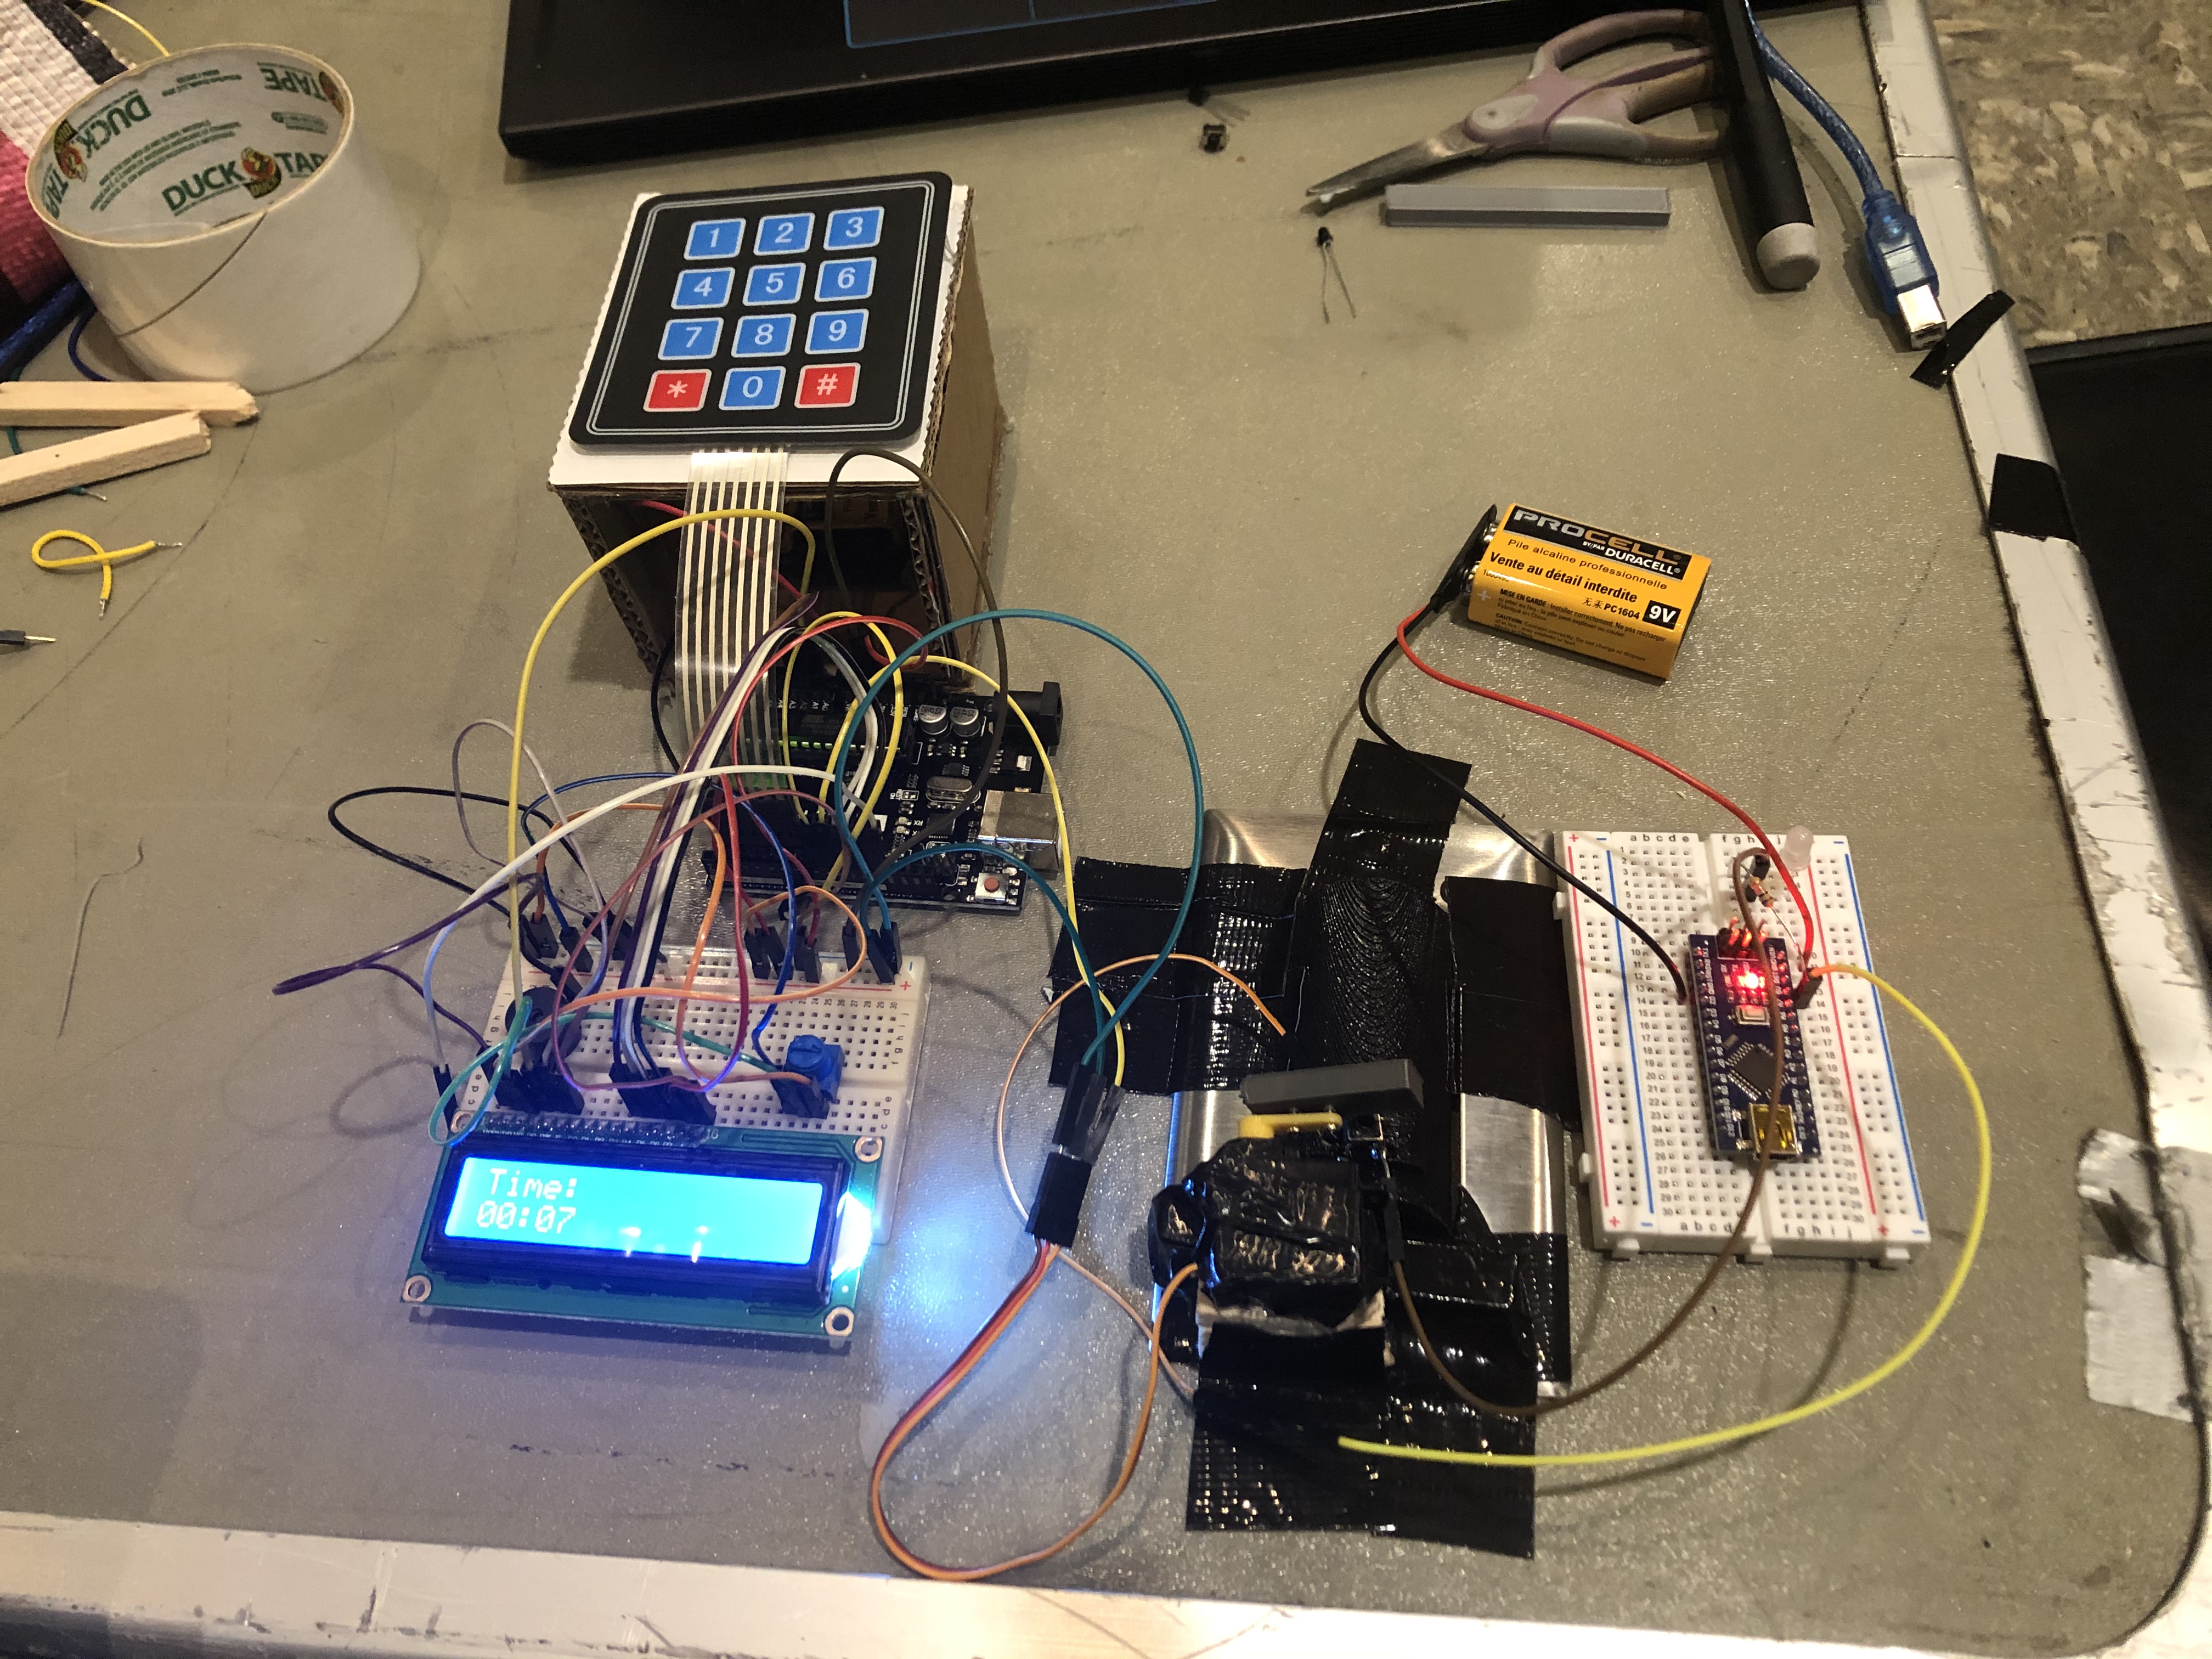
top view
Inspiration
- Sometimes it's really hard to go to bed when you said you would and even harder to wake up when you should, so this device makes it easier to develop healthier sleeping habits by managing the lights in your room for you.
What it does
- You set the current time in military time once for setup with the keypad (HHMM*) so to set the time as 2:30pm type 1430* in the keypad
- The LCD acts as a clock when an alarm isn't set
- When needed, set the time you want to go to bed along with the number of hours you want to sleep (so 23308 will tell the arduino you want to sleep at 11:30 pm with 8 hours of sleep)
- The LCD will display the amount of time remaining until bedtime
- When it's time to go to bed the LCD will wish you good night and the servo will turn off the lights in your room to let you know its time to stop working
- When it's time to wake up, the servo will repeatedly turn on and off your light switch while a buzzer will constantly beep
- To turn off the alarm, you would have to walk to the light switch, and hold '#' on the keypad, which forces you to wake up
- After you disable the alarm, the LCD will revert back to a clock, maintaining the correct time
How I built it
Sleep 3.0 Device:
- Arduino UNO
- keypad mounted on a cardboard stand
- LCD screen + potentiometer
- passive buzzer
- micro servo motor
- 3D-printed lever
- 9V battery
Makeshift light switch for demo purposes:
- Arduino Nano
- White LED
- Resistor
- Button (soldered onto 3D-printed light switch model)
Challenges I ran into
- Preventing the millis() function from overflowing after 9.5 hrs, allowing for long stretches of time to be tracked using the Time library
- Writing code to calculate time differences represented by 2 2 digit ints and converting the result into chars to be written to the LCD one by one
- Managing the number of pins available
- Securing the components properly
- Positioning and adjusting the servo to effectively turn on the light switch
- Orienting and coding the keypad so the right pins correspond to the right buttons
- Getting the buzzer to work
Accomplishments that I'm proud of
- Learning how to CAD the parts we needed
- Learning a lot about different hardware parts and how to effectively combine them to create something new
- What was made in less than 24hrs of work
What I learned
- How to use the MakerSpace
- What soldering is
- Different hardware parts and how to effectively combine them
- Basic circuit theory and how to apply it
What's next for Sleep 3.0
- Testing it on an actual dorm room
- Syncing it with a clock via the internet so you don't have to manually update the time for Daylight Savings Time
- Making setting alarms a feature available on your phone or Amazon Echo (though disabling it should still make you get up)

Log in or sign up for Devpost to join the conversation.