-
-
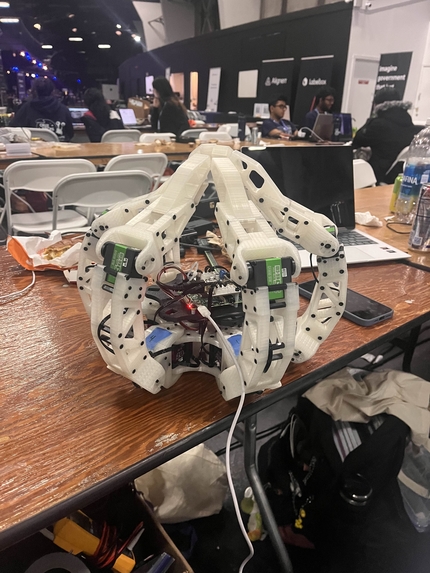
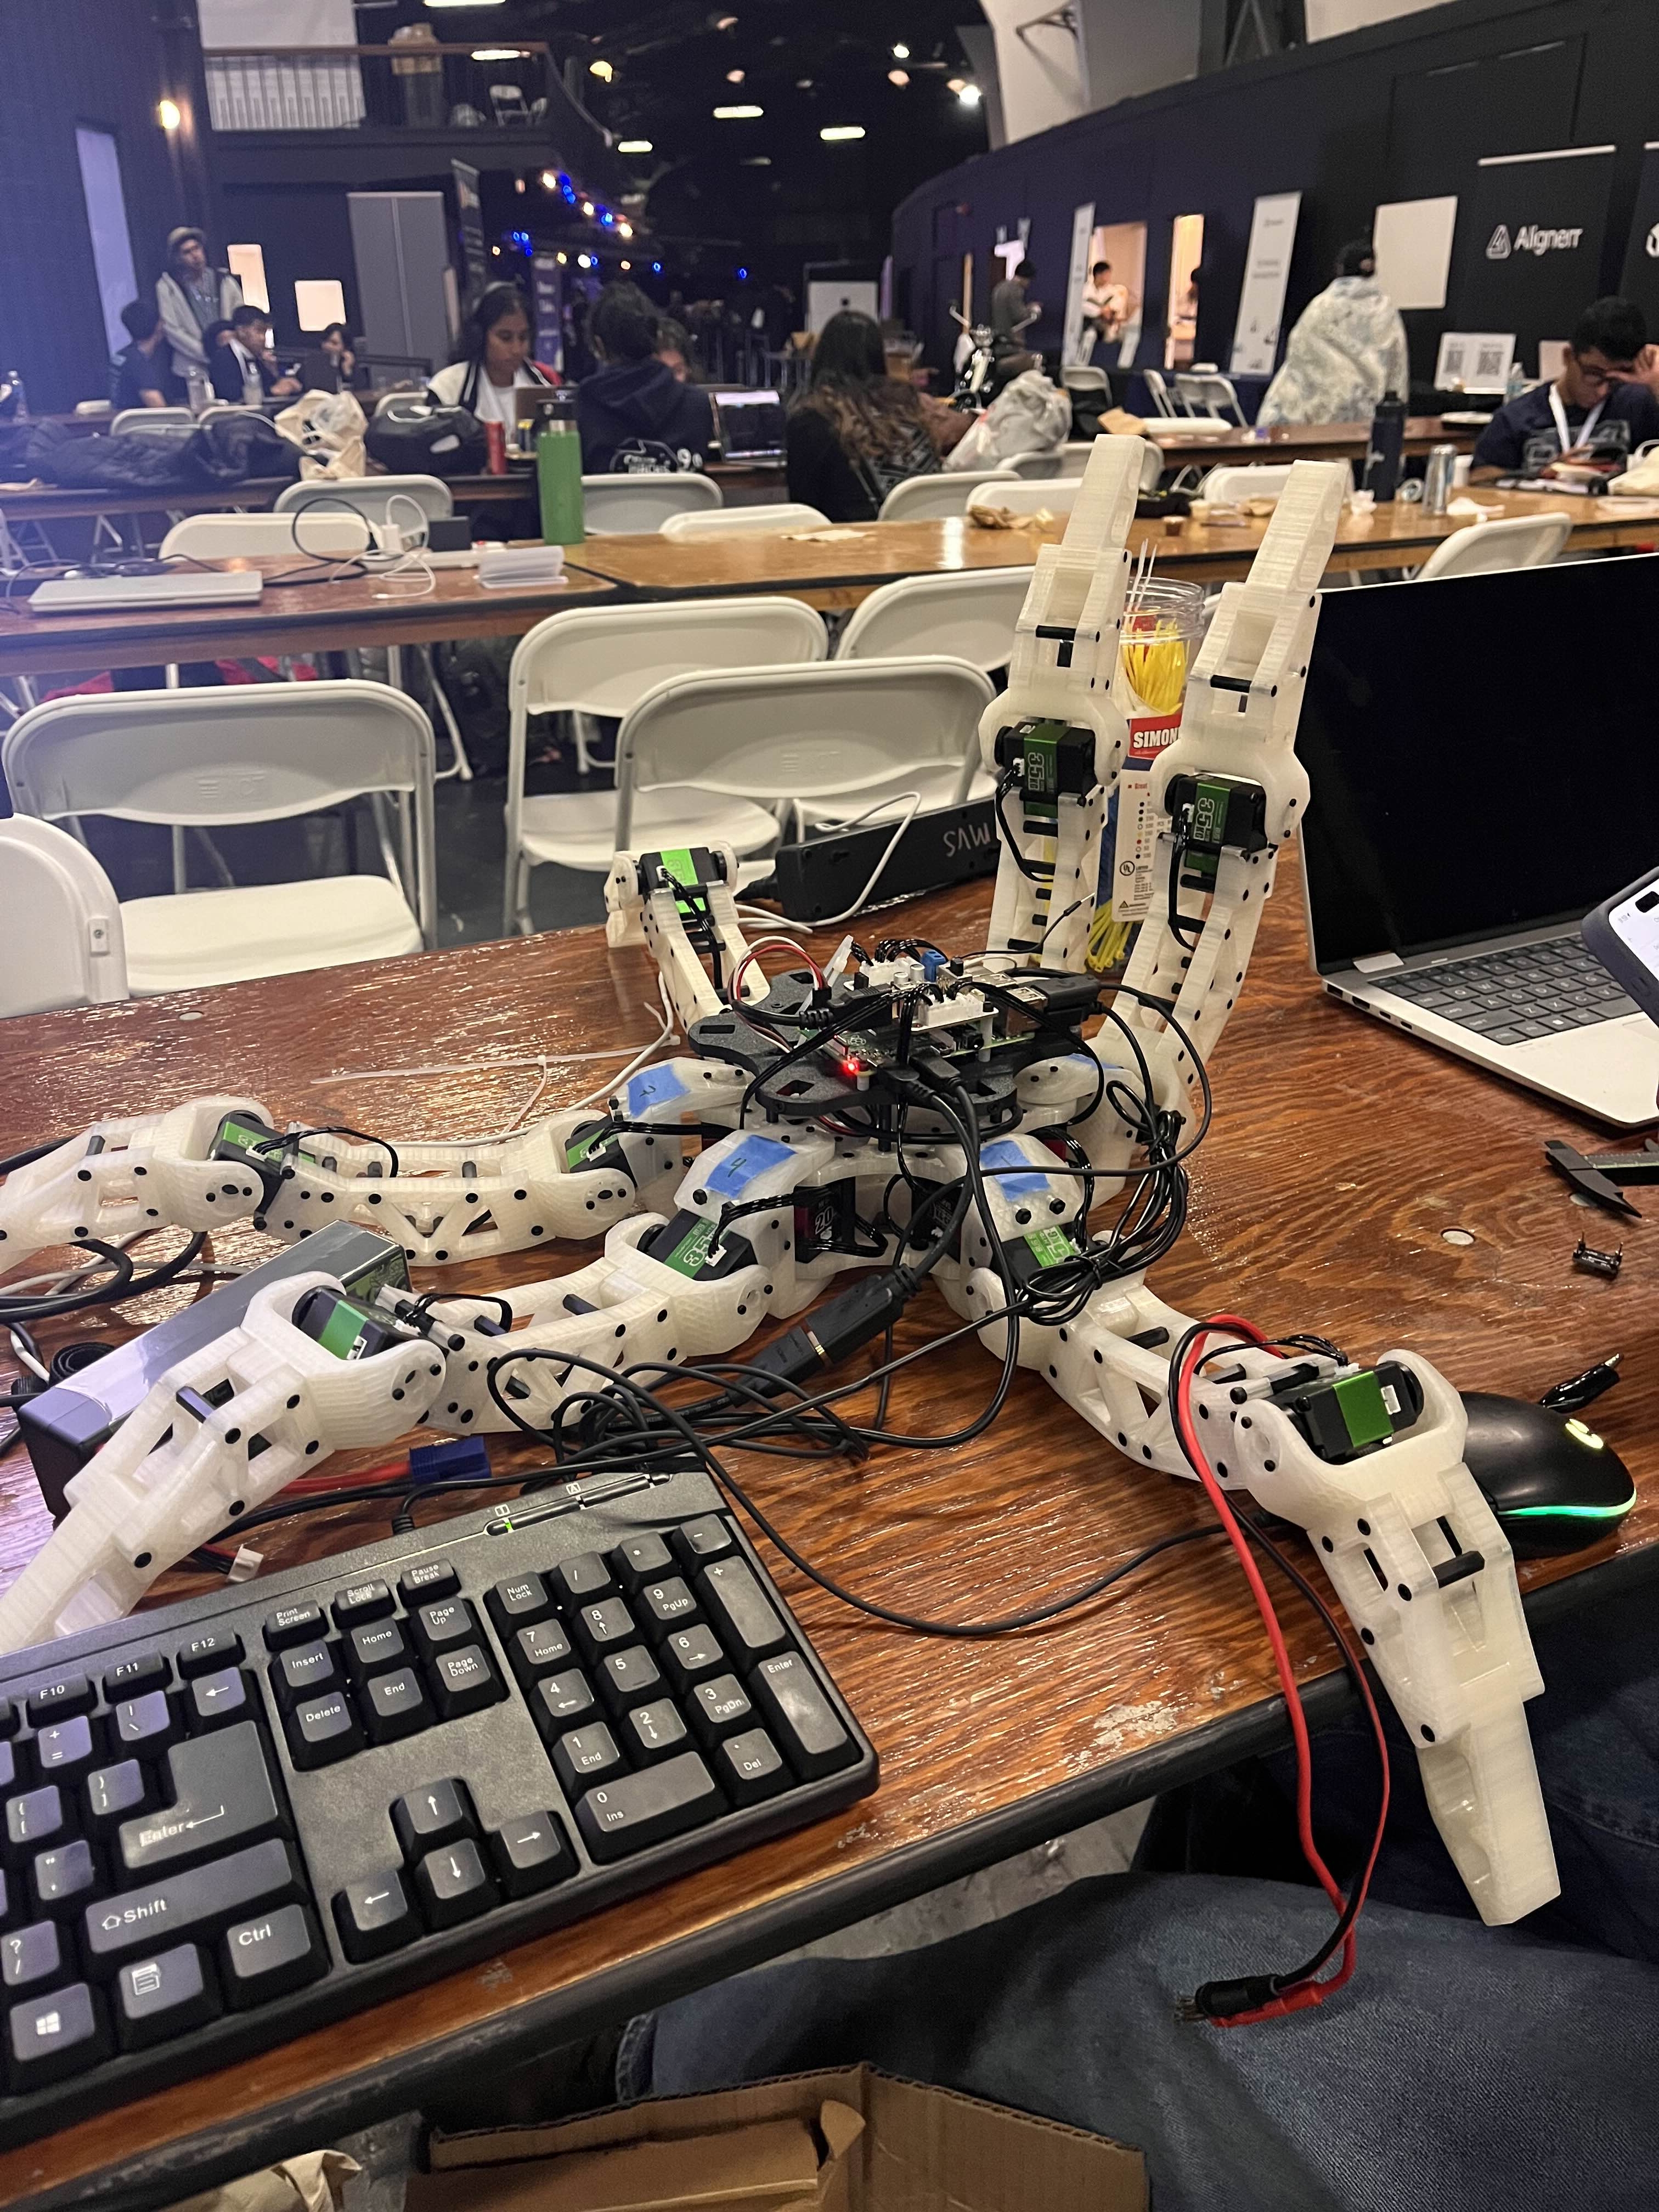
Hexapod in closed formation.
-
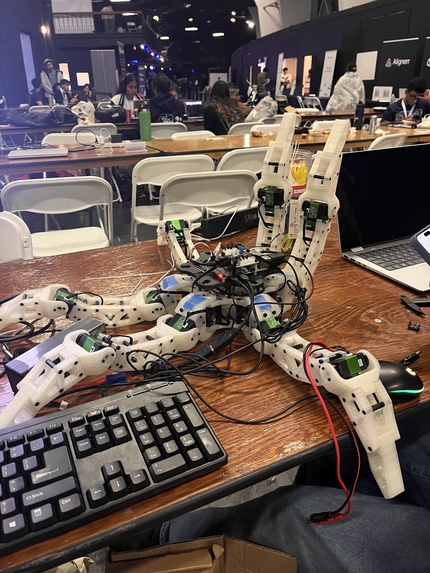
Hexapod being work on.
-
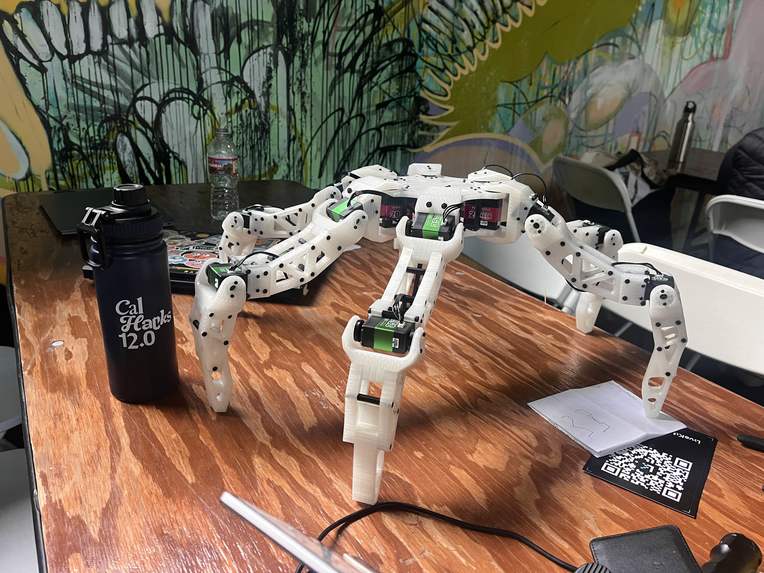
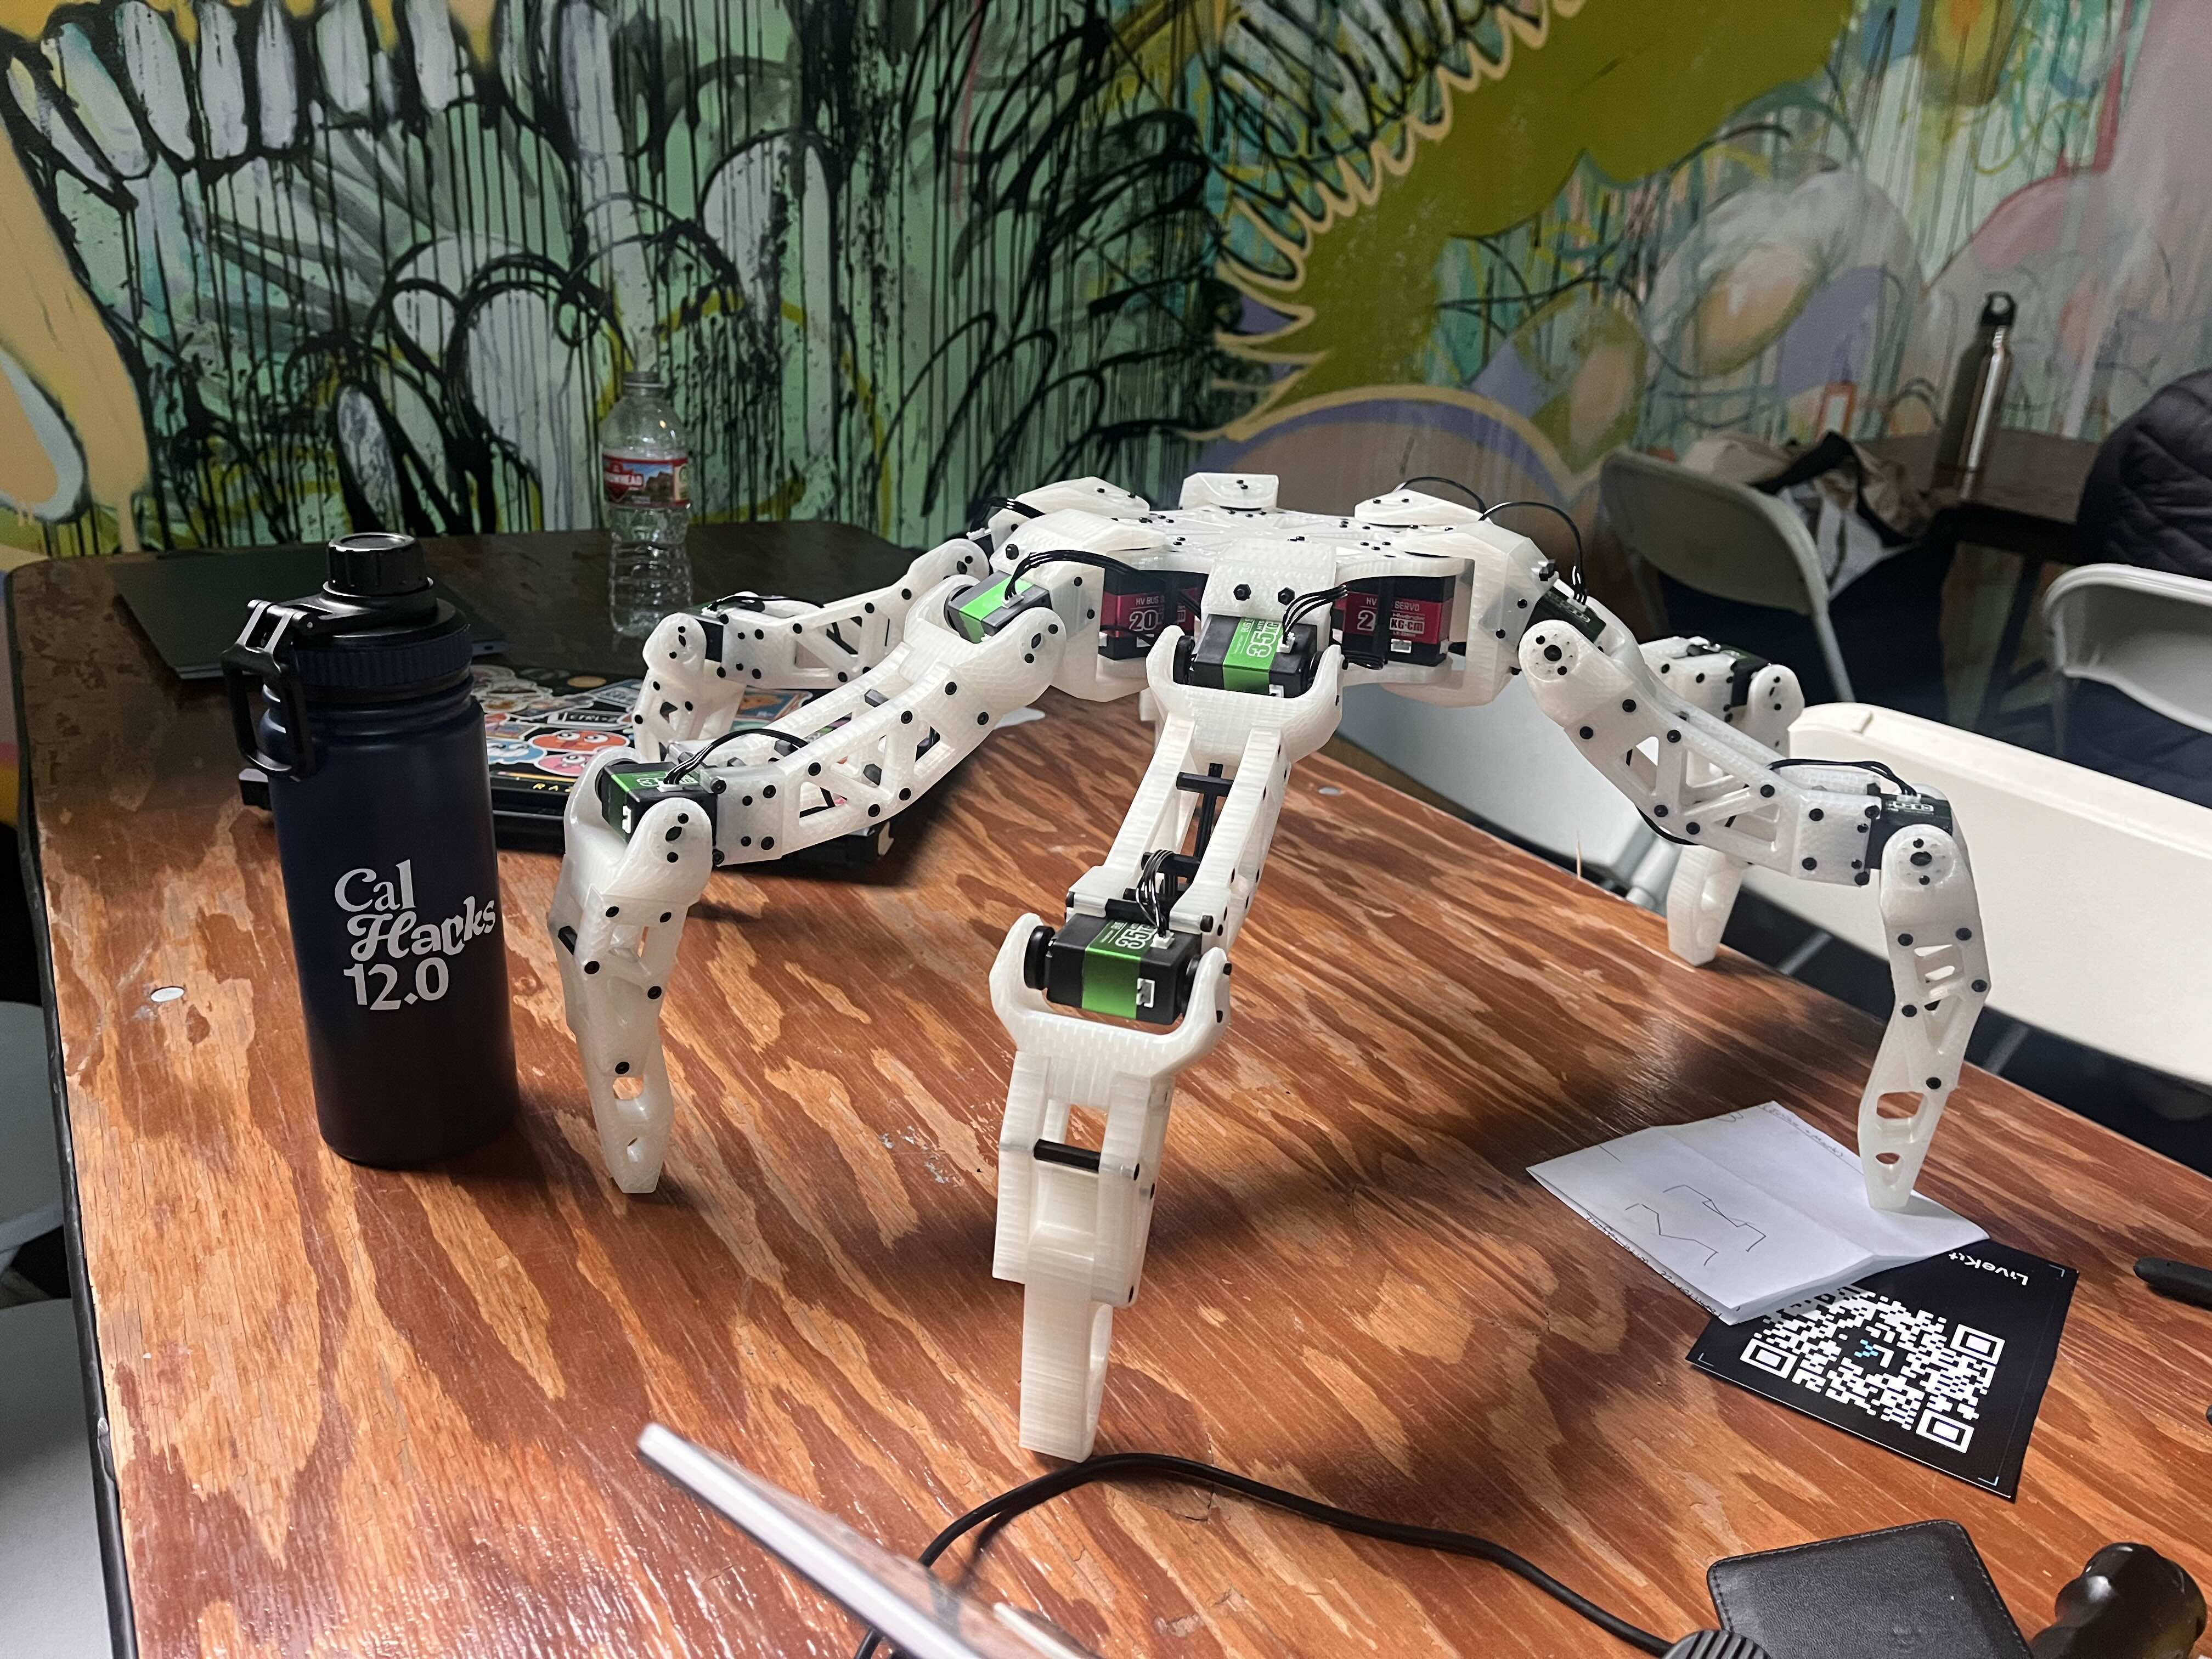
Hexapod standing up with Cal Hacks water bottle for scale.
Inspiration
We wanted to work with hardware at this competition, and happened to have a hexapod robot we had been working on since the start of summer that was never programmed. We were interested in working on it. We knew that projects could not be started before the competition, so we decided our project would be the code and modules used on the robot and all of the circuitry.
What it does
We power and control a hexapod robot.
How we built it
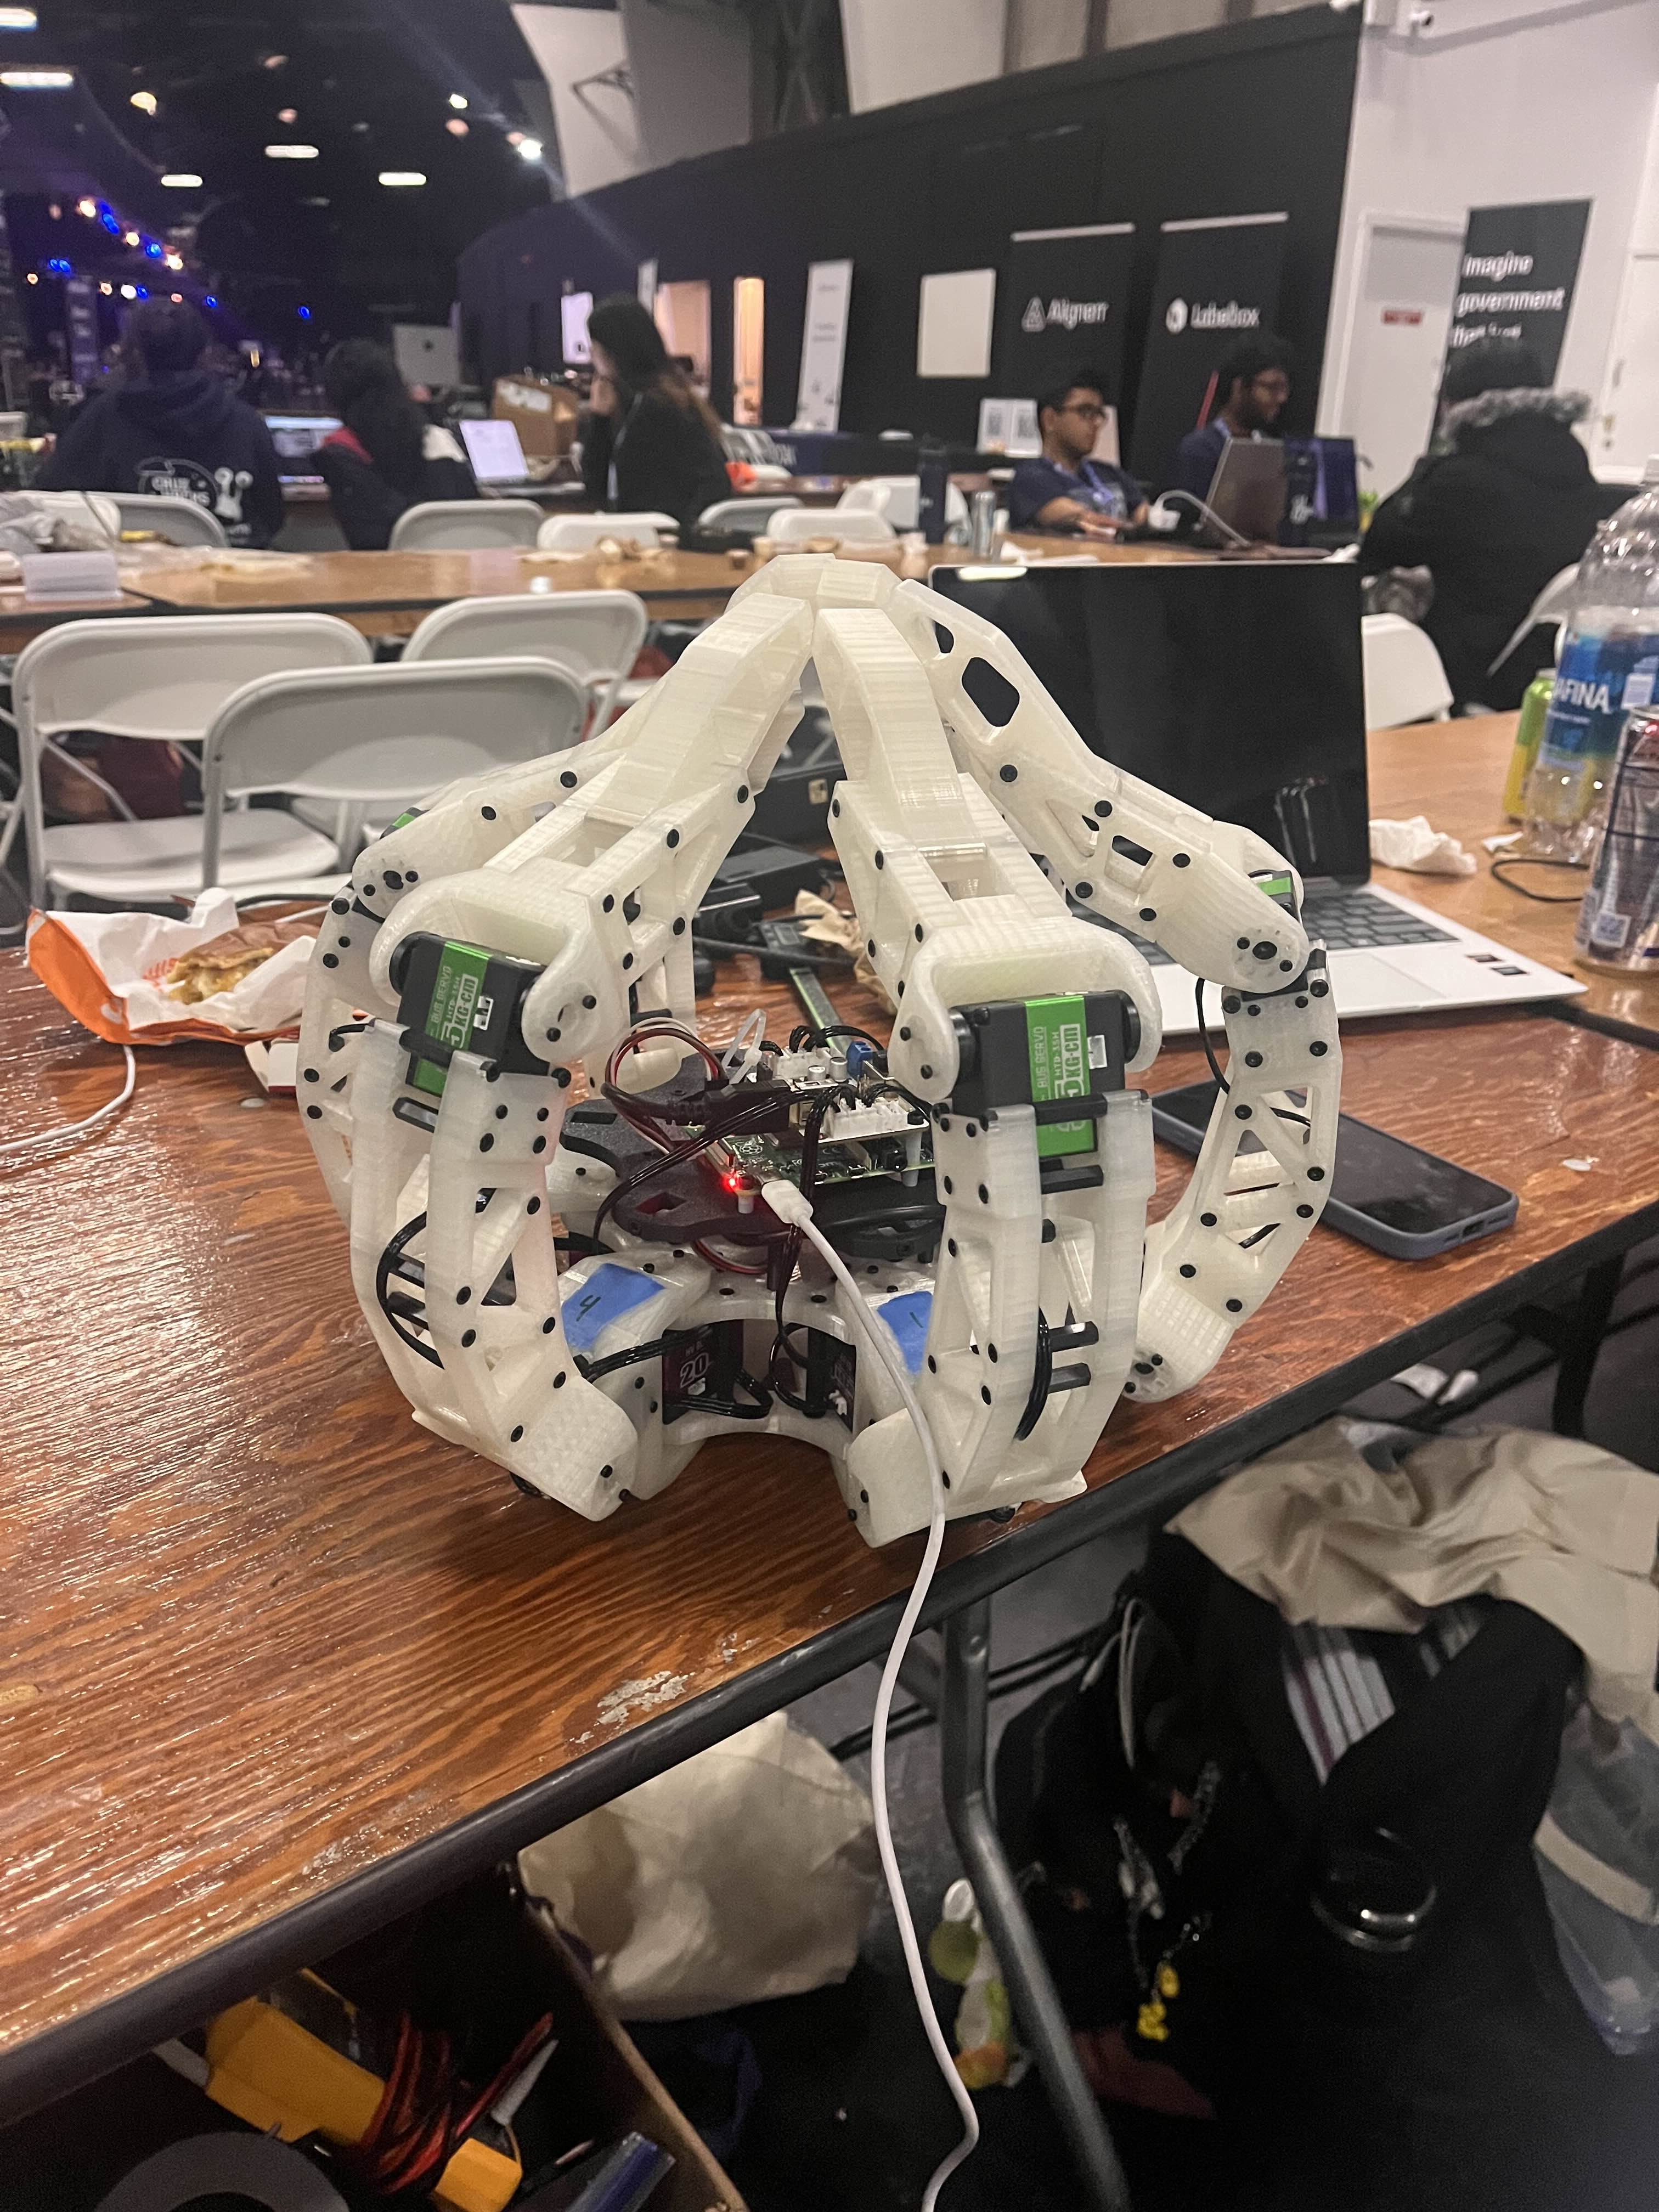
We used a Raspberry Pi connected to a Hiwonder Serial Bus Servo Connector, which was connected to 18 servo controllers. In addition, we had a camera that was connected to the Raspberry Pi, which could record and store videos from the robot's perspective. All of this is done to power and control the hexapod robot.
Challenges we ran into
We were originally planning to use a Teensy instead of a Raspberry Pi, but after talking with some of the different sponsors that we wanted to integrate into of project, we realized that it might be the greatest because of the low RAM, so we began switching to using the Raspberry Pi 4 that was provided. After some deliberation, we figured that the low RAM would not be that significant an issue, so we would continue to use the Teensy while also using the Raspberry Pi's wifi capabilities to allow us to make a remote app to control the robot. We then proceeded to fry the Teensy. We used servo motors that would work while using the Teensy because it had the correct pin layout, but because we did not plan for the Raspberry Pi, the rest of our robot was not prepared for the swap. Due to this, in the morning, we drove back to UC Berkeley, where we had access to an assortment of electronics, and through that, we used the Hiwonder Serial Bus Servo controller, which would connect to the Raspberry Pi. Once again, we did not account for the switch from the Teensy, which led to significant space changes on the robot. To fit this issue, we CADded and printed an additional plate for all of the new components to go on top of. During printing, there were also some issues. The spool that was used was not intended for the specific printer, which led to it getting caught and tangled up. This led us to having to reset our print even after the intended time was almost complete. Lastly, was our experience. While both of us had some experience with coding, neither of us was that well-versed in coding for robots. We had to look at other GitHub repositories for examples on how to work with it. That being said, because of connection issues with the WiFi, we had difficulty getting information in a short time. One of the last challenges we faced was once again with the Raspberry Pi, this time with the SD card. The card we used was cheap, and how we were handling it led to it being corrupted. During our time using it, we had to flash it and restore it multiple times, wasting both time and progress with our project. We looked around for others to help with the work, but the best we could do was wait for a store to open to buy a new SD card to use so that we could finish working on our project.
Accomplishments that we're proud of
I'm proud that the robot was put together. The code is not ideal, and there needs to be significant additions to it to be finished, and the robot itself is not finalized yet, with plans to edit and update parts of the design, but nonetheless, we were able to build a robot. While not the goal of the project, it was still an accomplishment.
What we learned
We learned a lot about the Raspberry Pi operating system and how to use it. We also got more experience with GitHub and sharing it between people. We learned a significant amount about circuits, thanks to frying them and just learning to pivot to different plans and ideas.
What's next for Skrunkly
Our current plan is to redesign the top base and add a dome to properly store all of the wires in the robot. We are also hoping to get our original plan of an app used to control the robot ready and running. We really want to expand on the code and make it better overall.
Built With
- cad
- gemini
- hiwonder
- python
- raspberry-pi
- teensy
- youtube


Log in or sign up for Devpost to join the conversation.