-
-
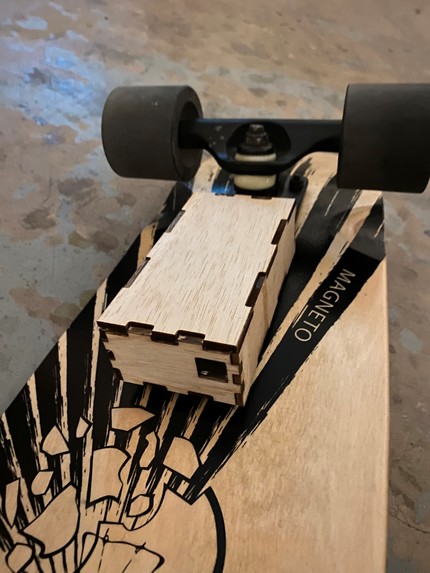
Arduino shield mounted to board
-
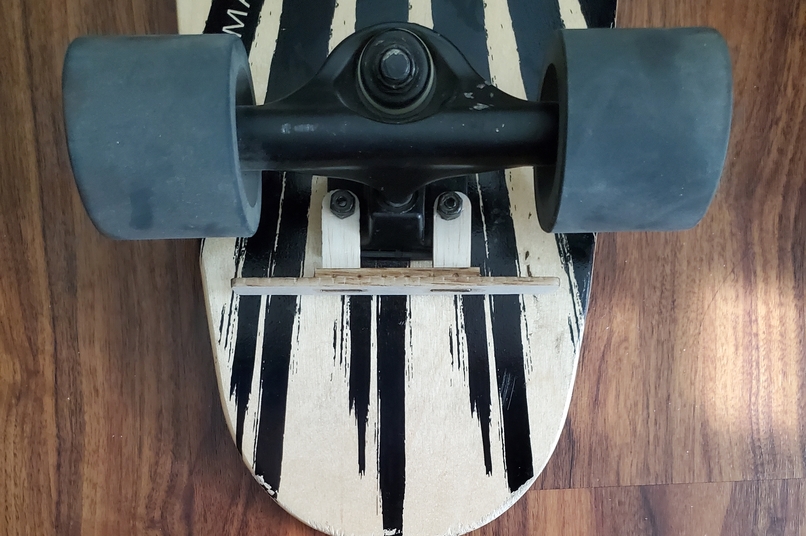
Taillight bracket mounted to board
-
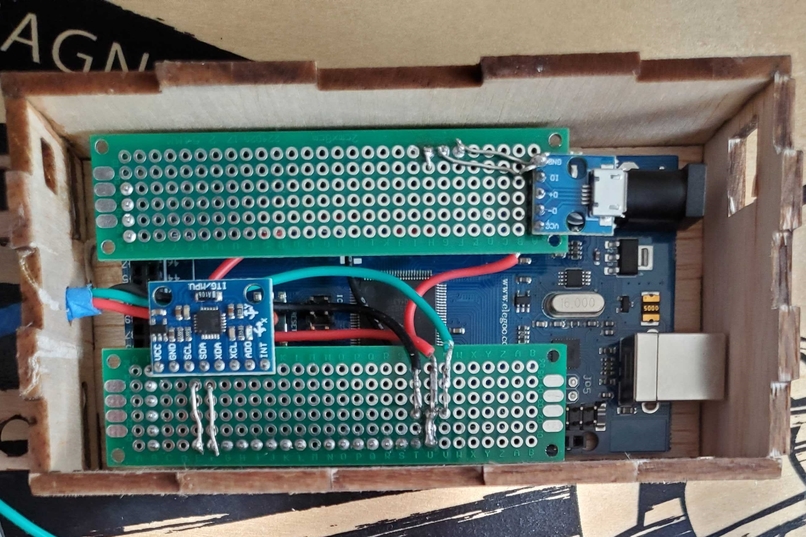
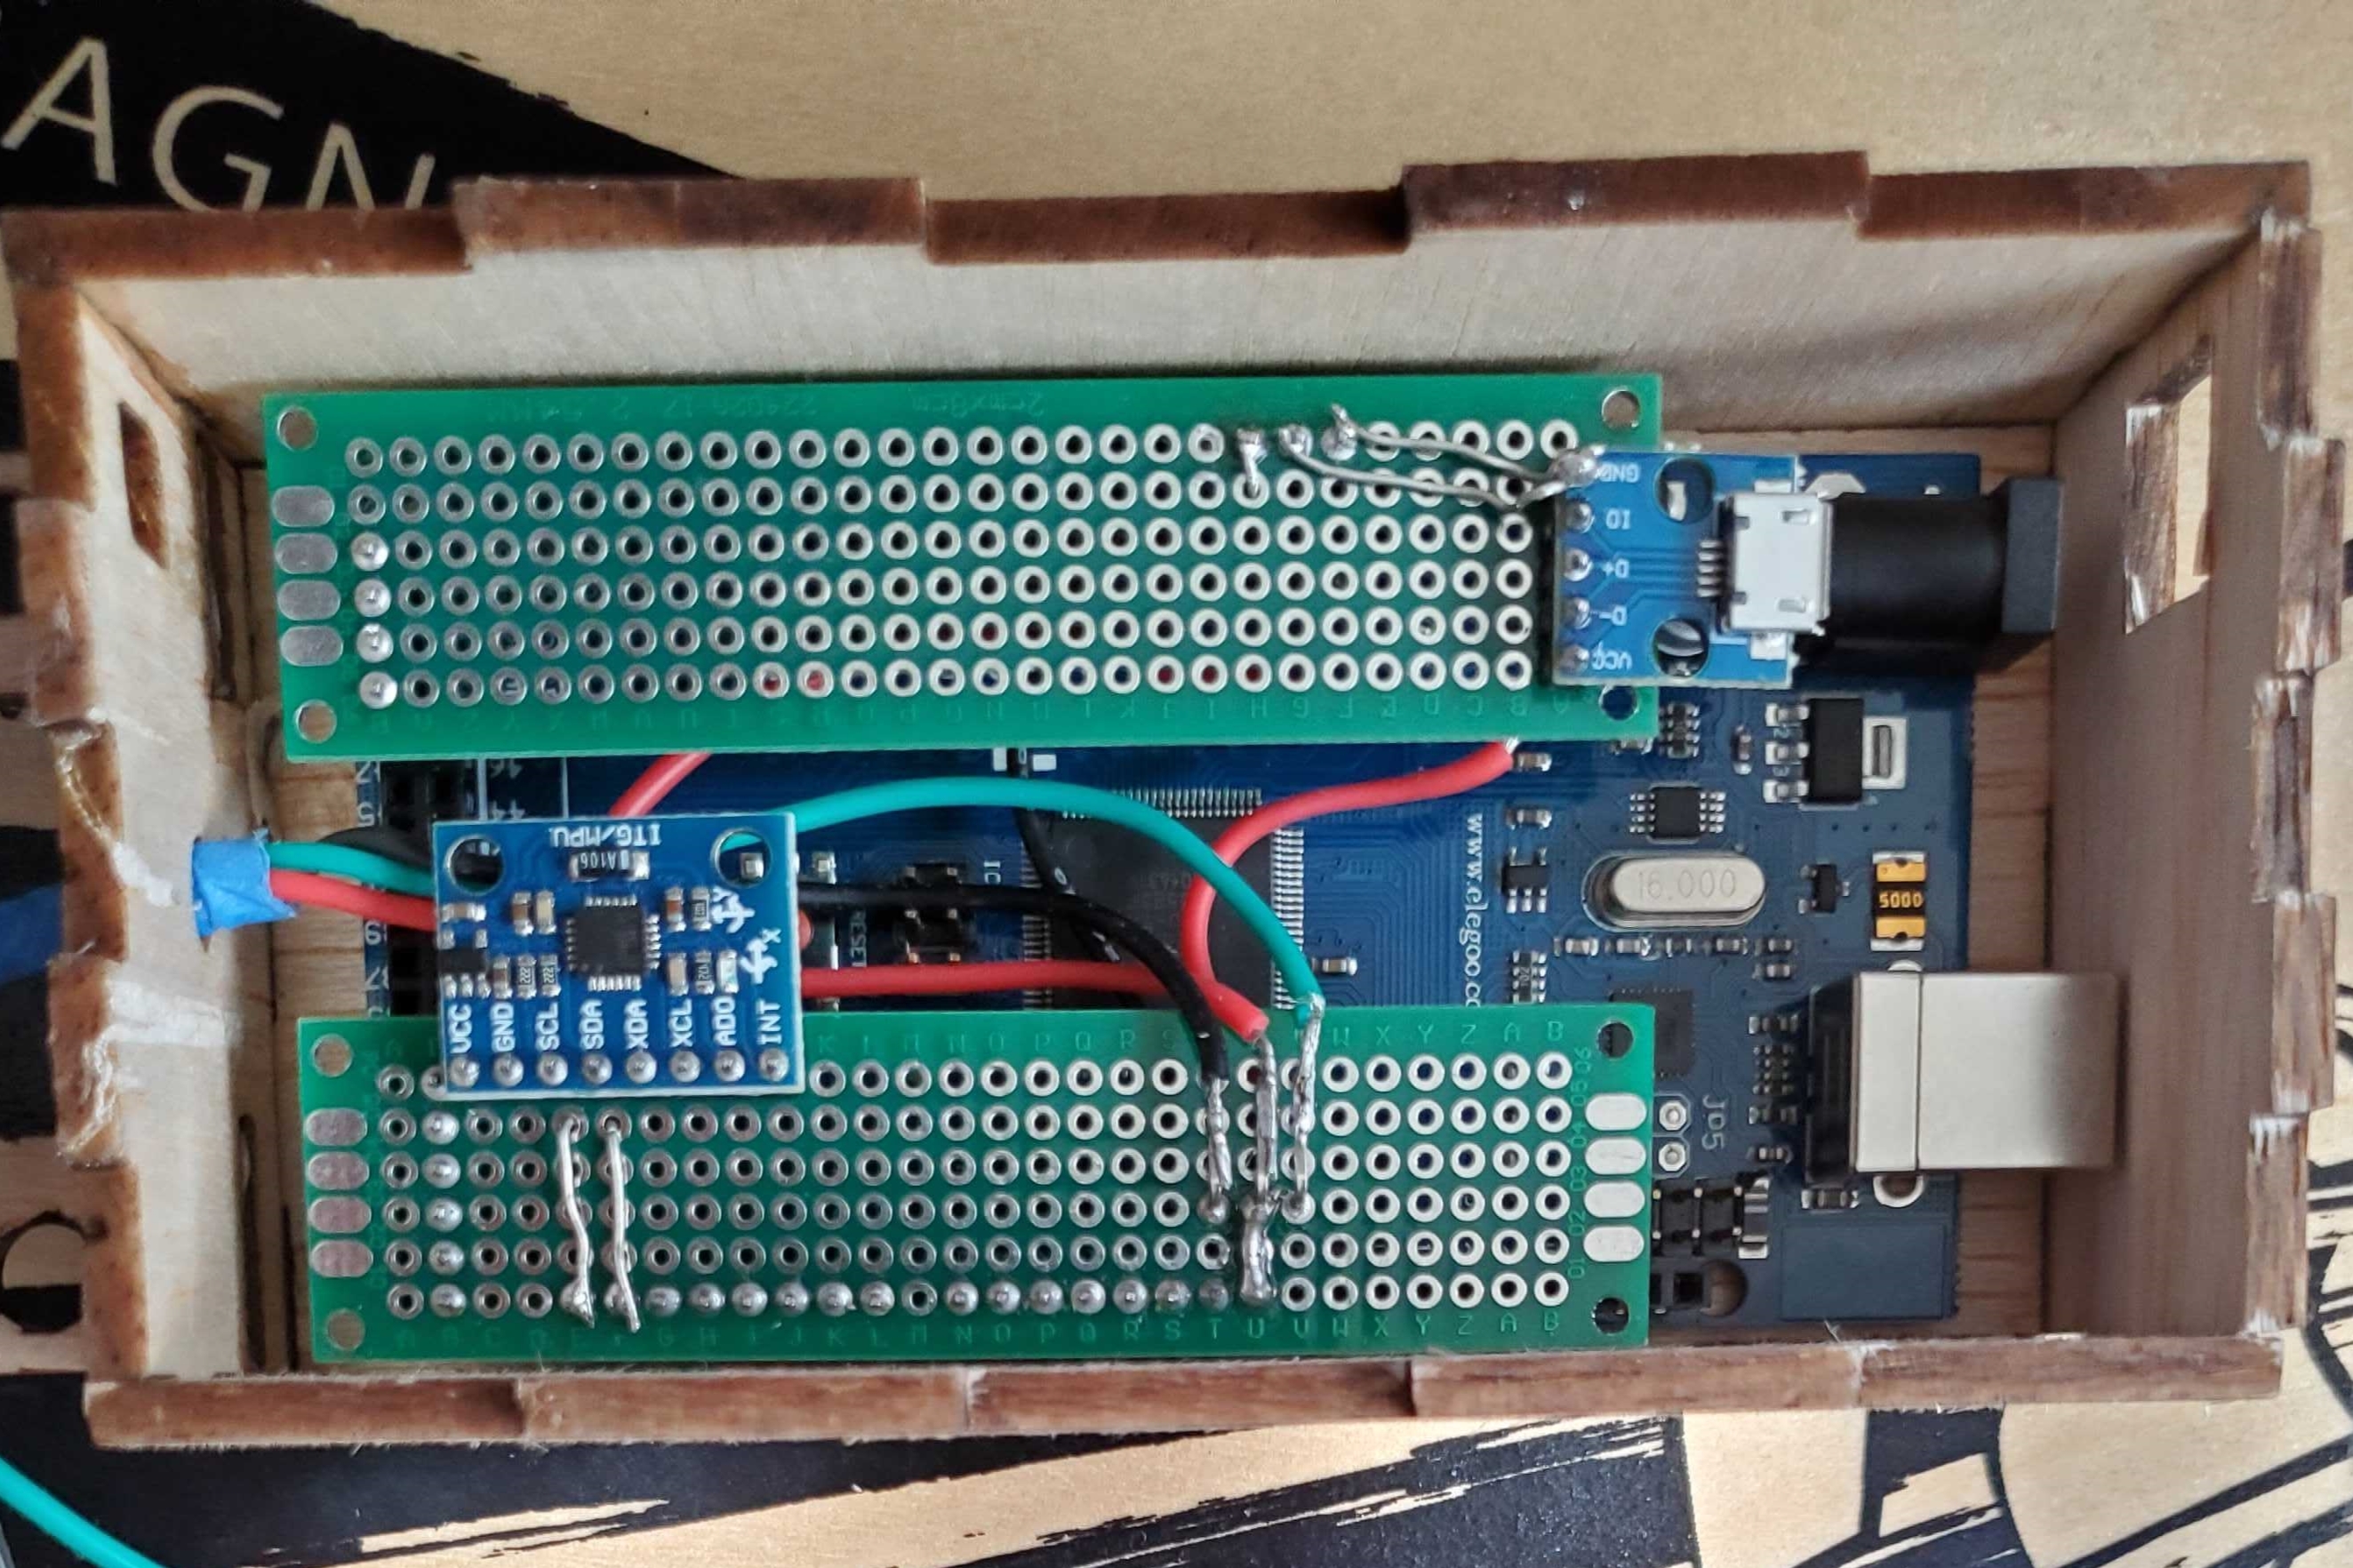
Assembled Arduino in case
-
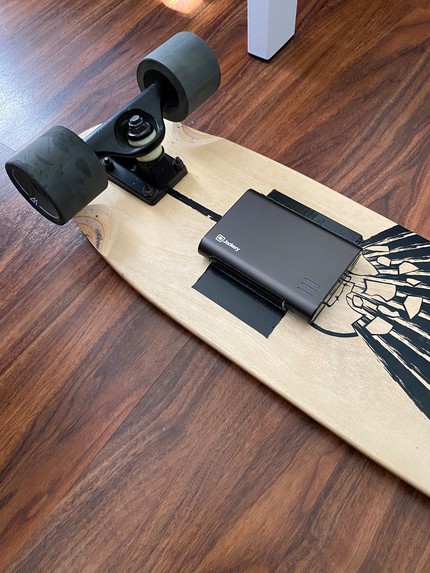
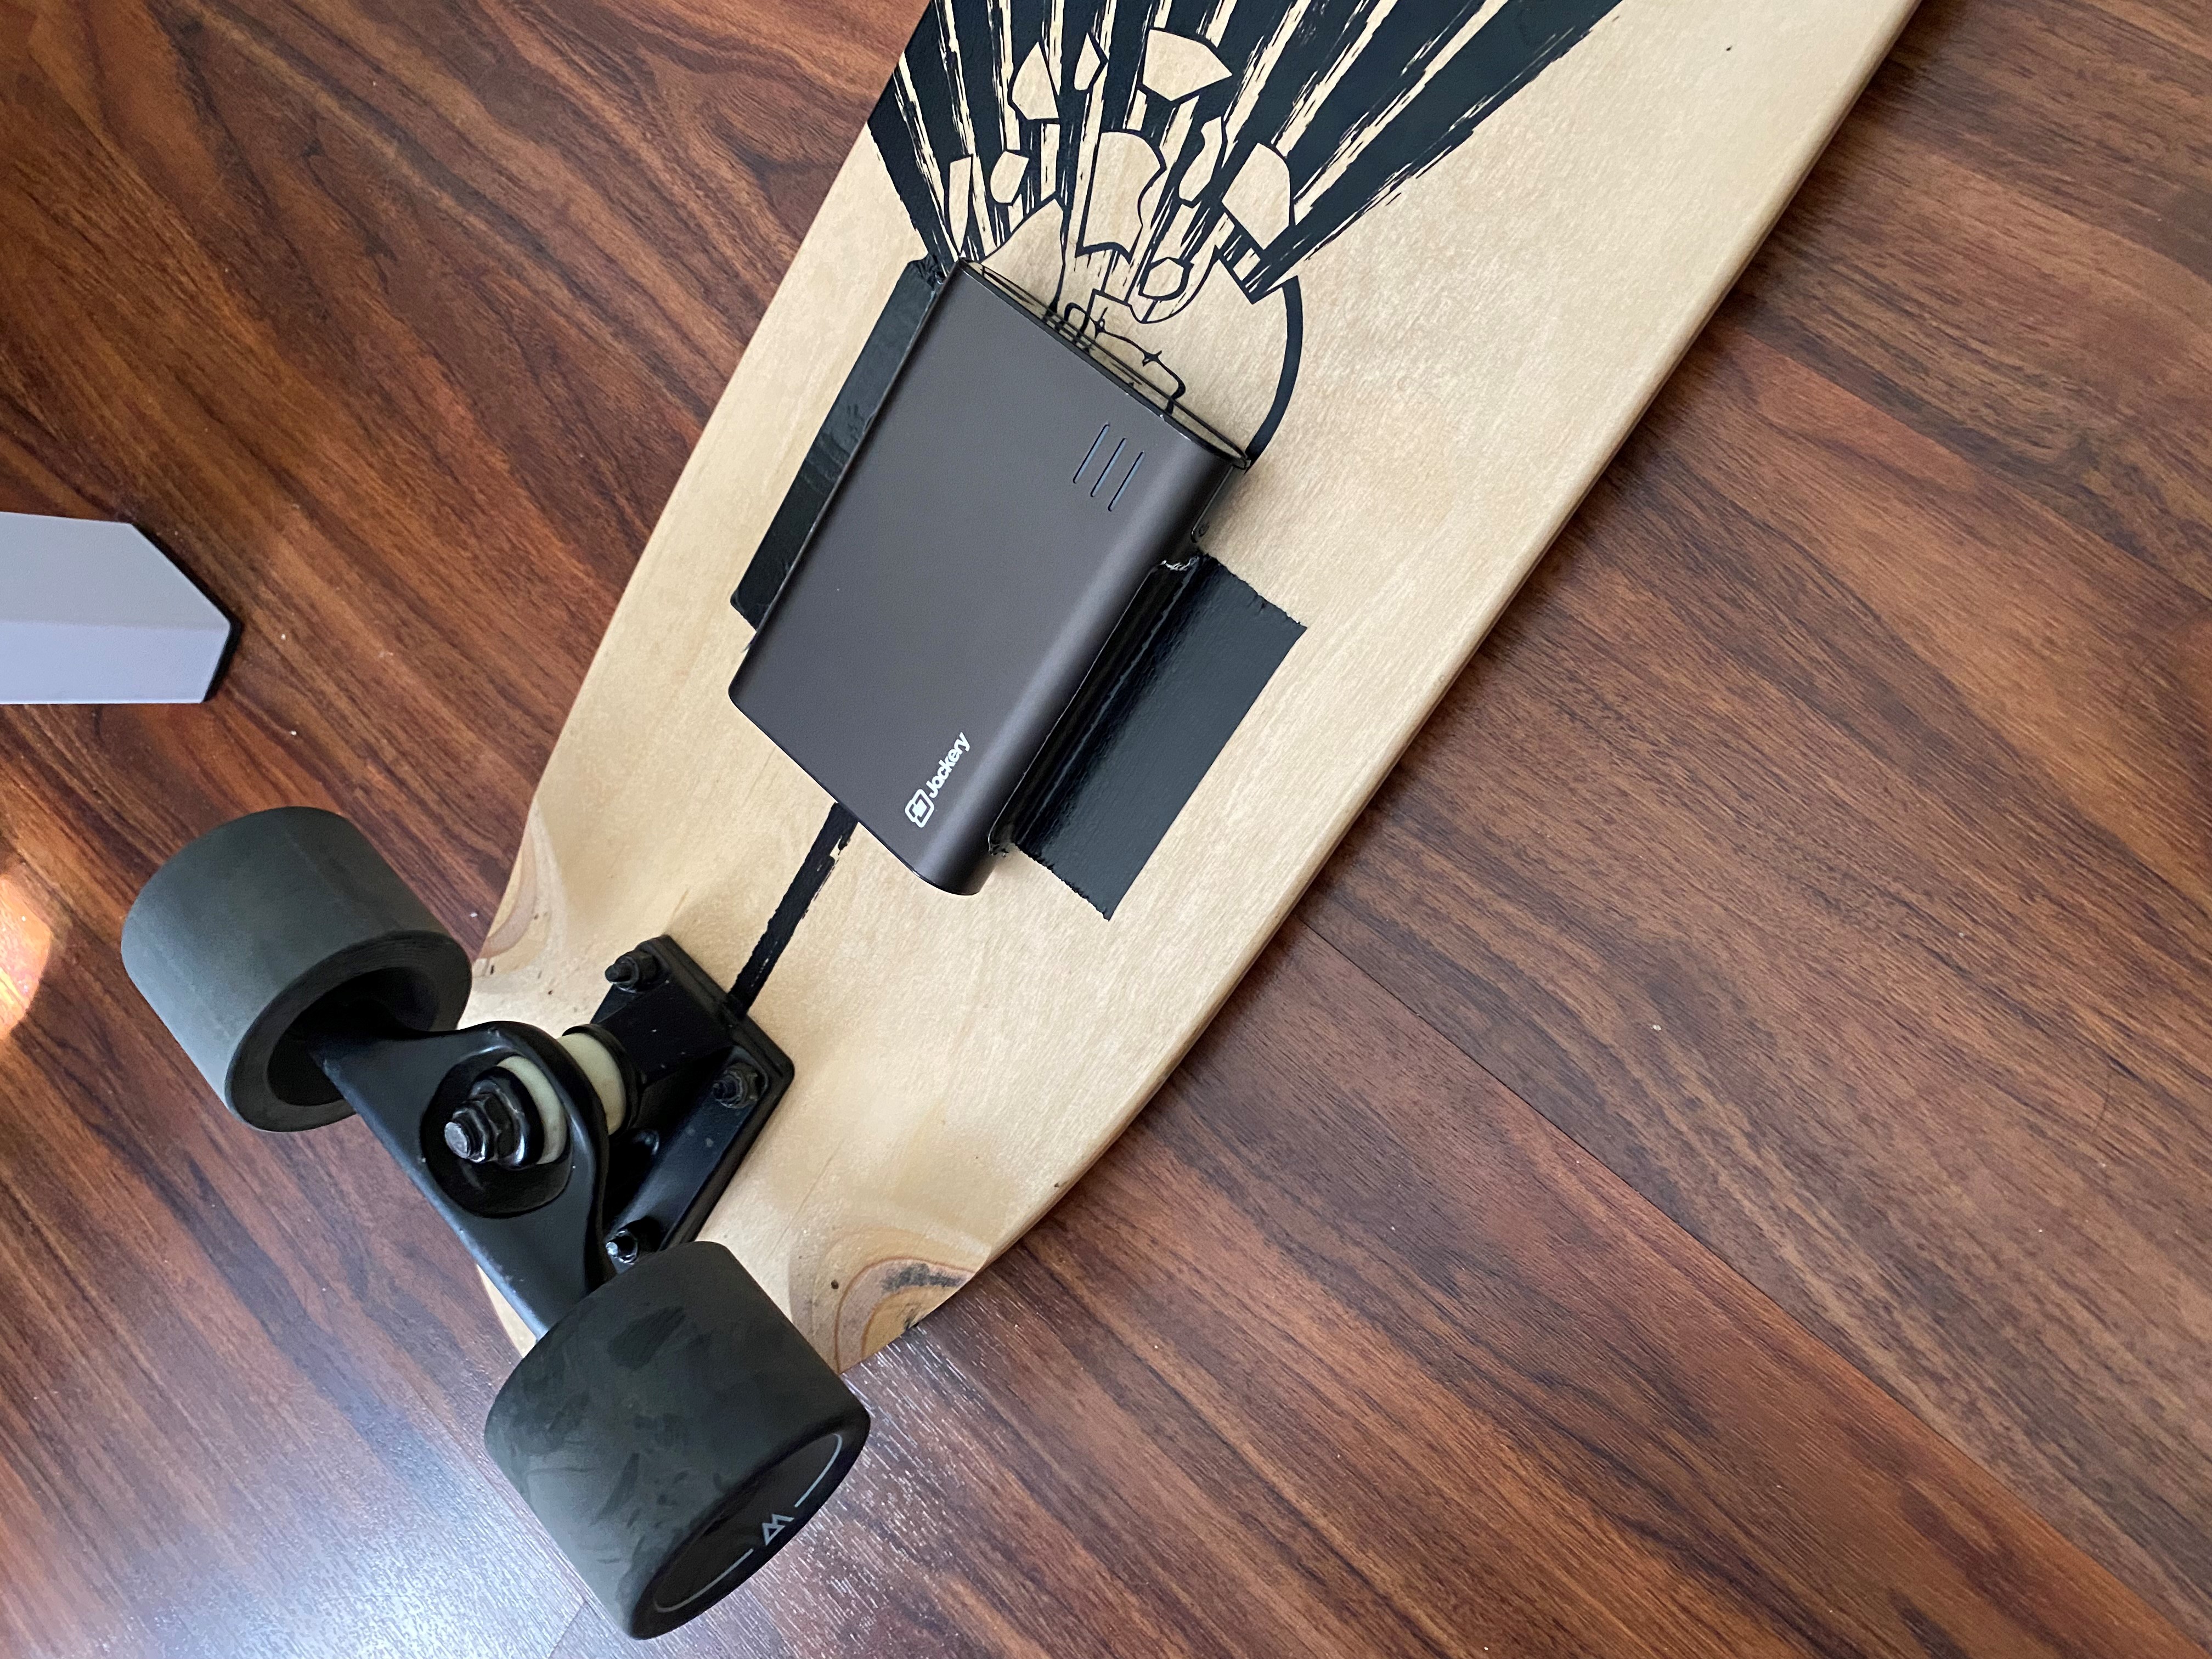
Power supply attached to board
-
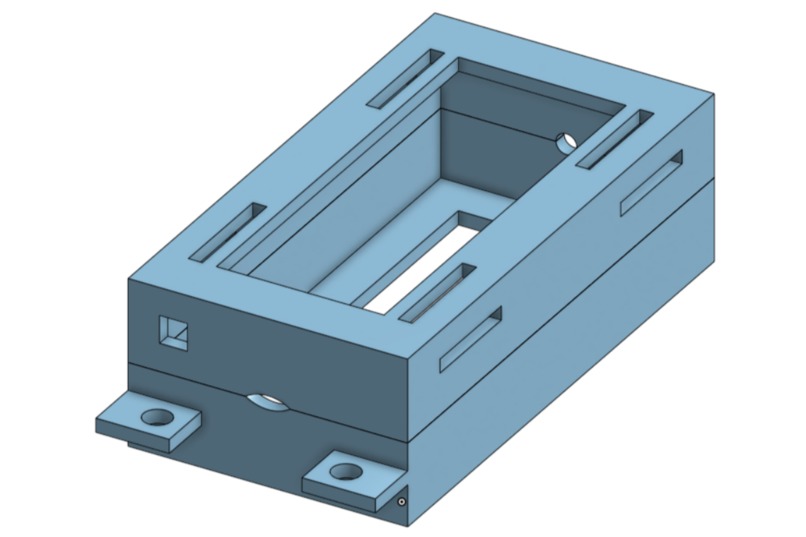
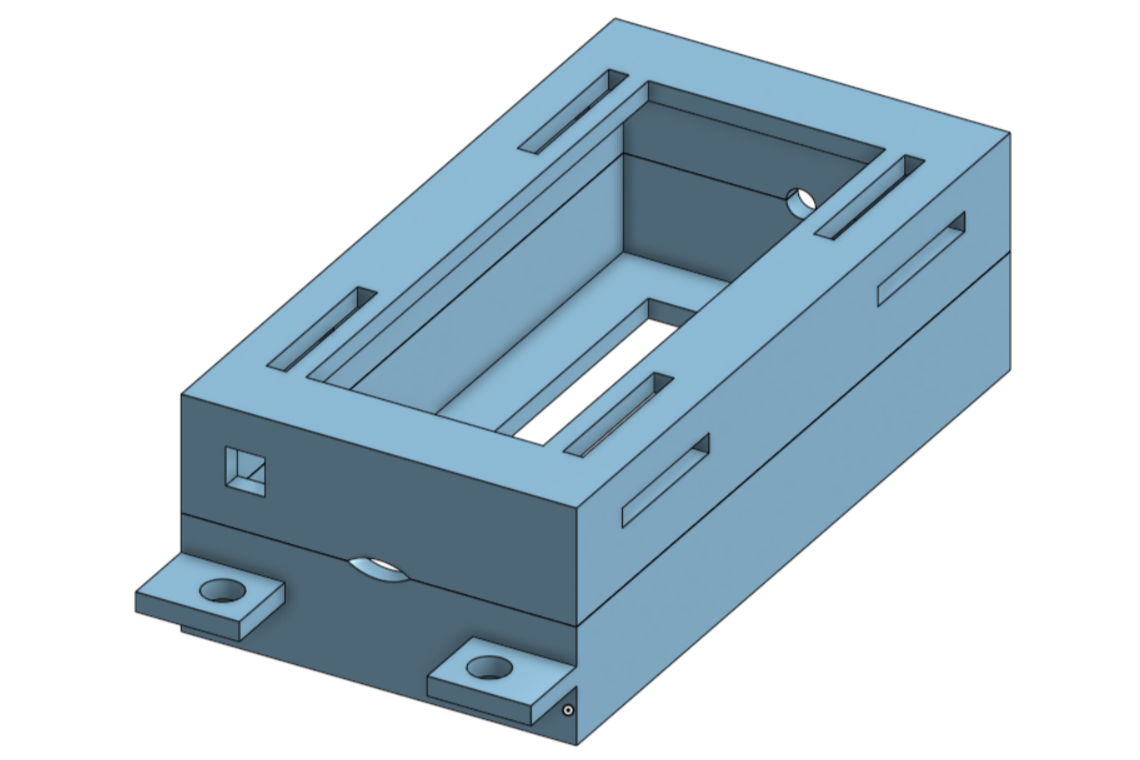
Original Arduino shield design
-
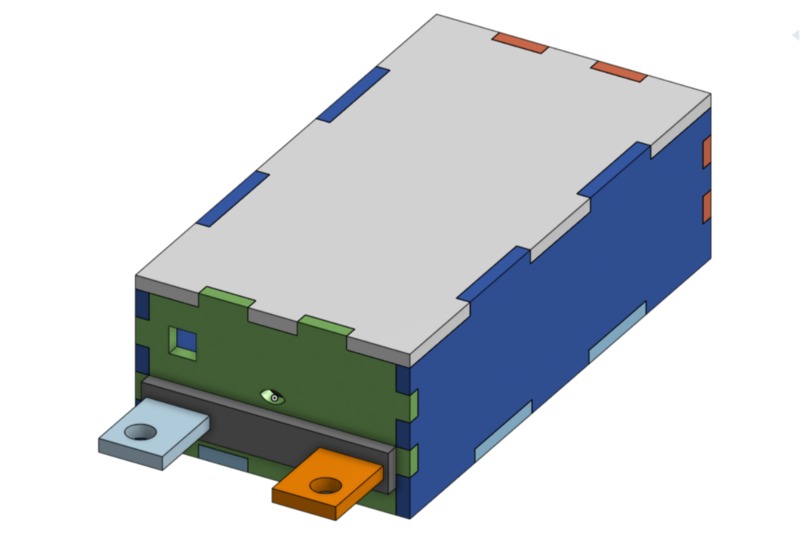
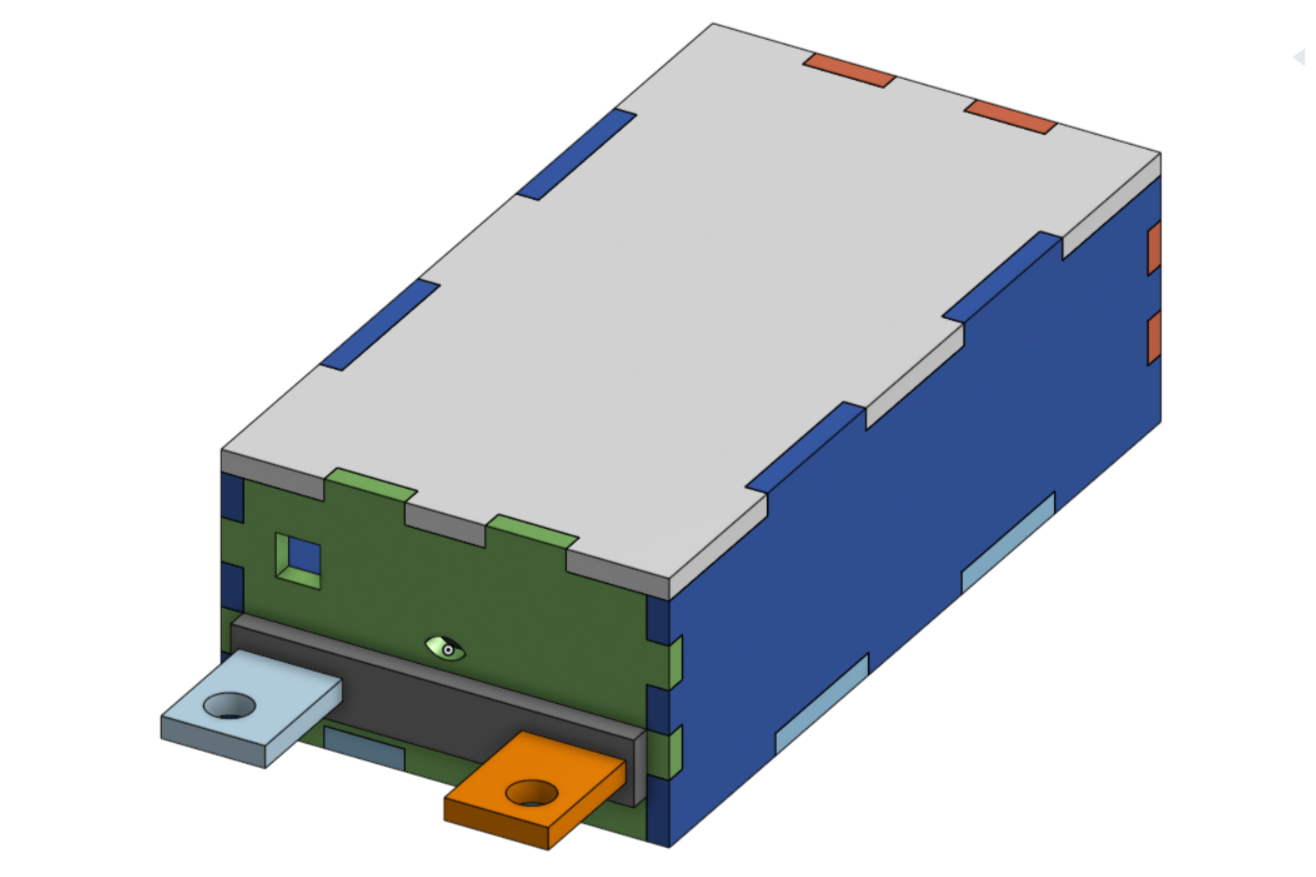
Final Arduino shield design exterior
-
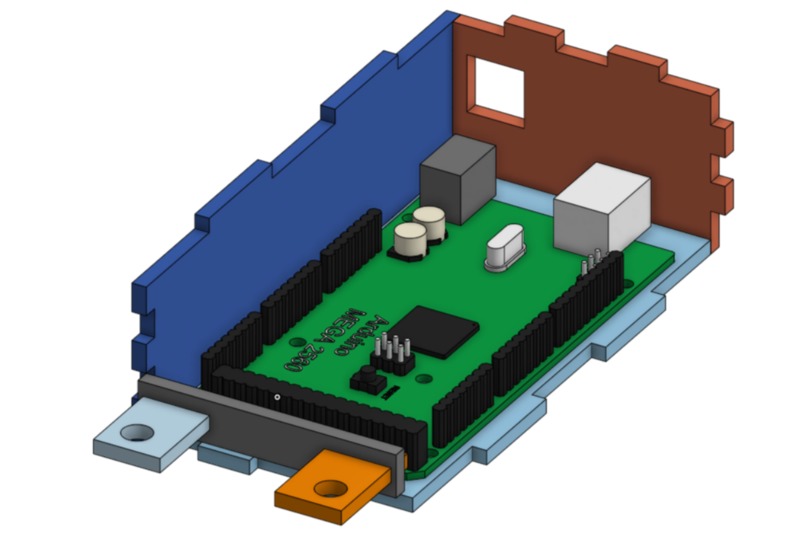
Arduino shield interior
-
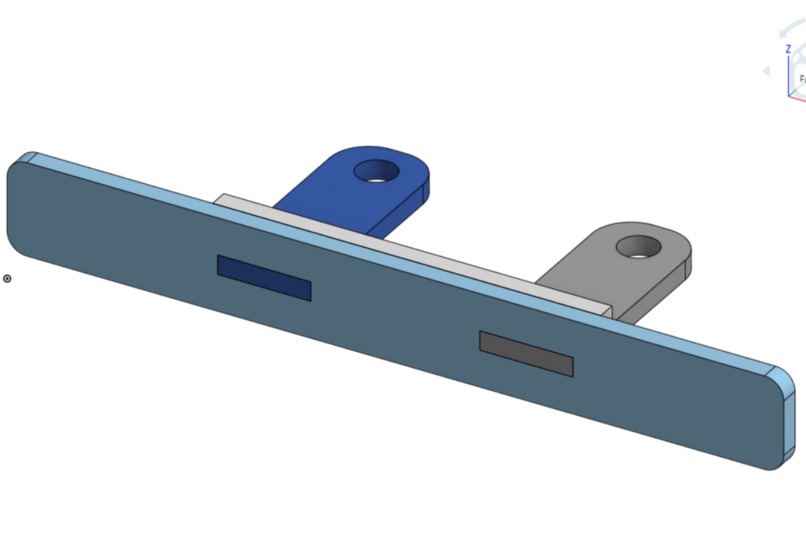
Taillight bracket CAD drawing
-
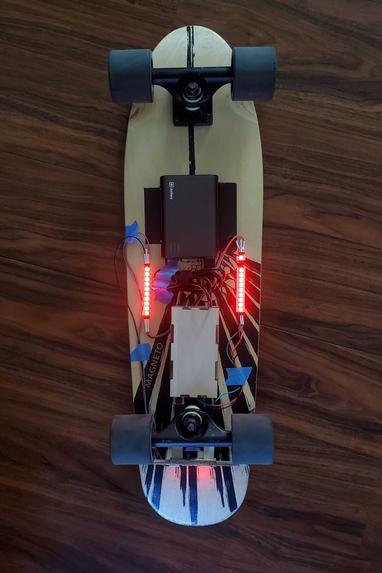
Finished light system
-
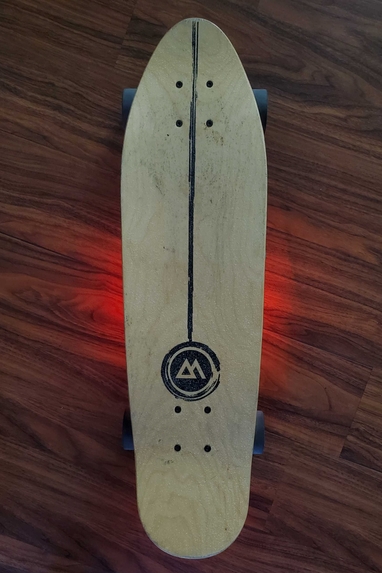
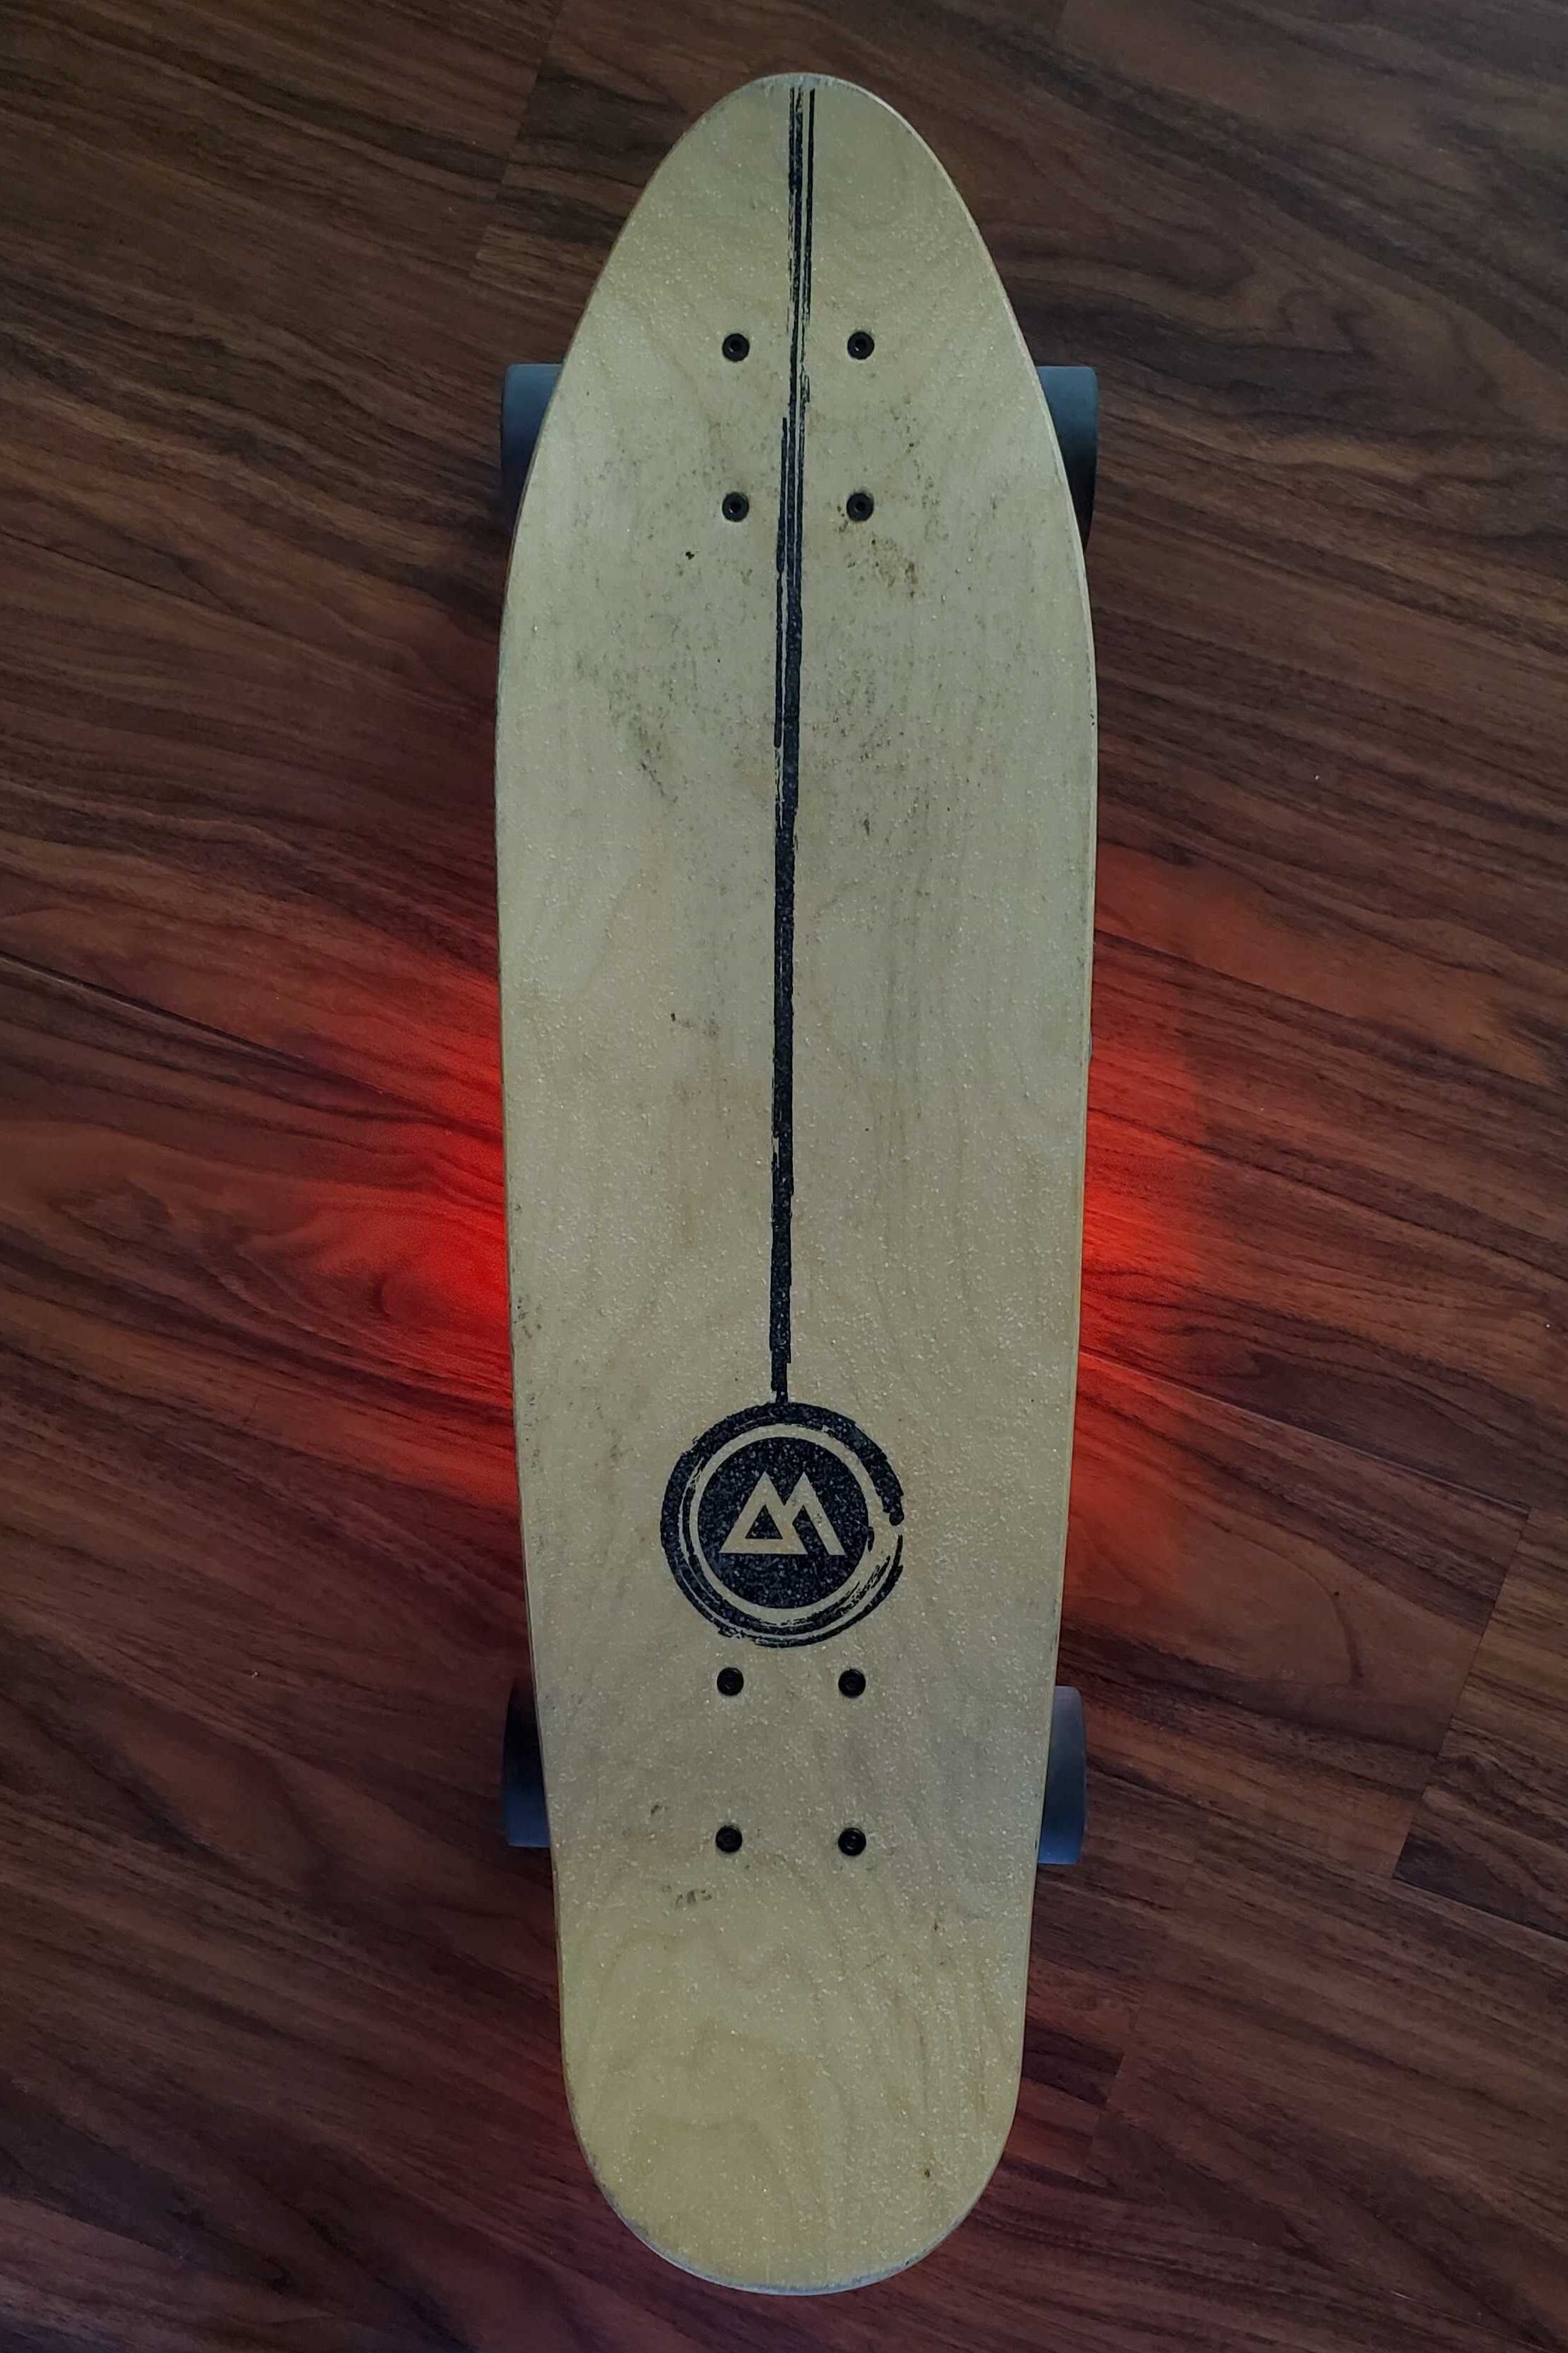
Finished board top view
Inspiration
Our team members have become avid skateboarders since coming to Cal Poly, despite the on-campus restrictions. When we do get the chance to skateboard, we often ride at night and in the dark around our neighborhood. In order to make ourselves visible, we usually use our phone flashlights to alert pedestrians or drivers of our presence. Our goal is to create a more effective light system that attaches to our skateboards that will allow skateboarders to ride on the streets safely.
What it does
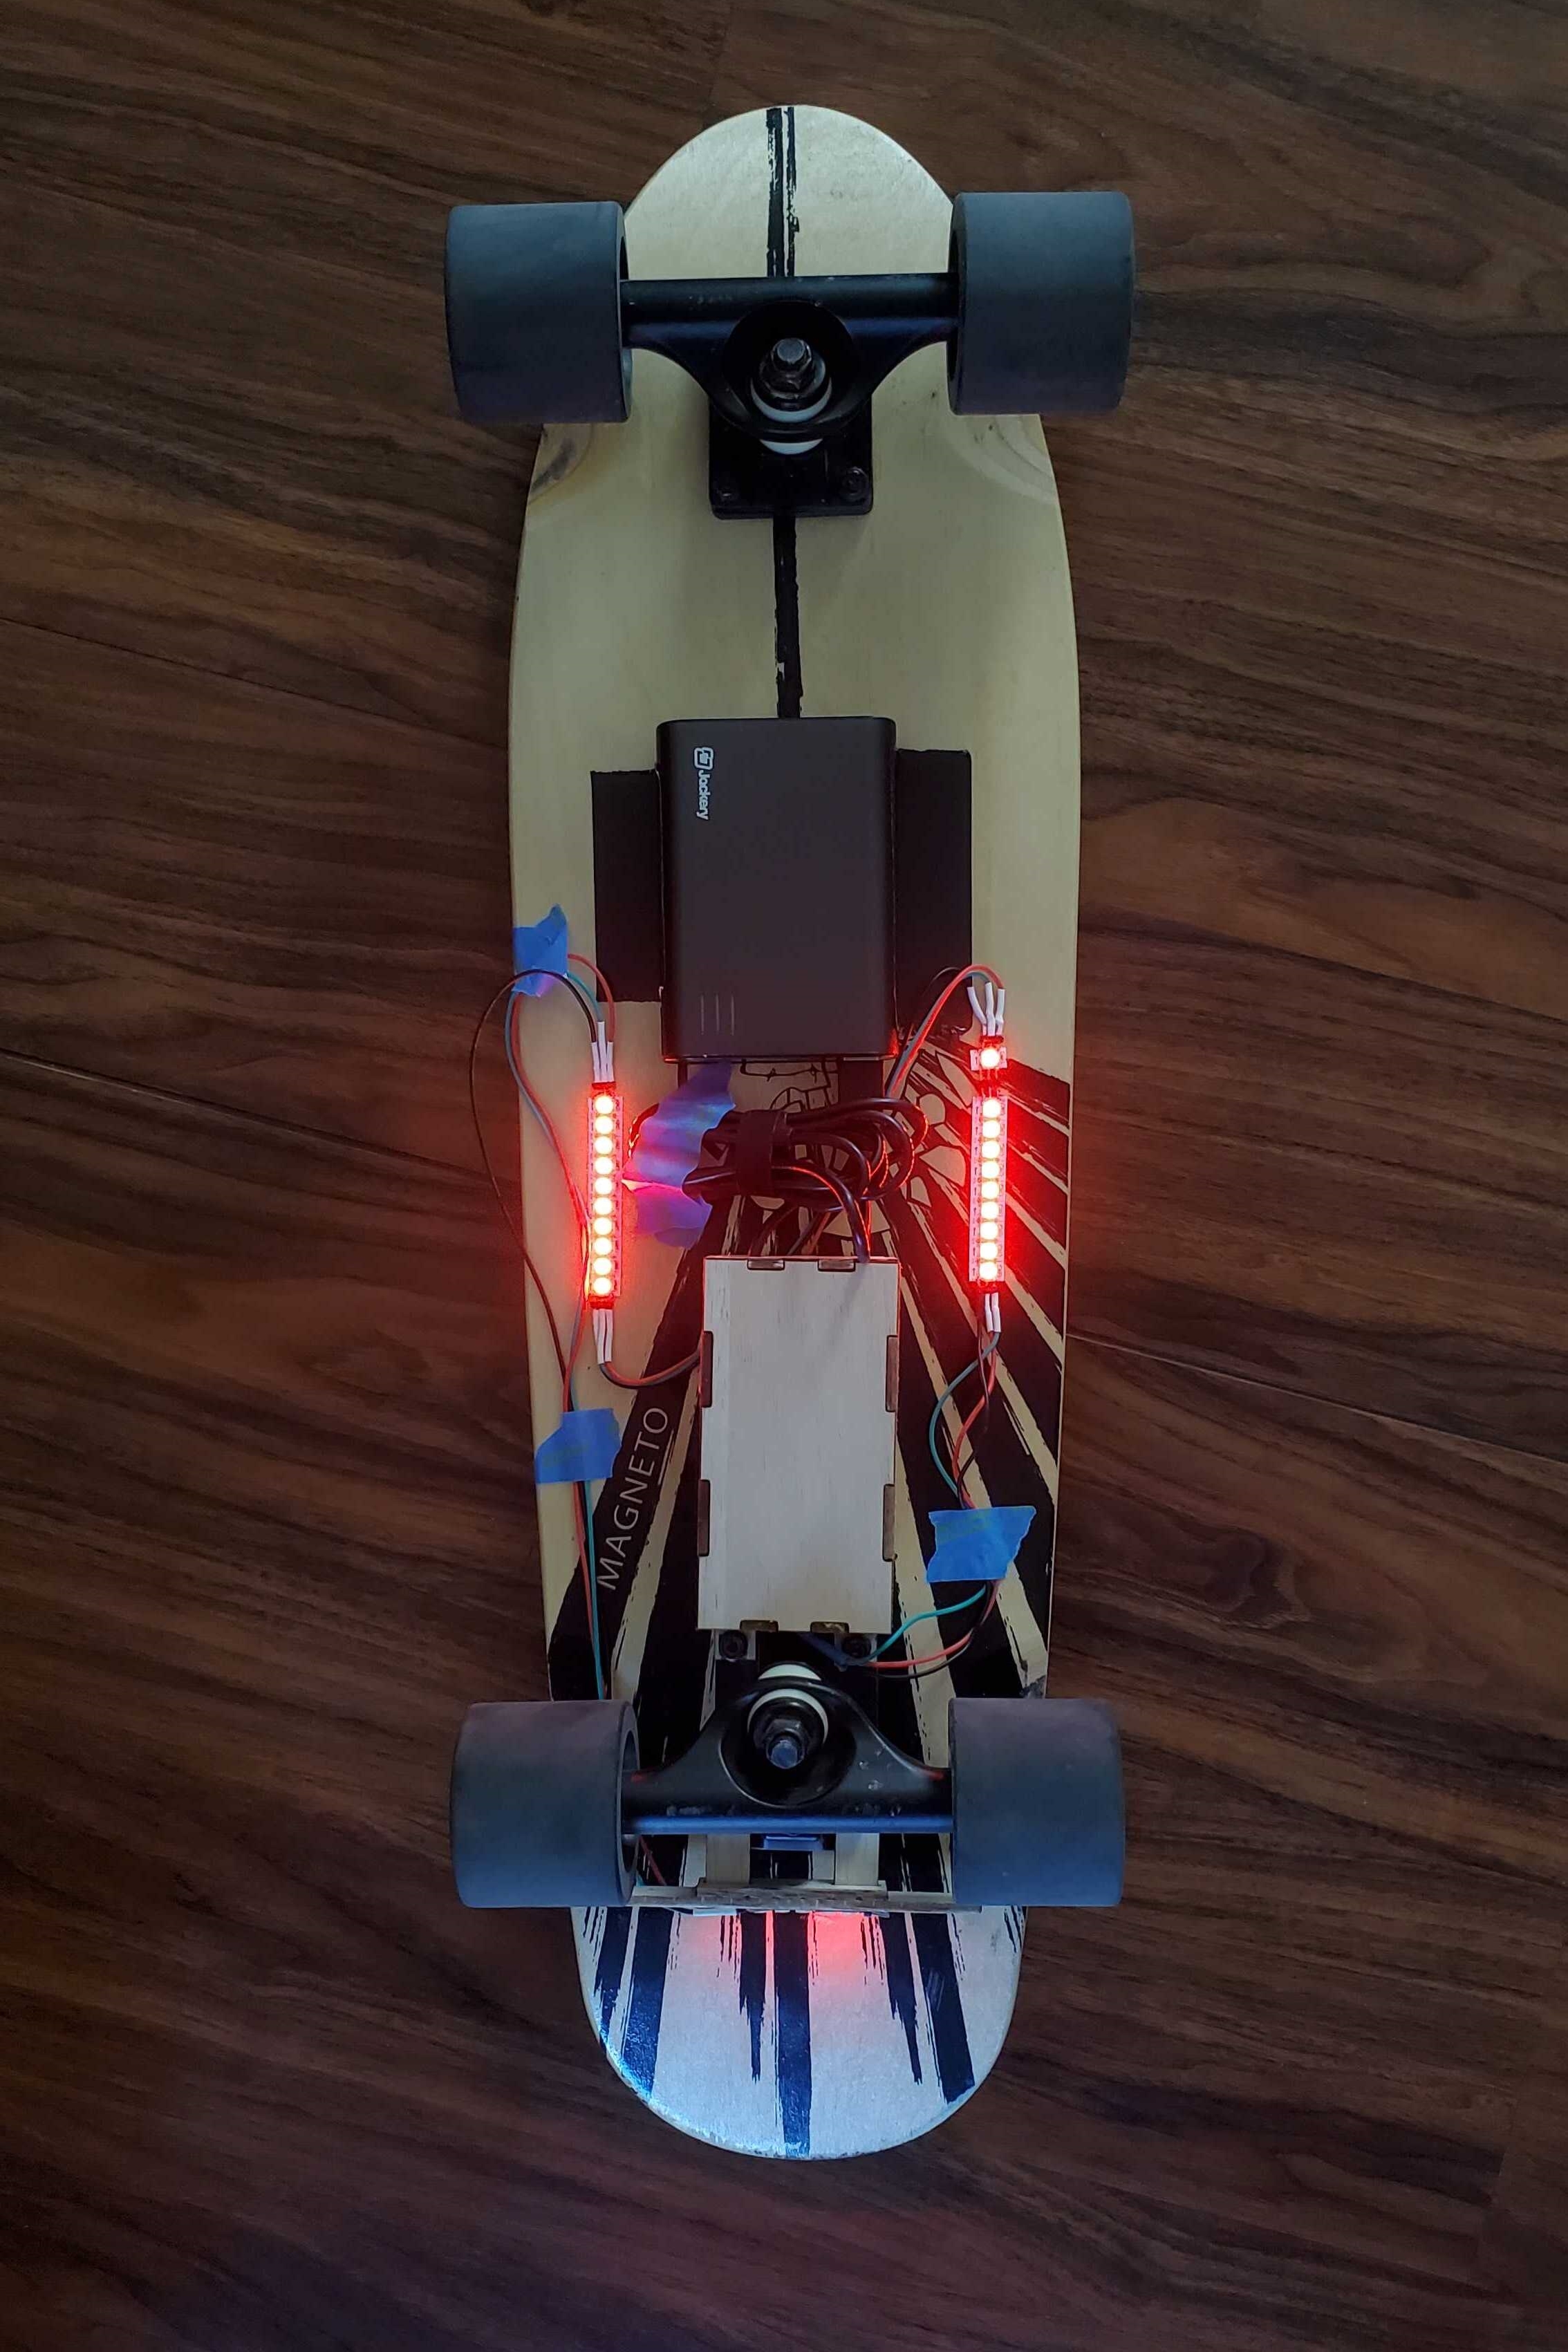
The prototype that we designed has two main features. The system contains left and right turn signals that will activate depending on the tilt of the board while a person is riding it. These signals foster better communication between a driver and a skateboarder on the road and allows people to react and safely adjust for the skateboarder. The other part of the system is a set of brake lights which are set to respond to the deceleration of a skateboard. Similar to their function in cars, the brake lights are meant to alert the people around the skateboarder of changes in motion so that they can safely maneuver around the board.
How we built it
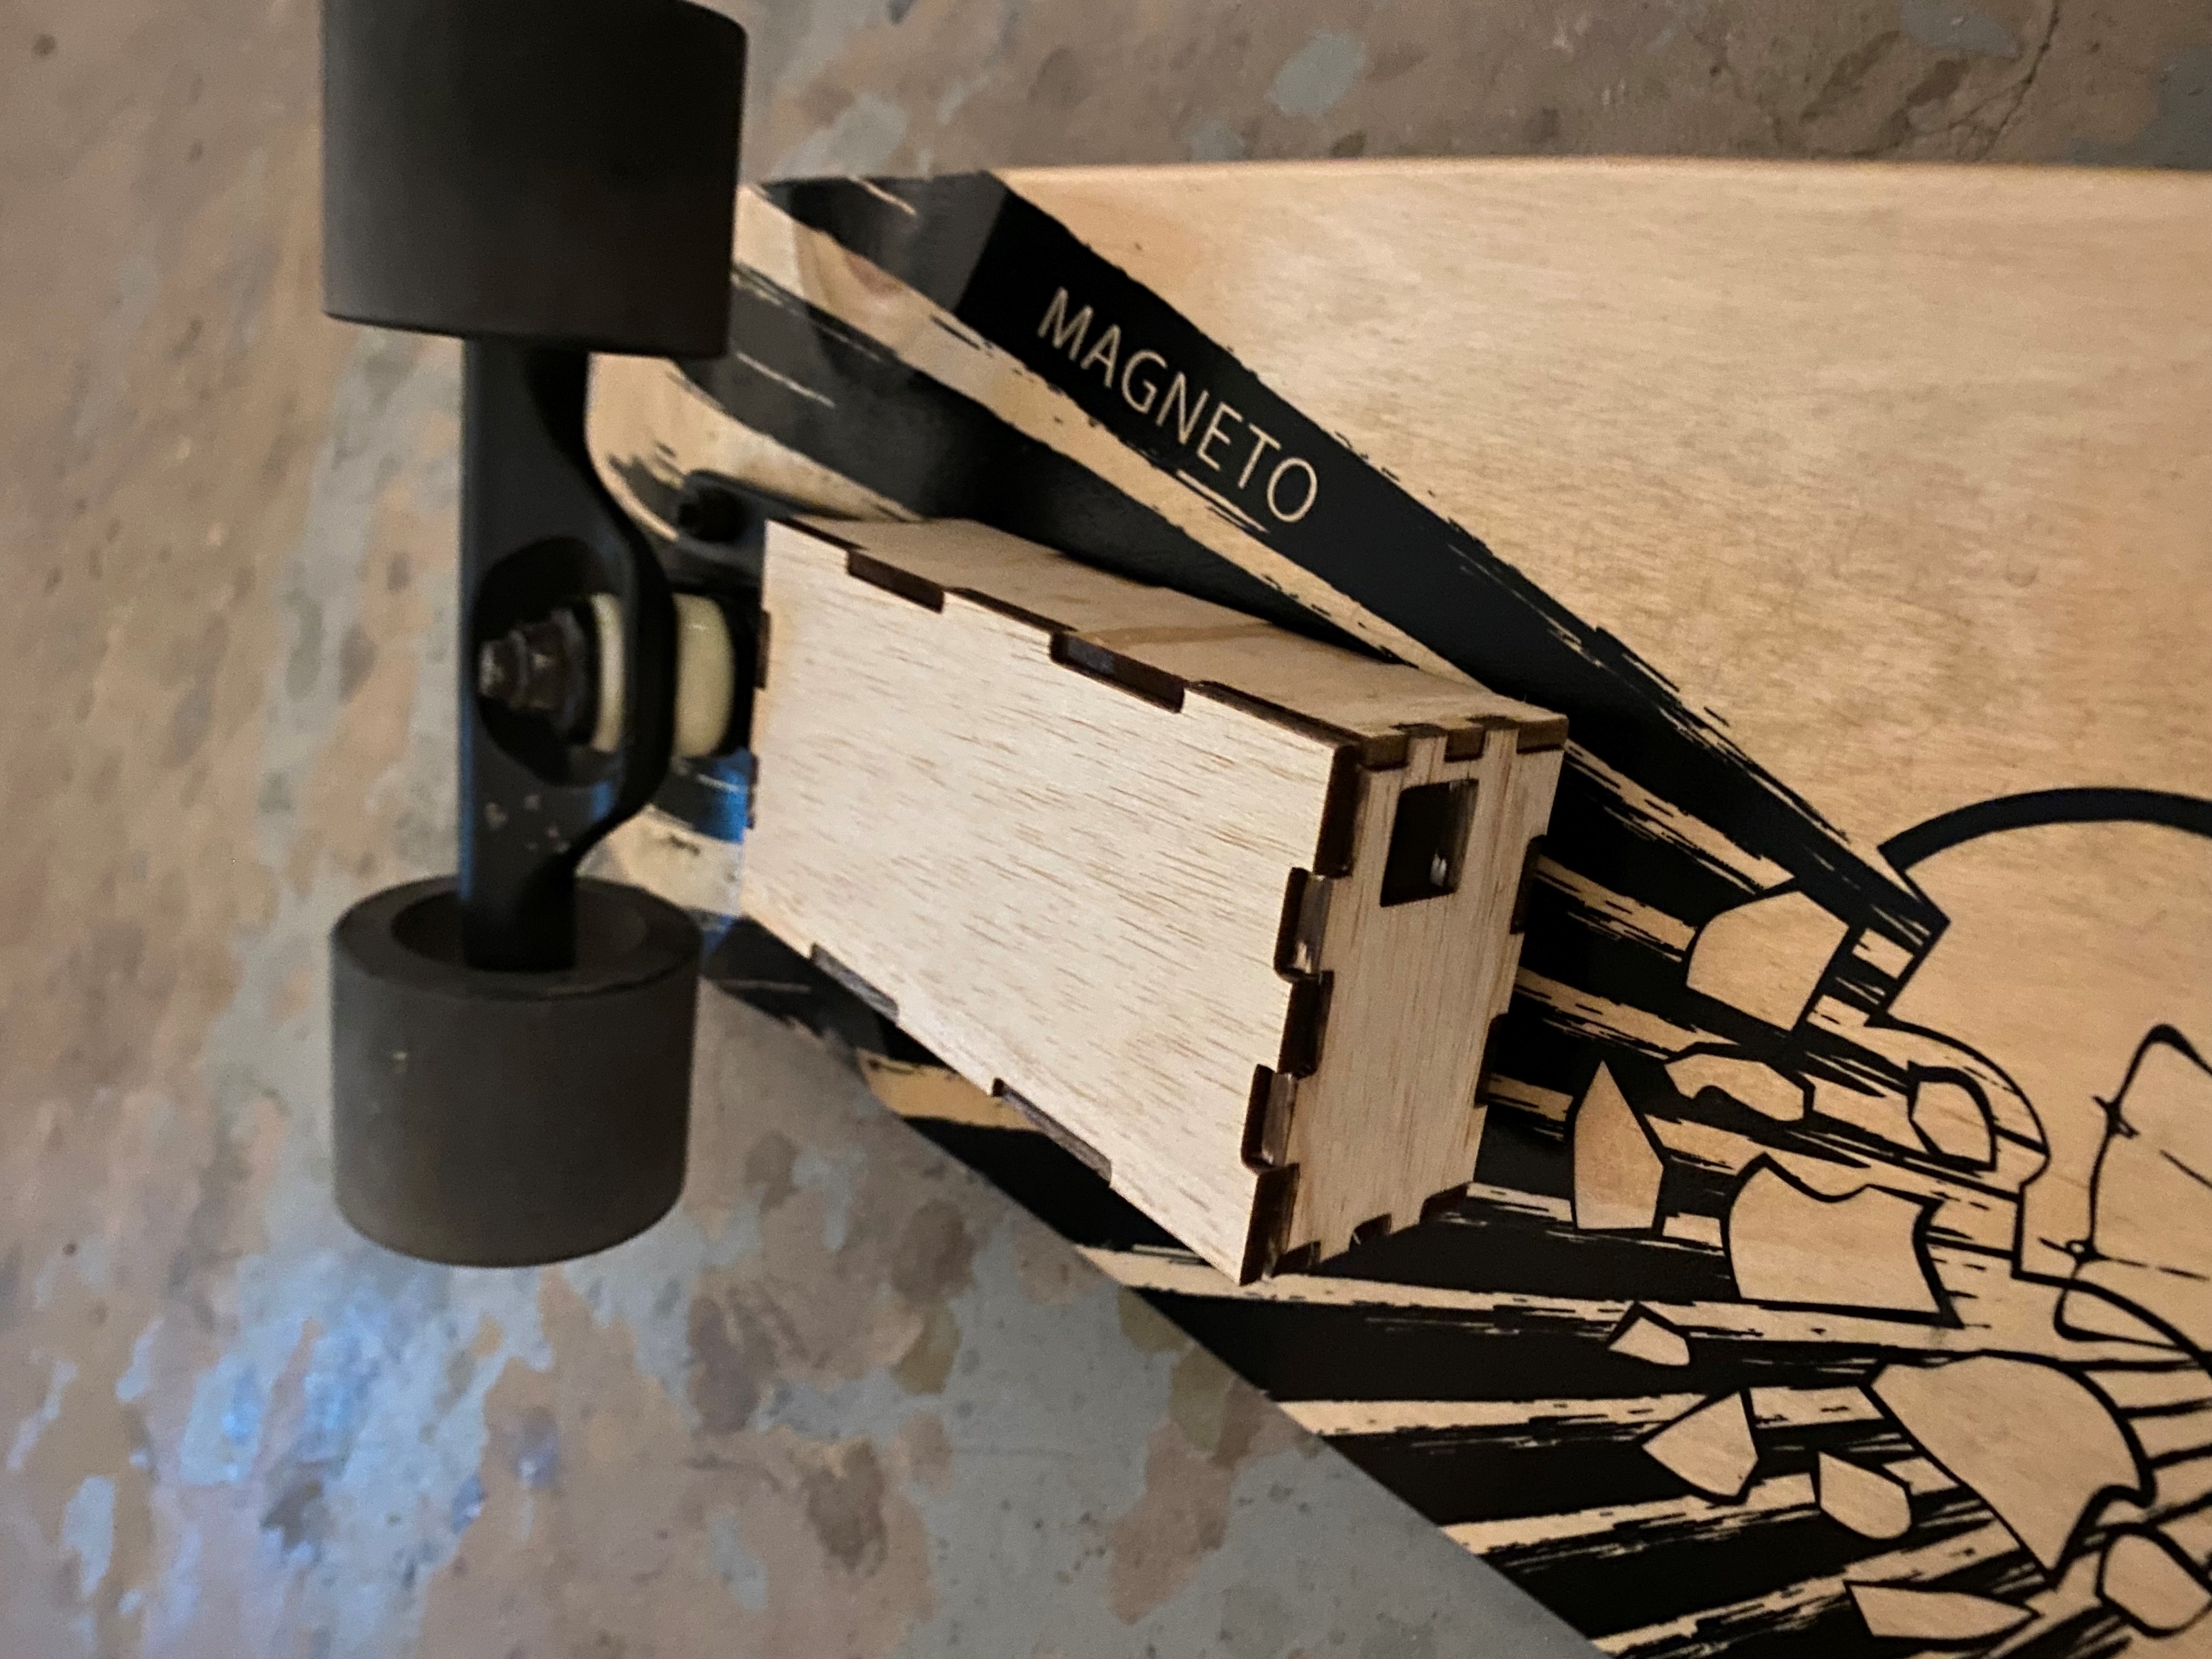
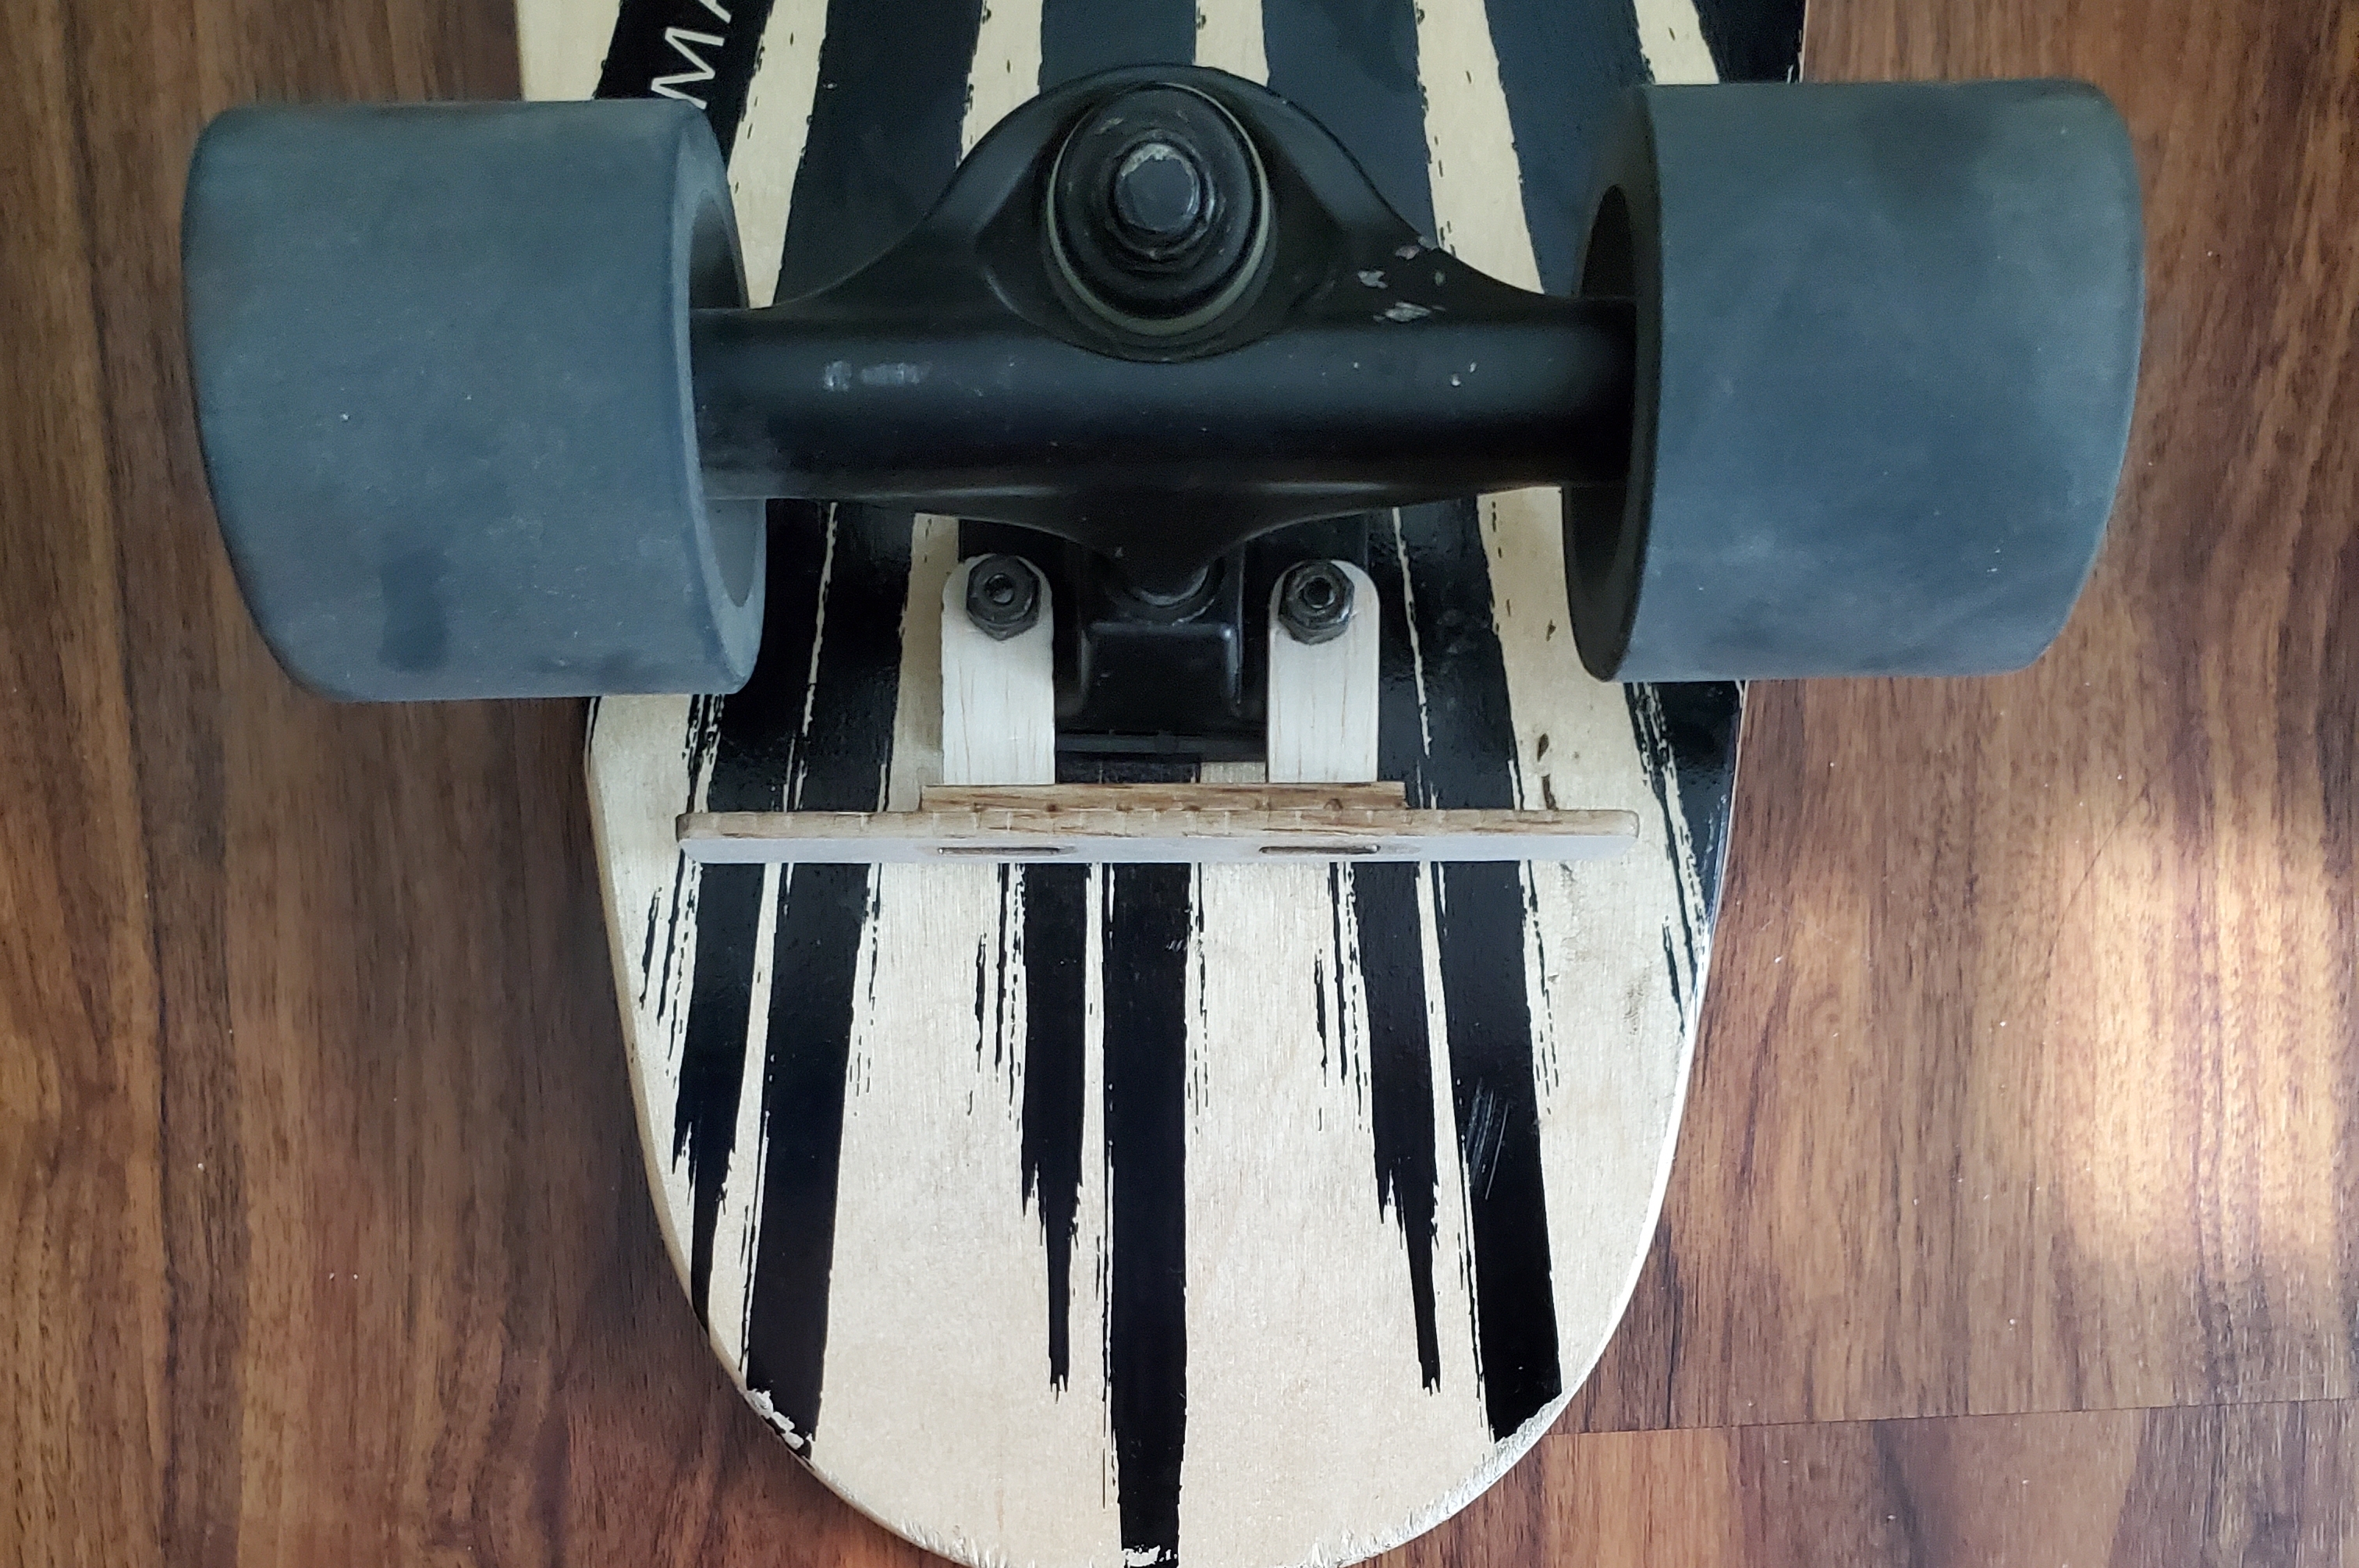
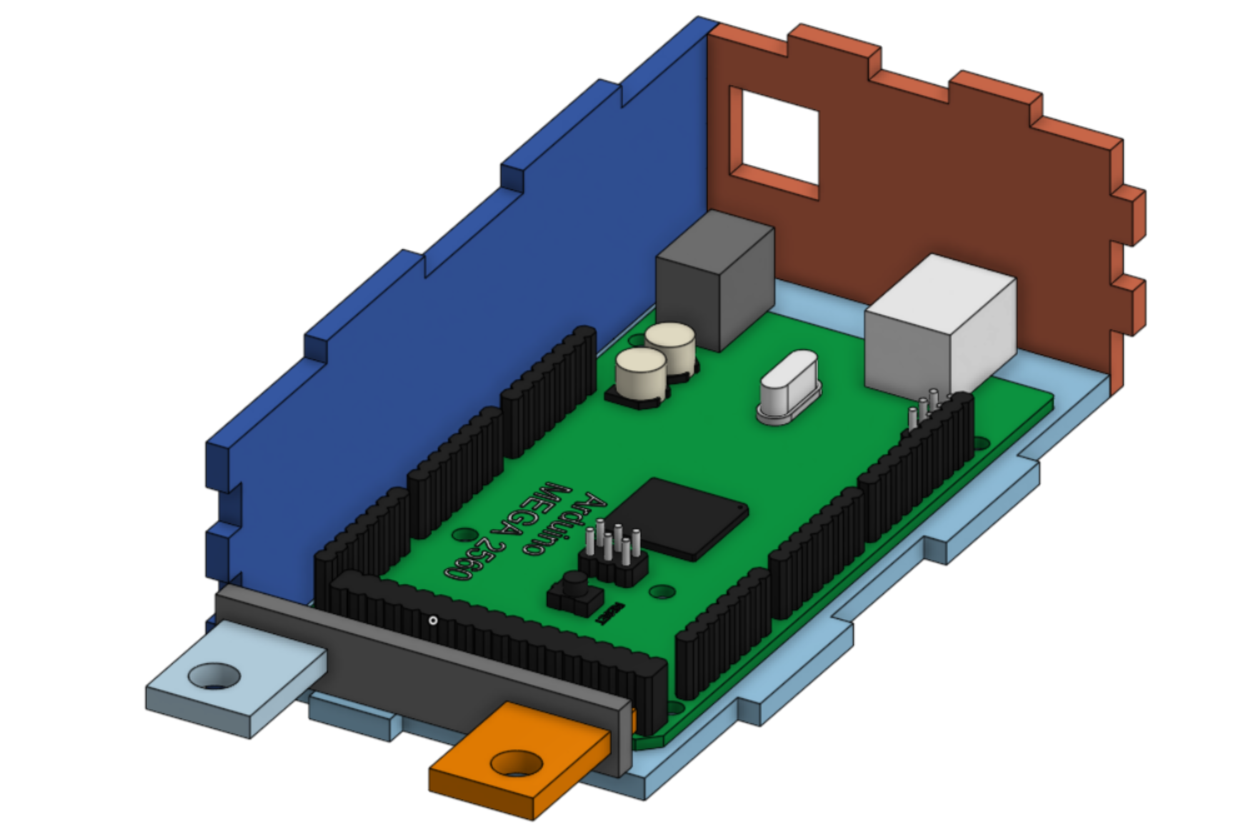
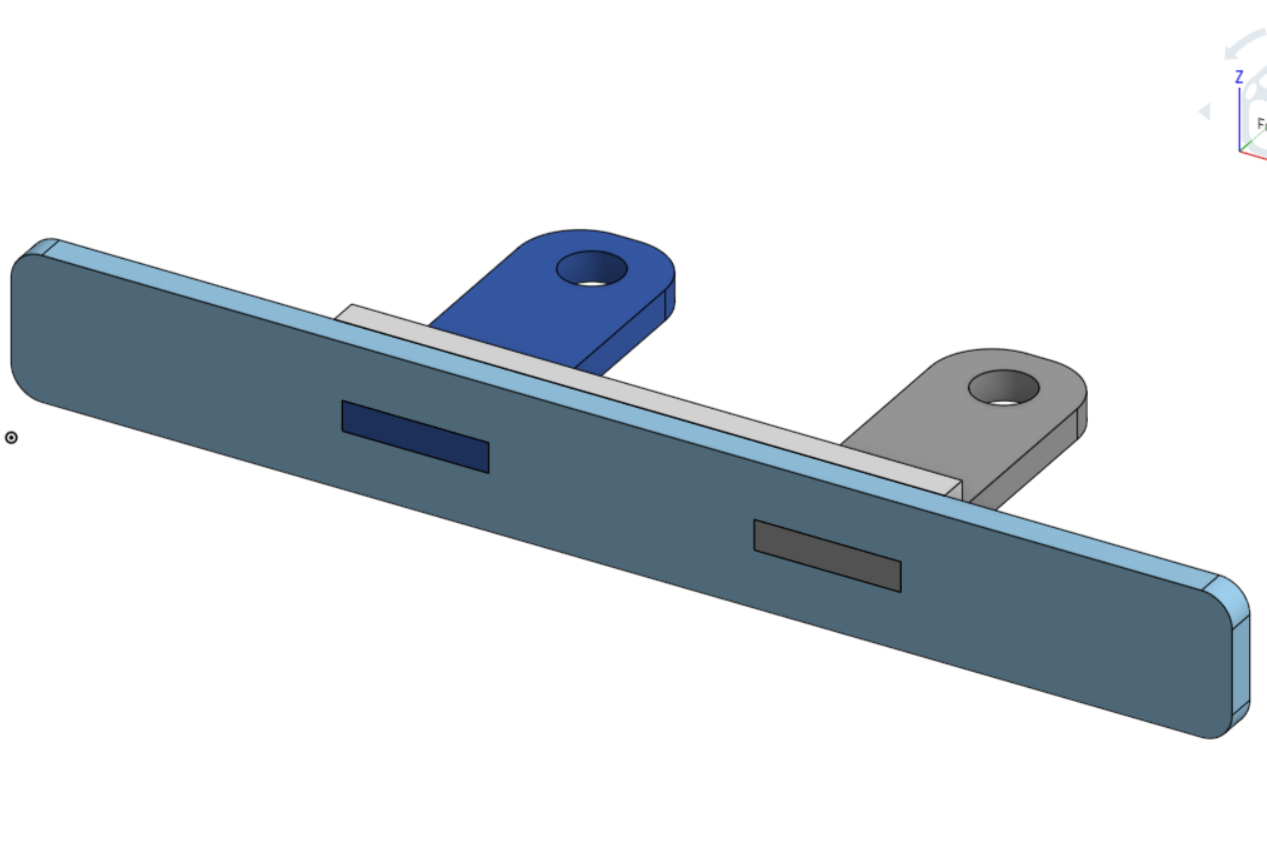
The light system is run by a MEGA 2500 Arduino board which connects to three different light strips: one each on the left and right sides of the board and one in the back. The Arduino is equipped with an accelerometer that sends data to the board to determine which lights to activate. The Arduino is housed in a custom Arduino shield that we designed and cut out of balsa wood. The shield mounts directly onto the skateboard trucks under the board. The taillights are attached to a balsa wood bracket that is also mounted on the trucks.
Challenges we ran into
Our original design for the Arduino shield was intended to be 3D printed. However, we found that the school's 3D printers were non-functional at the time, so we were forced to rethink our design. This led to a shield comprised of laser-cut wooden parts. One of the bigger problems that we faced was finding a reliable method of power delivery from the Arduino to the lights due to the amount of power that the lights require to run. We solved this issue by adding an external battery to send power through the Arduino to the lights.
Accomplishments that we're proud of
We are proud of the work that we completed in the given period of time. We started completely from scratch and managed to code, fabricate, and assemble a functioning light system in less than 24 hours. We take pride in our ability to problem solve and find viable solutions to the issues that we faced, especially the Arduino shield that we designed. Throughout the event, we were able to work together as a team and bounce ideas off of each other to determine the best design methods.
What we learned
We learned a lot about time expectations and how processes will often consume more time than we originally estimate or hope for. In this context, we were able to improve our time management skills so that we were completing our tasks in the most efficient way possible.
What's next for Skateboard Lights
In the near future, our team would like to add a hazard light function for the taillights. Our original design included this feature, but we needed more time to complete it. Once the design is refined and our process is standardized, we hope to test and implement the system onto more skateboards.


Log in or sign up for Devpost to join the conversation.