-
-
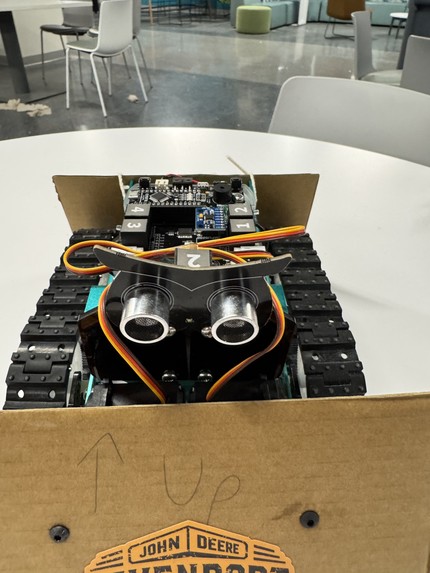
Top View
-

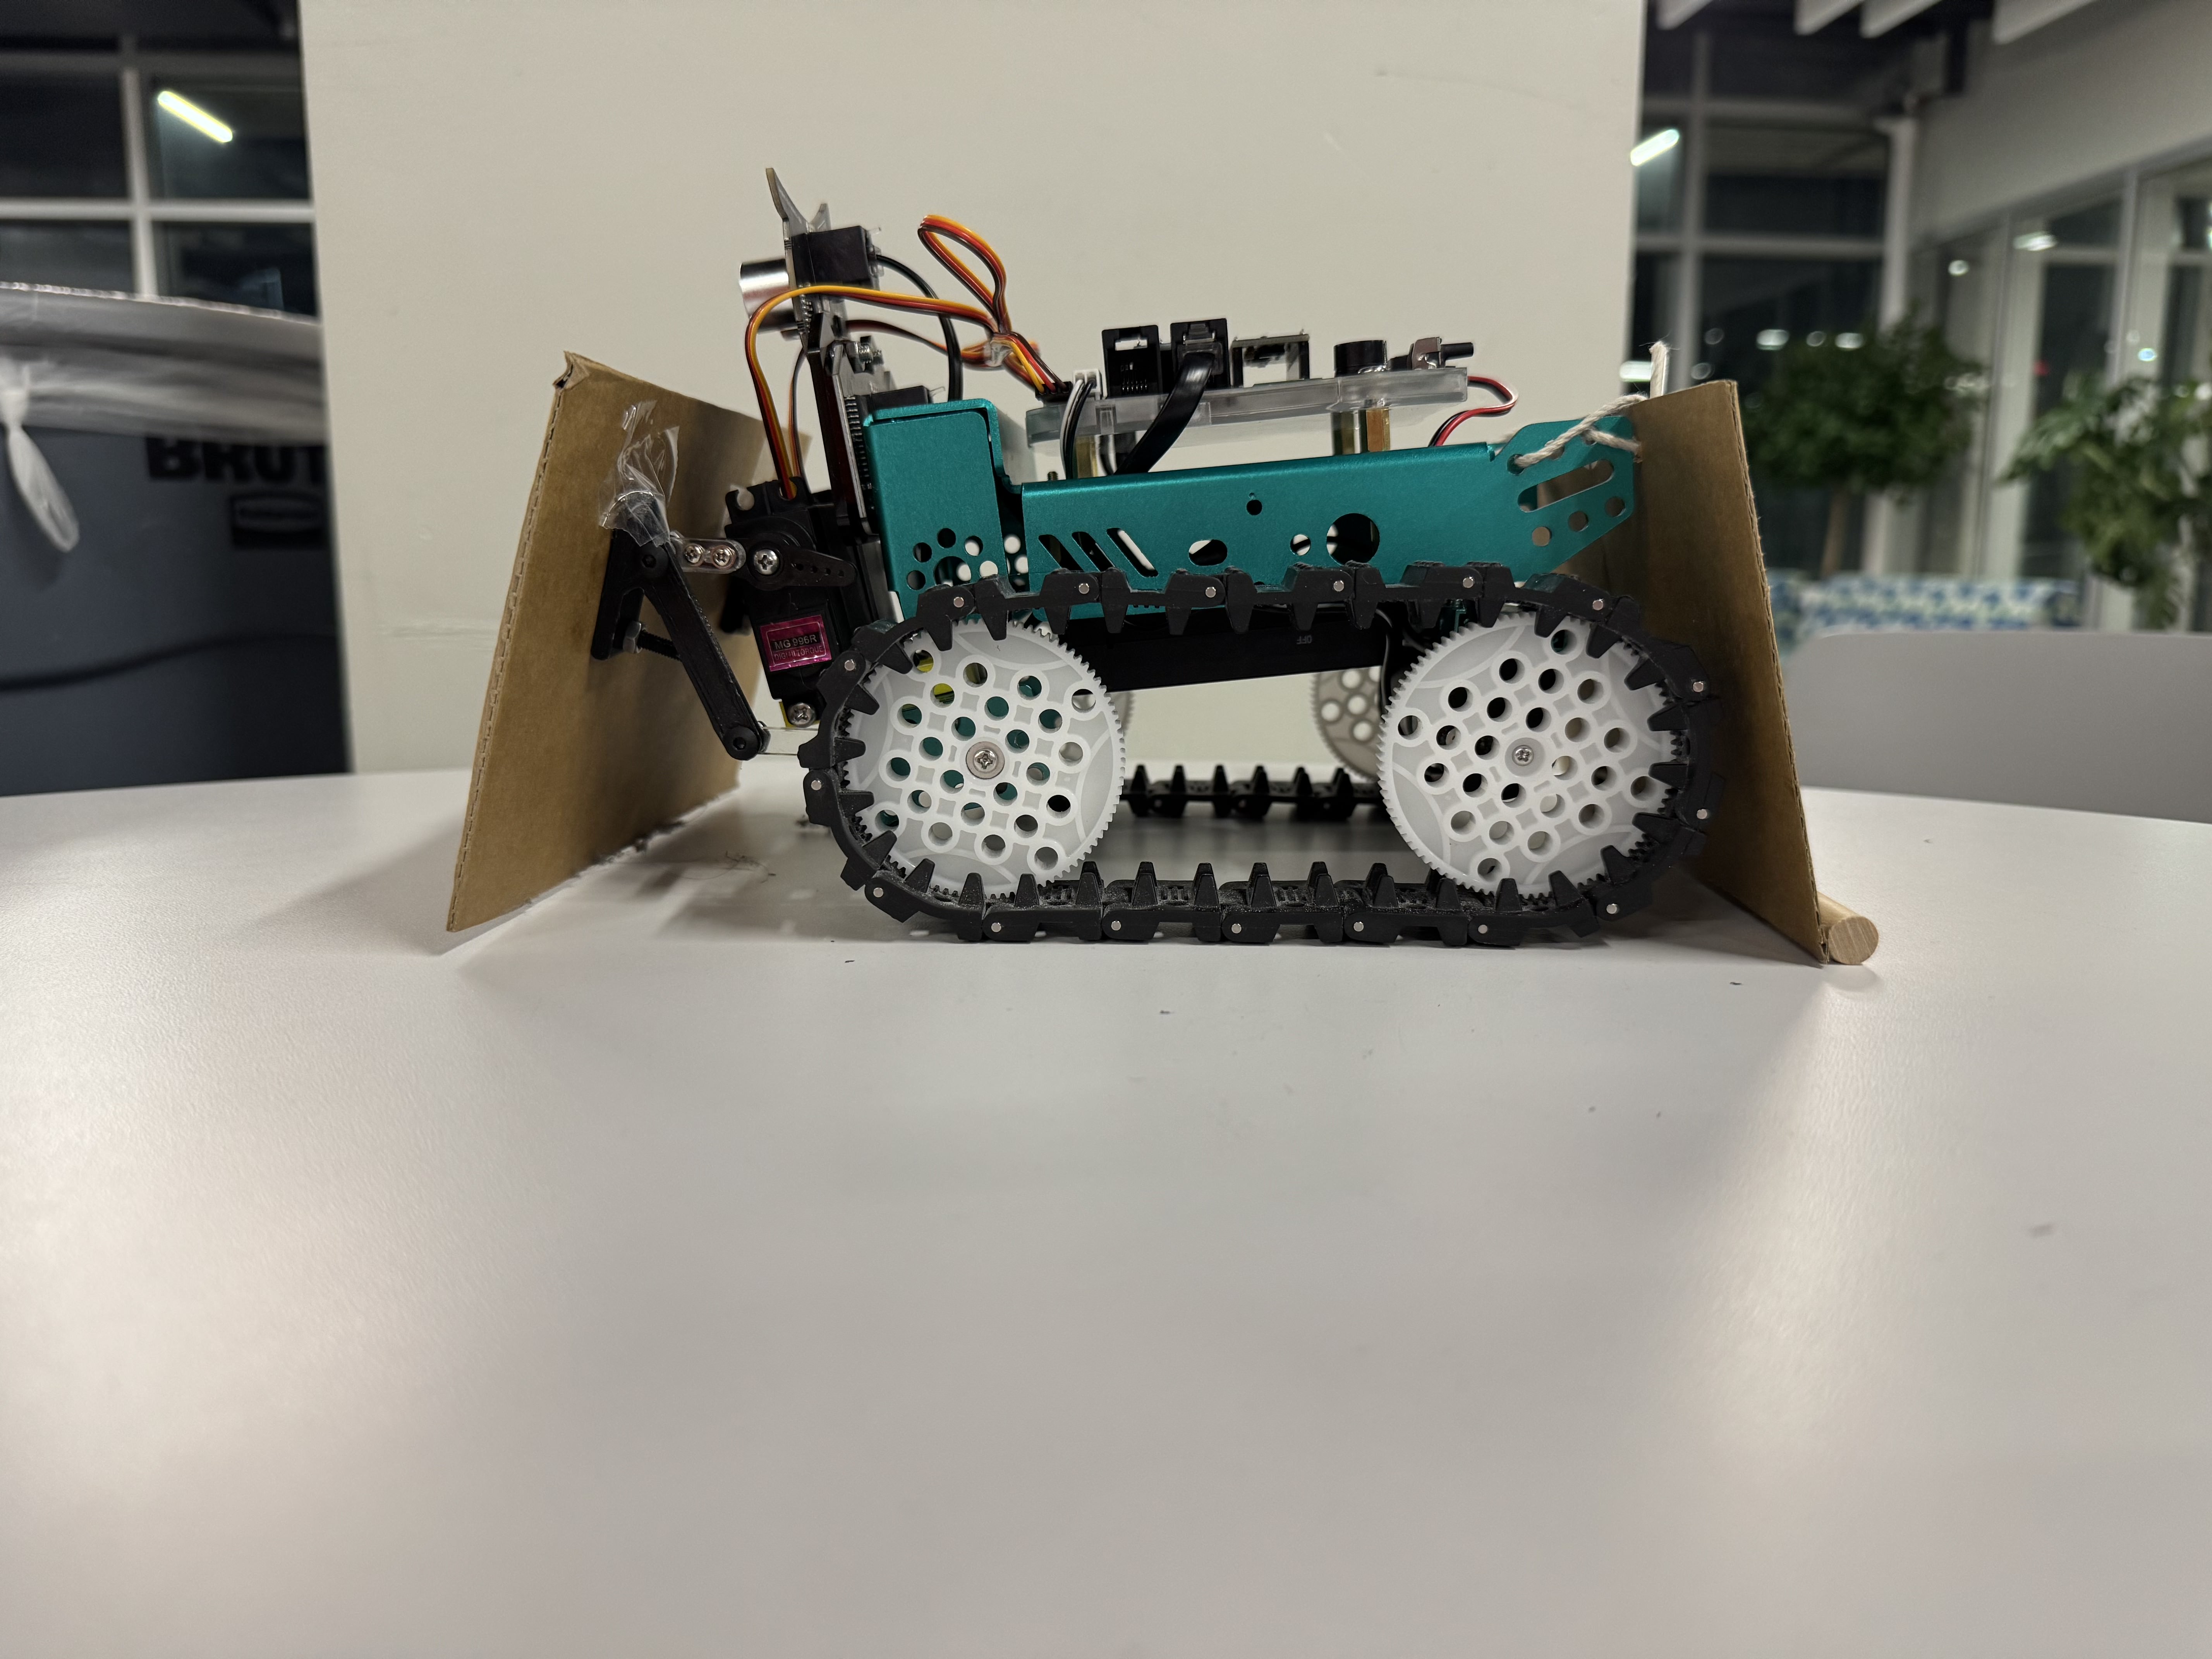
Side View
-
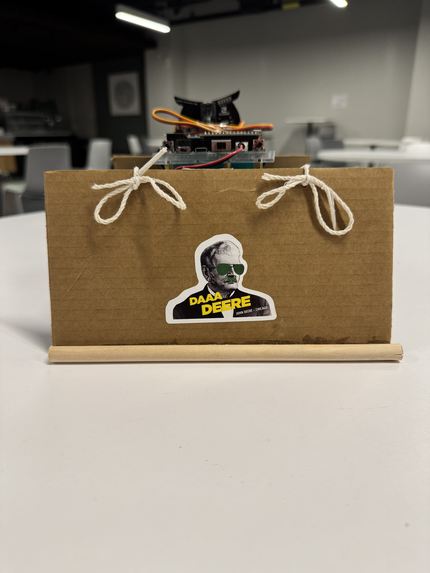
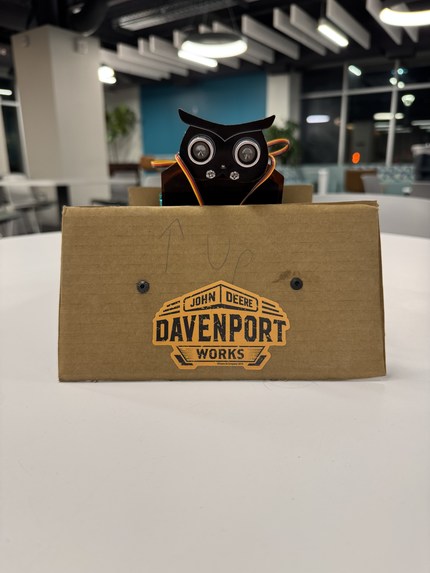
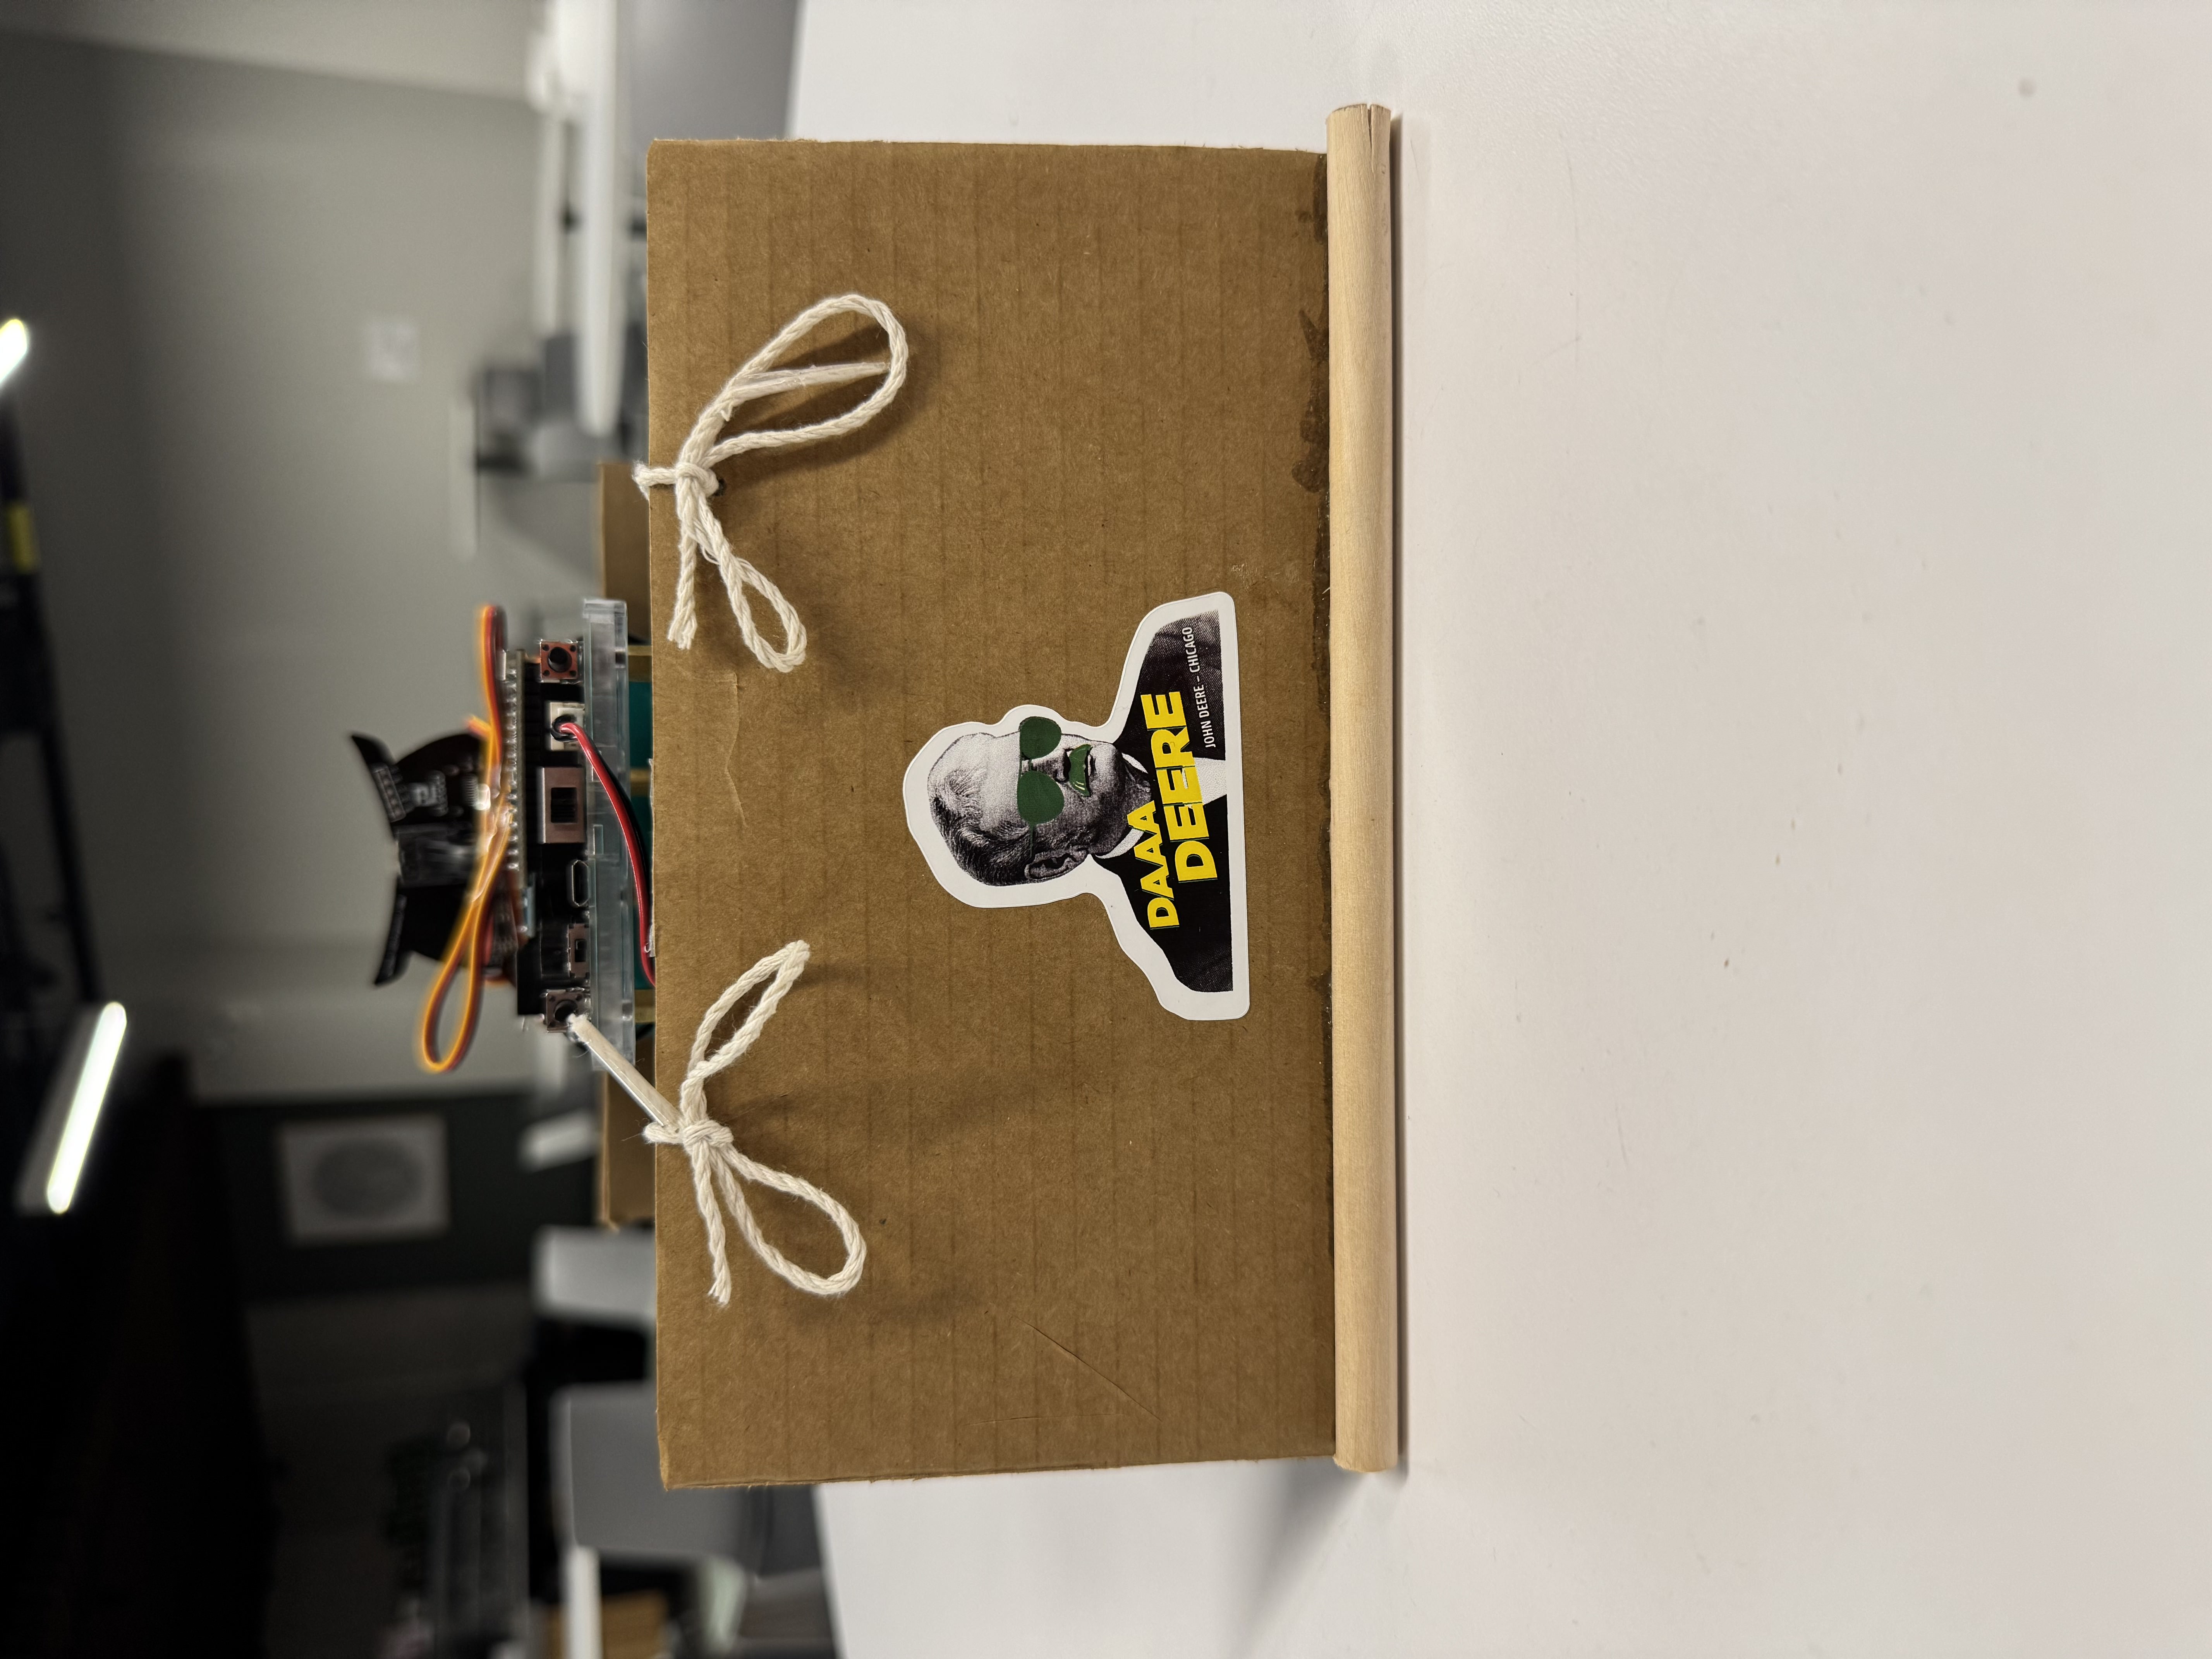
Rear View
-
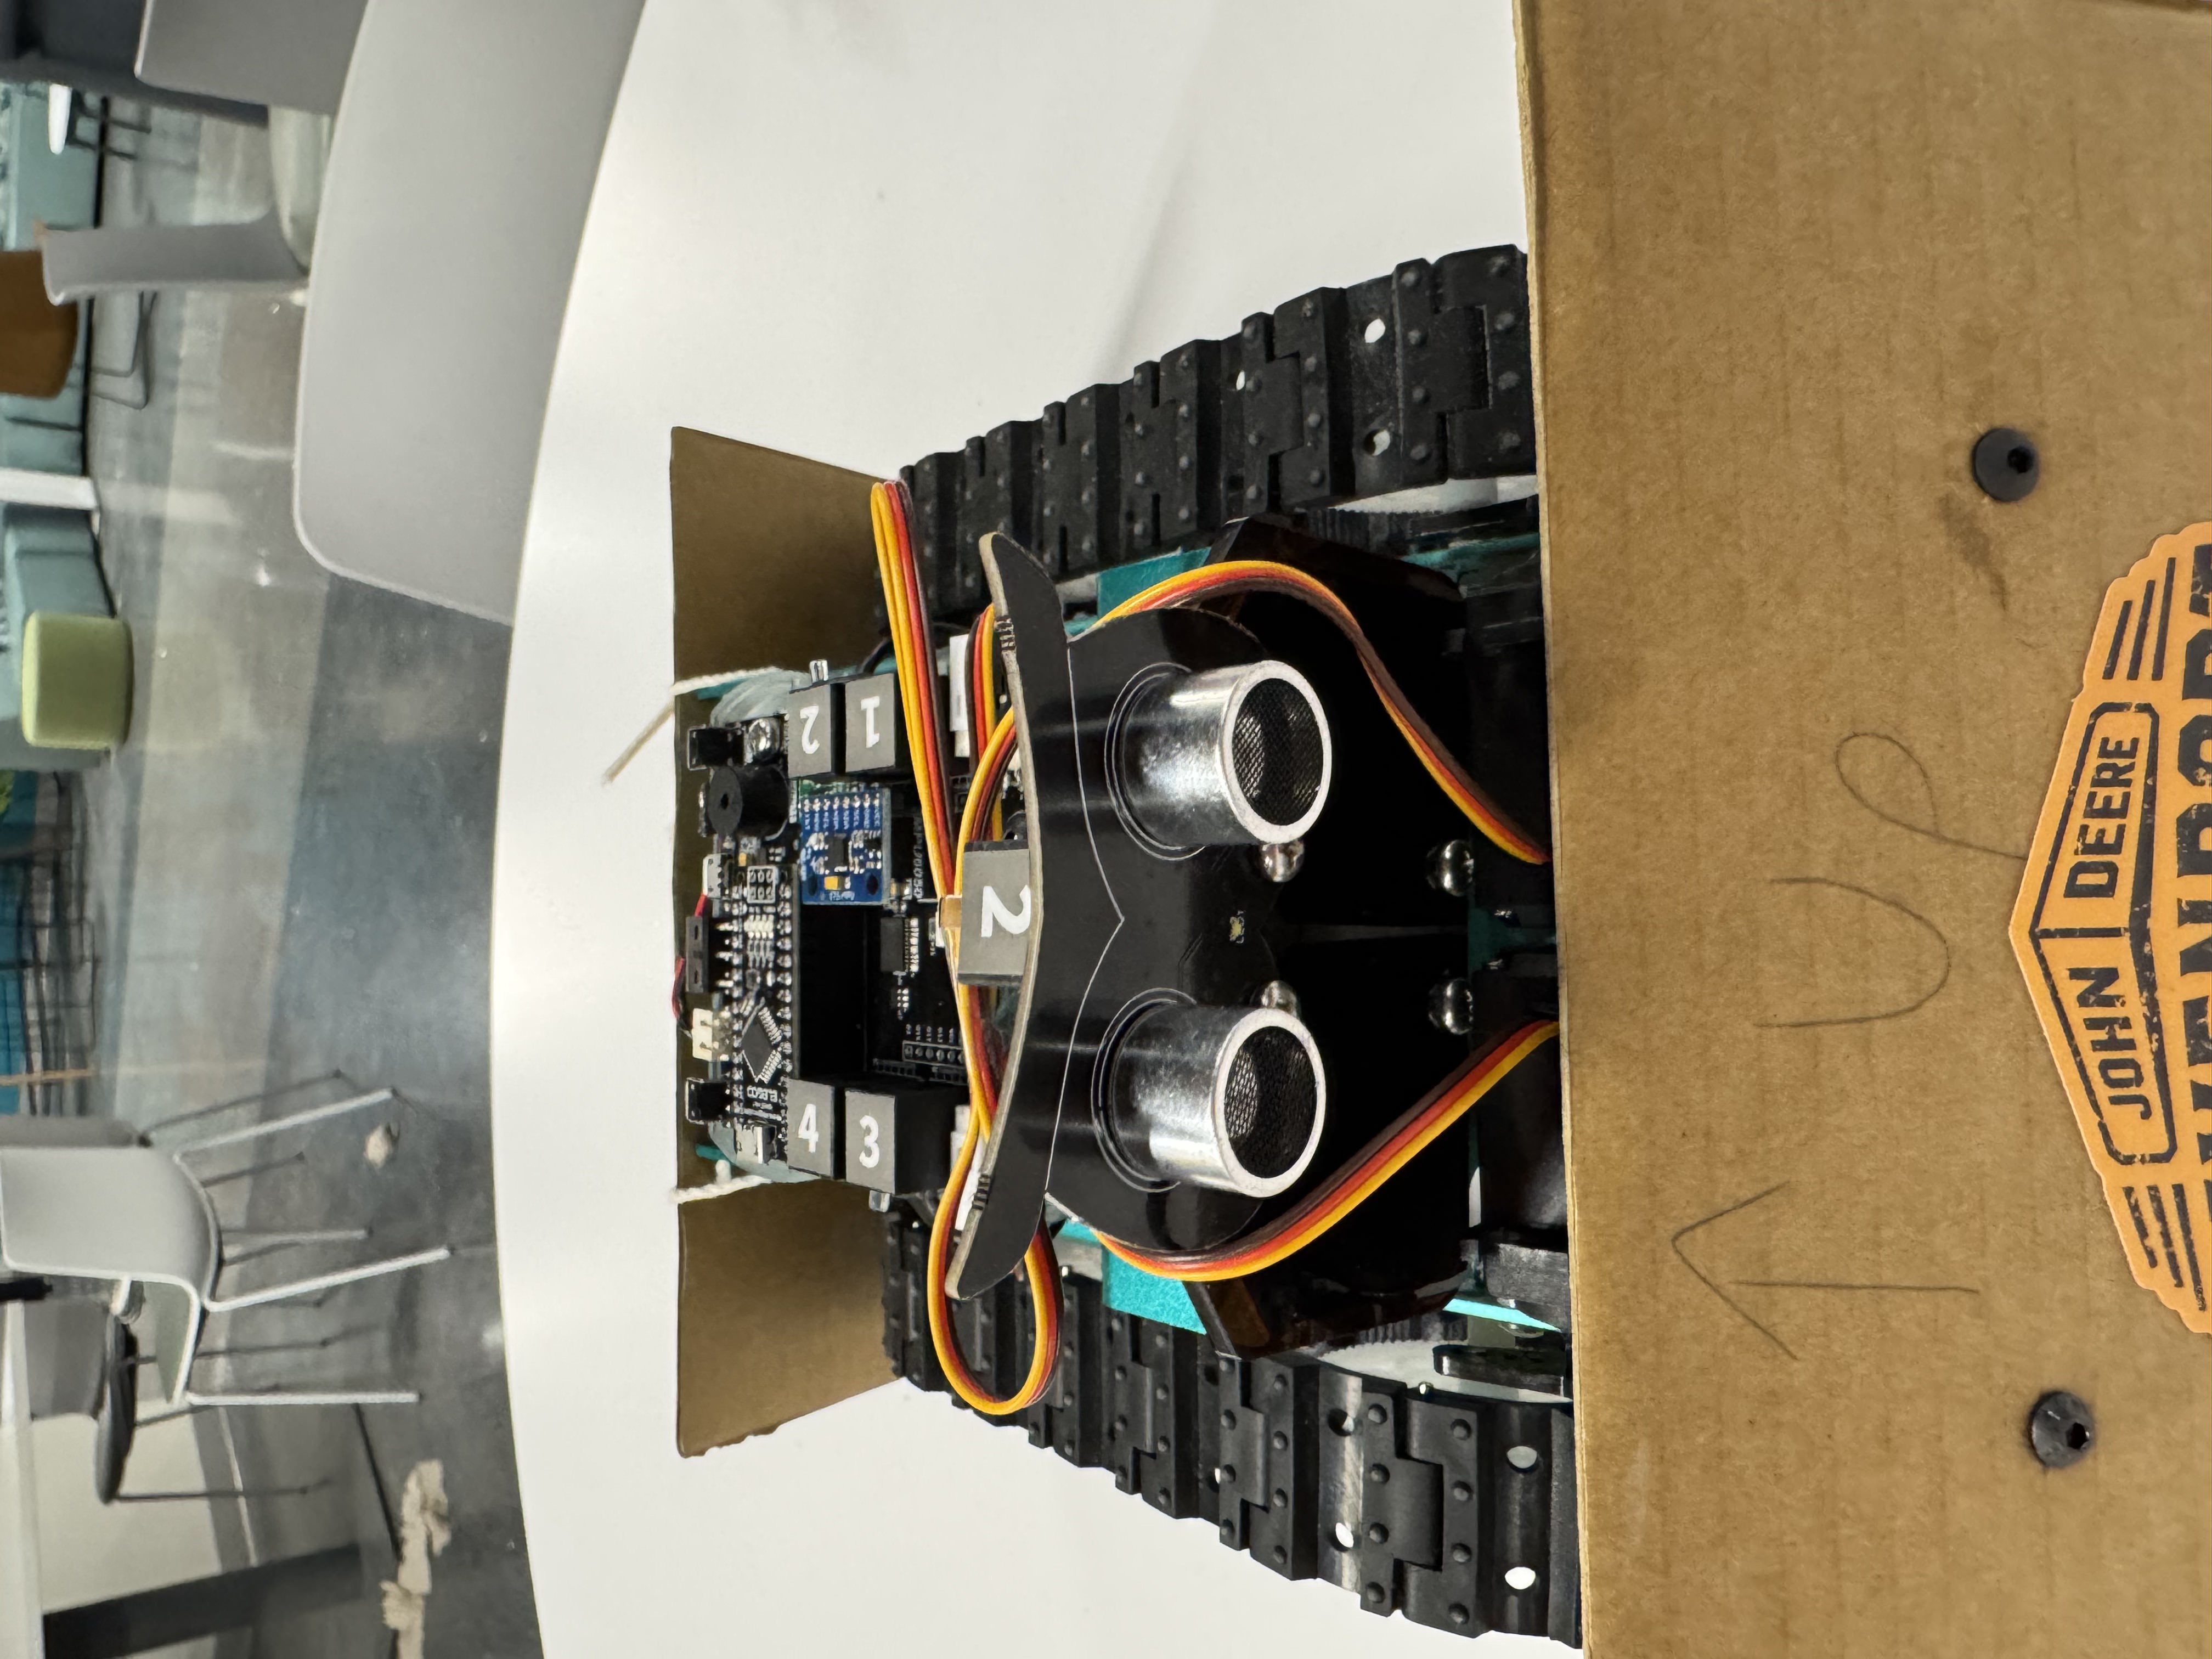
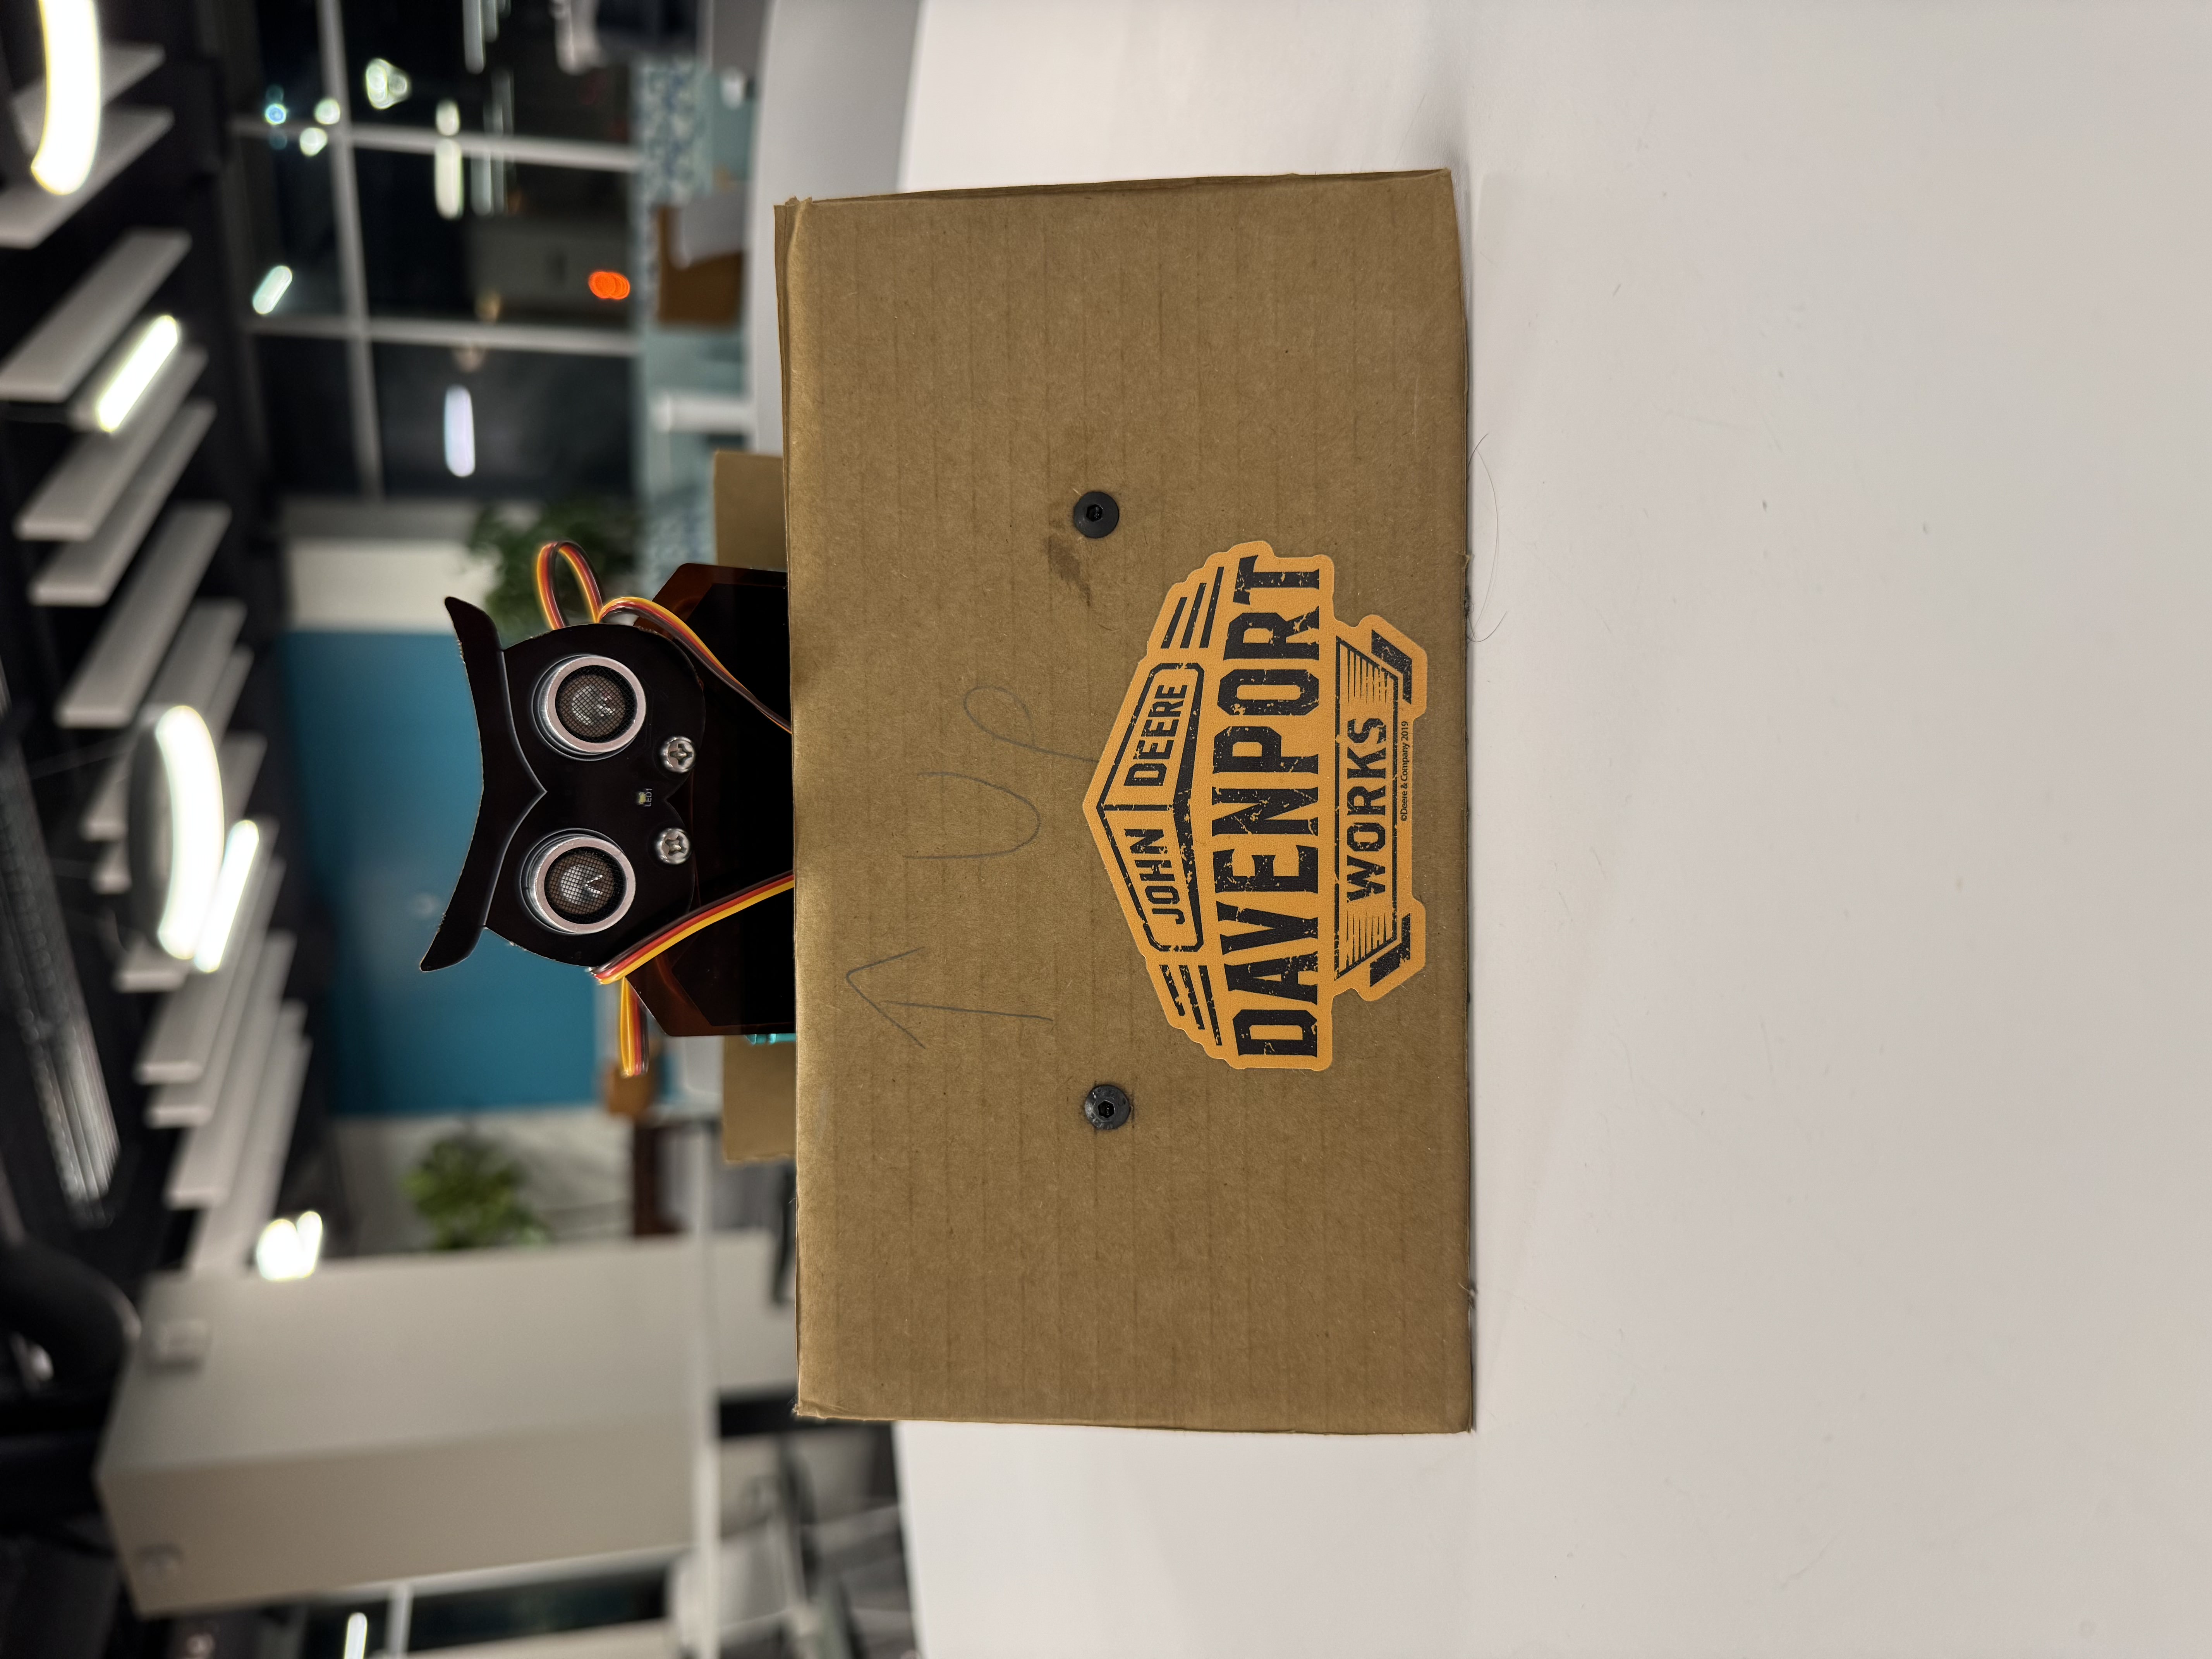
Front View
Inspiration
Challenge: Build a sand-levelling machine using a robot vehicle kit, along with other additional electronic components, custom 3D printed or laser cut parts, cardboard, and any other common materials.
What it does
Our Sandozer traverses the treacherous sandy terrain of the testing box (field site) and levels the sand over its course!
How it works
The Machine
The Sandozer features a rigid, stylish cardboard blade on the front used to push sand. On the back, a cardboard rake and wooden dowel are used to trail the Sandozer in order to clean up its tracks, leaving behind smooth sand. An ultrasonic sensor on the top allows the Sandozer to “see” via echolocation. It uses the sensor data to find the box walls and turn before it collides with them. Further anticipating uneven terrain, the Sandozer uses an onboard gyro to gather data about its yaw, pitch, and roll. On hills, the gyro picks up a greater pitch and the Sandozer lowers its blade deeper into the sand, cutting into the hill to level it. Once the Sandozer is going back downhill, the gyro will measure a lower pitch and thus set the blade to the original height.
The Path
The path is a preset course which sets the Sandozer to traverse the box’s width, going wall to wall and one Sandozer width over each time. This means that the Sandozer is autonomously levelling the sandbox.
How we built it
Base
The base of the machine is the OwlBot Tank Kit. This was initially constructed according to the provided instructions, and slightly modified later on to fit our needs such as moving back the front wheels to make space for the front blade and removing the line tracking module because we did not need it.
Front Blade
The front blade is a sturdy piece of cardboard that was cut from a recycled box. Details on how it is mounted will be provided below. The front blade also features a cool sticker.
Back Rake
The rake is also a sturdy piece of cardboard cut from the same recycled box. We glued a wooden dowel to the bottom of the rake to make it heavier and more effective in the sand. The wooden dowel was sawn to the same width as the rake. The rake is attached to the base via string, allowing it to drag through the sand freely, making it ideal for many terrain types. The rake also features a cool sticker.
Servo and Blade Mounts
To control the front blade, we used two servo motors. We 3D printed mounts for both servo motors on the front of the base. To control the blade, we laser cut and 3D printed a four bar to serve as a linkage between the servo and blade. The blade was then screwed onto the four bar.
Software
Most of the software was given by the OwlBot kit. We read through and modified it to add the servos and make the Sandozer move on its own with the help of its ultrasonic sensor.
Challenges we ran into
Here are the challenges we ran into: inoperable inertial measurement unit, inability to write to the microcontroller when it was plugged in to the control unit, inoperable battery, deciphering the provided code, and minimal background in mechanical engineering. We overcame these challenges by: replacing the IMU, taking the microcontroller out of the control unit when writing to it, replacing the battery, carefully reading and testing the code (and occasionally asking Chat GPT about some of it), and tinkering around with many different available parts and tools.
Accomplishments that we're proud of
We are proud to have gotten the gyro and ultrasonic sensor to work and successfully implementing these elements into the movement of our Sandozer. These were particularly challenging for us because of faulty parts or lots of time spent deciphering code. The simple design also ended up looking pretty cool.
What we learned
We learned about different mechanical parts (various types of screws, nuts, etc.) and designs (four bar). Additionally, our 3D printed and laser cut parts were a bit of a learning experience as we figured out what design worked best for our case. A lot of work was done looking through organized code files and figuring out what given functions did and how we can use them to control the motion of our machine. So, we definitely learned how to track connections across files and determine which parts were useful for us. Most importantly, we learned how to use a gyro and ultrasonic sensor to automate the motion of our machine.
What's next for Sandozer
Sandozer was a cool learning experience. Its legacy can be continued through an appreciation of the collaboration between mechanics, sensors, and software.

Log in or sign up for Devpost to join the conversation.