-
-
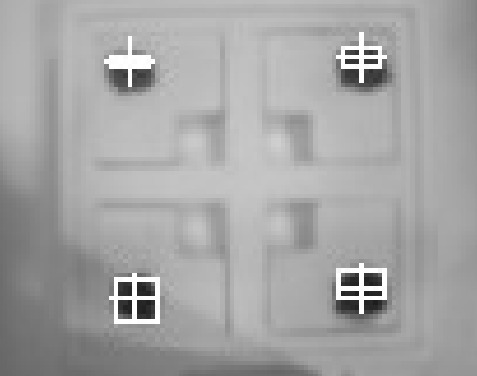
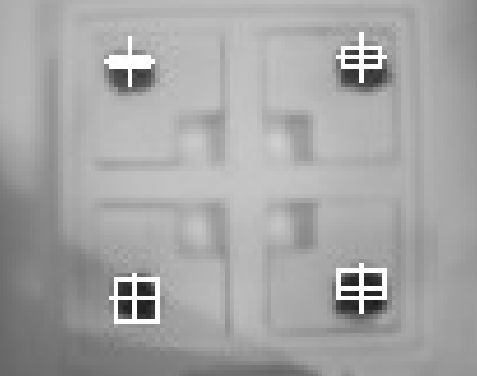
OpenMV: Object Detection
-
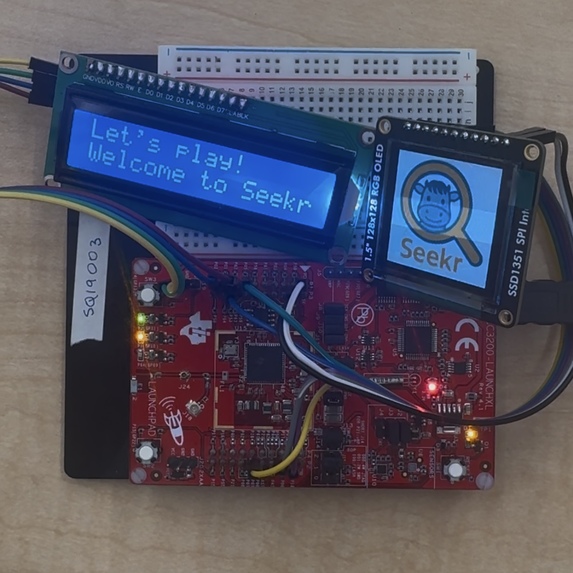
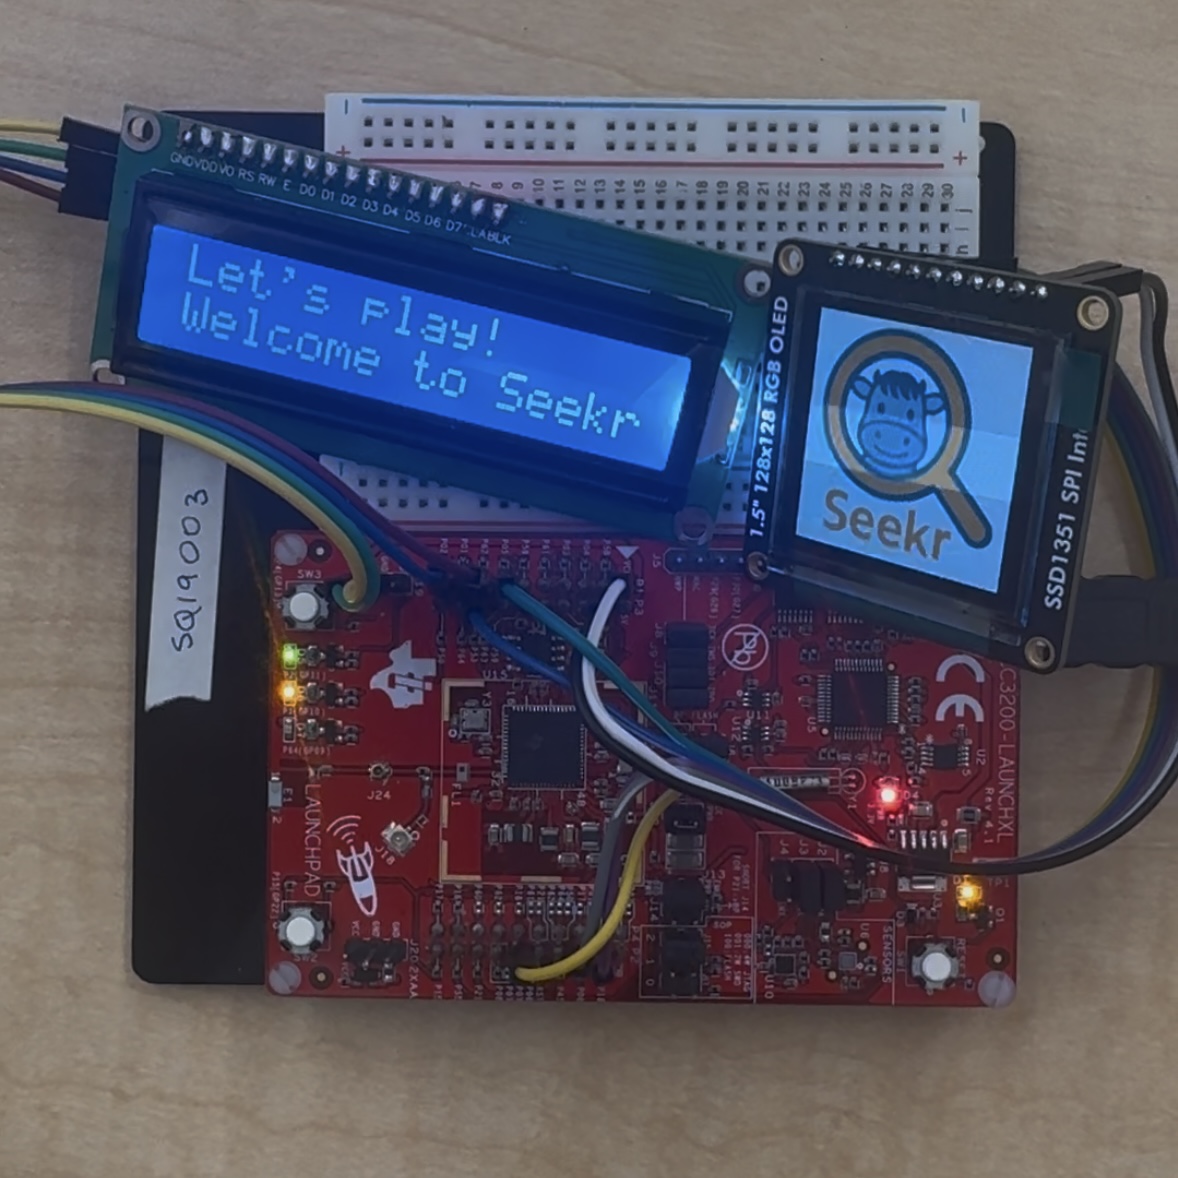
TI LaunchPad, I2C, OLED Prototyping
-
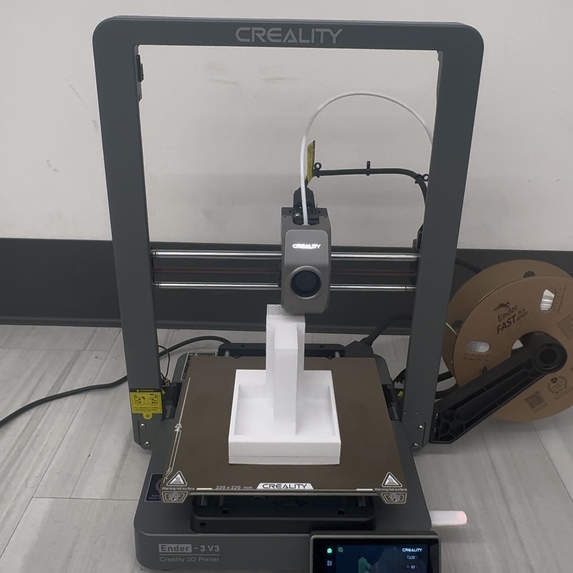
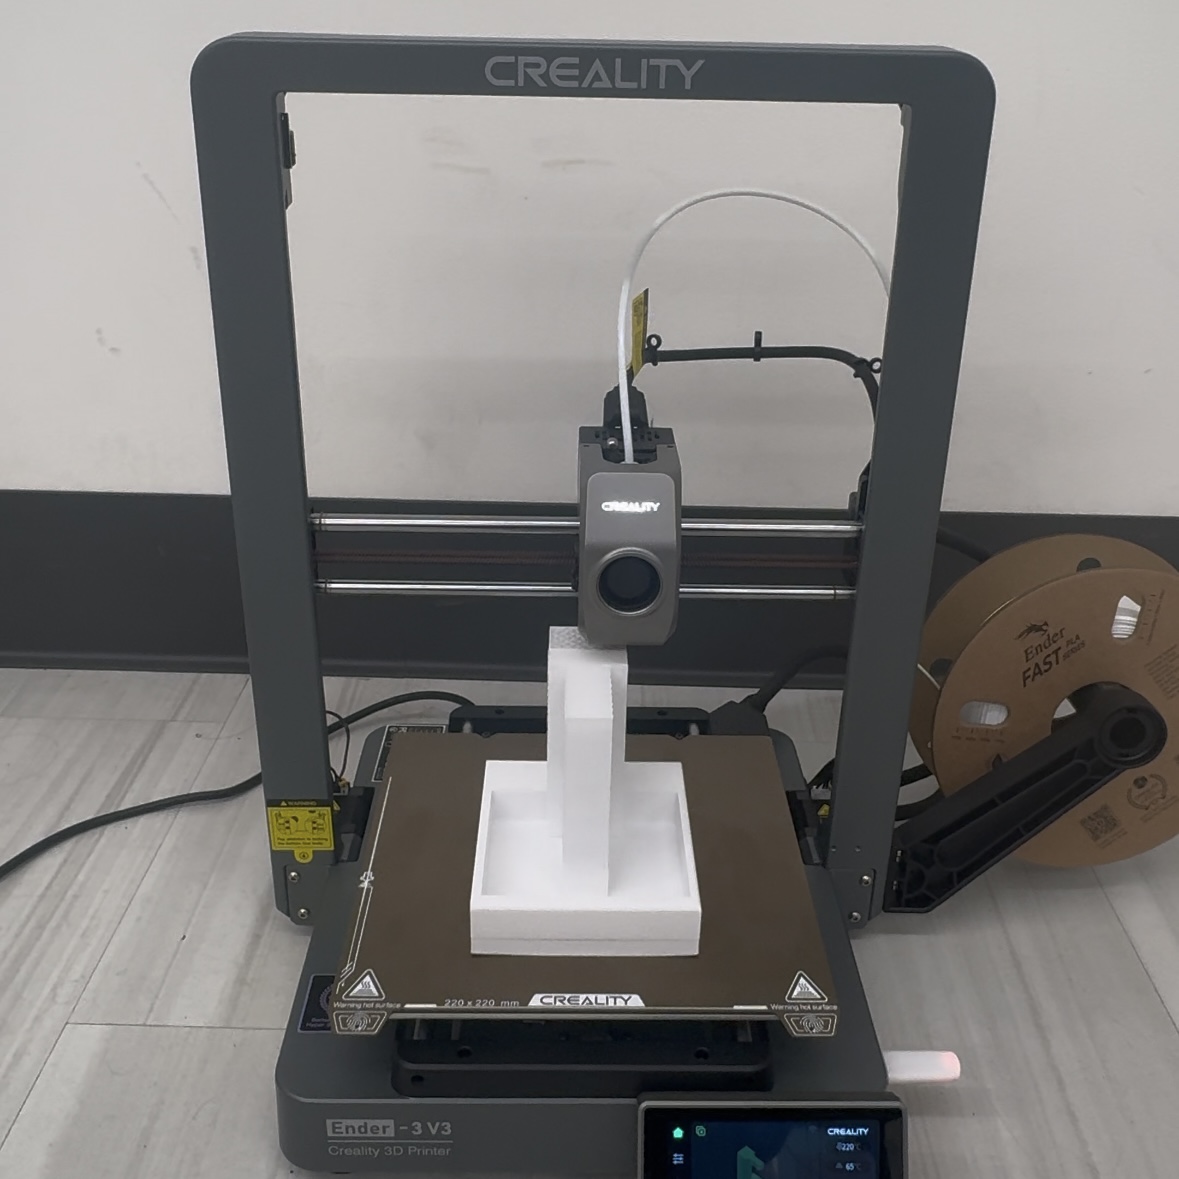
1:00 AM: 3D Printing
-
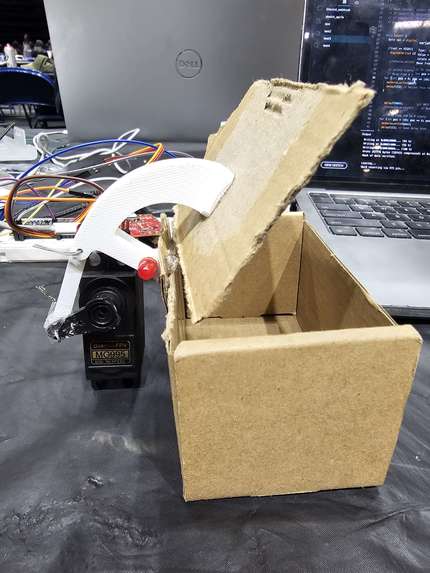
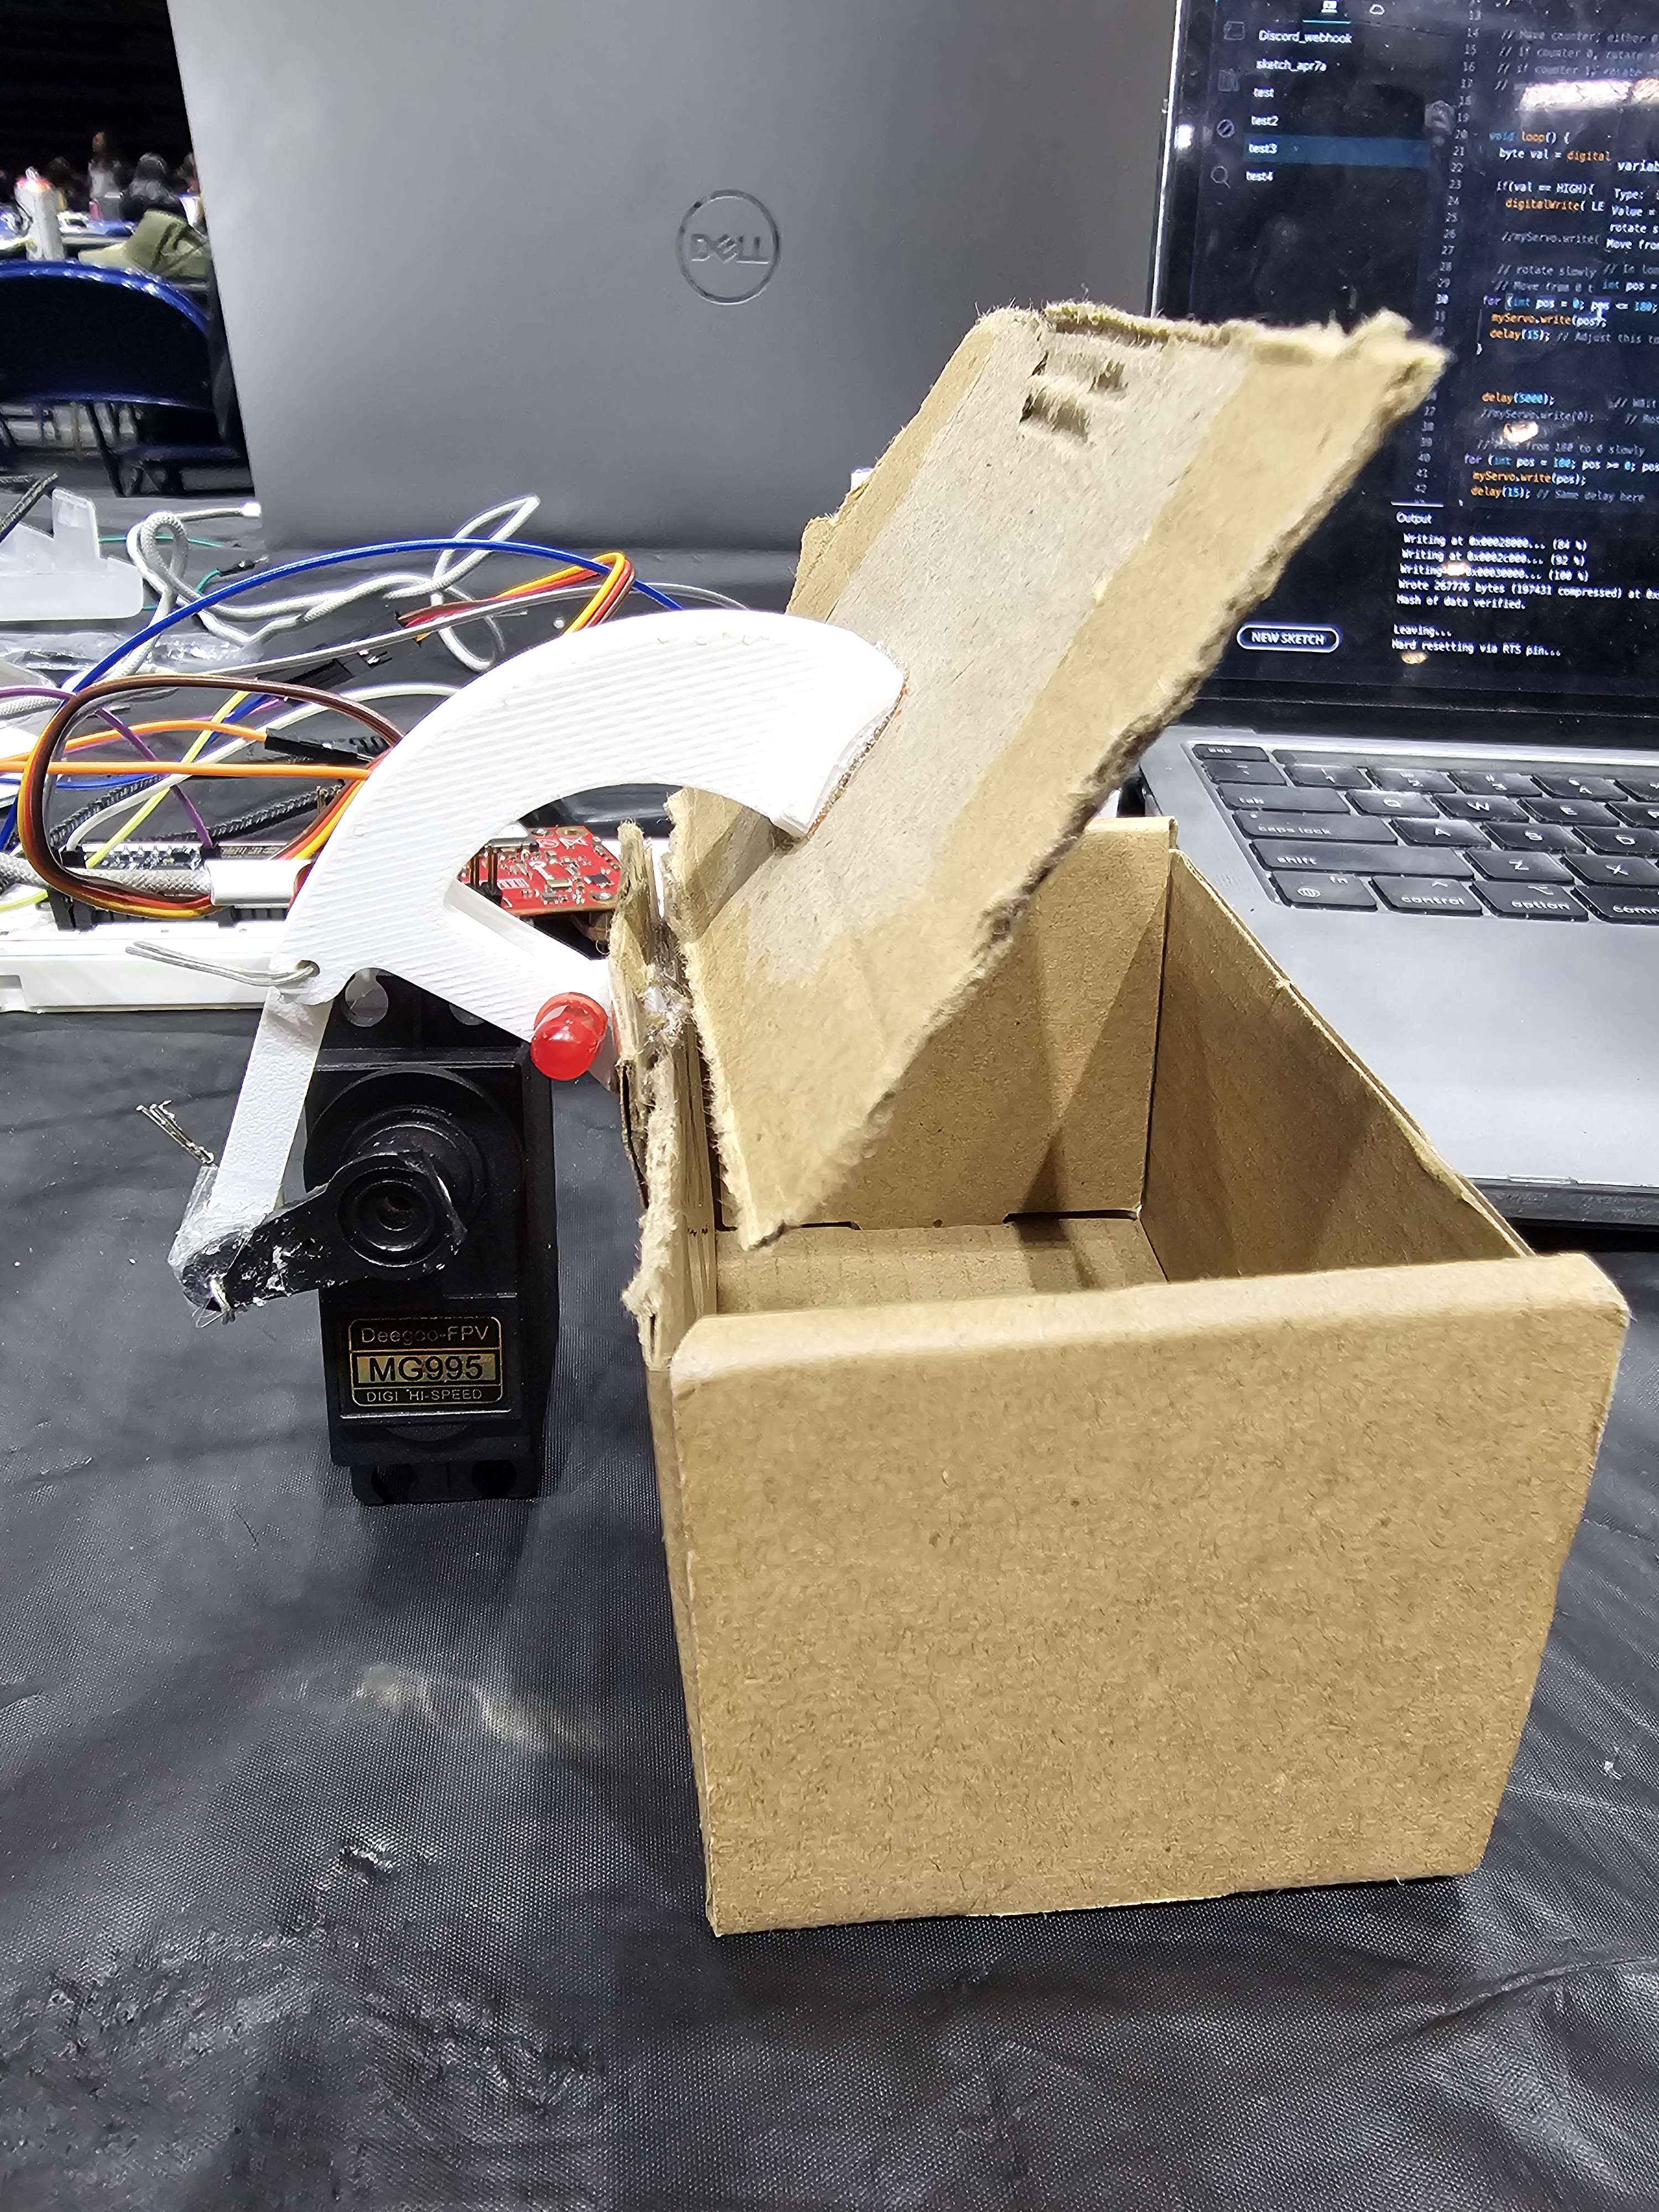
Servo opening box for Prize
-

Seekr Project Logo
-
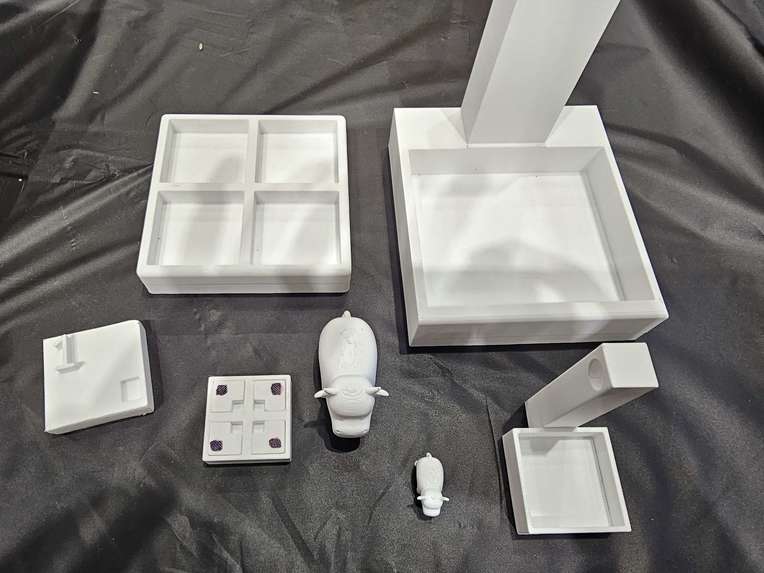
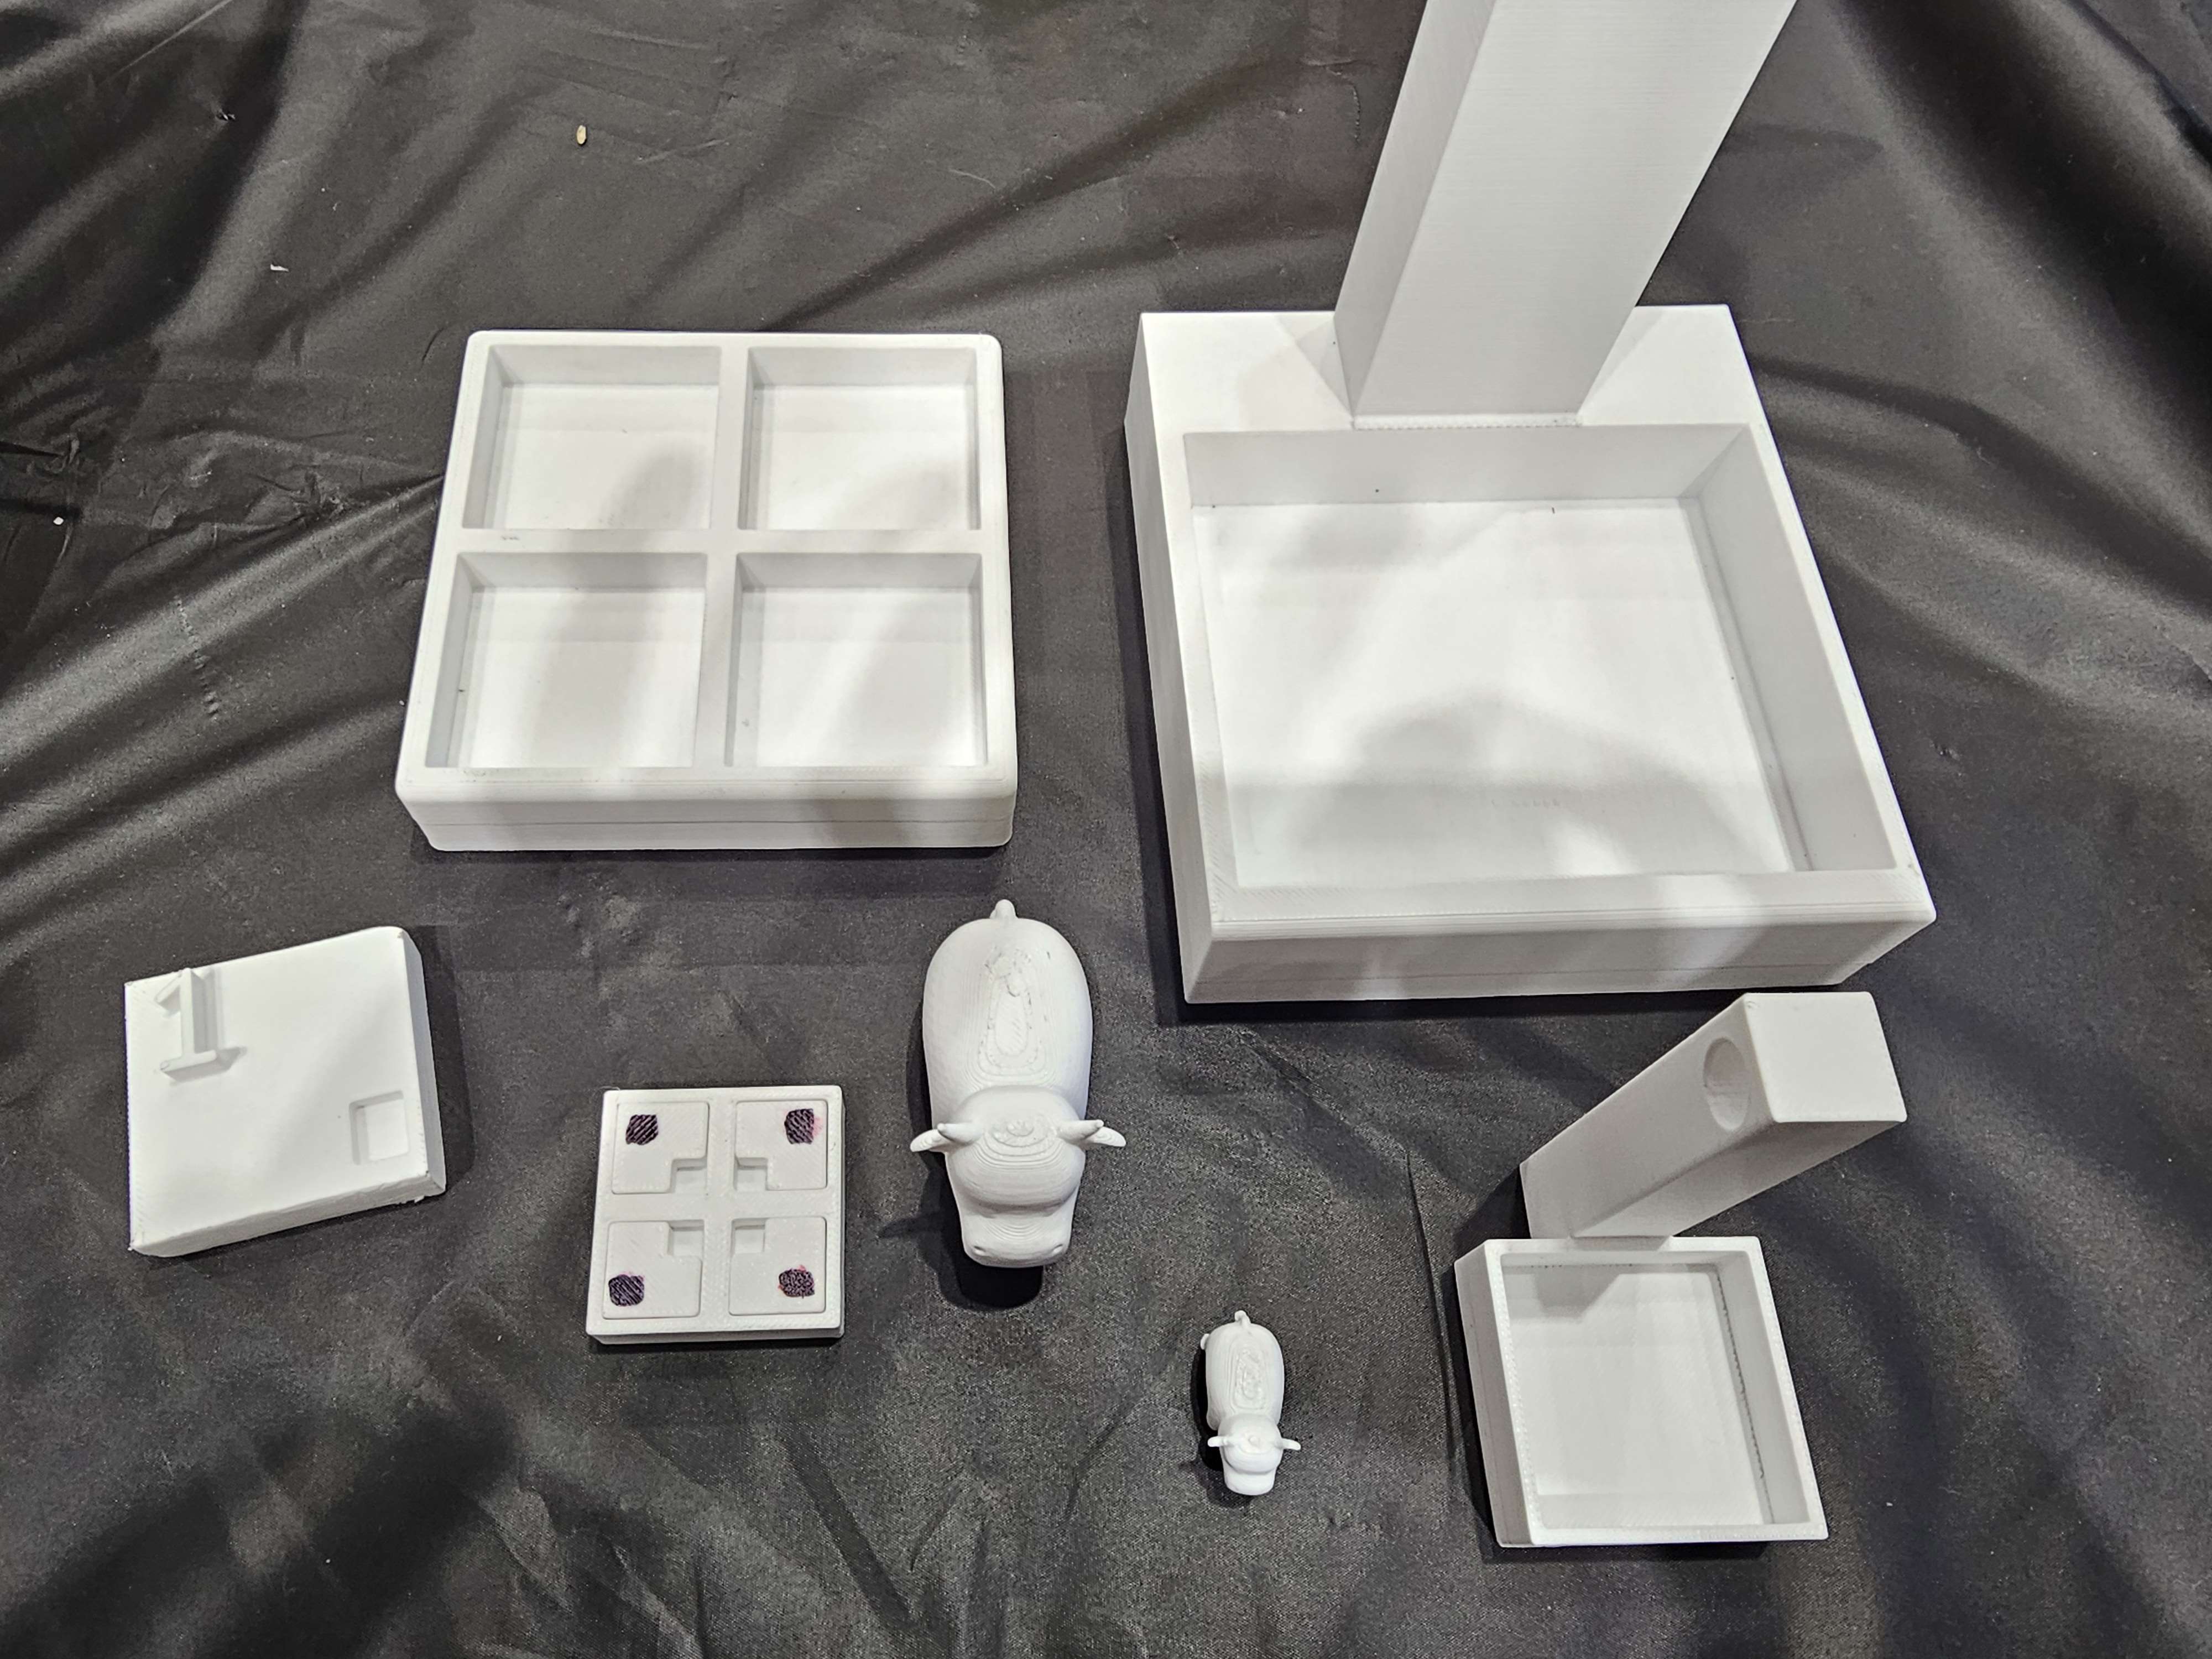
3D Models Designed

Abstract
New to campus? Meet Seekr—your interactive guide to an adventure! Embark on a self-led scavenger hunt powered by our GPS-guided navigation app, uncover hidden locations, solve real-world puzzles, and unlock a surprise souvenir—all without needing a tour guide. It’s exploration, gamified.
Using computer vision, GPS navigation, and embedded systems, Seekr guides users through a custom-built treasure hunt. Our mobile app provides real-time GPS clues, while our smart puzzle box uses a camera to verify correct puzzle piece placement. Complete the puzzle, and a servo-powered door reveals a surprise inside built by the user! It’s fun, engaging, and fully automated—bringing tech-driven exploration to life.
Purpose
At the start of each year, UC Davis enrolls >9000 new undergraduates. And, because of the large campus size, it's easy to feel overwhelmed. To fix this, we invented Seekr, an interactive puzzle to introduce students to a few exciting landmarks.
Inspiration
As a multi-disciplinary team, we wanted to utilize our collective knowledge to create something that took advantage of all our passions. With members interested in embedded systems, signal processing, analog design, and app development, we were motivated to create an interactive user experience that combined the physical and digital worlds. Inspired by the recent rise in scavenger hunt based experiences, we thought—what if we could authenticate real-world objects using a camera, microcontroller, and display system for a fun prize? As a result, Seekr was created: an automated, modular, puzzle box that guides the users through the UC Davis campus, challenging them to find and build their own physical Davis Souvenir!
Design
Software Design
The software component of our project features a robust and user-friendly iOS application, developed using Figma for design, and implemented with SwiftUI and Xcode.
GPS connectivity is integrated through the MapView and ProgressModel files, ensuring location services are enabled. The target destination is clearly marked on the map, allowing users to track their real-time location and follow the marker until they arrive. Upon reaching a destination, users receive their next hint and unlock the following location.
The software architecture includes a network of interconnected components that manage internal file calls. Each screen is equipped with a dedicated 'Back' button, enabling users to return to the previous page, promoting ease of navigation and user-friendliness.
A progress bar model, implemented in the ProgressModel file, visually tracks the user's completion of the scavenger hunt across campus.
The app also features curated destinations around Davis, each accompanied by unique hints and facts. Locations range from the Peter J. Shields Library to the MU water fountain, offering both an engaging and educational experience.
Electrical Design
The electronic design of our project integrates a diverse range of hardware components, each selected to meet the needs of our project:
- OpenMV, RT1062 (Camera Module)
- TI LaunchPad, CC3200 (Microcontroller)
- MG995 Servo, 20 KG (Servo Motor)
- SSD1351 (SPI OLED, 128×128 px)
- HiLetGo HD44780 (I2C LCD)
The OpenMV camera module executes computer vision processing using built-in blob detection that searches for the 4 puzzle pieces. If the puzzle is complete, a PWM is generated to reveal the prize (by rotating the servo). But, if the puzzle is incomplete, a 4-bit signal [GPIO1, GPIO2, GPIO3, GPIO4] is transmitted to the TI Launchpad.
Our design adopts one-hot encoding to represent the presence or absence of each puzzle piece. For example, 1010 means that pieces 1 and 3 are missing, or 0100 means that only piece 2 is missing. This signal is read by the TI CC3200 microcontroller and interprets the pattern, and updates the LCD display through I2C, prompting the user for more pieces if necessary.
The OLED SSD1351 display currently displays the users interaction with our device through visual cues and images. The Servo Motor receives its control signal via a PWN signal from the camera module, indicating that all 4 puzzle pieces are detected, providing a mechanical force that opens the prize box.
The general code and power will be flashed and supplied from the TI CC3200 microcontroller, supplying the necessary voltage for each component to run functionally. This electrical setup allows us to build a fully independent, interactive embedded system that combines object recognition with digital feedback and mechanical control.
Mechanical Design
The mechanics of our project were entirely designed using OnShape, which allowed us to create and visualize the physical components of our design. We were able to model everything from the prize box to the puzzle pieces. We even created our own custom servo-powered door mechanism that opens and closes the box holding the final prize.
As the models were finalized, we used a 3D printer, the Ender 3, to fabricate all the parts on the same day. All the components, structural holders for the OpenMV camera, OLED/LCD displays, and CC3200 Launchpad, were printed in-house. For the prize, we included a 3-D printed cow figurine sourced from an online model to add a fun reward for the user once the door opens.
The door mechanism is driven by a servo motor, implemented into the box to open once a completed puzzle is detected. Overall, the mechanical functionality of our design focuses on modularity, functionality, and a friendly user experience that work in line with our embedded systems and computer vision components.
Challenges
Creating Seekr had its fair share of technical and logistical challenges. One of our biggest challenges was integrating all the various hardware components–OLED, camera module, LCD, and servo motor–onto a single microcontroller with limited GPIO pins. Power constraints, pin utilization, and debugging SPI/I2C communications required deeper dives into datasheets and lots of trial and error.
On the mechanical side, 3D printing all of our components using a single Ender V3 within 24 hours proved to be difficult. The box designed to hold the prize failed to print overnight, waking us up to a disappointing sight. To make matters more stressful, the camera mount also failed at around 2 a.m., just hours before the final deadline.
What's Next?
In the future, the enclosure can be improved by increasing the support density. Because of the Hackathon's time constraint, we had to sacrifice a lot of structural integrity for print time. In the end, we had to downsize the system to minimize warping, weight, and clearance-related issues.
Acknowledgments
We'd like to thank Professor Lance Halsted for lending us an OpenMV RT1062.


Log in or sign up for Devpost to join the conversation.