Inspiration
The inspiration for the 8-bit computer project came from a desire to understand how early personal computers worked. We were fascinated by how these machines, with simple components, could run operating systems, play games, and even process data. Watching Ben Eater's tutorials on building an 8-bit computer from scratch provided the initial spark. His approach to breaking down complex concepts into understandable steps made us realize that we could build something similar, even though we had little prior experience with hardware projects.
SAPient: Our 8-Bit Computer Project
What It Does
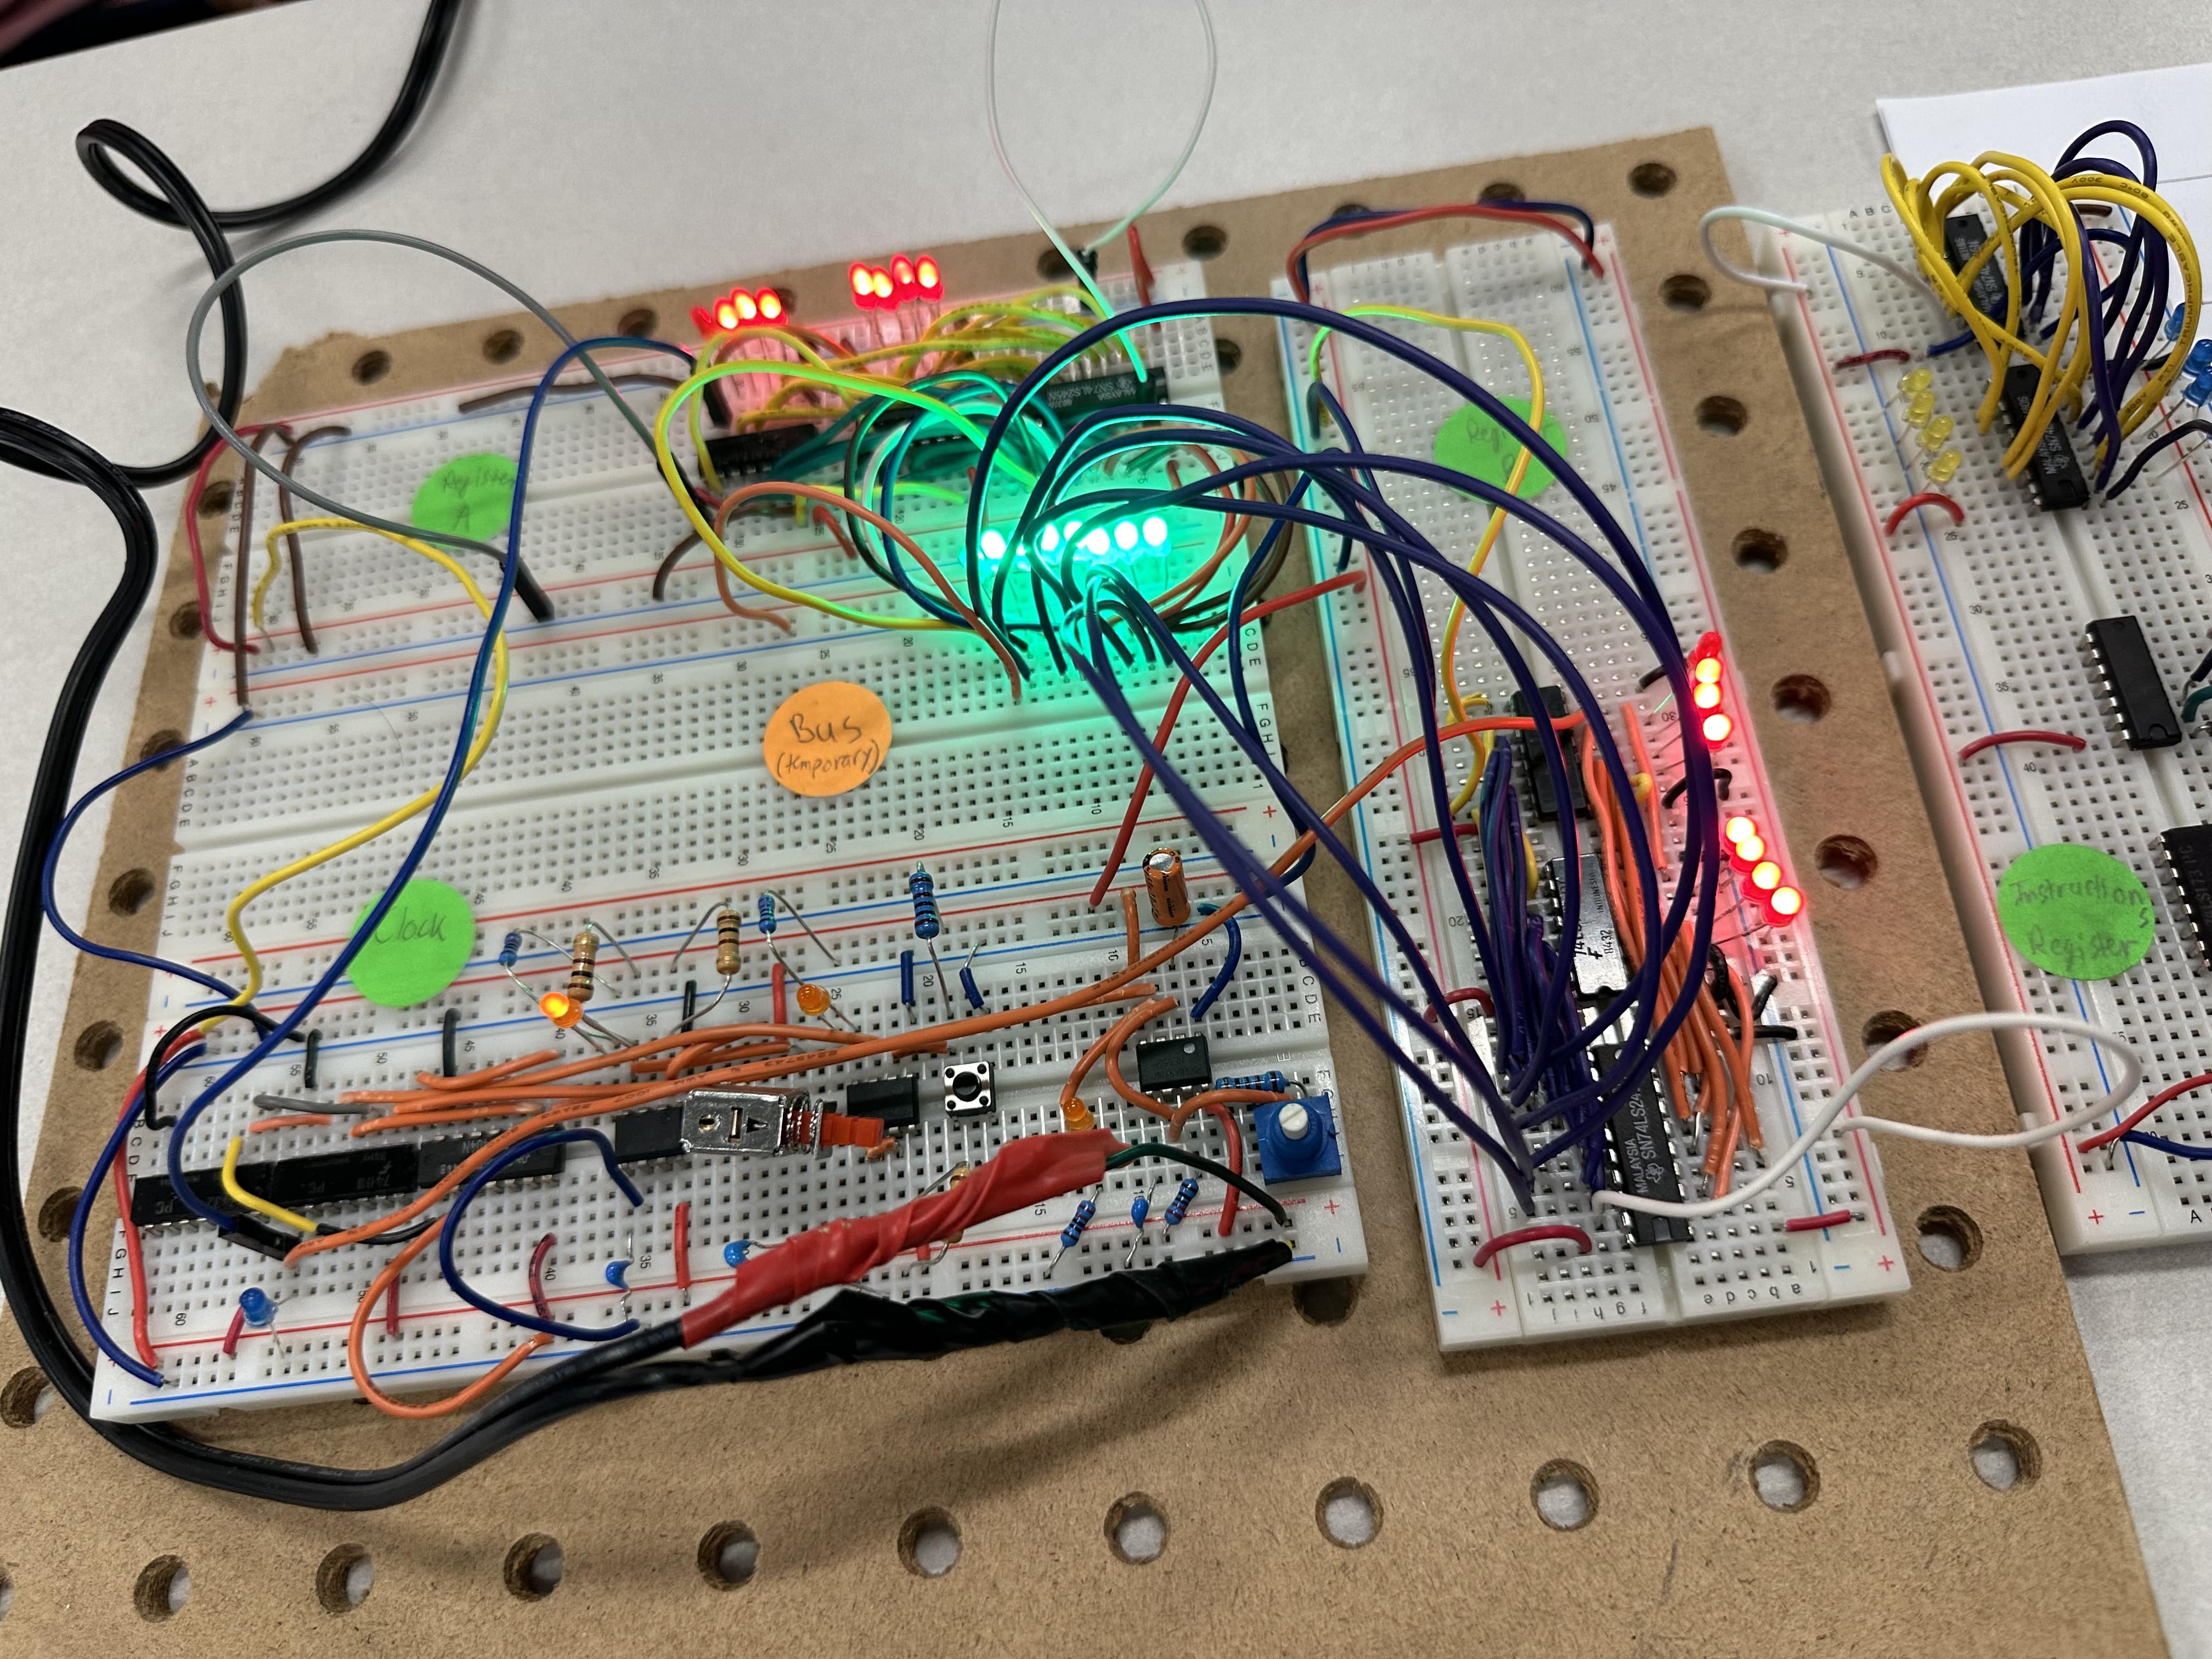
SAPient is an 8-bit computer built from the ground up, designed to mimic the basic functionality of early personal computers. It processes binary data using shift registers, performs simple operations through a clock-driven system, and visualizes outputs with LEDs. The core idea behind the project is to simulate the behavior of a computer's internal processes, like data shifting and manipulation, within a simple, understandable framework. The project is still evolving, but its purpose is to serve as an educational tool for understanding how computers work at the hardware level.
How We Built It
Building SAPient was a step-by-step process that involved designing and assembling each component of the computer:
- Clock Circuit: The first step was to build a reliable clock circuit to drive the entire system. The clock controls the timing of data shifting in the registers.
- Shift Register (SN74HC164N): We used the SN74HC164N shift register to store and shift data. It was connected to LEDs to visualize the data being processed.
- Input and Control Logic: We designed a simple input mechanism using switches to feed data into the system, while the control logic helped manage how data was shifted and manipulated in the register.
- Testing and Debugging: We tested each part of the system separately before wiring them together. This included checking the clock signal, ensuring the data input pins were stable, and troubleshooting any inconsistencies in the shift register operation.
- Final Assembly: Once the individual components worked correctly, they were all connected and assembled on a breadboard. After confirming the system was functioning, we moved toward soldering the final version for better stability.
Challenges We Ran Into
- Clock Signal Inconsistencies: Initially, the clock signal was erratic, which caused timing issues with the shift register. We spent significant time stabilizing the clock to ensure the data was shifted correctly with each pulse.
- Floating Data Pins: The data input pins (A and B) were left floating in the early stages, causing unpredictable behavior in the shift register. We quickly learned the importance of grounding unused pins to avoid noise.
- Breadboard Stability: The loose connections on the breadboard created intermittent issues. Ensuring all connections were secure before testing the full system took patience and attention to detail.
- Data Flow Understanding: Grasping how data moves through the shift register and synchronizing it with the clock took time. We had to learn how to properly configure the data inputs and outputs to avoid errors.
Accomplishments That We're Proud Of
- Working Shift Register: One of the key accomplishments was getting the SN74HC164N shift register to work reliably, shifting data as expected and illuminating LEDs to visualize the output.
- Building From Scratch: Creating the entire 8-bit computer from individual components was a huge achievement, particularly considering it was done without a full circuit board design initially. The breadboard prototype was functional and provided the foundation for future enhancements.
- Learning Hands-On Electronics: The project provided practical experience in building digital circuits, troubleshooting issues, and understanding low-level hardware functions.
- Teaching Ourselves: This project was not just about building a computer, but about learning from scratch. Every step, from the clock circuit to the shift register, was a chance to explore new concepts and tools.
What We Learned
- The Importance of Timing: The clock is an essential part of any computer system. Learning how to manage and stabilize the clock signal was essential to make the system work correctly.
- Hands-On Troubleshooting: Troubleshooting in a physical circuit can be tricky. Ensuring every wire is correctly connected and testing small sections of the circuit before connecting them together saved a lot of frustration later on.
- Data Handling: Understanding how data moves through a shift register and how to manipulate bits gave us a deeper appreciation for how much logic is involved in even the simplest operations on a computer.
- Patience and Persistence: Electronics projects require patience, especially when dealing with a breadboard and manual connections. It taught us to be thorough and methodical when tackling complex systems.
What's Next for SAPient
- Memory Integration: We plan to expand SAPient by adding memory functionality, allowing it to store and retrieve data, which will bring it closer to a fully operational computer system.
- Processor and Instructions: The next step is to add a basic CPU and instruction set to allow SAPient to execute simple programs.
- User Interface: We hope to integrate a simple user interface, such as switches or buttons, to interact with the computer more easily.
- Optimization: After making the system more complex, we'll work on optimizing the design for reliability and ease of use, possibly moving to a more permanent solution like a custom PCB.
Overall, SAPient will continue to evolve as we push the limits of our understanding and explore more advanced computing concepts.


Log in or sign up for Devpost to join the conversation.