-
-
RoboXyloHero
Inspiration
This project is inspired by the musical video games of our youth. Now that we are masters students in robotics, we wanted to create a game like Guitar Hero, but with a robotic twist. The game is fun for children and robot-curious adults alike.
What it does
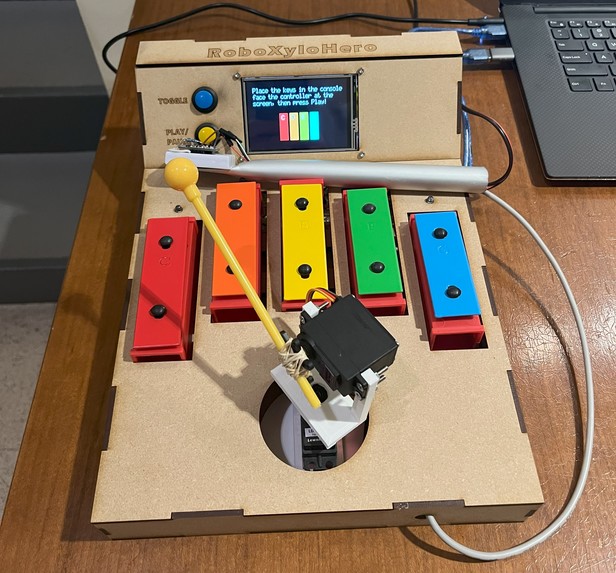
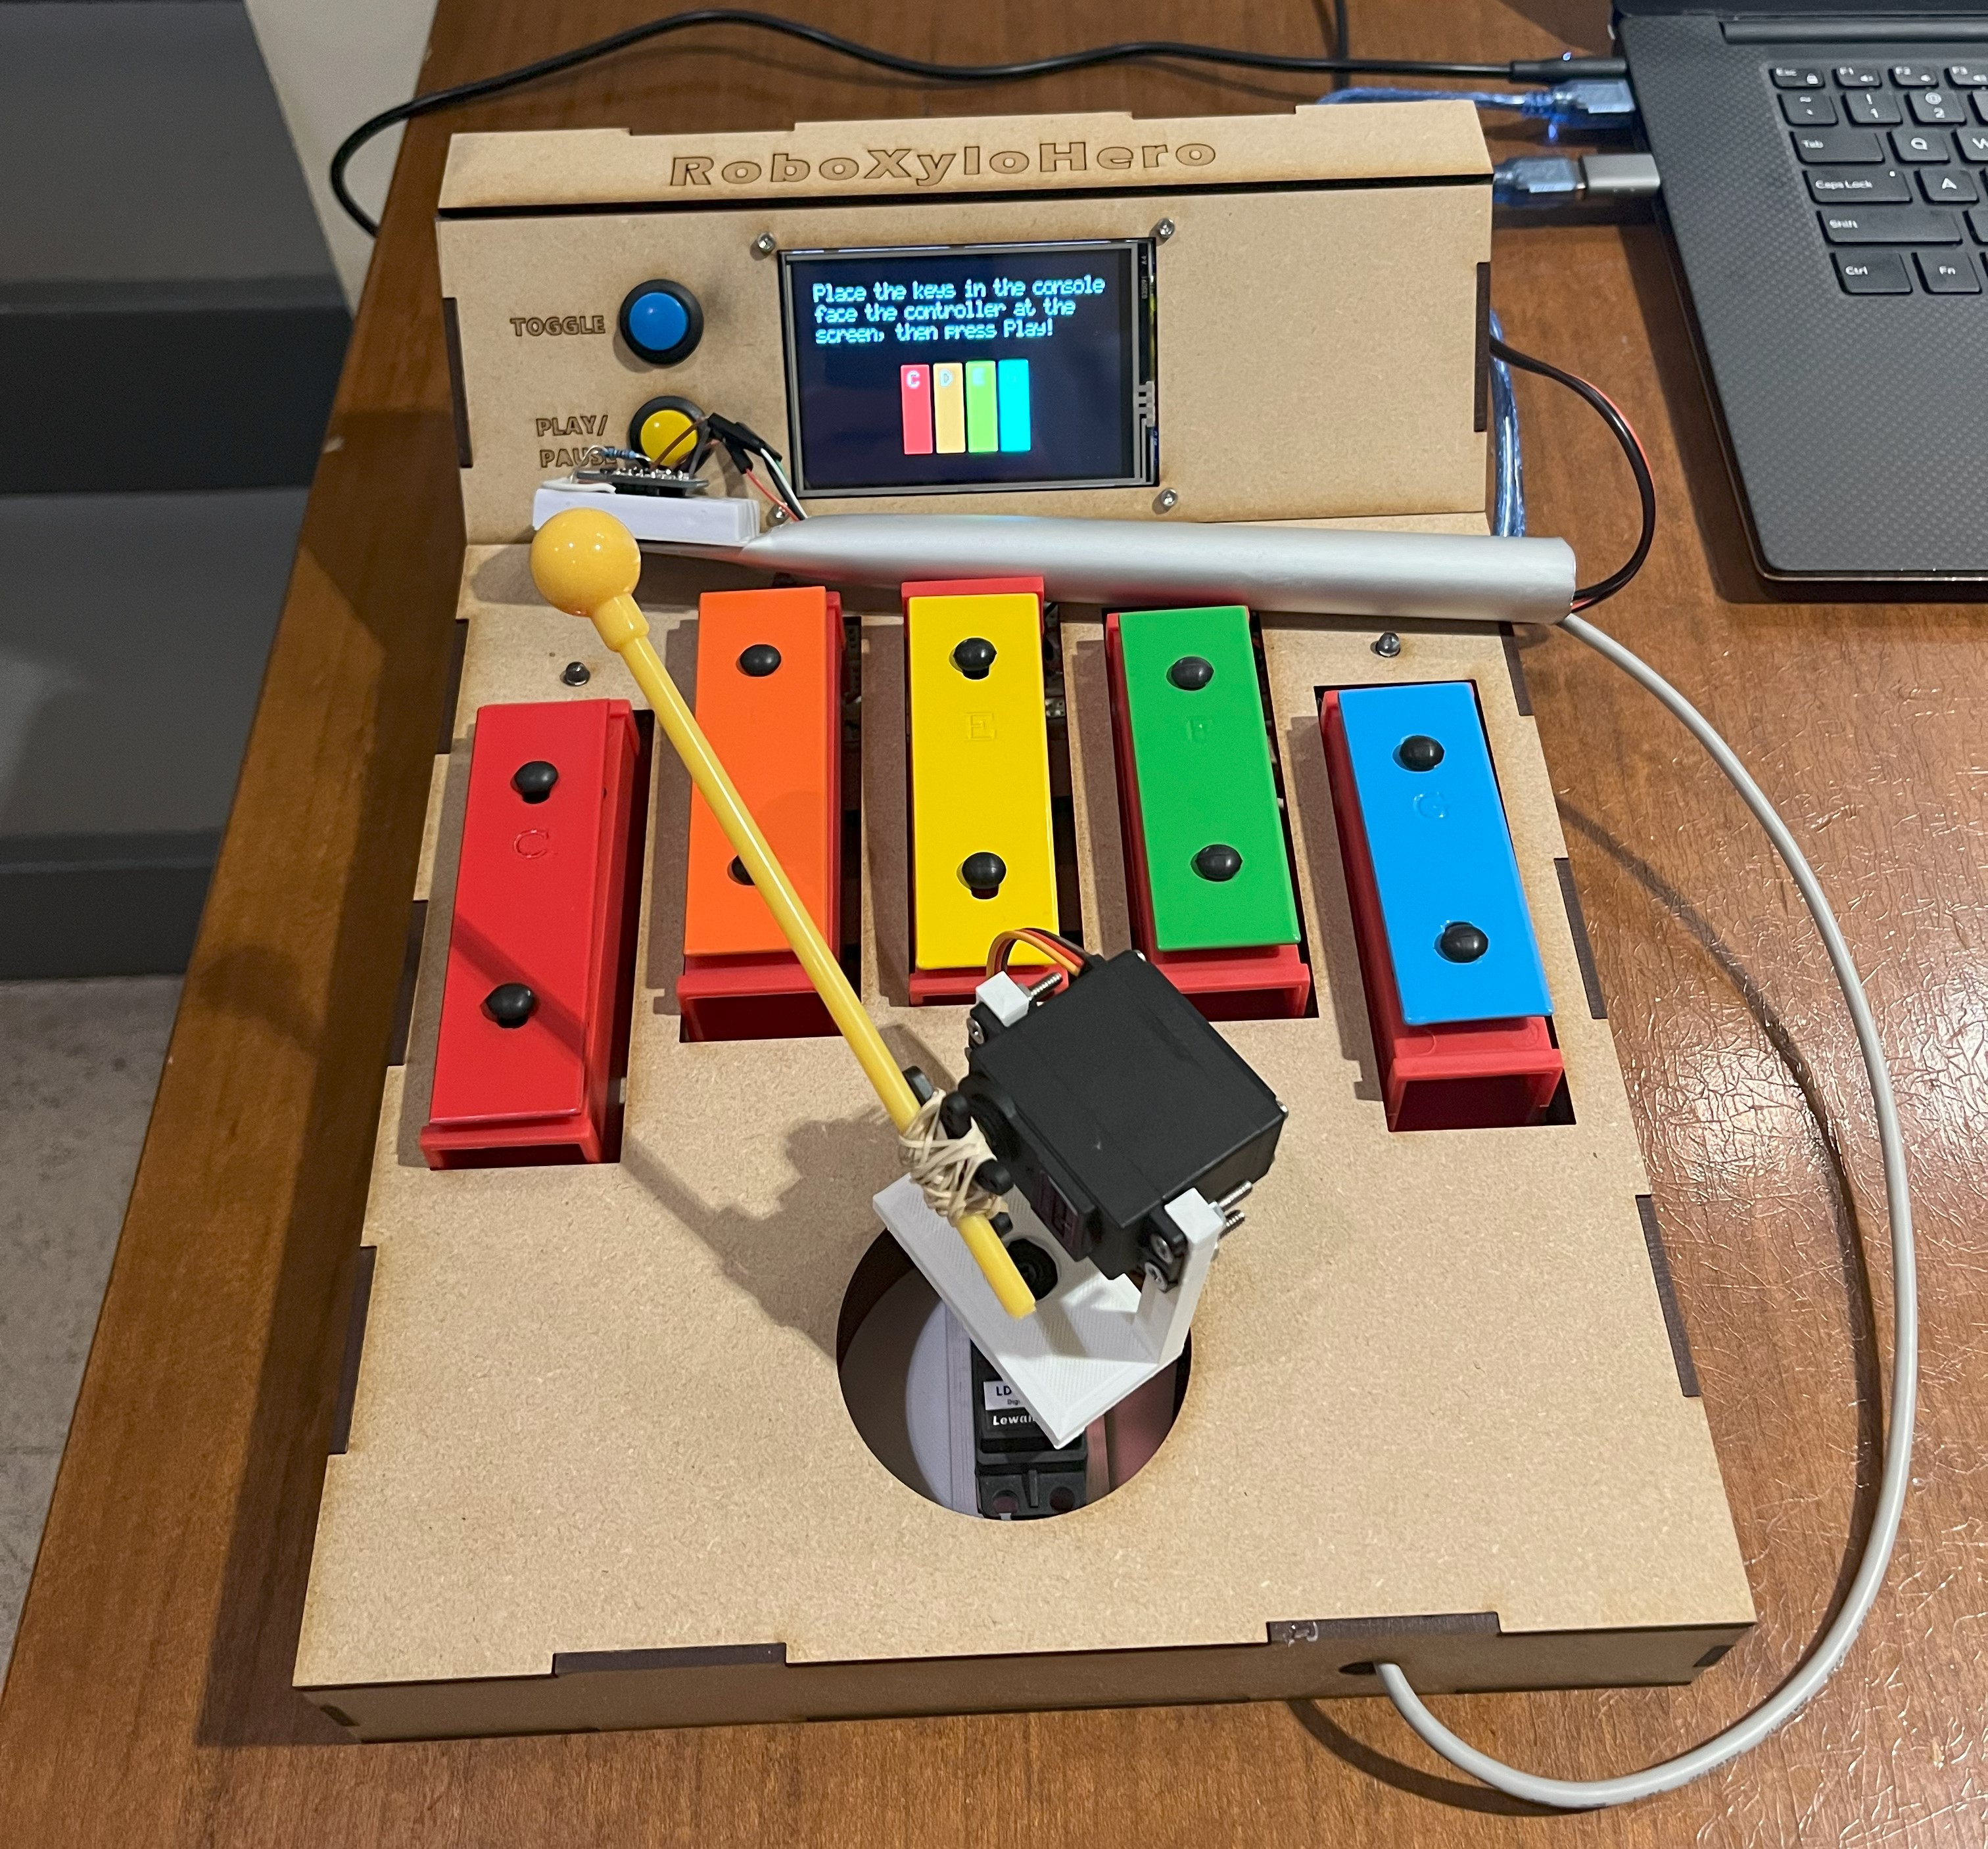
The project comprises two main components: a game console and a robotic arm xylophone player. The console has spaces for 5 xylophone notes which can be changed around depending on what song the user wants to play. The user select between 5 songs, and the built-in LCD screen instructs the user on which notes to place in the console. During the game, the LCD displays falling bars representing music notes for the user to play when they reach the bottom.
The real show stopper is the robotic arm component. The user plays the game by waving the motion-based controller as if they were actually playing the xylophone. The 2-degree of freedom robot arm tracks the side to side motion of the controller's IMU, allowing the user to hover over different notes. Then, by emulating a striking motion, the user makes the robot strike the key.
How we built it
The system is built using two isolated Arduino Uno microcontrollers. The Instructor MCU communicates to the LCD screen using an SPI interface. In order to communicate with out larger LCD, we adapted the SPI library provided for lab 4 and the LCD graphics library written during lab 4. Notes are released on a cadence using interrupts to ensure a consistent tempo.
The robot/controller MCU communicates with the IMU via I2C using a self-written library. The 9-DOF IMU provides acceleration as well as absolute orientation in 3D using an accelerometer. For our application, we use the "yaw" orientation to track between notes and the z-axis acceleration to detect a striking motion. The robot consists of 2 servo motors that we control using PWM signals.
The housings for the robot motors were 3D printed, and the console housing was laser cut.
Challenges we ran into
The primary challenges were:
- Writing the I2C library and communicating with the IMU.
- Adapting to the larger LCD screen, specifically learning the different commands for the HX8357 and optimizing the graphics library to work with many more pixels.
- Interpreting the different IMU signals and determining the relevant ones for our game.
- Converting absolute orientation into relative orientation for consistent game play. We incorporate a calibration step into the game flow to that the robot is centered when the song begins.
Accomplishments that we're proud of
The most technically rigorous part of the project was the I2C library, and we are proud of how it works quickly and consistently. Apart from that we are proud of the look and performance of the overall product. We are proud of our ability to delegate the work between us so we all felt equally vital to the final project. We were able to create not only a working prototype but a mostly complete children's toy.
What we learned
Through this project we continued to hone the skills taught in class and lab this semester:
- Reading datasheets and developing code to communicate with complex components
- Building component prototypes and integrating them into a complete system
- Systematically troubleshooting issues at the interface or hardware and software
What's next for RoboXyloHero
If we want to continue the project, here are a few fun features we would like to implement.
- Automatic player mode: No controller required. The robot gets it perfect every time.
- Controller-based navigation: Currently the user navigates game options using pushbuttons, but it would be much cooler to make use of the motion controller to select songs and play/pause.
- Performance feedback: As of now the game does not track how well the user plays the song. We would like to provide feedback and ideally track high scores using an SD cards.

Log in or sign up for Devpost to join the conversation.