-
-
RoboticARMimage3
-
RoboticARMimage2
-
RoboticARMimage4
-

RoboticARMimage1
-
RoboticARMimage5


Inspiration
So what inspires me is the desire to build an fruitful technologie thing and have the ability to controll it , use it and optimize it as if it was real cause .
What it does
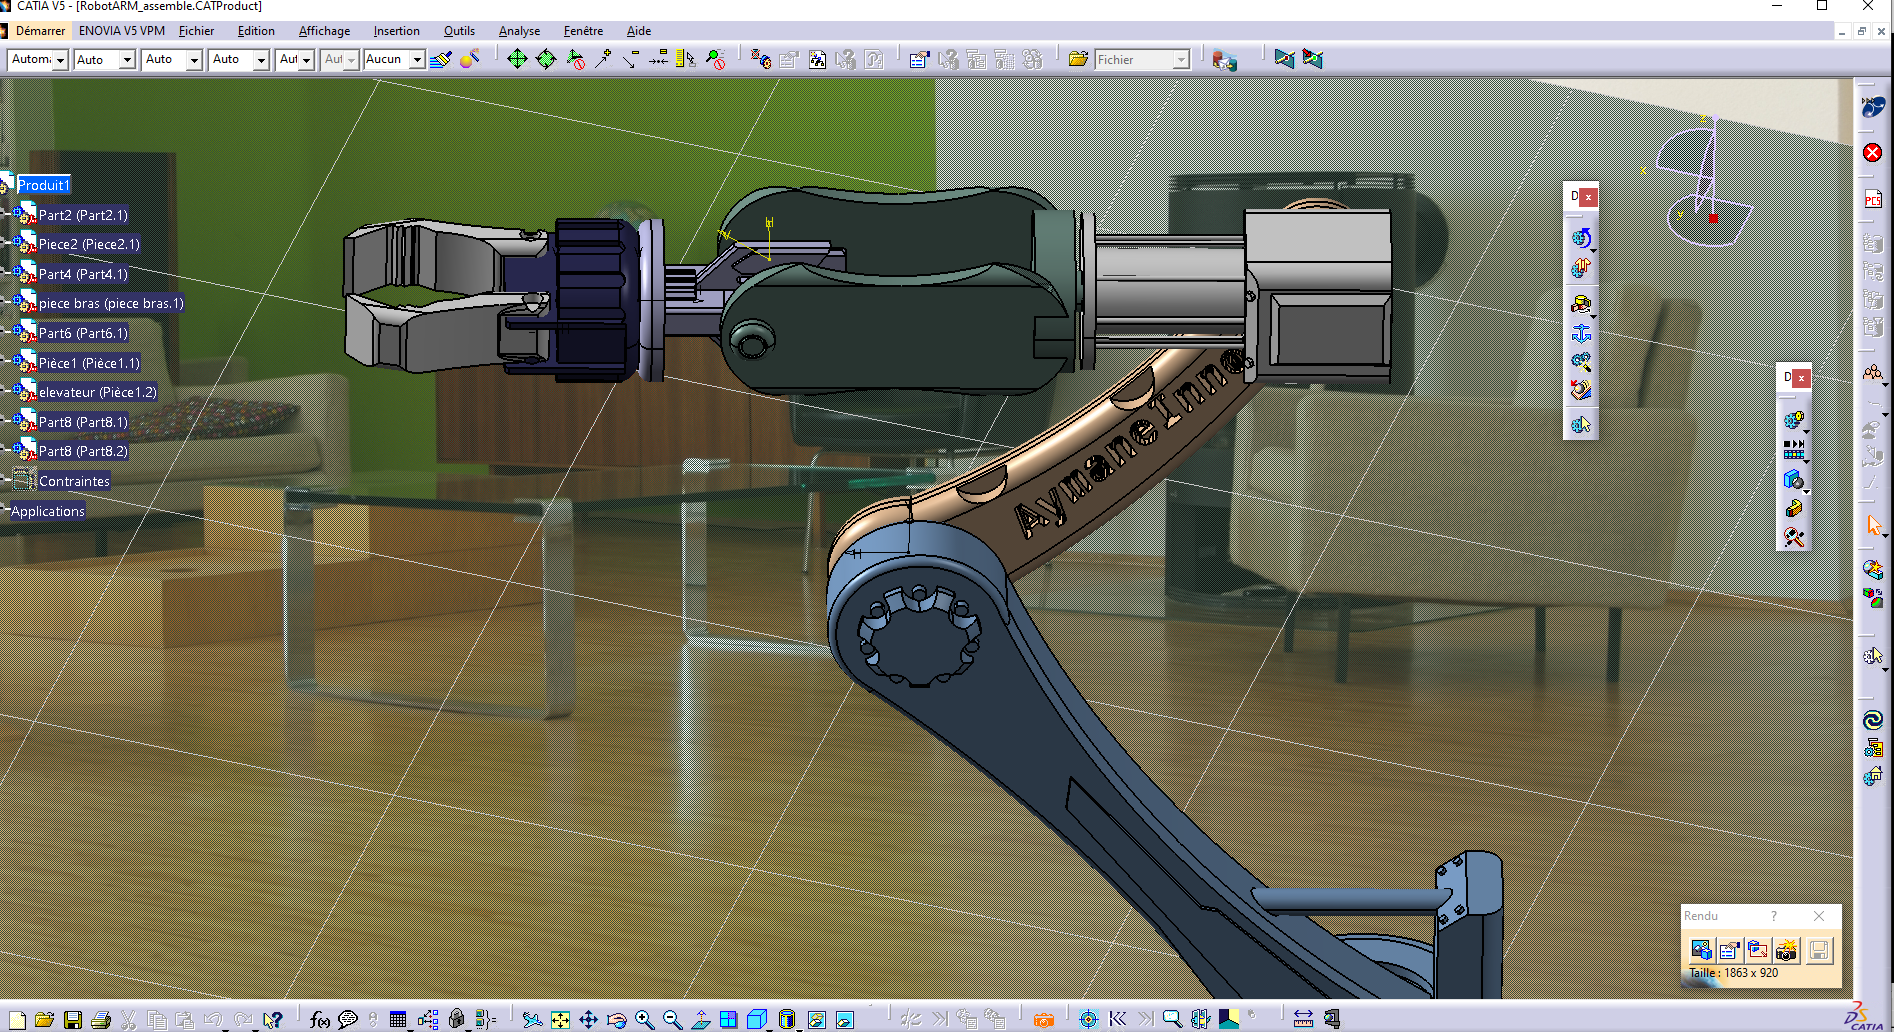
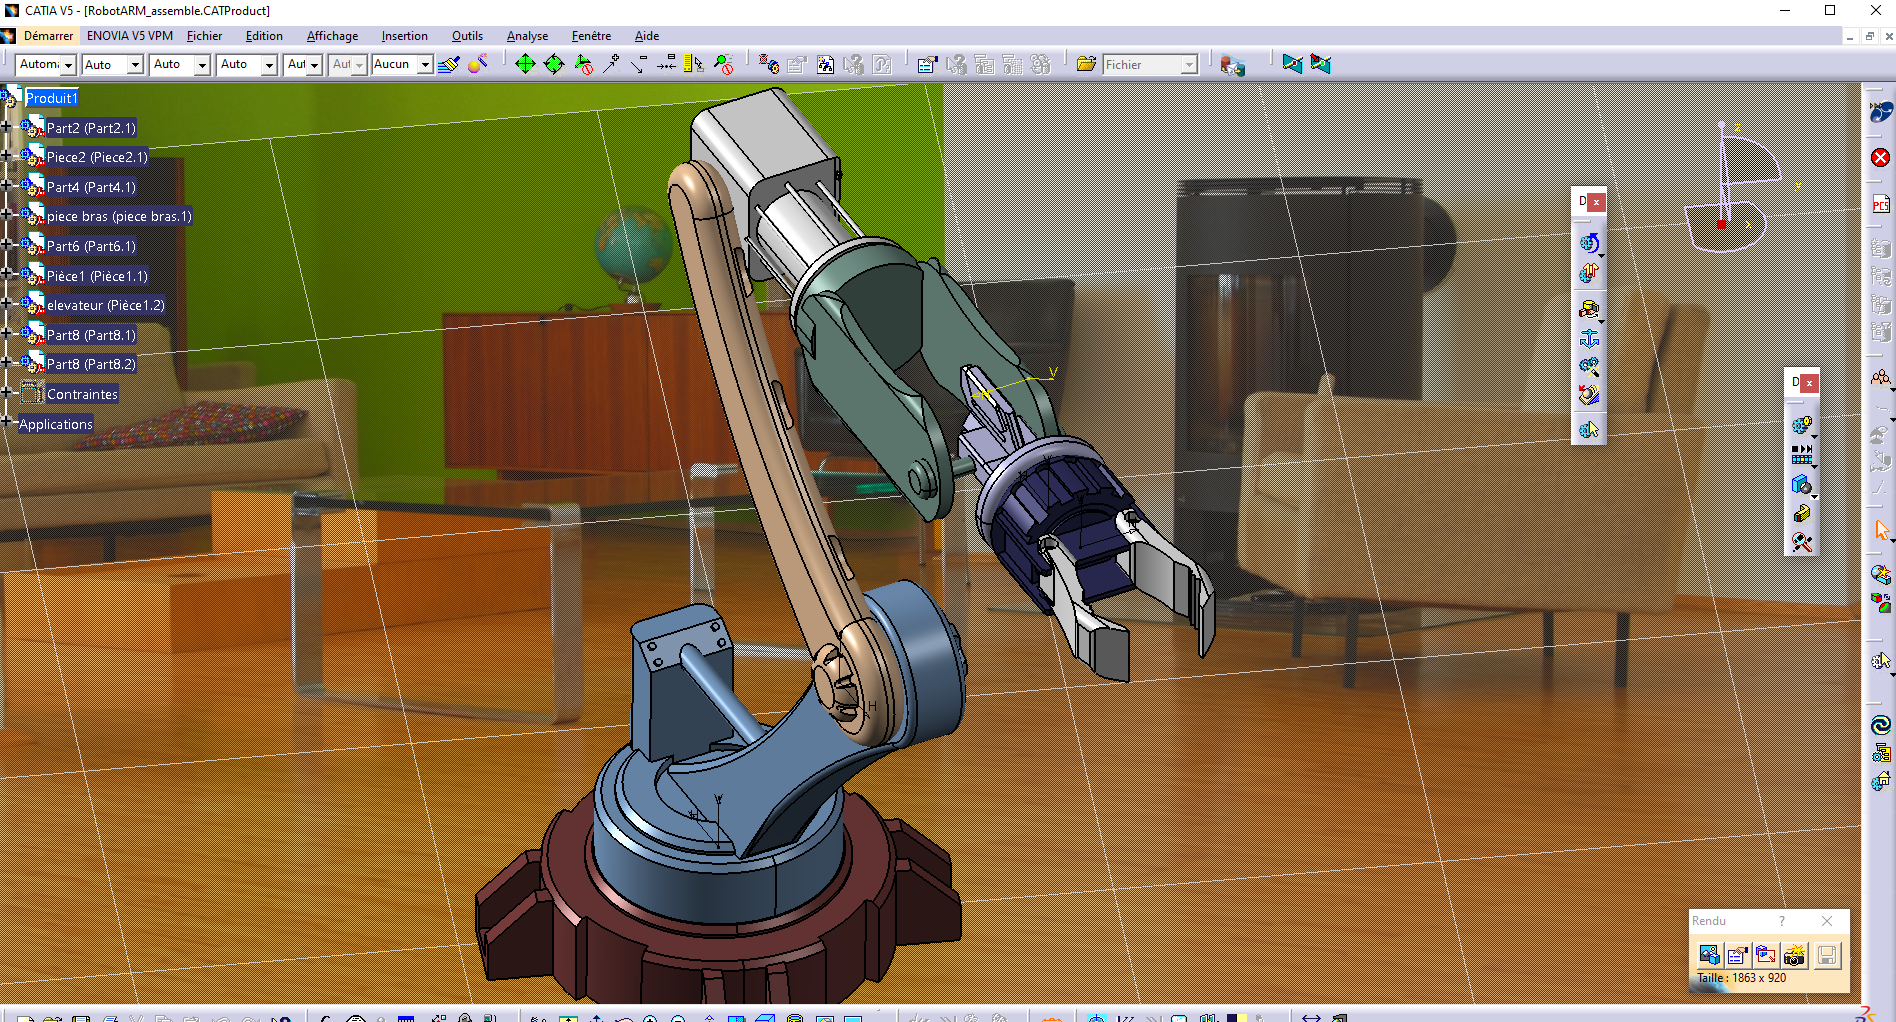
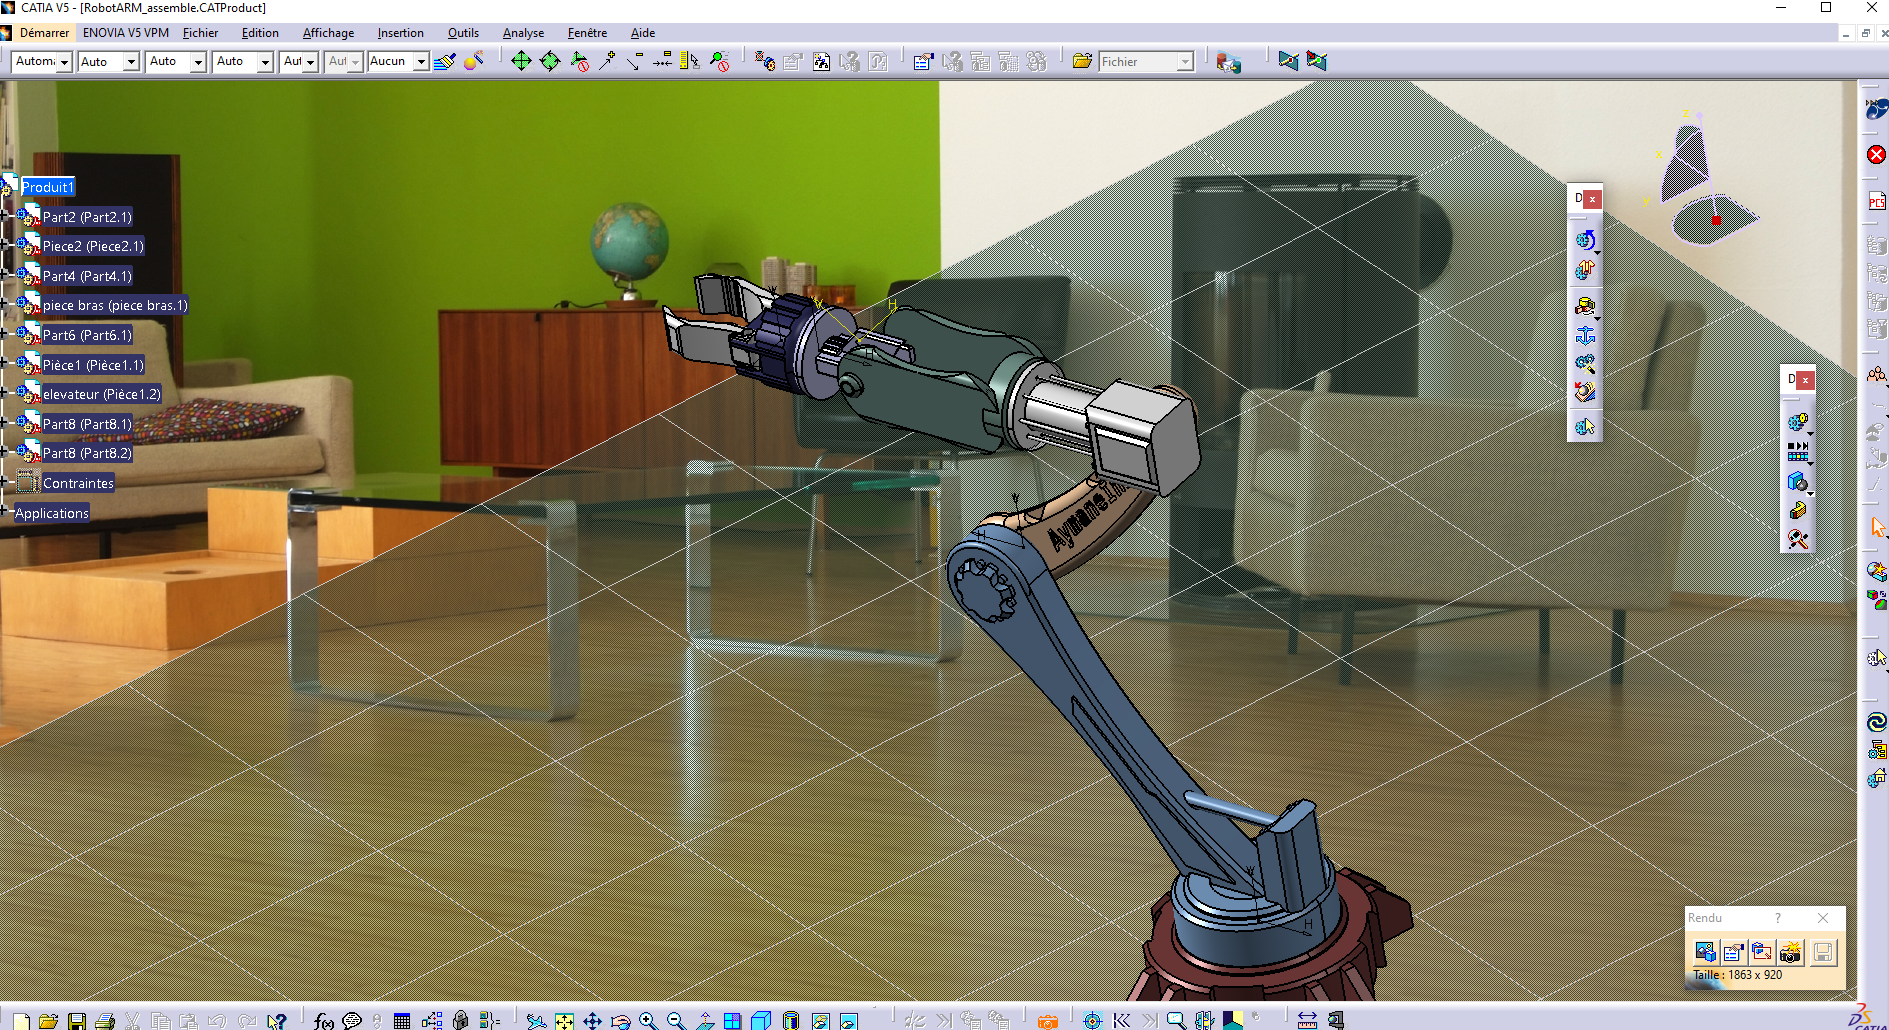
A robotic arm performs tasks efficiently and accurately by using its joints and manipulators. It is commonly used for tasks that are heavy, repetitive, or require precision. Also, it can be programmed to perform a wide range of activities, such as assembly line work in manufacturing, welding, material handling, 3D printing, medical procedures, and more.
How we built it
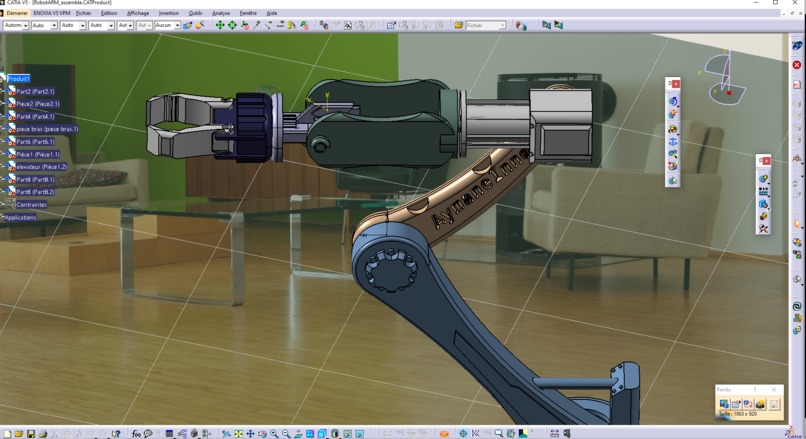
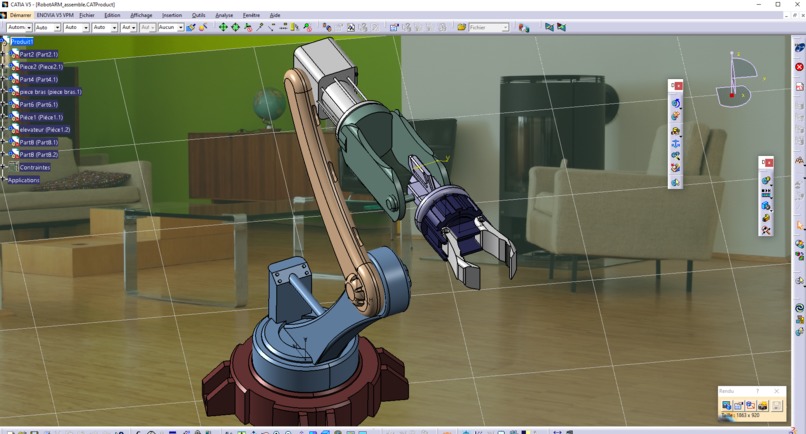
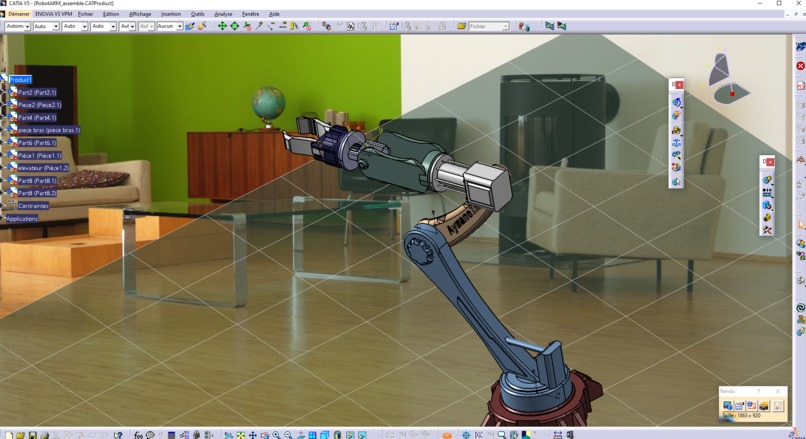
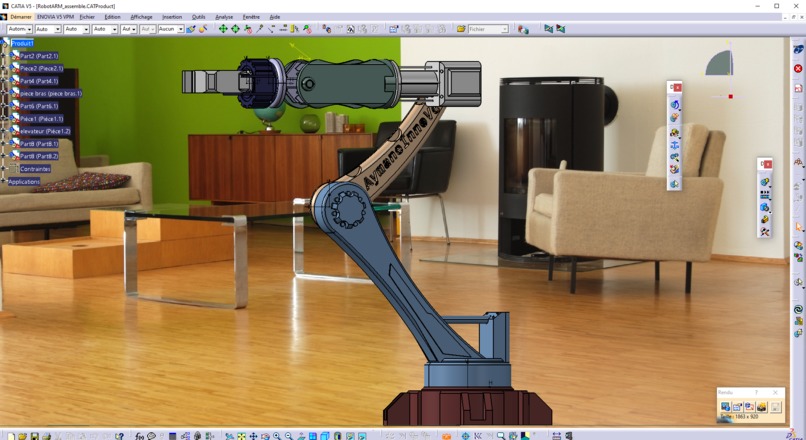
In order to Build our robotic arm we used CATIA, a 3D design and modeling software, involves several steps. Here are the steps we followed:
1 - Define the Design and Purpose:
We have Determined the purpose of your robotic arm, including its range of motion, payload capacity, and end-effector requirements.
2 - Create a Conceptual Design:
We Sketched our robotic arm's initial design on paper, outlining the basic structure and features.
3 - Starting a New CATIA Project:
We opened CATIA and create a new project. Select the appropriate template or workspace, such as Part Design or Assembly Design.
4 - Creating the Parts:
We designed individual components of the robotic arm, such as the base, links, joints, and end-effector, using CATIA's Part Design module. We used sketches, extrusions, and other tools to create 3D models of each part.
5 - Assemble the Arm:
We used the Assembly Design module to assemble the parts together, defining joints, constraints, and their relative positions.
6 - Define Kinematics:
We used CATIA's kinematics capabilities to simulate the motion of the robotic arm. This step is critical for ensuring that the arm functions as intended.
7 - Adding Actuators and Motors:
We Integrated electric actuators and motors into your design to control the movement of the arm.
8 - Designing the End-Effector:
We designed the tool or end-effector that the robotic arm will use to interact with objects.
9 - Test and Optimize:
We Simulated the arm's movements and functionality in CATIA. Make adjustments as needed to optimize its performance.
Challenges we ran into
Defining the exact requirements and ensuring that they are met can be complex.
Translating our initial concept into a functional design that could be built and operated effectively was difficult.
Creating complex 3D parts accurately and efficiently requires mastering CATIA's Part Design tools so that was challenging for us.
Simulate the arm's movement correctly has taken a large part of our time cause we had to make a logic mouvement.
Accomplishments that we're proud of
    Problem Solving: Overcoming the numerous challenges in the design and manufacturing process showcases our problem-solving skills and determination.

   Efficiency: A well-designed and optimized robotic arm can improve efficiency and productivity in various industries, making processes faster, more precise, and cost-effective.

   Learning Experience: The knowledge and skills acquired during this project are valuable and can be applied to future engineering and design endeavors.

  Professional Growth: Successfully completing such a complex project can boost our professional growth and provide us with opportunities for collaboration and leadership in robotics.
What we learned
     Problem-Solving Skills: The ability to identify and solve complex problems encountered during the design, assembly, and testing phases.

    Kinematics and Dynamics: Knowledge of kinematics (the study of motion) and dynamics (the study of forces and motion) in the context of robotic arms.

   Control Systems: Understanding of control systems and how to program the robotic arm to perform specific tasks.

   Teamwork: If you collaborated with others on the project, we likely gained experience in teamwork and project management.

    Self-Confidence: The confidence that comes with successfully completing a complex and challenging project.
What's next for Robotic ARM
Built With
- catia


Log in or sign up for Devpost to join the conversation.