-
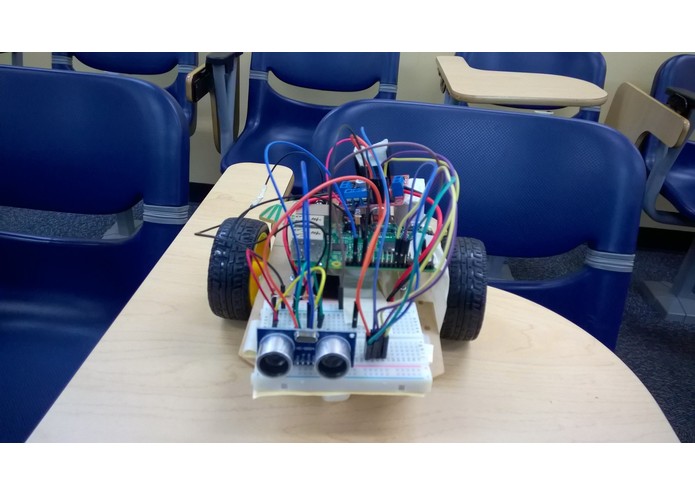
Car Built by Students
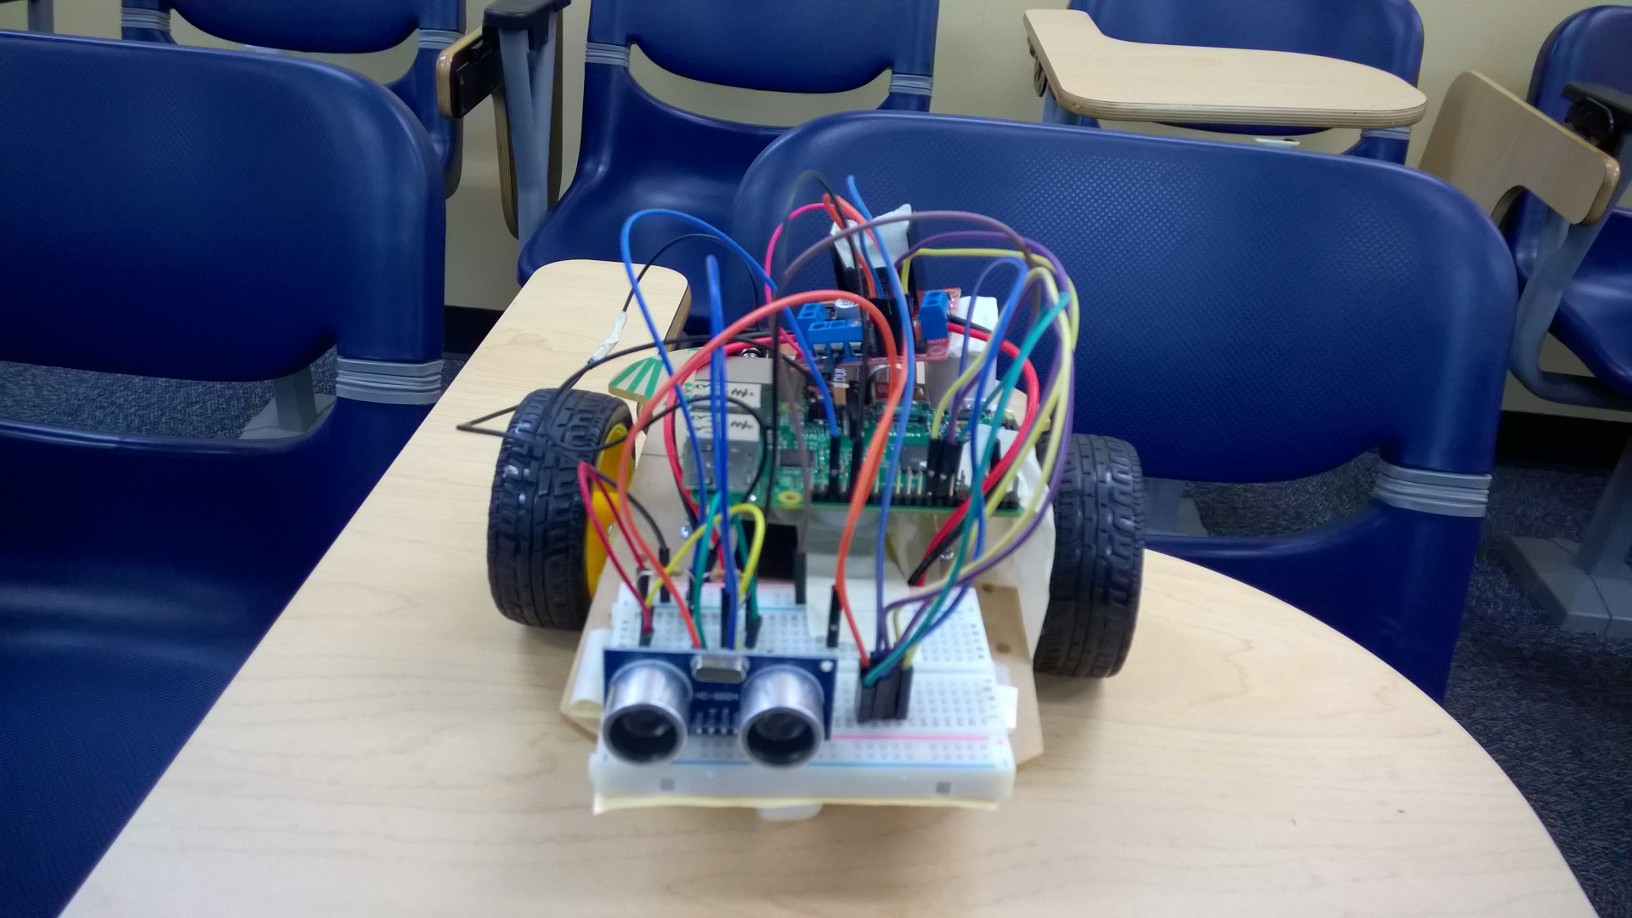
Inspiration
It is a simple way to help bring technology and programming into the physical world, thereby making it real and more tangible for students. Autonomous cars are just cool, so this project leverages that cool factor to inspire creativity and technical savviness. The lab takes 4-6 hours.
What it does
The lab itself is a basic tutorial series to have the car move and if it detects an object stop. The students are encouraged to use basic control flow logic to write their own AI. The lab ends with seeing who can solve a maze the fastest.
How I built it
Documentation: https://github.com/drcrook1/MTPSolution/tree/master/MTPSolution/Documentation
Code: https://github.com/drcrook1/MTPSolution/tree/master/MTPSolution
Bill of Materials Raspberry Pi v2 Microsoft IoT Kit: http://www.adafruit.com/products/2737
Robot Car Chassis + Motors: http://www.amazon.com/gp/product/B00GLO5SMY/ref=s9_simh_gw_p147_d4_i5?pf_rd_m=ATVPDKIKX0DER&pf_rd_s=desktop-1&pf_rd_r=1H5W3H75Y4C6MAZHG025&pf_rd_t=36701&pf_rd_p=2079475242&pf_rd_i=desktop
Distance Sensor: http://www.amazon.com/SunFounder-Ultrasonic-Distance-Mega2560-Duemilanove/dp/B00E0NXTJW/ref=pd_bxgy_21_img_3?ie=UTF8&refRID=1QC5W8VFJA2DFDSDCPZ6
HBridge Motor Controller: http://www.amazon.com/Controller-Module-Bridge-Stepper-Arduino/dp/B00HNHUYSG/ref=sr_1_2?s=pc&ie=UTF8&qid=1449490905&sr=1-2&keywords=l298n
Challenges I ran into
Each kit can support maximum 4 students. If doing 4 students per kit, you may need to break them into software/hardware teams.
If supporting more than 4 kits, you will likely need a second instructor.
Students have a difficult time grasping the concept of the breadboard and how it works. Spend time on this to explain thoroughly.
Ensure laptops are pre-loaded with everything needed, including code.
Do not put anything else in the box than necessary equipment. Students will take it out and fling it everywhere.
Stress students to not remove anything, especially from the L289N that has not been instructed to do so. 50% of students have a tendency to remove the jumpers that turns off PWM support for the L289N, thereby rendering it useless unless you can find them on the floor. Maybe just glue those in place.
Accomplishments that I'm proud of
I taught 2 classes of 30 girl scouts for a total of 60 students with this to date. Most made it to completion. The best part of the entire exercise is the joy on the faces of the students when their car moves for the first time and the added excitement when they begin having it drive itself and seeing the code the write manifest itself into a physical robot.
What I learned
Take things slowly. It helps to have a demo robot that you can build so the students can follow that robot and see exactly how it is wired.
DO NOT give batteries or power supplies prior to checking that all wiring is complete.
I personally learned a lot about circuit safety, motor controls, creating libraries simple enough an 11 year old can use it.
Windows 10 IoT Core + Visual Studio really makes a difference in allowing students to more easily write their code and deploy it to the device. When they discovered intellisense, it was just chaos after that, they were instantly empowered.
What's next for Robot Car Lab
Continue to clean up documentation. Take feedback and new contributors, refine, hone and hopefully get a full kit built for this that can be purchased through adafruit, amazon or seeed.

Log in or sign up for Devpost to join the conversation.