-
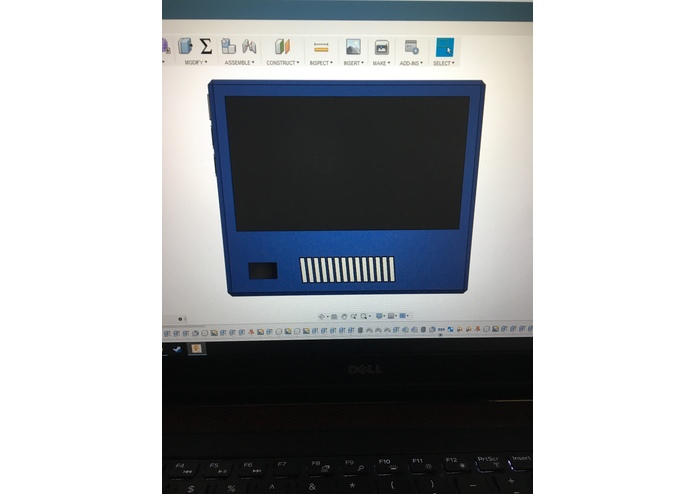
Front View with power switch, 7-inch display, and speaker grill.
-
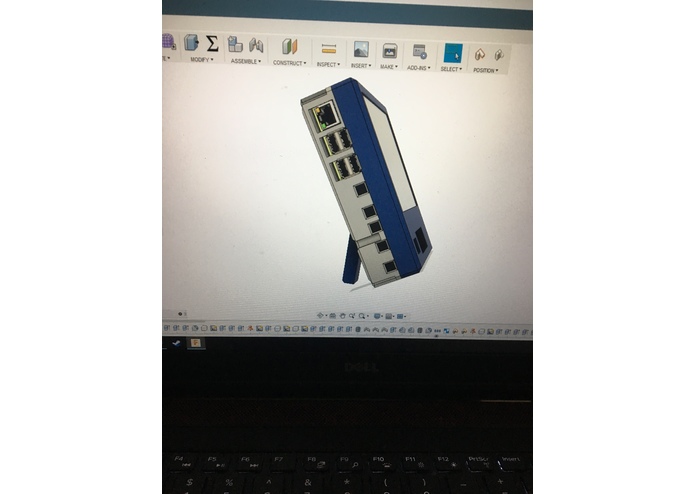
Side view with kickstand, usb ports, ethernet port, and buttons to control the display
-
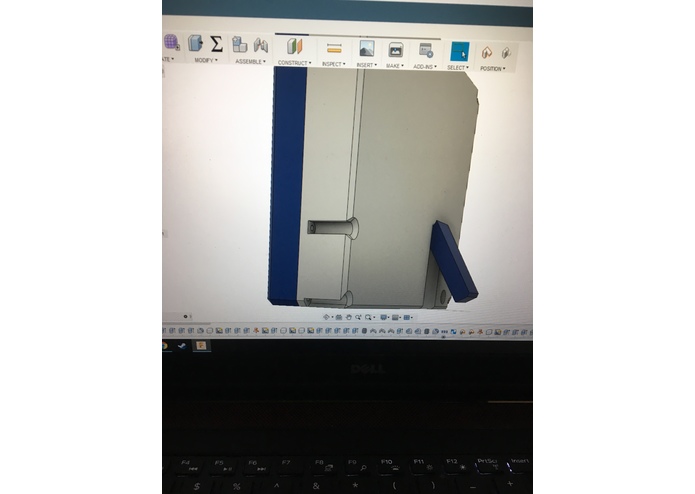
Back view with kickstand
-
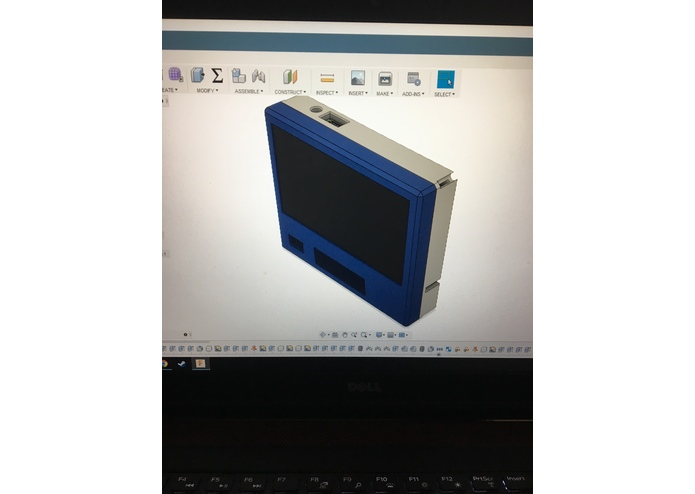
Isometric View
-
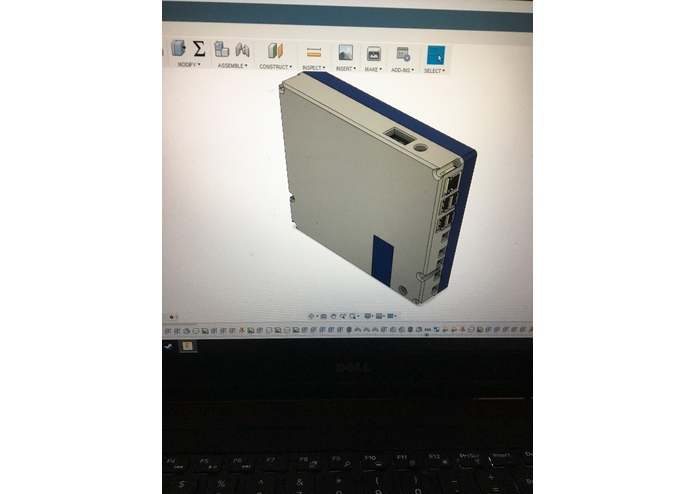
Back Isometric view with retracted kickstand
-
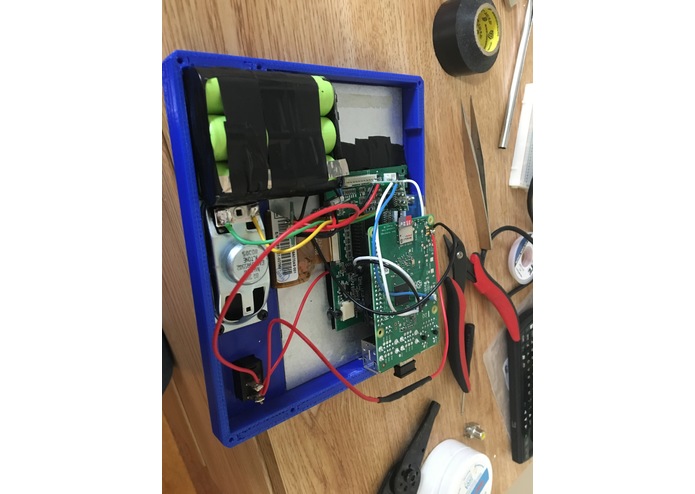
Interior. Includes battery pack, speaker, driver board, raspberry pi, on/off switch, voltage step down, amplifier board.


Inspiration
Everyone has special childhood memories that are beloved, and thinking about them often brings the purest form of nostalgia. For me, retro games and classics from the 90s to early 2000s bring back some of my best memories. Unfortunately, many of these old consoles are seen as collectibles so they often expensive if they are in perfect working condition. My solution was to create a small and portable console that is capable of playing some of these older games with friends.
What it does
The Retro Rig emulates retro games using a raspberry pi. The system is powered using a rechargeable battery pack I made and also makes use of an HDMI port for video output. This can be used to display the games on a TV or monitor for when playing with friends as the 7-inch screen is small when playing with more than two people. Additionally, I was able to include a small speaker within the system and a 3.5 mm audio jack for using headphones.
How I built it
I used AutoDesk Fusion 360 to design the enclosure for the project and manually soldered all the components together.
Challenges I ran into
The main challenge was figuring out how to wire the video and audio as I wanted to make the system as compact as possible. In this variation of the raspberry pi (3B+), the composite video port was not included. This meant my only options were to use HDMI or a ribbon cable. The 19 pins on the HDMI were too small to solder too and I did not have the correct size ribbon cable, so I had to come up with another solution. I researched a great deal and found that the composite video was moved to the 4th pin of the 3.5 mm audio port, and was able to find the lead on the PCB to solder to. In a similar way, I was able to find both channels for audio, however, the audio signal was too weak for my speaker so I had to use an amplifier board to get reasonable audio.
Accomplishments that I'm proud of
I am very proud of being able to create this system within two days. There were many challenges, but none got in the way of the final product and it worked very smoothly.
What I learned
I learned about how to flash an OS to a raspberry pi as well as details about how the raspberry pi's PCB layout.
What's next for Retro Rig: A Portable Raspberry Pi Emulation Console
The next step would be to make a second prototype that could also include a fully working PlayStation 2, as this was my favorite console from bac in the day, and the raspberry pi is not quite powerful enough to run PlayStation 2 games.
Built With
- 7-inch-lcd-display
- 8-ohm-full-range-driver
- custom-3s-lithion-ion-battery-pack-with-bms-board
- digitital-amplifier-for-speaker
- raspberry-pi
- retropie
- voltage-step-down-convertor
