-
-

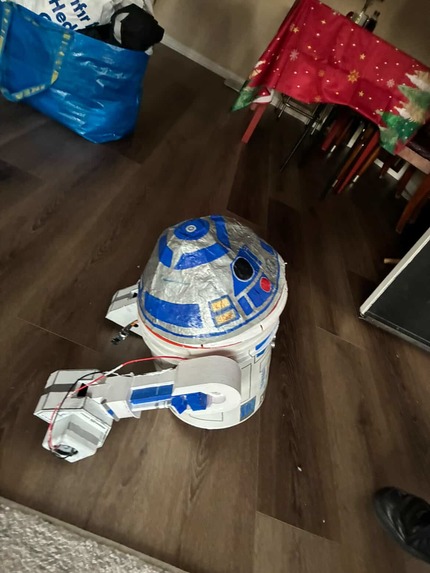
R2D2 left
-
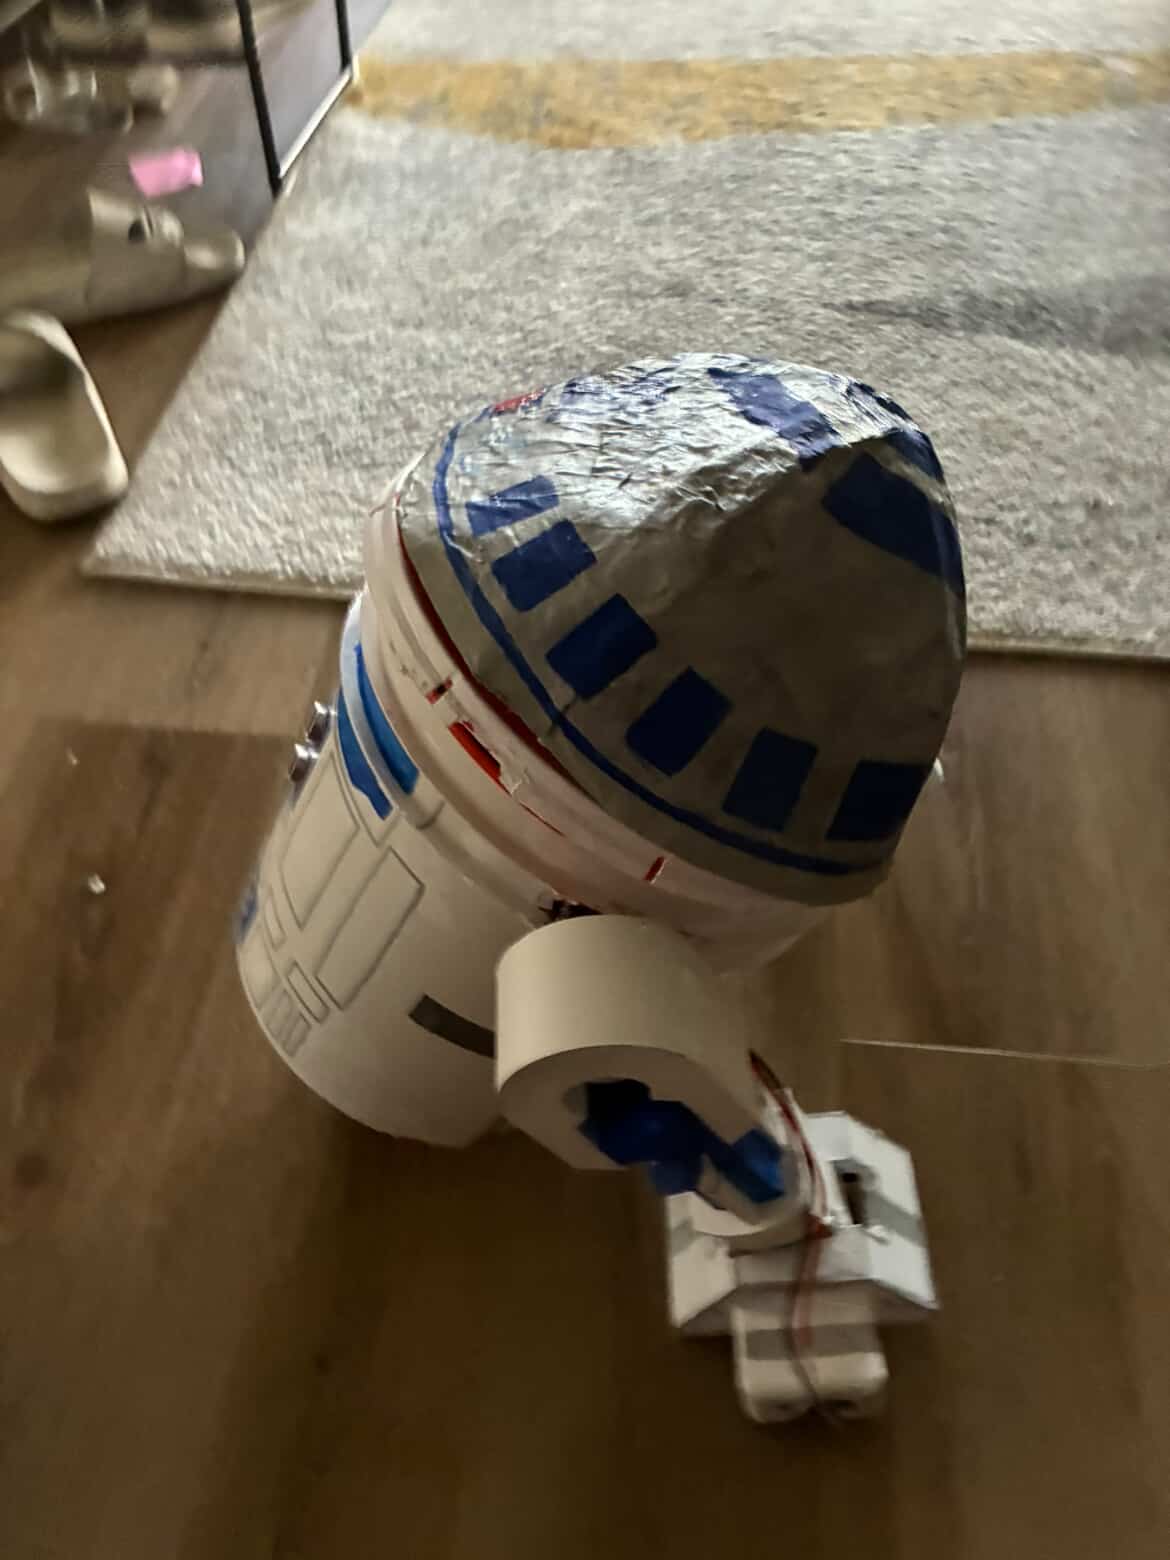
R2d2 right
-

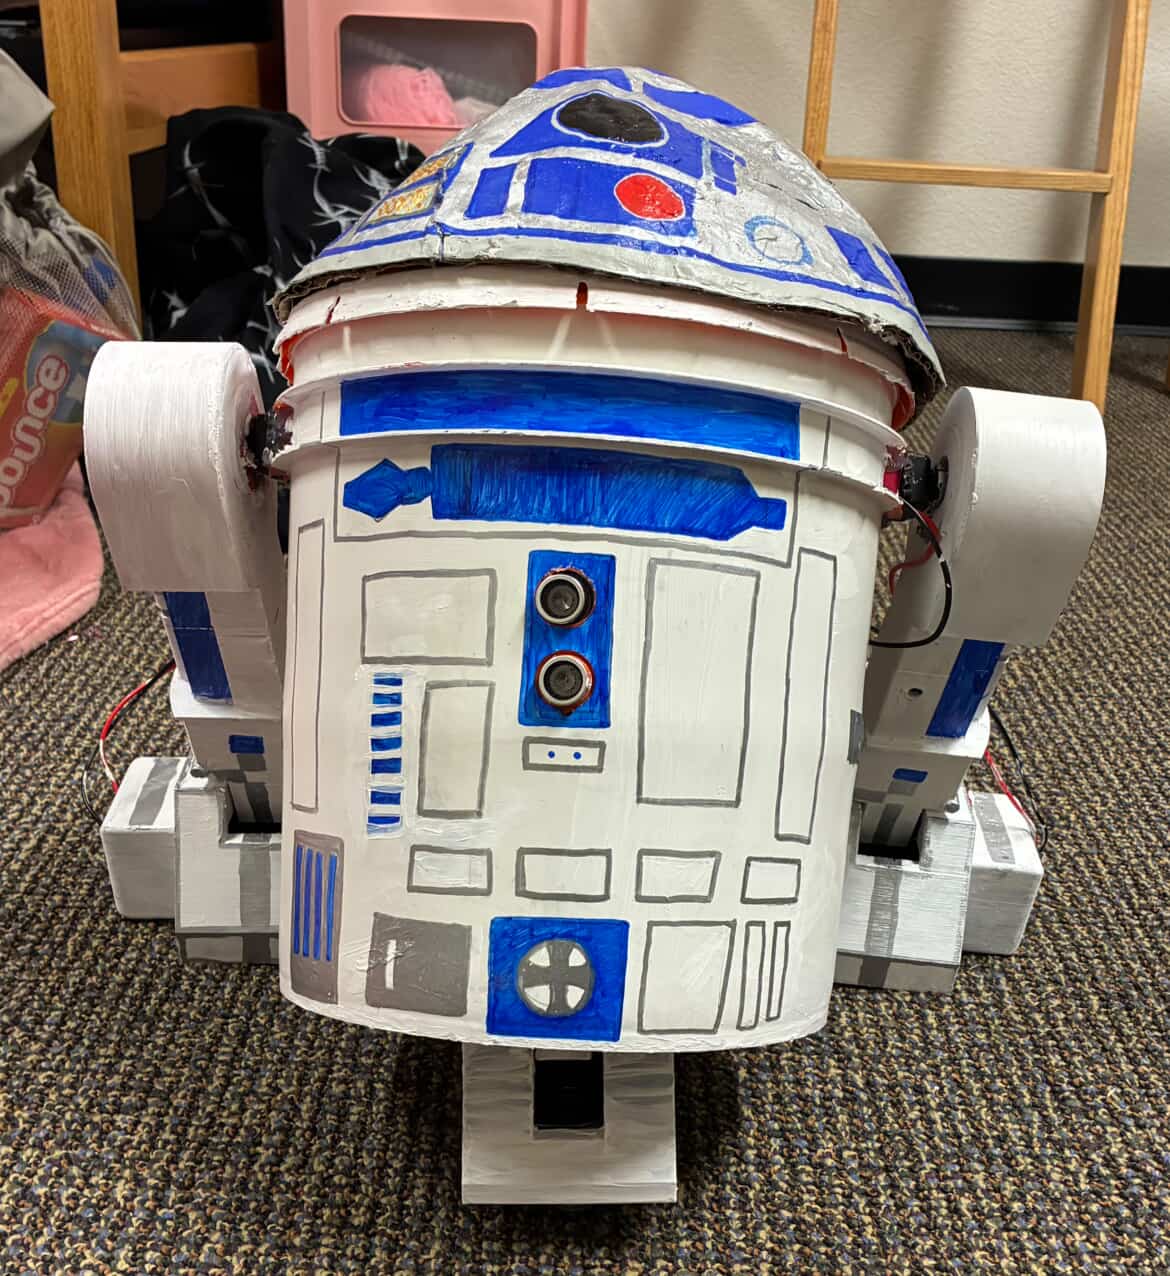
R2D2 front

Inspiration
Star Wars was the main inspiration, and what better way to bring that futuristic feel to everyday life than a moving R2D2, and because it's better, we named it R^2D^2.
What it does
He has multiple different functions he can move via remote control, with IR sensors relaying commands to the Arduinos, which convey the movement, from right, left, forward, and back, as well as rotating left and right. We have servos that allow him to tilt, and an ultrasonic sensor, which gives him the ability to move autonomously and avoid walls.
How we built it
We had first gotten the base, a Home Depot bucket, which we had then used CAD to create his iconic legs, which we would attach to servos that we drilled into the bucket. We then cadded the foot, which we made a groove to fit the motors onto, attached wheels onto the motors, and wired it up to an Arduino. We then connected an IR sensor to give it the ability to be controlled remotely. We did the same for the servos with another Arduino. We powered the arduinos with 9V batteries and a 12V battery for the motor and a 6V battery for the servos. We used papier-mache for the head, and mounted it to a Home Depot lid, then we but out the bottom and made a scaffold with laser-cut plywood and CAD to create the third leg with an internal spring for stabilisation. We then painted it to be accurate to R2D2.
Challenges we ran into
The motors would jump to the max speed, causing massive jerks, and so we implemented a gradual ramp-up function for both start and stop. The attachment point of the servo would occasionally fall out, so we secured it with hot glue and screws. The third leg spring was often too weak, and the leg wouldn't extend, so we swapped it out for a stronger one and increased the leg tolerance. The power and ground wires on the motor would occasionally fall off, so we resoldered them and hot-glued them into place. The wires connecting everything would occasionally fall off, so we soldered them onto a protoboard. The ultrasonic sensor would spit out 0 before the accurate measurement, so we added a buffer delay and only accepted values above 0. We had tried to 3D print the head, but it would be too costly, so we used papier-mache and a lid to attach it.
Accomplishments that we're proud of
We managed to make everything work despite all of the challenges, and this being most of our first projects, how well this turned out is really surprising and exciting for us. His movement can be consistently controlled, his autonomous movement works well, and the paint job really brings him to life. And all the parts that we worked on came together beautifully to bring R^2D^2 to life.
What we learned
Soldering wires can make them more brittle and liable to snap, so it's better to add hot glue or another agent that limits movement. IR sensors require a direct line of sight, and if not in line of sight, result in scattered and inaccurate readings, which can cause issues. Too many servos and components attached to a single servo would result in insufficient power being delivered to components down the line, so an external power source is required. Extra tolerance should be added to 3D printed parts, so that the part actually fits together.
What's next for R^2D^2
We plan to give him a voice box to make him speak, perhaps using a piezo buzzer or a Bluetooth speaker, and we want to refine his movement so he can do more intelligent things, perhaps following a signal, so he can loyally follow you around. We also want to make his head have rotation, using a stepper motor or a servo gear train system, and have a convenient power switch, instead of manually turning on 2 9V batteries and 2 batteries.


Log in or sign up for Devpost to join the conversation.