

Inspiration
We've all worked with Fusion360 before and been frustrated at how long it can take to render certain items and the fact that its limited in scope - it can't model nanomaterials. Predicting how materials behave under stress is critical for many different industries, so we decided to make a solution.
Introducing Quanta: Quantum-Assisted Nano-Structural Analysis
What it does
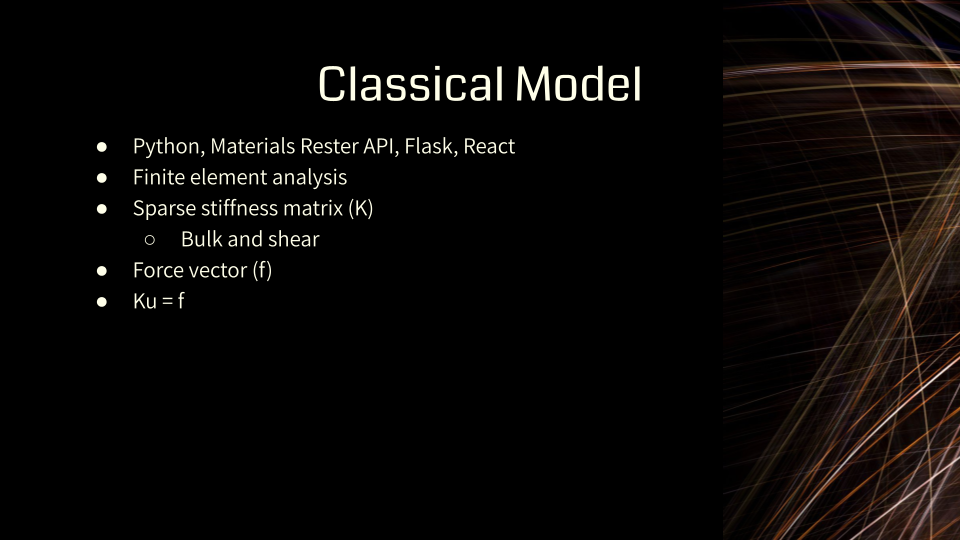
Our algorithm queries the properties of a material through the Materials Project API. Then, it represents the material as a flat mesh grid with a corresponding stiffness matrix, K. It can also take in an .obj file and put the material onto that. We used Finite Element Analysis (FEA) principles to approximate the behavior of mesh/thin sheets as a system of linear equations. We solve for u in the equation Ku = f, where f is force vector and u is the displacement of each point on the mesh.
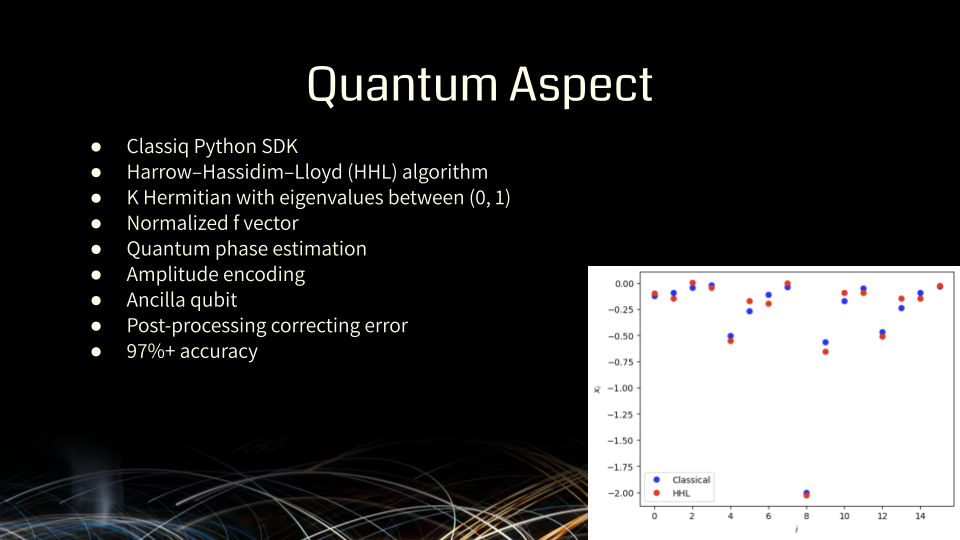
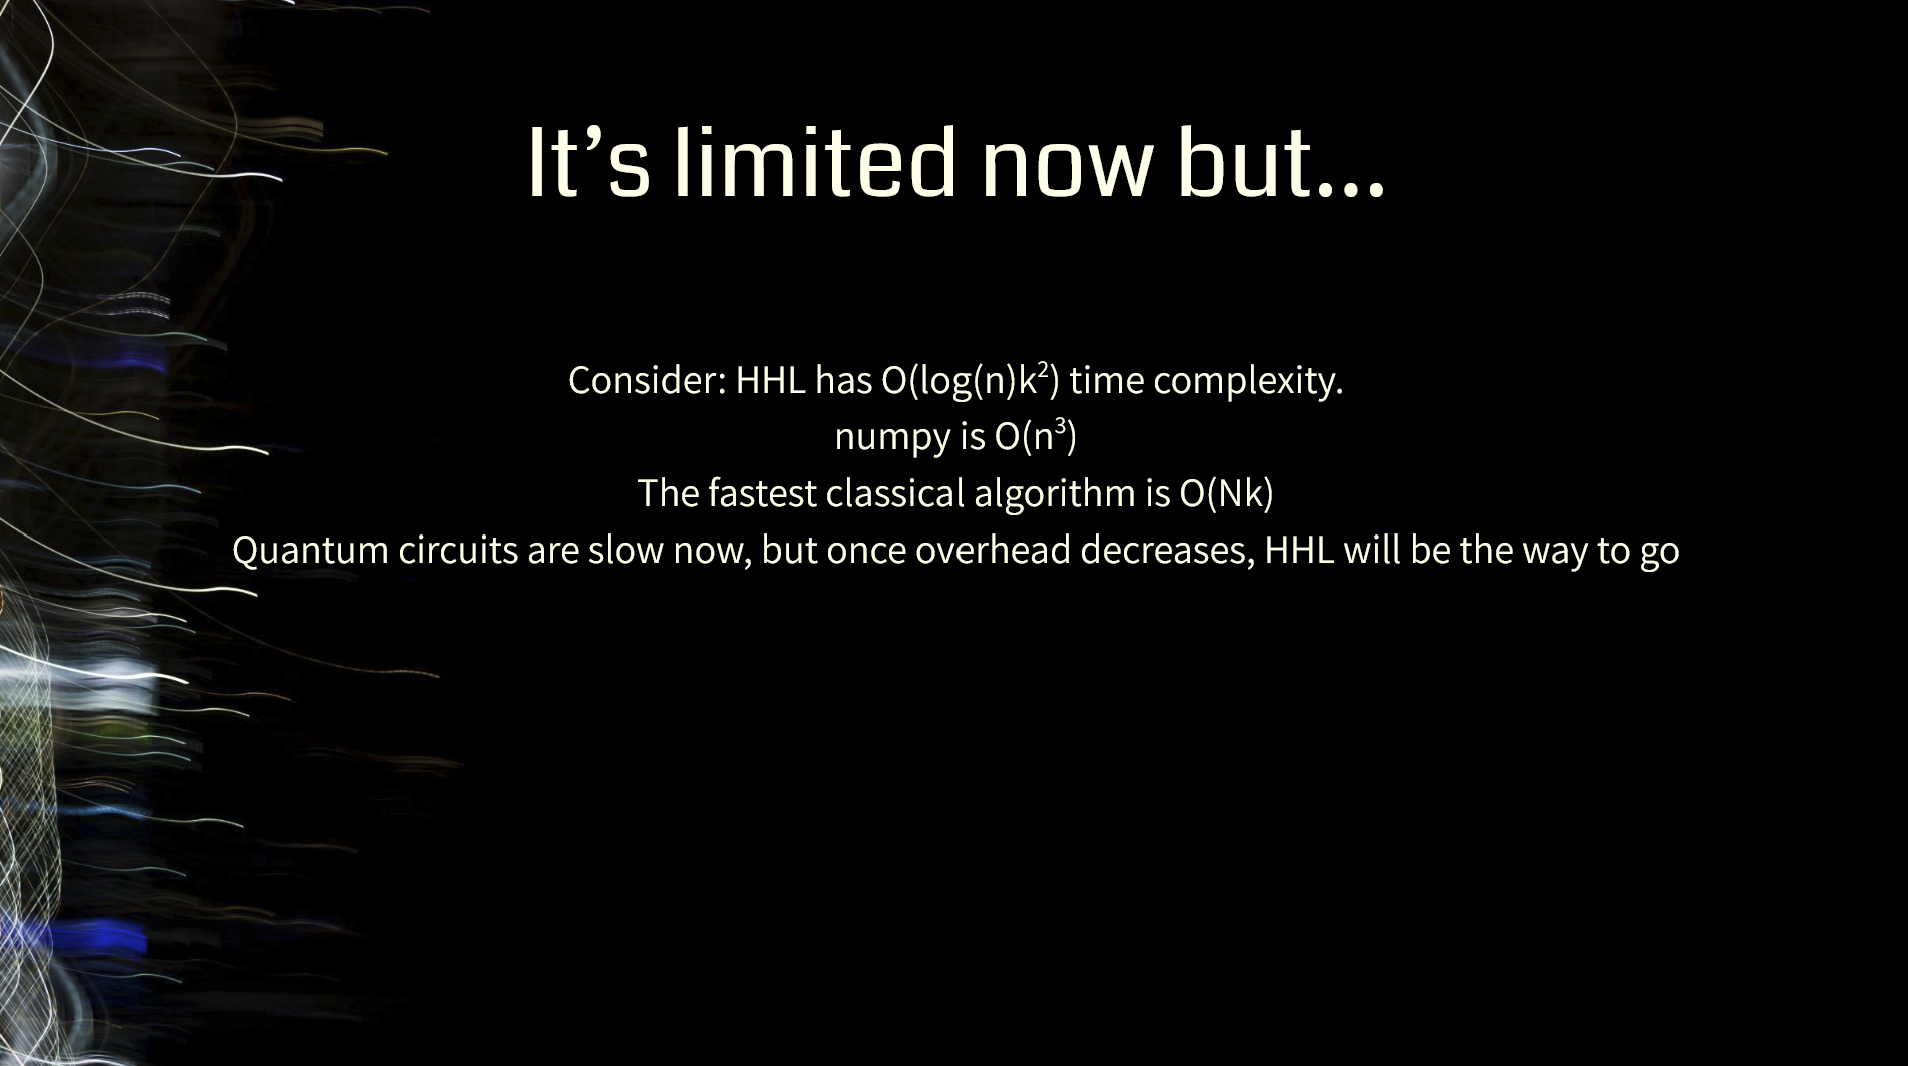
In our quantum implementation, we did this by using the Harrow–Hassidim–Lloyd (HHL) algorithm to determine the potential of quantum to quickly solve for sparse linear systems of equations.
We can then render a 3D model based on the displacement matrix, which is presented to the user.
How we built it
We used Python (Flask and NumPy) on the back-end. For the quantum implementation, we used the Classiq Python SDK. On the front-end, we used React and Typescript. To create the .obj files, we used Blender.
Challenges we ran into
This was our first time coding up a simulation like this, and none of us had a lot of experience in materials science, so we had a lot of background research to do. In addition, we had to do a lot of math to derive the code for the algorithm, which took a long time. We spent a lot of time deliberating on if the project was even feasible before we began coding.
Also, none of us had actually integrated quantum computing into a "real" application, so we were nervous about if it would even work. We quickly realized that the current state of quantum hardware constrains us to smaller matrices, so we decided to pivot and create both a classical and quantum algorithm. The quantum implementation serves as a proof of concept and building block for future iterations of Quanta, while the classical implementation shows what is capable with current technologies and what areas for improvement are.
On the front-end, we faced challenges as well. This was the first time our team created a site using React Router, and it was also our first experience with Three.js for rendering 3D models. Learning these technologies and integrating them into our project was a steep learning curve, but it was rewarding to see the a physical visualization of our product.
Accomplishments that we're proud of
We're proud that we were able to make a functioning project! We also are proud that we are able to do meaningful work on both the backend and the frontend.
What we learned
We all learned about quantum algorithms and how quantum computing can be used in the real world. We also learned a lot about materials science and different considerations that engineers use when deciding what materials to use.
What's next for Quanta
We want to see how far we can push Quanta and how big our mesh can be for the quantum implementation. We also want to add more variables to our calculation for the stiffness matrix and make our model even more accurate.
Some Special Stuff
In the spirit of Bitcamp, we hid a few fun easter eggs for anyone on our website!! As you can see in the video, if you click the "Dinosaur!" in the top right, you'll be brought to the wonderful T-rex game and if you click the "I don't need this" button, you'll go to a dinosaur themed casino page that will relieve all stress built during the hackathon :)
Built With
- classiq
- flask
- python
- quantum
- react
- tailwind
- three.js
- typescript
- vite


Log in or sign up for Devpost to join the conversation.