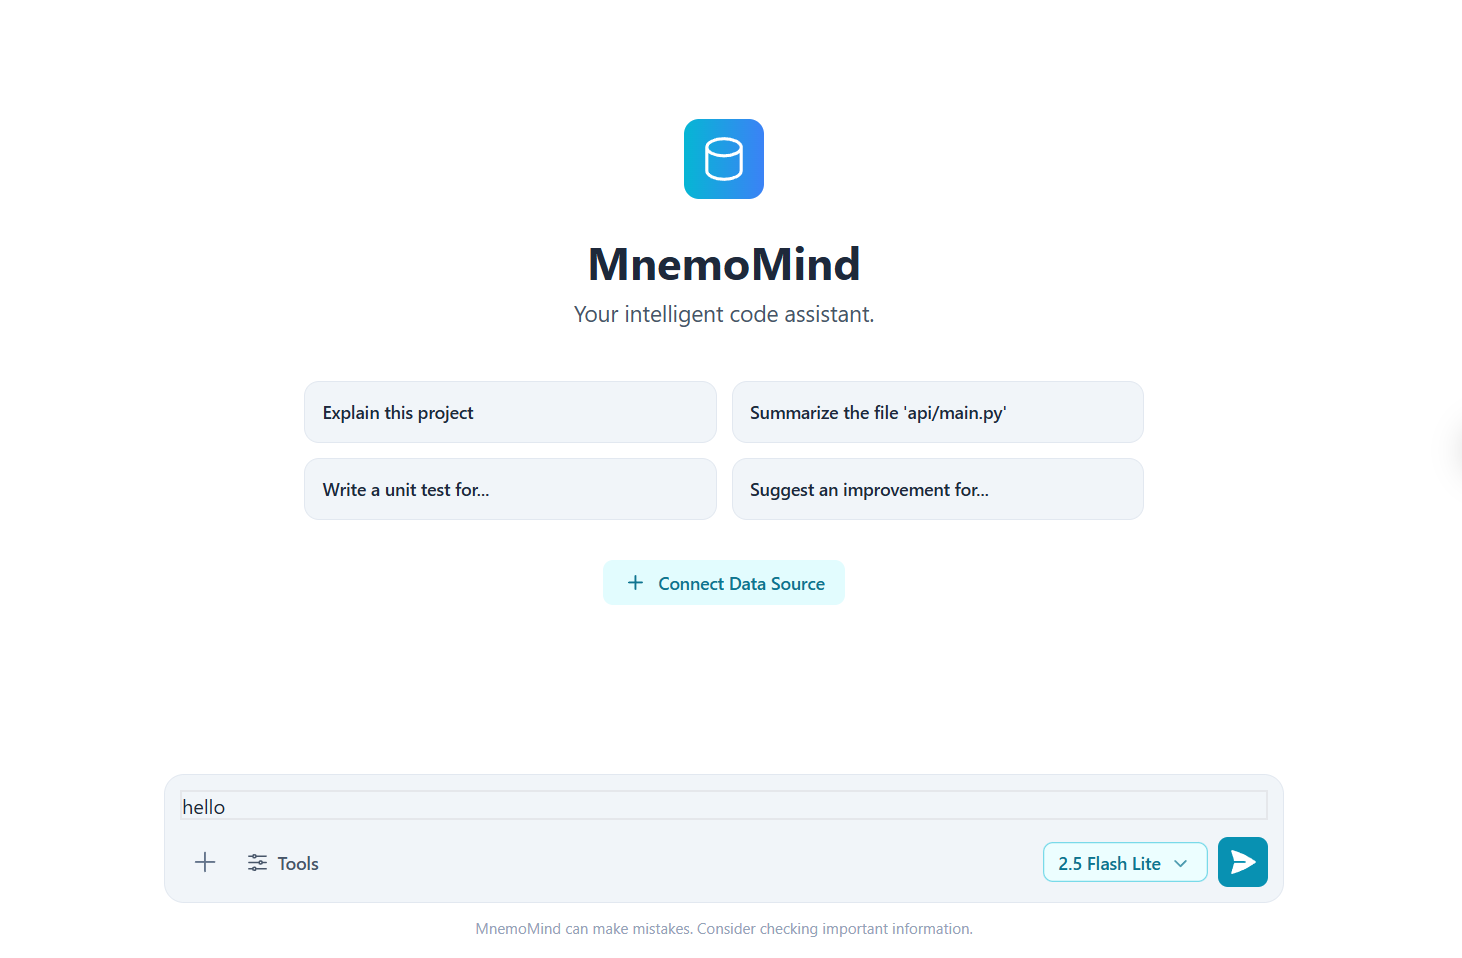
█▀▄▀█ █▄ █ █▀▀ █▀▄▀█ █▀█ █▀▄▀█ █ █▄ █ █▀▄
█ ▀ █ █ ▀█ █▀  █ ▀ █ █ █ █ ▀ █ █ █ ▀█ █ █
▀   ▀ ▀  ▀ ▀▀▀ ▀   ▀ ▀▀▀ ▀   ▀ ▀ ▀  ▀ ▀▀
> It’s a Mind with a custom Memory. <
MnemoMind: AI Assistant with Custom Memory
MnemoMind is an intelligent, conversational AI assistant designed to interact with your documents and code. It leverages the power of Google Gemini models for understanding and generation, combined with Elasticsearch (or client-side search) for efficient retrieval from your custom data sources. 🧠📚
Key Features:
- Connect Multiple Data Sources: Upload local folders (like codebases), individual files (PDF, TXT, MD, etc.), or connect your Google Drive.
- Context-Aware Responses: Ask questions, request summaries, or generate content based specifically on the documents you provide.
- Retrieval-Augmented Generation (RAG): Finds relevant snippets from your data using vector search (via Elasticsearch or simulated locally) and provides them to the Gemini model for accurate answers.
- Web & Maps Grounding: Optionally allows the AI to use Google Search or Google Maps (if configured) when information isn't found in your documents.
- Code Generation & Editing: Suggests code modifications based on your requests and the context of your codebase (currently supports cloud-based sources). Review diffs and apply changes directly.
- Citation Support: Clearly indicates which source document(s) were used to generate parts of the answer.
- Rich UI: Markdown rendering, code highlighting, interactive tables (with export to Google Sheets), file browsing, diff viewing, and more.
- Model Selection: Switch between different Gemini models (Flash Lite, Flash, Pro).
- Configurable Tools: Toggle code generation and grounding sources (Cloud Search, Preloaded Files, Google Search, Google Maps).
- Theme Switching: Light and Dark mode support.
🚀 Getting Started
Prerequisites
- Node.js: (LTS version recommended) - Download from nodejs.org
- npm: (Usually included with Node.js)
- Python: (>= 3.9 recommended) - Required for the backend API and Elasticsearch indexing script.
- pip: (Python package installer)
Setup
Clone the Repository:
git clone https://github.com/HeshamASH/mnemomind
cd mnemomind
Frontend Setup:
- Navigate to the root directory (
mnemomind-main). - Install dependencies:
bash npm install - Create a
.env.localfile in the root directory and add your Google Gemini API Key:dotenv # .env.local VITE_GEMINI_API_KEY=YOUR_GEMINI_API_KEY(Get your key from Google AI Studio).
- Navigate to the root directory (
Backend Setup:
- Navigate to the API directory:
bash cd api - (Recommended) Create and activate a Python virtual environment:
bash python -m venv venv # On Windows: .\venv\Scripts\activate # On macOS/Linux: source venv/bin/activate - Install Python dependencies:
bash pip install -r requirements.txt - Elasticsearch (Optional but Recommended):
- If you want to use Elasticsearch Cloud for document indexing and search (required for code editing suggestions):
- Sign up for a free trial or use an existing deployment on Elastic Cloud.
- Create an API Key with appropriate permissions.
- Find your Cloud ID.
- Update the
.env.localfile (in the project root) with your Elastic credentials:dotenv # .env.local (add these) ELASTIC_CLOUD_ID=YOUR_ELASTIC_CLOUD_ID ELASTIC_API_KEY=YOUR_ELASTIC_API_KEY ELASTIC_INDEX=rag_documents # Or your preferred index name - (First Time) Run the indexing script to load documents into Elastic Cloud:
- Place the documents you want to index into the
fixed_documentsfolder (or update the path in the script). - Navigate to the
Elastic Cloud HQdirectory:cd ../"Elastic Cloud HQ" - Run the script (ensure your virtual environment is active):
bash
python embed-chunk-index-to-elastic-cloud.py
- Place the documents you want to index into the
- If you want to use Elasticsearch Cloud for document indexing and search (required for code editing suggestions):
- Google Drive/Sheets Integration (Optional):
- Follow Google Cloud guides to create OAuth 2.0 Credentials (Client ID and Secret) for a Web Application.
- Enable the Google Drive API and Google Sheets API.
- Add
http://localhost:5173/api/auth/google/callbackto the "Authorized redirect URIs" in your Google Cloud credentials settings. (Replace5173if you use a different port). - Add your Google credentials to the
.env.localfile:dotenv # .env.local (add these if using Google Drive/Sheets) GOOGLE_CLIENT_ID=YOUR_GOOGLE_CLIENT_ID GOOGLE_CLIENT_SECRET=YOUR_GOOGLE_CLIENT_SECRET SECRET_KEY=generate_a_strong_random_secret_key # For signing session cookies
- Navigate to the API directory:
Run the Application:
- Start the Backend API:
- Navigate back to the
apidirectory (cd ../api). - Ensure your Python virtual environment is active.
- Run the FastAPI server using Uvicorn:
bash uvicorn main:app --reload --port 8000(The--reloadflag automatically restarts the server when code changes.)
- Navigate back to the
- Start the Frontend:
- Open a new terminal.
- Navigate to the project root directory (
mnemomind-main). - Run the Vite development server:
bash
npm run dev
- Open your browser and navigate to
http://localhost:5173(or the port Vite indicates).
- Start the Backend API:
🛠️ Technology Stack
- Frontend: React, TypeScript, Vite, Tailwind CSS,
react-pdf - Backend: Python, FastAPI, Uvicorn
- AI Model: Google Gemini API (
@google/generative-ai) - Vector Search/Storage: Elasticsearch (Cloud recommended)
- Embeddings:
sentence-transformers(specificallyall-MiniLM-L6-v2) - Google Integration: Google API Python Client, Google Auth Library
⚙️ Configuration
Environment variables are managed in the .env.local file in the project root. See the Setup section for required and optional variables.
🤝 Contributing
Contributions are welcome! Please feel free to open an issue or submit a pull request.
📜 License
MIT License
Built With
- gemini-nano


Log in or sign up for Devpost to join the conversation.