-
-
-
-
-
-
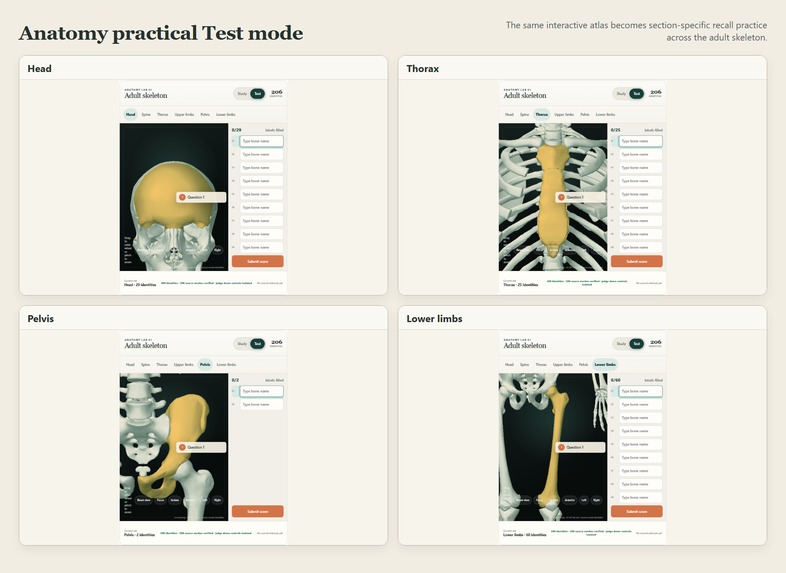
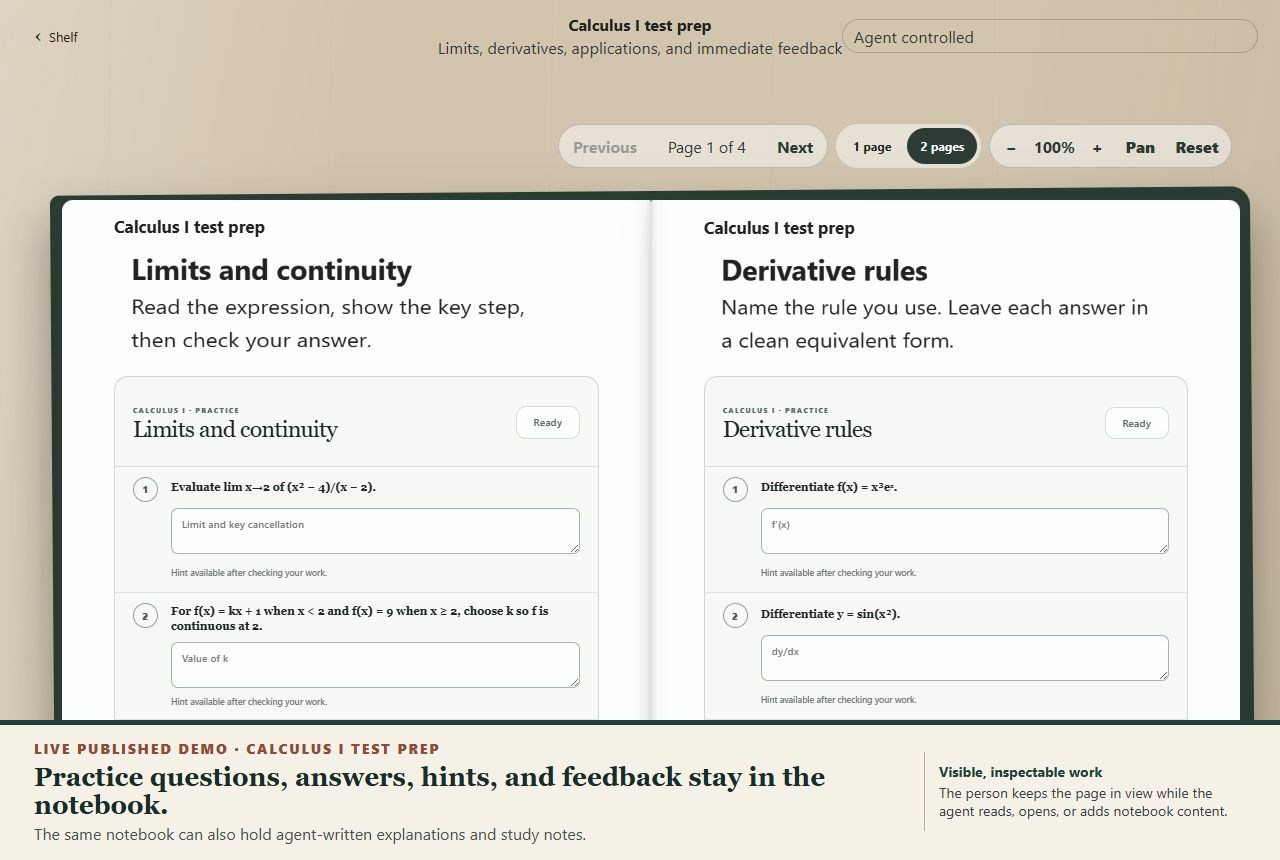
Live anatomy Test mode: section-specific recall questions across the head, thorax, pelvis, and lower limbs.
-
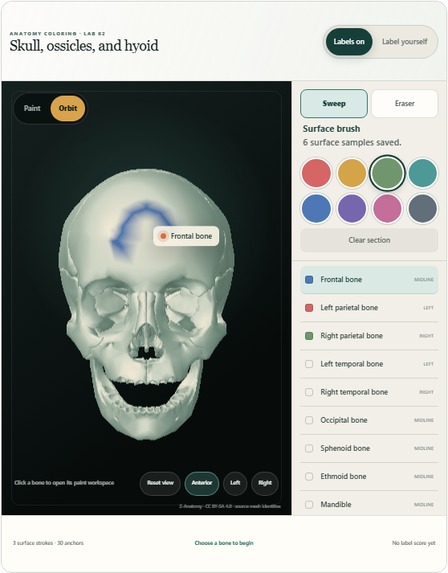
Live skull coloring lab: saved surface paint with palette, brush, and labeled bone index.
Project Notebook
Why I built this
I use ChatGPT Voice a lot, but the useful work usually ends up trapped in a chat that I forget about. I wanted to talk through an idea and have the agent build the actual notebook in front of me, with pages I can inspect, revisit, and correct.
Project Notebook is a visual notebook that people and AI agents can work in together.
I had tried to make the idea work a month ago before WebMCp, it never really worked though so I had to abandon the idea. The agent could produce an answer, but it could not reliably work against the page I was looking at and leave behind a useful artifact. Having the agent "see" the page allows a ton of control and interesting capability.
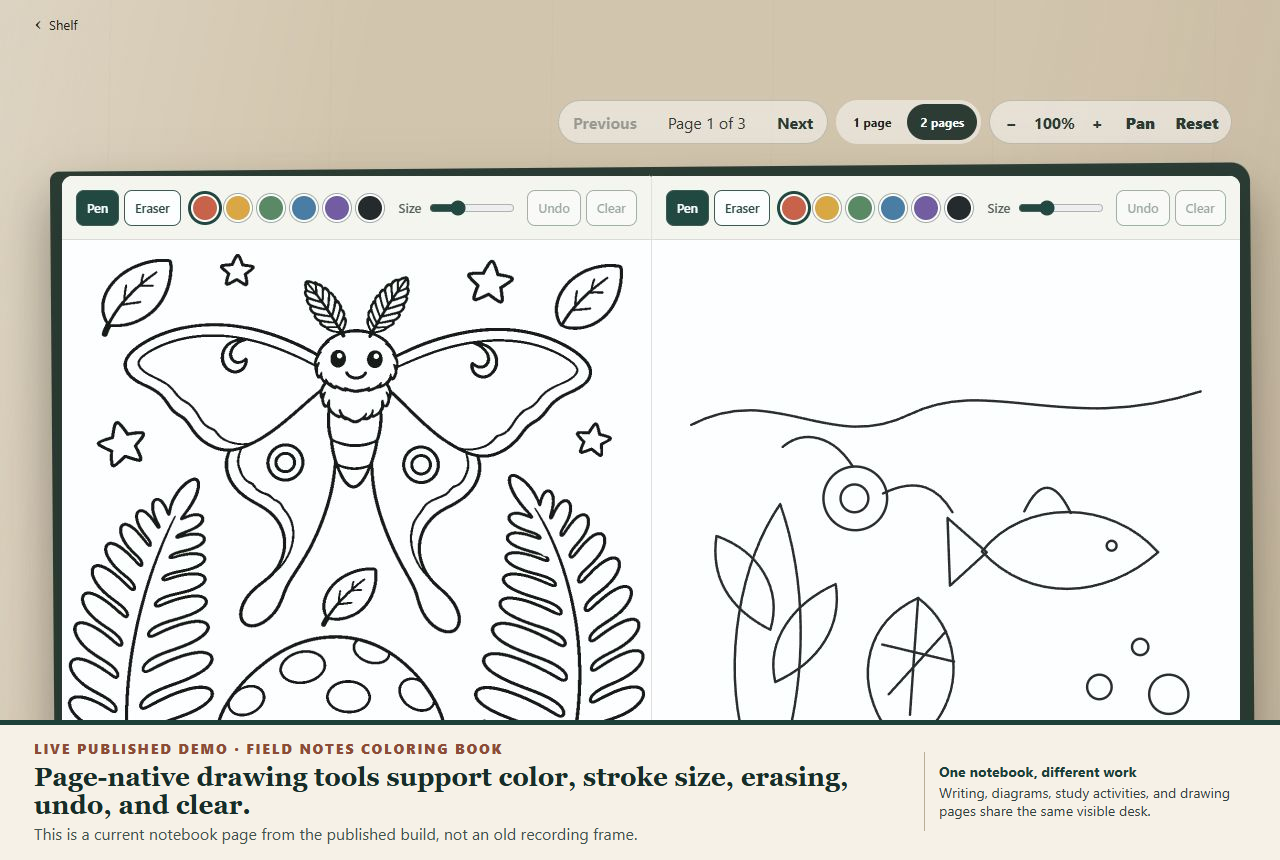
The page can publish a small, typed contract that the notebook itself owns. An agent can create and revise actual pages, create original content, offline you can embed virtually anything in a notebook. That lets agents help me study, sketch ideas, and trace homework pages into interactable notebooks. That is why project notebook sort of turned into a nested set of tech demos, as I tried to make demos for my notebook the cool ideas kept just working!
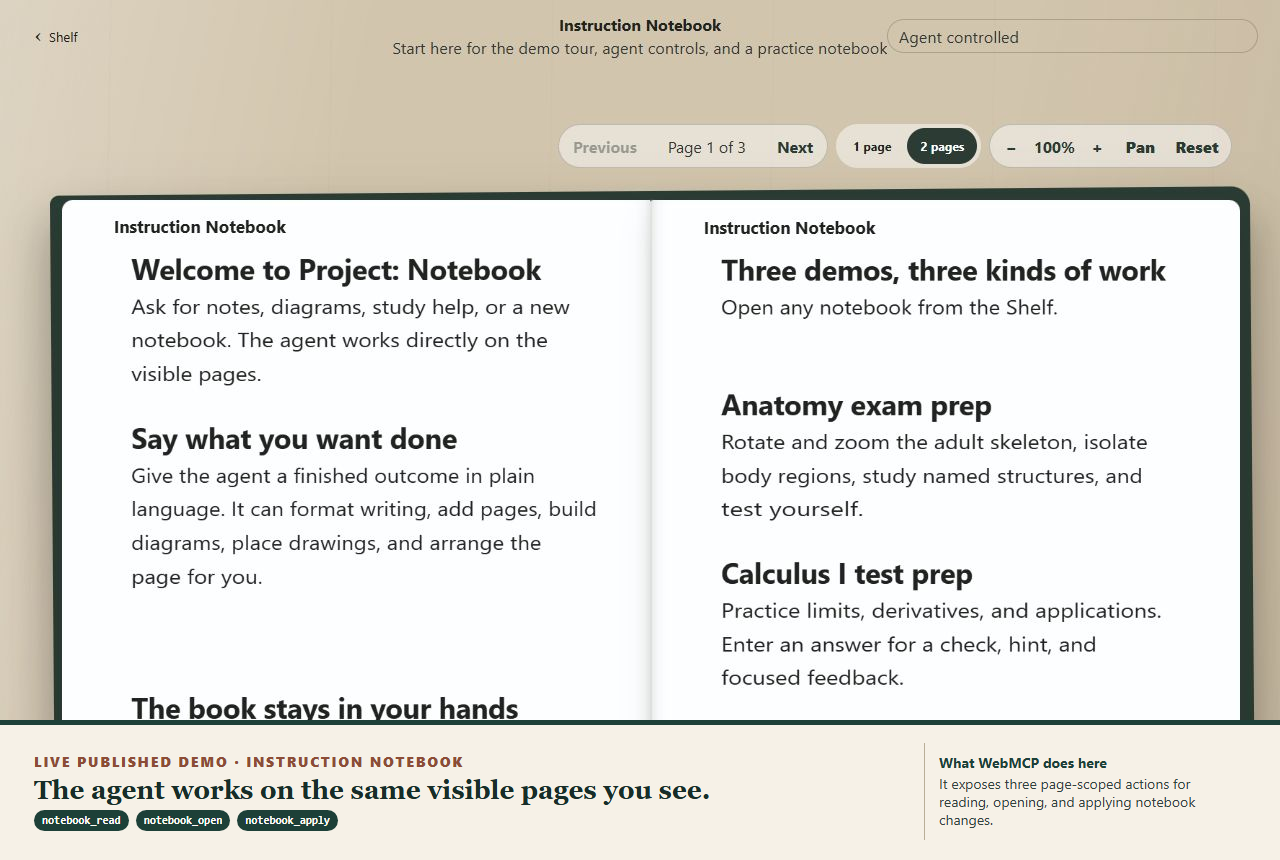
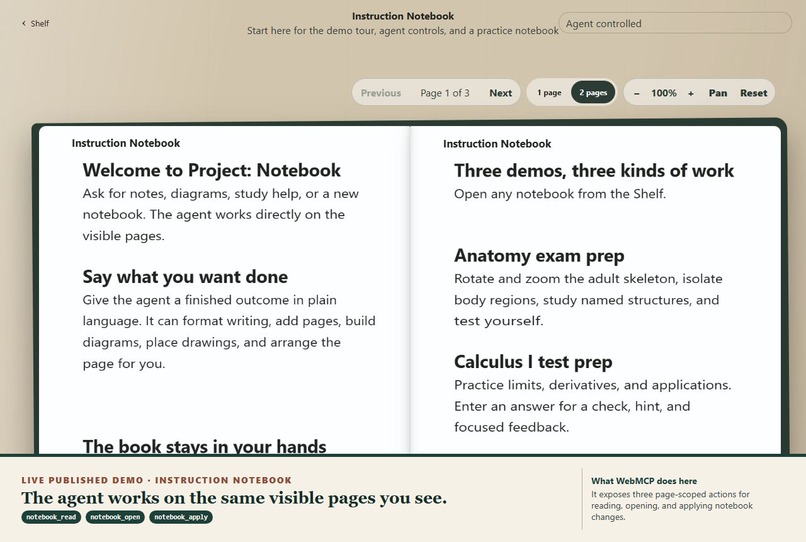
The live Instruction Notebook shows the same visible pages the agent can read, open, and revise.
The anatomy notebook I wish I had in college
The clearest example is Anatomy Exam Prep. When I took anatomy and physiology in college and had to learn human anatomy, studying for a lab practical was difficult because I did not have a skeleton model at home. I was looking at textbook diagrams and trying to memorize every bone in the human body. I also used a physical anatomy coloring book, which helped connect names and locations to the act of studying.
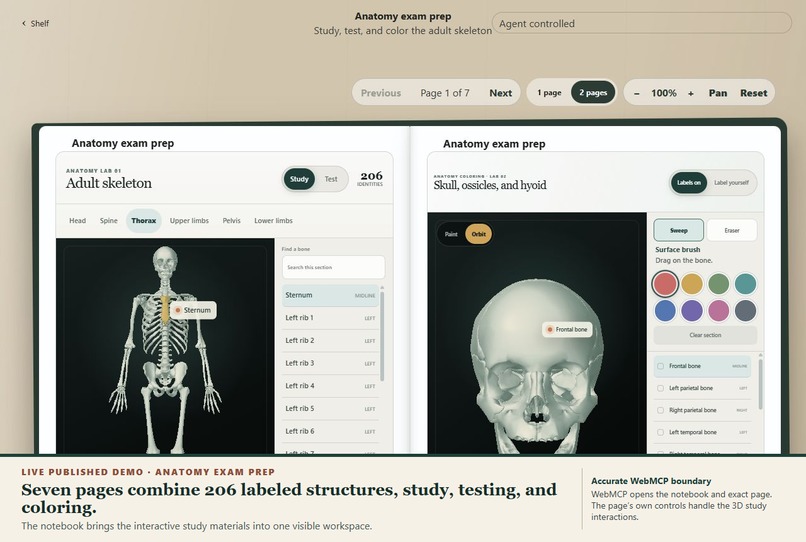
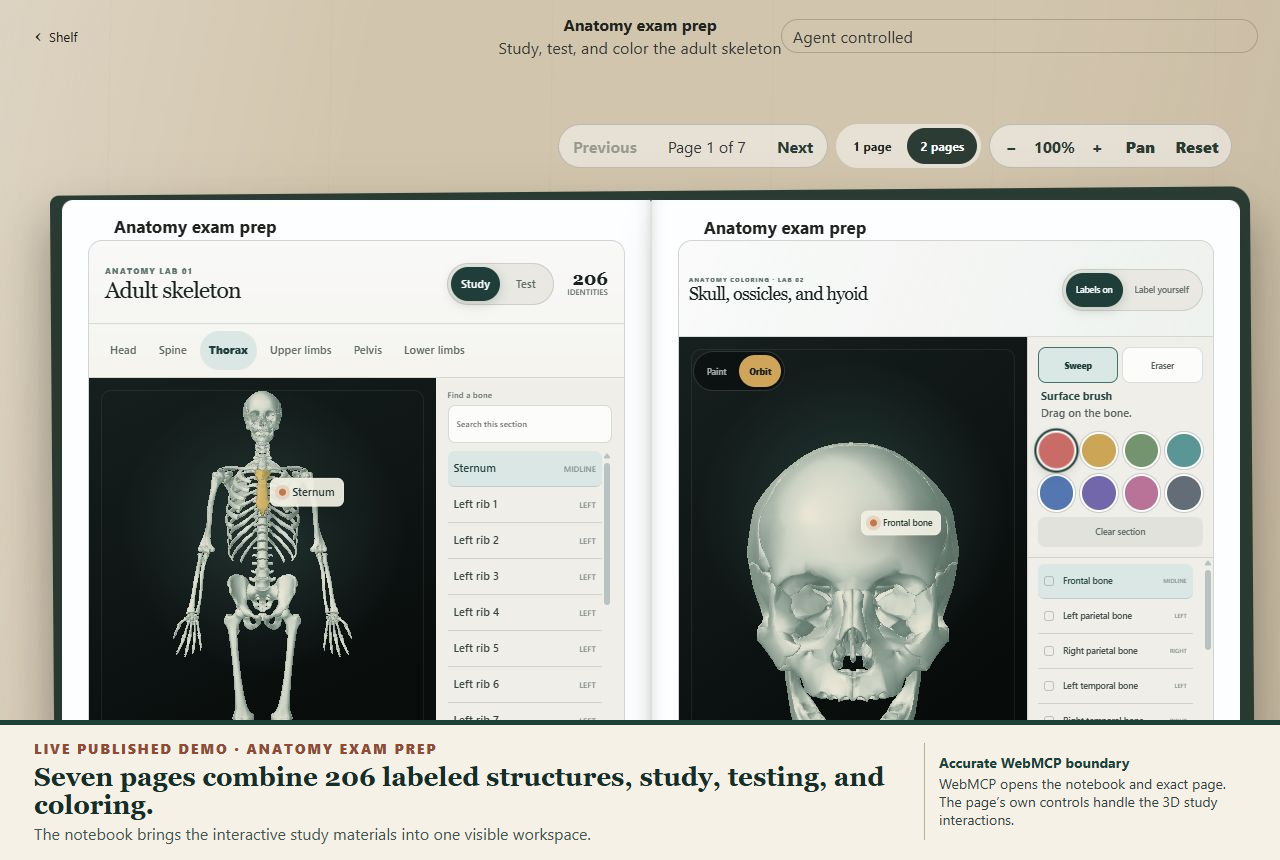
I built the notebook I wish I had then. Its first page contains an interactive 3D adult skeleton with 206 logical bones and 208 source meshes. Models can use WebMCP to open the notebook and exact page. Once there, the anatomy lesson provides accessible controls for selecting and isolating a bone, orbiting and zooming the model, switching camera presets, and bringing the full skeleton back.
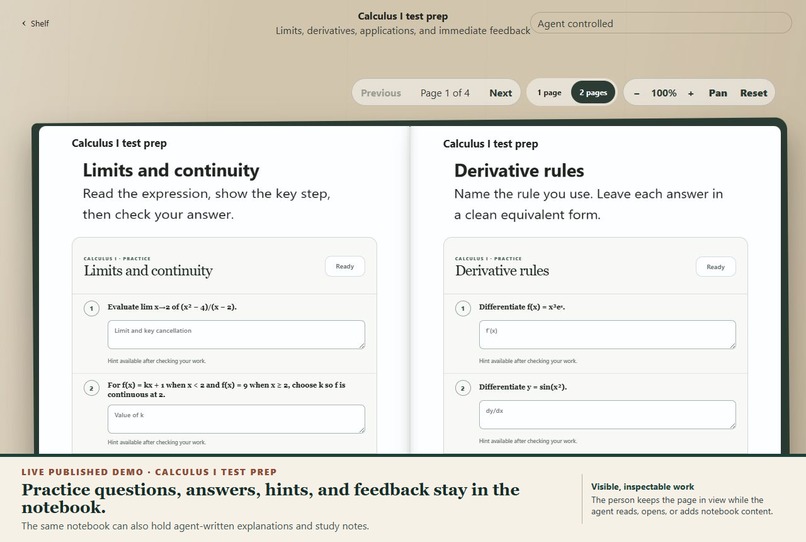
The notebook also has Test mode. It gives me answer fields for a section, lets me move through the questions, scores the answers, and saves the latest result so I can try again.
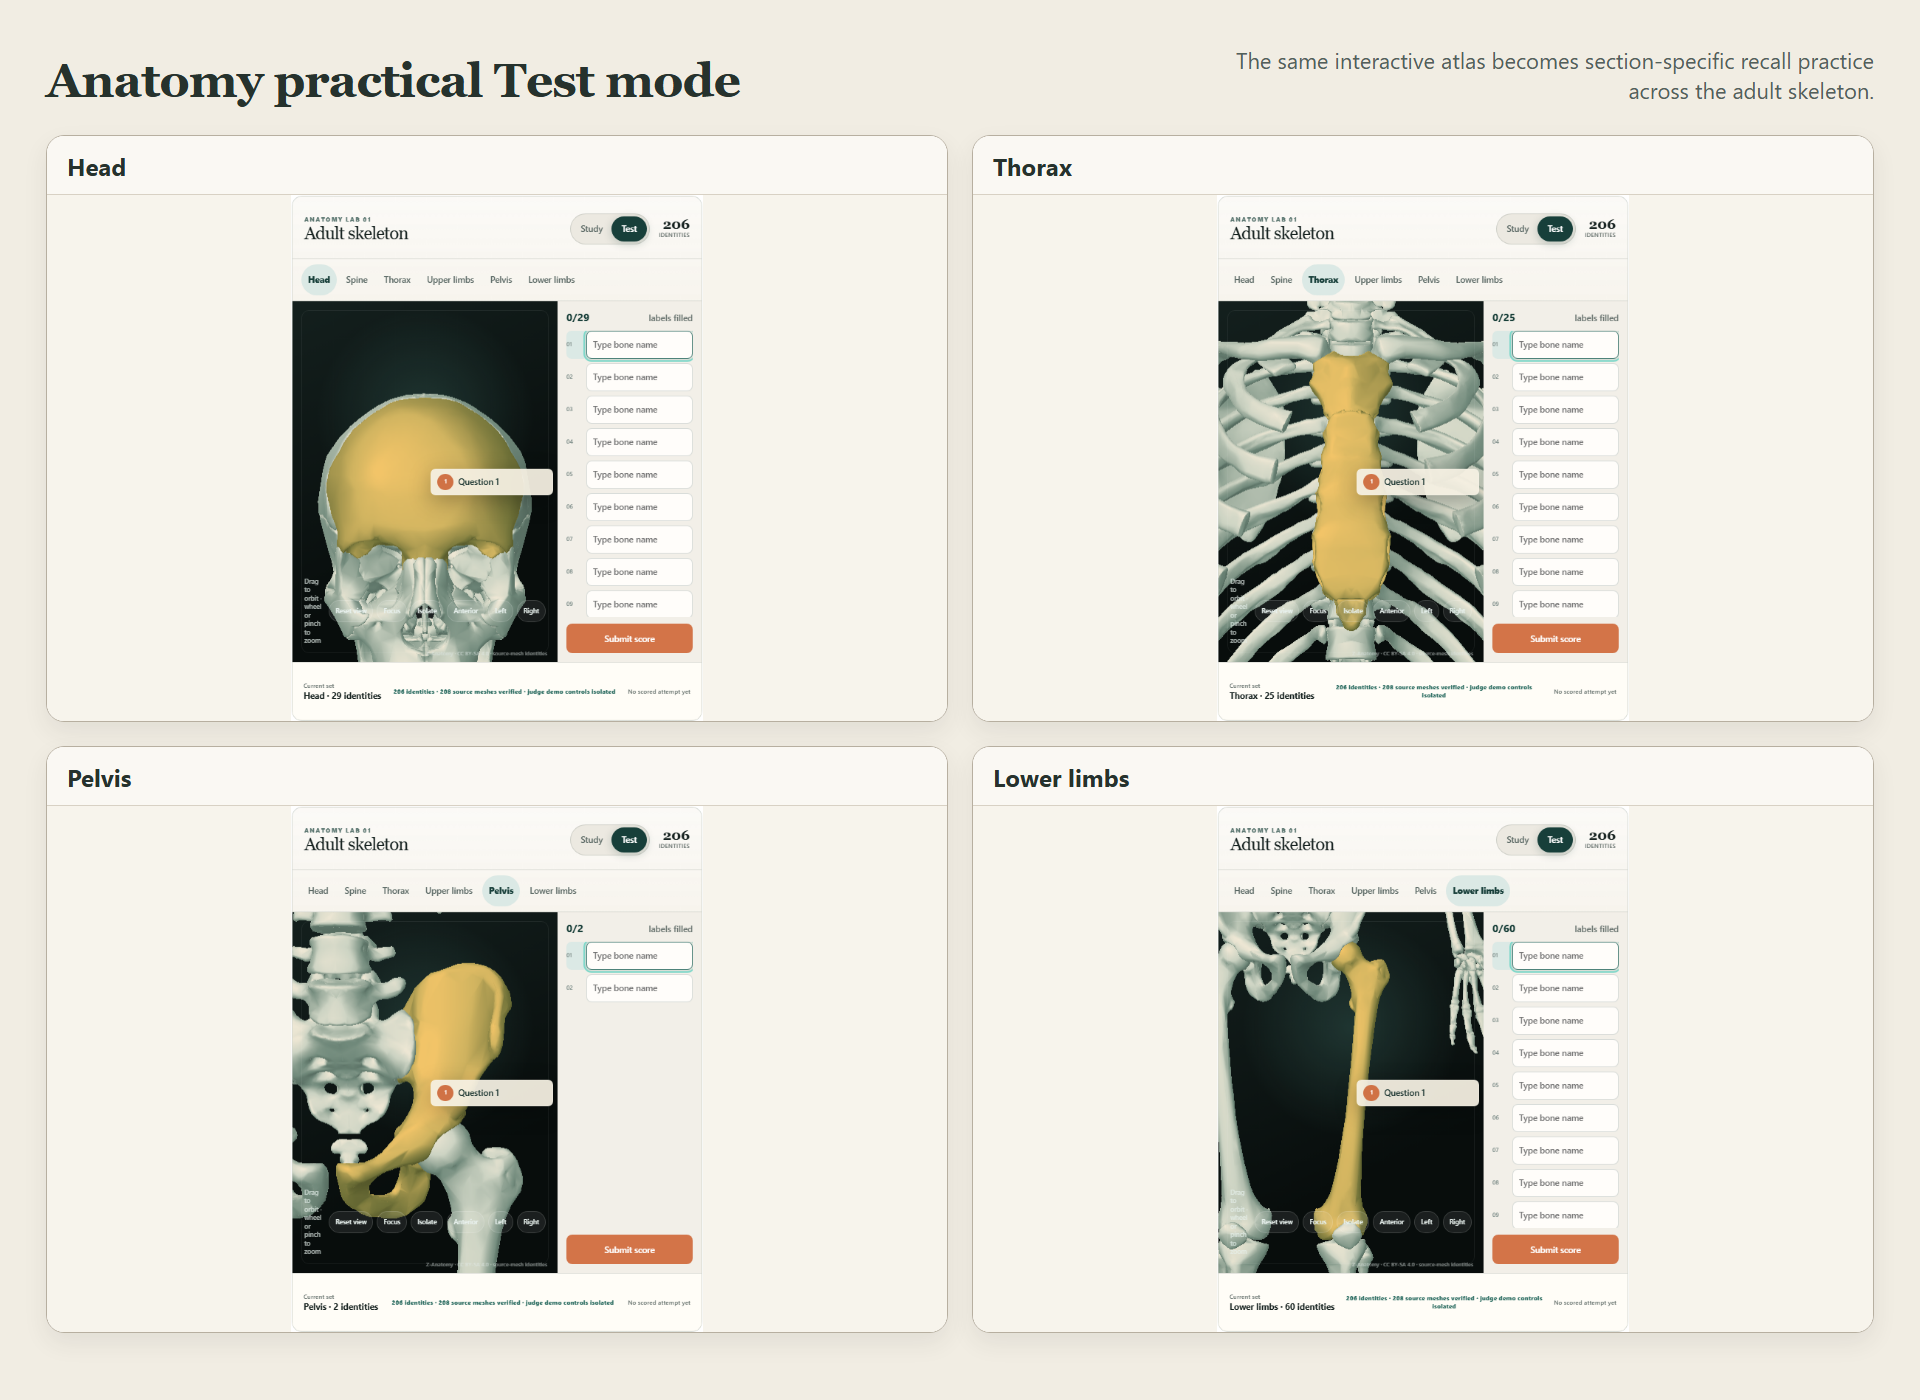
Fresh captures from the published site. Each panel shows the selected body section, the highlighted structure, and the answer fields used for practical-exam recall.
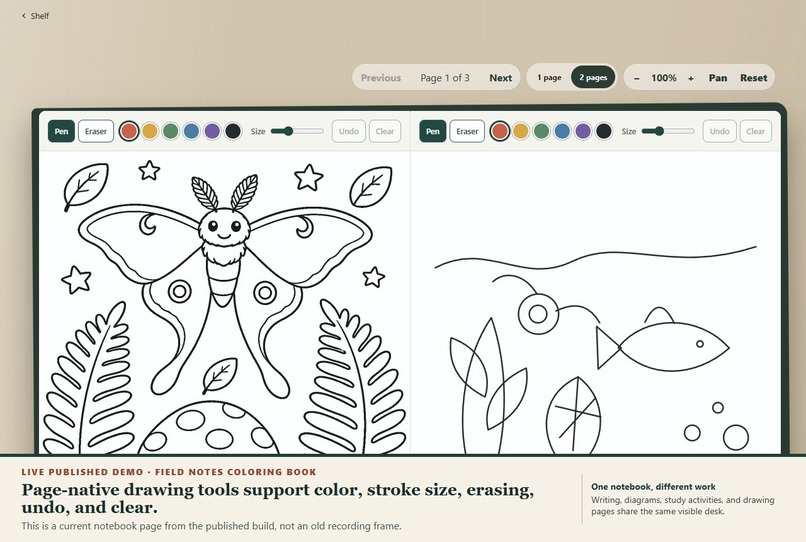
The next six pages are 3D coloring labs for the head, spine, thorax, upper limbs, pelvis, and lower limbs. I can choose a color, paint a bone surface, erase a mark, clear a bone or section, and switch from visible labels to recall prompts. It recreates the part of my physical coloring book that helped me study, but ties it to the same explorable skeleton. Try having your agent drive through the test prep, or do like I did and try to have it color some bones for you!
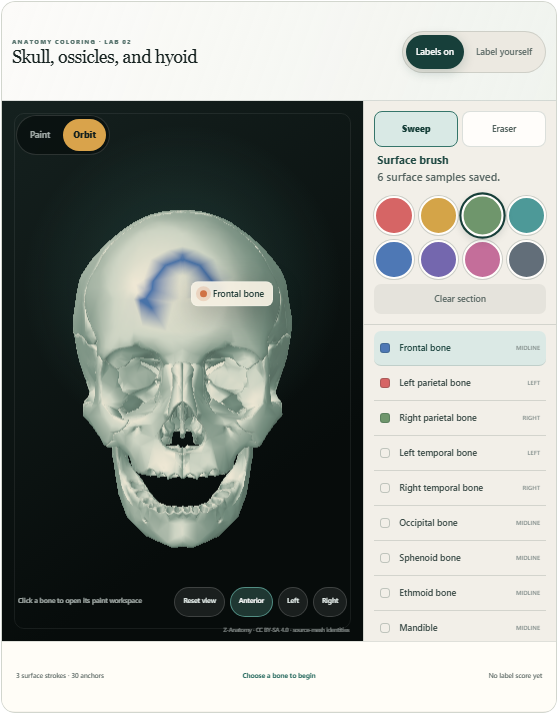
Fresh capture from the published site. The skull lab shows saved paint on the 3D model, the active palette, three started bones, the surface brush, and the bone index.
The current challenge demo uses WebMCP to open the exact notebook and page. Bone selection, model orbit, zoom, Test mode, and coloring on the anatomy pages are direct accessible browser interactions. I keep that distinction visible because I want the demo to say exactly what the agent did.
What a WebMCP tool is
text WebMCP lets a web page publish named, typed capabilities to an AI client. Instead of hunting for buttons or manipulating the page's HTML, the agent asks the application for an outcome. The application validates the request, changes the notebook through its real data model, and returns a structured receipt.} - My agents definition
Project Notebook tools:
notebook_read          Inspect notebook context without scraping the interface.
notebook_open          Move directly to the intended notebook, page, or view.
notebook_apply         Create and revise notebook content through validated actions.
anatomy_context_read   Inspect the anatomy atlas, current view, and test progress.
anatomy_navigate       Control the anatomy view and focus a bone or test question.
anatomy_test           Enter answers and submit an anatomy test for scoring.
notebook_read
This is the read path. It can return the agent guide, notebook shelf, current notebook, one exact page, or recent action receipts. The result contains structured text and figure information, page numbers, and stable references for later actions. It does not expose raw editor state or make the agent reverse-engineer the DOM.
notebook_open
This is the navigation path. It can open the shelf, open a notebook by title or id, open an exact page, move to the previous or next page, or reset the notebook view. Exact-page navigation matters. An agent can move from page 1 to page 7 directly instead of pretending to click Next six times.
In my own testing, a navigation task that took roughly 90 seconds dropped to roughly 10 seconds after I tightened the agent instructions and removed unnecessary back-and-forth. That is an observation from my use of the app, not a controlled benchmark.
notebook_apply
This is the main workhorse. One typed action can:
- Create a notebook
- Write formatted headings, paragraphs, quotes, bullets, or numbered steps
- Add a semantic diagram or bounded editable drawing
- Trace validated vector ink
- Arrange a page element or a group of diagram nodes
- Add a page when the notebook needs more room
- Undo the latest agent change exactly
The application computes identifiers, placement, pagination, and layout. It validates the content and geometry before saving. It rejects raw HTML, CSS, JavaScript, arbitrary URLs, raw SVG, and renderer-specific records. Every accepted change returns a receipt, and agent mutations participate in the notebook's real history.
anatomy_context_read
This is the read path for the Anatomy Exam Prep notebook. It returns the verified atlas state, current layout, Study or Test mode, skeletal section, camera position, isolation state, and the number of visible meshes.
In Study mode, it can identify the selected and hovered bones. In Test mode, it returns question numbers, completion status, and score progress without revealing the hidden bone labels or entered answers.
anatomy_navigate
This is the navigation path for the 3D anatomy atlas. One action can set the page layout, switch between Study and Test mode, change the skeletal section, move the camera to the anterior, left, or right view, and control whether a bone is isolated.
It can also focus a verified bone by id in Study mode or move directly to a numbered question in Test mode. Combining a section with Test mode starts a fresh test for that section. Setting isolation to false keeps the complete surrounding anatomy visible while the agent moves between questions.
anatomy_test
This is the test path. It can enter an answer for an opaque question number or submit the active section for scoring. Answer receipts confirm that the field was completed without repeating the answer back to the agent.
When the test is submitted, Project Notebook scores it and saves the result through the application's own notebook path. The agent can operate the fillable test, but it cannot use the tool response to read the hidden answer key.
The application computes identifiers, placement, pagination, and layout. It validates the content and geometry before saving. It rejects raw HTML, CSS, JavaScript, arbitrary URLs, raw SVG, and renderer-specific records. Every accepted change returns a receipt, and agent mutations participate in the notebook's real history.
A trace test: from a reference page to editable notebook ink
One test used a original scan of an Encyclopedia Britannica page as the source "traced" the page, create a 1:1 copy in html with images traced as SVG paths. It was a useful test because the formatting could be reapplied and the "tracing" for images gave me a nice workflow to create a hand drawn image effect by image generating and then tracing into SVG.
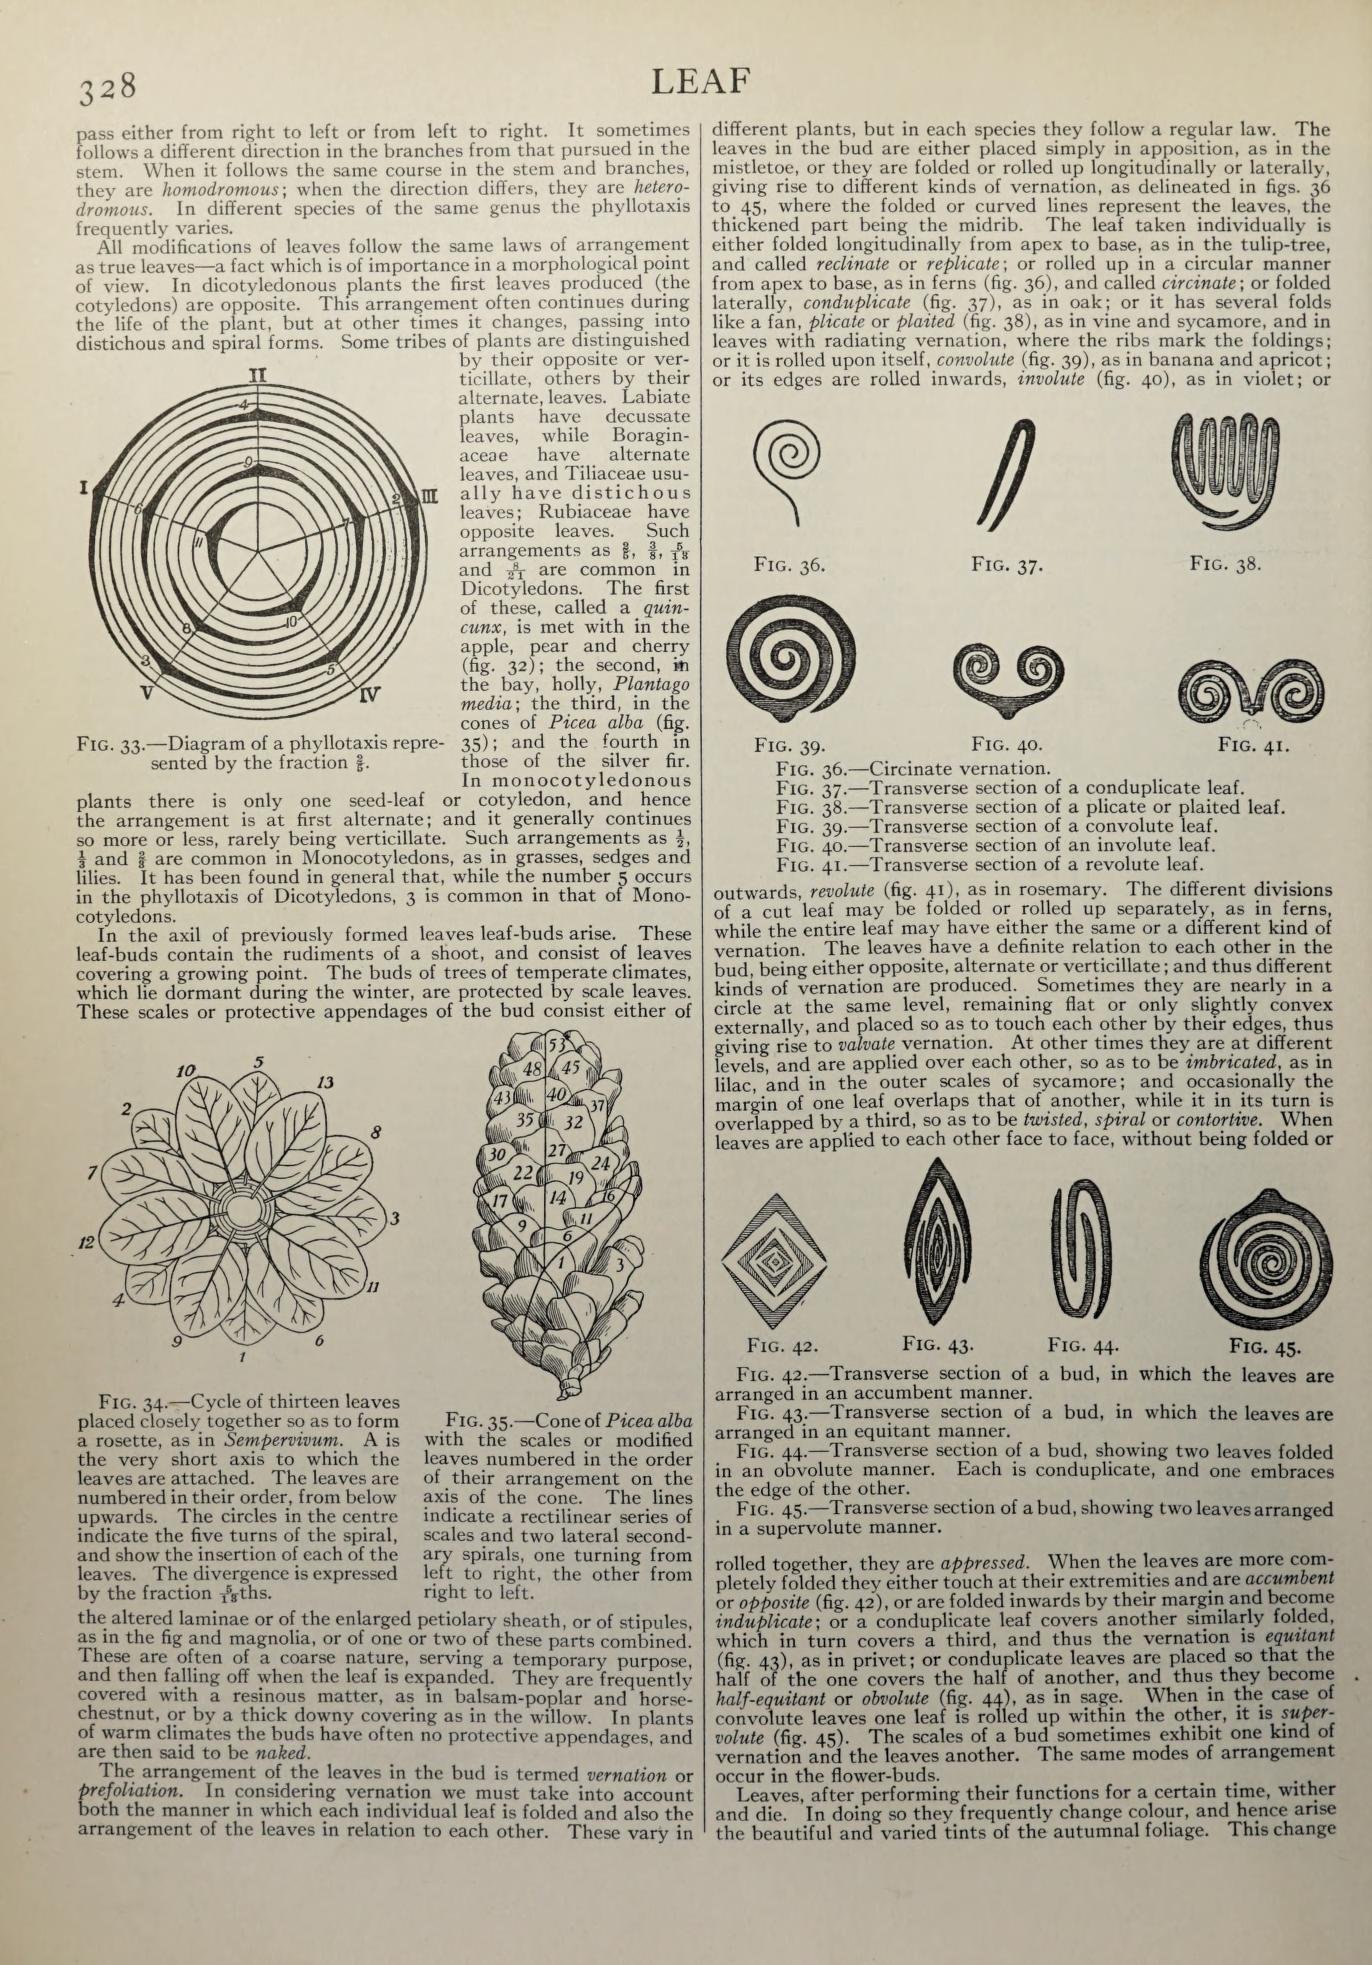
The visible source page: Fig. 33 is the phyllotaxis diagram; Fig. 34 is a thirteen-leaf rosette; Fig. 35 is a Picea alba cone; Figs. 36–45 show leaf and bud forms.
The trace skill lives in the agent environment. On the live site, notebook_apply accepts the resulting bounded trace through the figure.trace action. The page validates and stores the typed document. It does not scrape Britannica or perform the image-to-vector conversion.
The workflow begins with a tight crop around the figure I actually want. The agent traces the visible ink into SVG paths, then renders and compares the result with the source at the same dimensions. That keeps the work focused on the selected drawing instead of importing a whole page full of unrelated text and figures.
The reviewed SVG becomes a typed VectorInkDocument. The notebook accepts only a constrained command format, checks its bounds and safe geometry, then places it as a page-native figure.
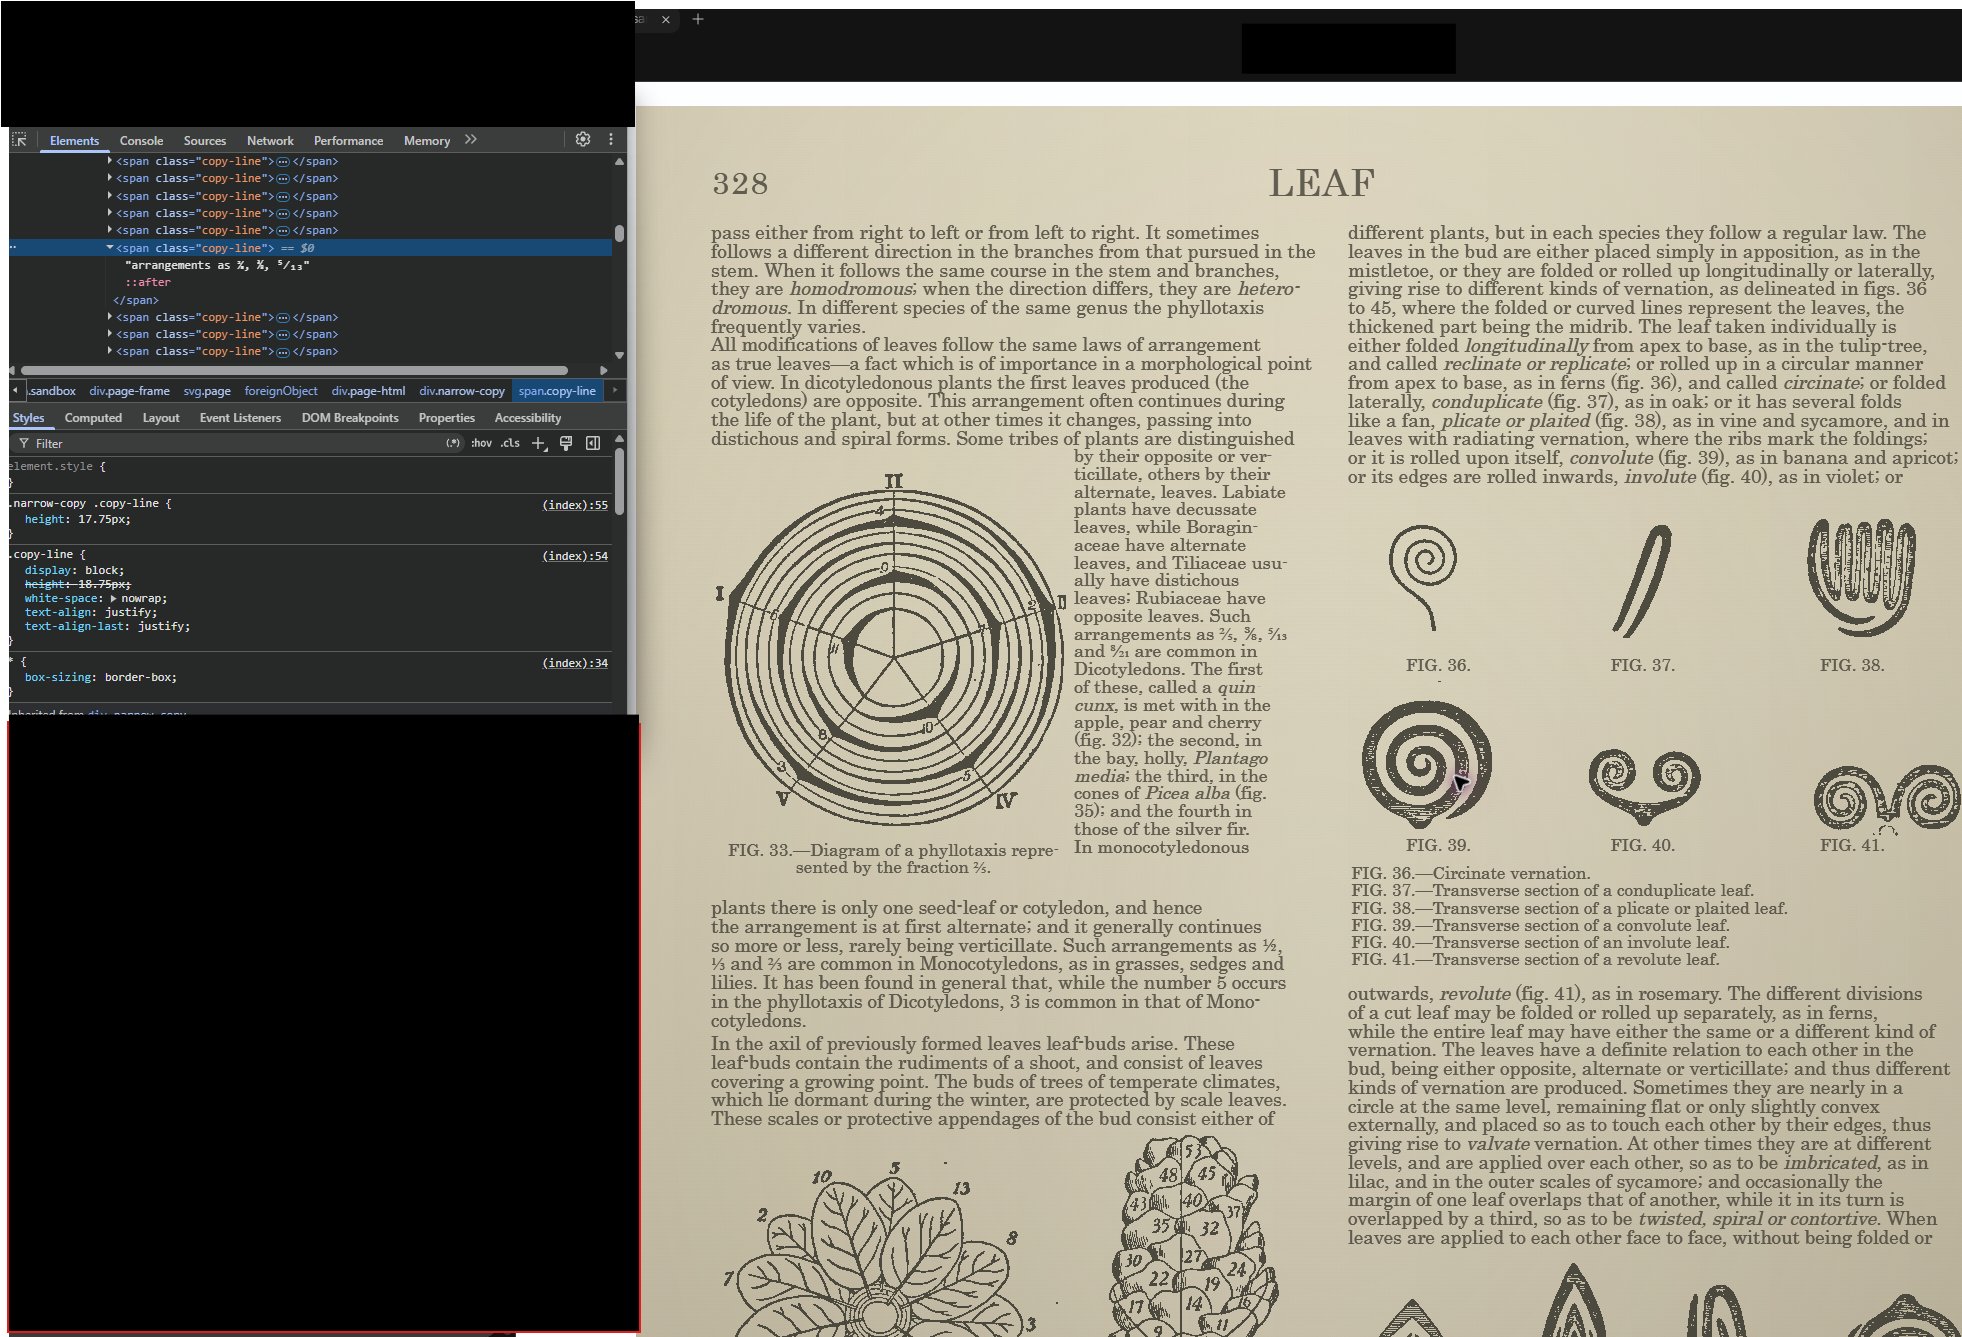
Early trace-test evidence. The browser displayed the reference page while the selected source content was inspected before it became a bounded notebook trace.
The original scan stays separate from the editable notebook figure. Once the validated trace is in Project Notebook, I can place it, move or resize it, revise it, and undo it in the same history as notes and diagrams.
How I built it
Project Notebook is built with React and TypeScript. The application registers the three tools through document.modelContext.registerTool(...). Zod validates every tool request before the notebook changes. The saved page document remains the authority for content, layout, revisions, and exact Undo.
The public judge demo is session-scoped and uses same-origin requests, so judge activity stays temporary in the browser session. ChatGPT Voice is the conversational input path. The application does not embed an OpenAI API key, microphone stack, Realtime route, or WebRTC client.
How agents tested their own work
I requested my agents to use the WebMCP tools to run through test scenarios and record their progress, sending results back to me with annotations as an mp4. This is how I captured most footage for my video, as I wanted them to do all the work while I did other projects! They created their own method for capturing the screen, doing the notebook tasks and then editing that footage with overlays. It was honestly impressive to see and I think WebMCP removing the initial project friction allowed them to do actual good work finally.
The technical workflow looked like this:
I write a bounded test brief
              ↓
Agent opens the real notebook page
              ↓
document.modelContext exposes the three registered callbacks
              ↓
Agent calls notebook_read, notebook_open, and notebook_apply
              ↓
The notebook validates and commits each operation
              ↓
A fixed recorder captures the page and an evidence rail
              ↓
Agent returns video, screenshots, receipts, and an error sidecar
              ↓
I accept or reject the run against visible checkpoints
The evidence rail made the agent's work inspectable. It showed the initiating request, the exact tool in use, the app's returned success message, and whether any trusted manual input occurred. The recordings kept WebMCP calls separate from direct browser interactions.
How I used Codex
Now I must say, 99% of my work was done not in Codex but ChatGPT Work. It has been my daily driver as in my day job I am training co-workers who are not programmers to use it.
Building the app itself was mostly a decision about how to best have a contained canvas and be flexible to allow users to create really whatever they desire. I used 5.6 Sol Pro to help with technical outline and then I created a work project and one orchestrator chat and one note-taker. Orchestrator chat had a goal to follow the project to monitor progress and agents to report back to the note taker and progress stale work. Agent set up used Luna Max fast to do all coding via orchestrator plan. All code once written ran through a series of mutation tests and code audits before approval back to main.
For testing features I assigned a scenario to a team of agents, asked them to use the site, and had them return recordings, screenshots, receipts, event counts, and failures. Some runs were rejected because the page count, duration, or final framing missed the stated checkpoint. This allowed me to remain hands off most of the time, but it did admittedly stack up a mess of files in my repo.
What I learned
The biggest lesson was that more WebMCP tools do not make an agent more capable. A small set of outcome-level WebMCP tools worked better than dozens of page-specific controls. The application should own ids, validation, placement, pagination, and recovery. The agent should describe the notebook result it needs.
I also learned to tell the agent to move directly. Repeated reads and small navigation steps add a surprising amount of time. Clear instructions, exact page opens, and a complete notebook_apply action cut down the back-and-forth.
Deviation is a killer, I had to with 16% usage remaining rework my notebook paper system completely as it had become quite a mess. This stemmed a lot from me trying to steer an active plan slightly, leading to a big deviation. Small context also helped a lot, running an 8 plan process for 3 hours had far worse results than a small bite sized approach.
What comes next
The next step is better onboarding for an agent arriving on the page for the first time. notebook_read can already return a guide, but I want the first interaction to teach the useful verbs and limits through a short, concrete example.
I also want ordinary requests to take fewer round trips. A complete request should create a notebook and its first useful page in one call. Direct opens should replace repeated page advancement. A single apply request should add a coherent figure while the application handles placement.
Mainly though, speed improvement. I think this is partly model related but I also want to learn more about making these tools operate at faster speeds.
Built With
- chatgpt-sites
- design
- drawing
- iteration
- next.js
- notebook
- openai-codex
- project
- react
- tracking
- typescript
- webmcp
- zod


Log in or sign up for Devpost to join the conversation.