
Inspiration
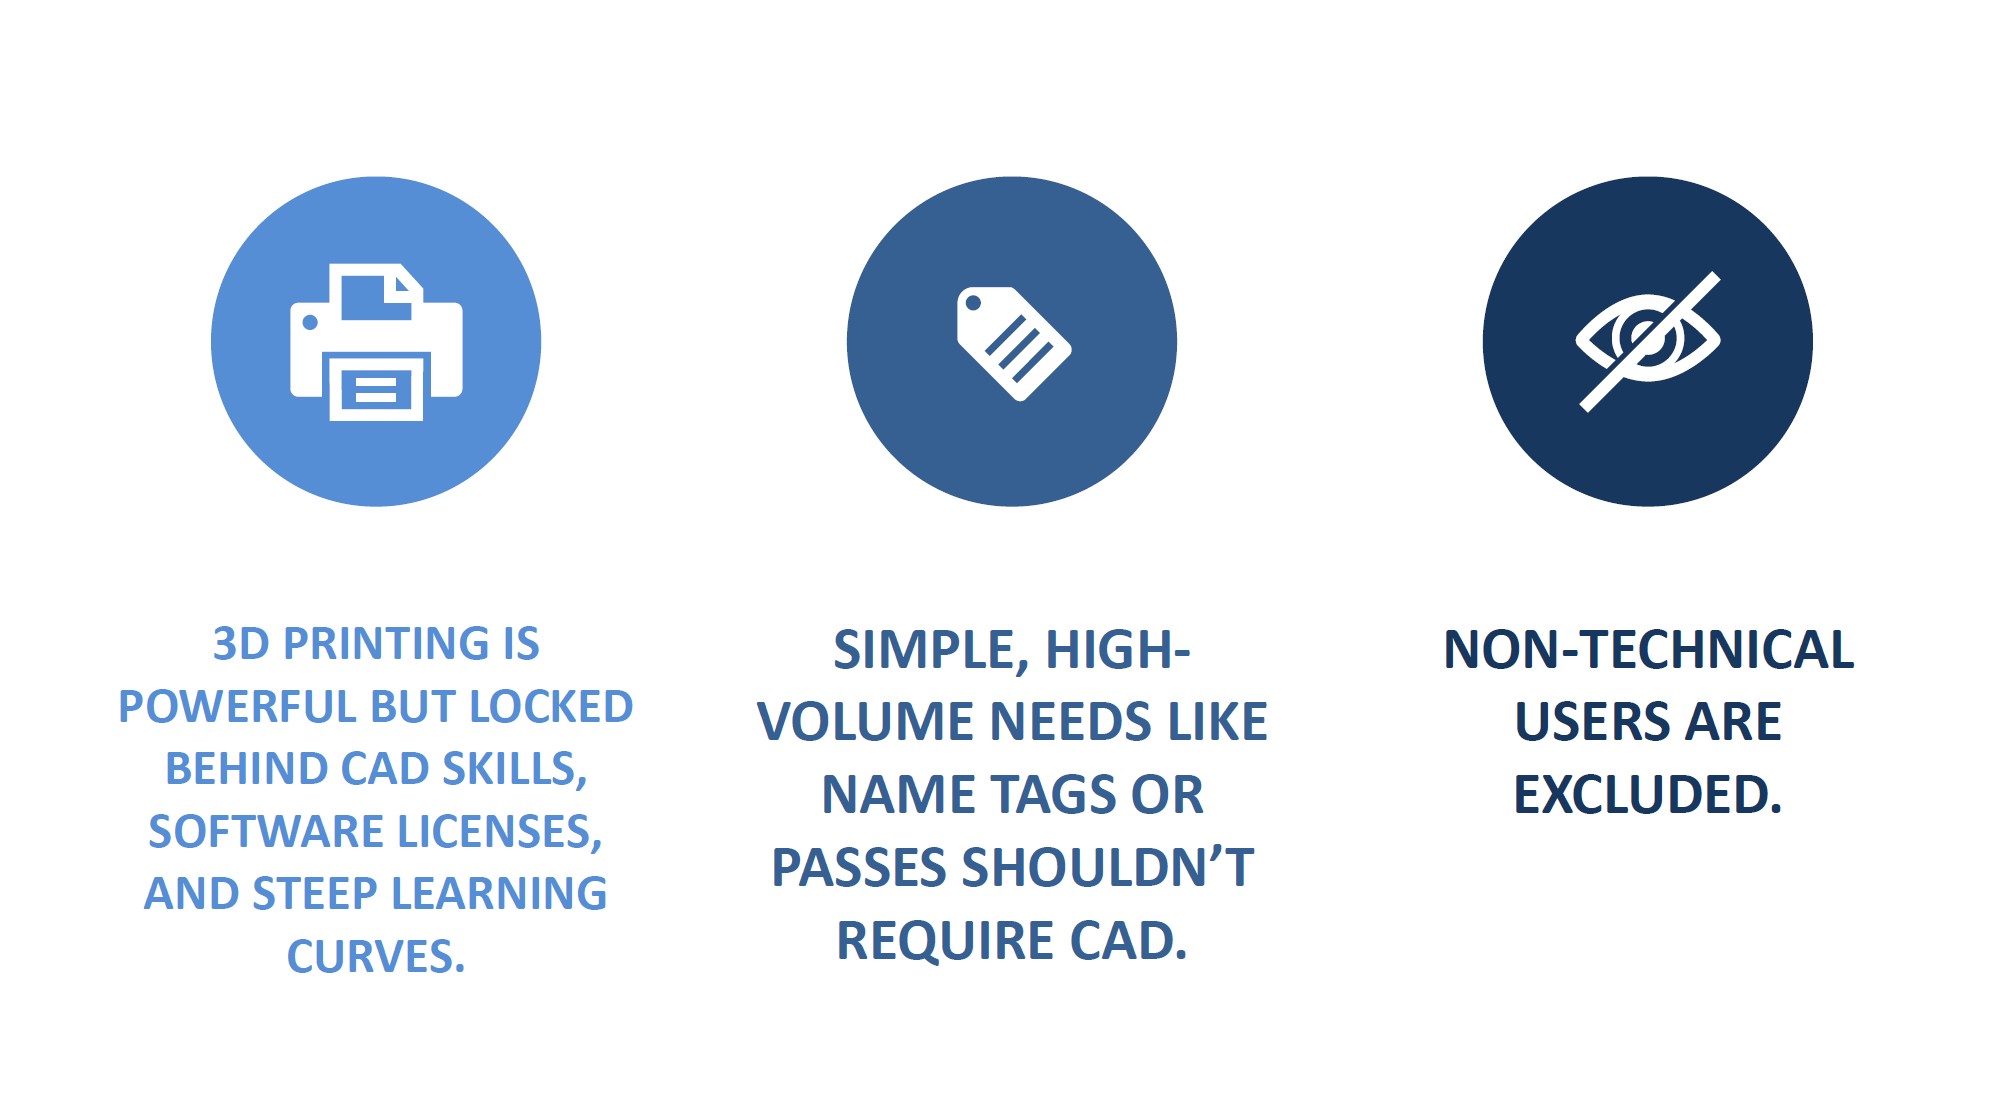
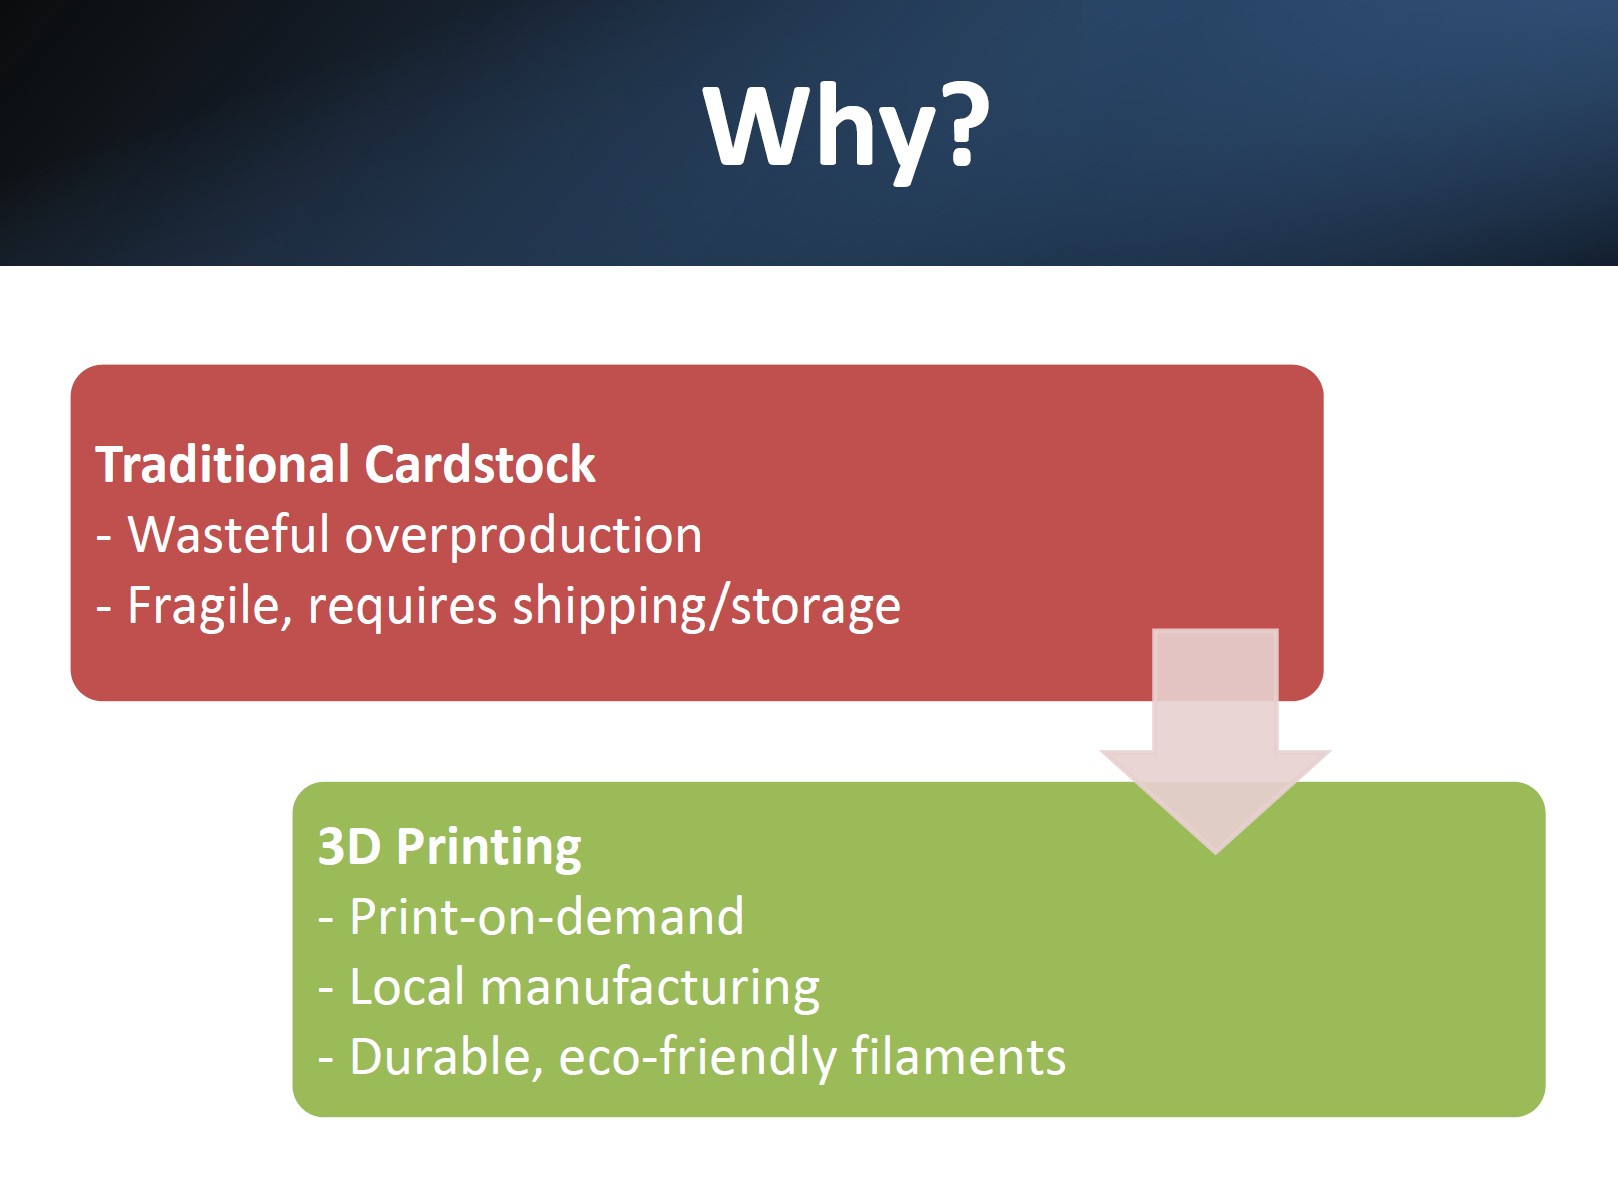
3D printing has become more accessible than ever, yet creating even the simplest printable objects still requires CAD expertise, paid software, and hours of trial-and-error.
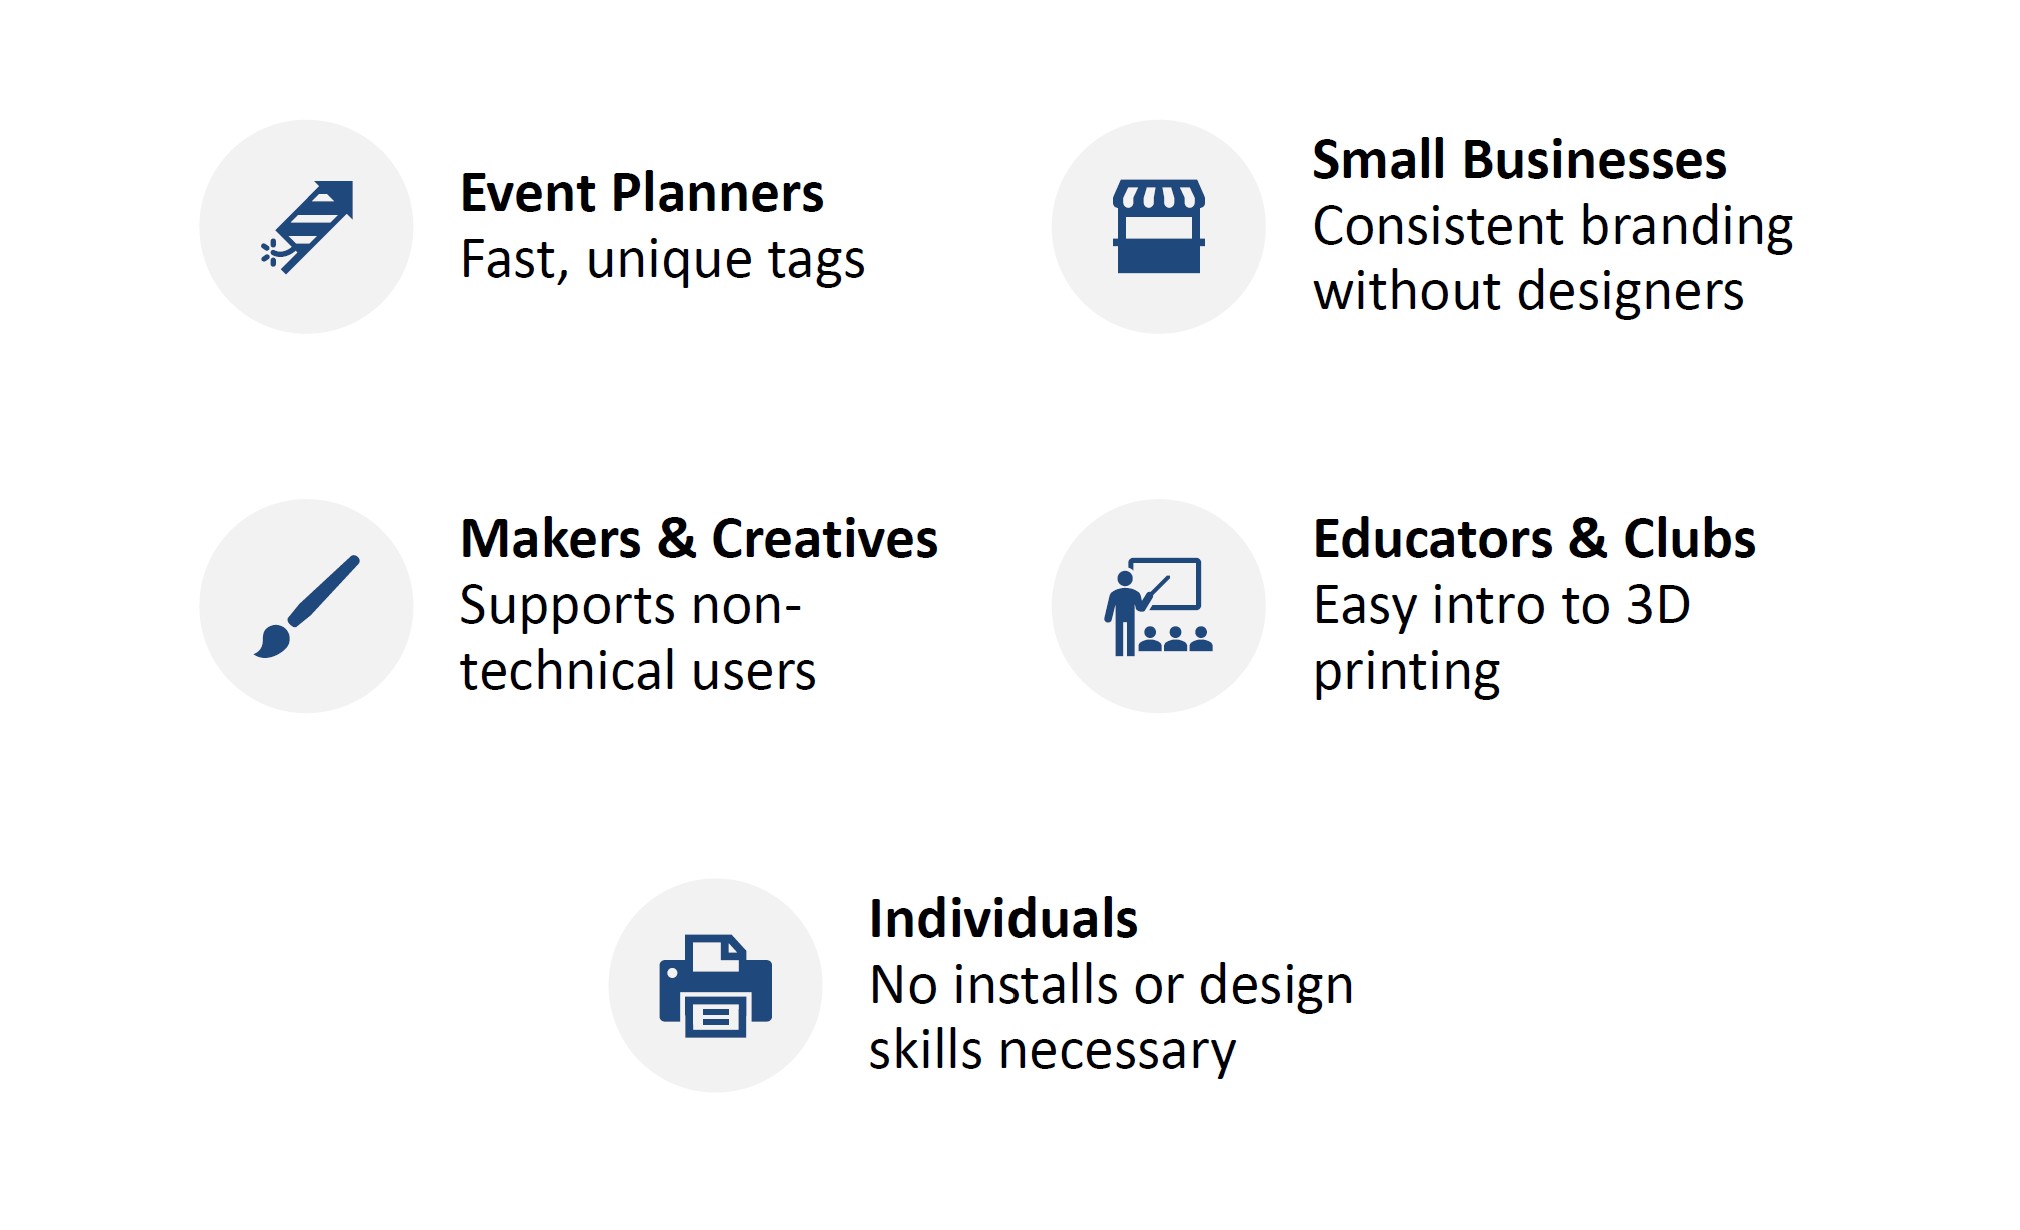
We noticed a pattern: People wanted quick, functional items like name tags, passes, or identifiers. But the design barrier stopped them cold.
We asked ourselves:
Why does something so simple require so much technical overhead?
PrintMyCard was born from the idea that 3D printing should be as easy as filling out a form!
What it does
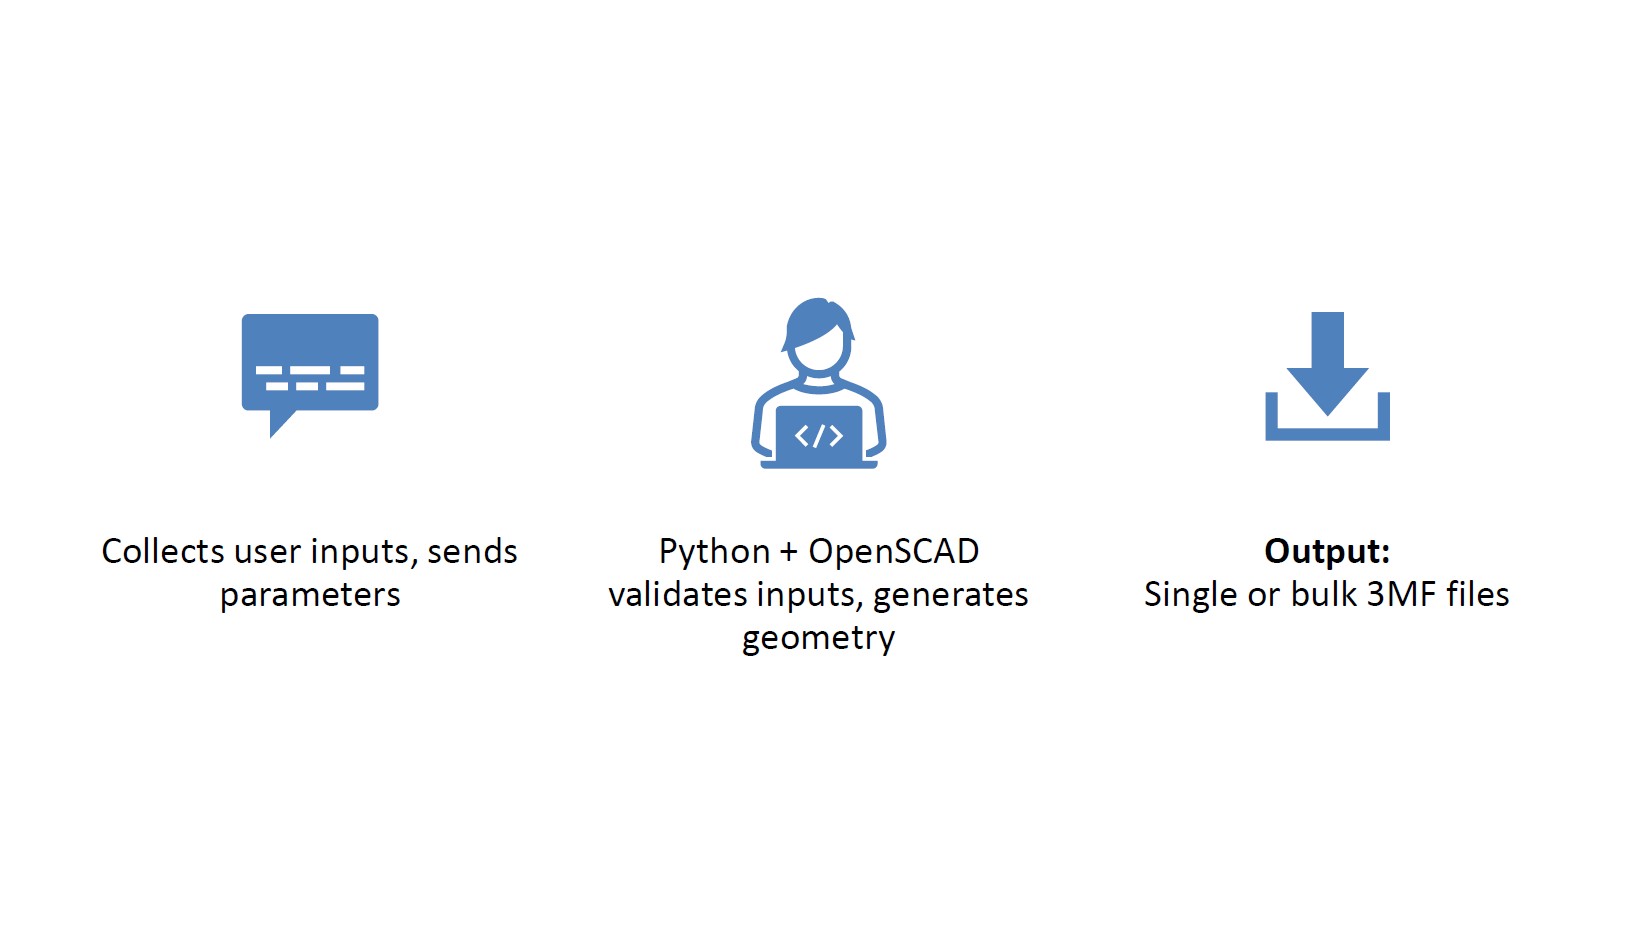
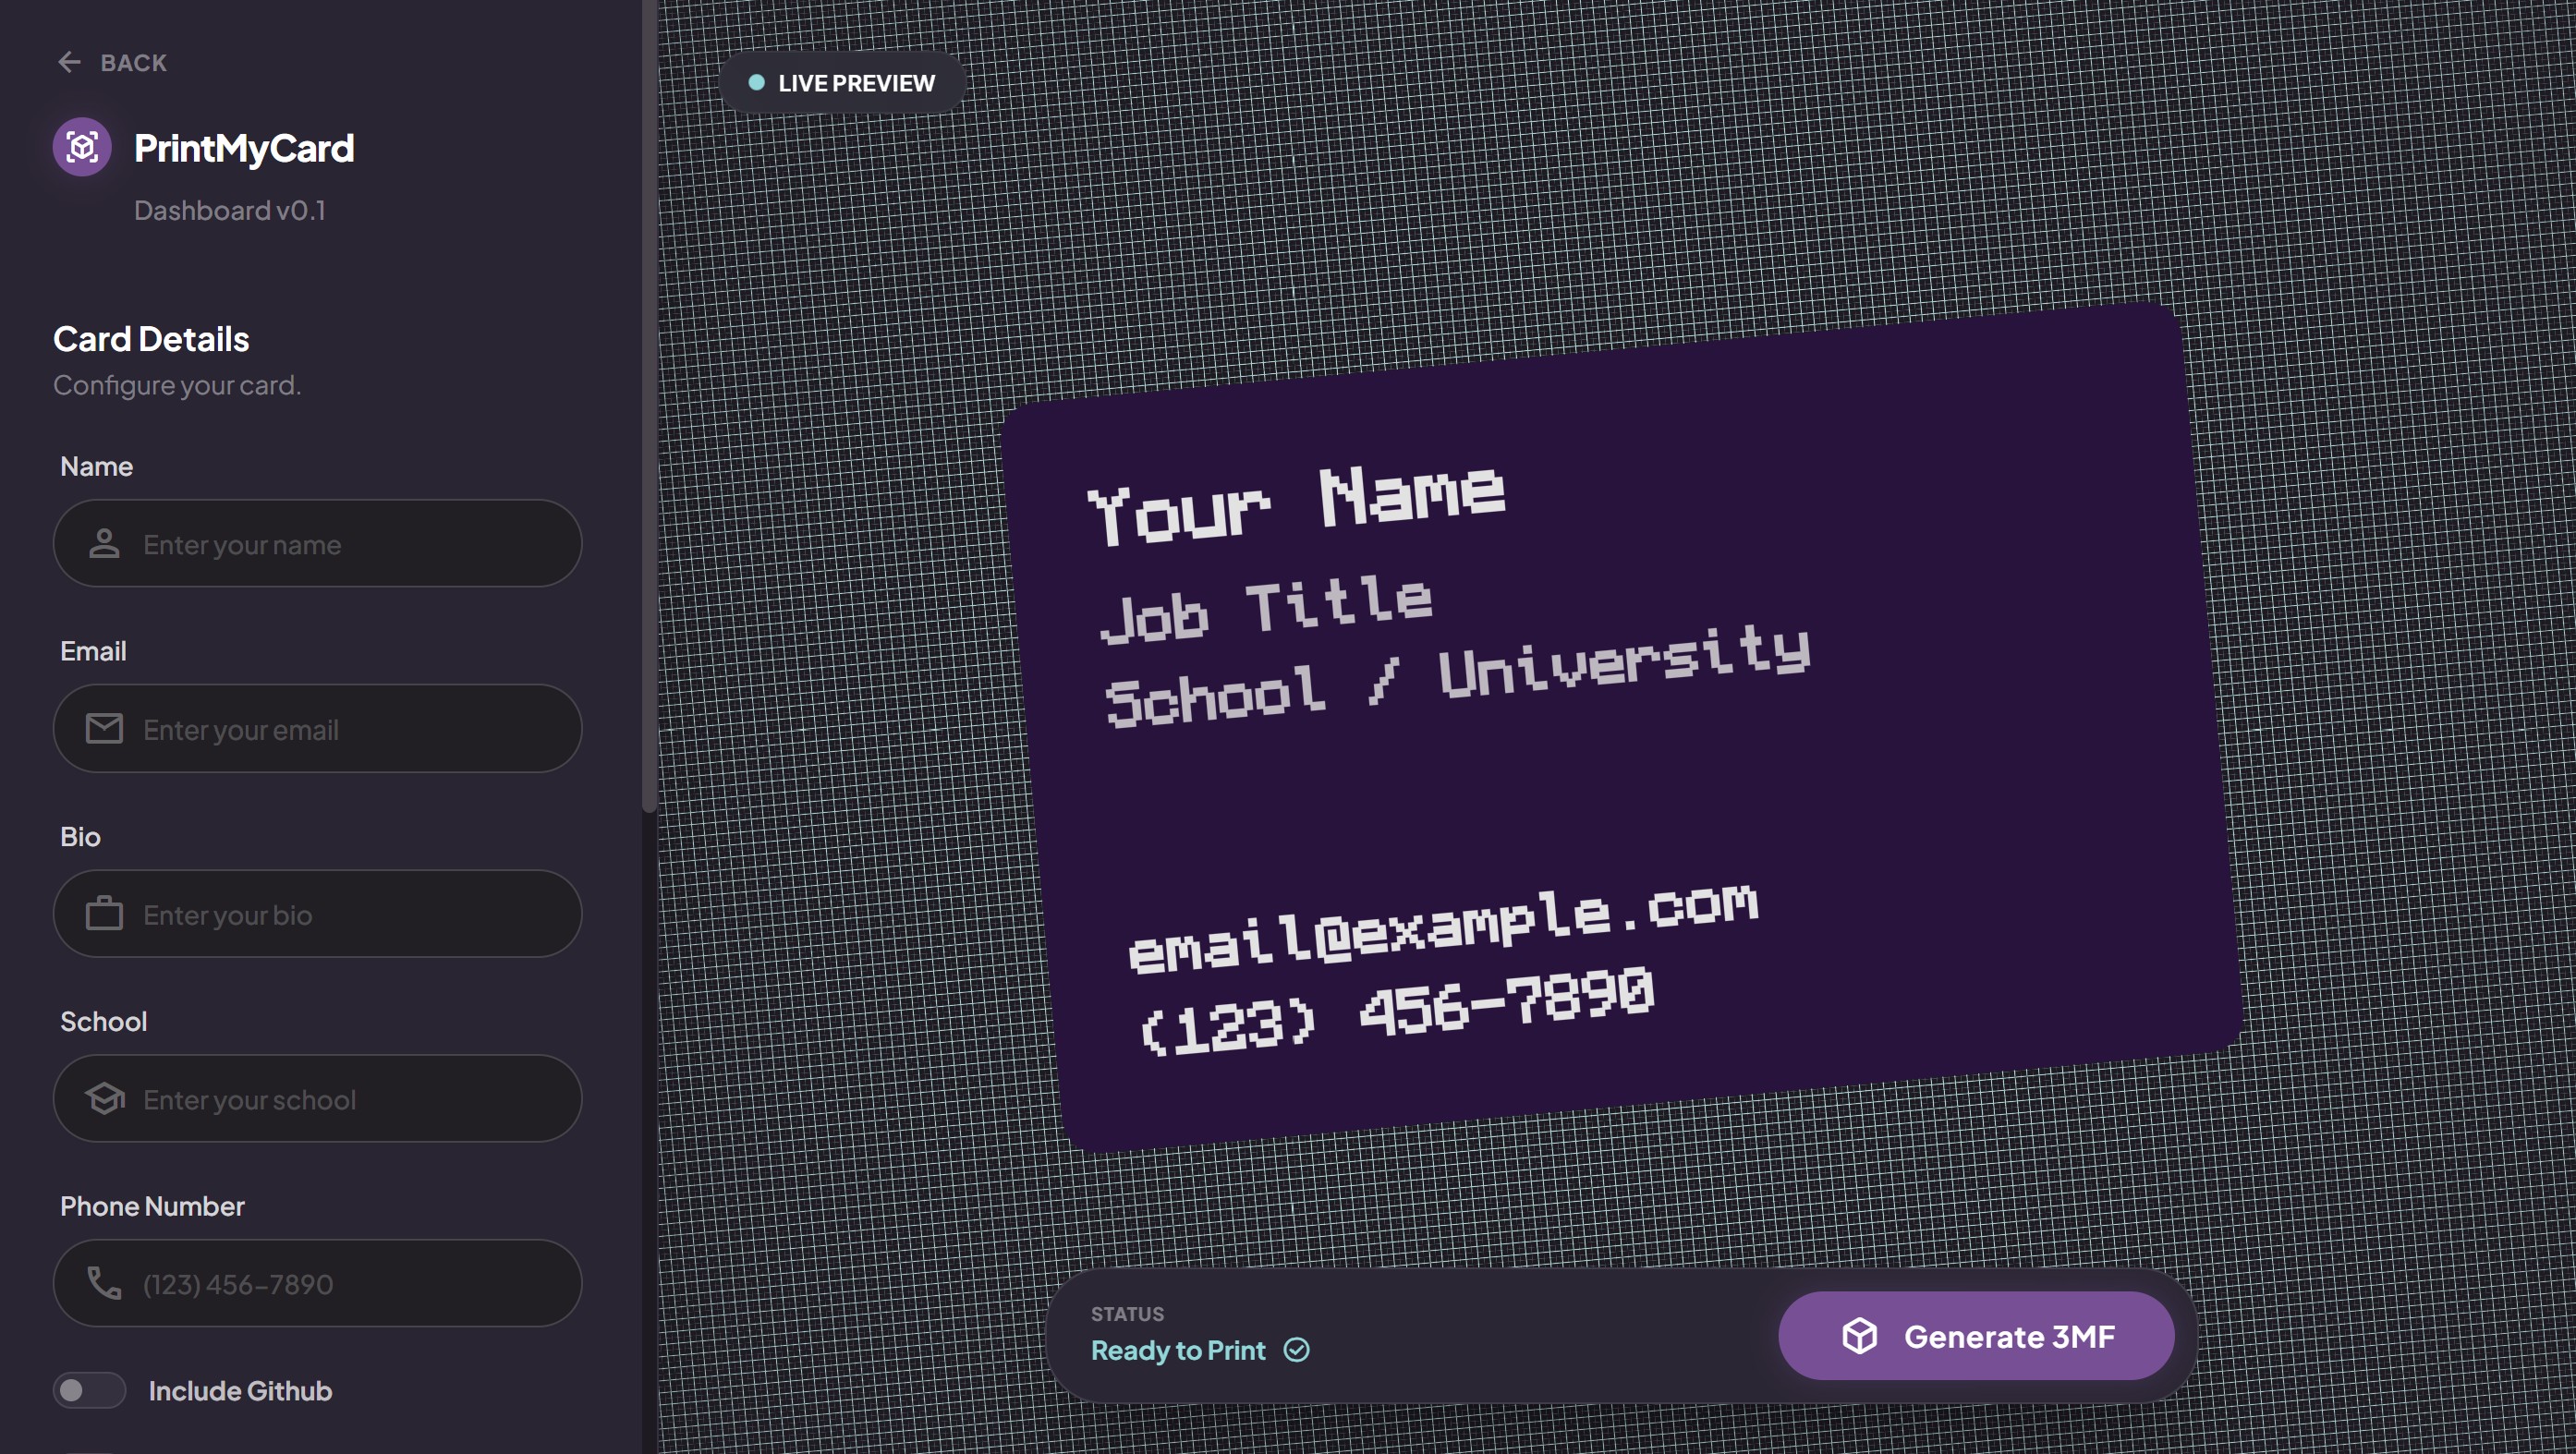
PrintMyCard is a web-based parametric generator that turns basic user inputs into print-ready 3MF files- instantly! No CAD skills required.
Users can:
- Enter their name, title, contact info, and optional links
- Add a QR code
- Choose from predefined card styles
- Generate ready-to-print 3MF files
All geometry is generated automatically based on these inputs. No dimensions, no modeling, no software installs.
How we built it
We approached PrintMyCard as a full-stack integration challenge; fusing web development, python model algorithm, and physical manufacturing.
Our backend is powered by a custom python OpenSCAD + TreeMesh algorithm to paramatrically generate 3D geometry. The backend mathematically constructs the business card model in real-time. It calculates dimensions, extrudes text, and creates boolean operations to ensure the final 3MF is ready for printing, without any post processing.
Instead of building static 3D files, everything is completely customizable and dynamic, fitting the specific end-user or companies needs.
Hybrid Cloud Architecture
We faced a significant computational bottleneck: cloud servers (specifically free tier instances) were too slow to render complex 3D boolean operations efficiently. To solve this, we implemented a hybrid architecture:
- Frontend: We built a responsive interface using React, Vite, and Tailwind CSS, deployed globally on Vercel for low-latency user access. Now viewable at web.printmyapp.tech.
- Local Rendering Node: We host the heavy-lifting backend on a local machine equipped with a high-performance Apple Silicon CPU to handle the OpenSCAD rendering workload. Later we will change this to also be hosted on the cloud.
- Secure Tunneling: We utilized Ngrok to create a secure tunnel between our local render node and the internet. This allowed the Vercel frontend to trigger heavy local processing tasks securely, combining the accessibility of the web with the raw power of local hardware.
Physical Prototyping (Bambu Lab A1)
The final slice (haha get it?) in our full stack was the printing process.
- Slicing Strategy: We optimized our slicing profiles for the Bambu Lab A1, specifically tuning the first-layer settings to handle the intricate details of a QR code.
- Material Engineering: We conducted a dozen iterative tests with PLA and PETG filaments. We’re still experimenting on a final set of instructions and settings to get the best possible quality but we’re pretty happy with what we’ve been able to create given the time constraints and the time consuming nature of 3D printing.
Challenges we ran into
The first challenge we came across was an issue with CADquery. We tried for hours to get it to work but it seemed unable to export multiple bodies in a single file so we switched to using OpenSCAD.
The second challenge we ran into was that the line at Big Way was too long and we spent too much time there waiting to eat when we could’ve been working.
The biggest challenge we ran into was at the last step of our full-stack process. We ran into so many issues trying to print the complex geometry of a QR-code on the first layer of our print. After numerous iterations we finally landed on combination of 3D geometry, print settings, filament choice, nozzle temp and bed temp, that gave us a result we are happy with.
The time consuming nature of 3D printing really put a limit on how much testing we could do in just 24 hours. With more time after the hackathon we are really looking forward to perfecting our settings to give users the cleanest cards.
Accomplishments that we're proud of
- Built a fully functional parametric generator from scratch
- Achieved instant 3MF output directly in browser
- Created a clean, intuitive UI that hides the complexity underneath
- Delivered a tool that genuinely lowers the barrier to 3D printing
What we learned
- How to integrate OpenSCAD into a web-based workflow
- The importance of designing for non-technical users
- How to balance simplicity with flexibility
- How to communicate a technical project in a clear, understandable way
- The value of tight iteration between frontend and backend
What's next for PrintMyCard
We see PrintMyCard as the foundation for a broader ecosystem of accessible 3D printed objects! Upcoming features we're excited about:
- More templates (keychains, tags, badges, tokens)
- User accounts to save presets and bulk lists
- Material-aware optimization (layer height, filament type, durability models)
We're also exploring AI-Powered Enhancements to make the creation process even more intuitive:
- AI-generated design variations based on user intent
- Bulk personalization intelligence that adapts layouts automatically for long or short text inputs
- Natural-language input ("Make a event pass for 300 attendees with a rock and roll style.")
Our long-term vision: Make 3D Printing as easy as generating a PDF.
Built With
- drei
- lucide
- ngrok
- openscad
- python
- qrcode
- react
- tailwindcss
- three.js
- threefiber
- trimesh
- typescript
- vercel
- vite
- zustand


Log in or sign up for Devpost to join the conversation.