Our Journey into Coding: The Photoelectric Effect Simulation
Inspiration
Our journey into coding began just four days ago when we stumbled upon the vast world of programming. We were eager to learn and explore, and our progress in our Cégep classes led us to discover the concept of the photoelectric effect. The idea of simulating this phenomenon using code became our inspiration.
What We Learned
Our journey of learning to code and creating this project was incredibly rewarding. Here's what we learned:
Programming Basics in Days: We got to know that how quickly one could pick up the basics of programming within just a few days. Learning the fundamentals of Python and libraries like Pygame was an exciting journey.
Physics and Quantum Mechanics: We dived into the intriguing world of quantum mechanics, where we learned about the photoelectric effect, energy quantization, and the relationship between frequency and kinetic energy.
Building Our First Project: We were proud of ourselves for creating our very first project. It was a hands-on experience that solidified our understanding of coding concepts.
User Input Handling: We explored and learned the concept of user input and event handling. Learning to capture and process user input, in this case, adjusting the frequency, was an essential part of our project.
Building the Project
Here's how we built our project in just two days:
Starting from Scratch: We began by learning Python basics and getting familiar with variables, math operations, and data types.
Discovering the Photoelectric Effect: We found the concept of the photoelectric effect and decided to use it as the core of our project.
Setting Up Pygame: We quickly picked up Pygame and started by creating a simple window.
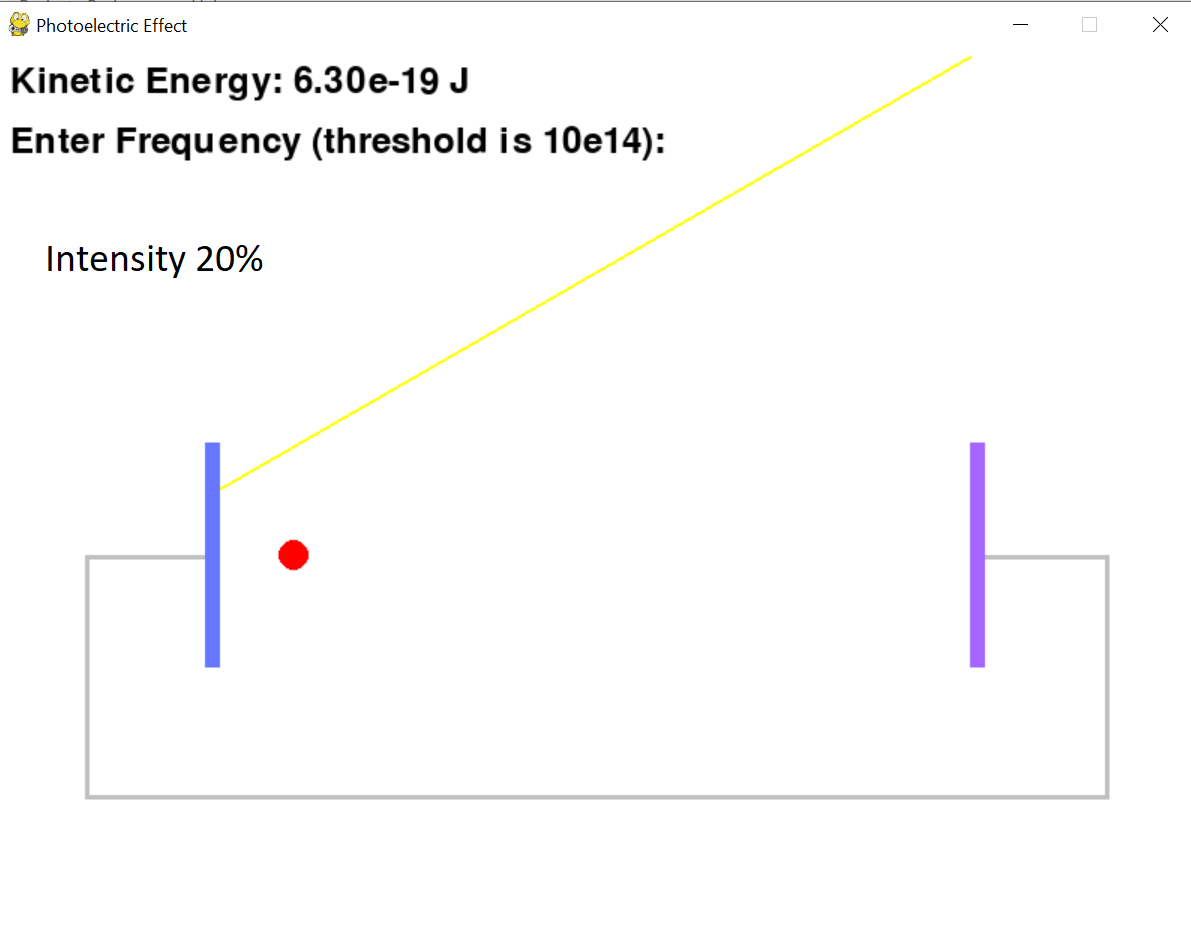
Coding the Photoelectric Effect: We researched and implemented the photoelectric effect equations to calculate the speed of the electron based on frequency and the work function.
Visual Elements: We used basic coding knowledge in order to facilitate the creation of shapes and colours representing the cathode, anode, wires, light ray, and the electron.
User Interaction: We added user interaction by allowing users to input a new frequency value, which would instantly affect the speed of the electron making them faster or slower.
Challenges and Learning: Learning from online resources, our mistakes, and experimenting helped us overcome these challenges.
Design: We constantly fine-tuned the aesthetics of our project by adjusting colors, dimensions, and positions to make it visually appealing.
Challenges Faced
Our journey encountered numerous challenges along the way:
Short Timeframe: Learning to code and completing a project in such a short time was challenging, but it was also an exciting adventure. We grasped tons of knowledge that will be helpful regarding our future in coding.
Understanding Quantum Mechanics: Grasping the concepts of quantum mechanics and the photoelectric effect within just two days was a steep learning curve.
User Input Handling: Processing user input and ensuring the program responded correctly was a challenge, especially as beginners.
In the end, our journey into coding and the creation of our first project, the Photoelectric Effect Simulation, was a remarkable experience. We're proud of what we achieved over the course of 24 hours and look forward to further exploring the world of programming and computer science.


Log in or sign up for Devpost to join the conversation.