-
-
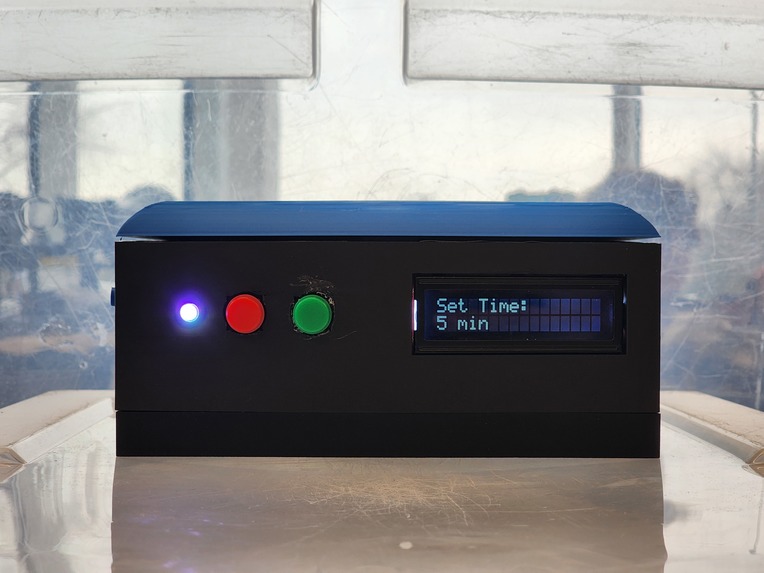
Finished Box Prototype
-
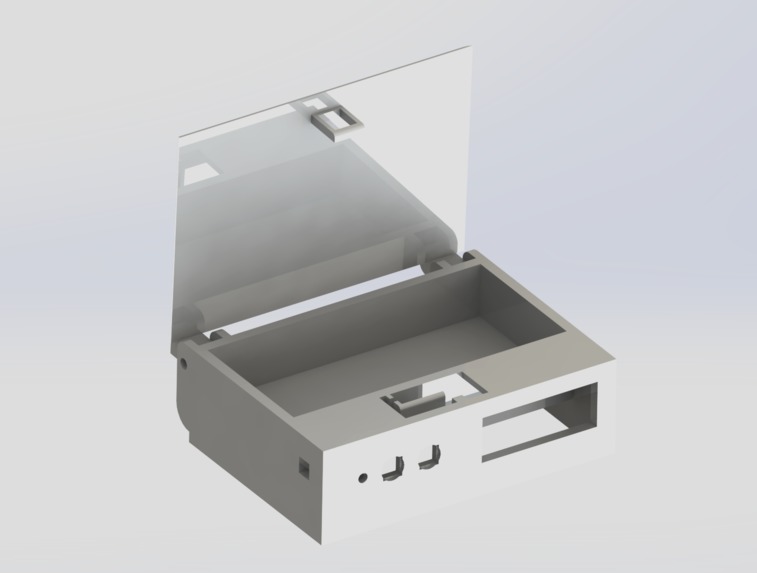
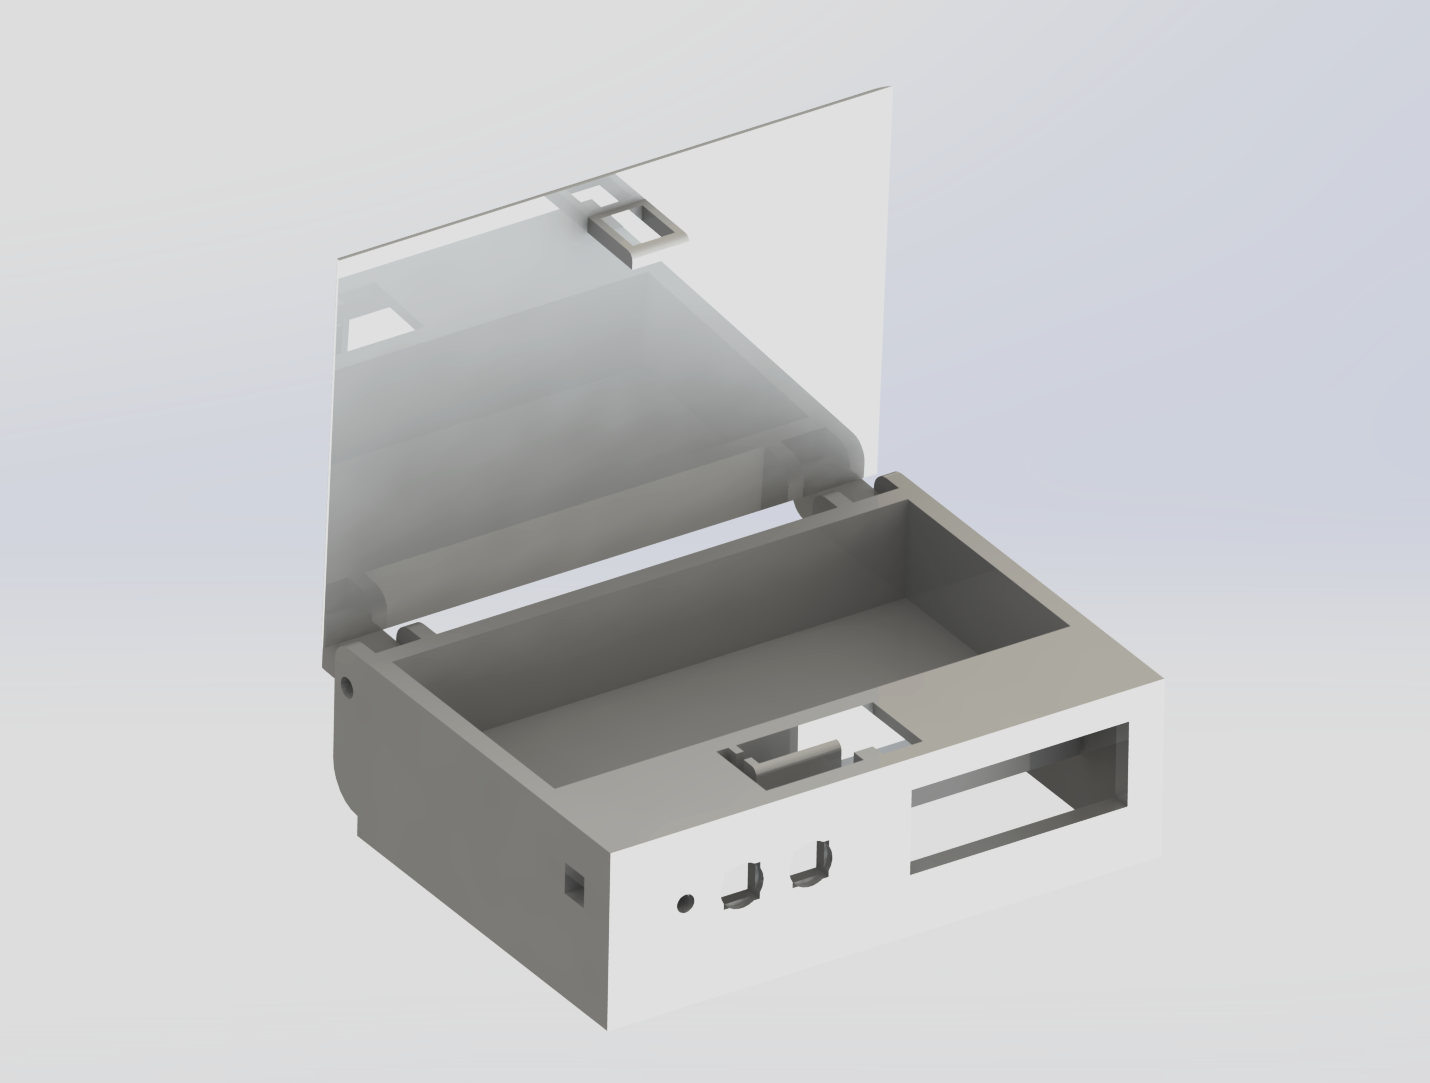
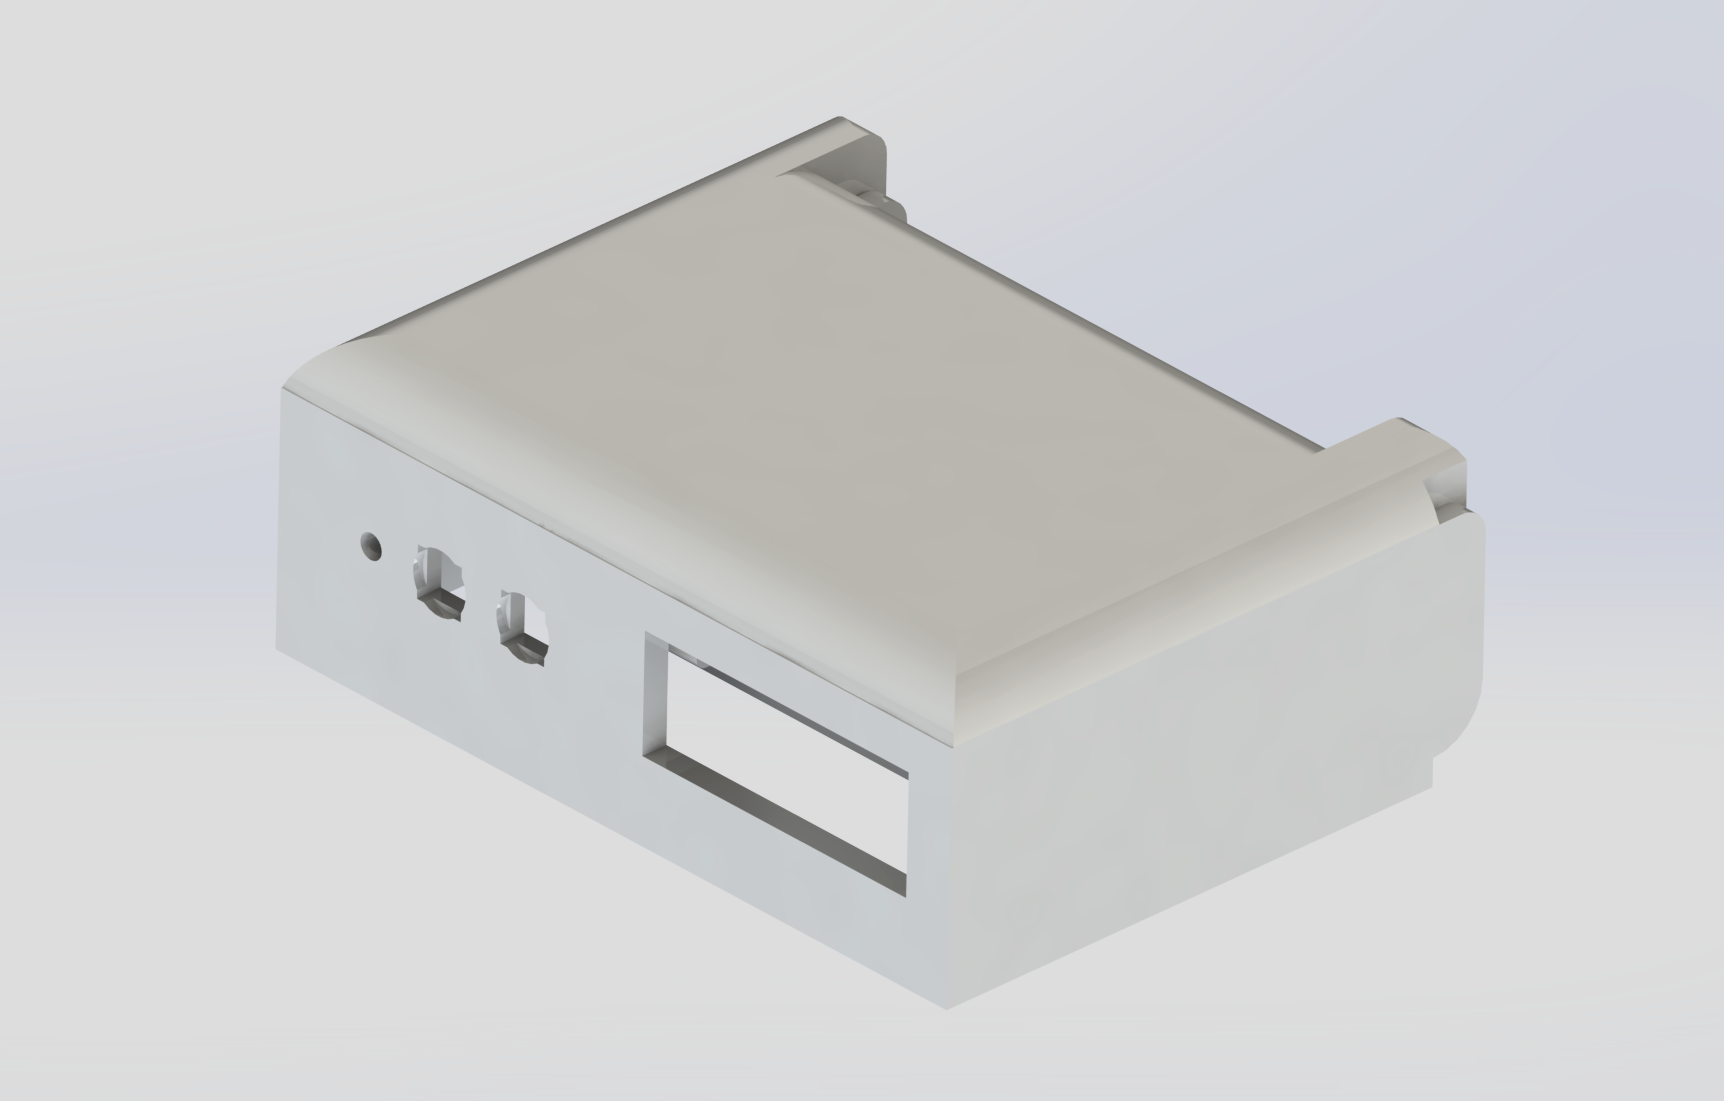
Solidworks Renders of the Box
-
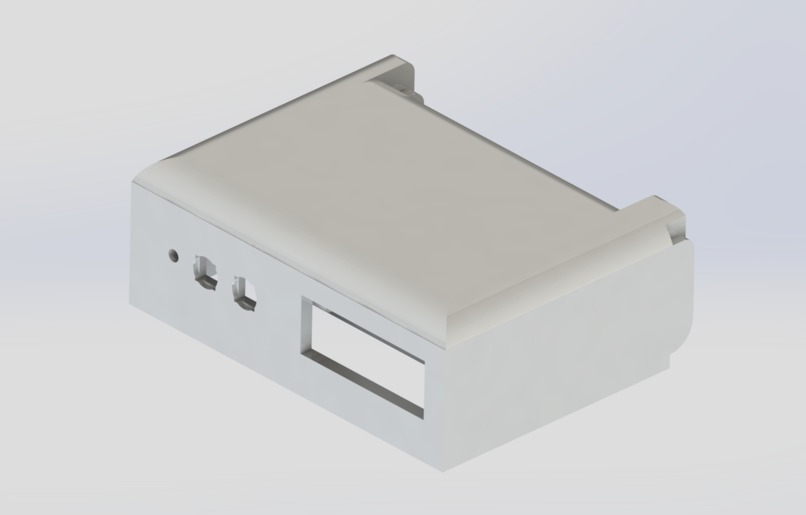
Solidworks Renders of the Box
-

Finished Box Prototype
-

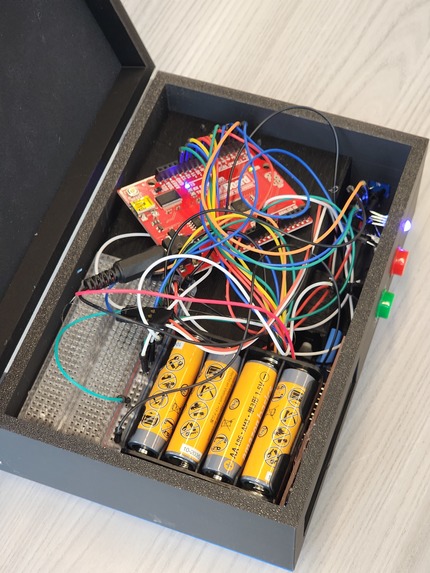
Our Circuitry
-

Finished Box Prototype
-
Our Circuitry
-
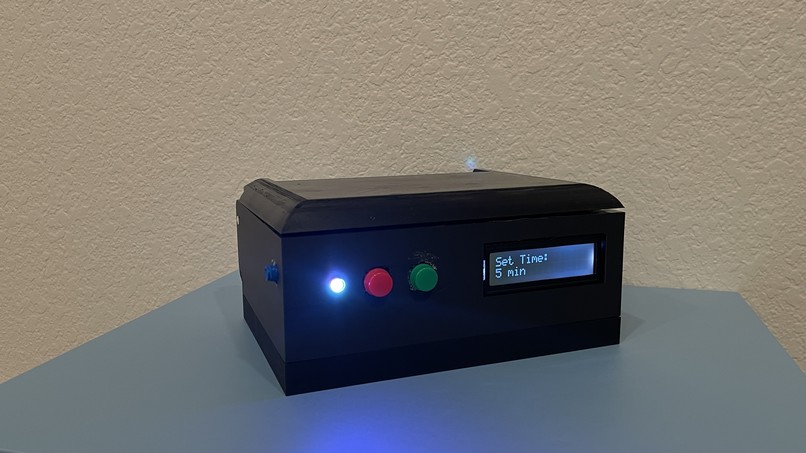
Finished Box Prototype

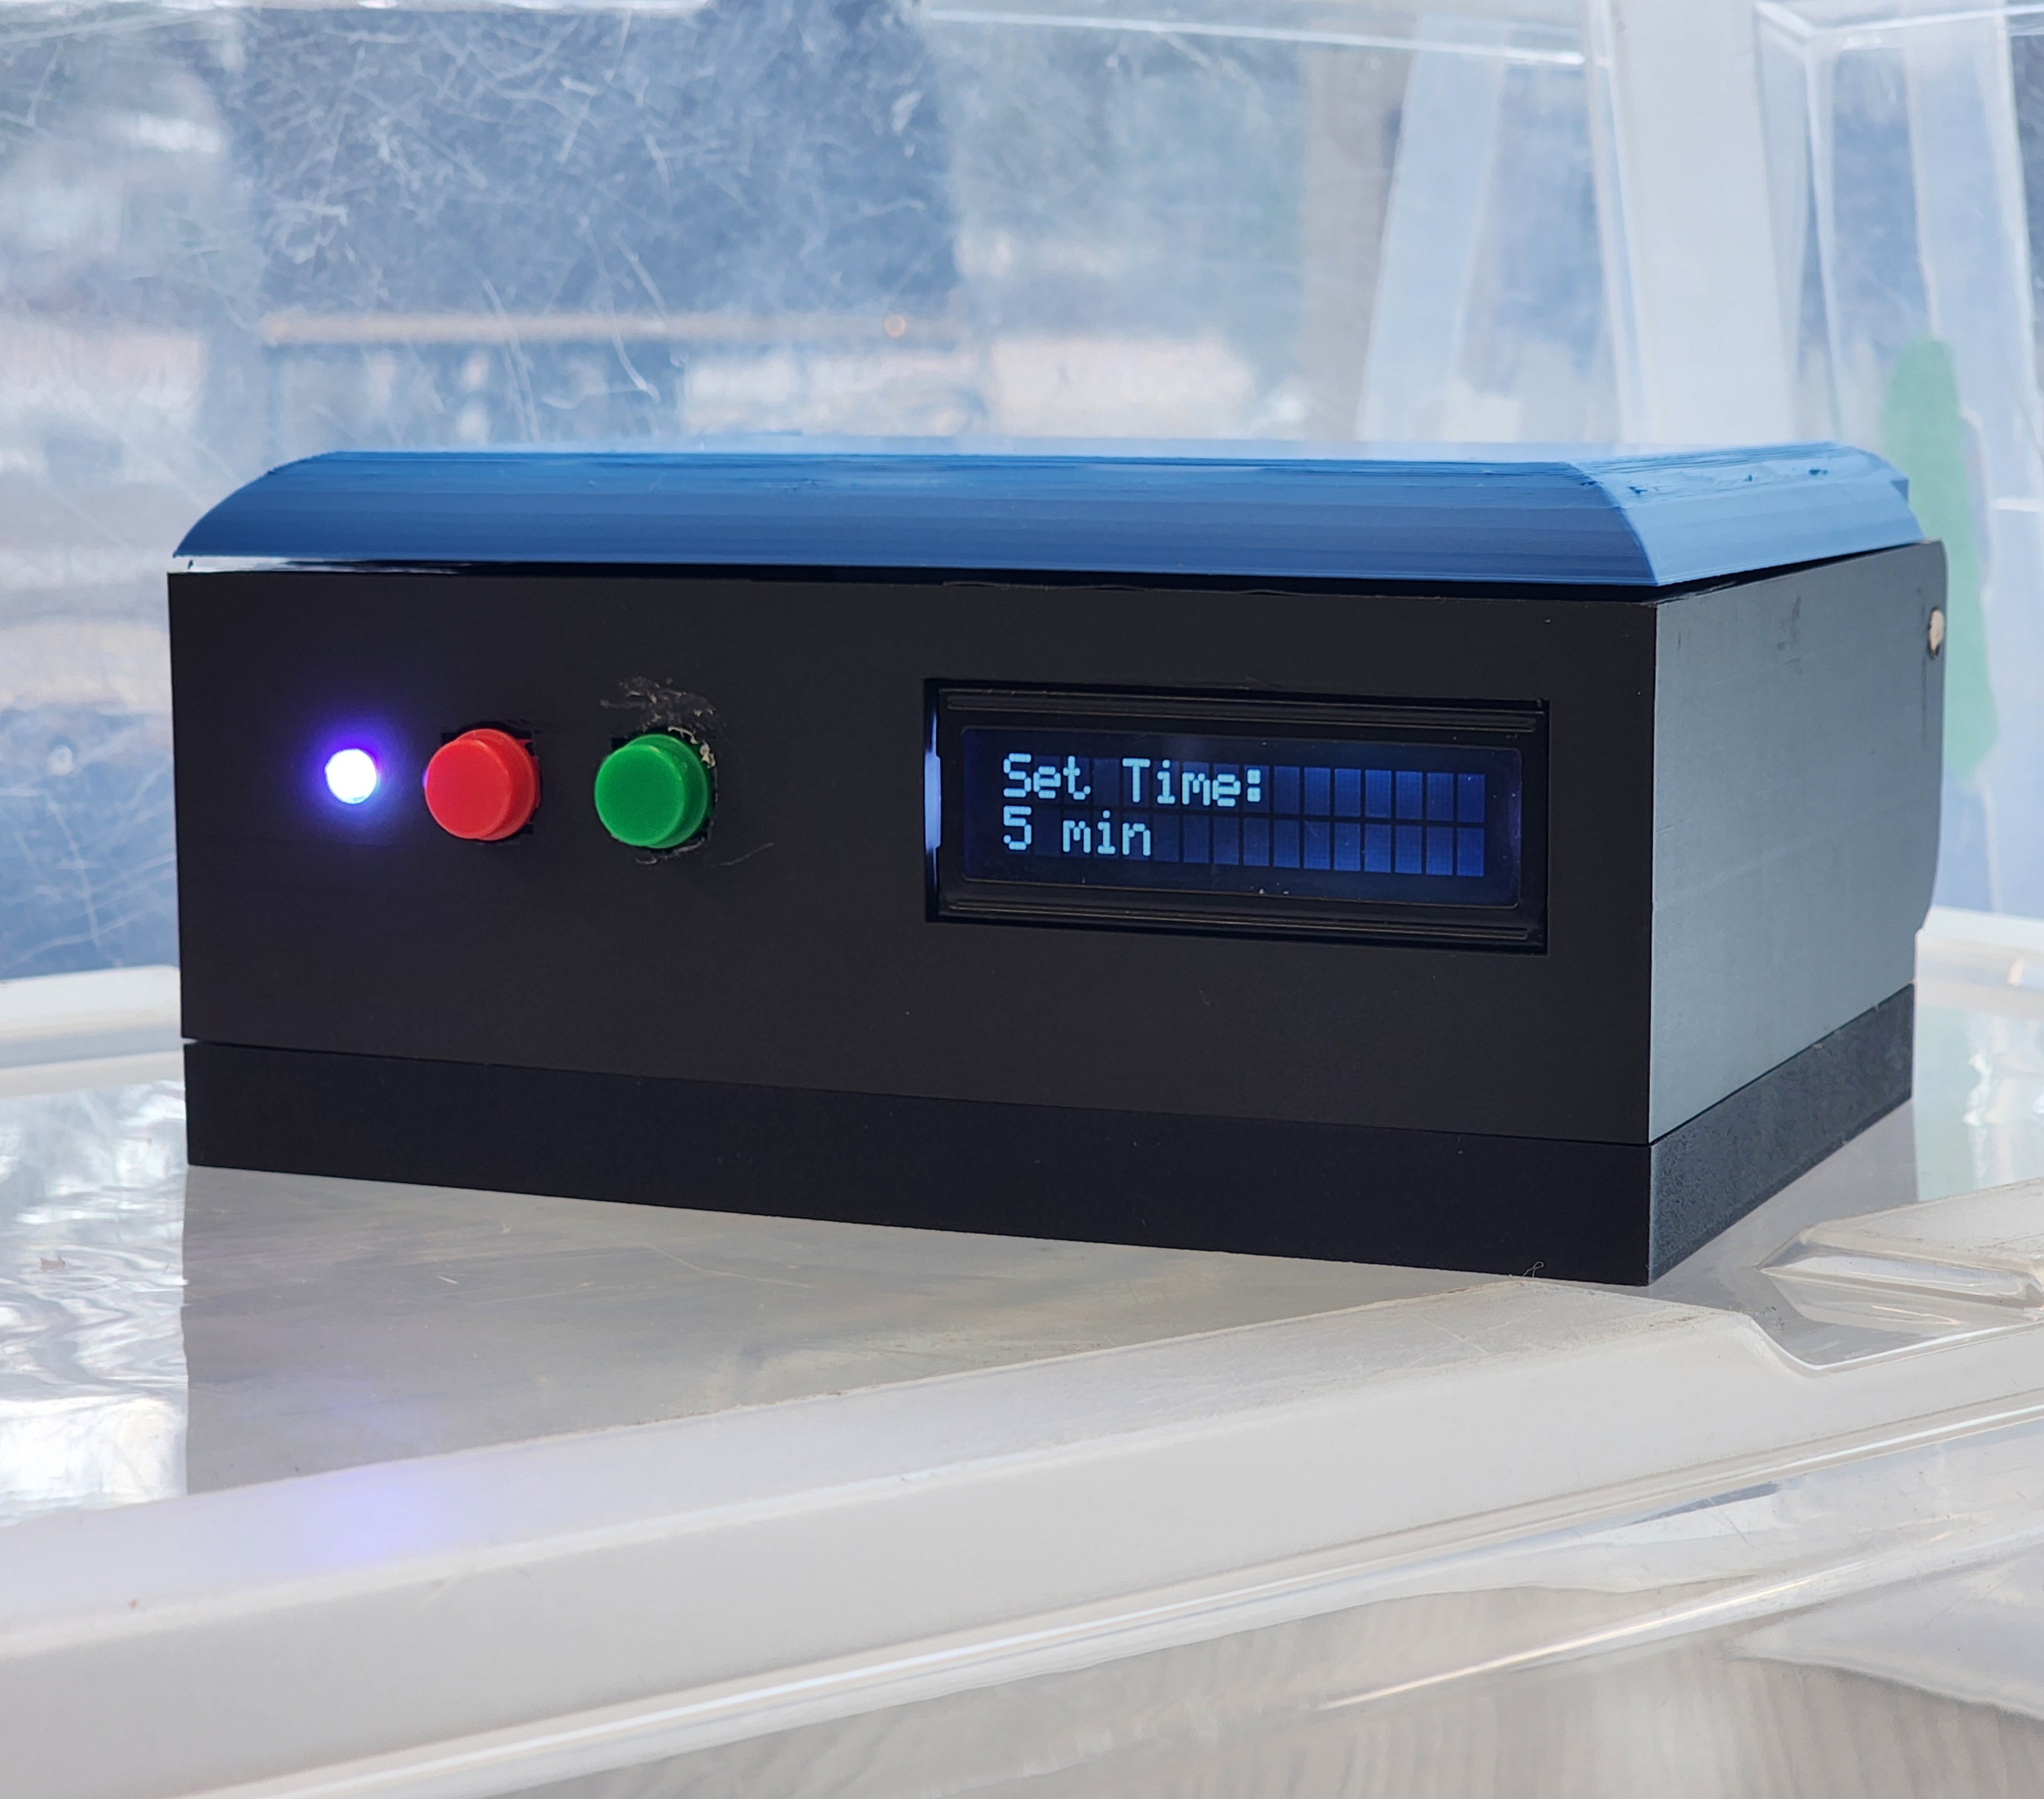
Lock Away the Phone, Lock In Smartphones are one of the most significant distractions affecting students today. Focus sessions can quickly be altered into scrolling sessions, leading to incomplete and lower quality of work. This issue was the problem our team chose to tackle, with the goal of supporting students struggling with concentration. The solution was the Phone Lock Box. Our device safely locks away a phone for a set amount of time, during which a distraction-free environment can be fostered, along with higher levels of productivity.
Goals This Hackathon asked us to design a tool that helped students in any aspect of life. We chose to focus on productivity, as it directly influences academic performance, workload, and stress levels. It is important for students to develop healthy habits for studying and concentrating, so we hope to benefit them with our device.
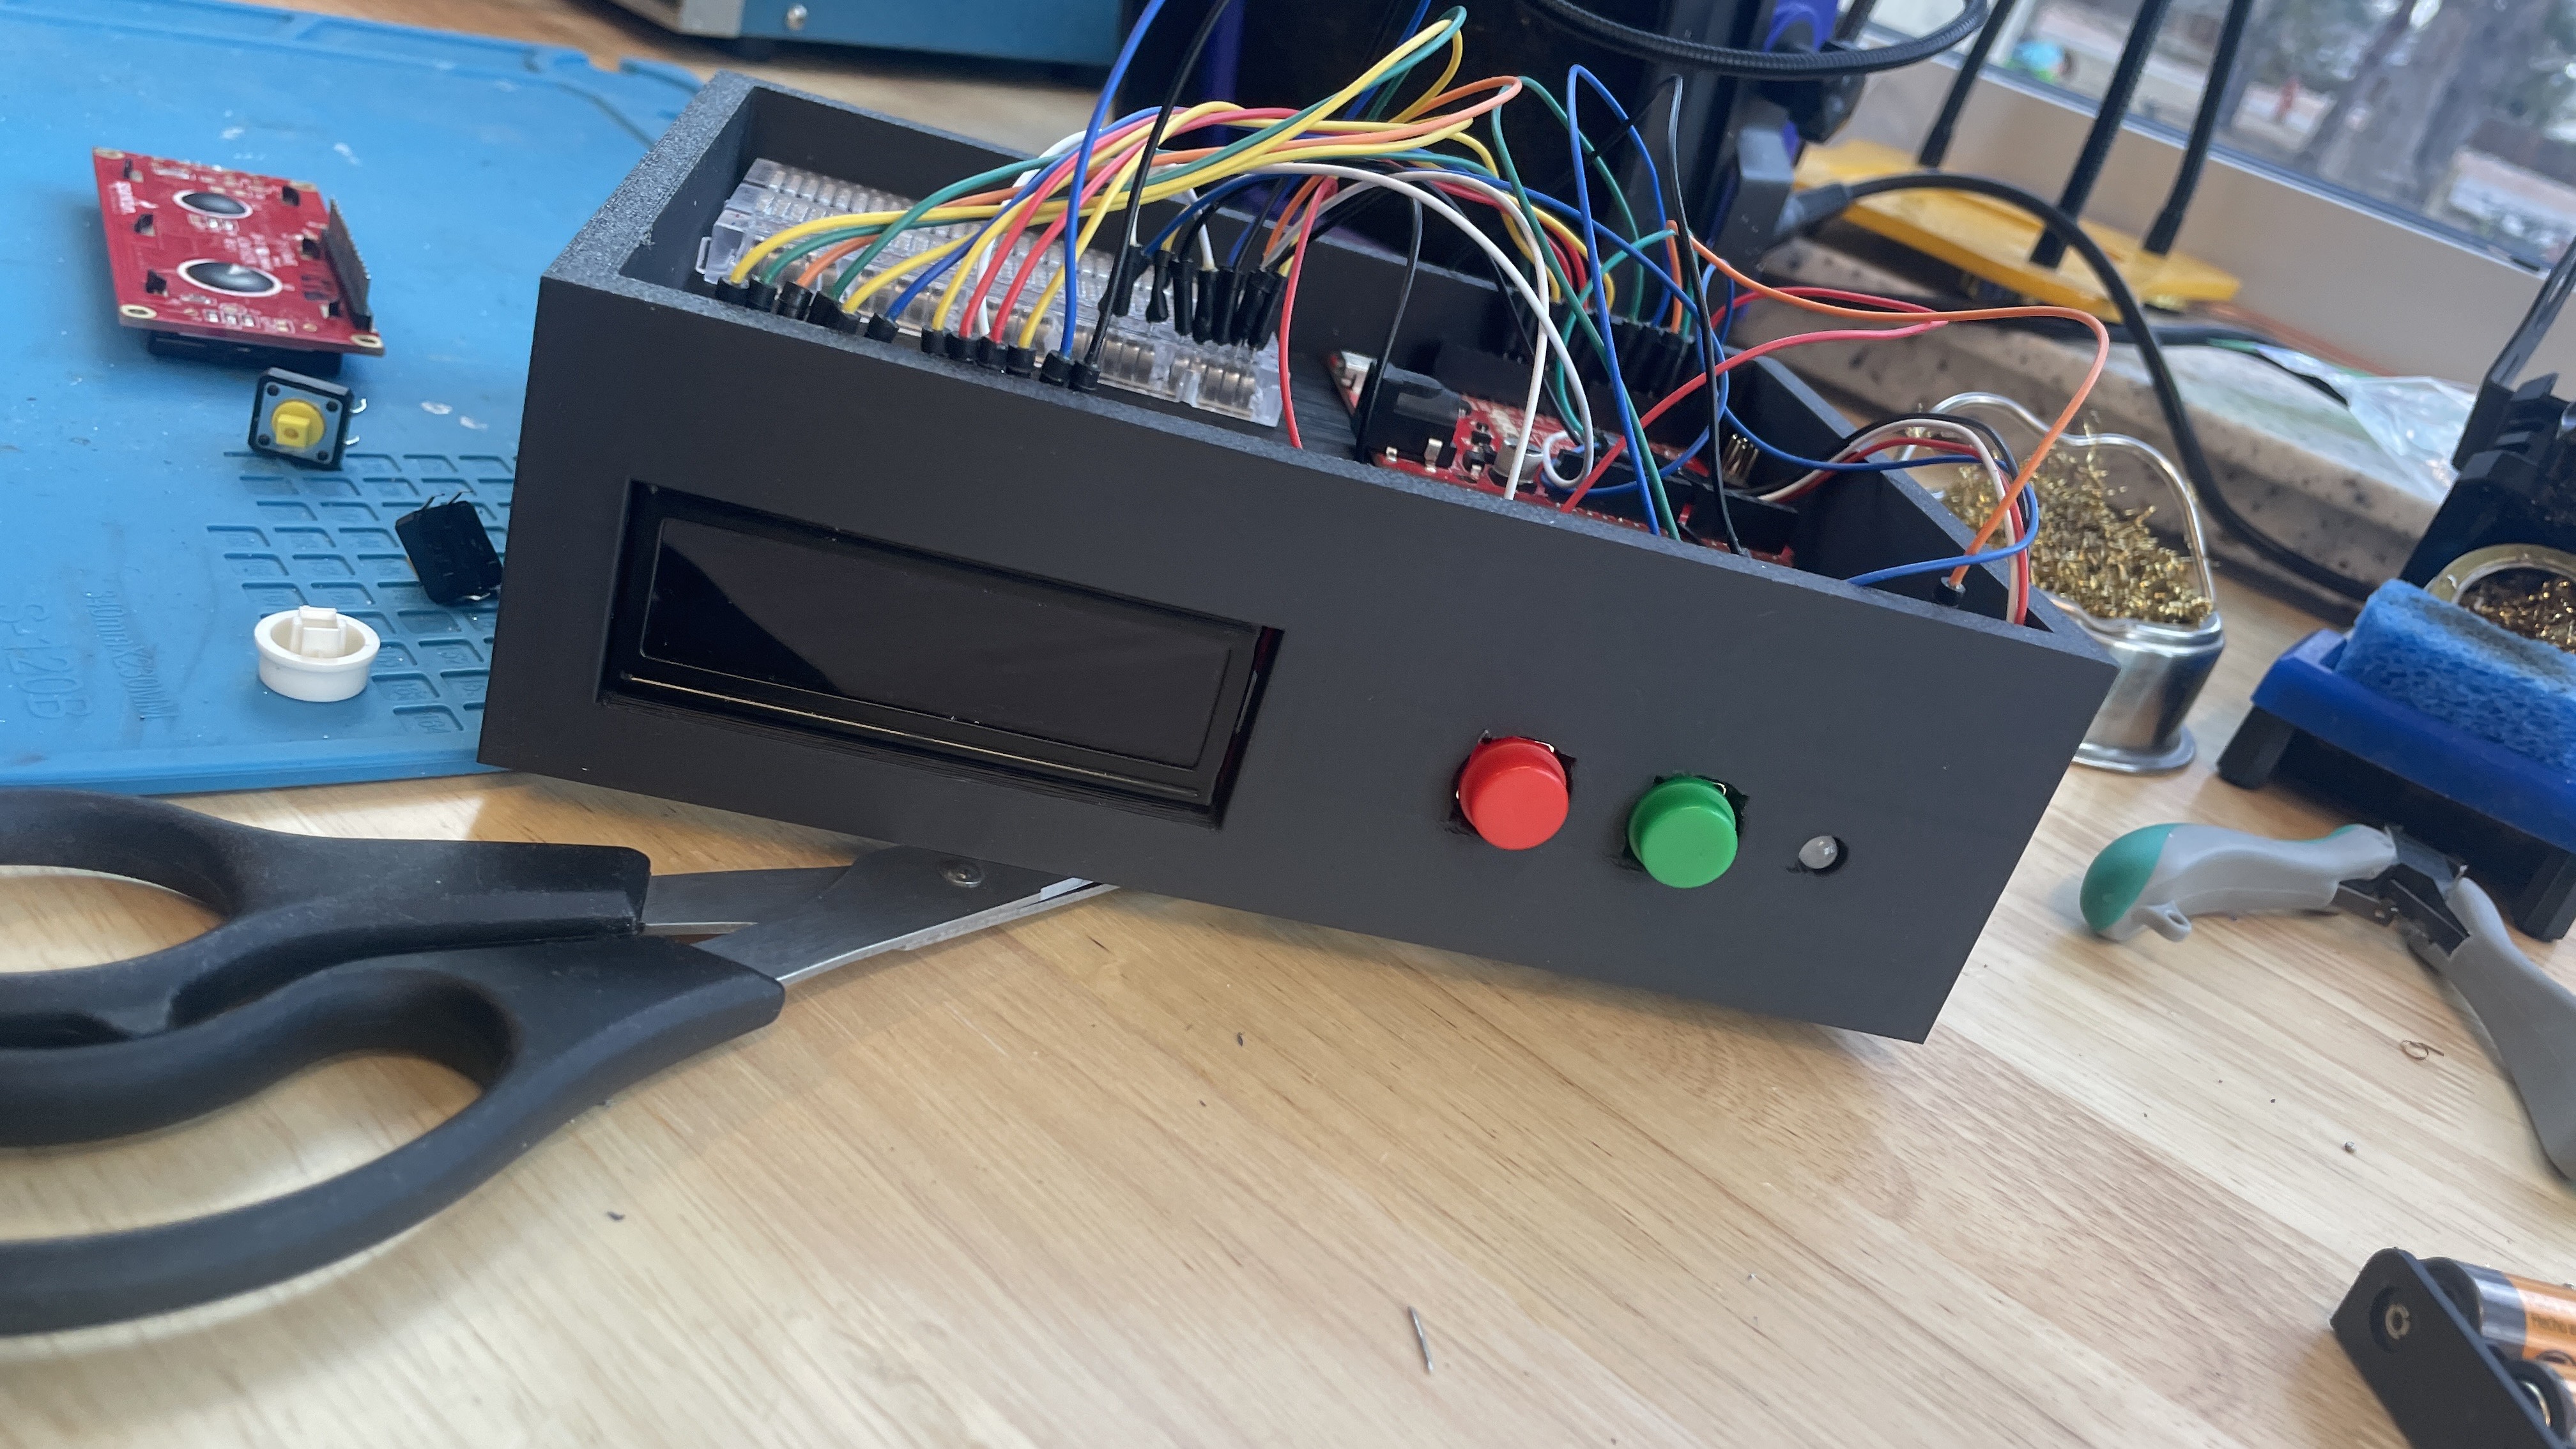
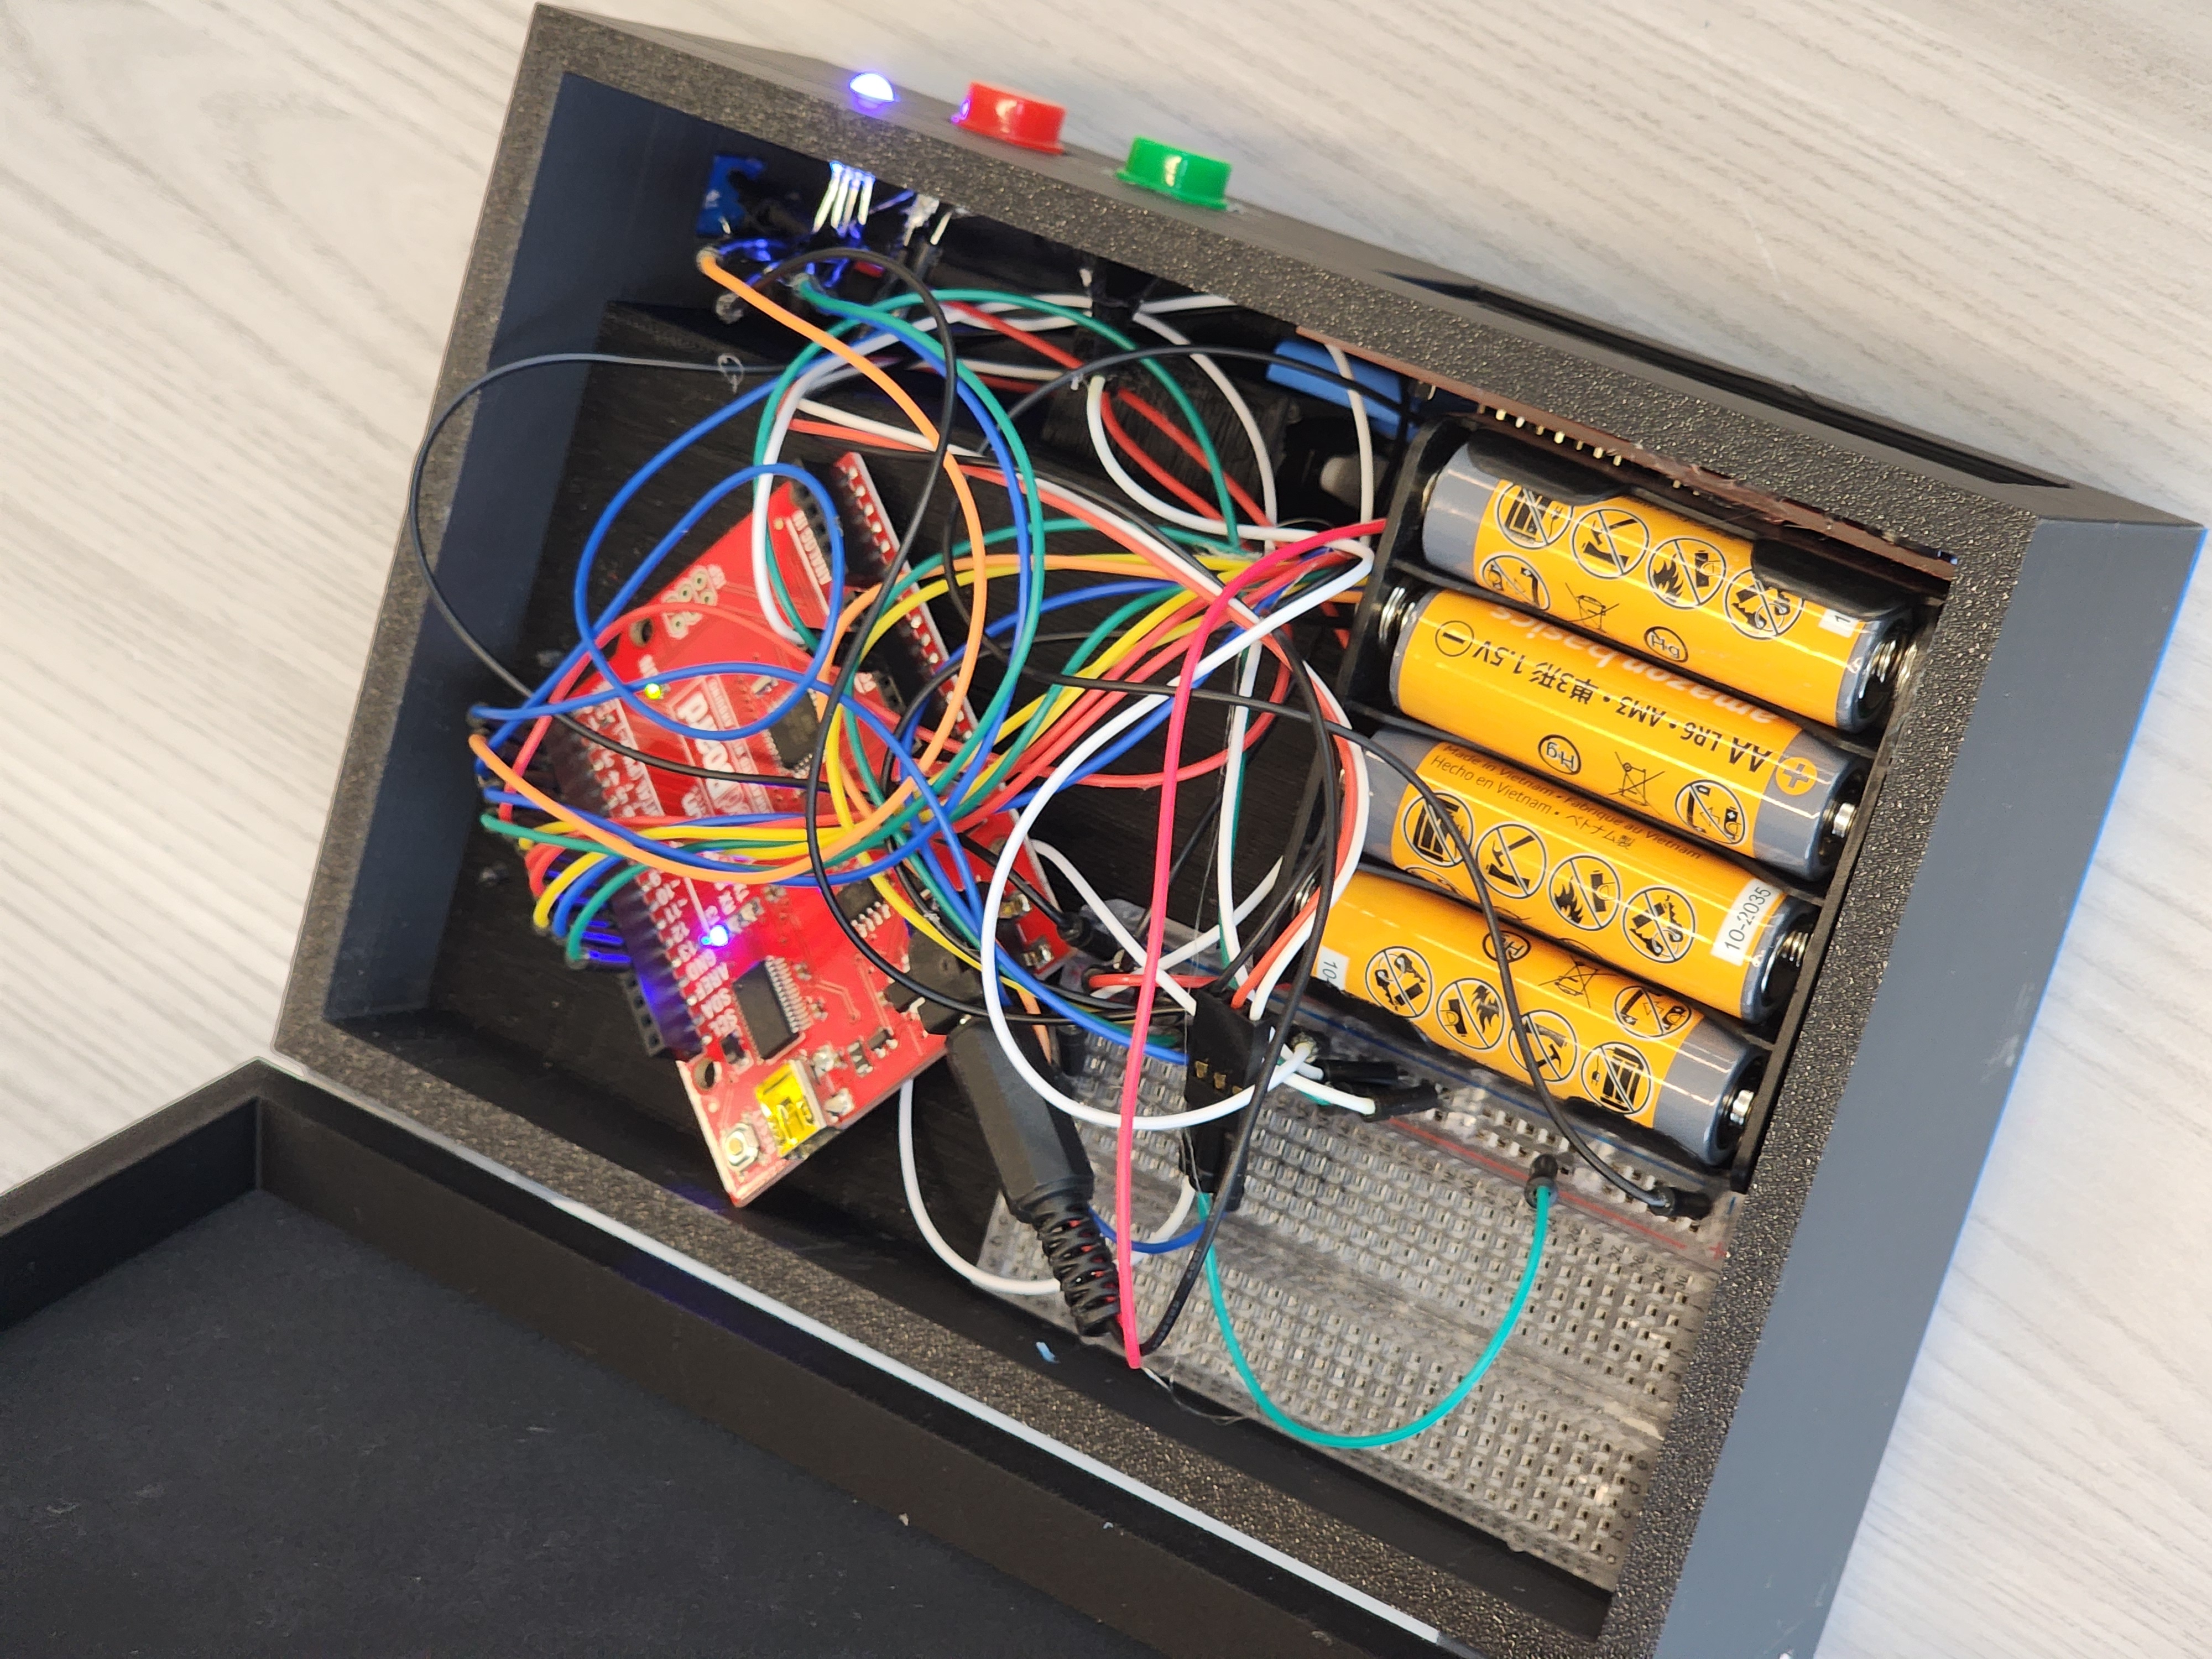
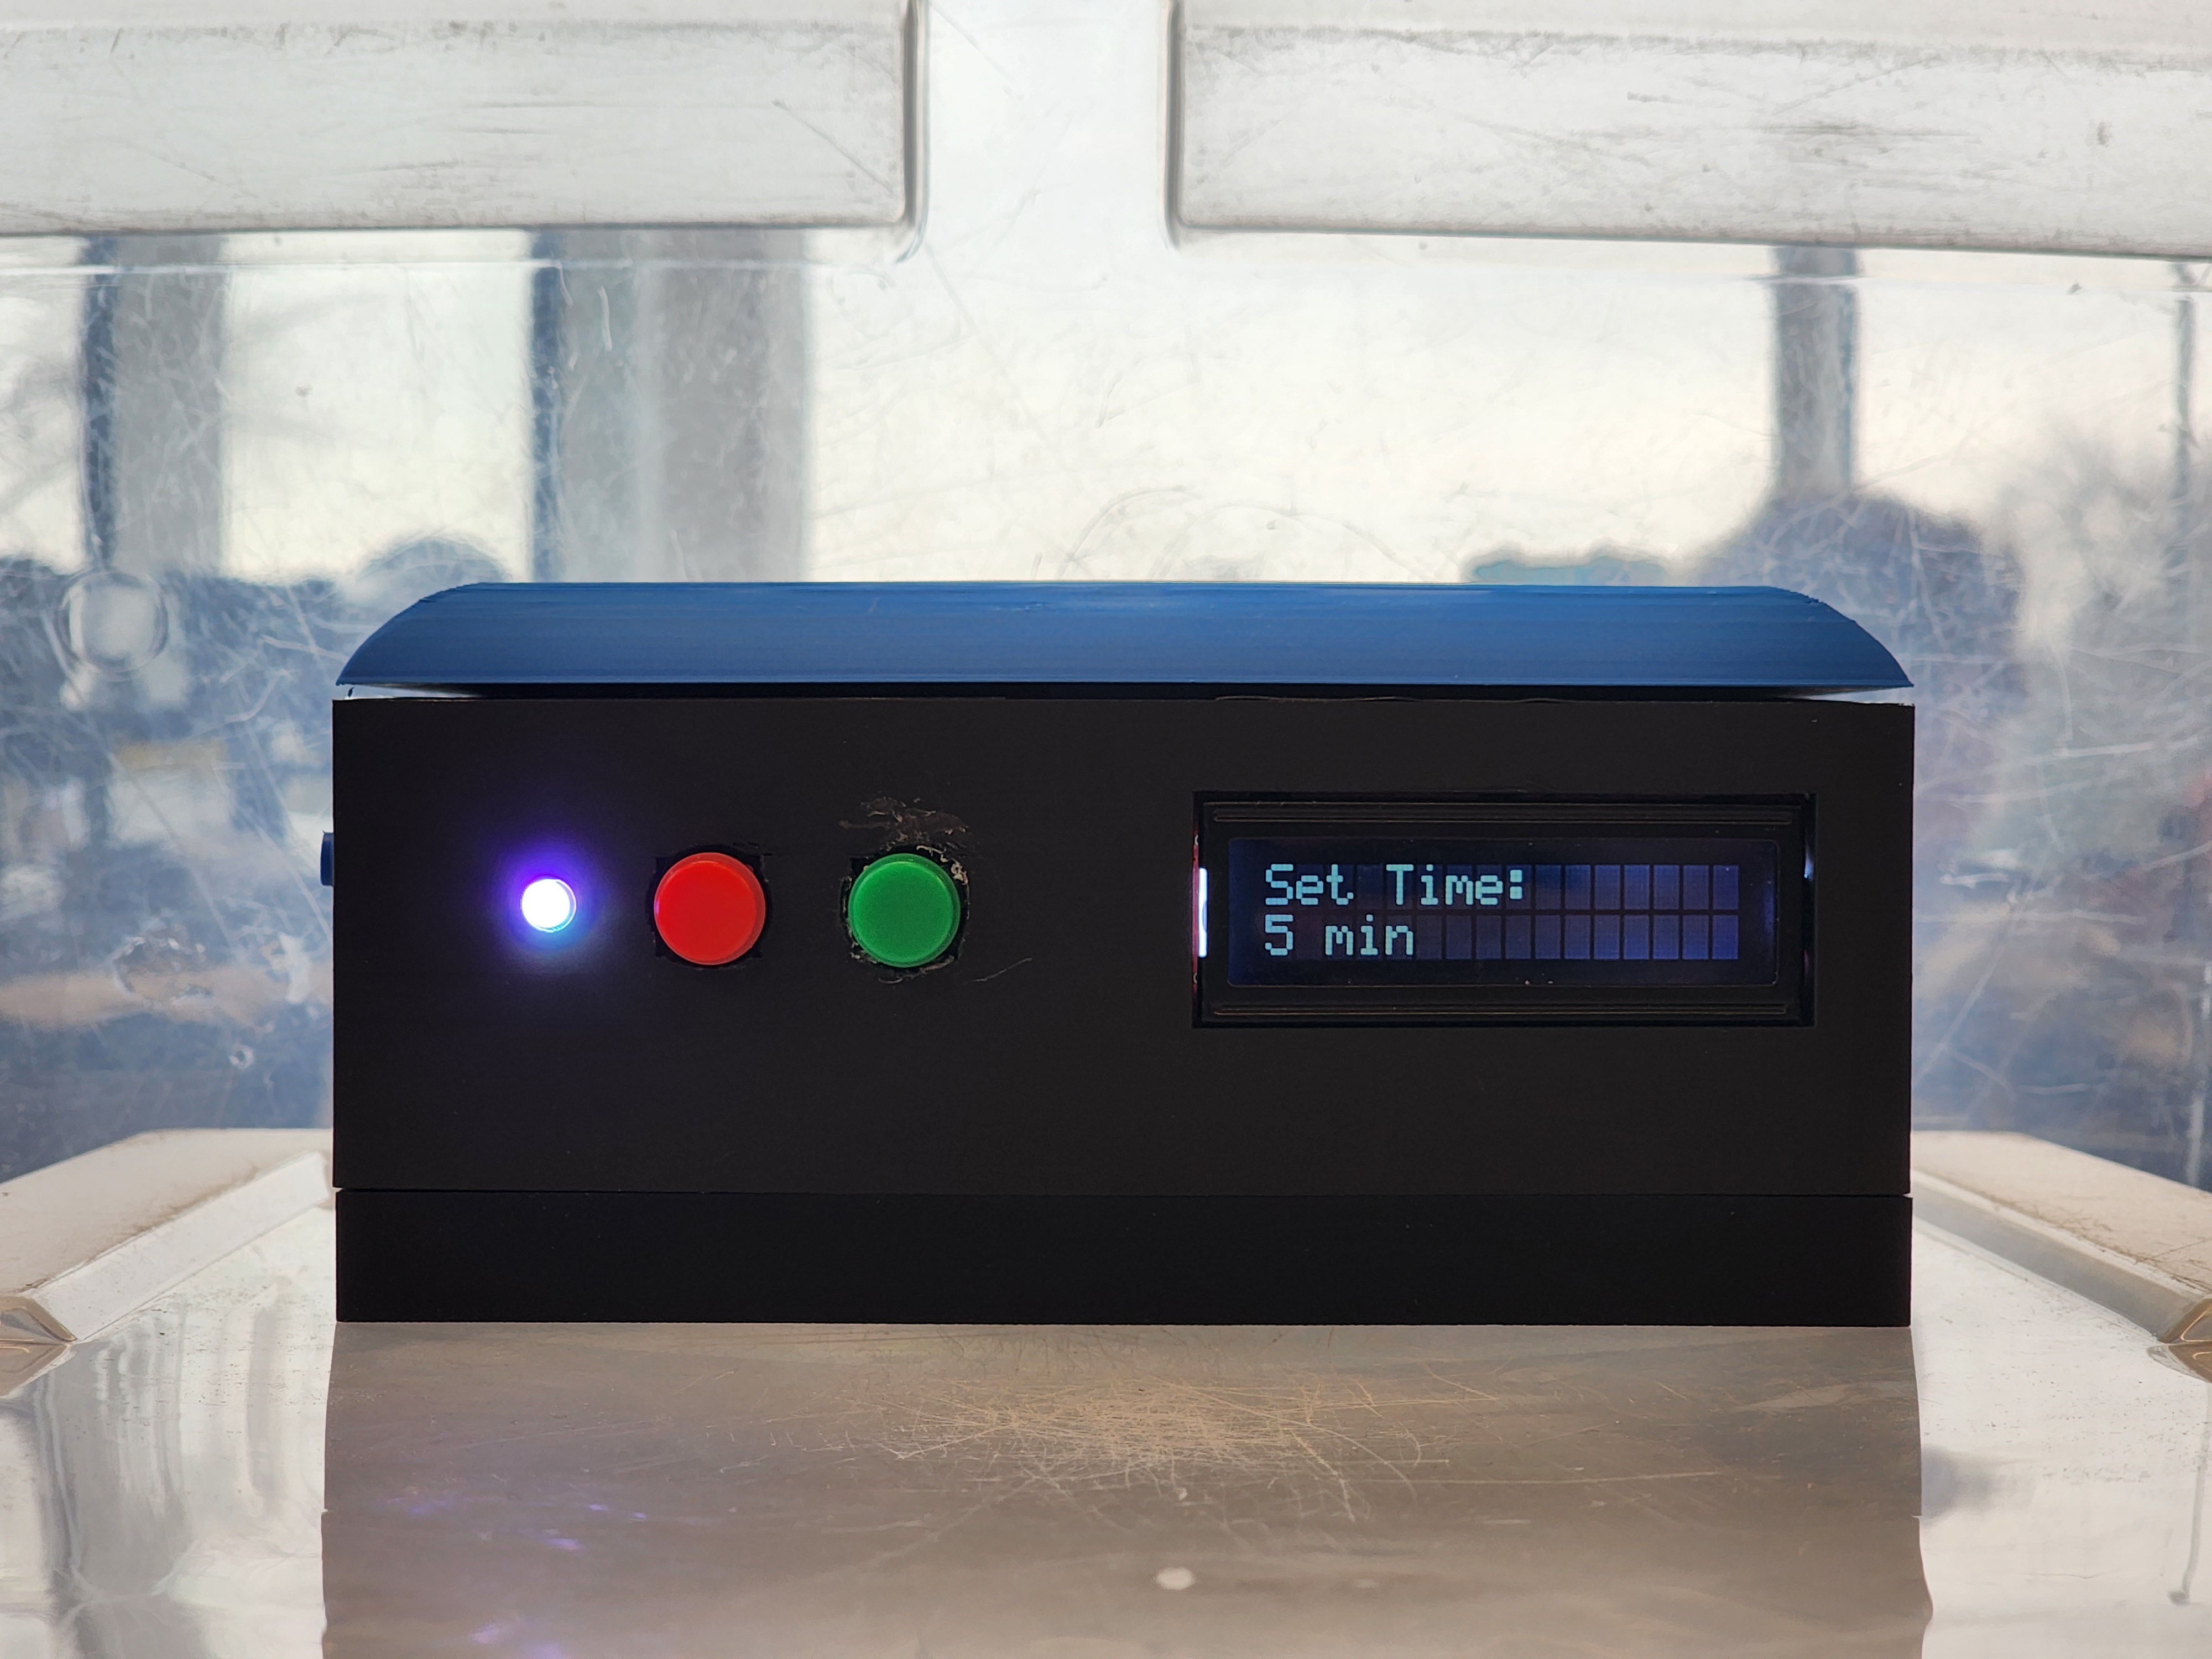
Design We began by drafting ideas and ideating necessary features. Once we determined the sensors and buttons needed, we drafted a schematic and worked on early case prototypes. With these iterations, we learned from mistakes and made improvements to the case and circuitry. Once we settled on a functioning circuit, we began to tinker with code in order to provide a seamless user experience. Our circuit includes an Arduino Uno Redboard, an LCD display, an LED, 2 button switches, a potentiometer, and a servo motor. All the components are soldered onto a perfboard and connected with wires. The Redboard acts as the brains to connect to the various sensors and input elements. The button switches are used as an input for functions such as setting a Focus Time and beginning the focus session. Our LCD Display provides a classic user interface for the student to view the Focus Time remaining. It also sends occasional motivational messages, to keep students engaged in their work and on-task. The LED acts as a simple indicator light to display the current mode; white for idle, green for starting a time, yellow throughout the duration of the time, and red once the time has elapsed. The potentiometer is used to control the contrast of the LCD. Finally, the servo operates as the locking mechanism for the box, working alongside a specially designed cavity intended to minimize the strain on the fragile gears within it. Together, these components function wirelessly using a battery pack.
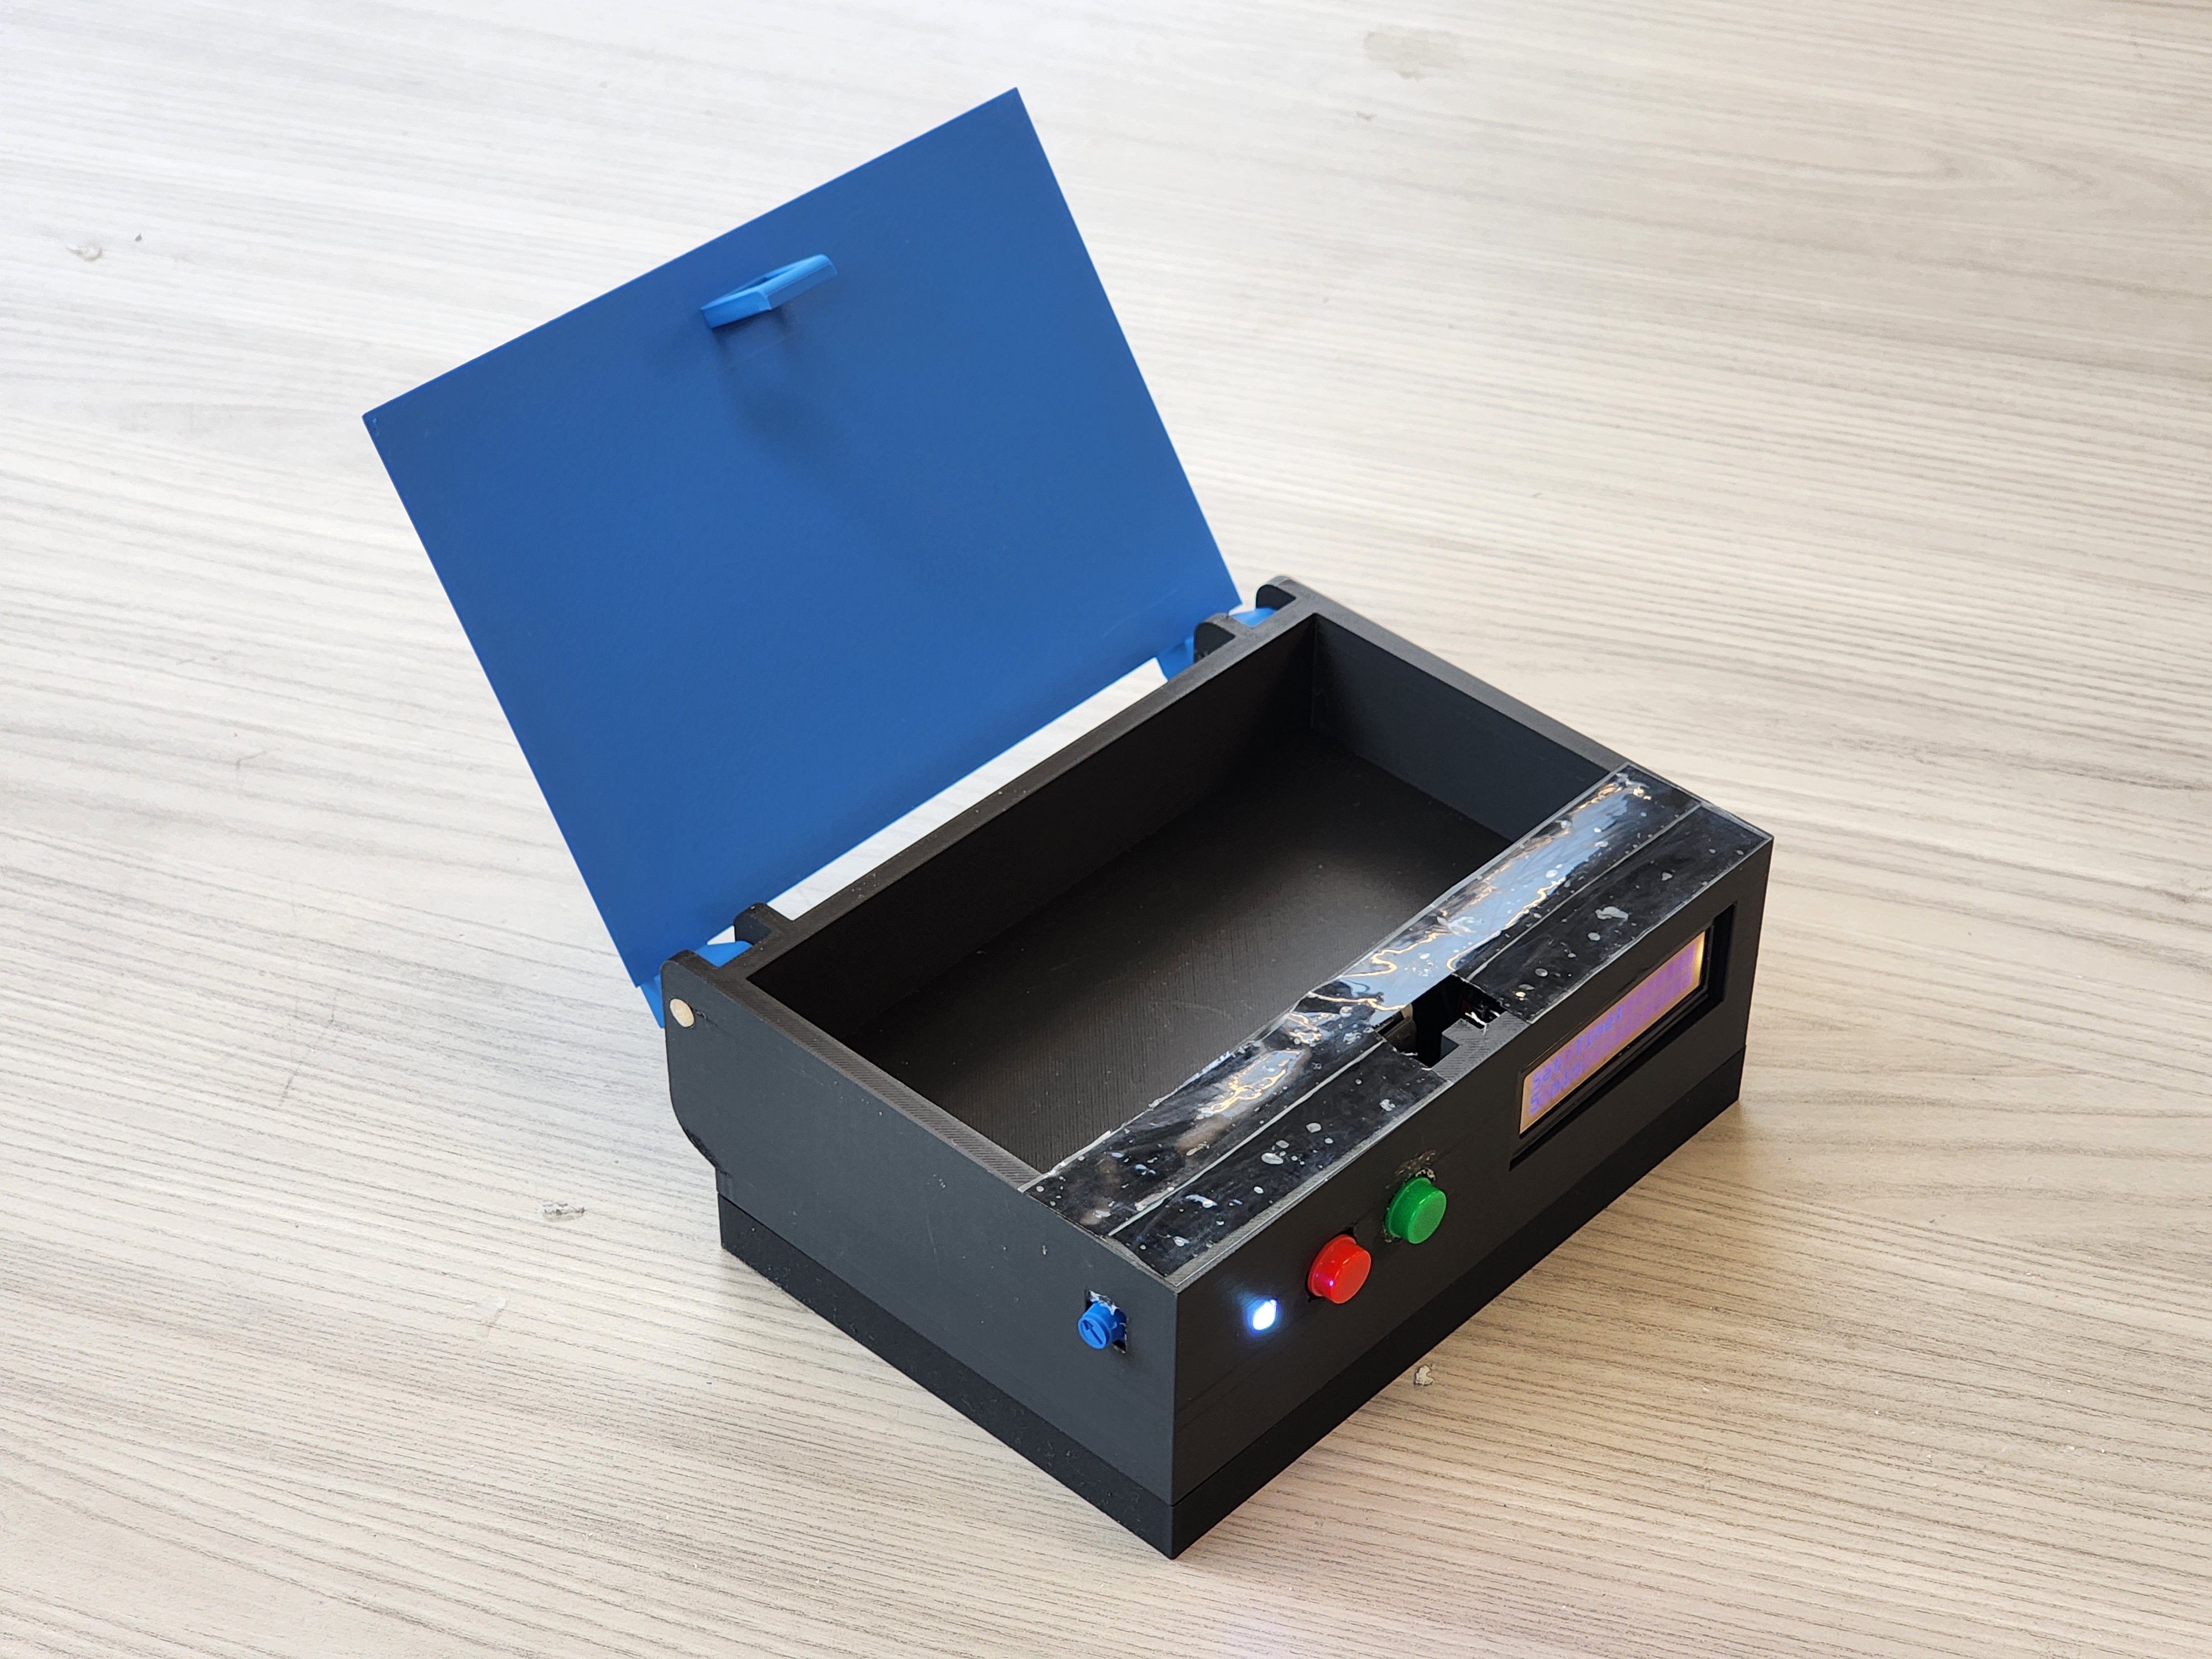
Aside from the circuit, the case was also a big design aspect for this project. Integrating the latch, actual phone storage system, as well as keeping enough room for the circuit was quite a challenge. In the end, there ended up being about two distinct compartments in the box. The main phone cavity, and the part for the circuits. There are many different holes, accounting for the buttons, screen, LED, and potentiometer. Additionally, the servo mount was quite a challenge to get right, as the spacing had to be close enough to actually close, but not too close to hit the latch as the lid closes. Overall, although the case wasn’t quite polished, it works as well as we intended, stores all the components, and looks clean and refined.
Challenges One of the most important challenges that we faced during the testing phase was that the box could still be forced open. This is due to the servo not being strong enough to prevent brute-forcing the box open. Additionally, another major challenge we ran into was learning how to code using C++ on the Arduino. Since none of us had a very solid understanding of coding with this language, we had to work together to figure out the best way to achieve a desirable circuit. In the end, we solved this problem and exceeded our initial expectations, leading to a functional and clean code. One of the largest issues we faced was the time constraints. By the time there were only 2 days left, we were still scrambling to complete a first prototype and get the project to completion. Without the time to properly test components, we ended up with things that needed to be repaired, only adding to the stress of the last few days.
What We Learned This project taught us important skills such as teamwork and communication. For this project’s success, it was vital for us to collaborate and share out the stage of the project we were working on. In the beginning, we had a group meeting to determine how we wanted to split up workload, which taught us skills of following through to contribute to the success of the whole group. This device also required multiple different elements of engineering. Since it was interdisciplinary, we had to determine who would take on which elements based on their skills in the field. We also had to figure out how to code using the Arduino IDE software, since none of us had experience with this language and program.
Accomplishments/What We’re Proud Of We are proud of the final product we delivered in the time we had to work on it. Overall, this project was a success as we saw the idea we had in our head be turned into a physical and functional model. It was exciting to see new developments throughout the design process, and we had a fun time working alongside each other to create our device.
Next Steps Our hope for this project is to spend more time truly testing out the product with other students. Since we ended up pressed for time, we never had the opportunity to see if the box would improve concentration for other students. Additionally, we hope to continue to iterate on the design and improve the design quality of the case and circuit. If we were able to continue to try out new things and figure out what works best, we could better tailor our design for student’s needs.


Log in or sign up for Devpost to join the conversation.