-
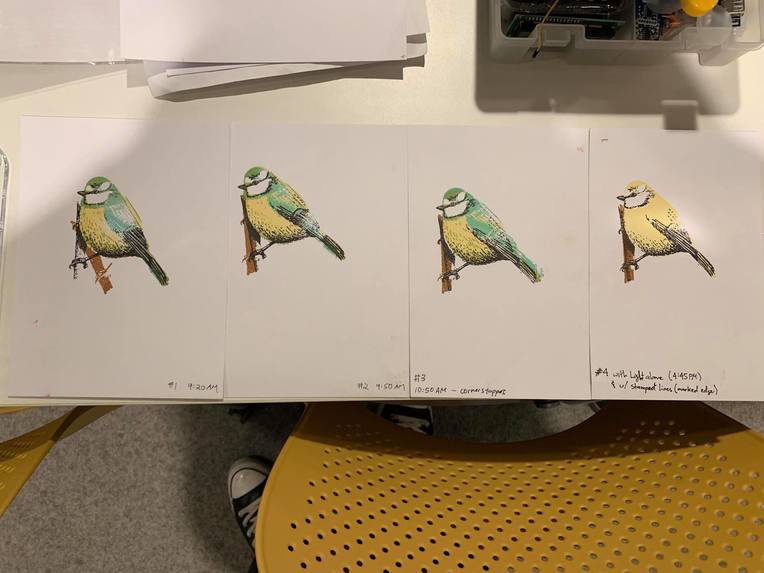
Peggy's progression through her design
-
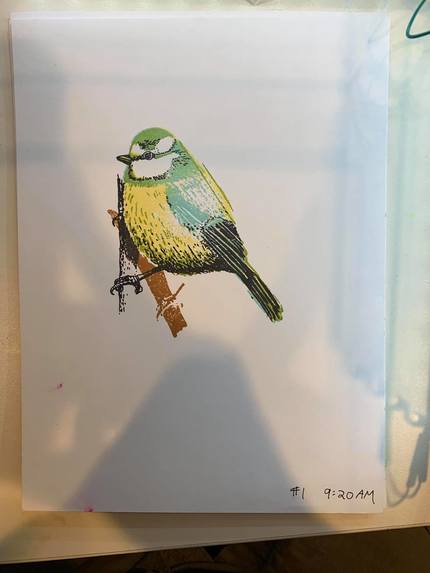
Peggy's 1st time stamping
-
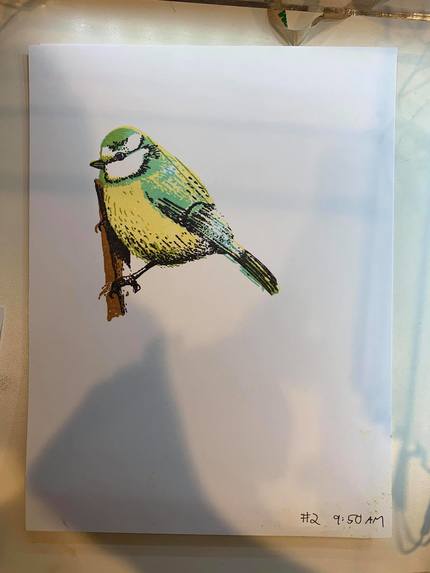
Peggy's 2nd time stamping
-
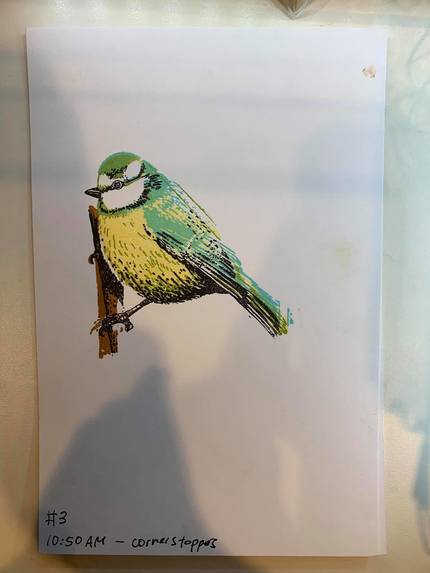
Peggy's 3rd try stamping (w/ physical stoppers on the lid)
-
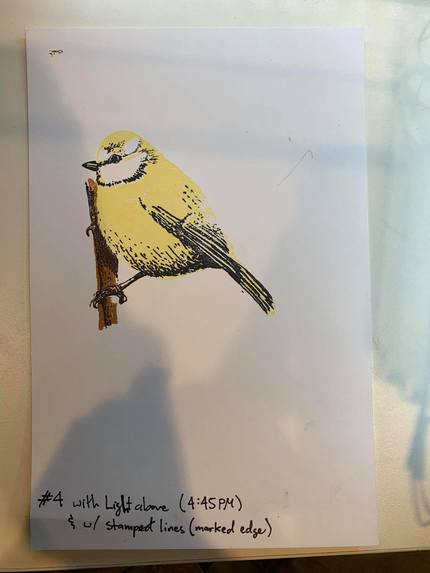
Peggy's 4th try stamping (w/ the light studio and marked edges on stamps)
-
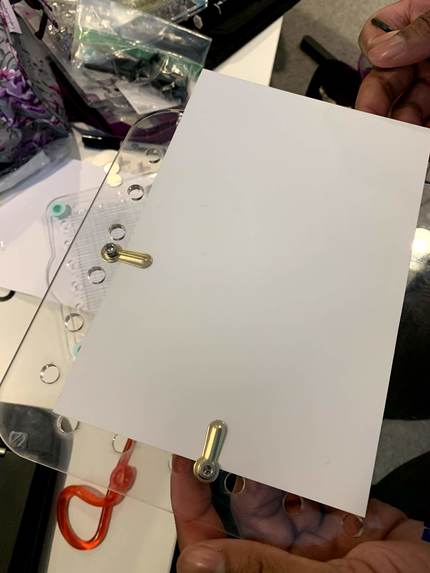
Clips to hold the paper down
-
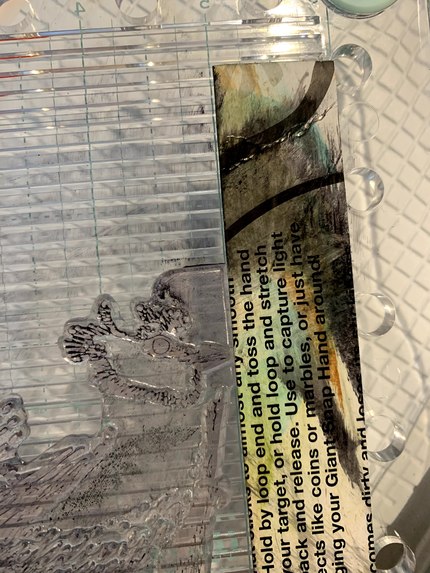
Physical stopper that Peggy uses to align the stamp on the lid
-
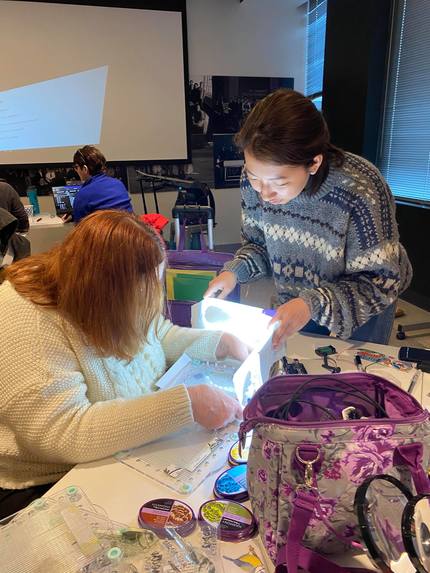
Peggy trying the light studio
-
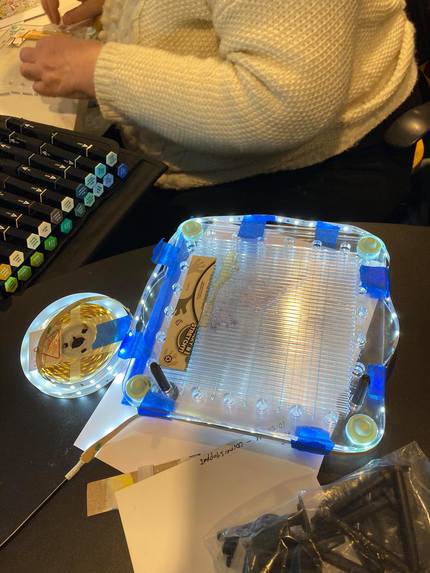
1st iteration of lit up base with see through grids
-
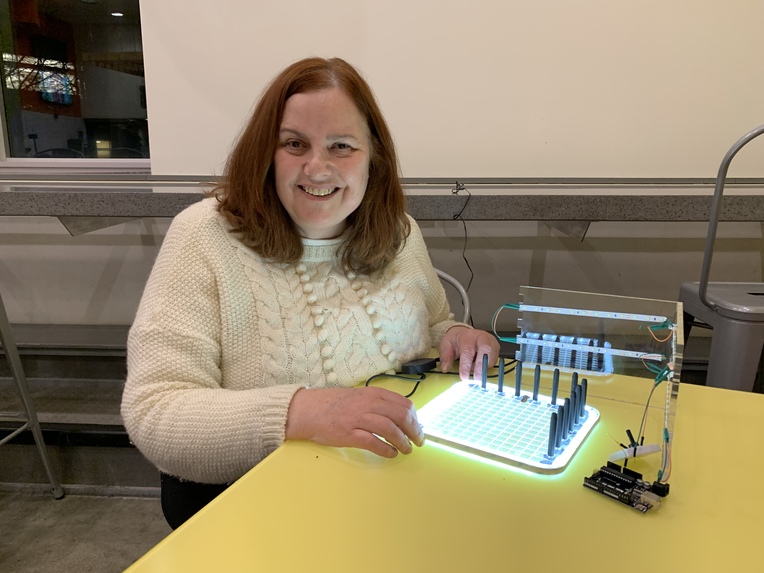


Inspiration
We met with Peggy 2 weeks ago, visited her house, and saw how passionate she was at stamping. However, she has difficulty aligning the stamps and getting them perfectly on top of each other for the design.
What it does
This platform allows Peggy to align her layered stamps on top of each other.
How I built it
Problems tackled:
- Difficulty seeing the alignment of stamp layers --> Lights on the base The lights around the base along with frosted lines improves Peggy's ability to align the stamp initially to a location of her choice on the paper. The frosted lines combined with the lights lining the acrylic base allows the lines to shine through regular card stock.
--> Lights L-bracket The lights L-bracket module is separate from the base so she can use it only when she is aligning the layered stamps to the first stamp she is using and move it aside when she is done with it.
Paper moving around --> Stronger magnets to hold down the paper --> Frame clipping to hold down the paper
Aligning 4-5 layered stamps and repeatability --> Physical stopper on lid with ridges The lid that Peggy aligns the stamps to has ridges so she can use her sense of touch to align the stamp in 1 direction. In the other direction, we installed a physical stopper for her to align the corner of the stamp.
--> Tall pegs The tall pegs allow for many lids to be layered on top of each other to align all together, especially when there are many layers involved in the stamping process (4-5 layers).
--> Adopted multiple lid method Once it's aligned, it's repeatable for many different cards.
- Usability (Peggy should be able to use it right away at home) --> Paper slides under clip (don't need to tighten screw) The paper simply slides under the clips, so she doesn't have to unscrew it every single time.
--> Magnets she's used to using --> Sticky legs that prevent slippage of the platform --> Plugs into wall plug, no use of microprocessors that the wires might come loose from
Accomplishments that I'm proud of
Peggy's ability has improved in stamping.
What I learned
Designing with a co-designer is really fun! It's nice to get feedback from them and iterate many times through ideas.
What's next for Peggy's Stamping Platform
Make it more usable, work on tolerances.

Log in or sign up for Devpost to join the conversation.