-
-
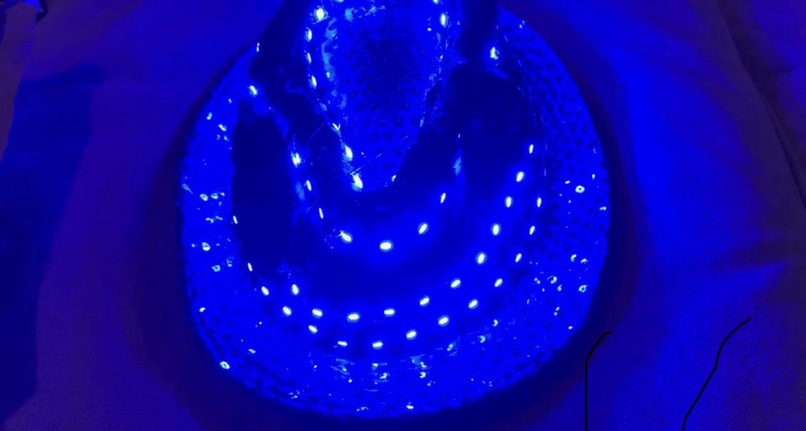
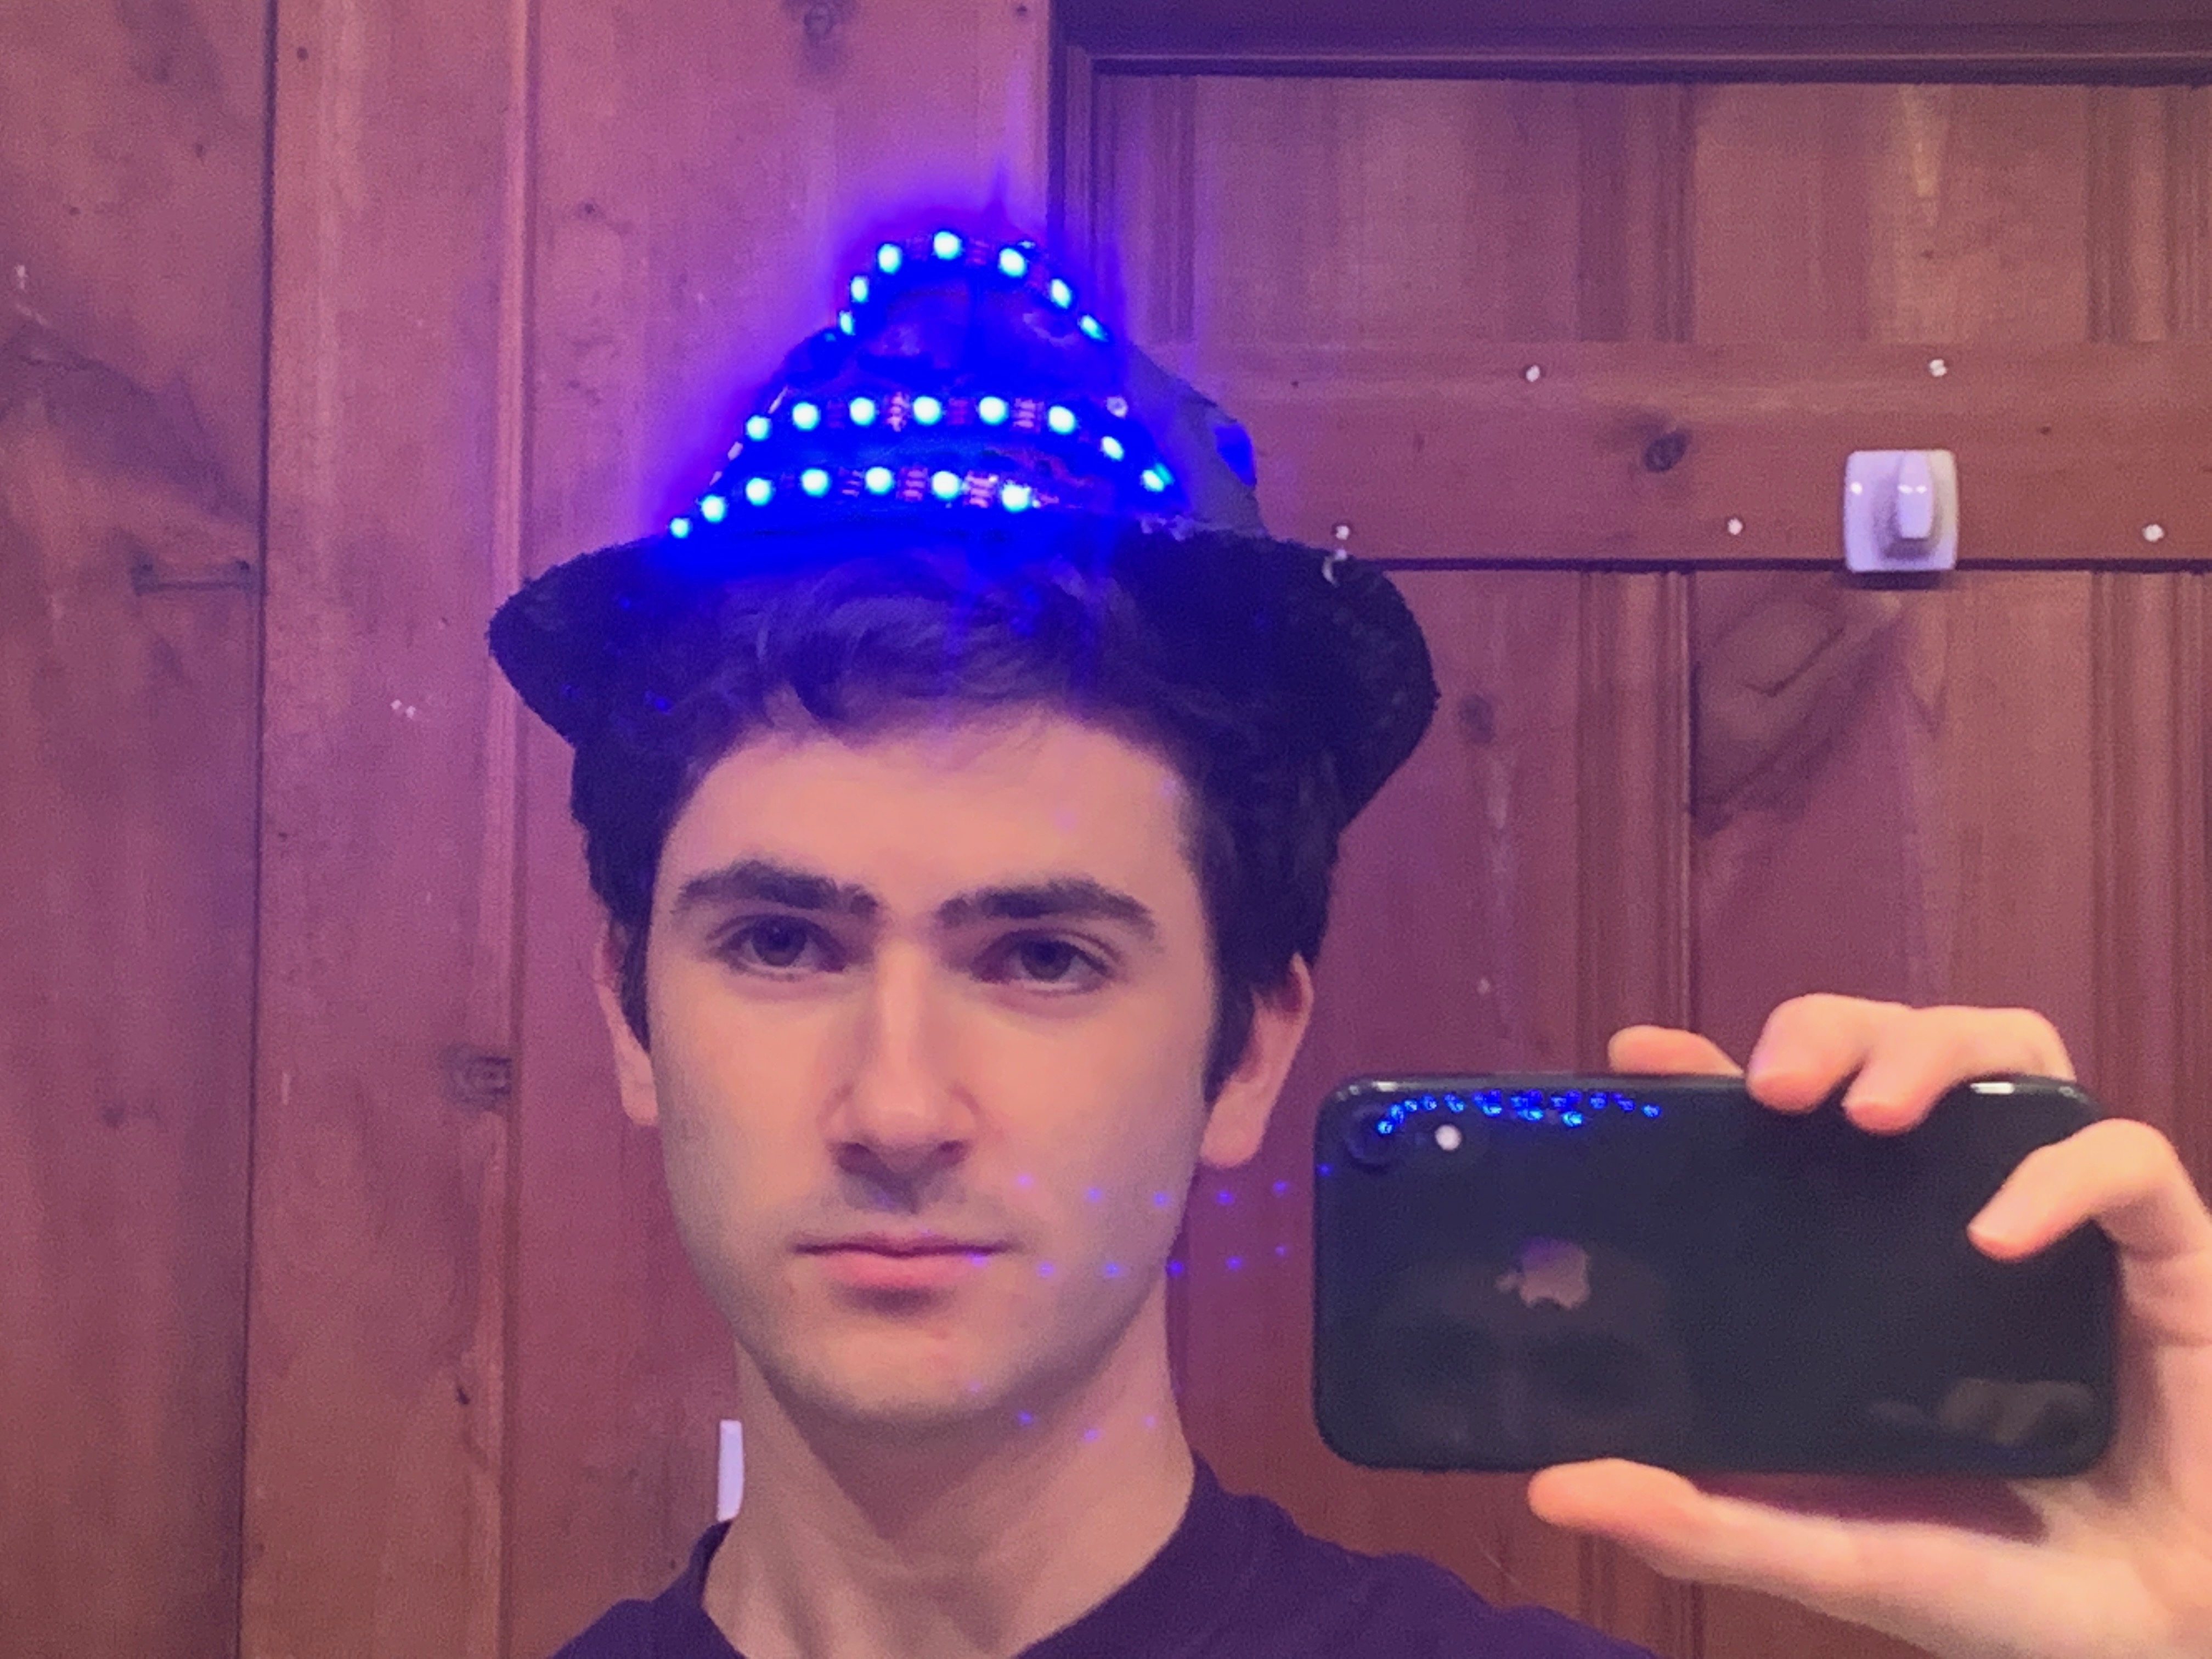
Party-to-go Hat
-
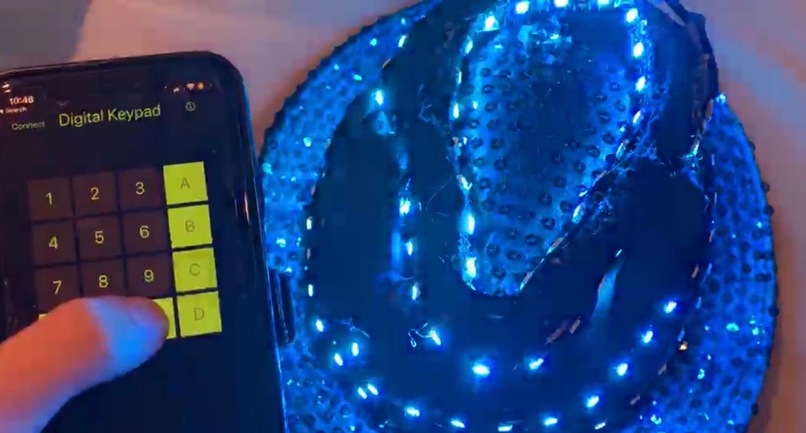
Controlling LEDs with smartphone
-
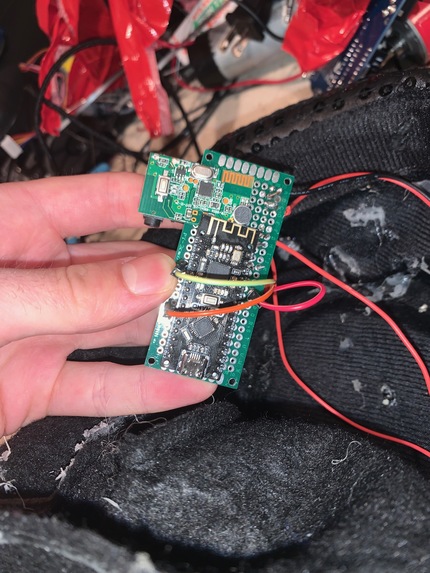
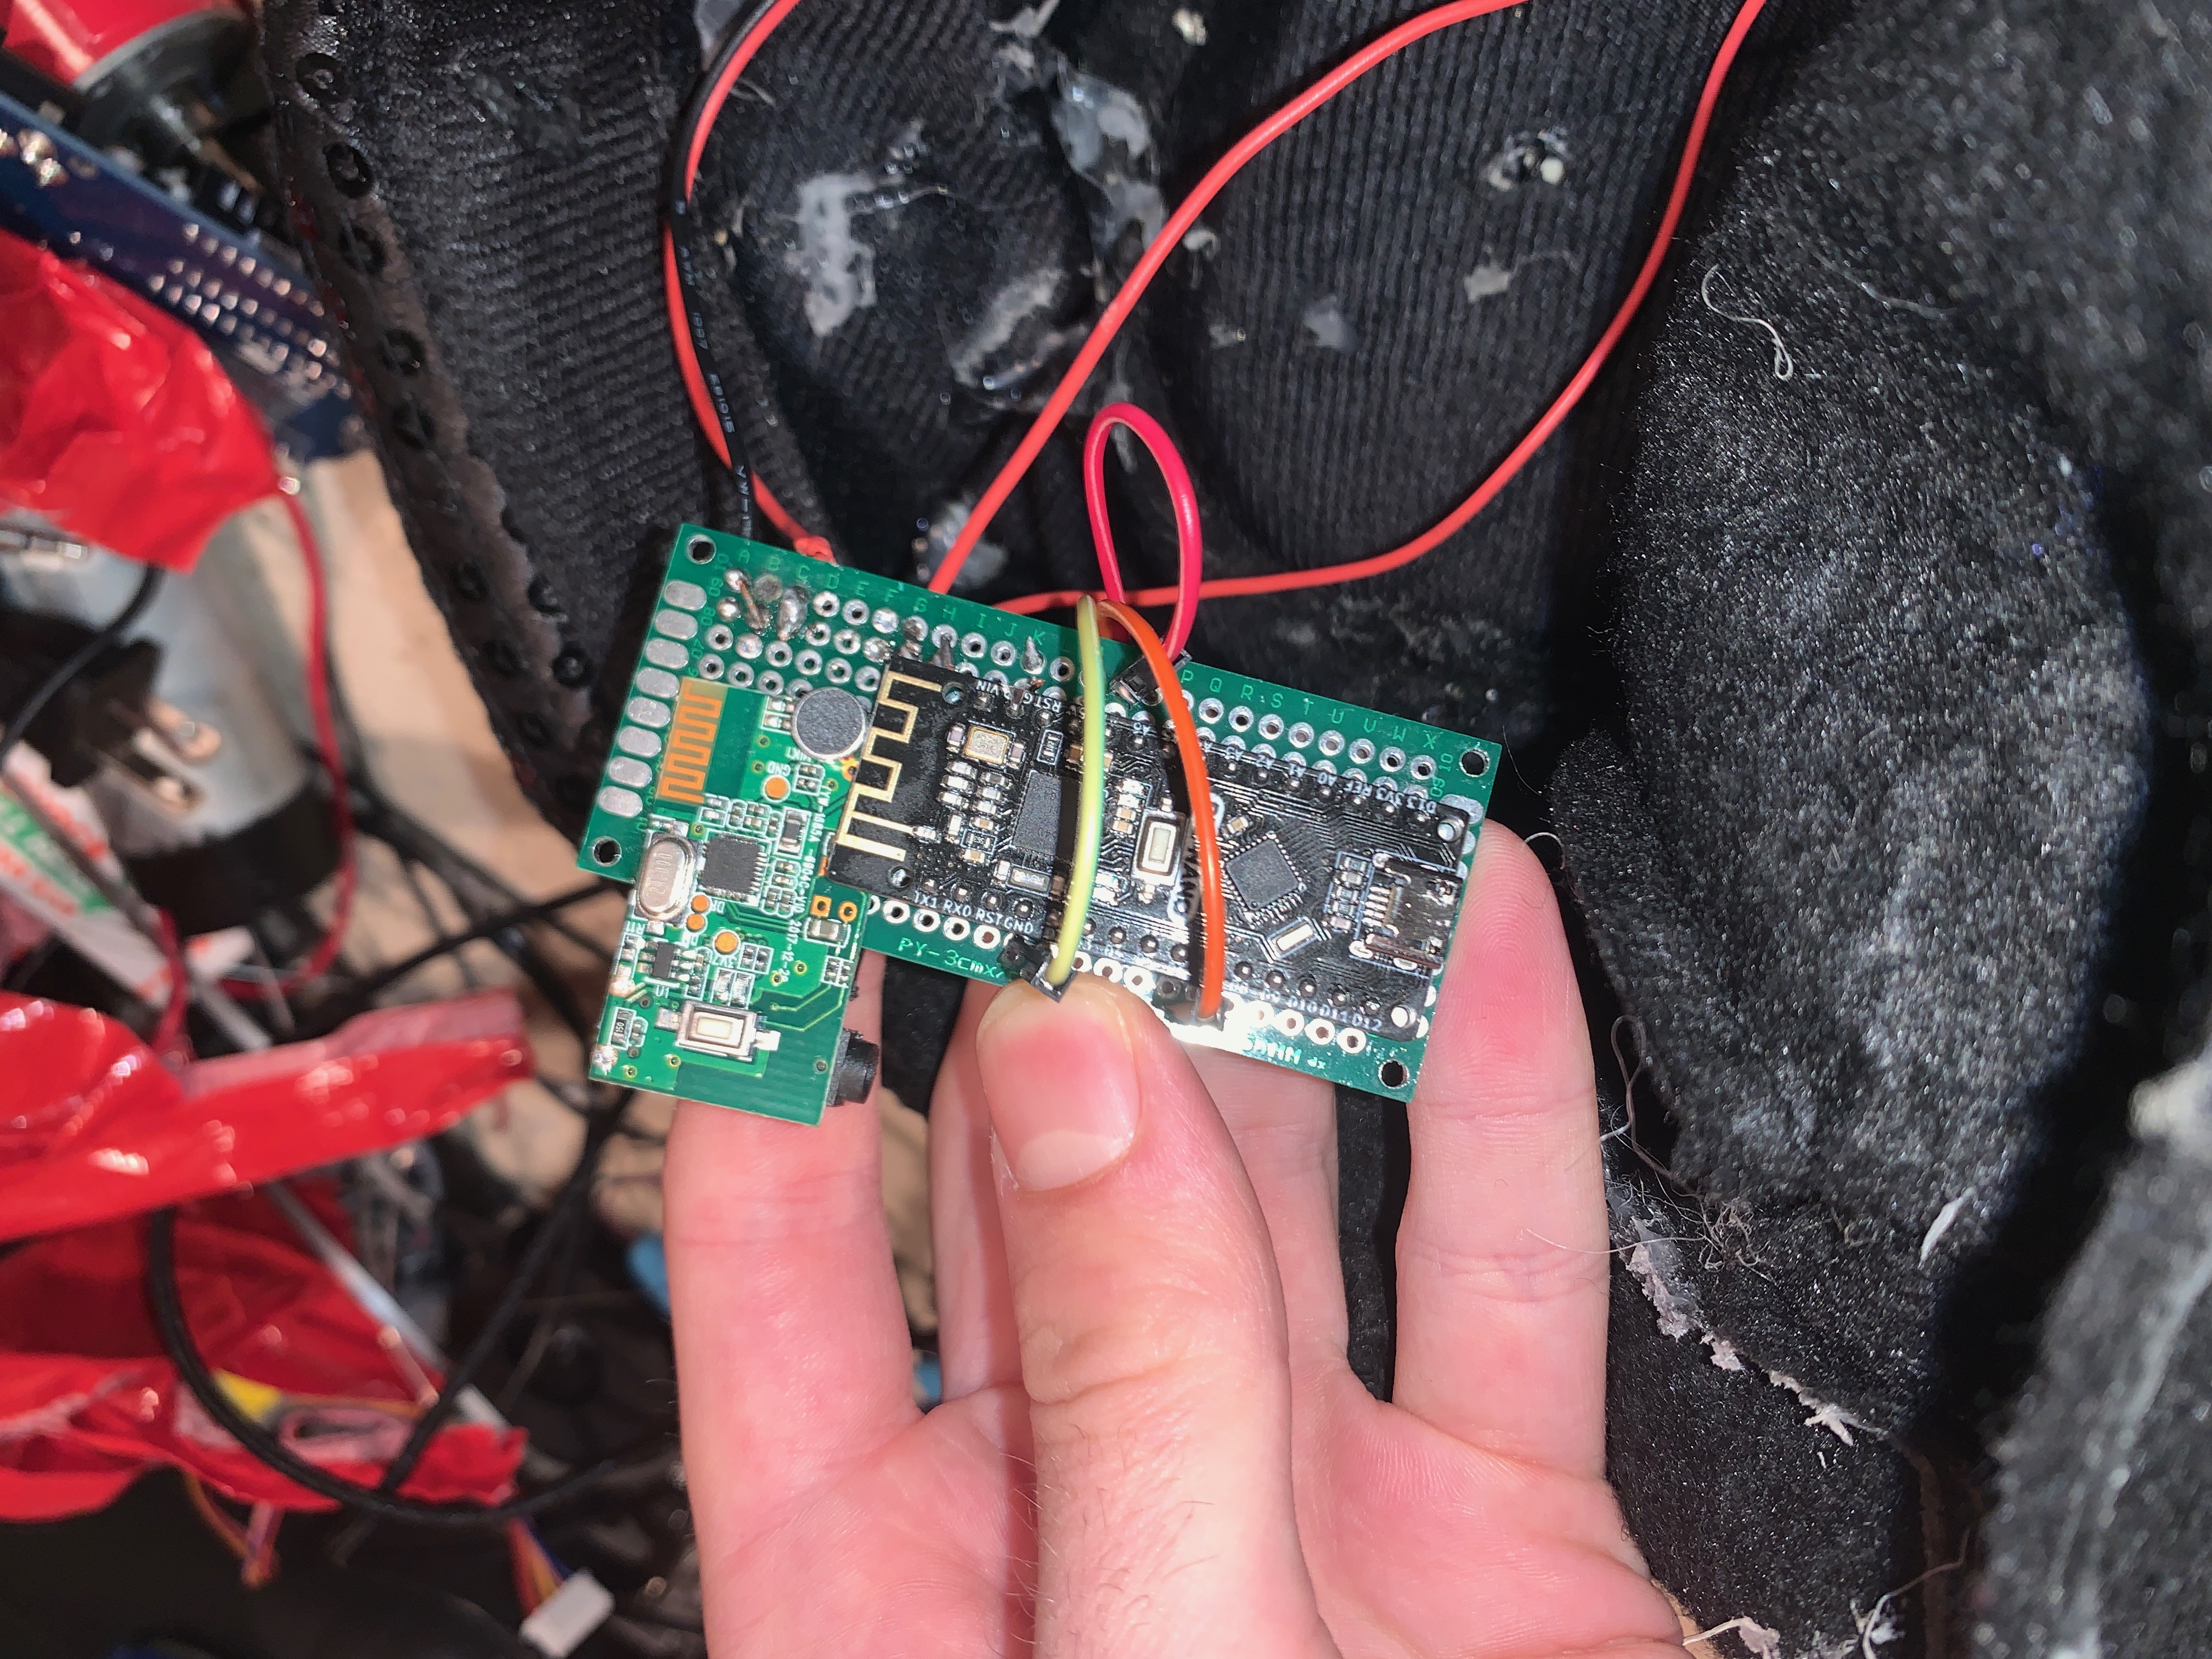
Front of PCB with BLE Nano, Amplifier board, and Bluetooth Aux Adapter soldered together
-
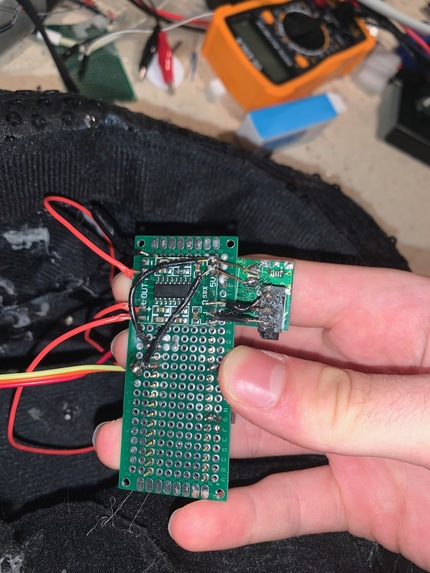
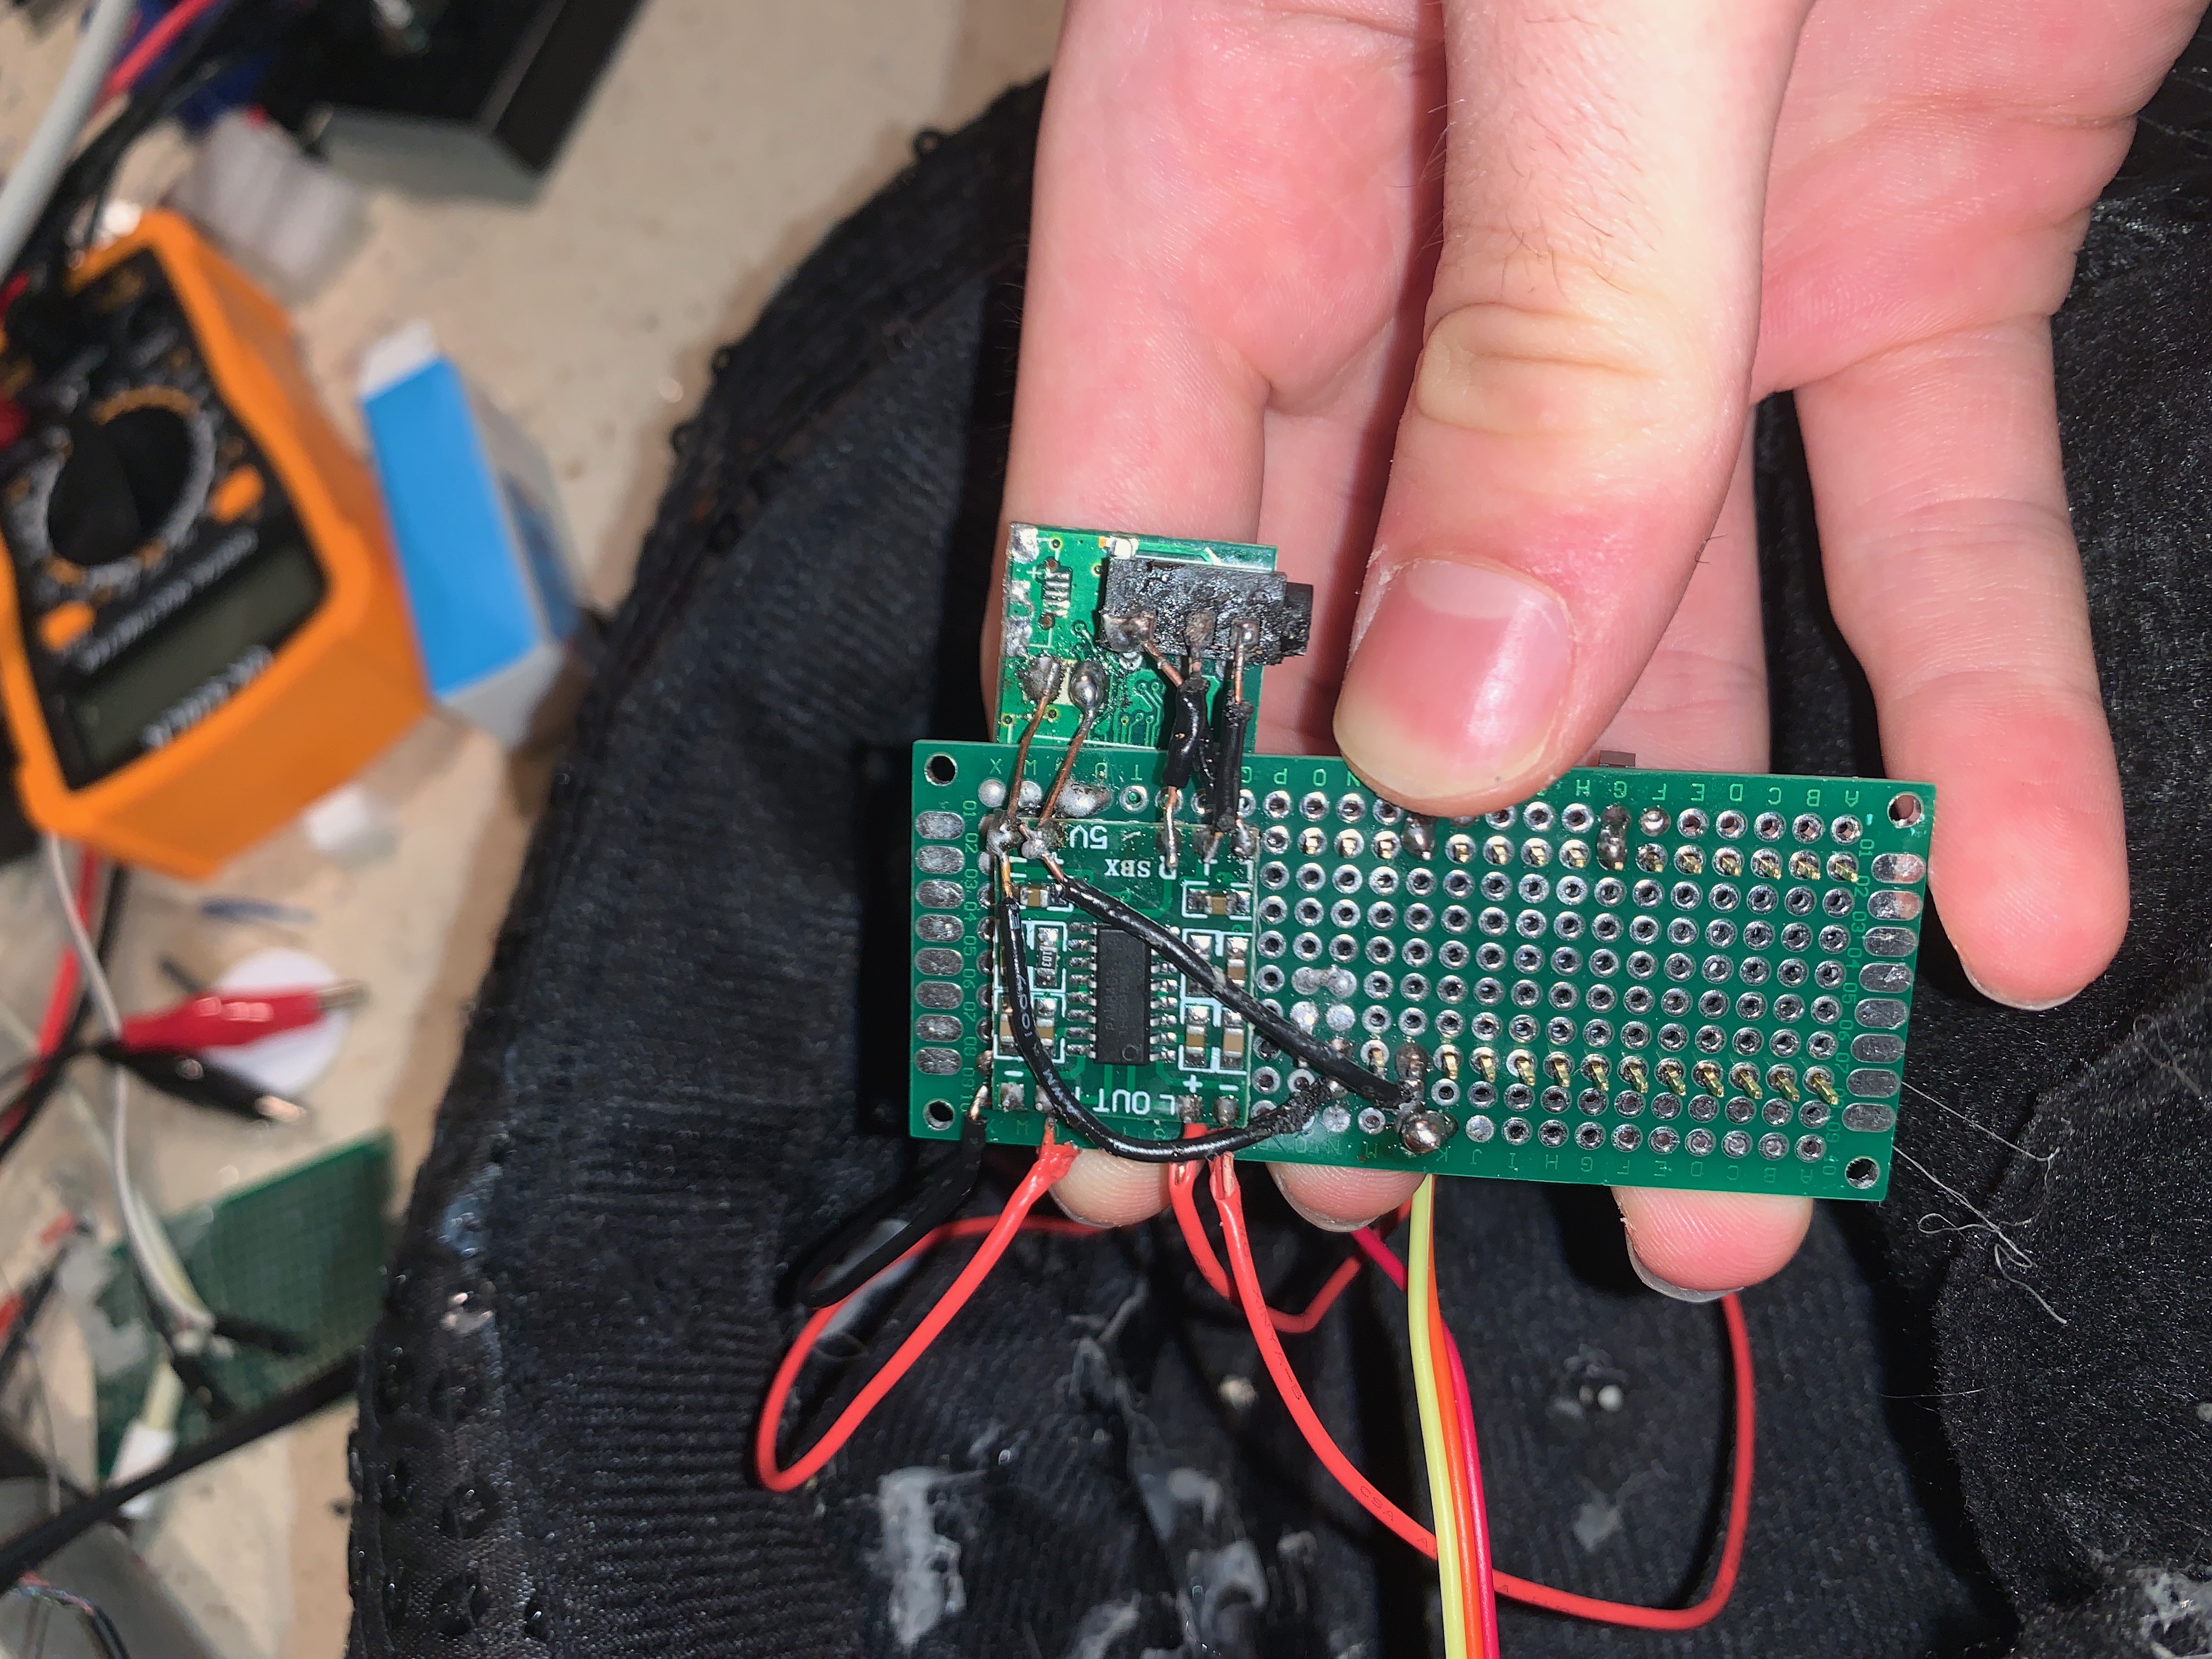
Back of PCB board.
-
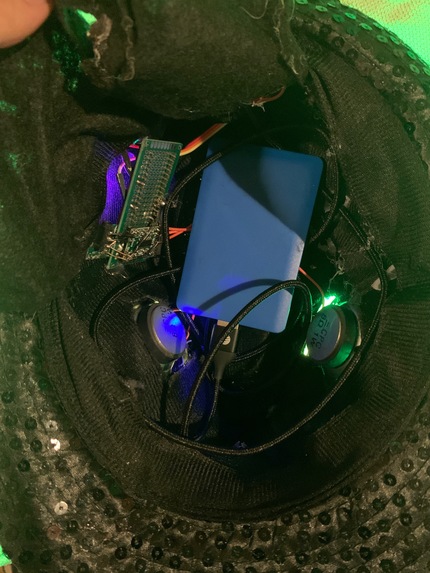
Inside of finished Hat
-

Picture with no lights
-

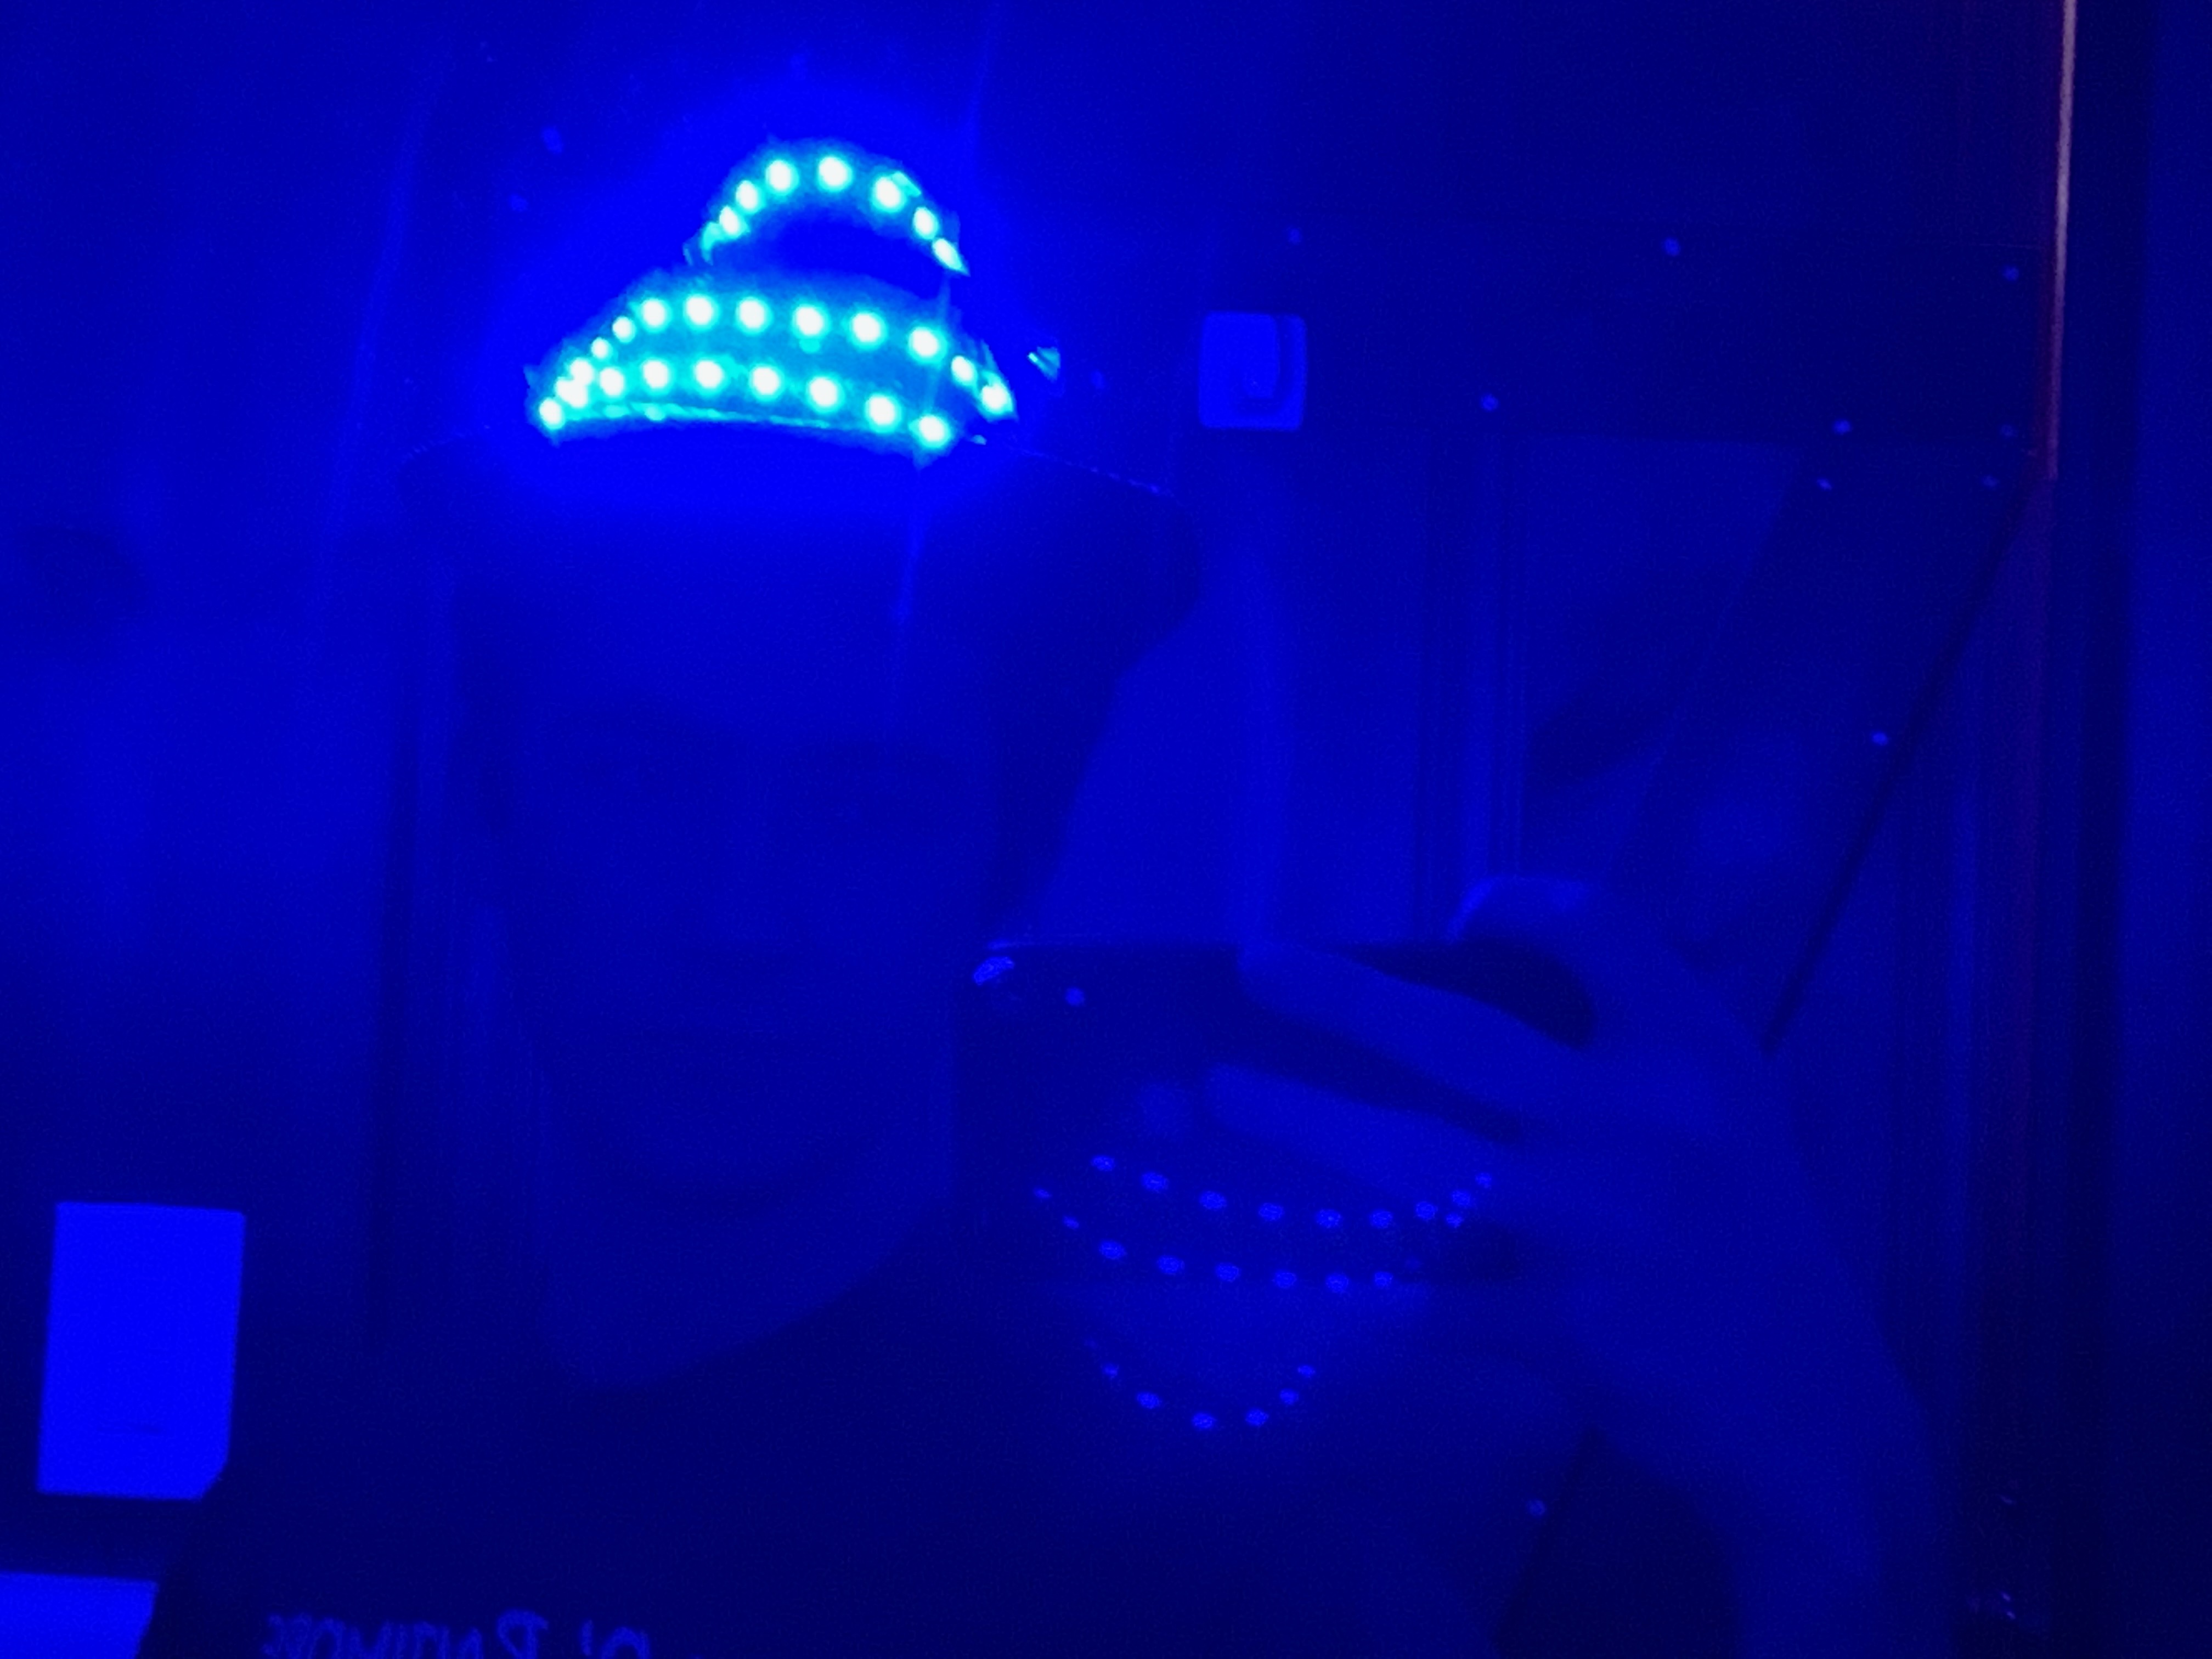
Picture with lights


Inspiration
Usually, people have to go to parties because there is no way to bring the party to the people. Also, traditional speakers are boring because all they do is play music. There is no such thing as a portable party with good audio and visuals.
What it does
The Party-To-Go Hat brings the party to you! It comes equipped with LEDs and speakers, so the wearer becomes the life of the party. The speaker is Bluetooth and can be paired with a smartphone to play any song at very loud volumes. The LEDs can be controlled through a smartphone to change to any colors or alternate between 9 different patterns.
How I built it
The LEDs are powered from a BLE Nano, a Bluetooth Arduino Nano. The BLE Nano connects to the smartphone and uses the app, Bluetooth Digital Keypad, to change colors and patterns. The BLE Nano interprets the buttons from the keypad to change colors or patterns. The LEDs are hot glued to the outside of the hat.
The speakers are connected to an amplifier board which gets its power from the BLE Nano. The amplifier board is also connected to a Bluetooth Aux Adapter to make the speaker have a wireless connection with the phone. The battery was taken out of the Bluetooth Aux Adapter so it could be powered from the BLE Nano. The BLE Nano gets power from a thin portable charger that is placed inside the hat.
Two holes were put in the hat to mount the speakers. The speakers are partially outside of the hat so the hat can fit on someone's head.
The BLE Nano, amplifier board, and Bluetooth Aux Adapter were all soldered to a PCB board to make the board thinner and more durable, so someone can wear the hat without breaking something.
Bluetooth Digital Keypad was created using XCode. This app was created many months before the hackathon to help create and use various Arduino projects that use Bluetooth.
Challenges I ran into
I had trouble soldering the wires to the speakers because the speakers were put into the hat before I attached the wires. It was difficult not to burn the hat as I soldered.
Many wires were loose and came off while soldering, so I used thicker wire in some parts.
I had trouble sending Bluetooth data to the BLE Nano because of minor bugs in the code that was resolved later.
Accomplishments that I'm proud of
I'm proud that I created a complex hardware project, with many boards, wires, and components, that doesn't fall apart all the time!
What I learned
I learned how to use a BLE Nano. I also learned how to make electronics look nicer and more durable by using a PCB board.
What's next for Party-to-go Hat
product testing at university.

Log in or sign up for Devpost to join the conversation.