-
-
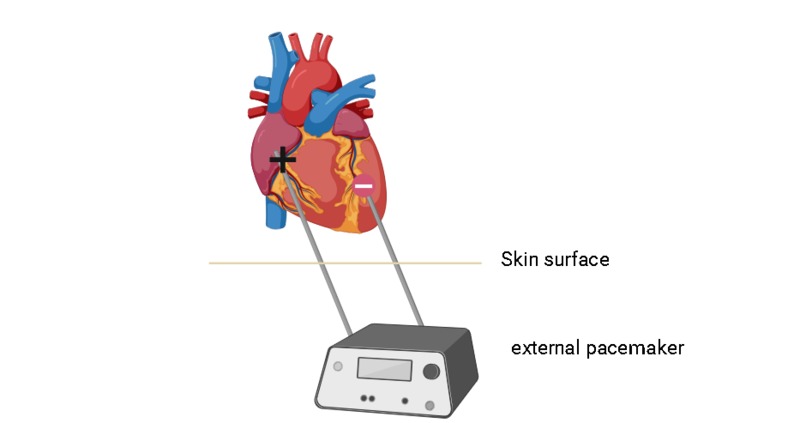
Graphical abstract of pacermaker in vitro. Innervating the right atrium and left ventricule
-
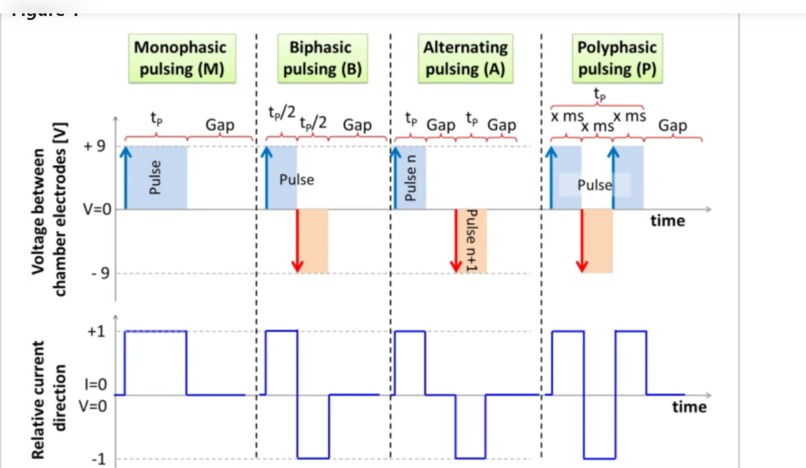
reference figure for different phasic pulsations taken from(https://www.nature.com/articles/s41598-023-29145-3)
-

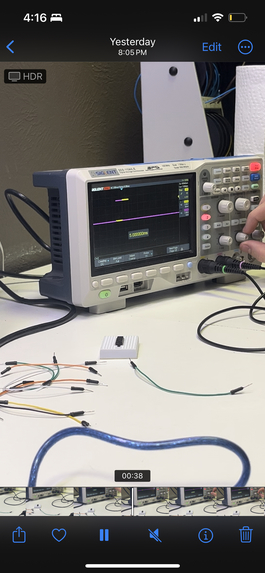
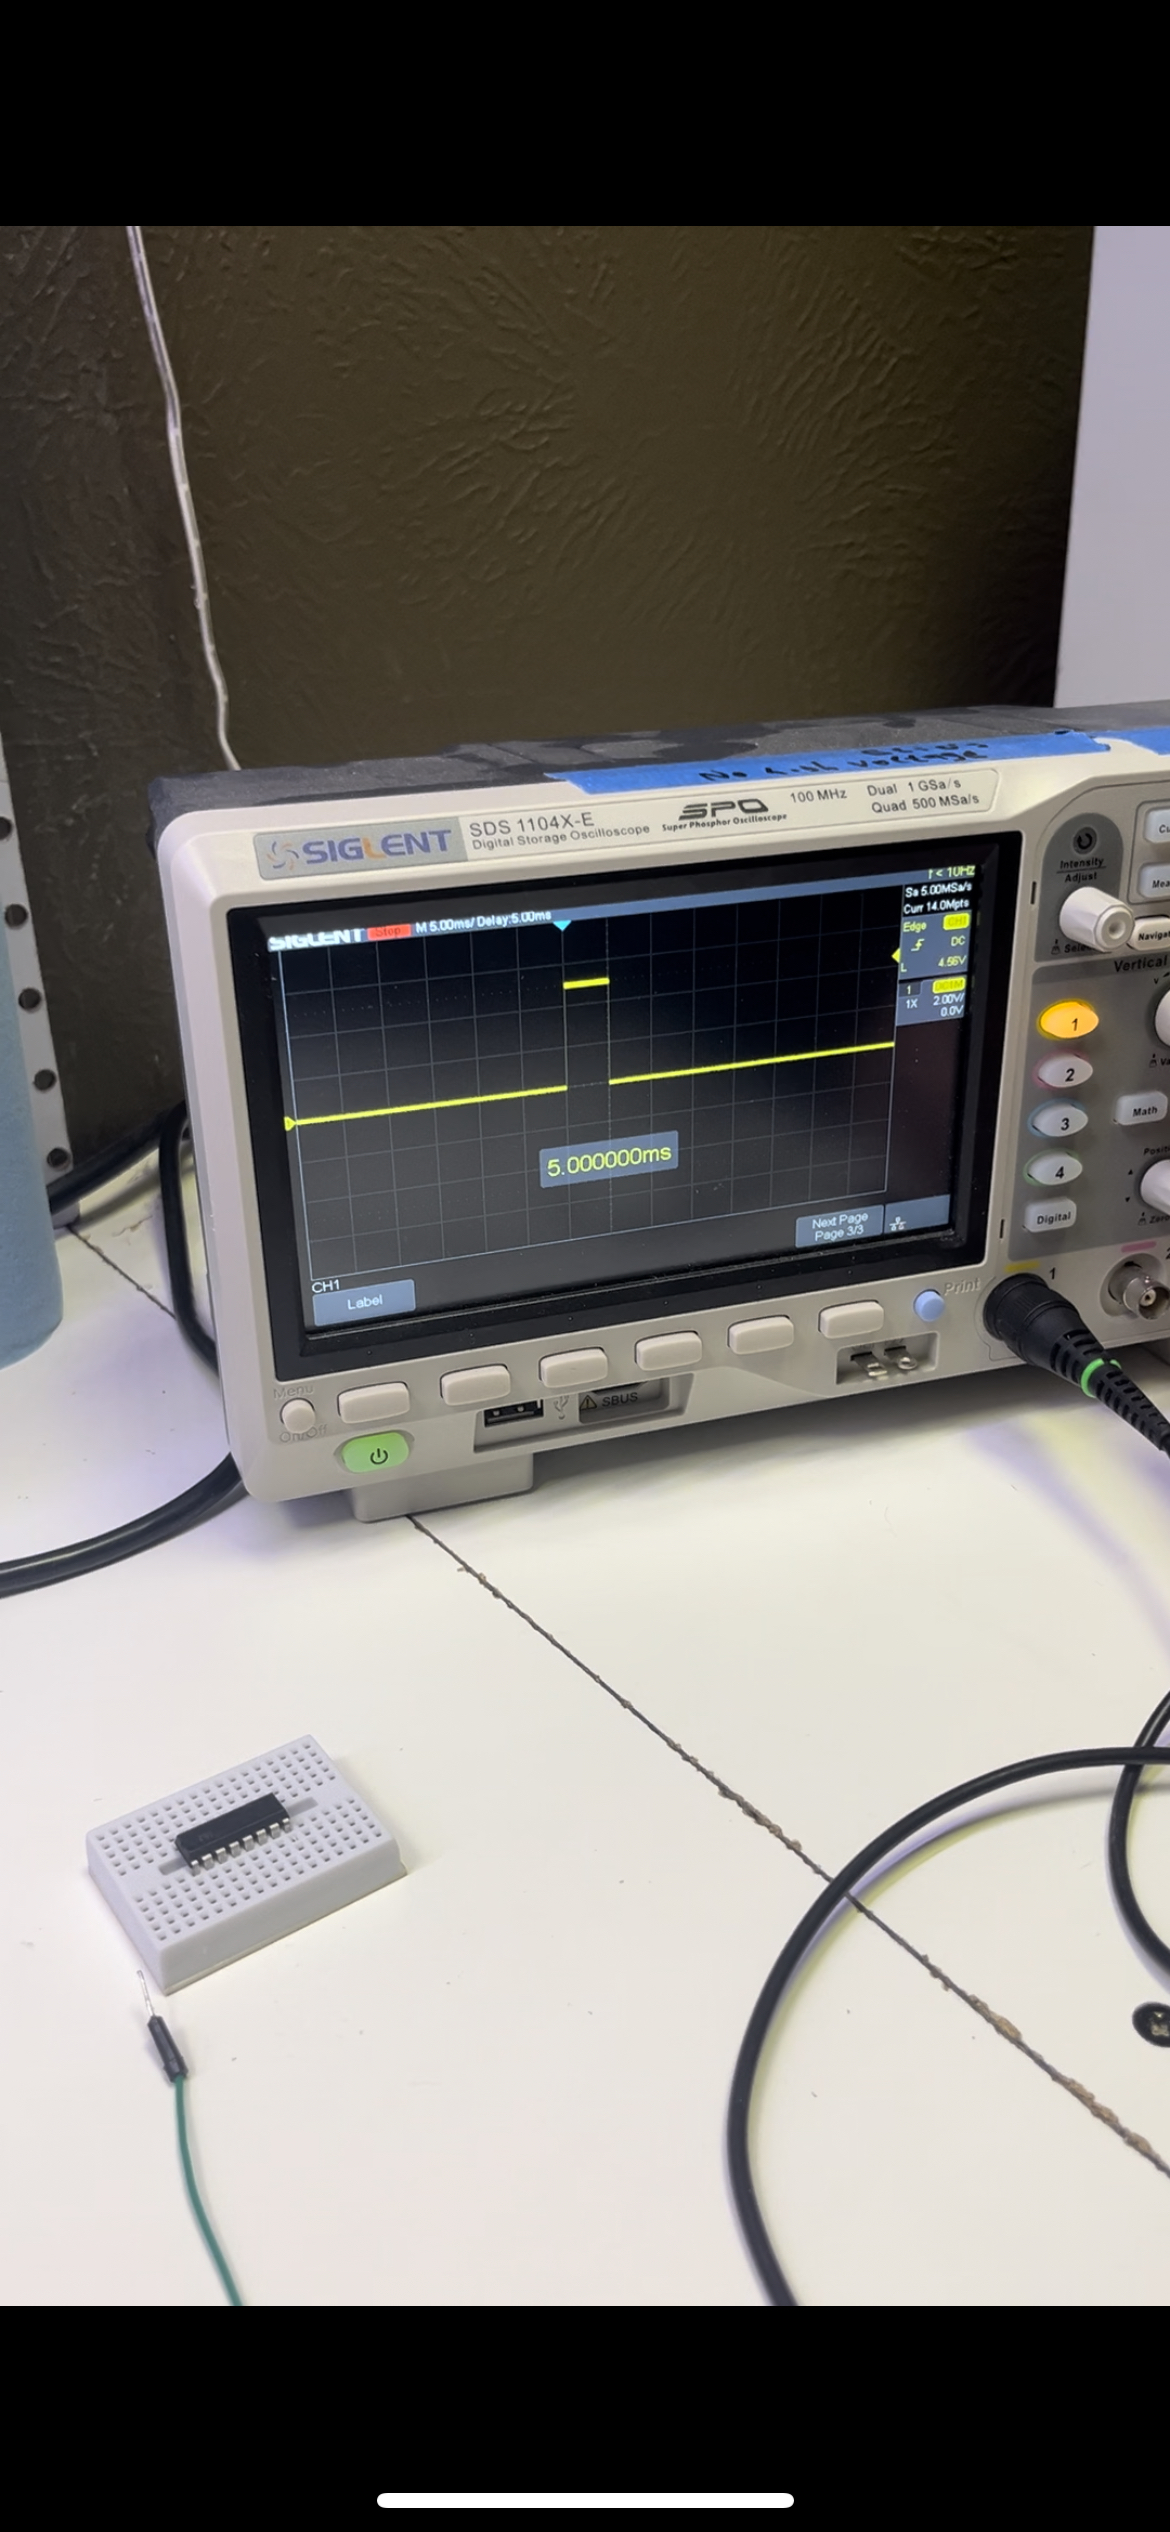
monophasic amplitude (achieved intended value: 5ms of pulse)
-
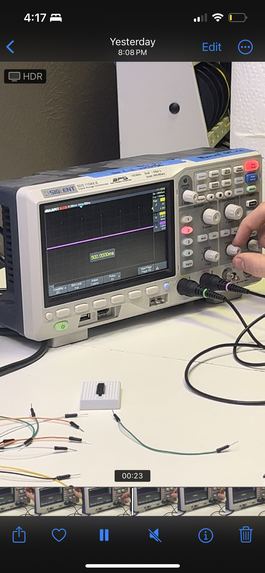
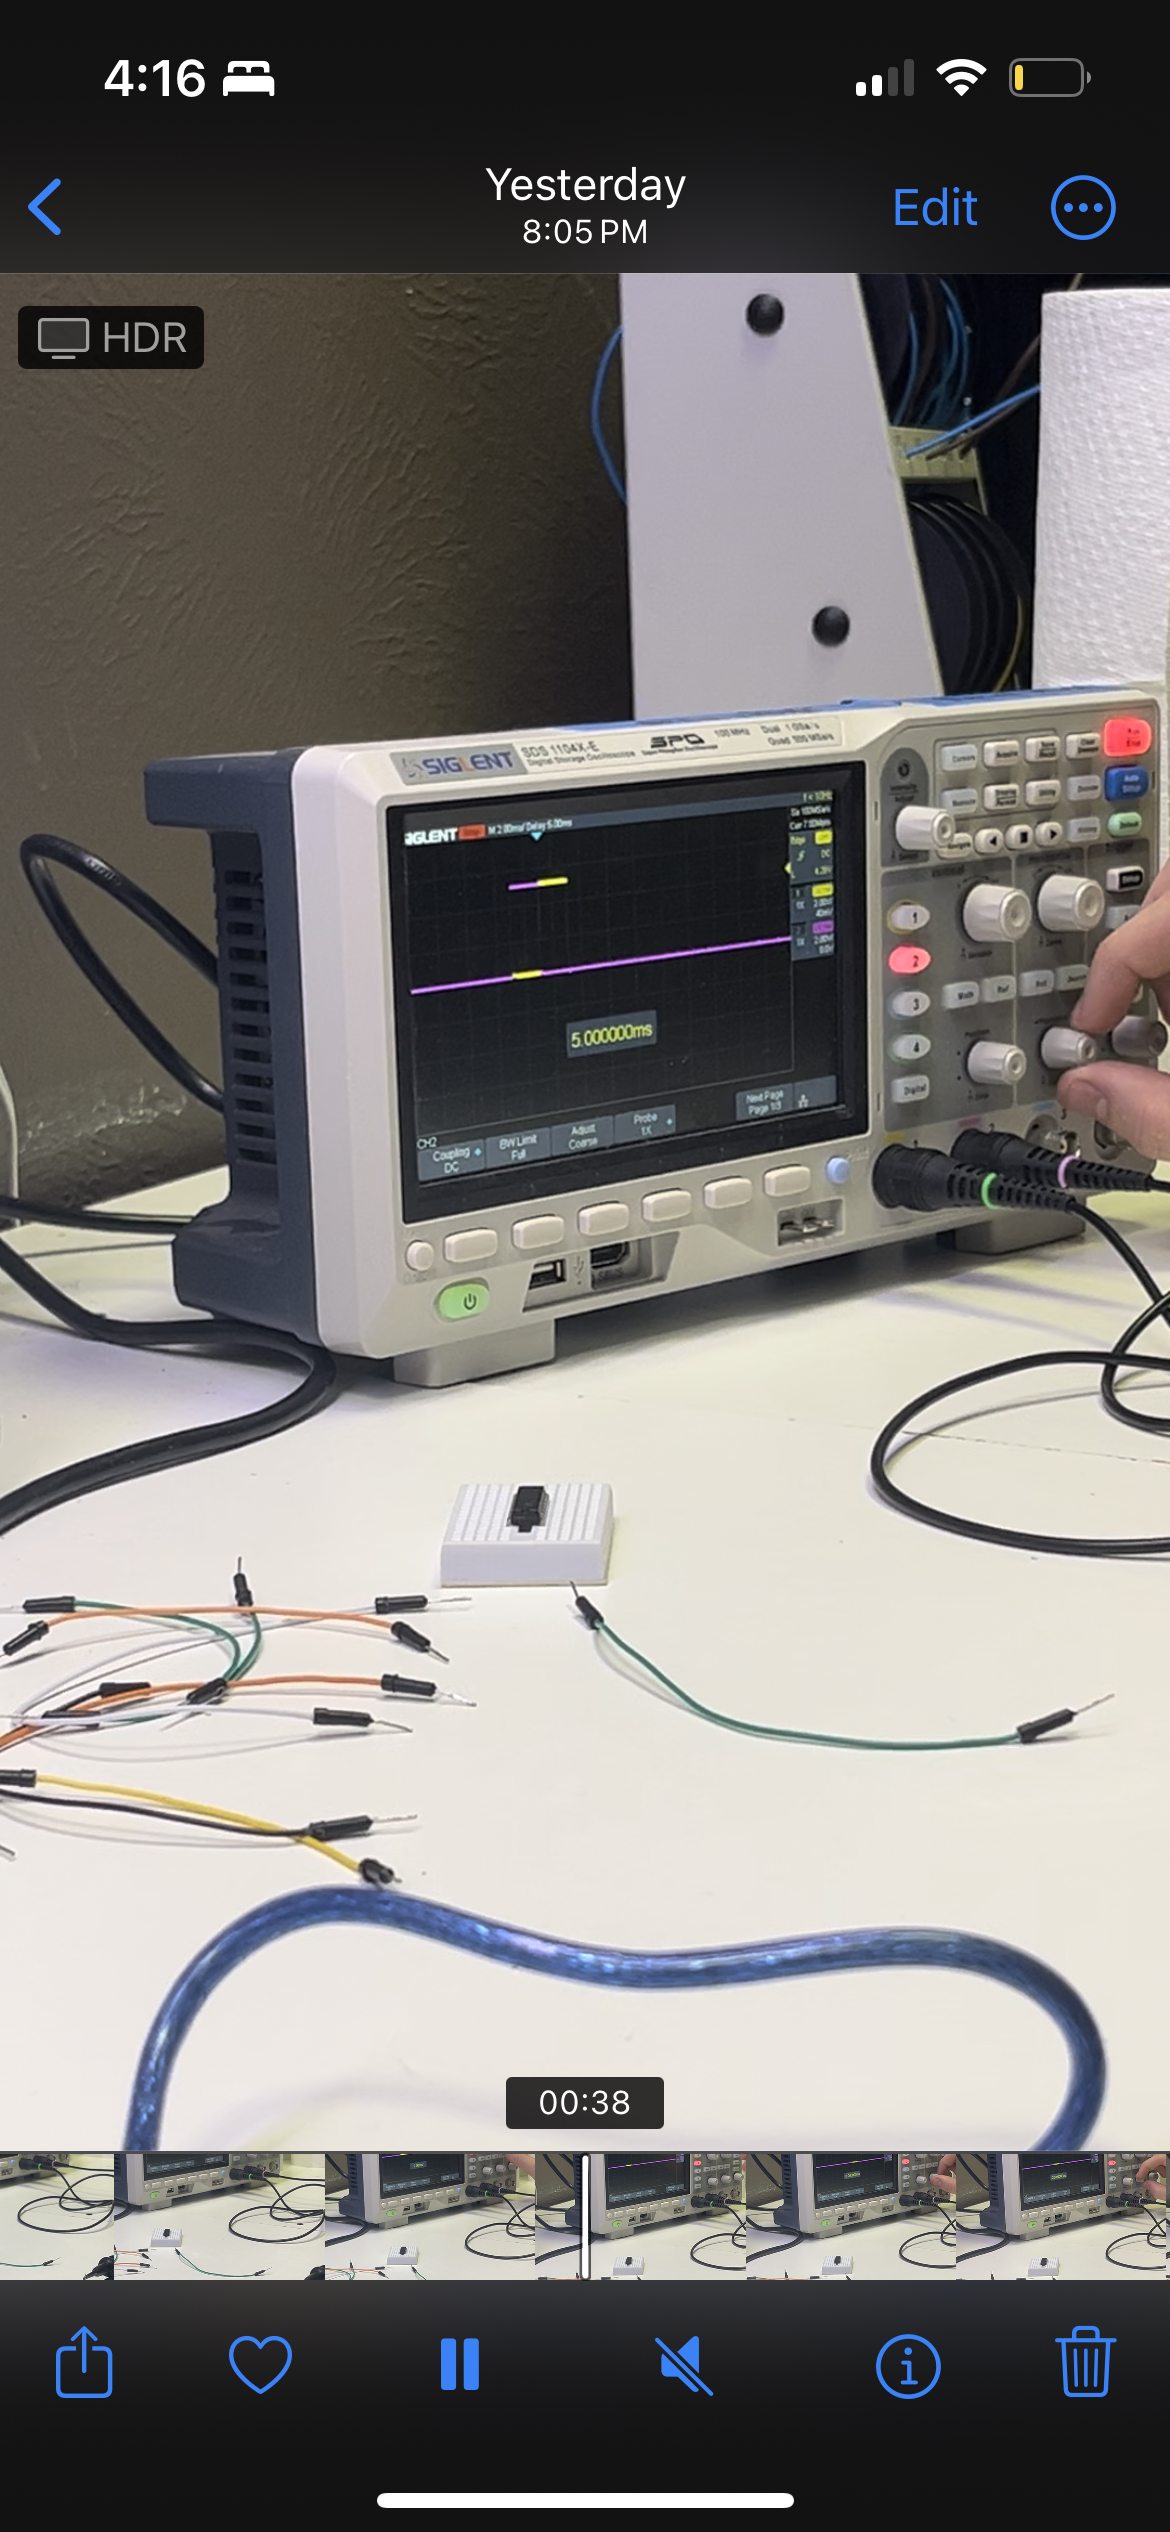
monophasic intervals (achieved intended value: 1000ms of pause)
-
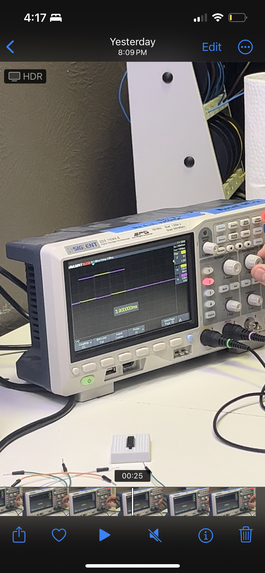
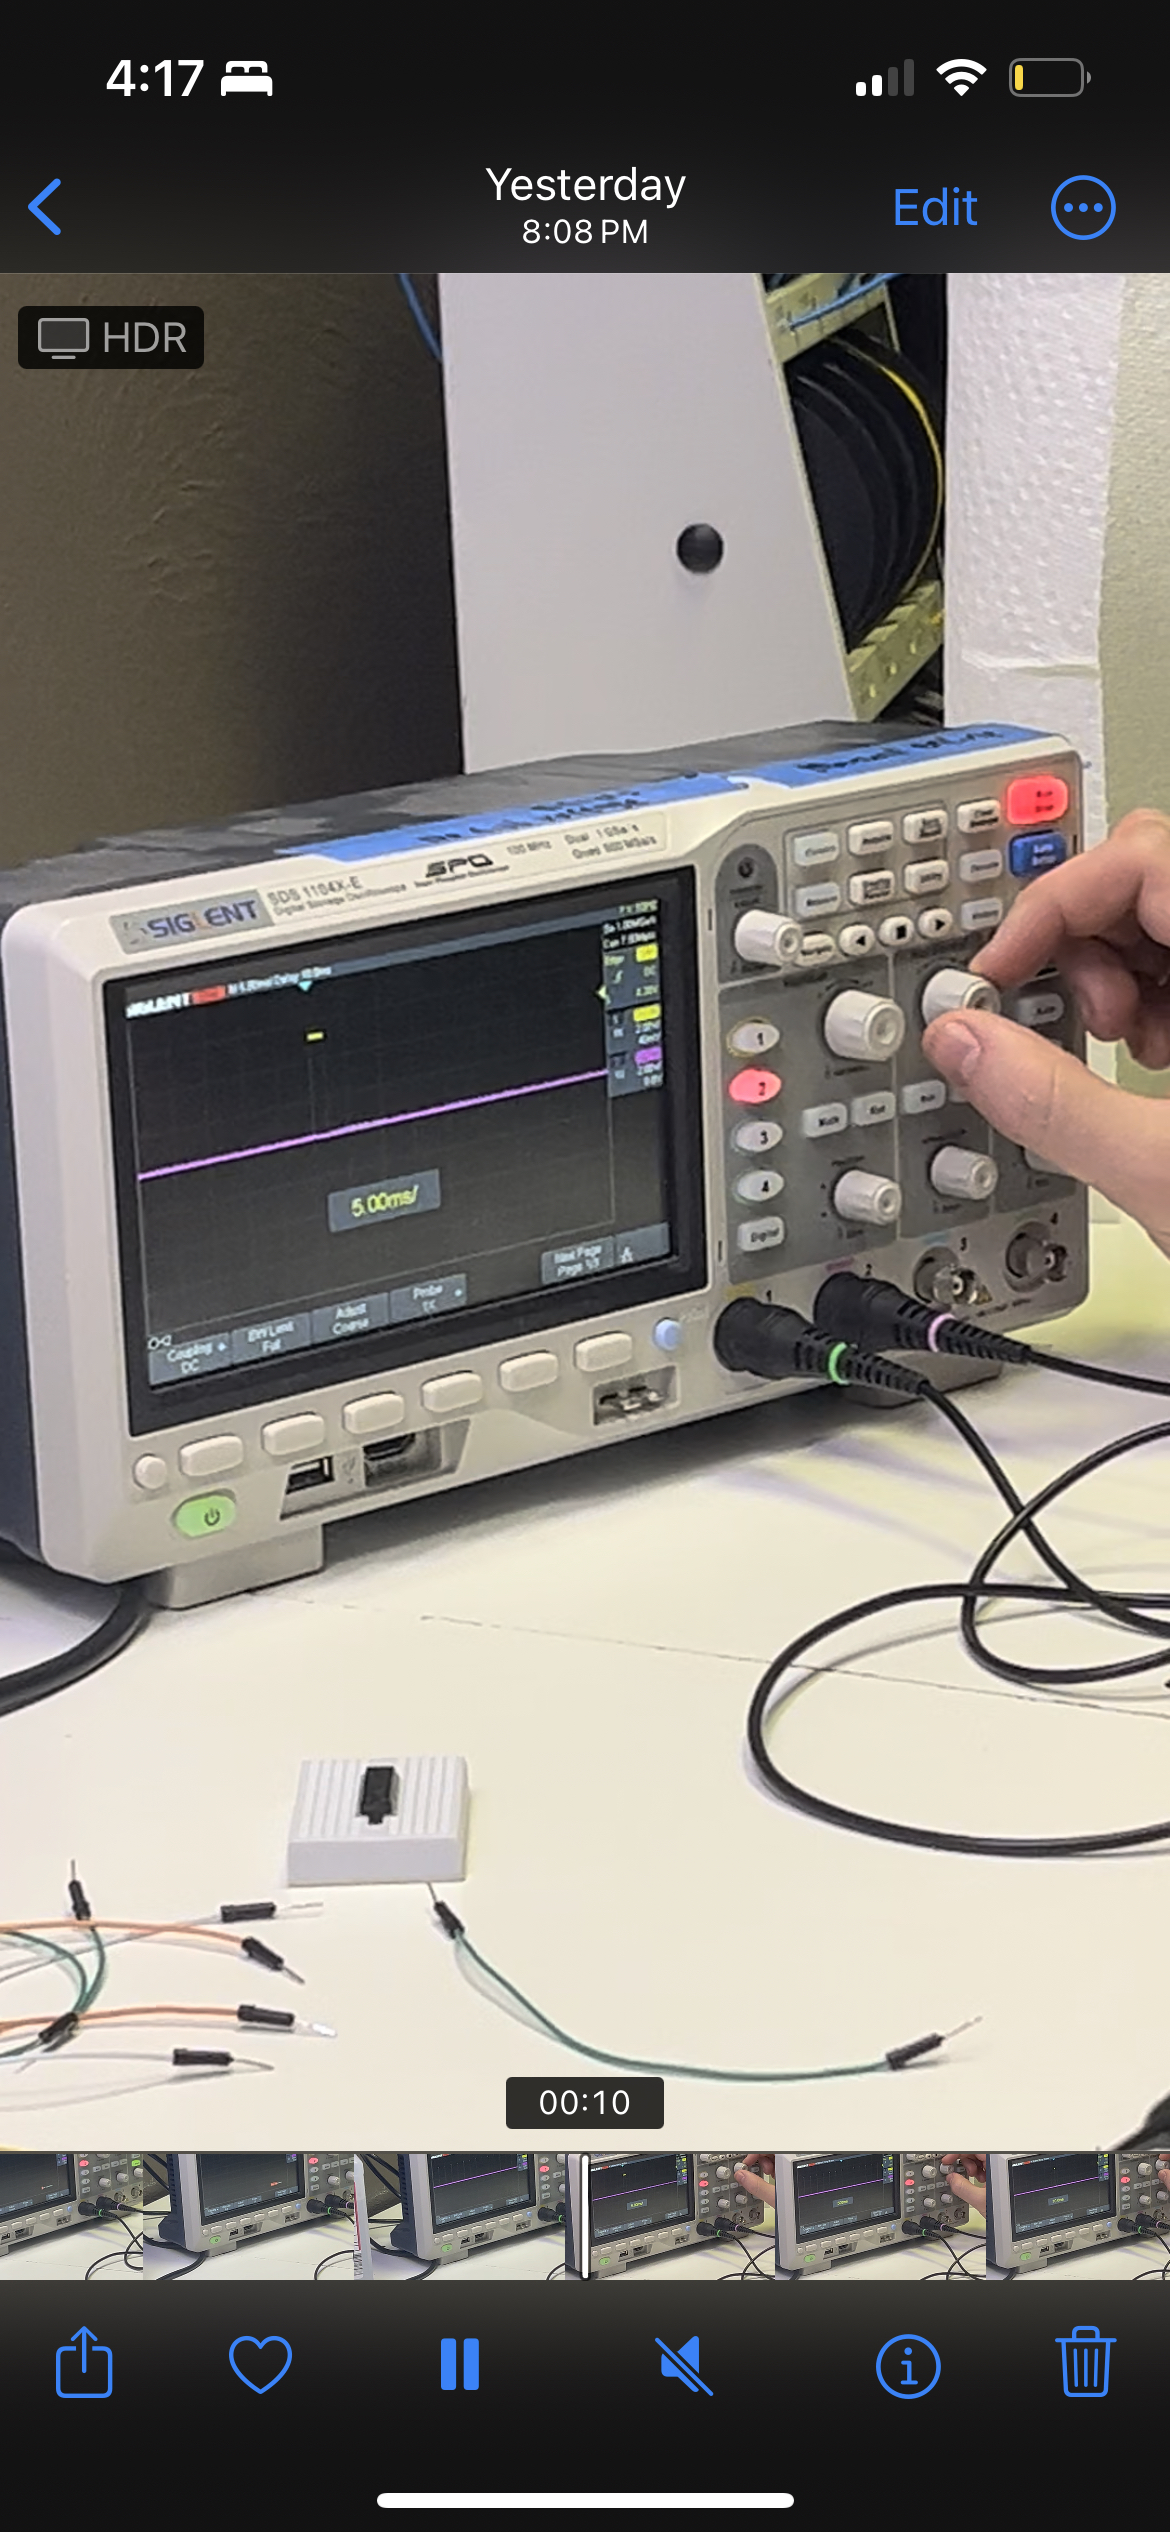
Biphasic intervals (purple is negative) (achieved intended value: 2.5ms of +/- pulse)
-
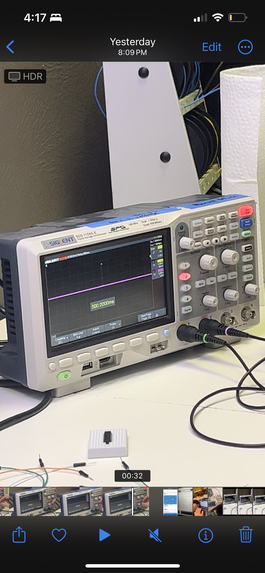
Biphasic amplitude (purple is negative) (achieved intended value: 1000ms of pause)
-
Alternating interval (purple is negative) (achieved intended value: 2.5ms of +/- pulse)
-

Alternating amplitude (purple is negative) (achieved intended value: 500ms of pause)
-
polymodal amplitude (purple is negative) (achieved intended value: 2.5ms of +/- pulse alternating +,-,+))
-
polymodal interval (purple is negative) (achieved intended value: 1000ms of pause)
-

Fully integrated pacemaker!


Inspiration
Our inspiration stems from the remarkable story of Earl Bakken, whose ingenuity and quick thinking led to the creation of the first wearable pacemaker, saving a patient's life during a critical moment. Bakken's pioneering work laid the foundation for advancements in cardiac care. Drawing inspiration from his spirit of innovation, our project seeks to contribute to the ongoing evolution of medical technology. By harnessing modern technologies and creative problem-solving, we aim to emulate this same spirit, making strides in the field of medicine and improving the lives of those in need.
What it does
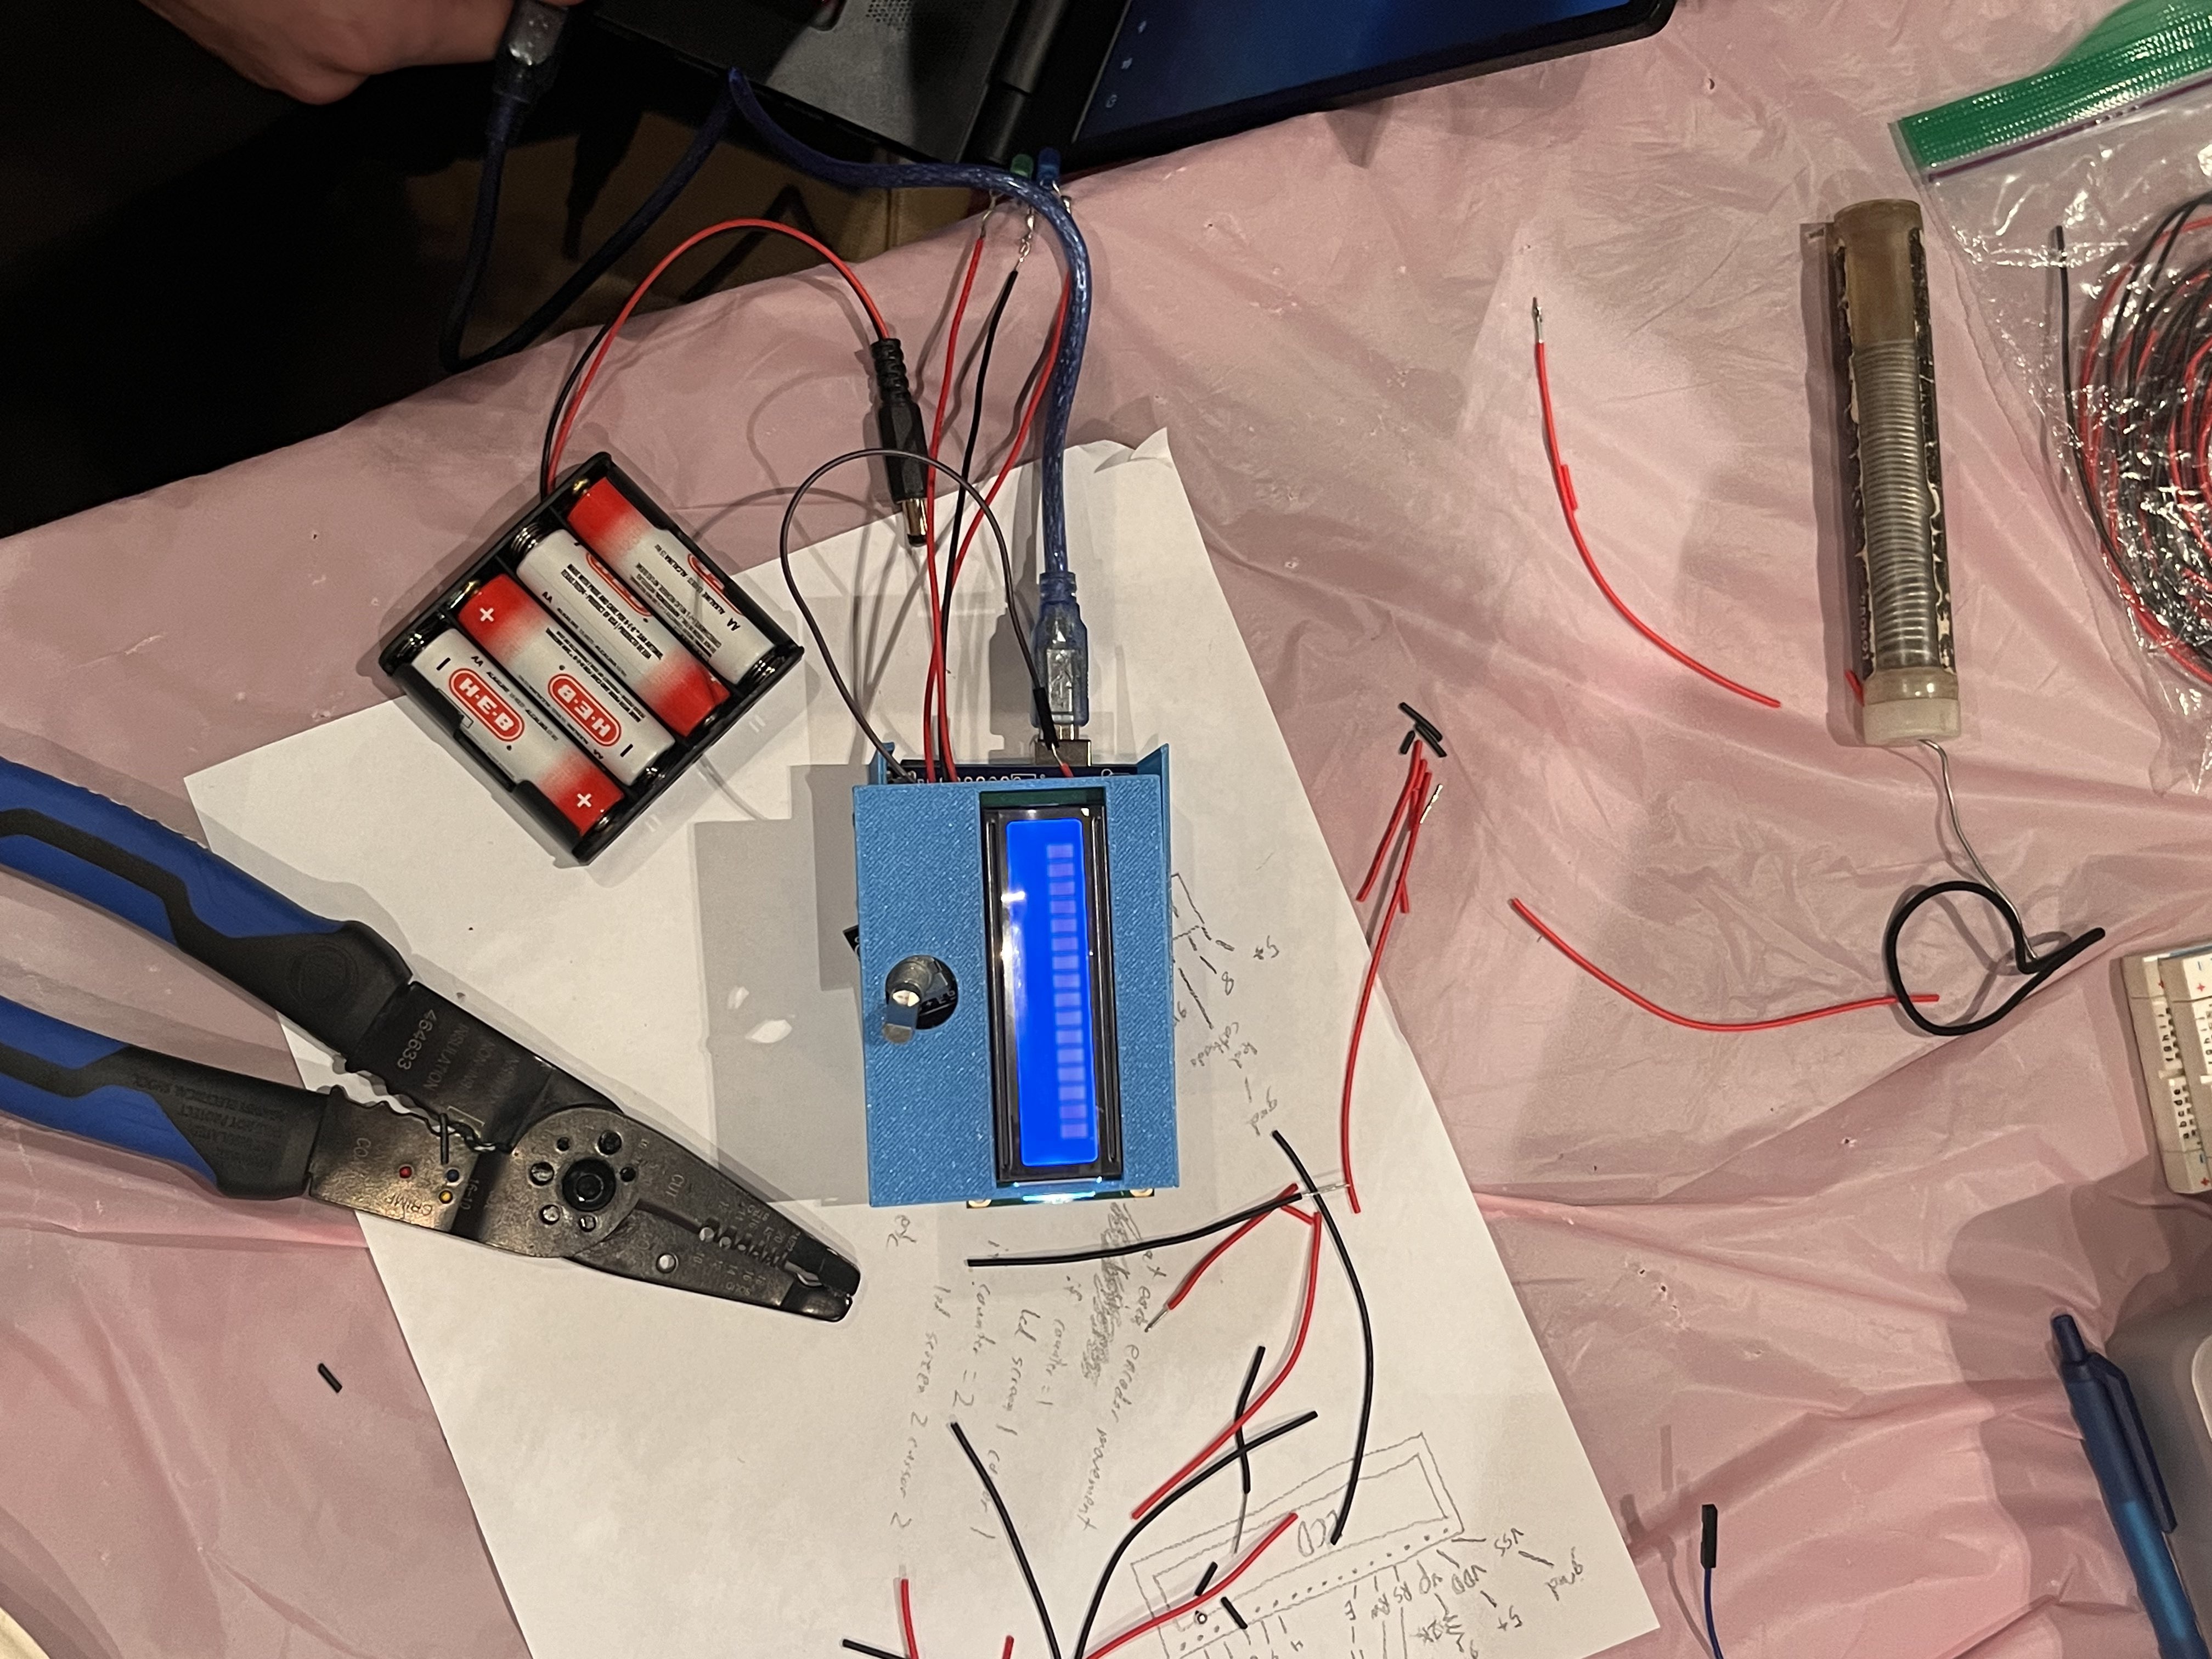
Our device utilizes a two lead system along with an external pacemaker to innervate the two chambers of the heart and induce pacing. There are a vast amount of heart conditions requiring different pacing frequencies to ensure proper patient care. Our device allows us to switch between monophasic, polyphasic, biphasic, and alternating pulsing. The user utilizes a rotary encoder to control a LCD display to ultimately pick their desired pace. In order to create a bipolar pulse we have to place two leads on the heart so we can reverse the polarity as we pace and inverse the charge. To display the reversion in polarity we implemented the use of two lightbulbs to demonstrate the frequency and differing charge of the electrical signaling.
How we built it
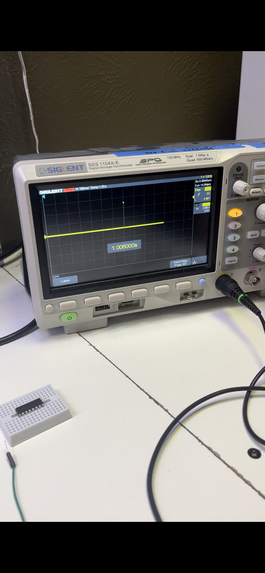
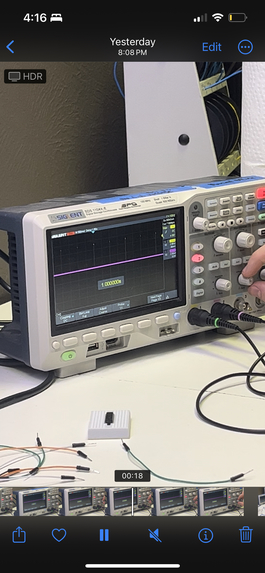
the main competent of our system was Arduino. We brainstormed the utilization of Arduino in order to create our different signaling patterns. To control the different patterns and create an interface for the user , we used a rotary encoder along with a liquid crystal display. To connect these parts we had to create a program based on mapping specific inputs to signaling patterns that output to two lights to demonstrate the differing pulsing patterns. To verify our code and the efficacy of our device we went ot Starforge to test with their oscilloscope to determine the wavelength of our voltage.
Challenges we ran into
Our primary hurdle during the development phase revolved around the coding intricacies of our Arduino. The task of programming the Arduino to effectively display, select different options, and output them proved to be more challenging and time-consuming than our initial expectations. When configuring inputs for diverse pacing settings, we encountered difficulties in coding a system that could handle an ample number of variables. After thorough deliberation, we opted for a rotary encoder, introducing a range to access more variables and enhance flexibility. Another significant challenge surfaced in the dimensions of our housing for the components, initially being too small to accommodate the Arduino. Fortunately, we navigated this setback by reiterating our design, taking more precise measurements, and ultimately improving the housing to seamlessly integrate all components. These challenges, though formidable, allowed us to refine our problem-solving skills and underscored the importance of adaptability and careful planning in the development process.
Accomplishments that we're proud of
We're proud of our perseverance. Throughout the challenge we had hours where we were constantly taking two steps back and half a step forward. It was hard to stay motivated but we kept encouraging each other to keep going!
What we learned
To code in Arduino a background in C++ would be really helpful.
What's next for pacemaker
Implement a sensing feature to track patient live heart rate to match pacing close to patient bpm without inducing an arrythmia.

Log in or sign up for Devpost to join the conversation.