-
-
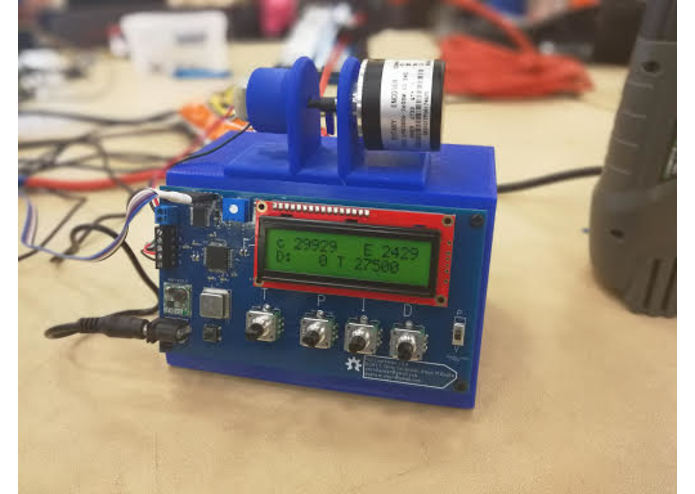
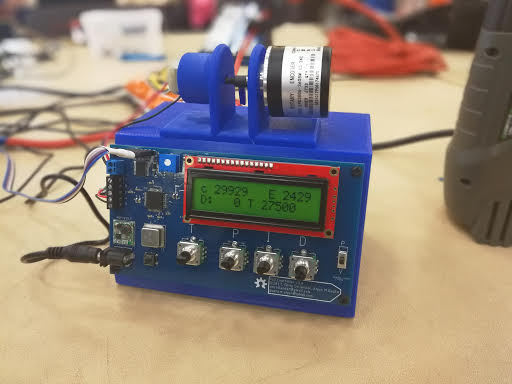
Final Result
Inspiration
Control theory classes go into the differential equations and behavior of PID controllers, but very rarely do students walk away with a thorough understanding of how PID Controllers work in a practical environment.
What it does
This device provides an easy educational platform to allow students to safely control a motor with a PID controller, and learn differences in how the variables affect the output behavior.
How we built it
The schematic and PCB were created one month ago in Eagle CAD. We fabricated the circuit board last week, and started coding the embedded software at HackUTA. We used STM32CubeMX to generate the embedded configuration code for processor, used IAR Embedded Workshop to code the system using the STM32's HAL. The plastic assembly was created using an Ultimaker 2 extended+ 3D Printer.
Challenges we ran into
Many programming edge-cases went unnoticed until late in the software development. Many debug tools were used to identify the source of these problems and we are glad that most of the bugs that we have discovered have been easily fixed after debugging. The resistance of the encoder pulling back the motor made controlling the motor difficult and this was fixed by recreating the motor-encoder joint to provide less resistance.
Accomplishments that we're proud of
We are very happy that our PCB was designed, fabricated, and soldered correctly. We were very afraid that we would run across a hardware problem that couldn't be fixed without a new board. We are also just very proud in general that our device works. Many times throughout the project we thought we had run across a problem that couldn't be fixed, but through perseverance we were able to overcome these problems.
What we learned
While we knew, in general, how to build a PID controller, this was much more difficult than we first imagined. We learned many math and programming tips and tricks through writing this software. When the software was written the next goal was to determine PID values that could be used as defaults for various demonstrations and finding these values was extremely difficult, but after more research into these variables, we were able to succeed.
What's next for OpenPID
Many teachers at UTA showed interest in using this as a lab or demonstration skill and have agreed to purchase units after initial assembly. We have already made many notes on how to improve the device and corresponding software. We will be working on creating the next iteration of the PCB this week.
Built With
- eagle-pcb
- iar-embedded-workshop
- stm32
- stm32cubemx

Log in or sign up for Devpost to join the conversation.