-
-
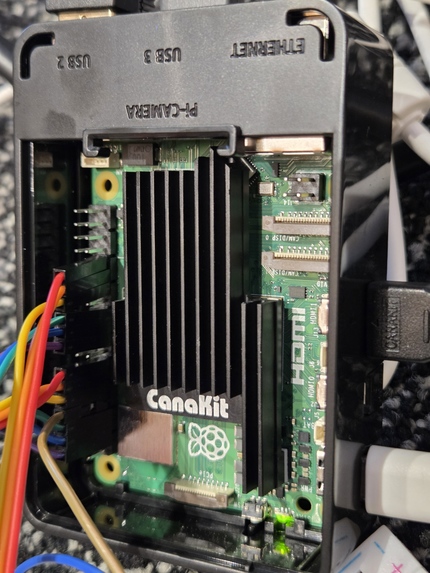
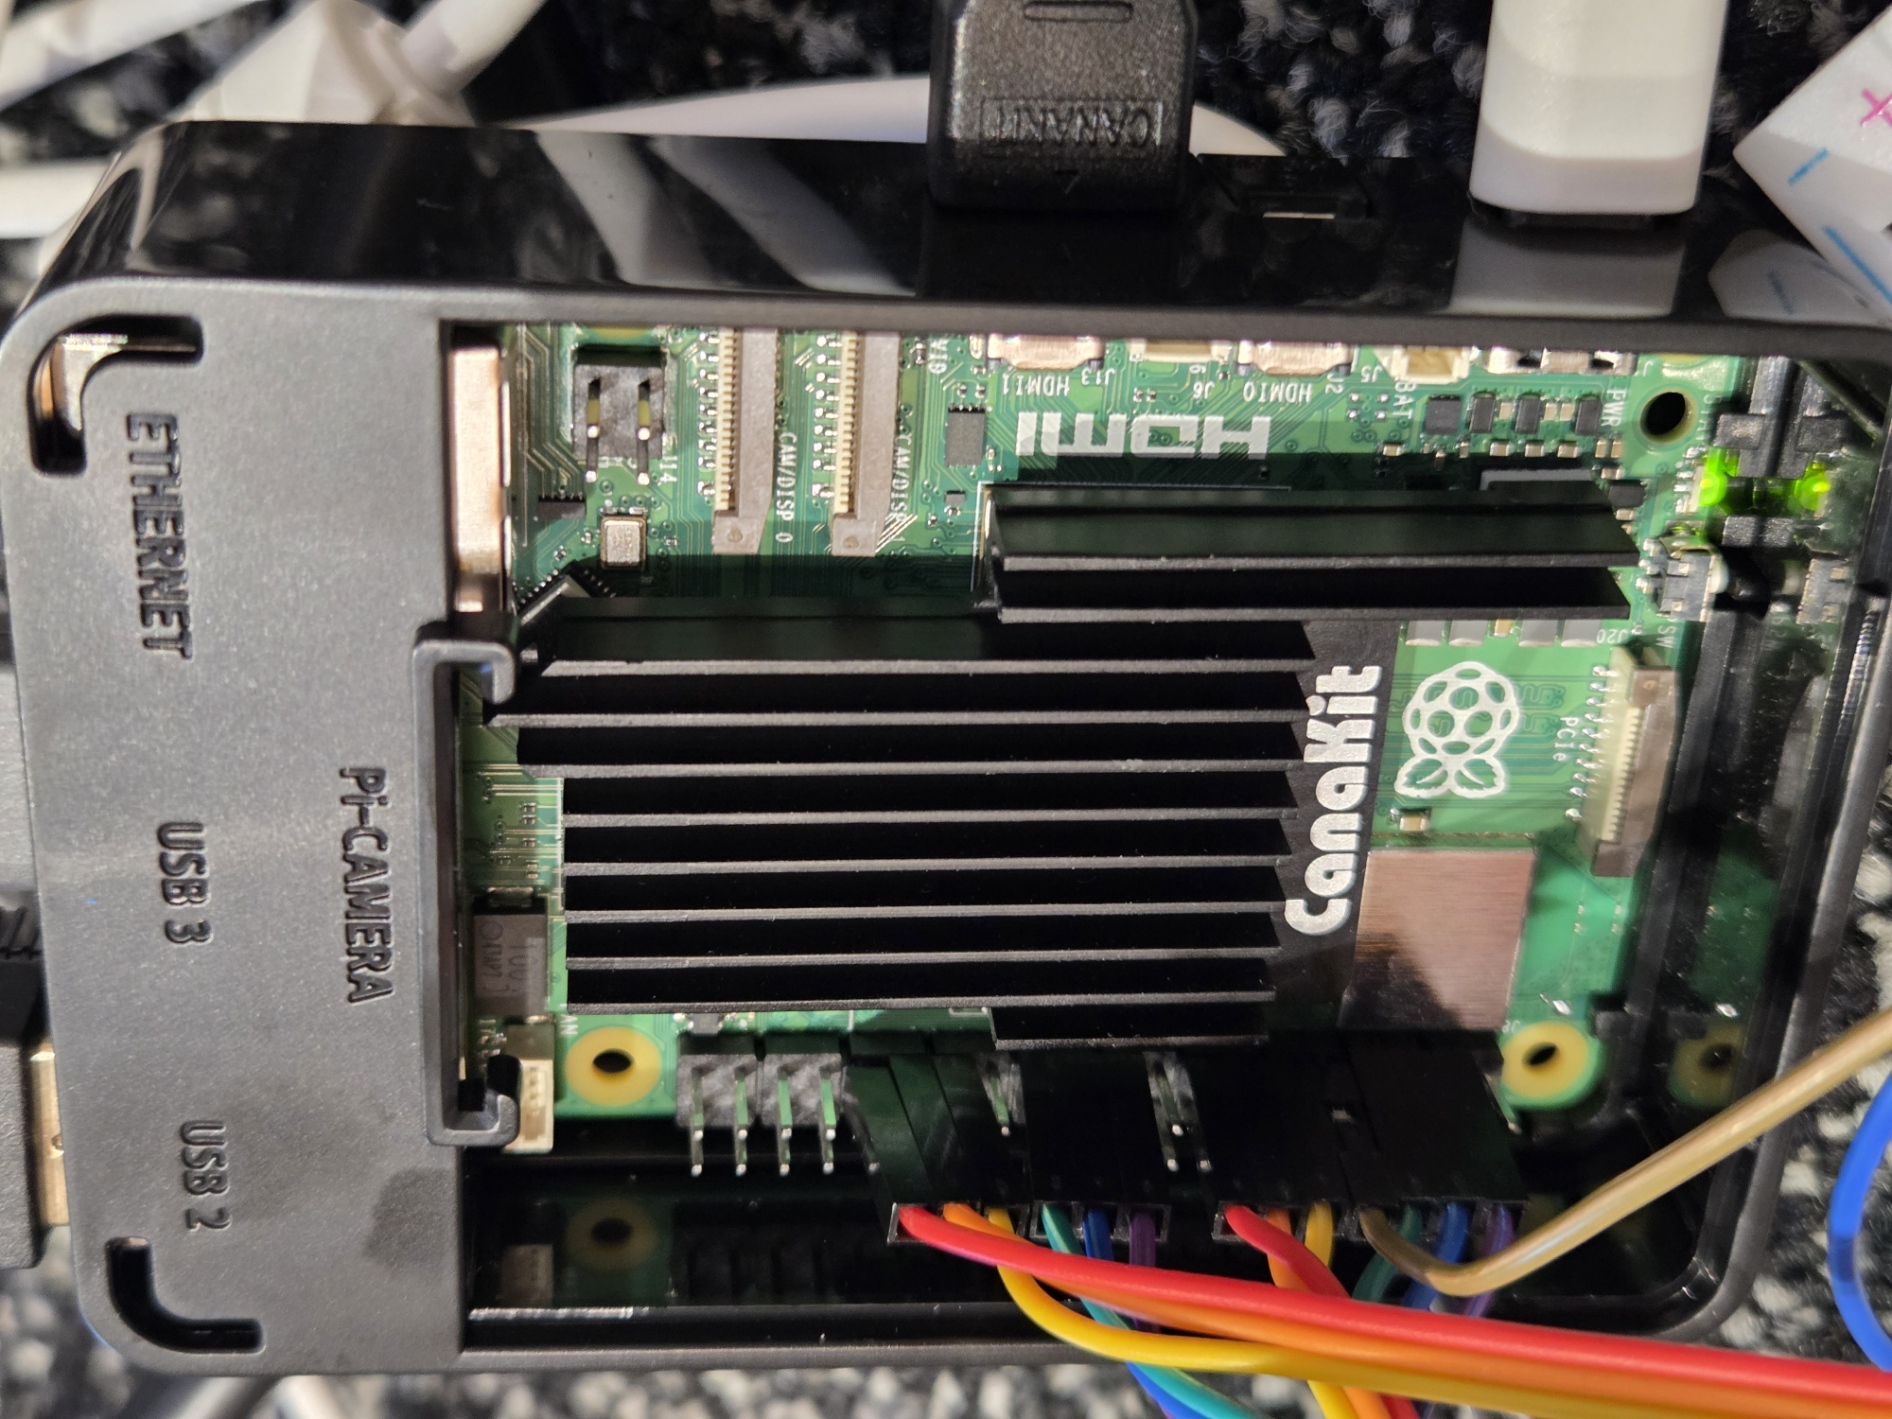
Raspberry Pi 5
-
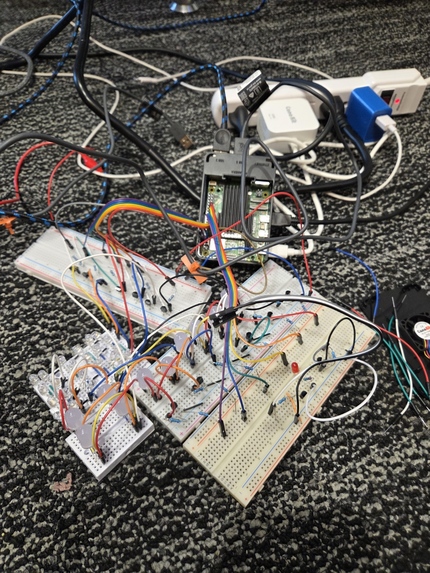
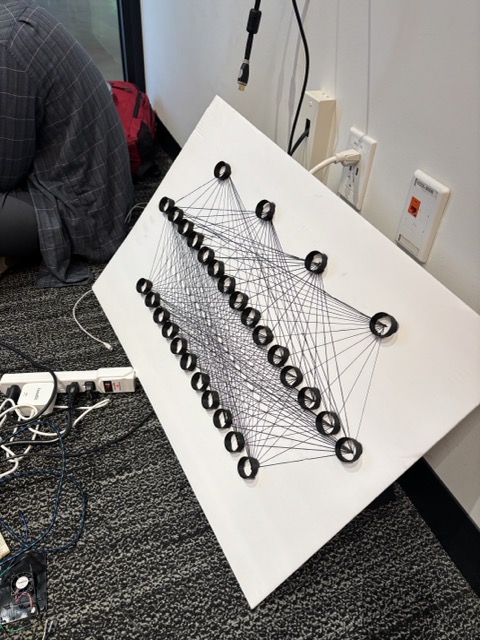
A Prototype of LEDs Neural Network with bread boards
-
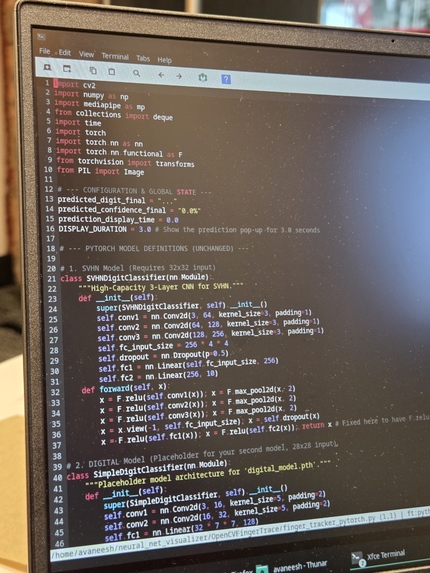
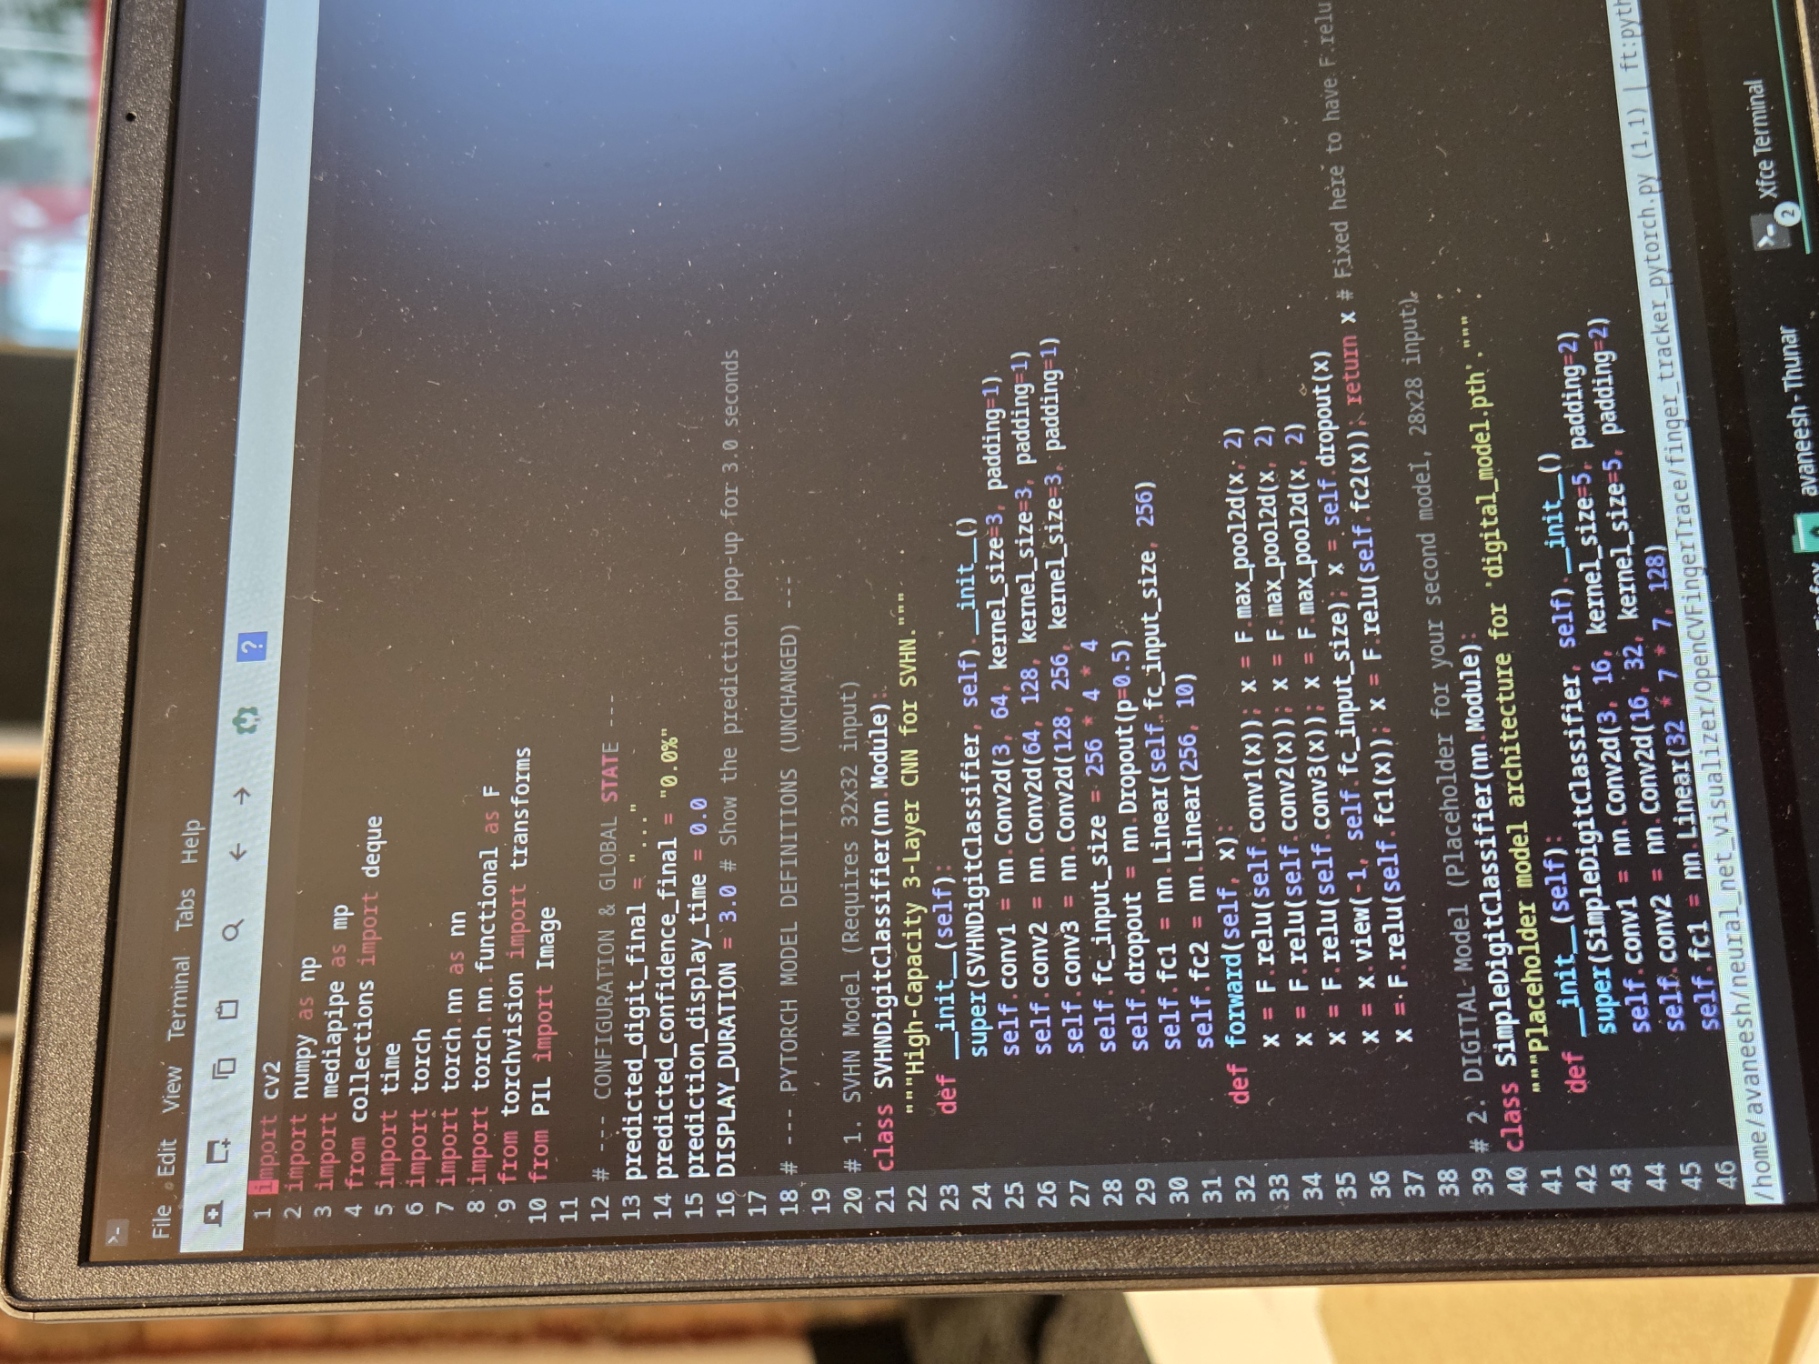
OpenCV AI Model (check the github repo)
-
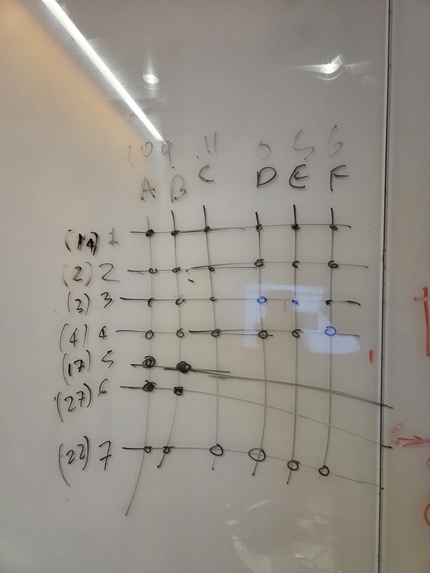
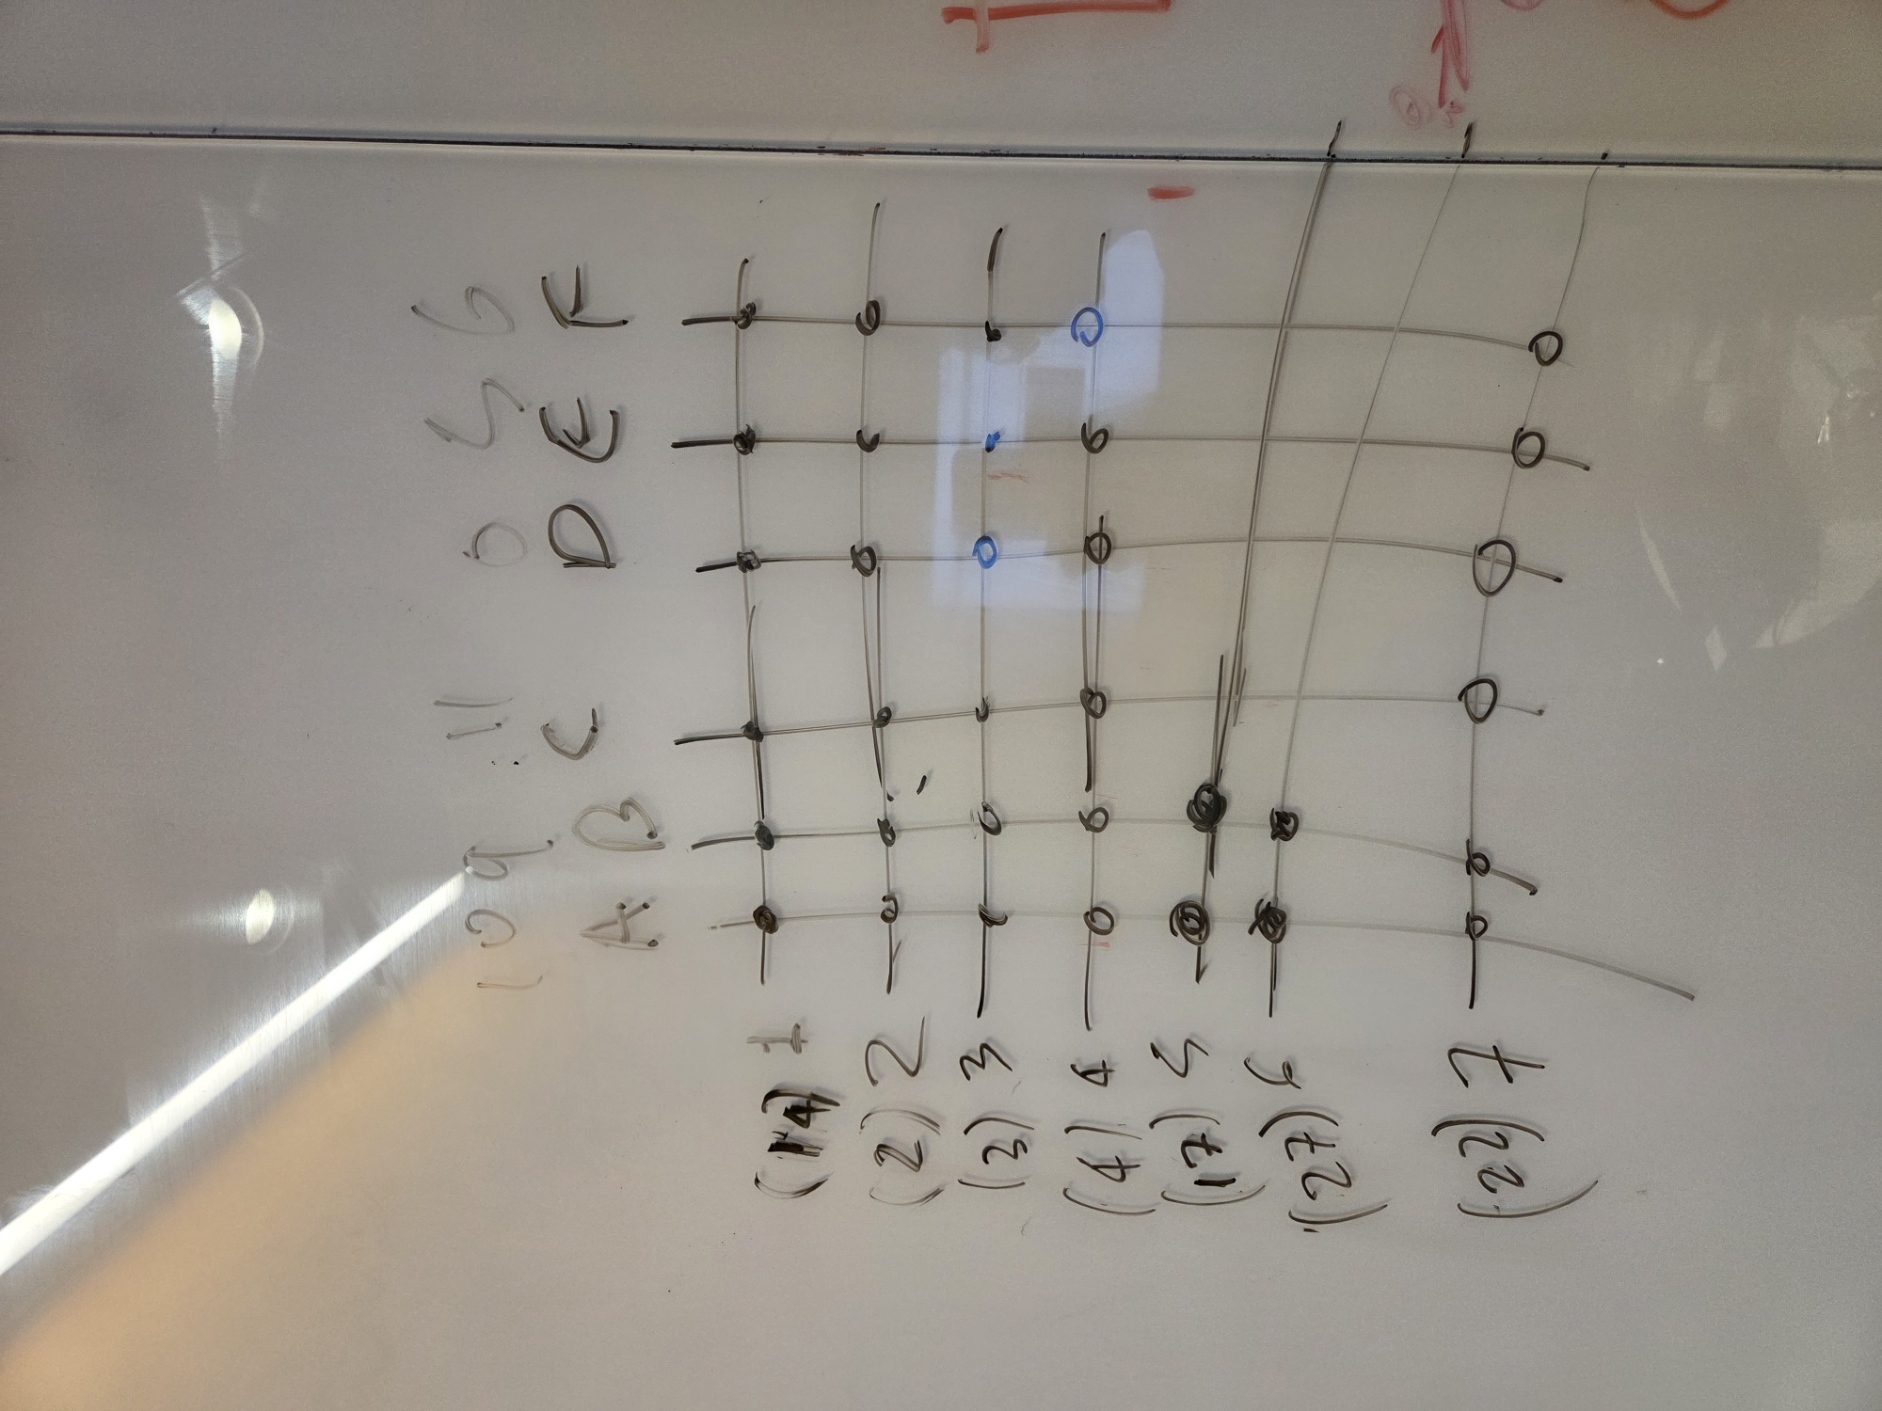
LED Matrix
-
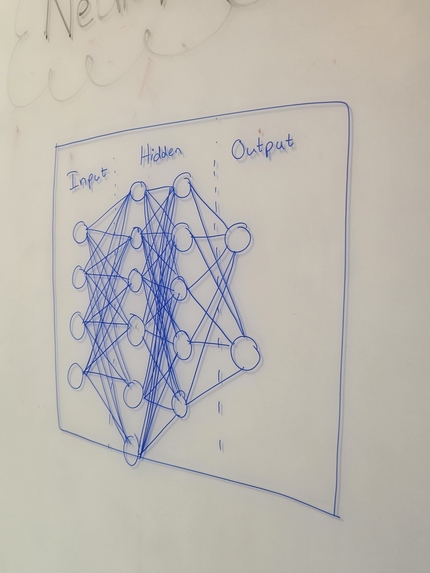
Neural Network
-
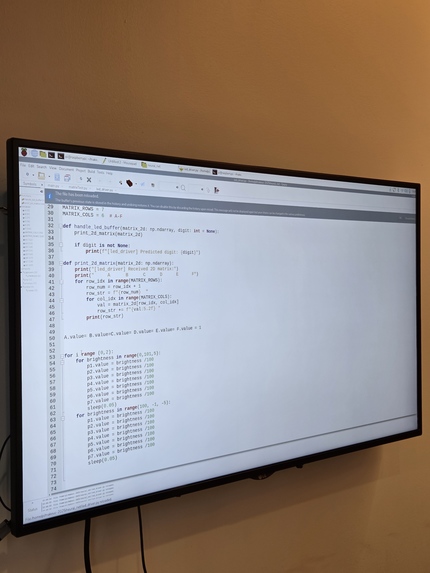
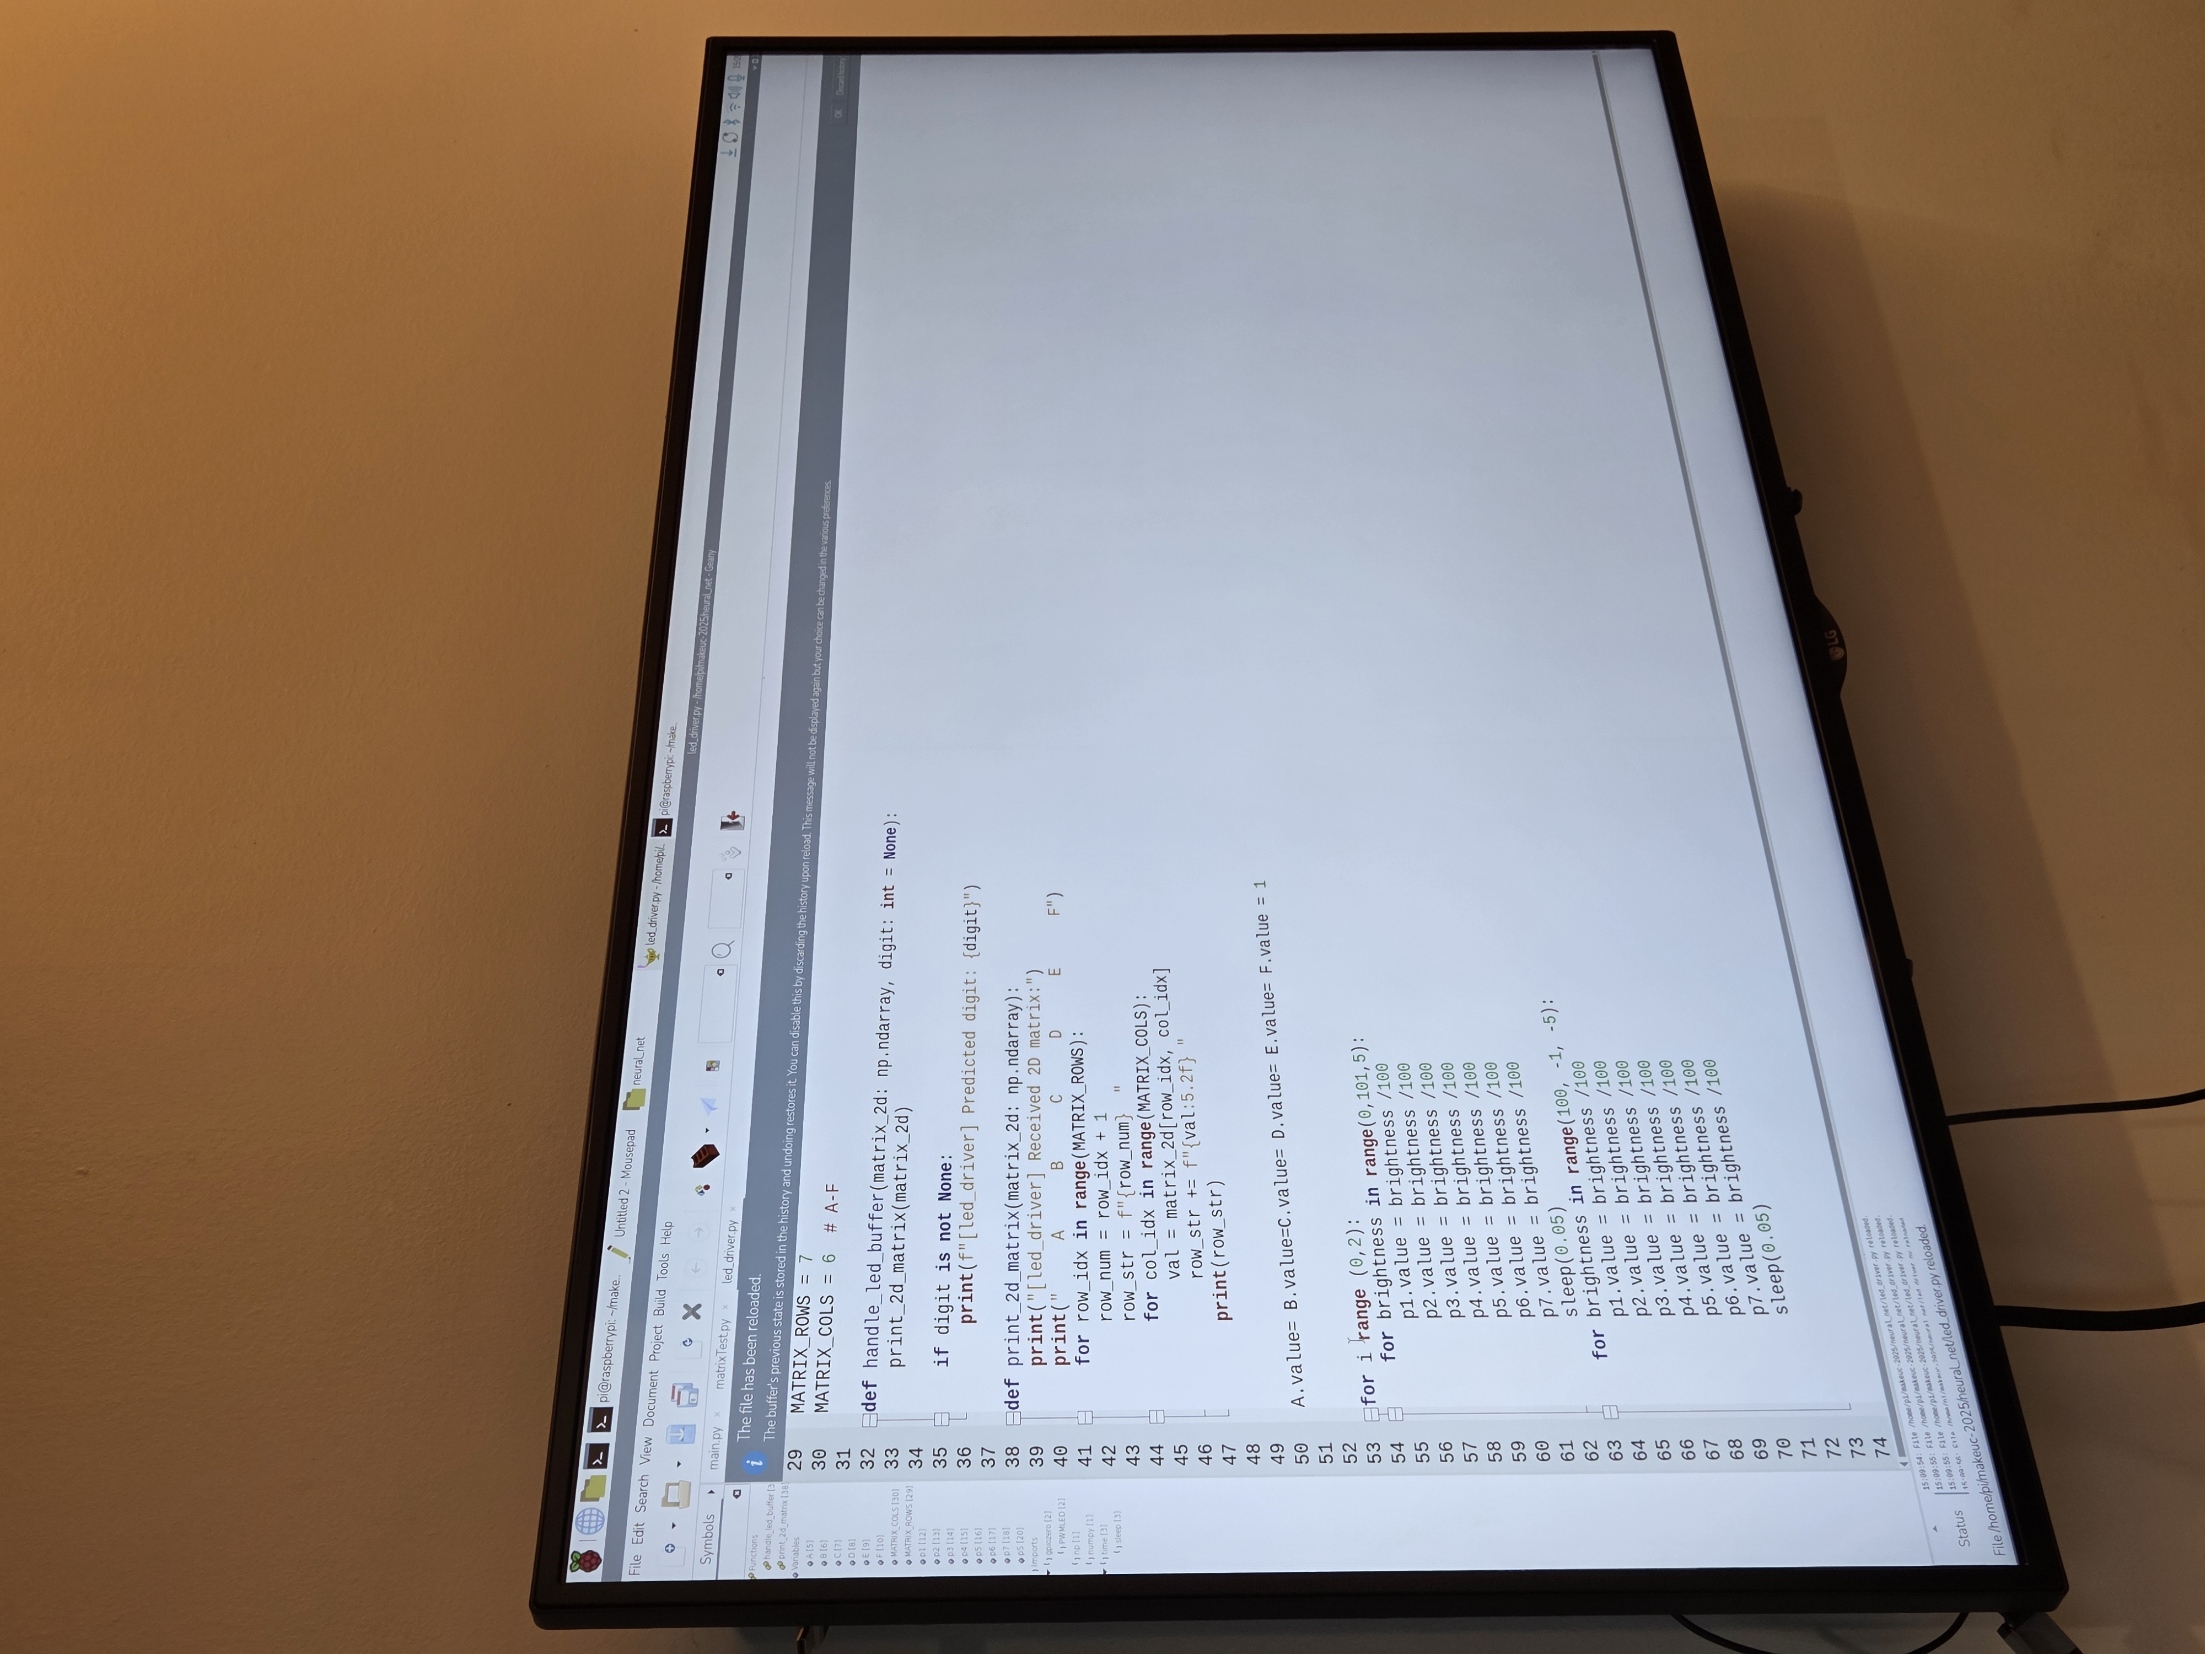
Raspberry Pi monitor display used for systems programming
-


Inspiration
The inspiration for NeuroViz stemmed from the frustration of many beginners trying to grasp the inner workings of a neural network. AI is often presented as a "black box" that takes an input and magically produces an output. We wanted to tear down that wall! Our goal was to create a tangible, interactive, and visually stunning wall art that demystifies deep learning. By combining a physical LED matrix with a real-time, functional AI model, we set out to make the complex process of learning visible, step-by-step.
What it does
NeuroViz is an interactive, two-part visualization system that demonstrates how a neural network learns and classifies data.
The Input/Learning Phase (Digital): Using OpenCV and a webcam, the user holds up two fingers and draws a digit (0-9) in the air. The system traces the movement in real-time.
- The Classification Phase (Physical): Once the user finishes drawing, the input image is fed into a pre-trained deep learning model (e.g., a simple CNN/DNN). Simultaneously, a connected LED matrix illuminates to dynamically show the process, such as:
The input image being processed. The activation of different layers (represented by LED patterns or intensity changes). The final classification result.
How we built it
Initially, we attempted to use pure OpenCV contour detection to track the two fingers. While functional, we quickly ran into robustness issues. To overcome the fragility of simple contour detection, we pivoted to MediaPipe Hands by Google. This was a critical decision because MediaPipe provides a pre-trained, highly robust deep Learning pipeline. We specifically extracted the normalized (X, Y) coordinates of the Index Finger Tip (Landmark 8) and Middle Finger Tip (Landmark 12). We then used these stable coordinates to generate the trace of the written digit.
The NeuroViz Enclosure: 3D Printing the Box
To house our physical visualization, we designed and 3D printed a custom cuboidal enclosure. This box served two key purposes: Functionality: It provided precise mounting points for our LED array and served as a light diffuser to represent the neuron activations cleanly. The inner structure was designed with compartments to physically separate the layers of the network (e.g., Input, Hidden Layer 1, Output Layer) onto different LED clusters. Bringing the Neuron to Life with Raspberry Pi 5 and PWM
The visualization magic was driven by the Raspberry Pi 5, chosen for its powerful quad-core processor to handle the high-speed communication required, alongside the main PC running the AI model.
The Processor: The Raspberry Pi 5 runs a custom Python script that receives the activation values (the output of specific neurons) from the AI model running on the host machine via serial communication.
The Activation Visualization: To accurately represent the neuron's "activation level" (a value typically between 0 and 1), we employed Pulse-Width Modulation (PWM). PWM allows us to digitally control the analog brightness of the LEDs.
PWM Implementation: We used the gpiozero Python library (or similar such as RPi.GPIO) to initialize the LEDs connected to the Raspberry Pi's GPIO pins as PWMLED objects. By mapping the neuron's activation value (e.g., 0.8) to the LED's duty cycle (e.g., 80%), we achieved a smooth, analog fade-in/fade-out effect.
Challenges we ran into
Our project, NeuroViz, required the seamless integration of computer vision, deep learning, and embedded systems, creating several points of failure that we had to troubleshoot under immense time pressure.
The Serialization Bottleneck (AI → Raspberry Pi) This was arguably our biggest integration challenge. The core of NeuroViz is visualizing the internal state of the neural network in real-time.
Gesture Robustness and Model Input Consistency While MediaPipe solved our general hand detection issues, converting the dynamic gesture into a clean image for the AI model presented a unique challenge.
Accomplishments that we're proud of
Achieving a fully functional, real-time loop within the hackathon's 24-hour window was our biggest victory. We successfully integrated:
MediaPipe's robust ML-based hand tracking (Computer Vision).

The custom OpenCV/Python drawing pipeline (Data Preprocessing).

The TensorFlow/Keras model (Deep Learning Classification).

The Raspberry Pi 5 handling PWM and serial communication (Embedded Systems).

The 3D-printed enclosure and LED matrix (Physical Output).
A 3D matrix of NPN transistors to control as many LEDs as possible with minimal GPIO pins used. It is much more scalable without hurting the Raspberry PI 5 due to overdrawing current.
What we learned
The Practicality of PWM: We learned the non-trivial task of implementing Pulse-Width Modulation (PWM) via the Raspberry Pi 5's GPIO pins, and crucially, how to map abstract floating-point neural network activation values to a physical, perceivable analog output (LED brightness).
We gained a deeper understanding of MediaPipe's internal pipeline
We learned the critical importance of preprocessing and normalization to bridge the gap between real-world, messy, hand-drawn inputs and the clean data our pre-trained neural network expected.
We developed an intuitive sense of tensor shape and data flow through a CNN layer by layer, as we had to manually select the most representative data to send to the LEDs. This process actively demystified the function of the final dense layers.
A deeper understanding of neural network matrices.
What's next for NeuroViz
Visualization of Training Dynamics (The "A-HA!" Moment) The current version shows the inference process. The next critical step is visualizing the learning process itself.
Physical and Digital Expansion We plan to enhance both the hardware and software components to visualize more complex models.
Creating a Full Educational Toolkit Our ultimate goal is to package the code, 3D printing files, and bill of materials into an open-source educational repository.
Built With
- cnn
- conv
- dl
- mediapipe
- mnist
- neural-network
- opencv
- pwm
- python
- raspberry-pi
- tensorflow


Log in or sign up for Devpost to join the conversation.