-

-
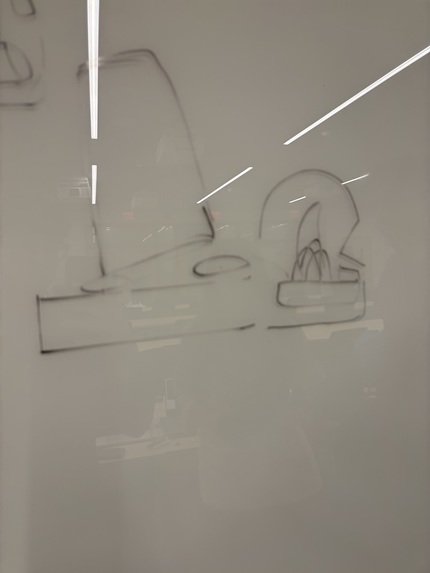
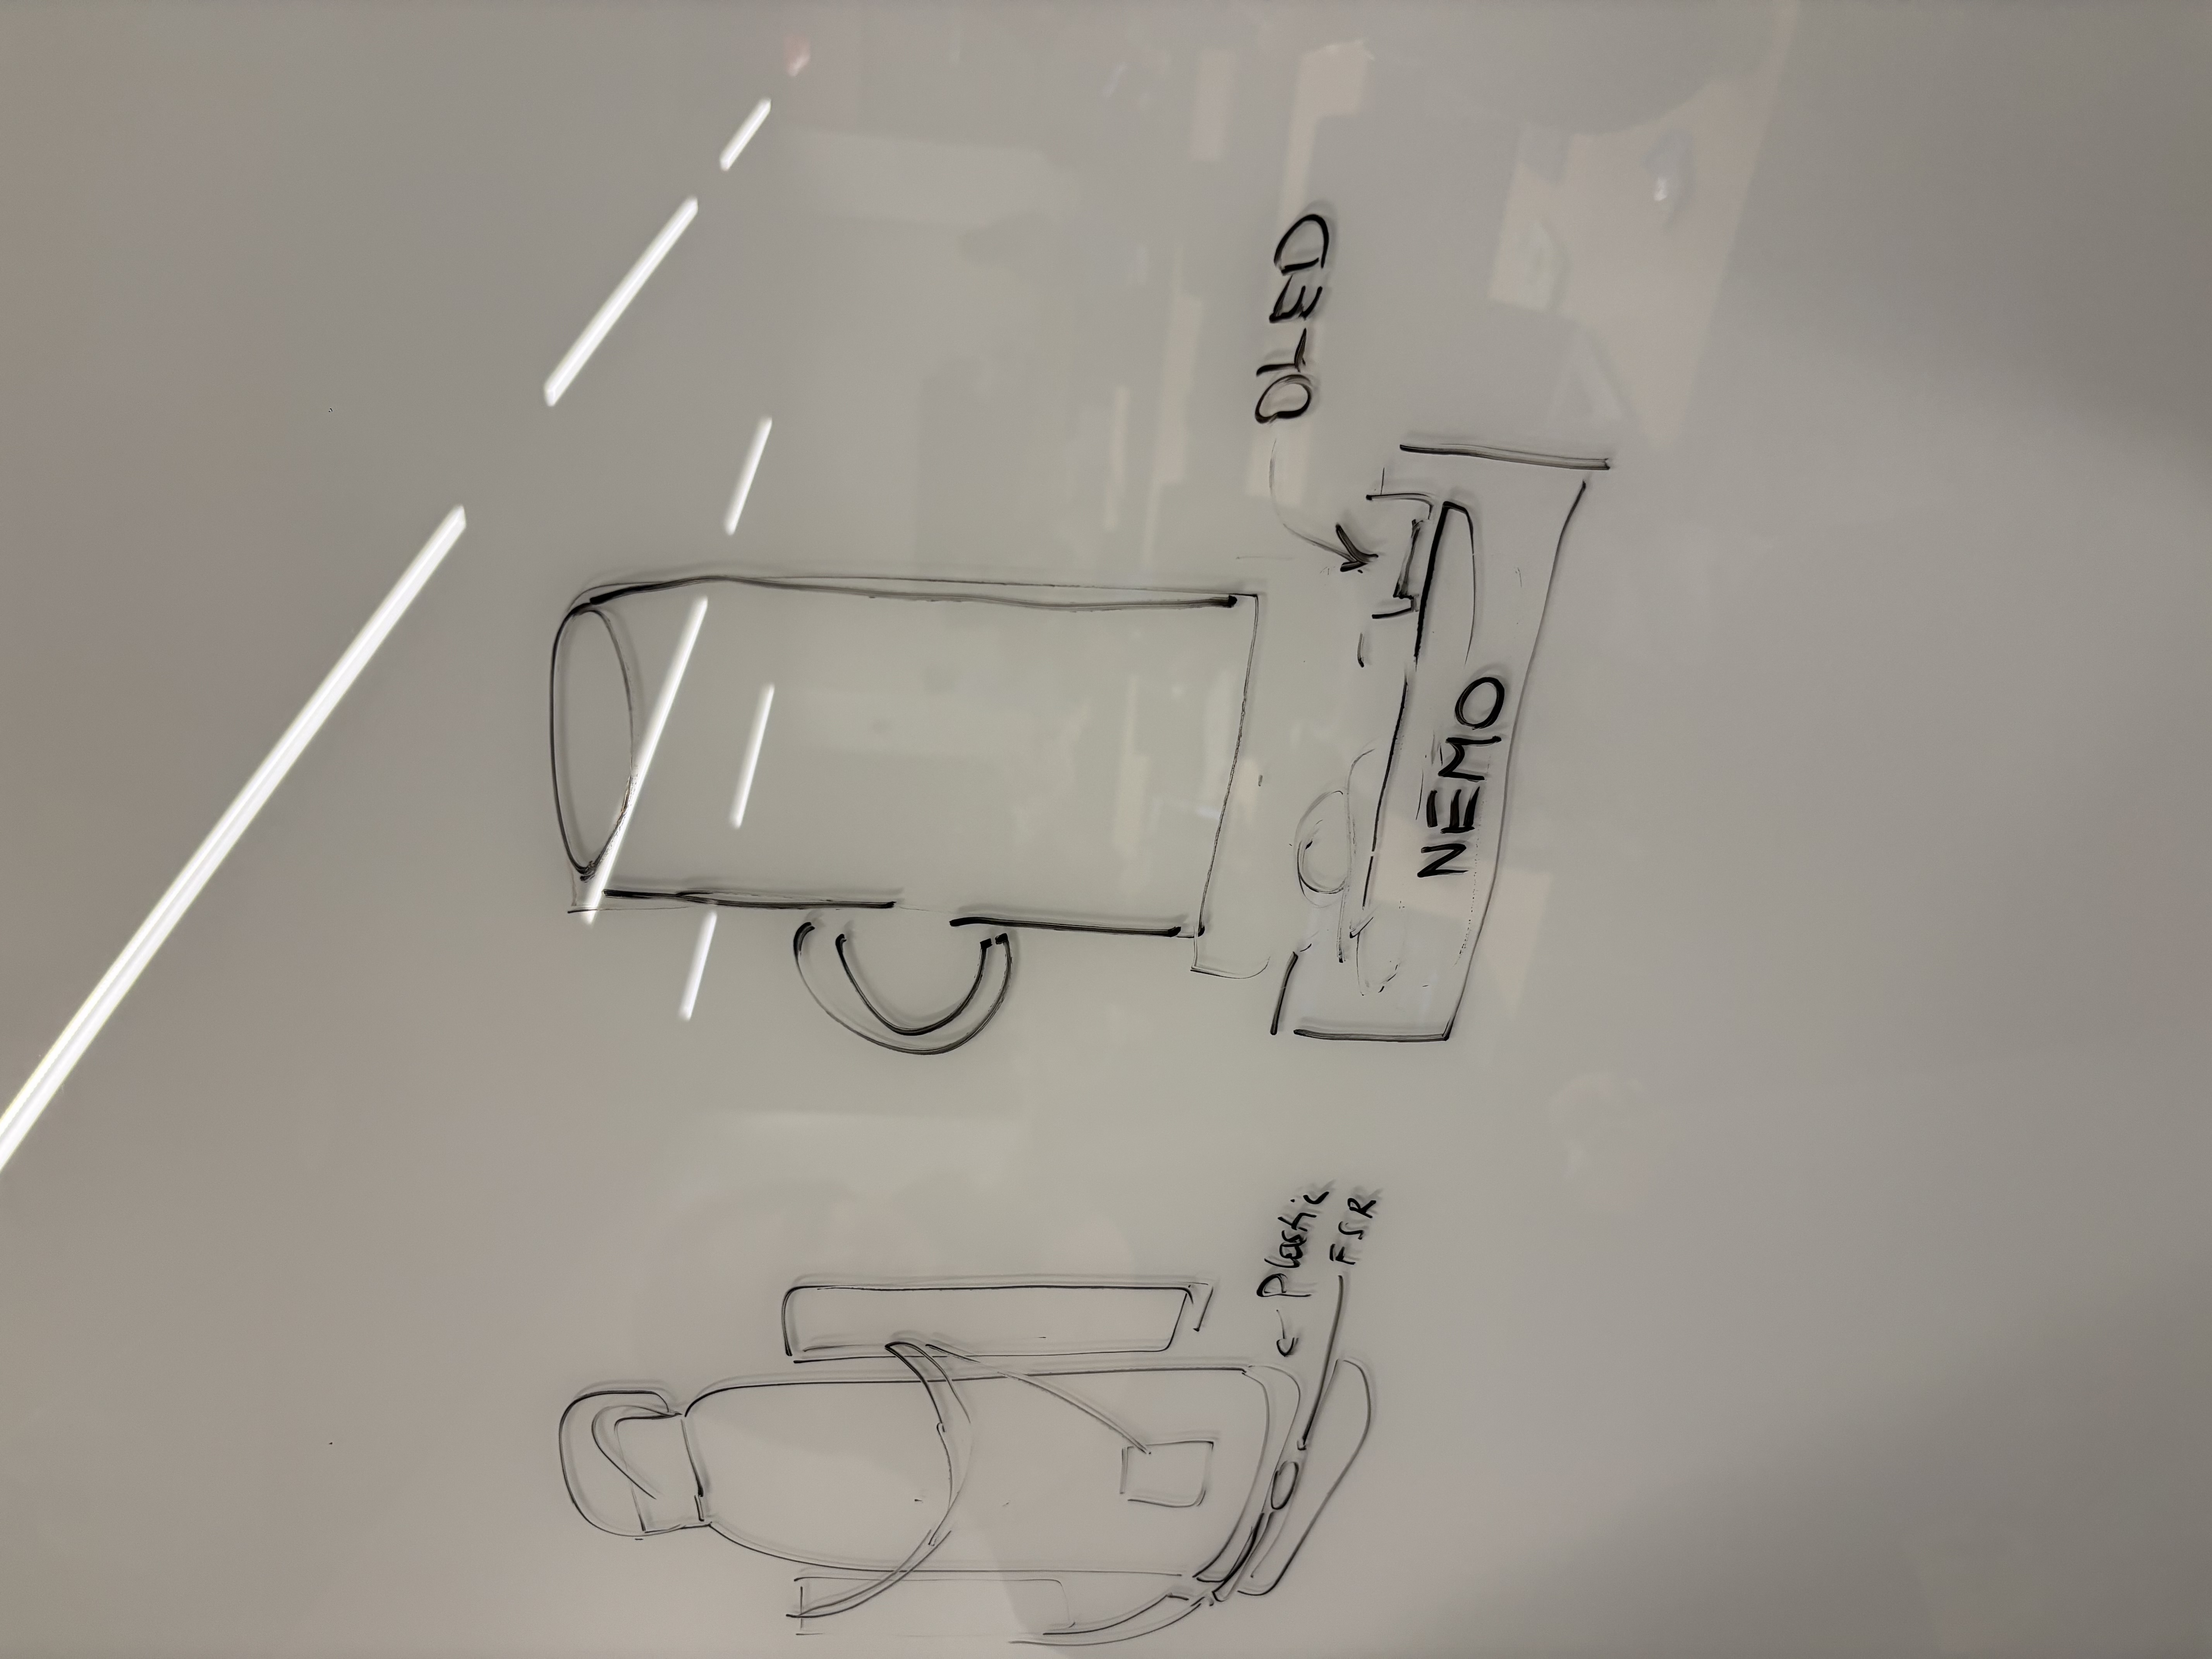
Sketch illustrating the prototype of the pressure sensor
-
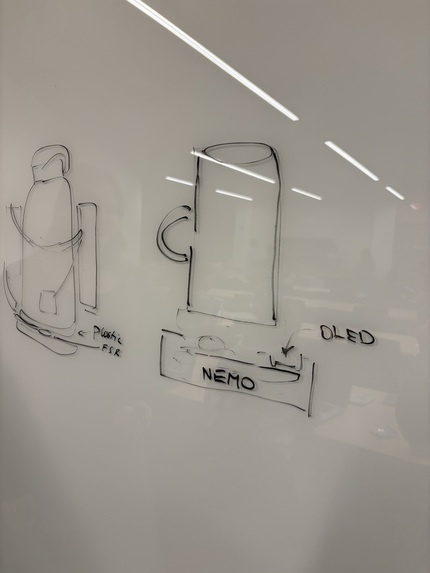
Concept drawing of calibration flow: empty state vs. full state detection
-

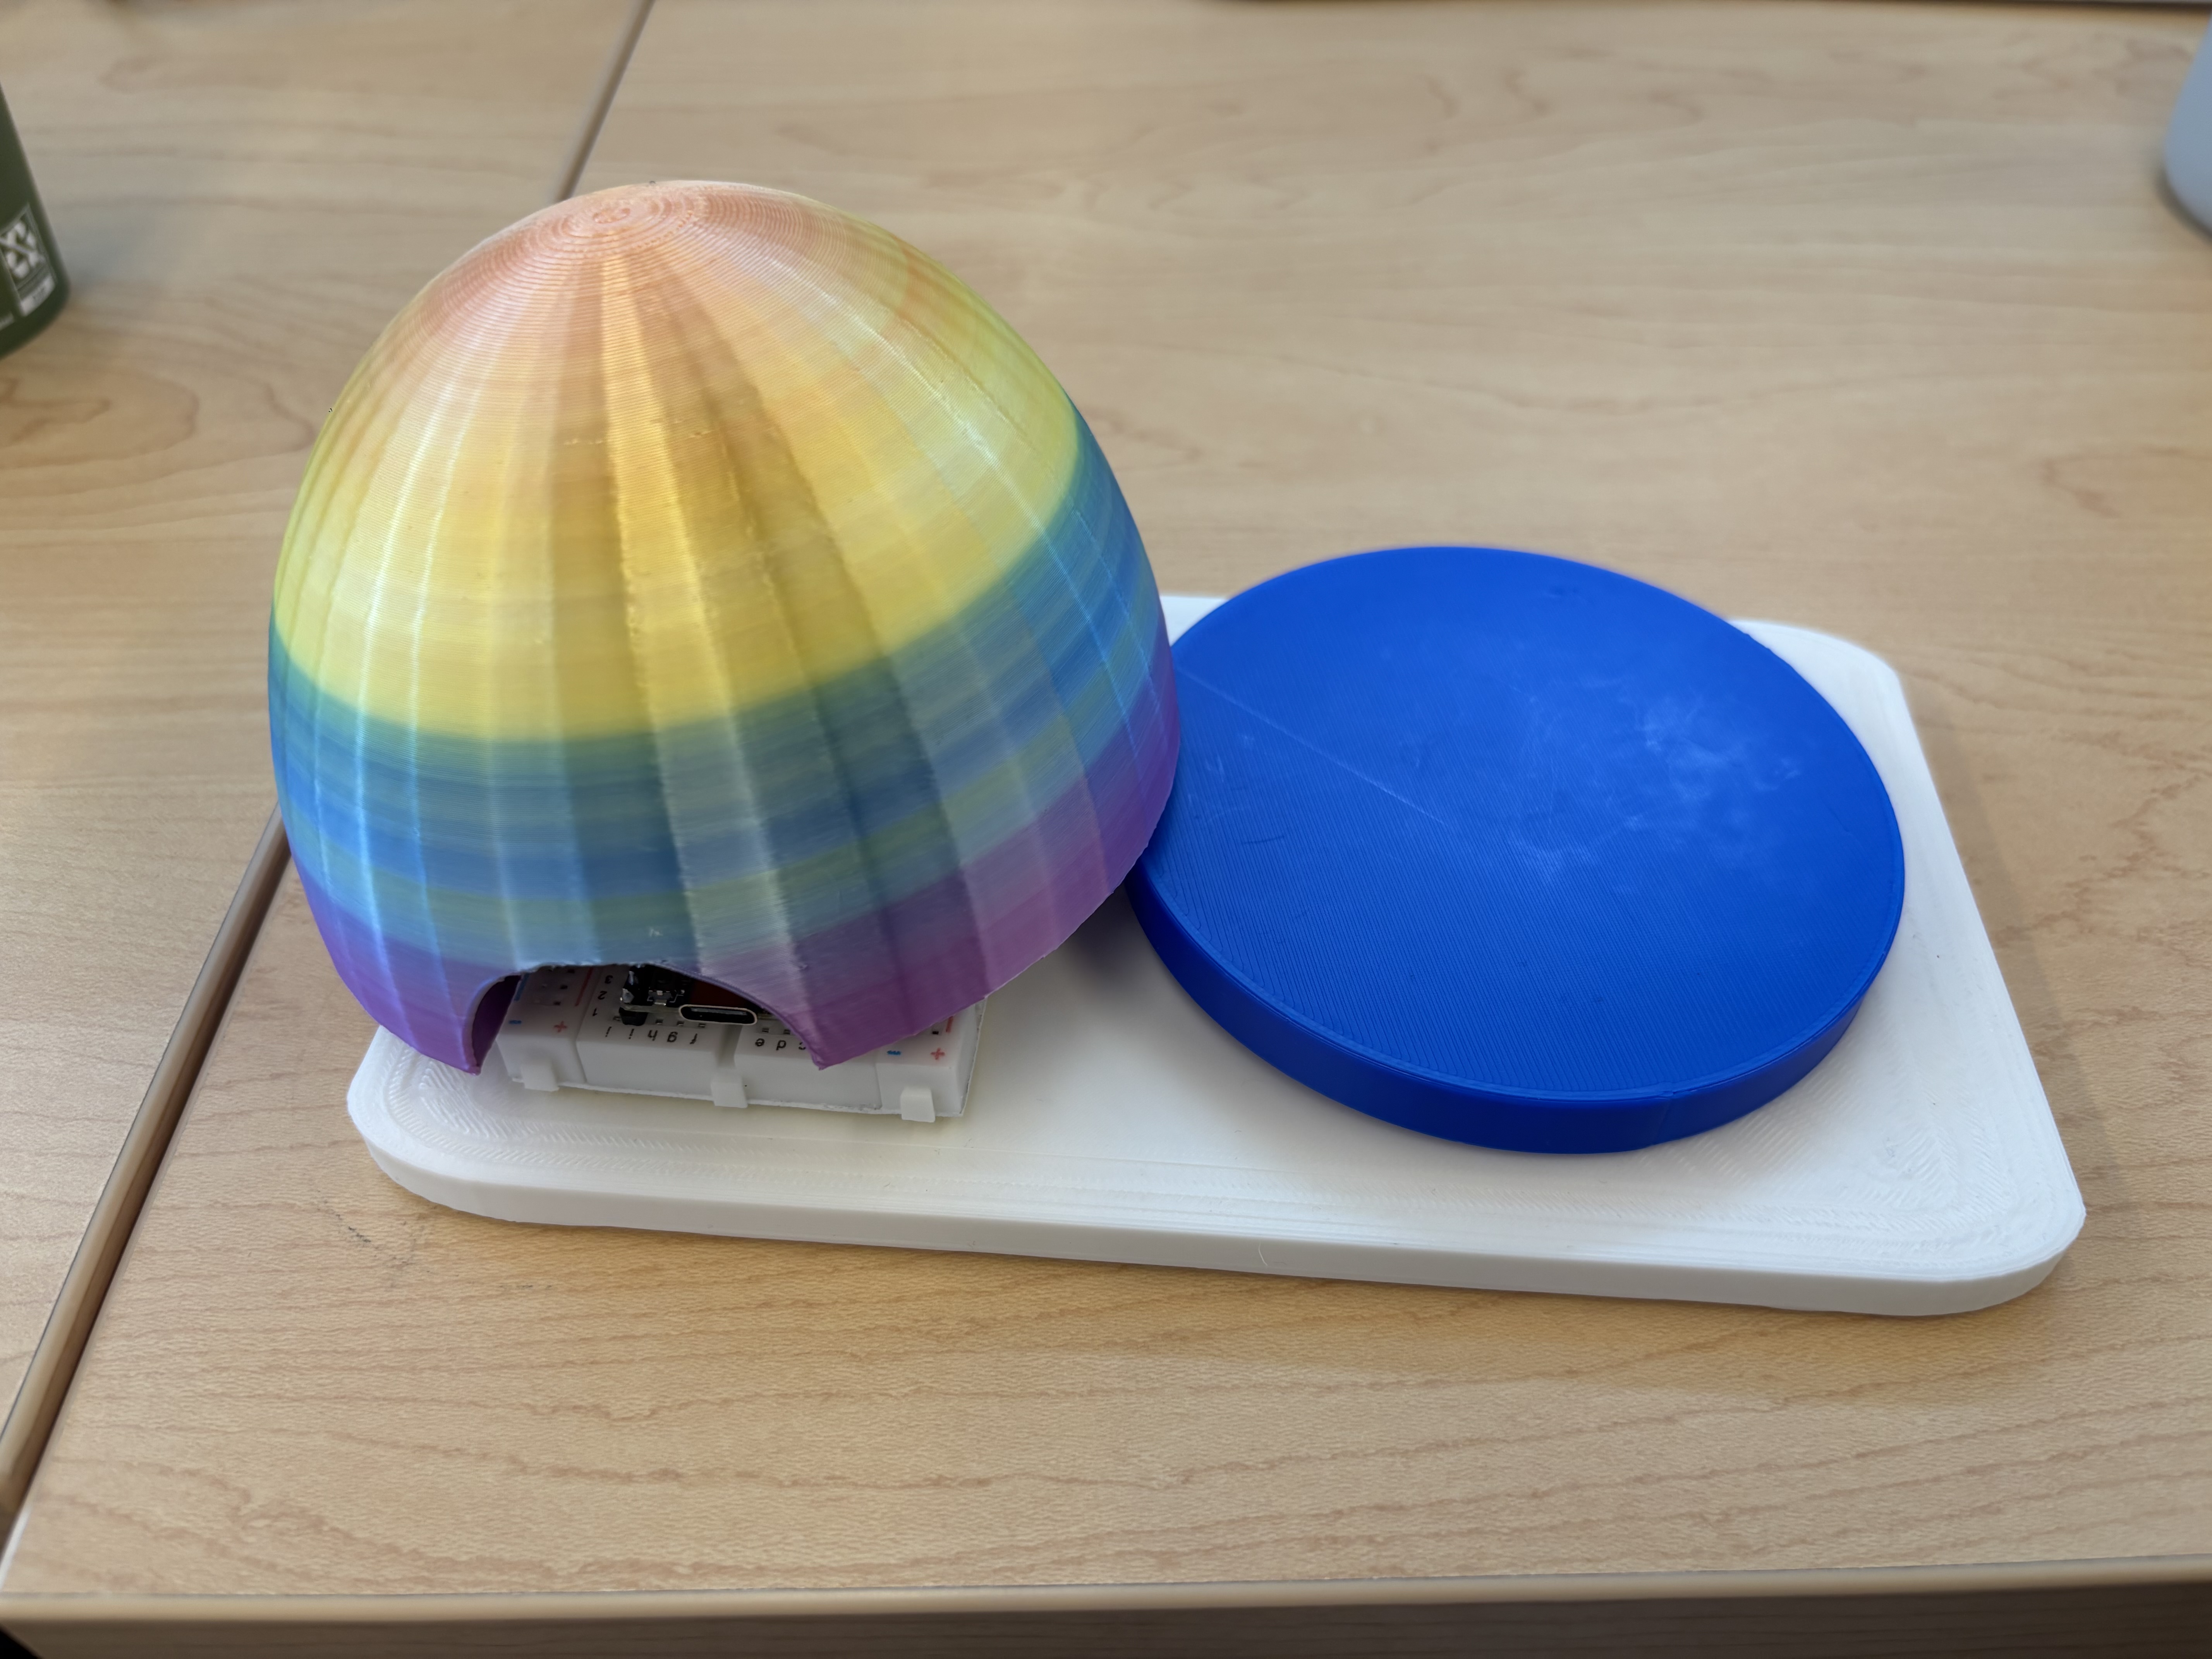
The pressure sensor platform without the enclosure
-

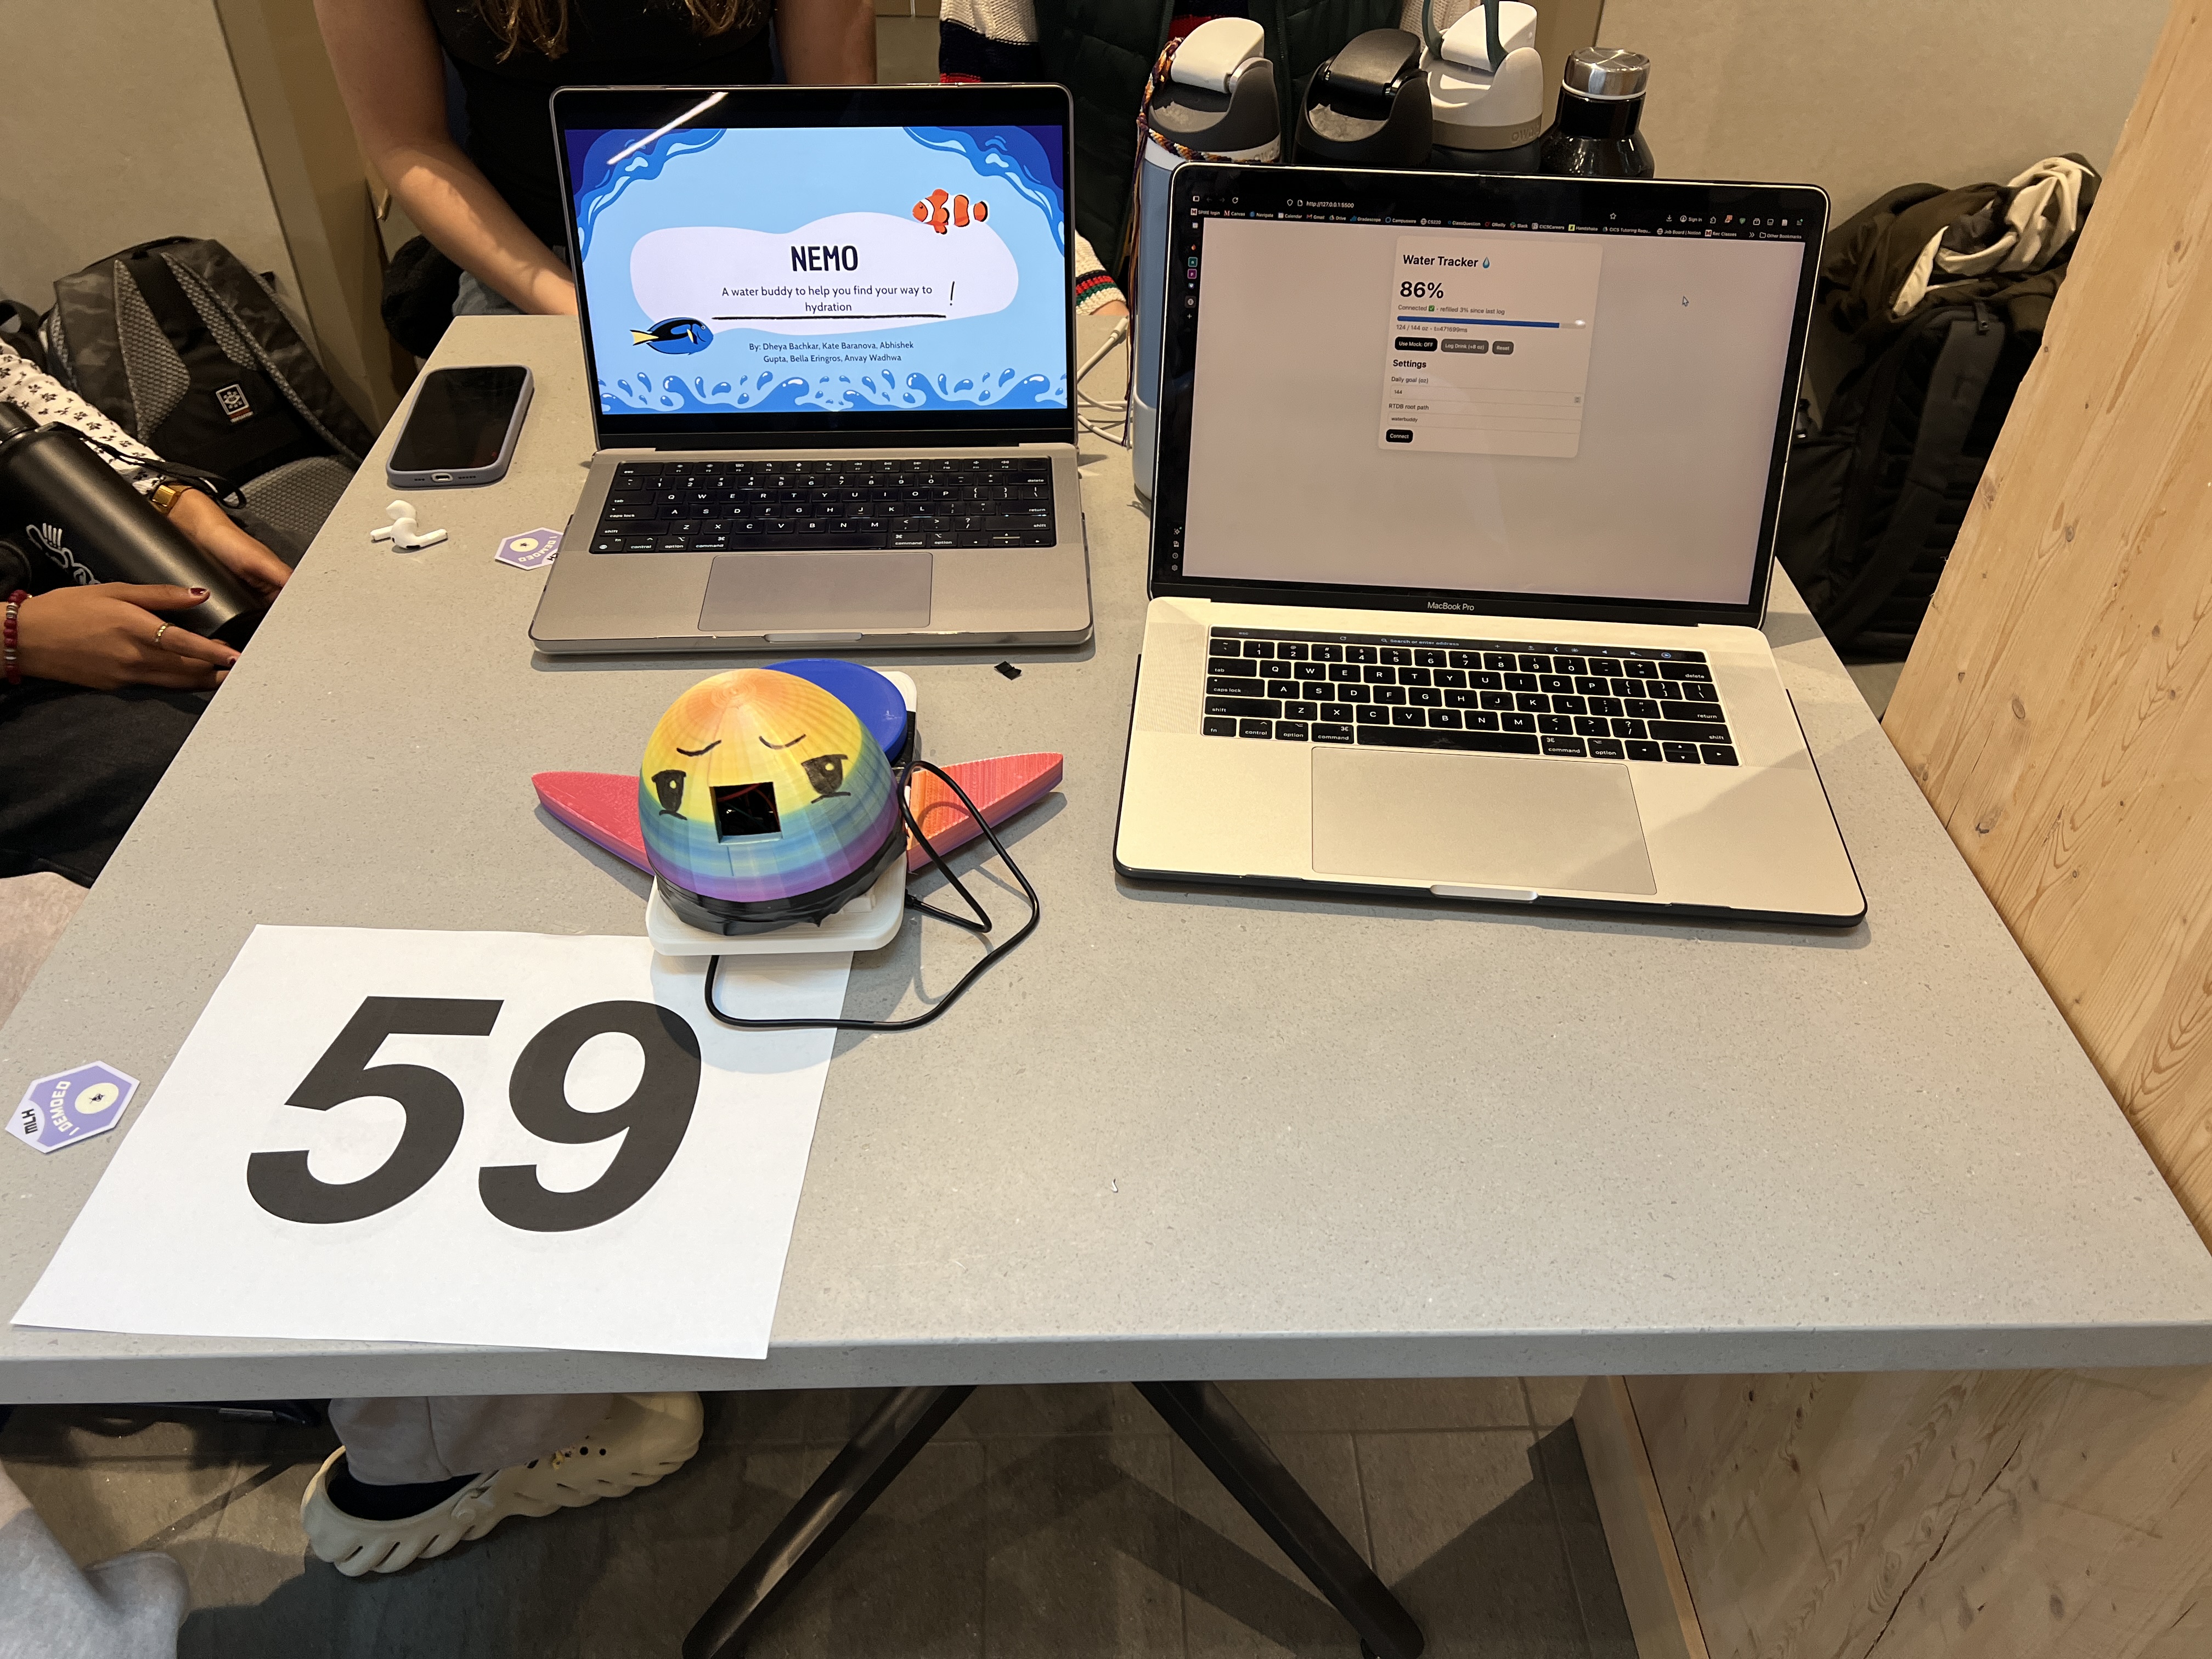
3D-printed enclosure housing the pressure sensor platform
-

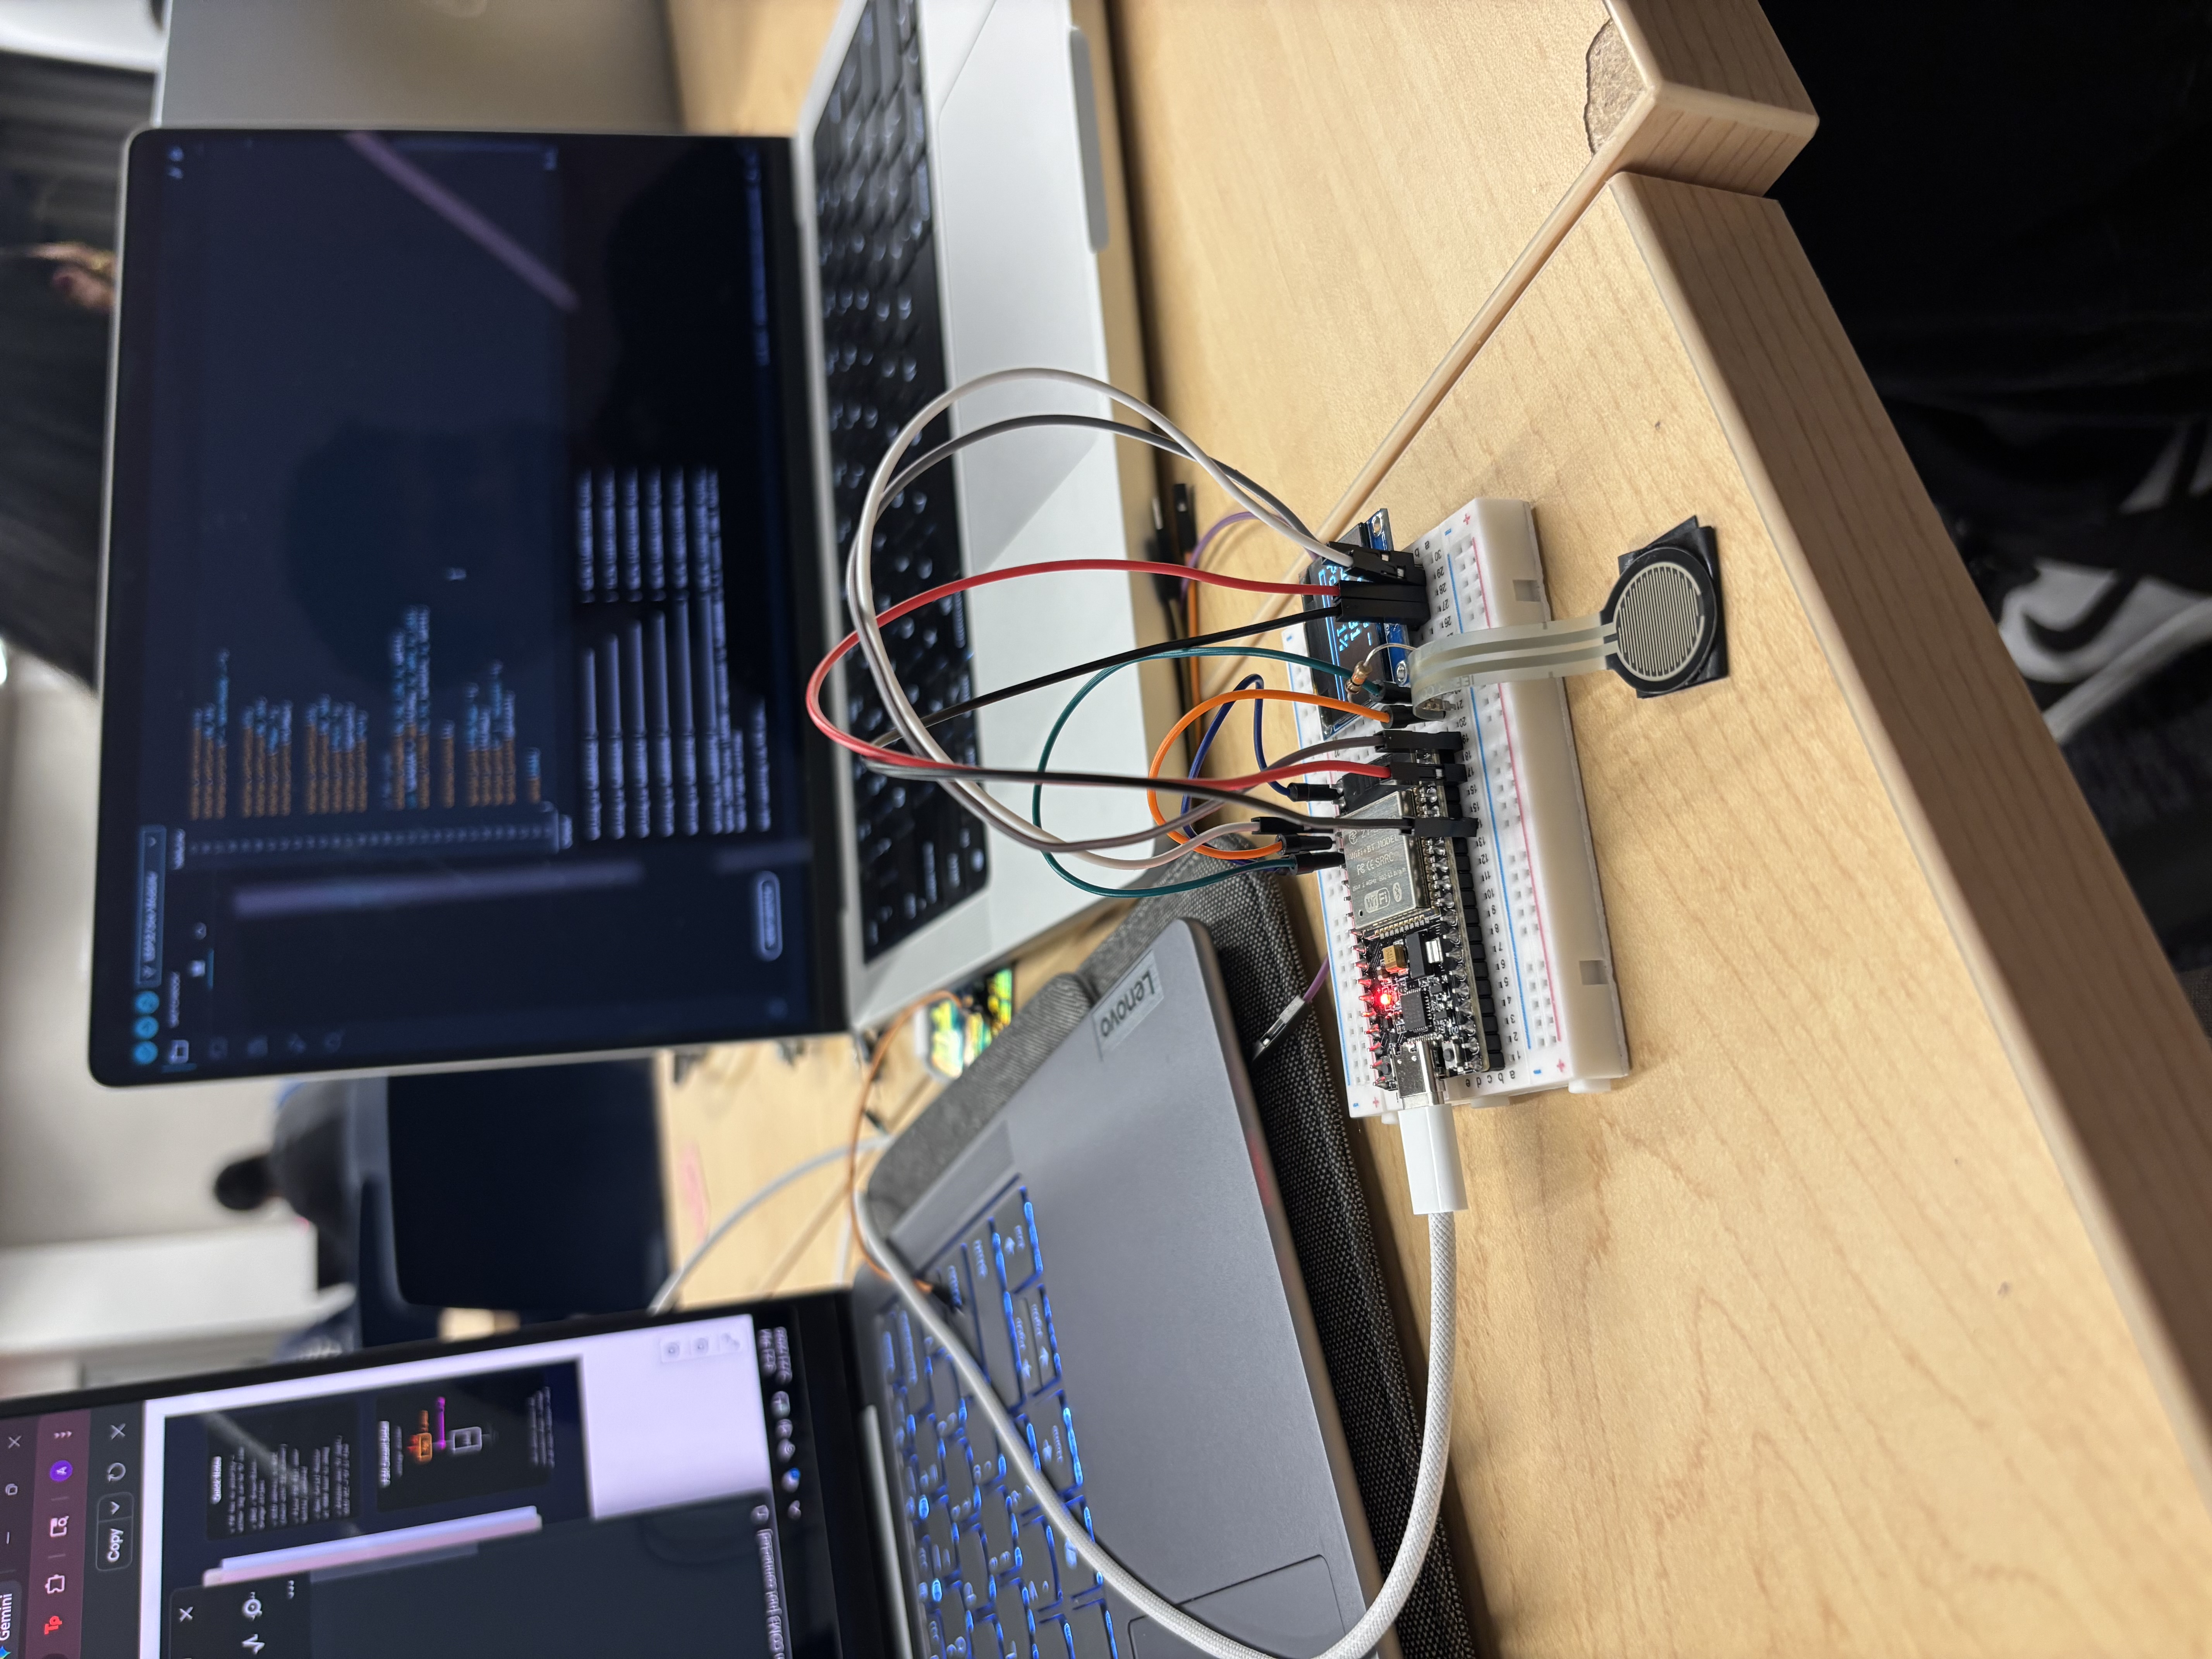
Live development environment — microcontroller running real-time weight detection firmware.
-

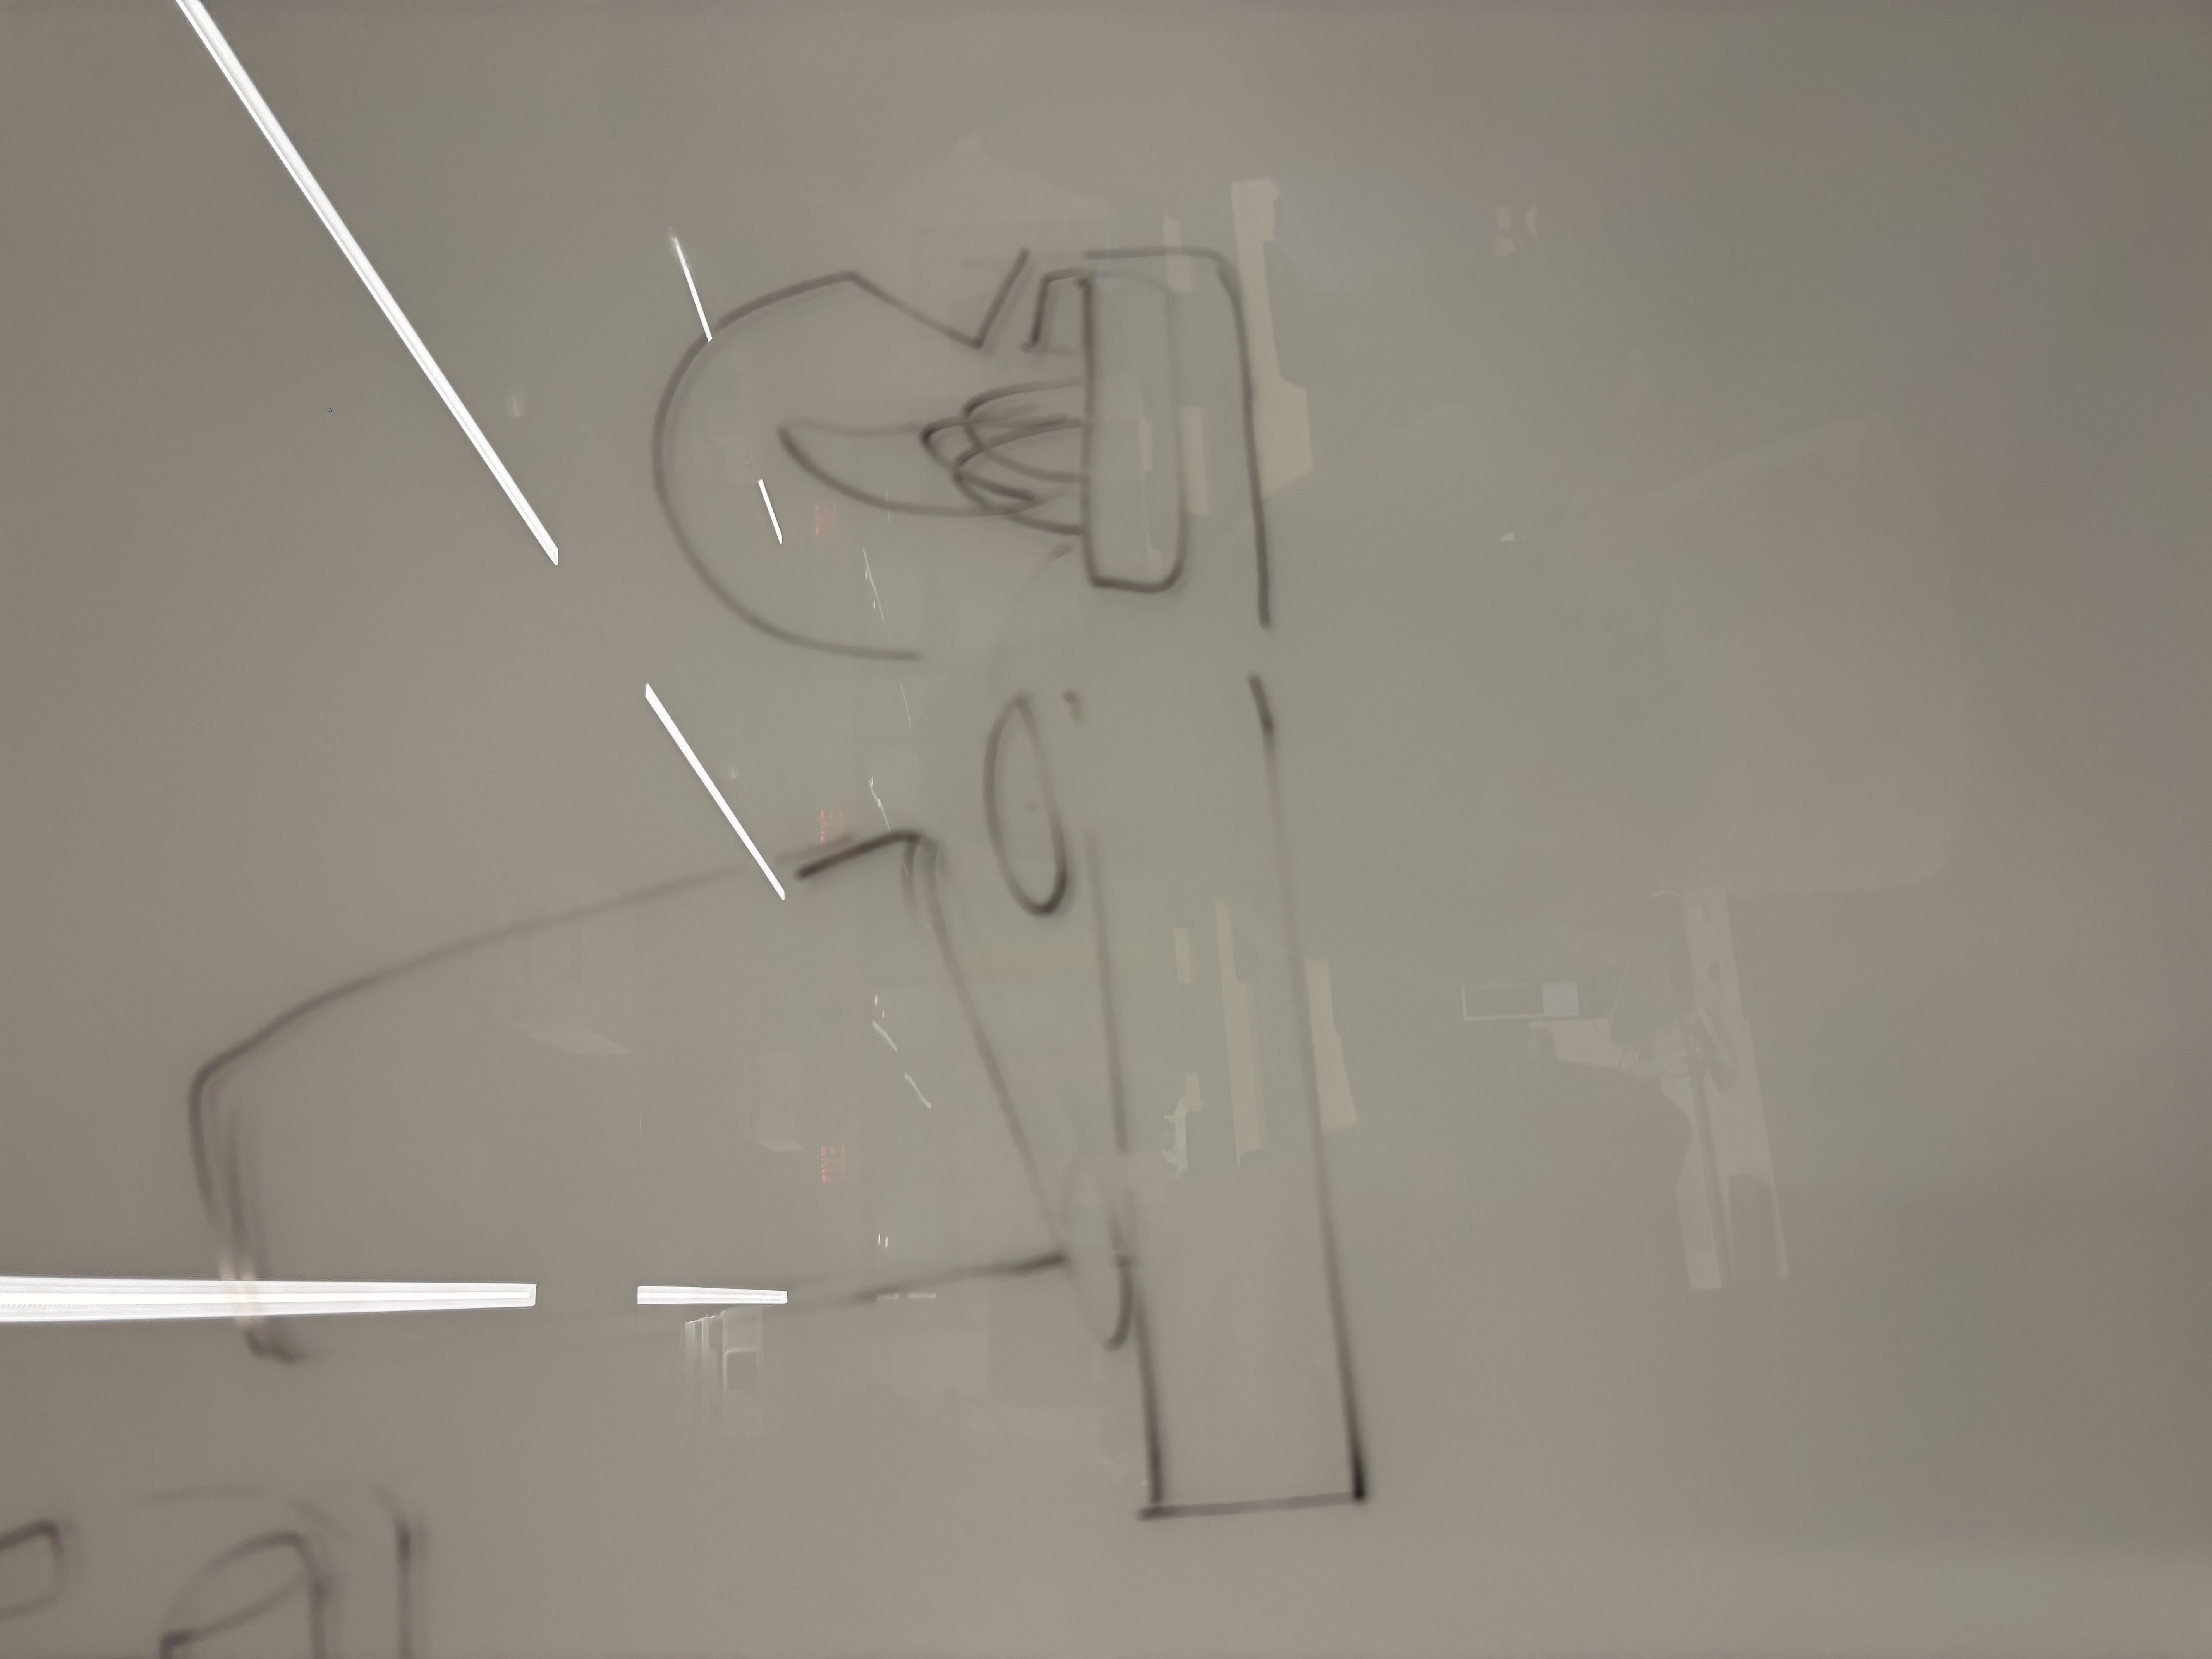
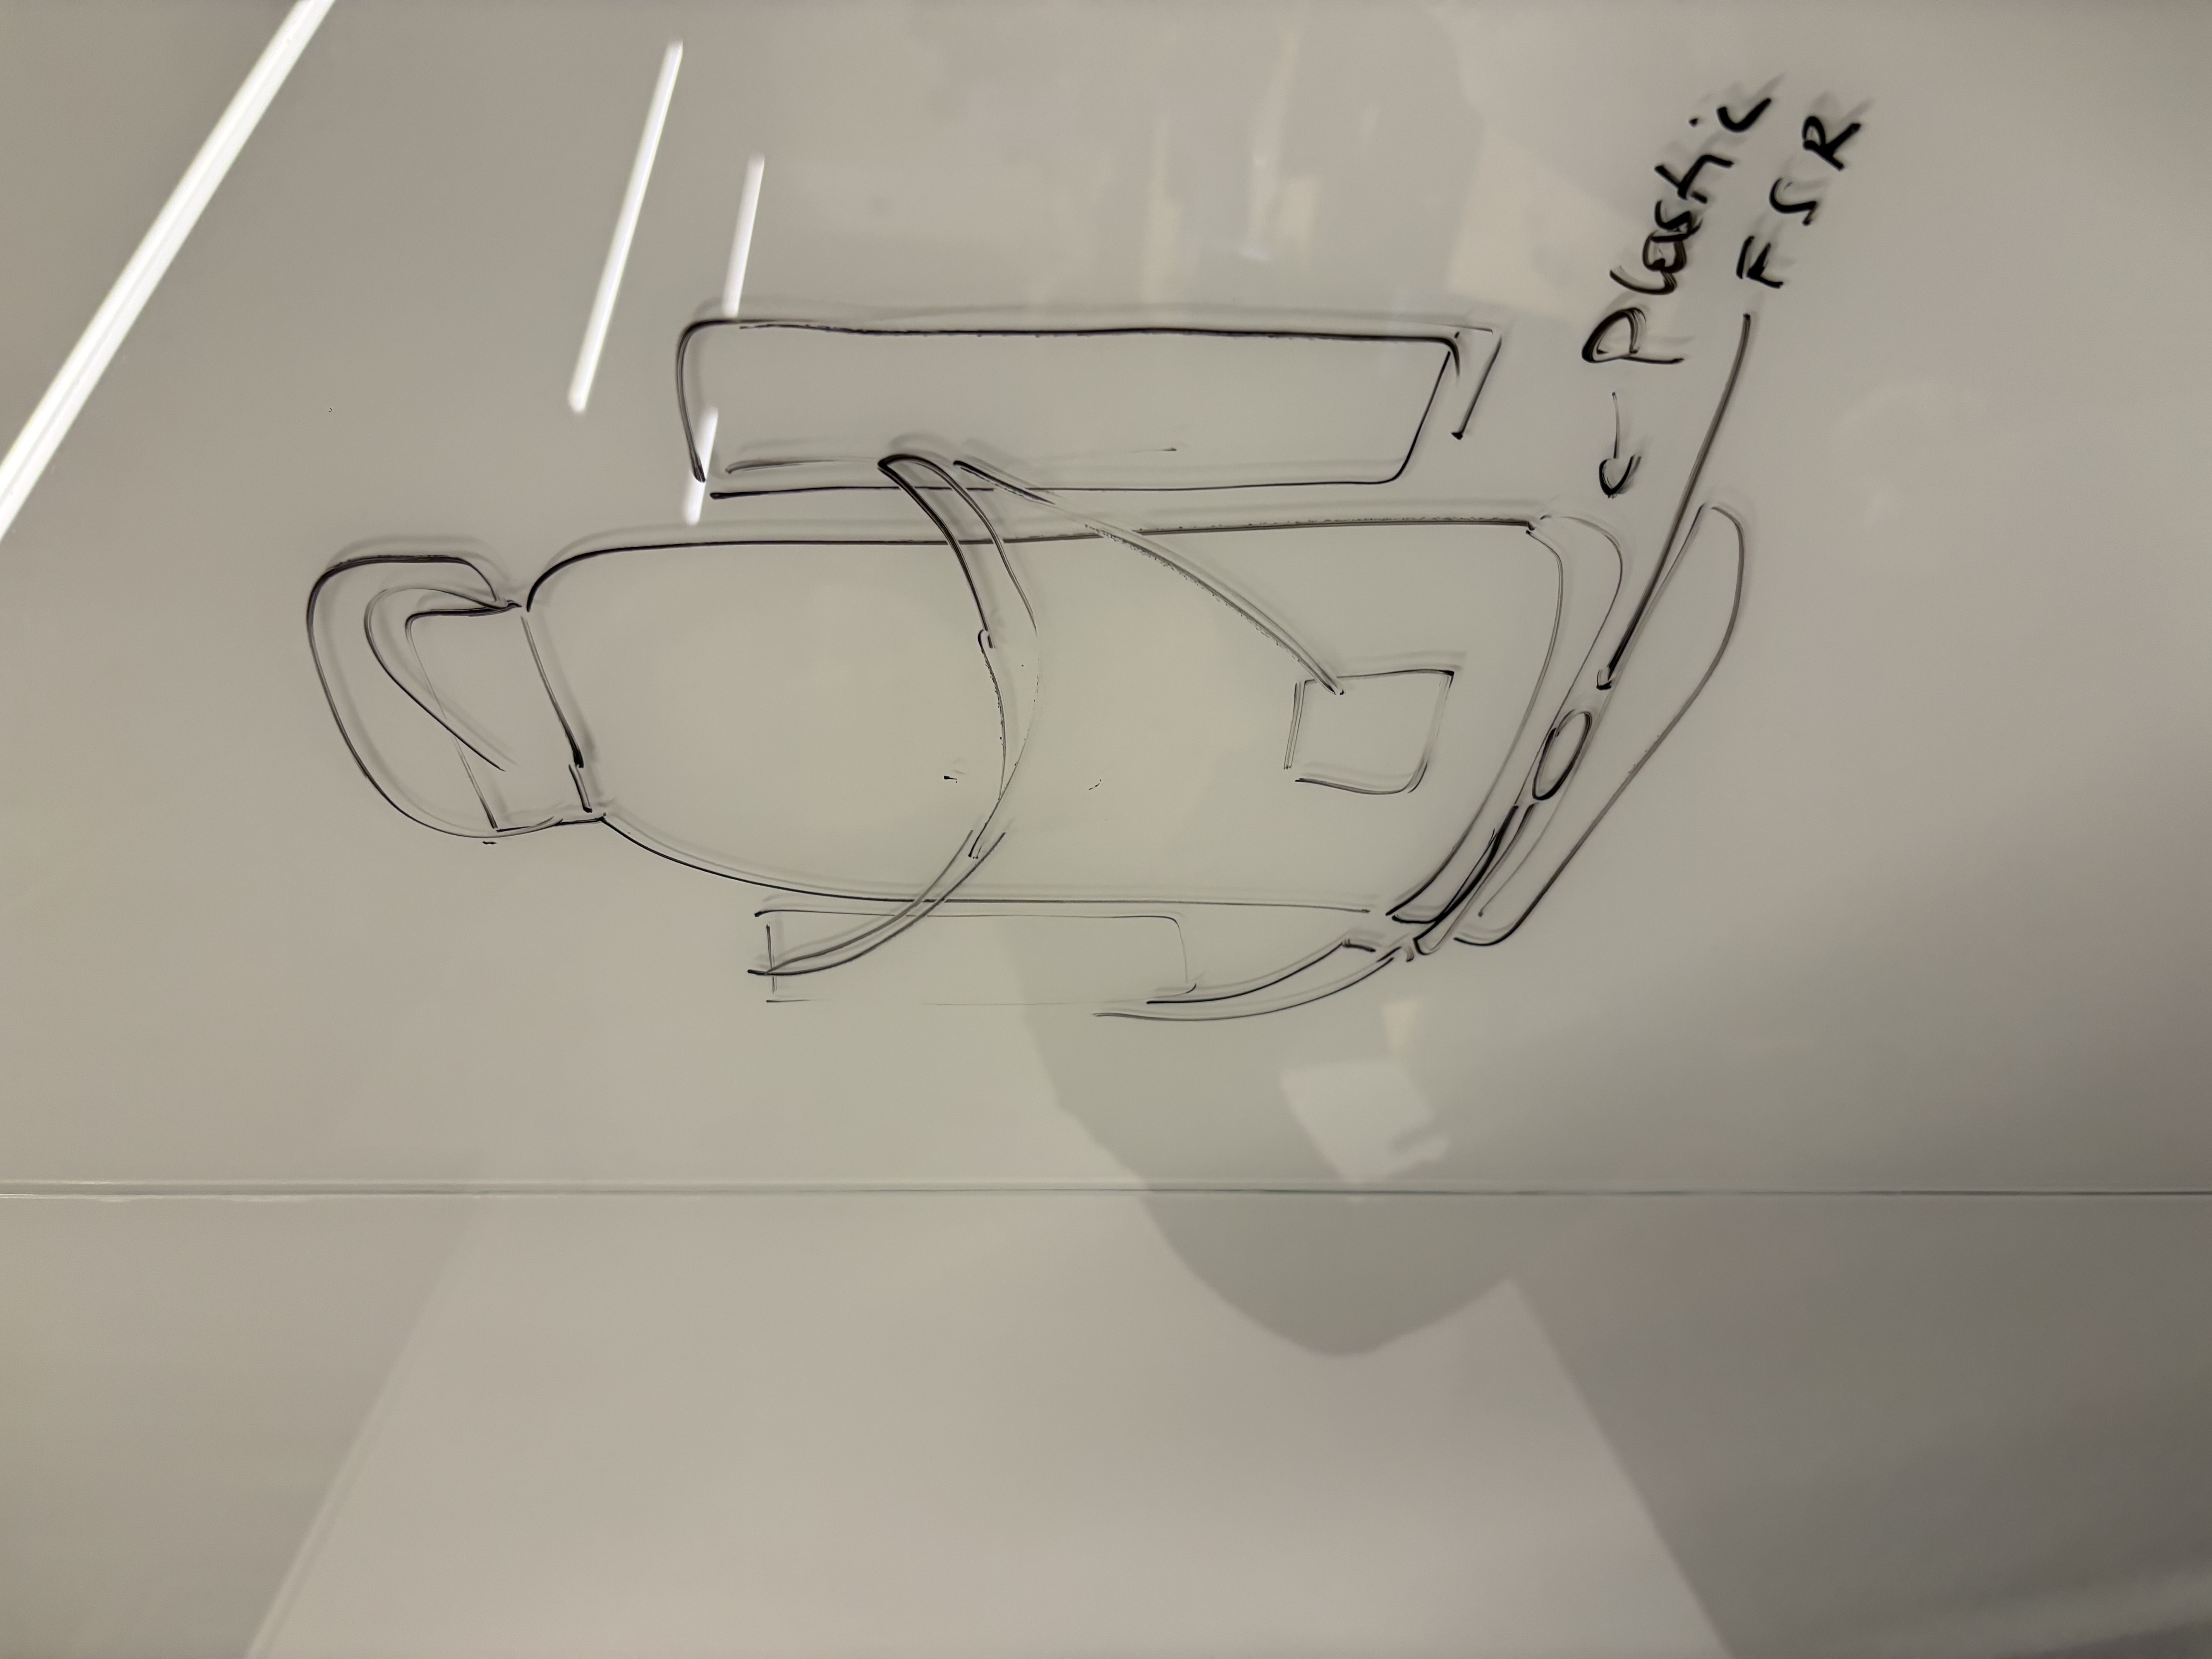
Sketch illustrating bottle-to-plate contact and weight distribution

Inspiration
We found that while for some drinking water is a natural response like breathing, others find it hard to remember to drink enough water per day. One of our own teammates has been using an application on her phone to track the water each day that she intakes, but the problem is that entering details manually gets tiring and it only adds tasks to remember one more thing that day. To fix this, we wanted to automate the entire setup.
What it does
The system we have built is like a pressure plate. It auto-calibrates to know how much weight an empty water bottle is, and how much weight a full water bottle is. Then, each time you drink from the water bottle it increases the percentage drank for the day, displaying it digitally to motivate and remind the user each time they walk past. A web-app has also been made to give push-notifications and display history like solving the issue is more like a journey to the right direction.
How we built it
Hardware aspect: We first played around with the OLED screen through the Arduino Uno model to get an understanding of wiring because it was our first time exploring hardware. Another part of the team worked on setting and connecting our force sensor resistor and ESP32 with Wi-Fi. After these parts were done and we had understood the features of our components, we worked on connecting the entire thing together and removing the Arduino, sticking with the wireless enabled ESP32.
Software aspect: WaterBuddy’s web app is a real-time hydration dashboard that connects our ESP32 smart bottle to the cloud. Using Firebase Realtime Database, the app listens for live updates and instantly reflects water intake data in the browser. The dashboard is built with HTML for webpage structure, CSS for styling, and Javascript for database connection and dynamic UI updates. It displays the total amount of water consumed (in oz), tracks daily progress, and allows users to both reset their daily intake and change their hydration goal.
3D Printing aspect: To enhance the aesthetic appeal of our project, we designed and printed several custom components using Tinkercad. First, a dome enclosure sits over the breadboard, protecting the circuitry while keeping it fully accessible during use. Second, a custom base keeps the bottle securely in place, ensuring stable and consistent readings from the pressure sensor. Finally, decorative fins were added to the overall assembly, giving the entire setup the playful appearance of a fish.
Challenges we ran into
The biggest issue we have is our compatibility with the 3D printed structure and the hardware. The sizing came out wrong and it doesn’t fit as smoothly as it was supposed to. The holes that are printed are in directions that we ended up changing on the bread board so now we can’t have good space for the FSR and OLED display.
We also ran into issues with Firebase. Initally the web app software was written to receive data from a firestore database, but the ESP32 was going to send to a realtime database, so the software for the web app had to be altered. Additionally, there were permissions issues with the webapp's access to the data stored in the realtime database.
Accomplishments that we're proud of
Within a 24-hour development cycle and with no prior hardware experience, we successfully delivered a fully integrated end-to-end system. We built a fully functional web application for Nemo that connects to a live Firebase Realtime Database and displays hydration data in real time. On the hardware side, we successfully wired and calibrated a force sensing resistor with an ESP32, achieving accurate enough weight readings to detect sips reliably.
What we learned
Over the course of this project, we experimented with hardware like ESP32 and FSR, and technologies like Firebase. We learned how to calibrate the FSR, receive data from the ESP32, store data from the Firestore realtime database, and have dynamic UI updates on the webpage.
What's next for Nemo
Nemo had some issues regarding the resources we had. Mainly, the FSR was way too small in length. It is not able to reach the middle of the blue disk (see next page). Since it is not centered, it is not able to correctly detect the weight of a water bottle. Perhaps using the FSR was not the right direction to go because most water bottles are too heavy. Hence, we are considering this to be a prototype for now. We also need to redesign the entire 3D printed cover because right now the 3D printer plate was not big enough to be the diameter of the breadboard. That's why it didn't cover it properly. Moreover, it isn't the shape we wanted or color because the filament options were limited. We also want to make the OLED and webapp more compatible so we can register notification if the percentage drank hasn't changed in a while. If we are able to use a bigger OLED we can also enable to send animations when a milestone is achieved for further motivation.
Built With
- css
- esp32
- firebase
- fsr
- html
- javascript
- oled

Log in or sign up for Devpost to join the conversation.