MagClean
Inspiration
At Northwestern, our engineering classrooms — home to huge wall-to-wall whiteboards — are often fully covered in large swathes of marker from student groups and lazy lecturers. This leaves entire whiteboards of writing marks to dry, making them harder to erase the next day. Our school needs a solution to this, and nothing is easier than telling a robot to do something for you.
Additionally, our Differential Equations professor often noted his discomfort with erasing the board due to his age and arthritis — giving us further inspiration to implement a system that can preferentially erase certain marks while leaving others intact based on the lecturer's intent. Thus, the MagClean was born.
What It Does & How It Works
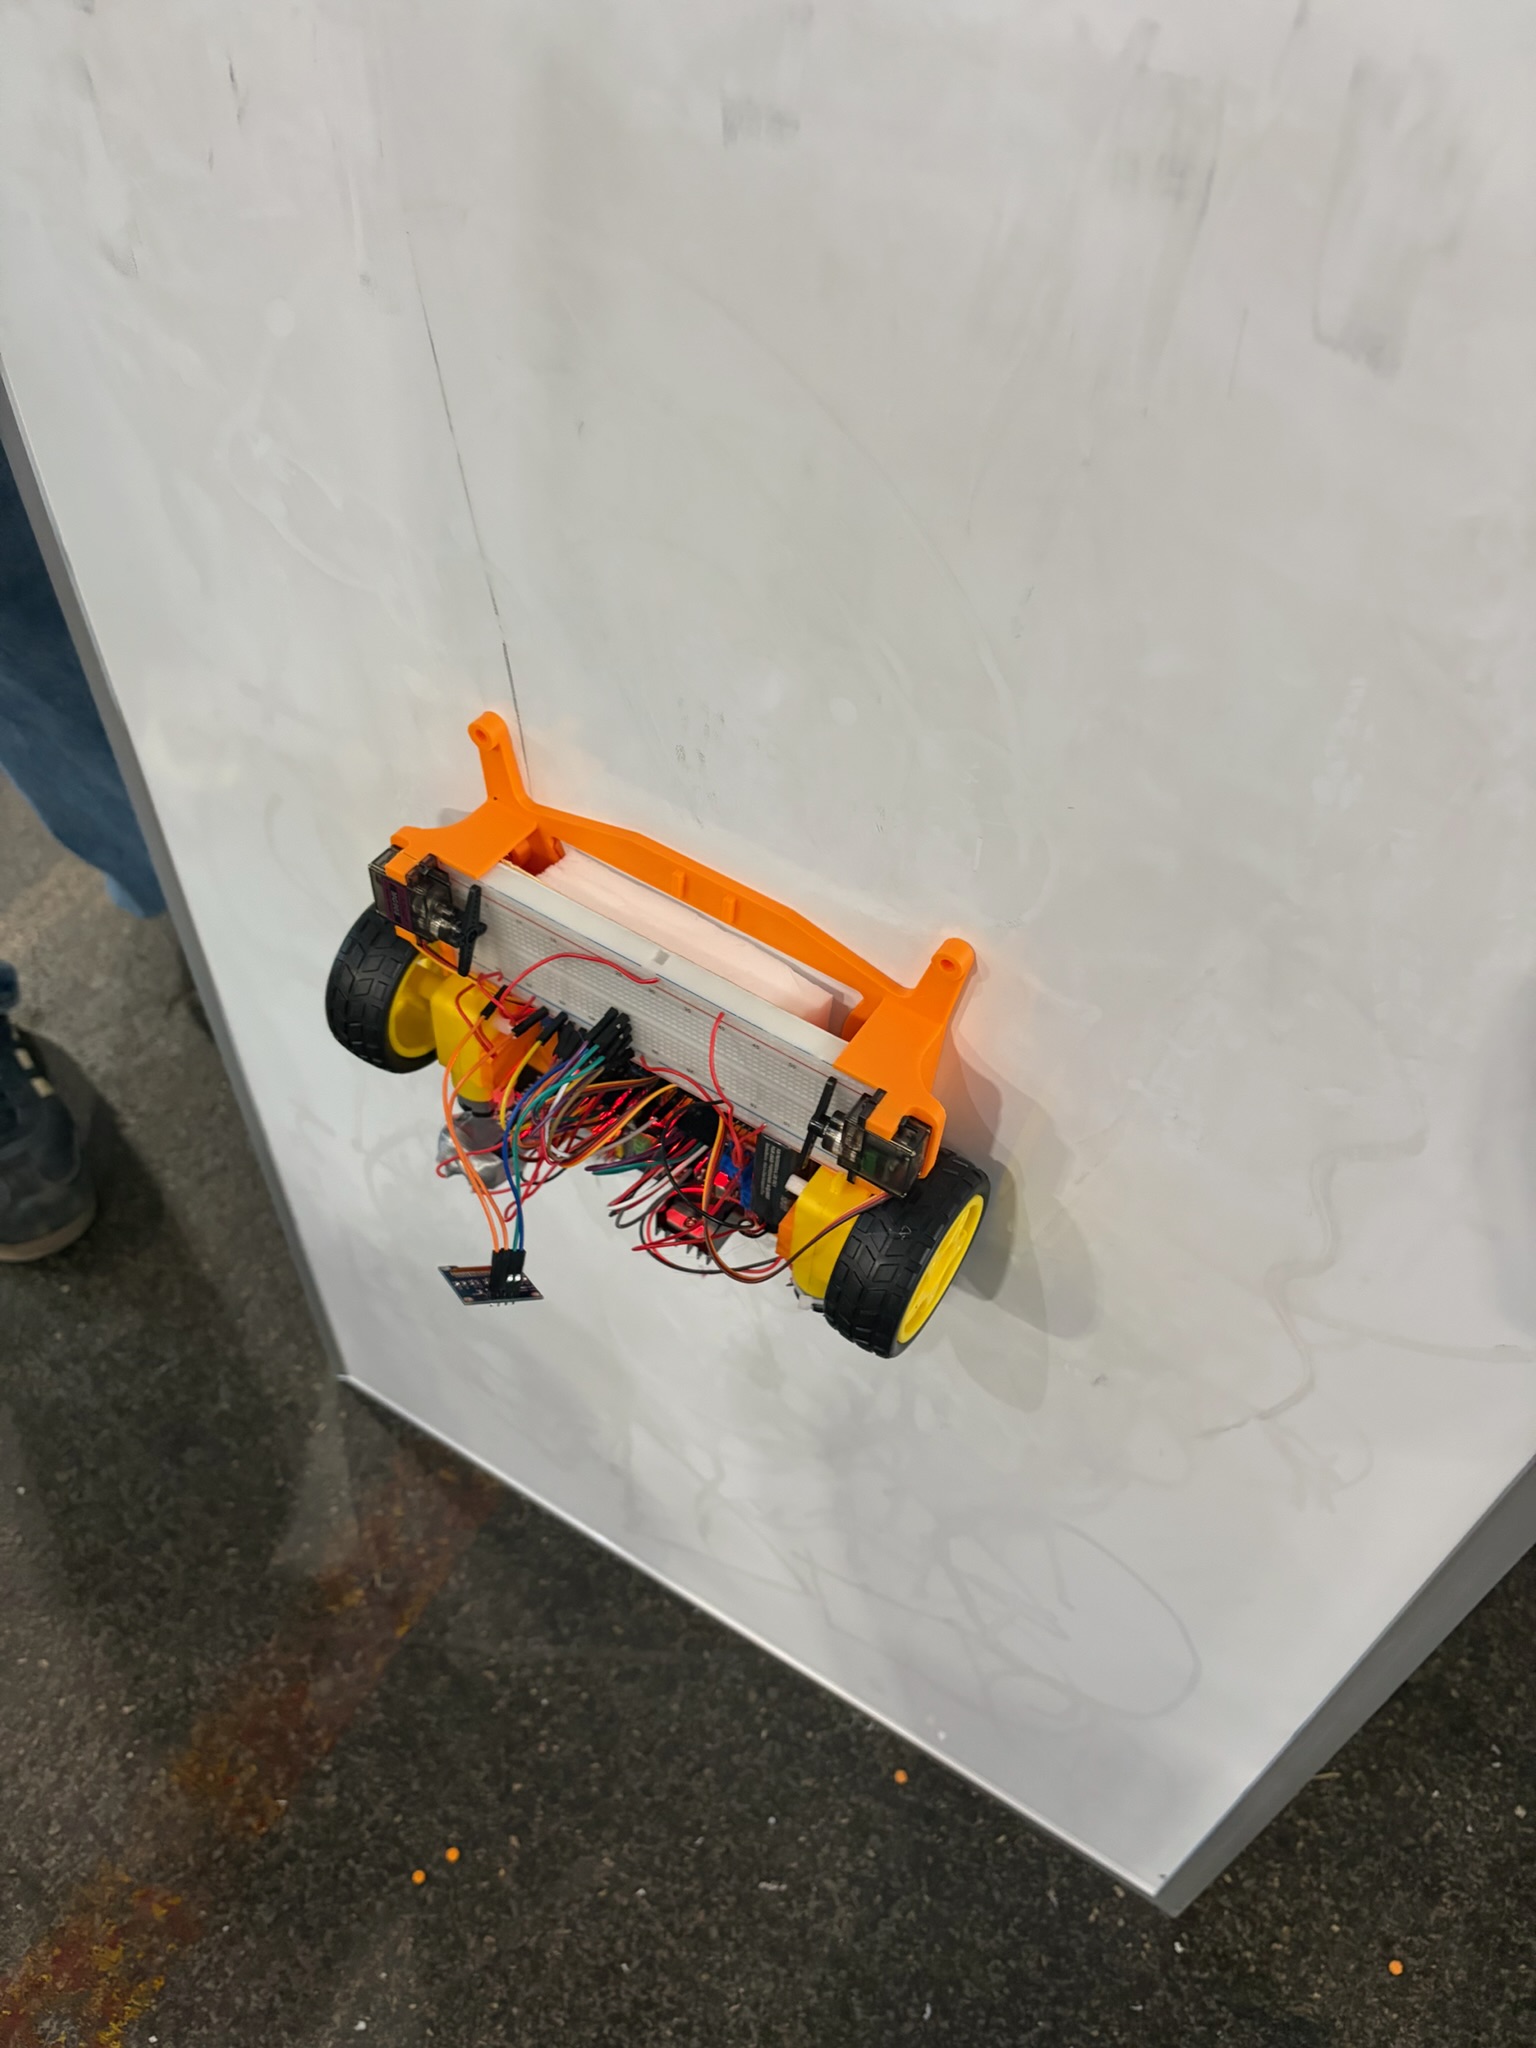
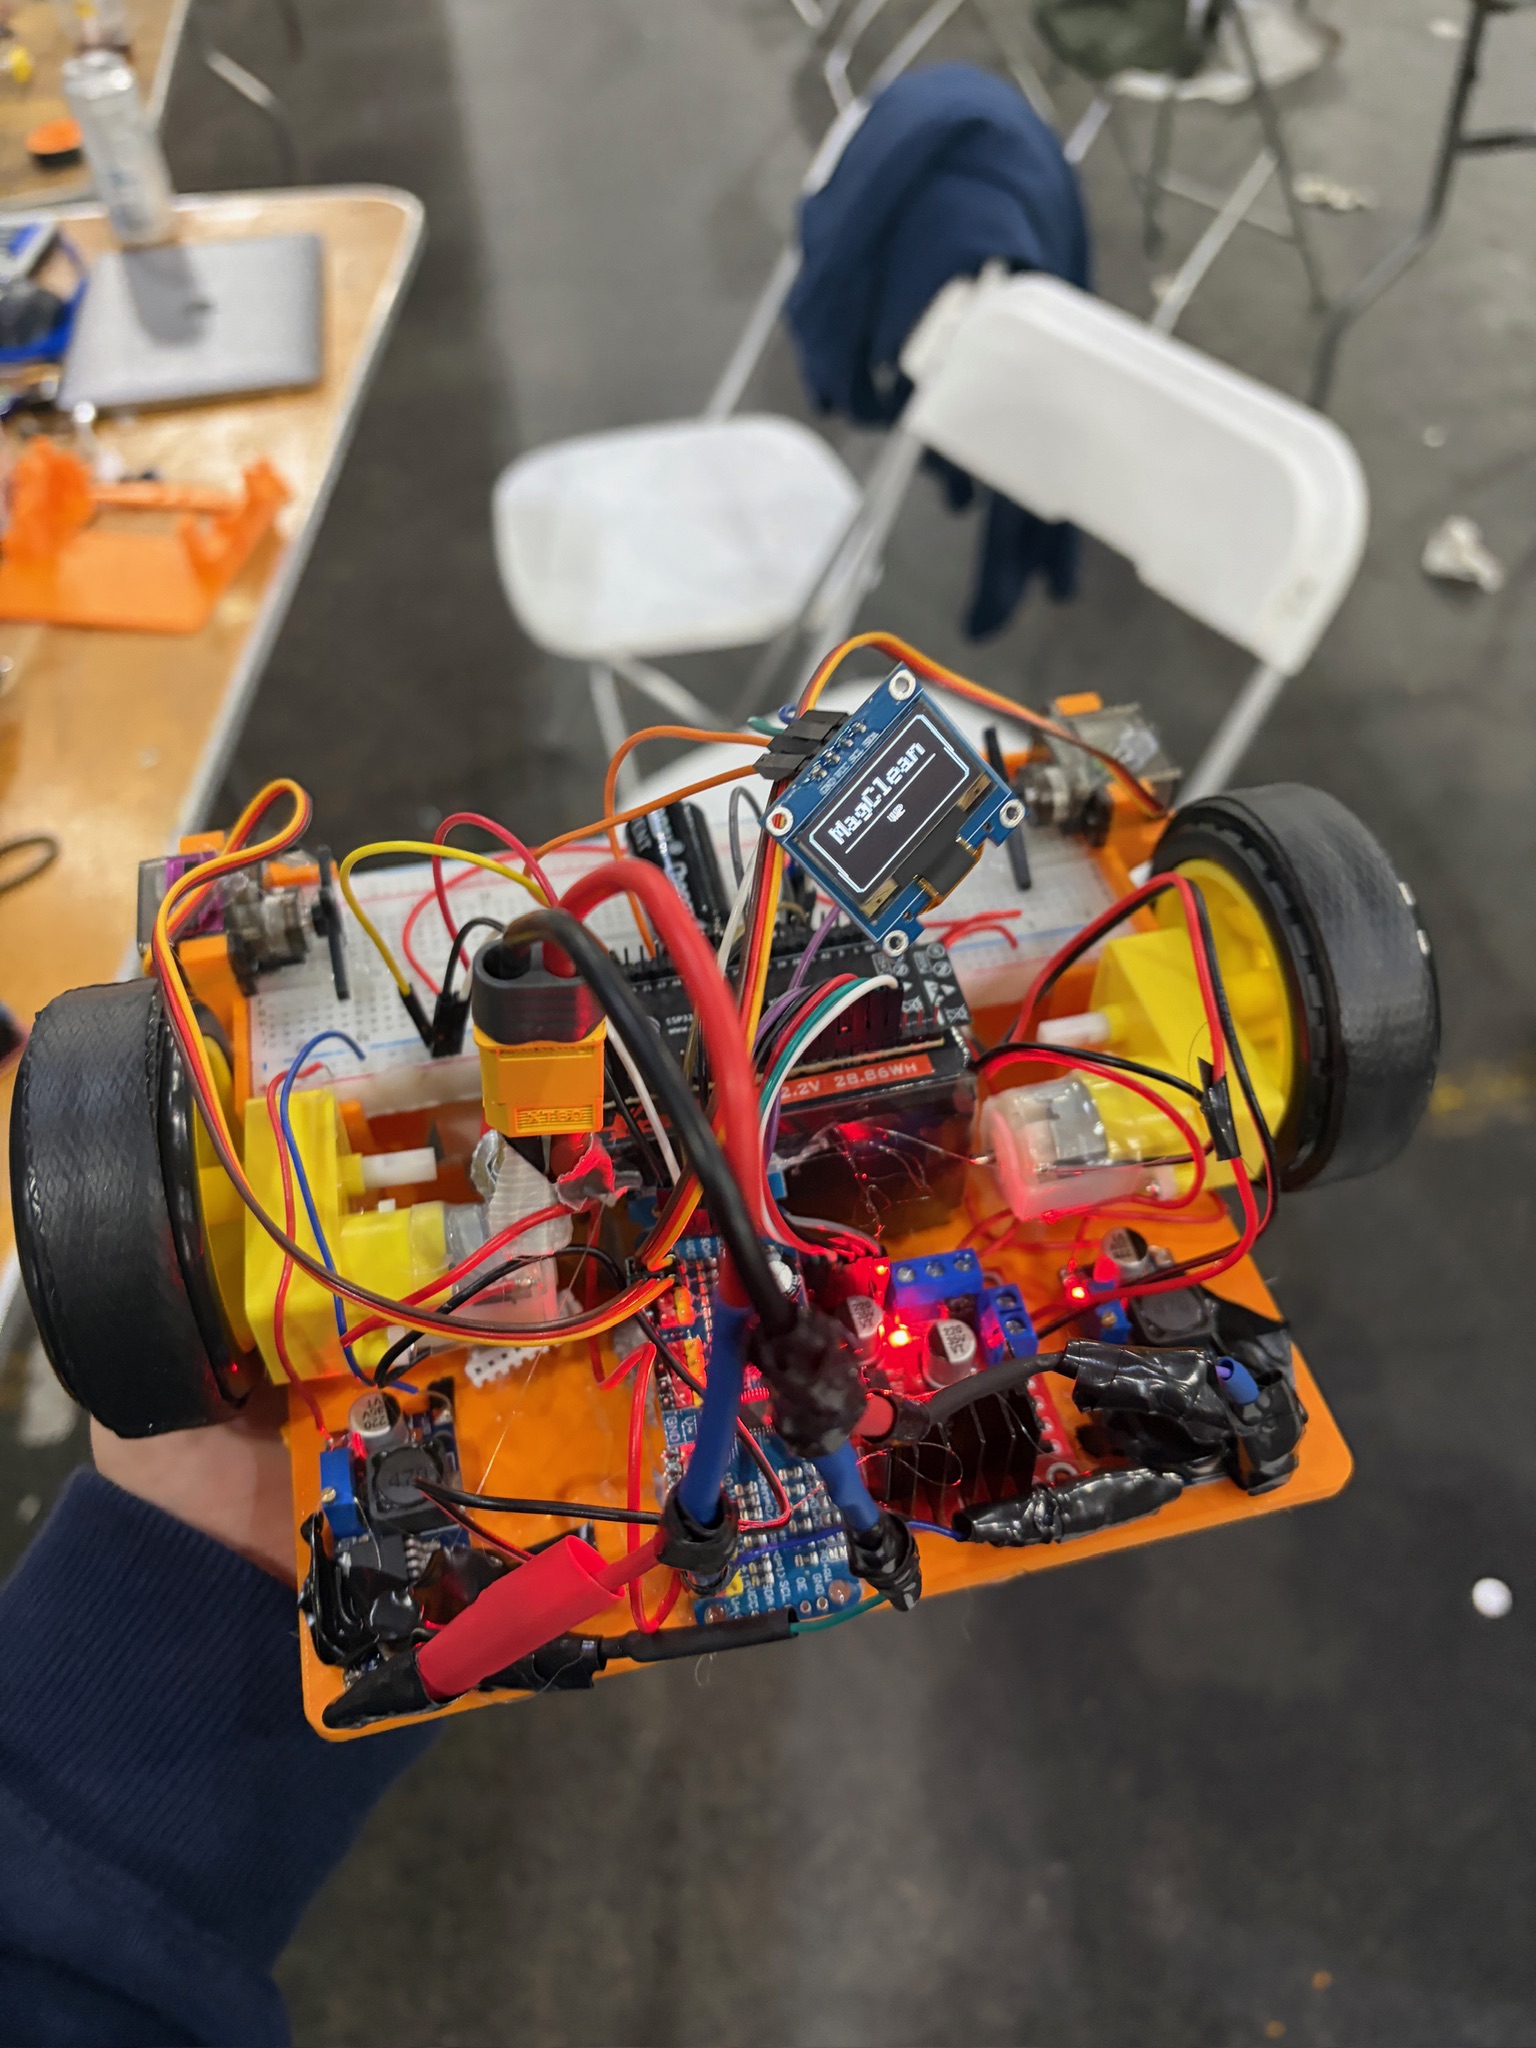
MagClean is an autonomous whiteboard-erasing robot that magnetically attaches to any standard magnetic whiteboard and moves across it to erase marker ink — intelligently, on command.
Core mechanics:
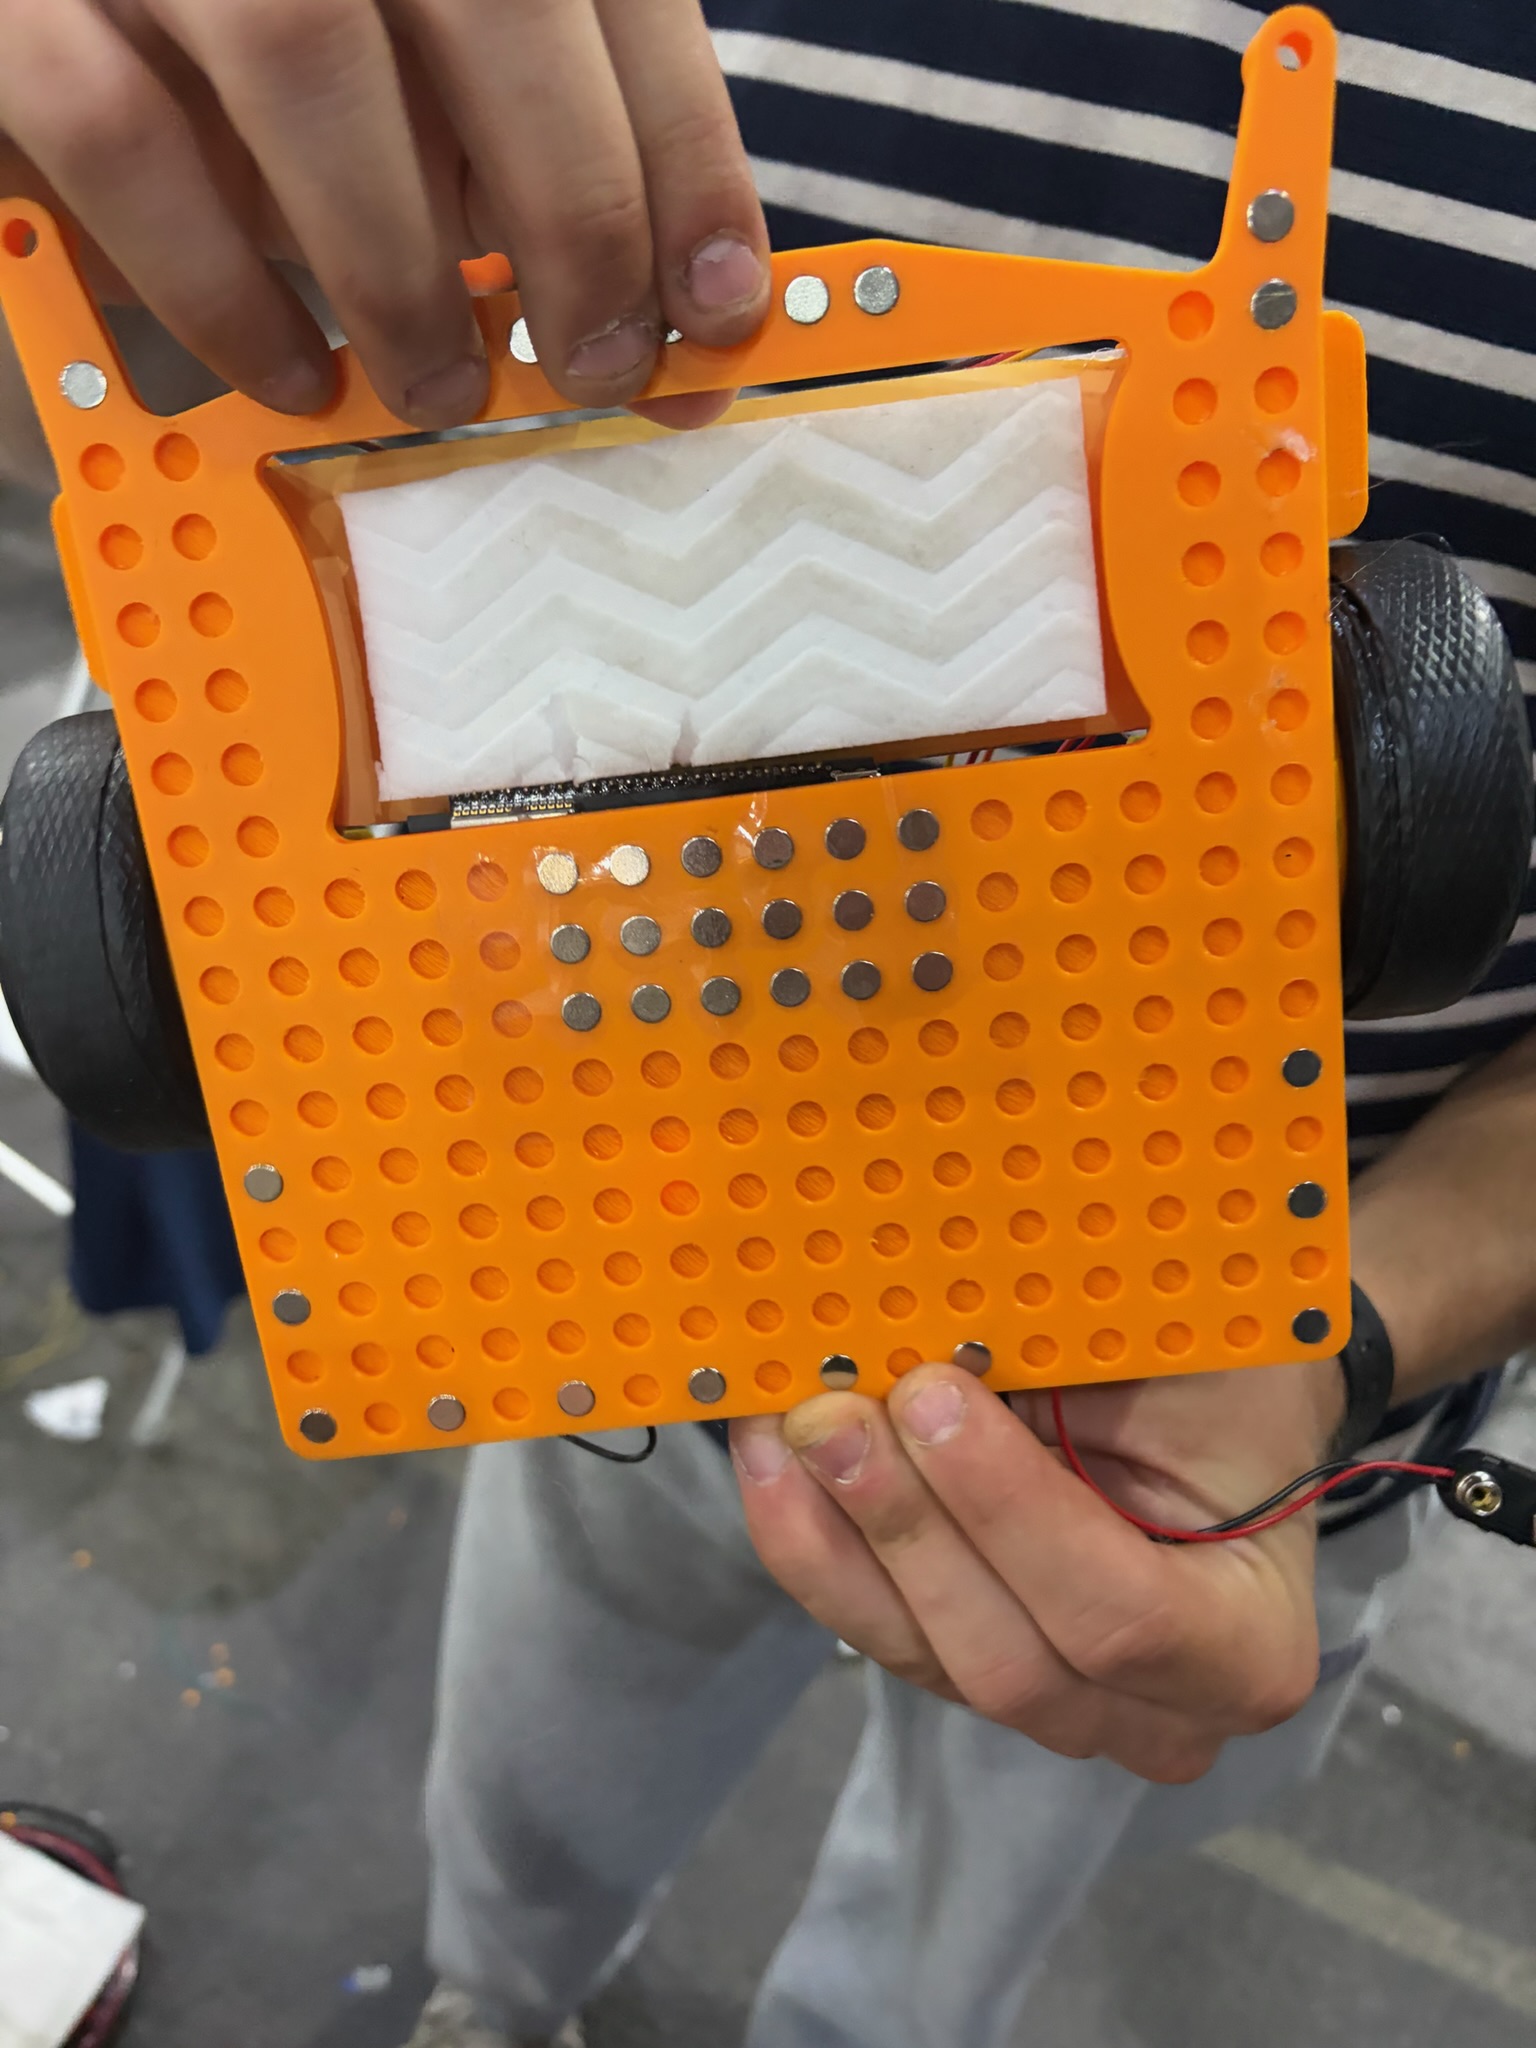
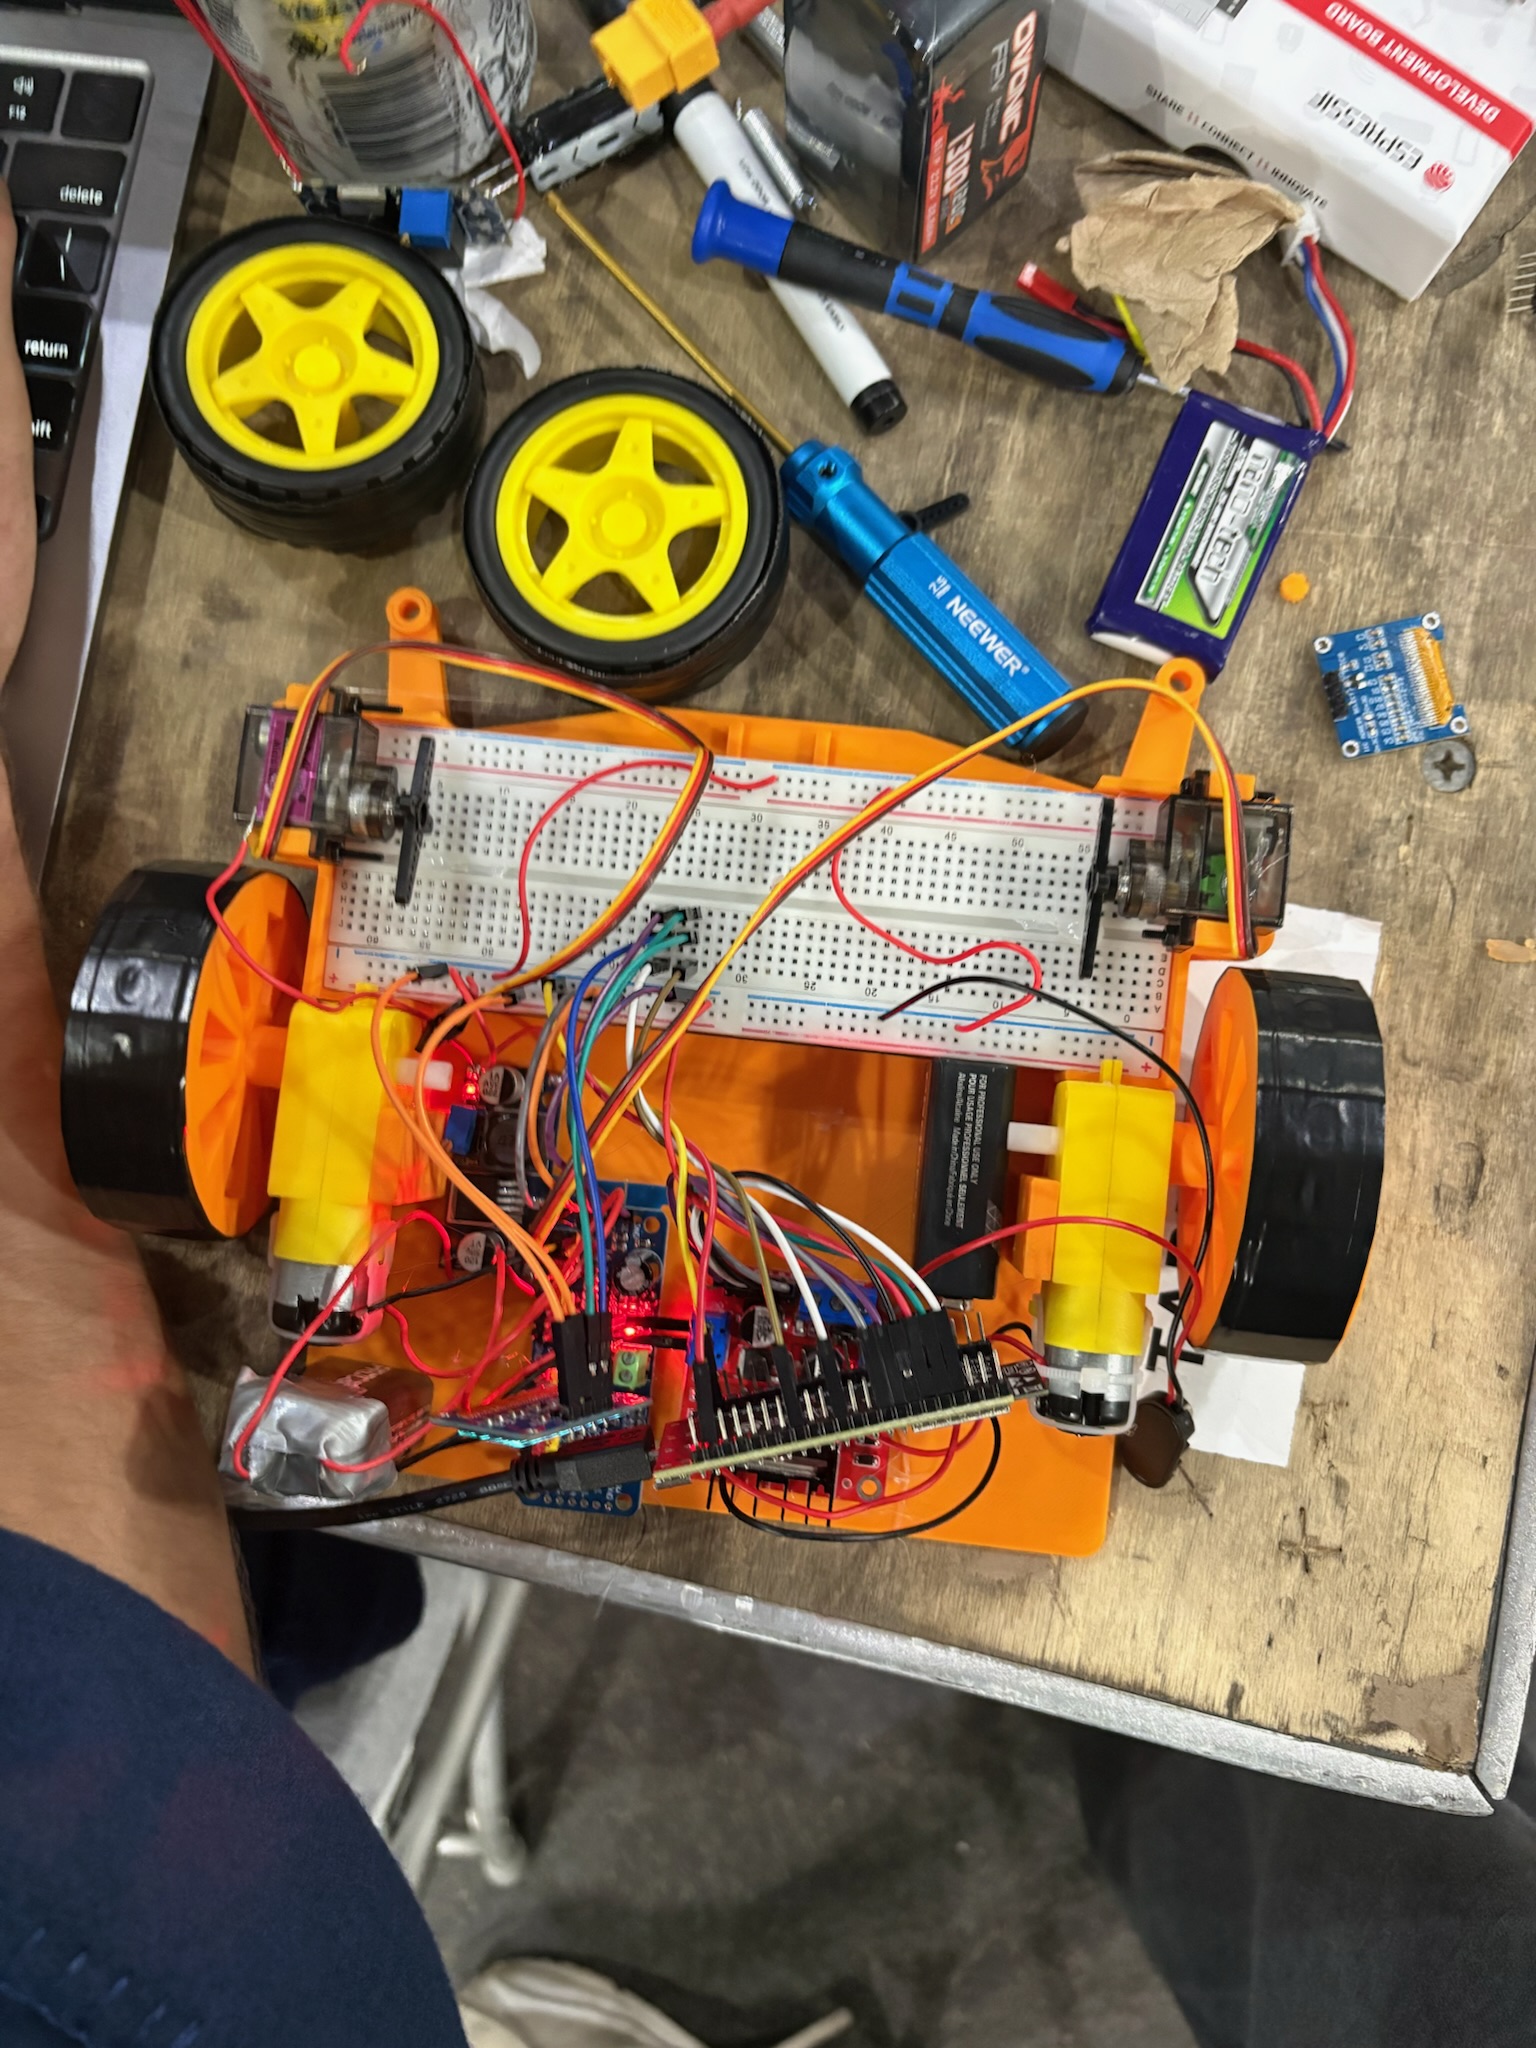
- The robot is magnetically attached to the whiteboard surface using a carefully calibrated array of neodymium magnets on its rear face, providing just enough normal force to stay put without burning out the drive motors.
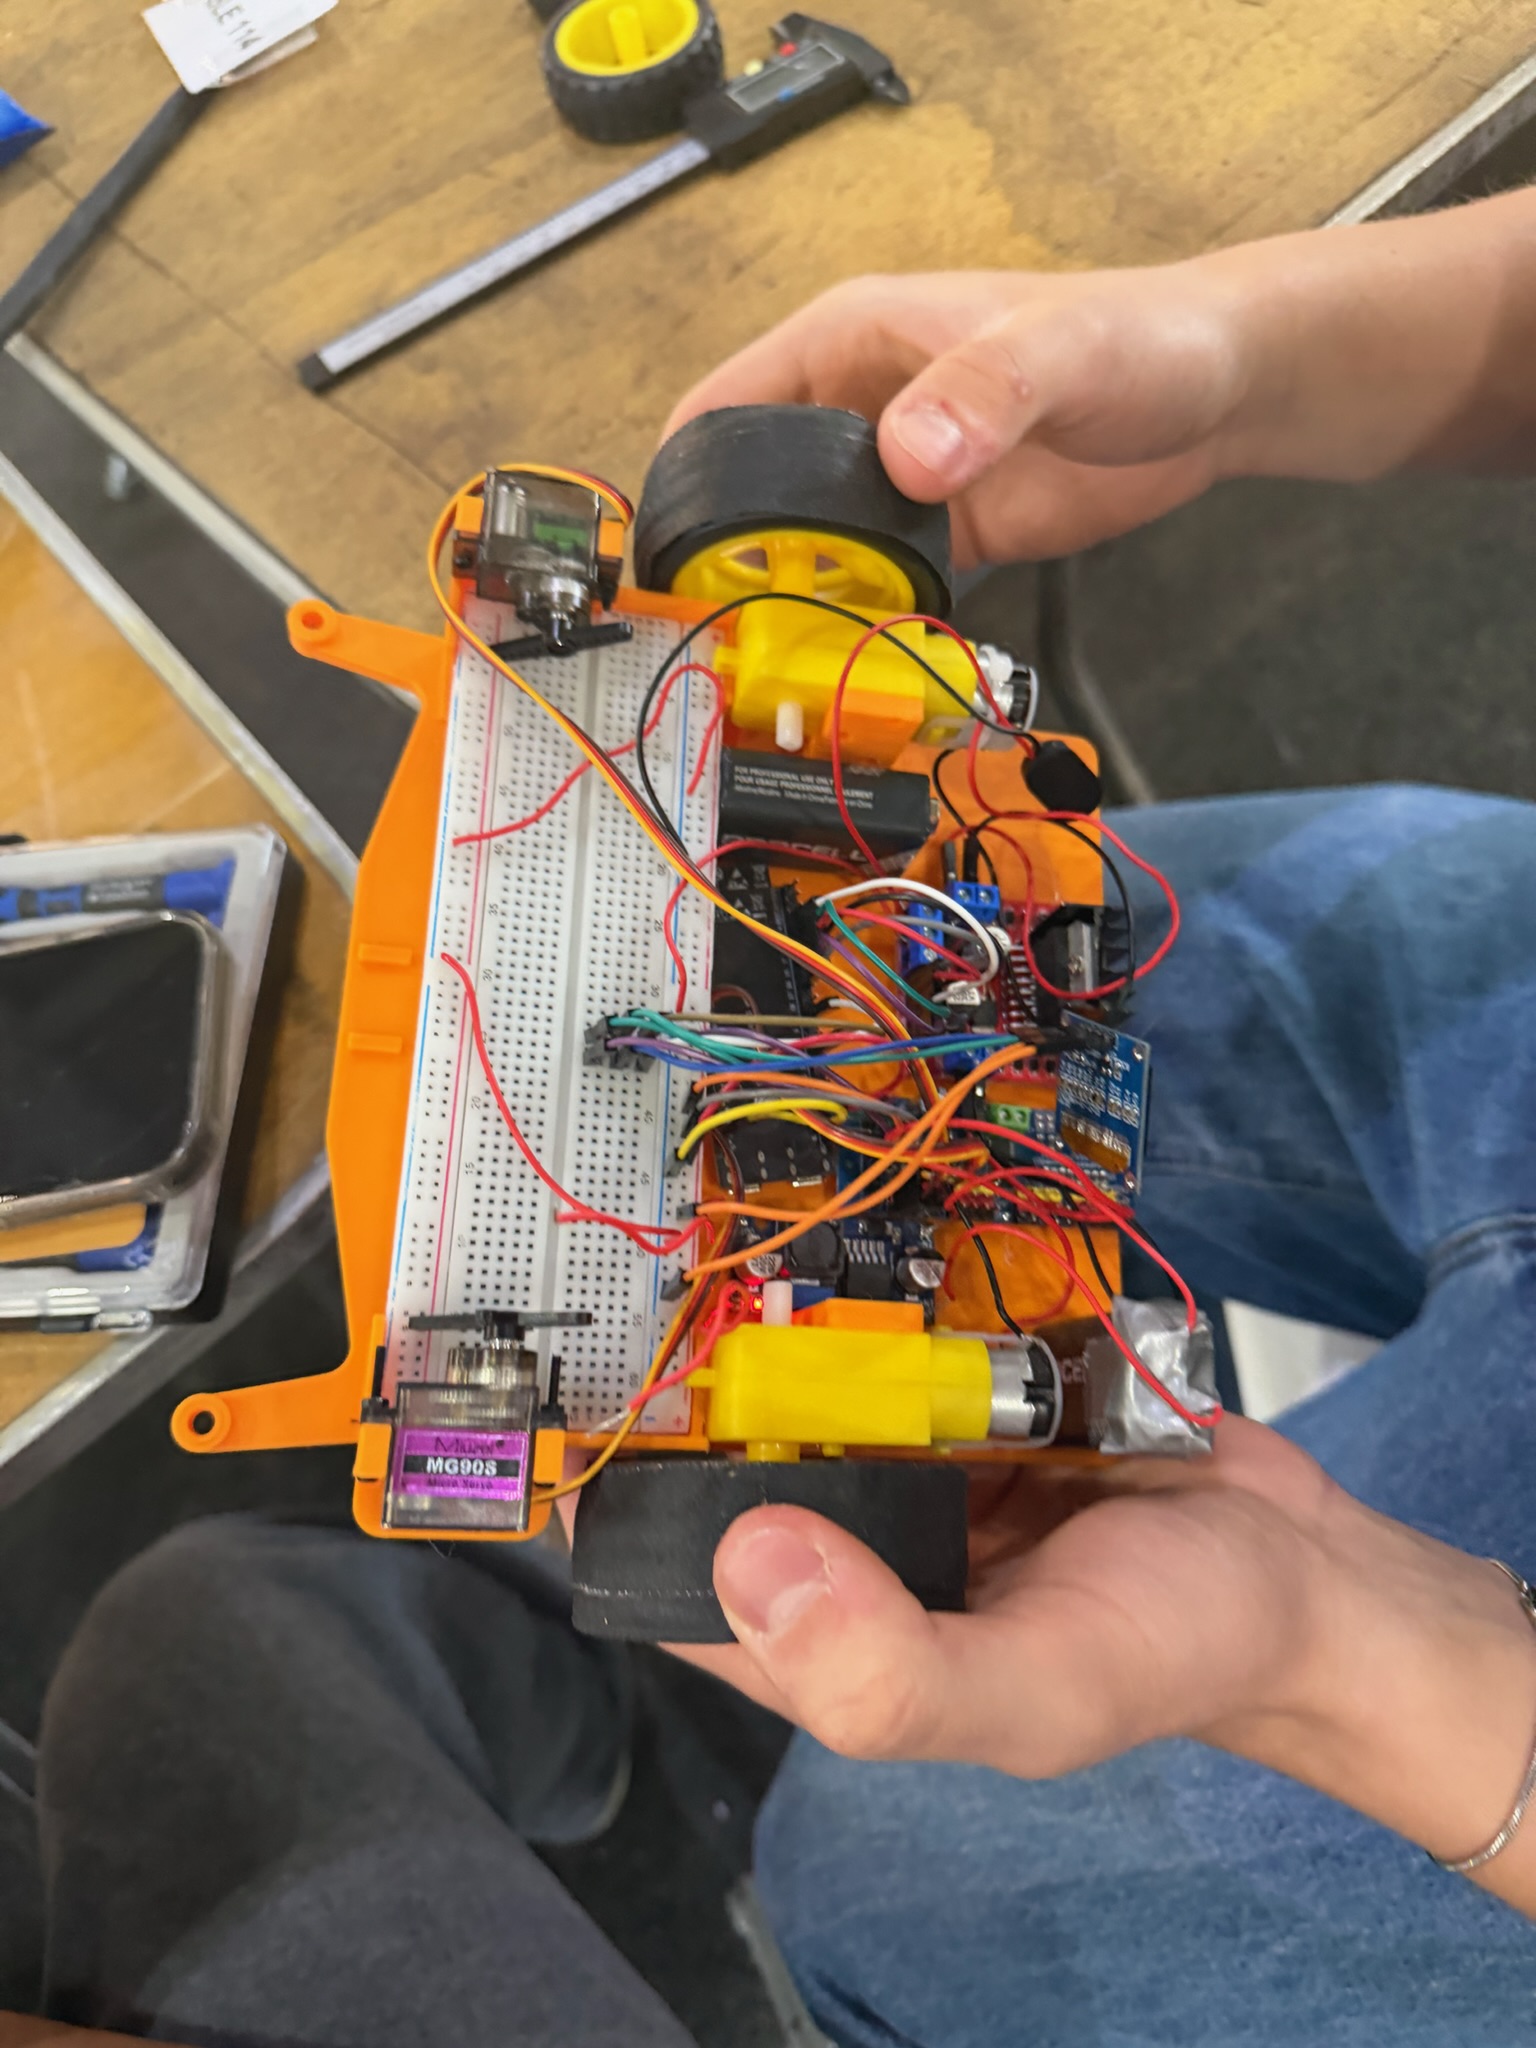
- Controlled by an ESP32 microcontroller running a WiFi HTTP server, the robot receives movement and erase commands from a laptop over the local network.
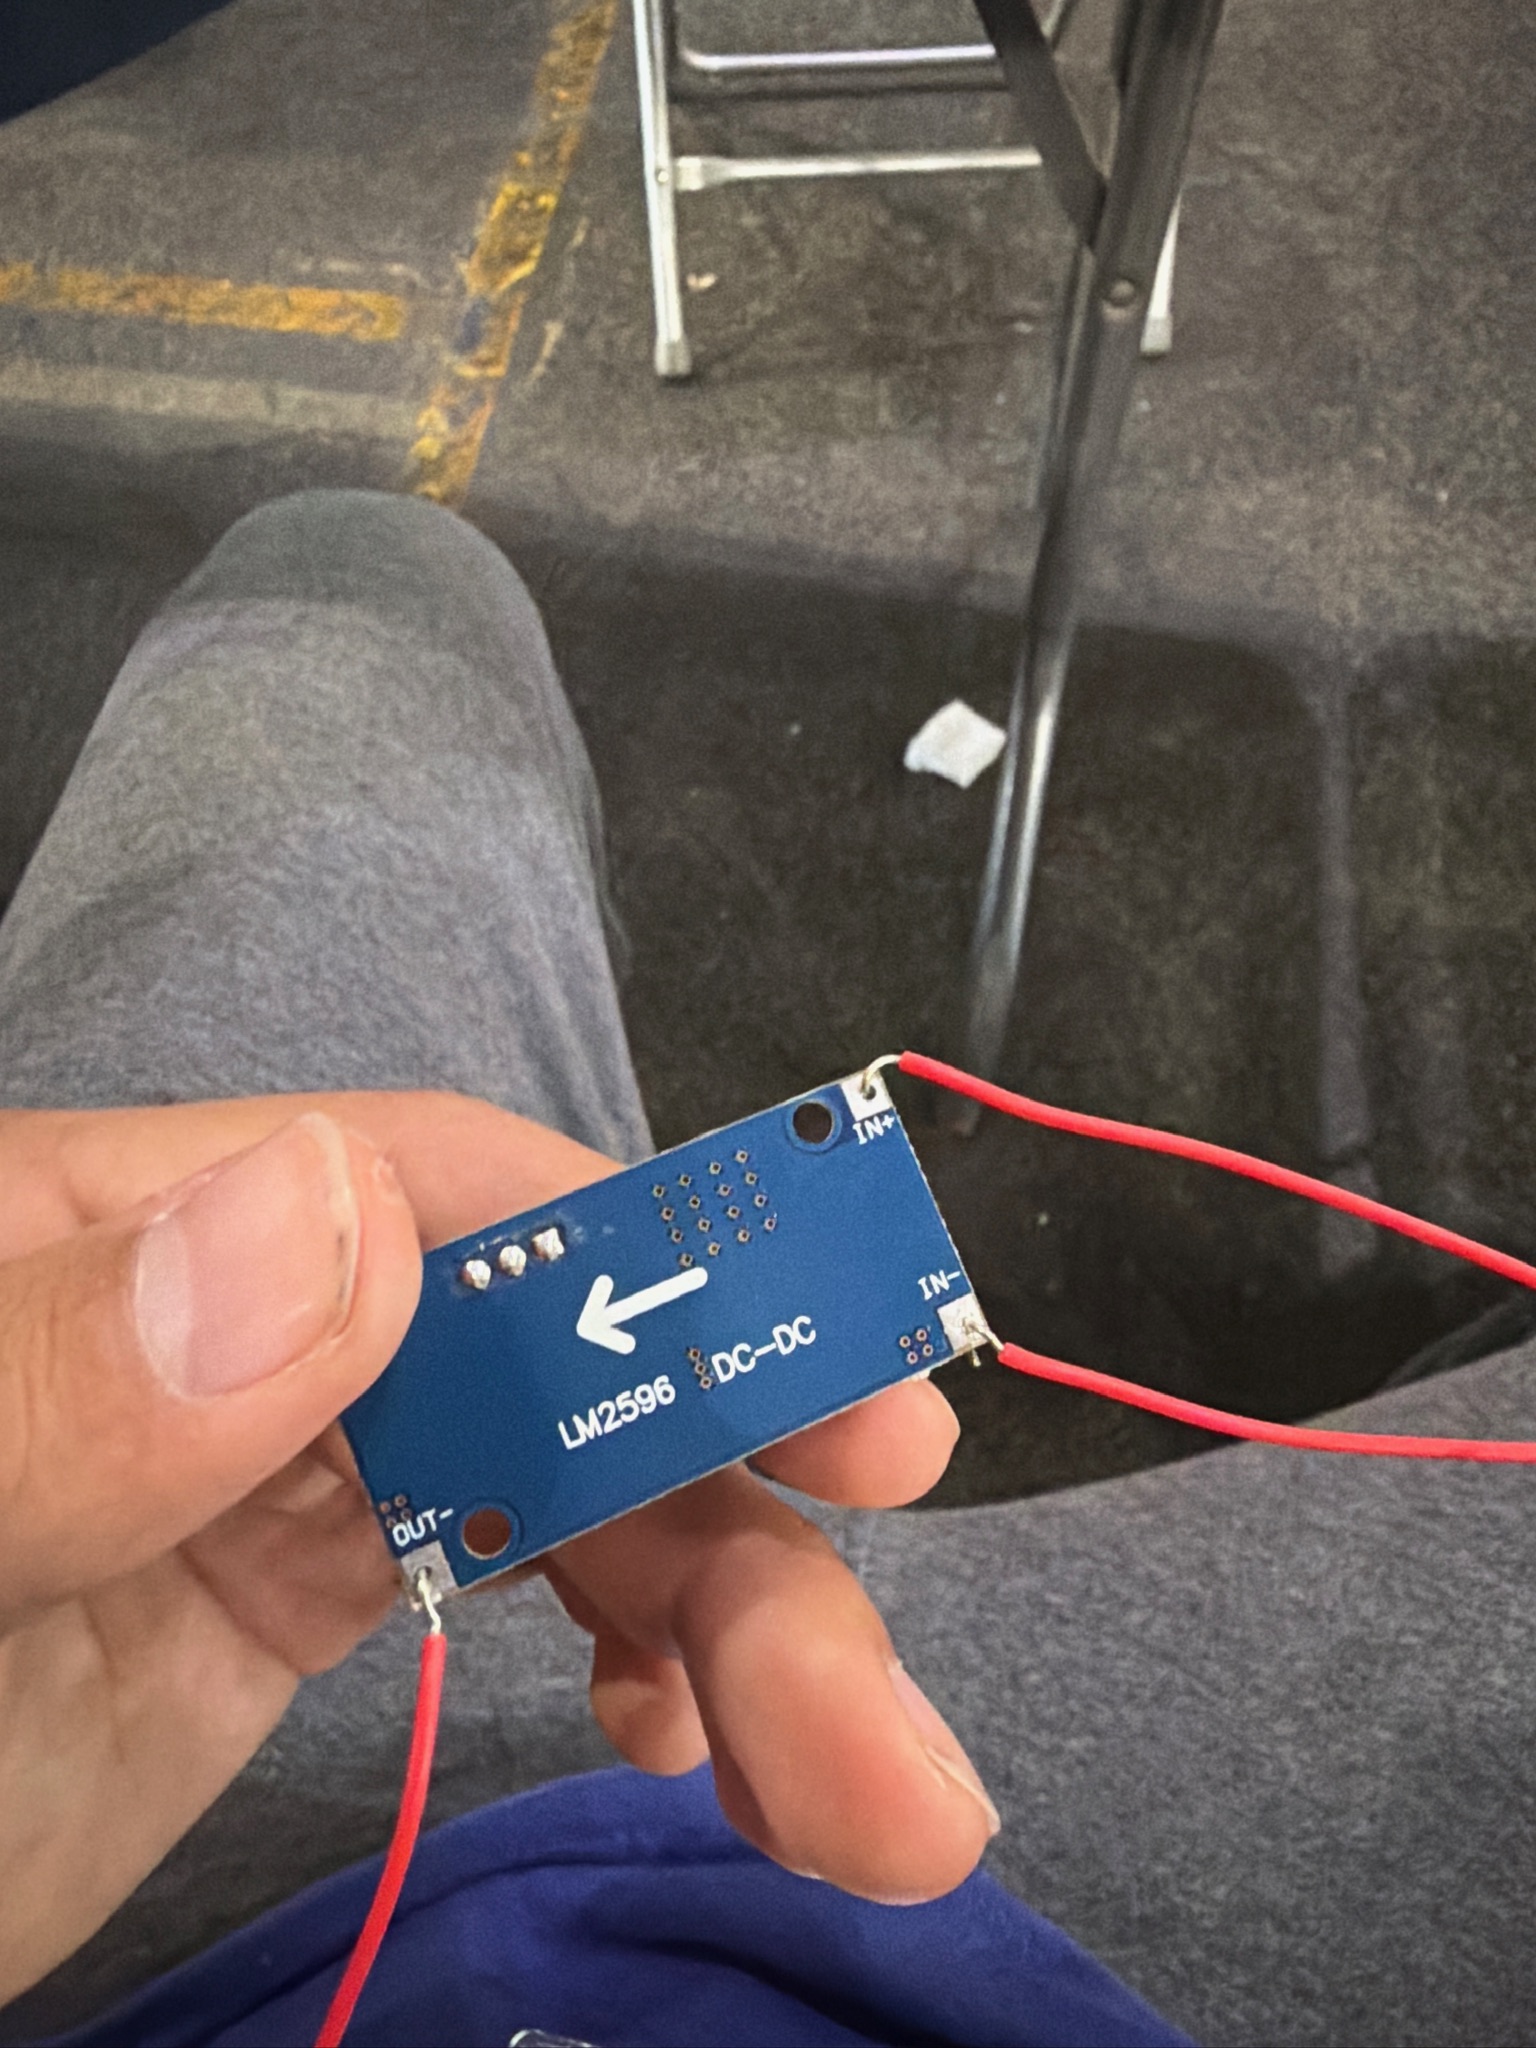
- A 22V Li-ion battery feeds two LM2596 buck converters: one steps down to 7V for the L298N motor driver, and one steps down to 5V for the ESP32 and all peripherals (motors and servos).
- When ready to erase, servo motors press an eraser head firmly onto the whiteboard surface. The robot then traces the desired erase path and releases the eraser upon completion, waiting for the next user input.
Natural language interface:
- Users interact with MagClean through plain English — telling it what to erase and what to leave alone. The system parses that input, converts it into structured movement and action commands, and sends them to the robot module. The robot then orients itself and executes the requested path autonomously.
How We Built It
Design
We began by identifying all necessary electronics based on desired sensing, movement, and natural language processing requirements.
Essential components selected:
- ESP32 (WiFi microcontroller)
- L298N motor driver
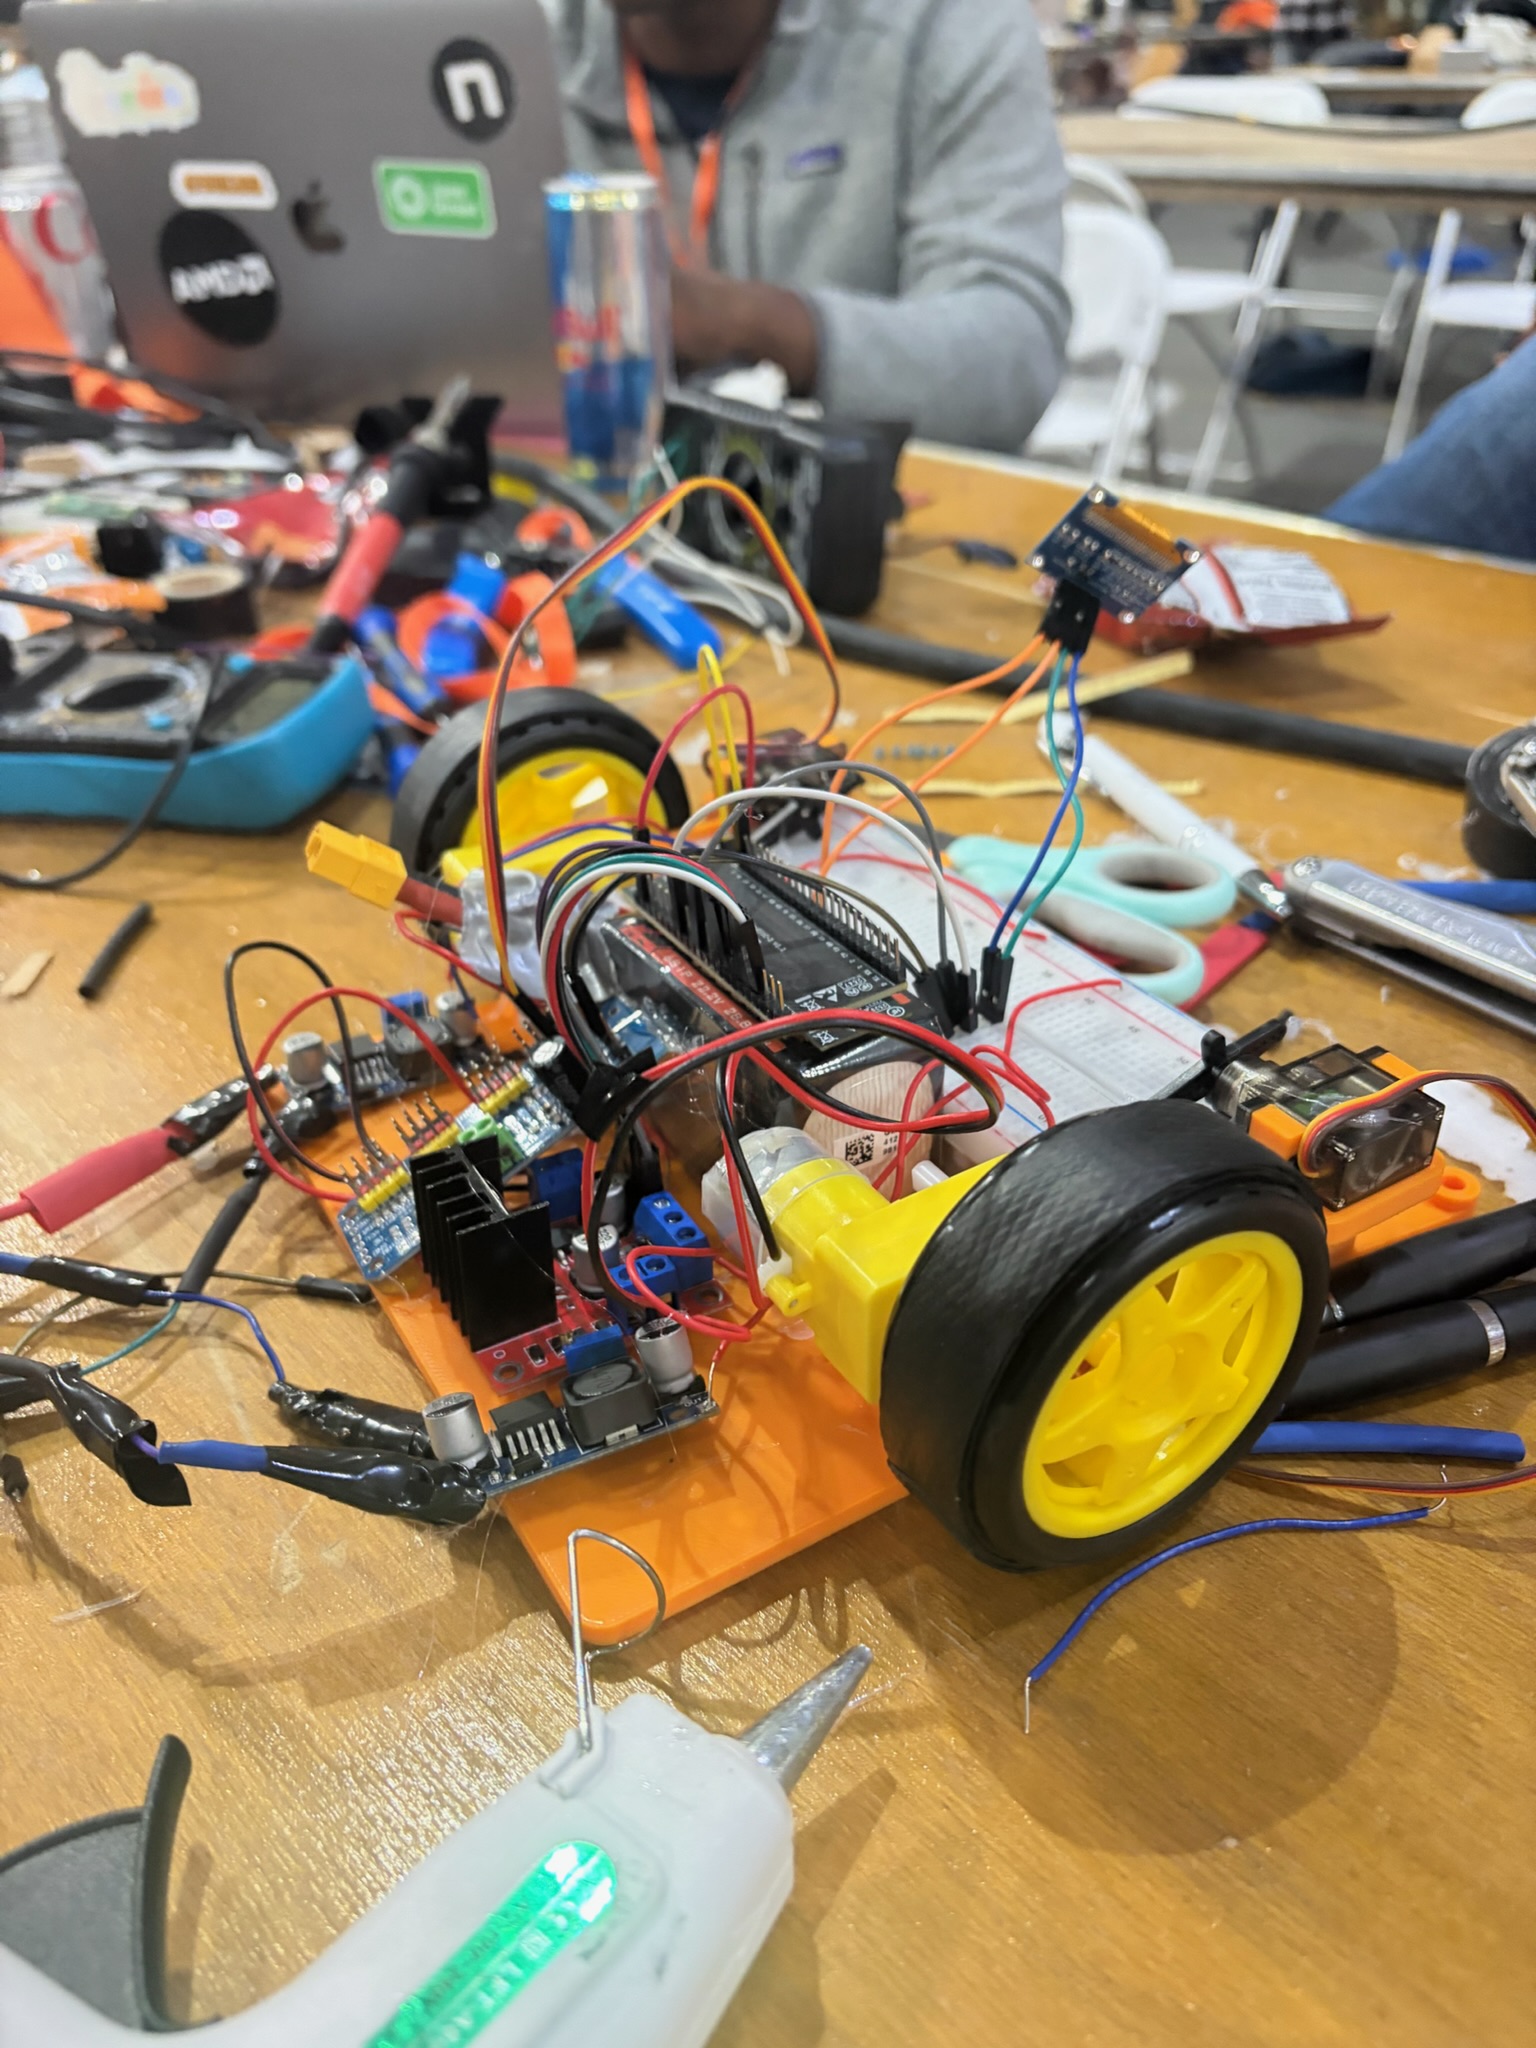
- TT DC gear motors (4×)
- LM2596 buck converter (2×)
- Li-ion battery (22V)
- Servo motor driver
- 2200 µF capacitor
- Servo motors
Nice-to-have components (added later):
- MPU-6050 (gyroscope/accelerometer)
- OLED 0.96" display
- VL53L0X Time-of-Flight sensors (4×)
- IR sensors (2×)
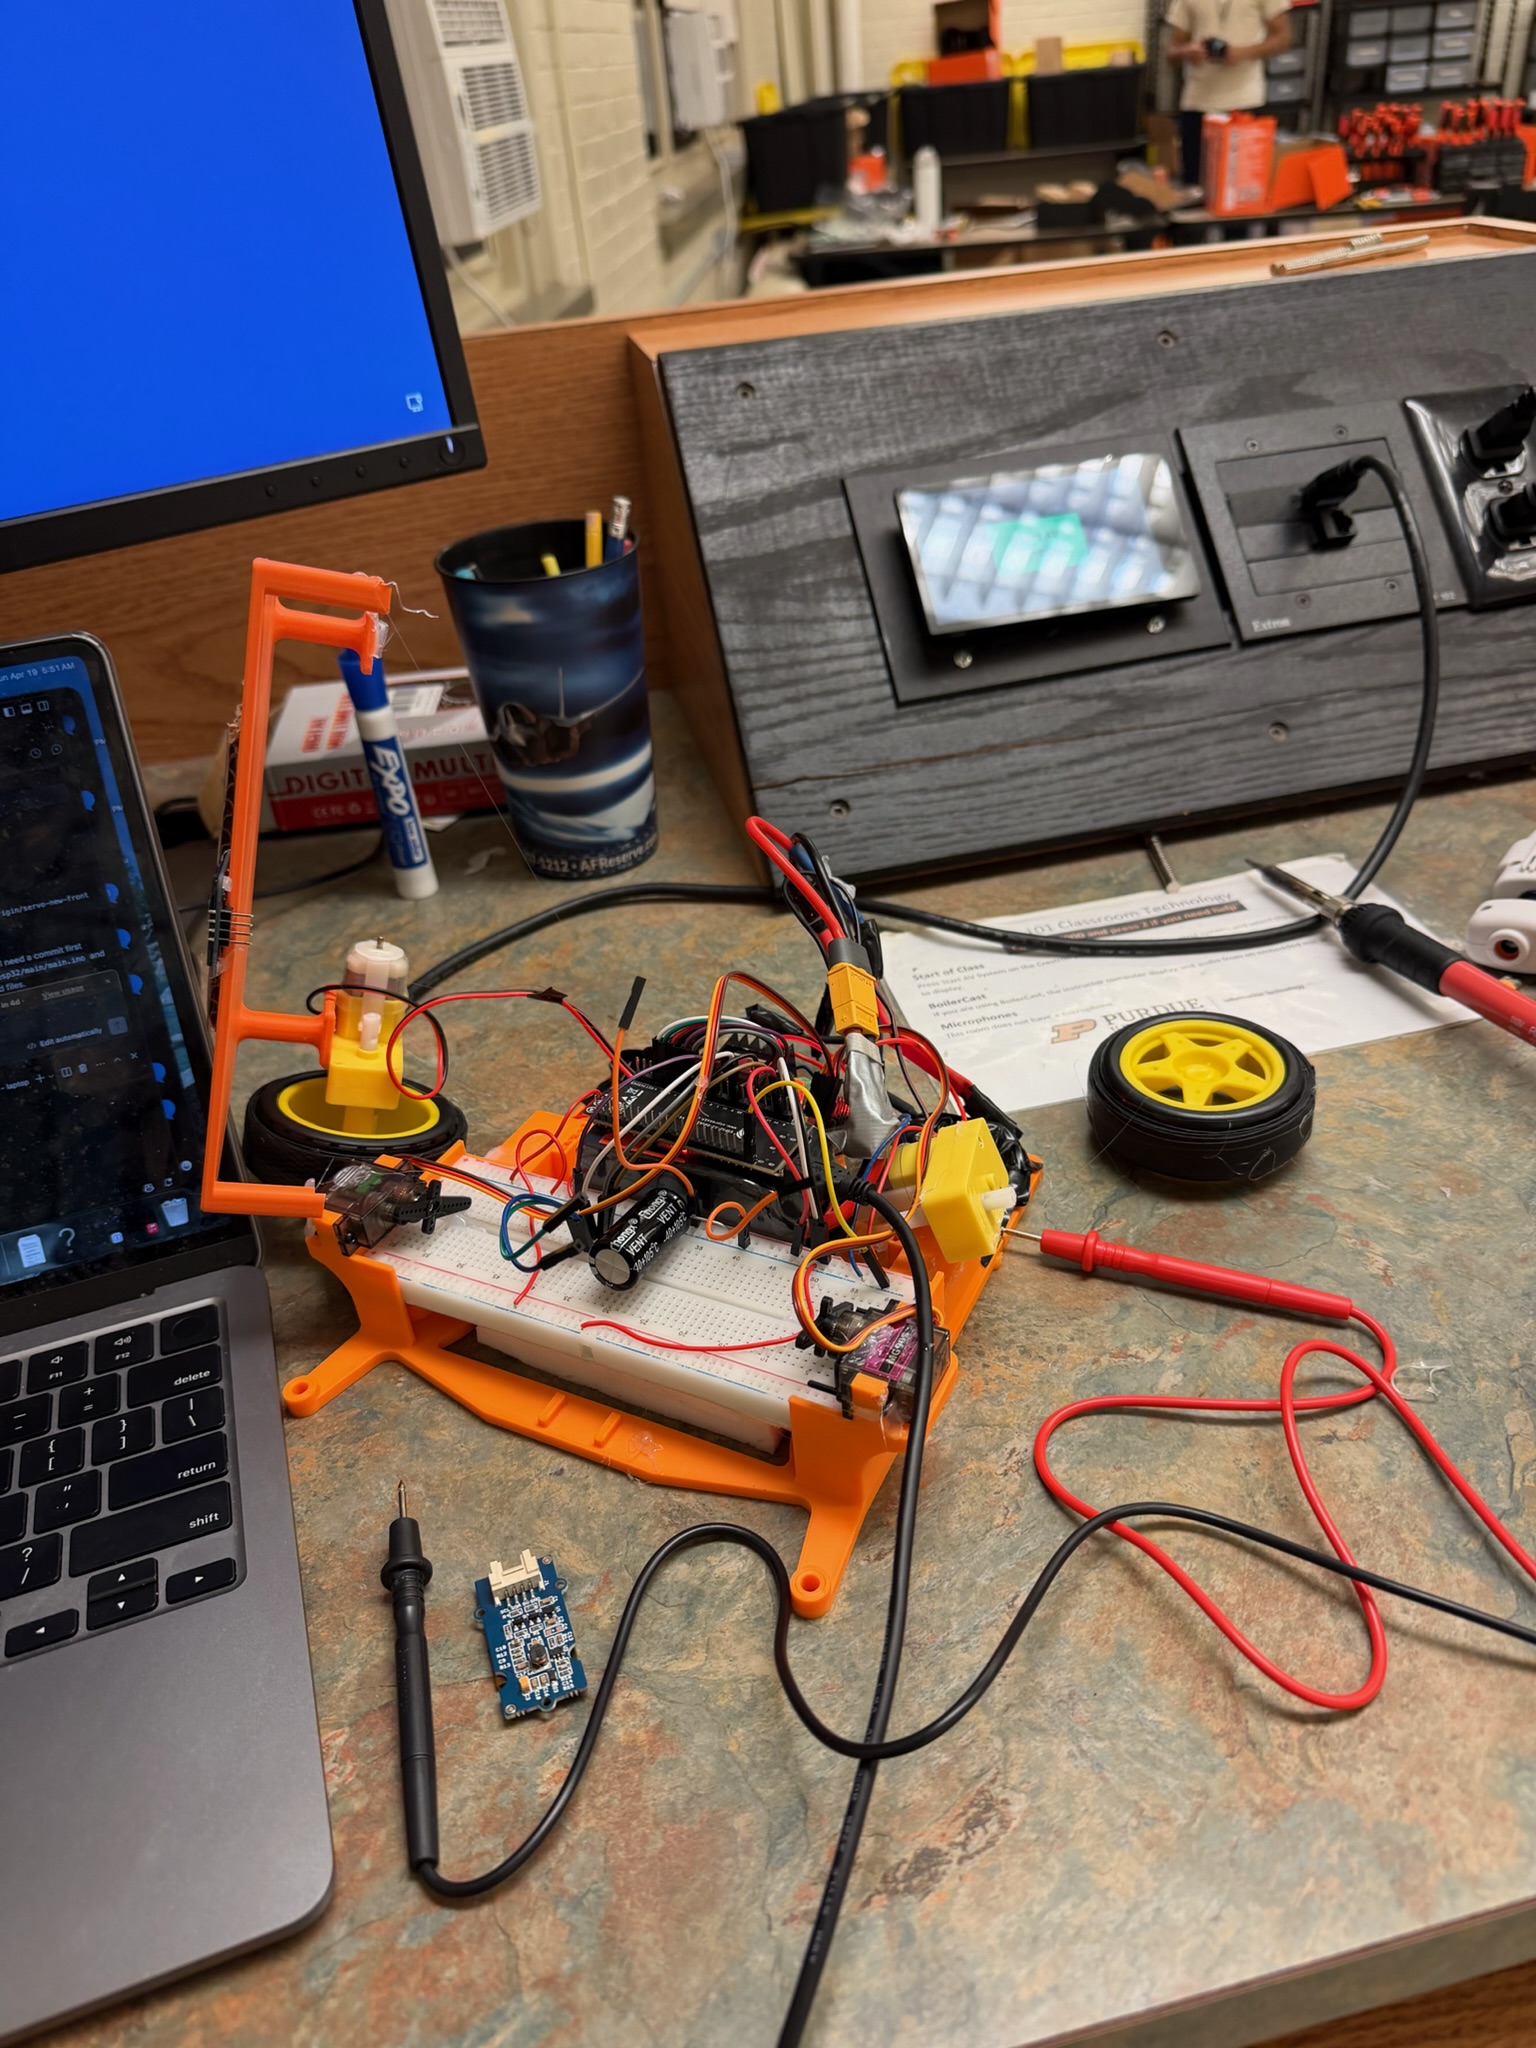
We sourced 3D models of all components from GrabCAD (STEP files), planned the electronic assembly layout in Fusion 360, and designed a housing with a servo mechanism using a spring to push the eraser away from the board and a servo to push it in for erasing. The full build was finalized as a Fusion 360 Assembly.
Assembly
- 3D-printed the housing and cover in PLA
- Prepared and bench-tested all electronics outside the chassis (verifying servos and motors spin correctly)
- Disassembled, mounted all essential components into the housing, and re-wired
- Added the nice-to-have electronics (ToF sensors, IR sensors, OLED) and connected them to the ESP32
- Mounted neodymium magnets to the back face of the housing — carefully tuned the count so the robot stays on the board without overpowering the drive motors
- Iterated on wheel tread materials to find the optimal coefficient of friction for movement on a vertical magnetic whiteboard
Firmware
The ESP32 runs a lightweight WiFi HTTP server written in C++ using the Arduino framework (via PlatformIO). It listens for POST requests on /command and executes the corresponding action synchronously, responding with {"status":"done"} when complete.
The command protocol supports:
MOVE— drive forward/backward a specified distance in mm at a given PWM speedTURN— point-turn left or right by a specified number of degreesERASE— engage servos to press the eraser into the board, hold, then retractSTOP— emergency halt of all motor outputHOME— return to the origin position
Motor control is handled via the L298N driver with PWM signals from the ESP32. Servo control uses the ESP32's built-in PWM channels to drive the eraser-press mechanism. The firmware was flashed and iterated rapidly using PlatformIO's pio run --target upload workflow.
Front End / UI
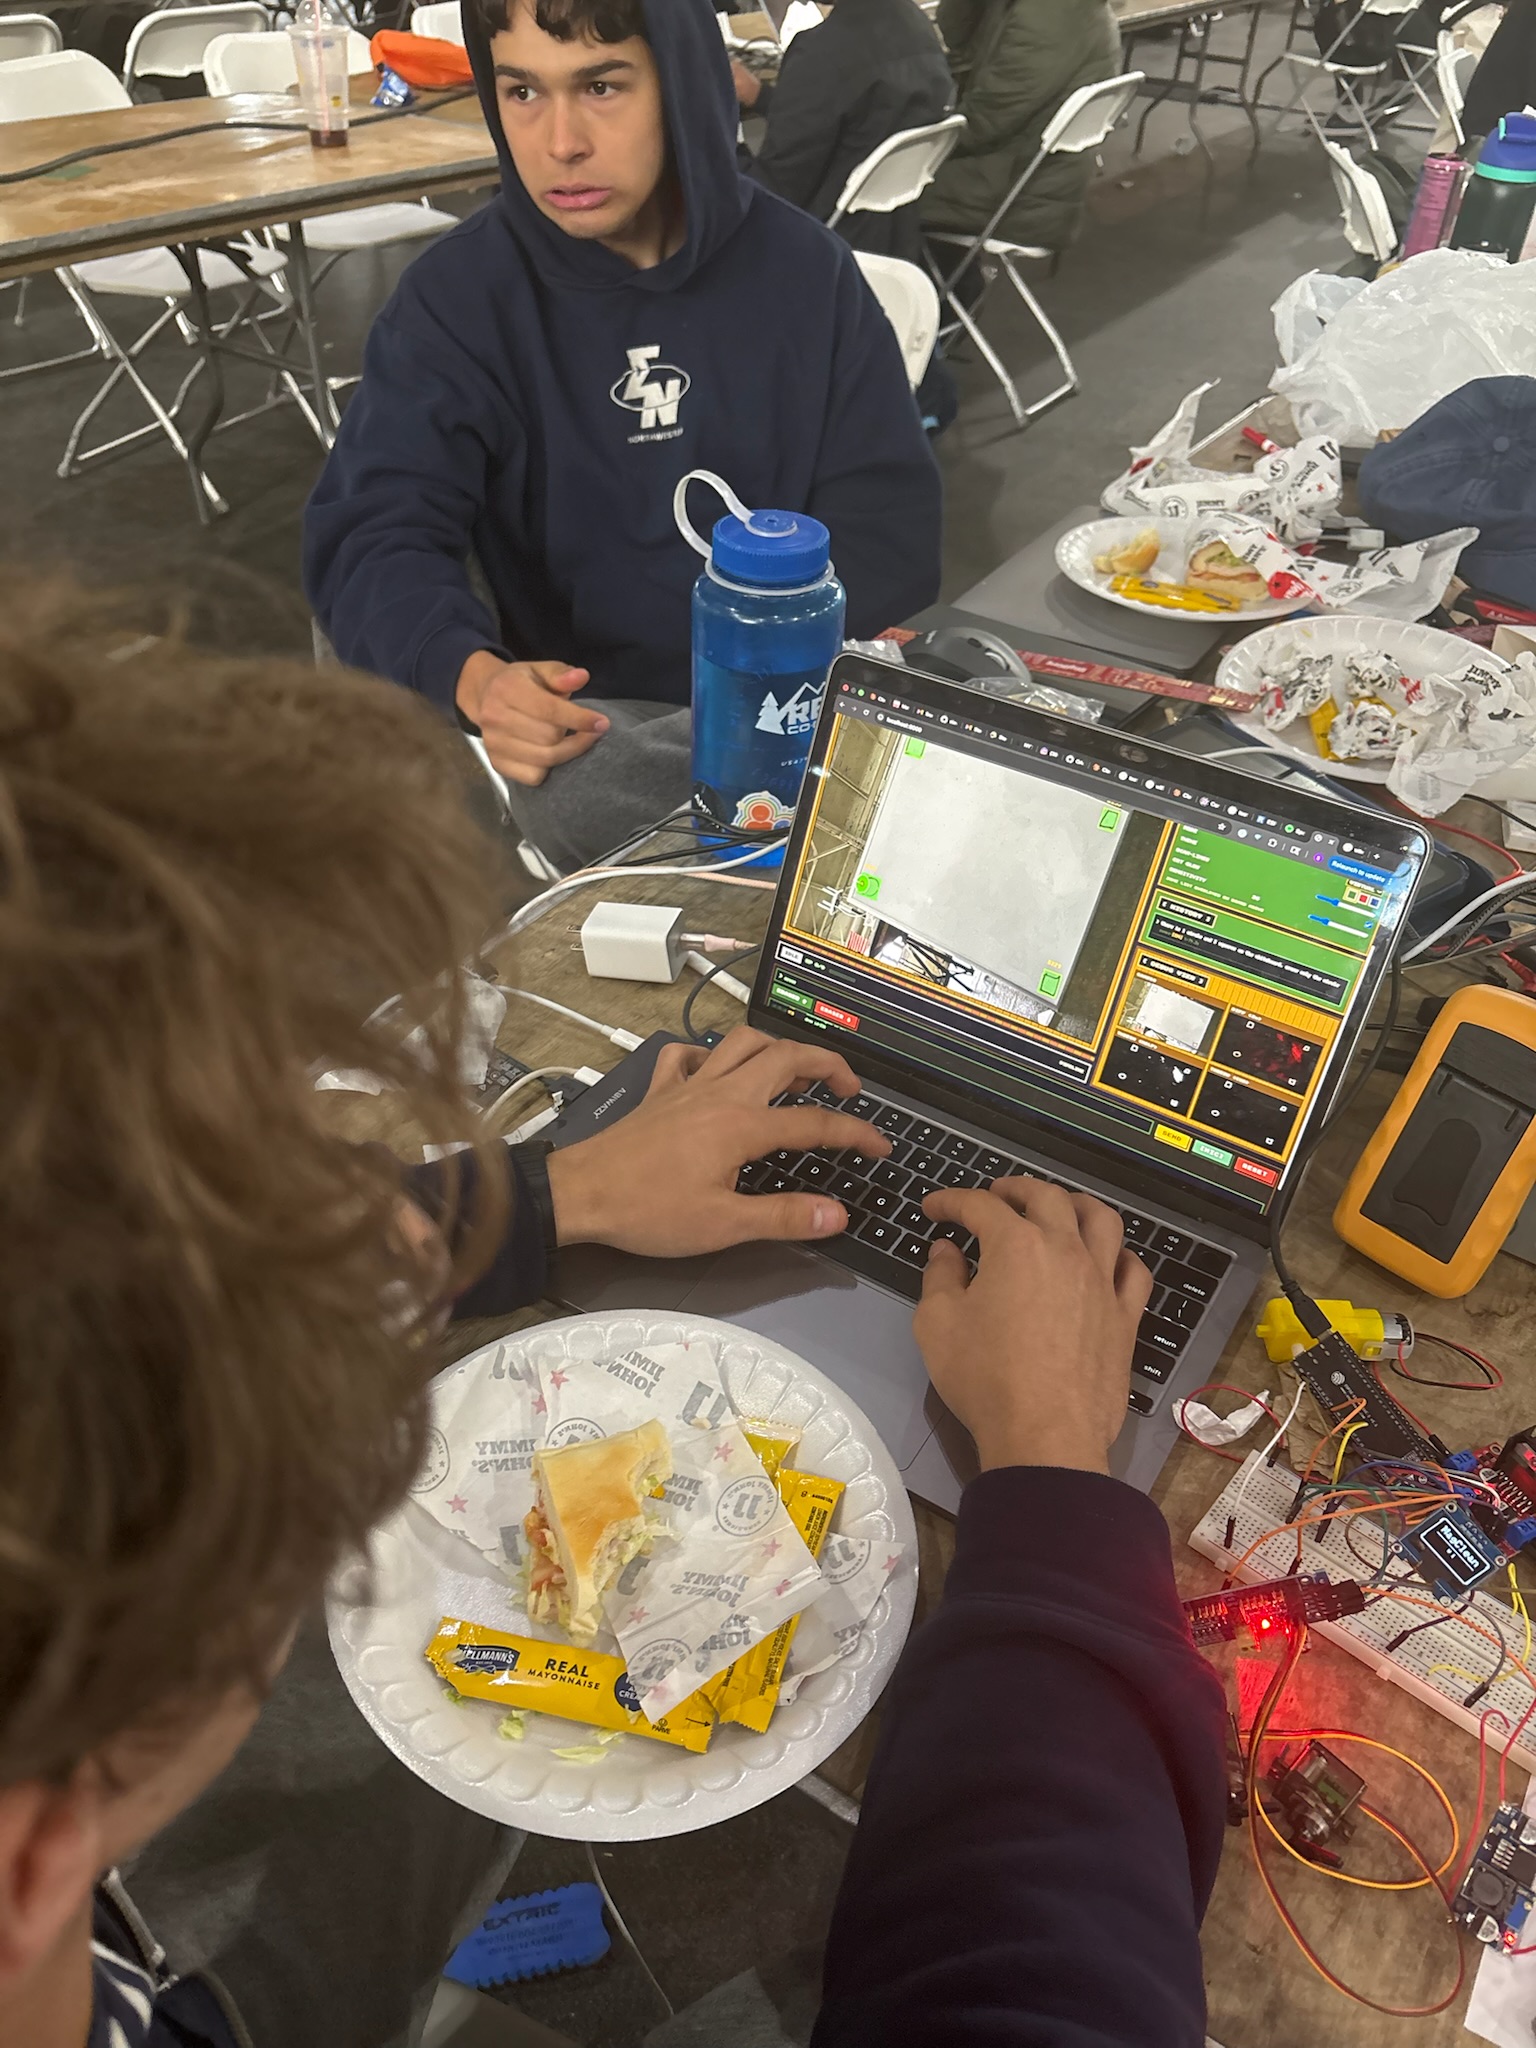
The user-facing interface is a clean React web app served locally that provides two modes:
- Testing Mode — lets team members send individual raw commands to the robot for debugging and hardware validation
- Real Mode — the full natural language interface where users type or speak their erase instructions
The UI supports both text-to-speech (reading back system responses aloud) and speech-to-text (microphone input for hands-free voice commands), making it practical for lecturers who may want to operate MagClean without touching a keyboard. The interface displays a live view of the whiteboard state and gives real-time feedback on what the robot is doing.
Back End / AI Stack / Sensor Fusion
The laptop-side backend is written in Python and acts as the brain of the system — bridging natural language input, computer vision, path planning, and robot command dispatch.
Computer Vision Pipeline:
- A 1080p USB webcam on a mini tripod faces the whiteboard
- OpenCV (specifically
opencv-contrib-pythonfor ArUco support) processes the live camera feed - An ArUco marker affixed to the robot provides precise real-time position and orientation tracking
- The vision system generates bounding boxes around dirty marker zones on the whiteboard using a single Claude API prompt — the model classifies regions of the camera feed and identifies what should and shouldn't be erased based on the user's natural language instruction
- This gave the model significantly better classification accuracy than we initially anticipated
AI / Natural Language Layer:
- User input (text or voice) is sent to the Claude API which interprets the erase intent and outputs structured JSON describing target zones and exclusion zones on the whiteboard
- The backend maps those zones to real-world whiteboard coordinates using the camera's perspective transform
Path Planning:
- A custom pathfinding algorithm computes an efficient traversal path across the target erase zones
- The planner accounts for the robot's physical footprint — not just the eraser position — to ensure no part of the robot runs into the whiteboard edge during operation
- Commands are dispatched sequentially over HTTP POST to the ESP32 at
http://<ESP32_IP>/command, with the laptop waiting for{"status":"done"}before sending the next command
Challenges We Ran Into
WiFi connectivity — Getting the ESP32 to reliably join the local network and maintain a stable HTTP server took far longer than expected. A lot of head-wall interface time was involved.
3D printing — We ran into multiple failed prints and had to use the design center's printers to get our parts right. Tolerancing for the servo mechanism and magnet mounting pockets required several iterations.
Power draw — Once we added the servo motors to the circuit, total current draw spiked beyond what our initial power budget accounted for. We had to redesign the buck converter configuration and re-select capacitor sizing to stabilize the rail.
Wheel traction — Getting the wheels to grip a vertical whiteboard surface without slipping took buying and testing four different types of rubber tape and tread materials to find the optimal combination.
Motor torque selection — Choosing motors with enough torque to overcome the static friction from both the wheel tread material and the magnetic normal force on the board was a careful engineering tradeoff. Too little torque and the robot can't move; too much and the motors draw excessive current.
ESP32 failure — One of our ESP32s got fried mid-development, costing us debugging time and a hardware replacement scramble.
Real-world pathfinding — The gap between simulation and physical reality hit us hard. Getting the pathfinding algorithm to work on a real robot — accounting for both eraser position and robot body clearance from the whiteboard edges — required significant real-world testing and tuning.
Accomplishments That We're Proud Of
Getting the robot to stick and move on a vertical whiteboard — This sounds simple but is a genuine mechanical engineering challenge. Balancing magnetic adhesion, motor torque, and wheel traction to make a robot that stays on a whiteboard and actually translates smoothly took serious iteration.
Computer vision classification from a single prompt — Our system generates bounding boxes around dirty and clean regions purely from visual input, classified with a single Claude API prompt. The accuracy far exceeded our initial expectations — the model reliably distinguished marker zones from intentional writing even in noisy whiteboard conditions.
Polished UI with voice I/O — The web interface supporting both speech-to-text and text-to-speech input, with a clean switcher between testing and real mode, made MagClean feel like a complete product rather than a hackathon demo.
What We Learned
- Buck converter design — how to properly select and configure step-down converters to power downstream components at multiple voltage rails from a single battery source
- Agents + traditional algorithms in parallel — how AI-based classification and classical pathfinding algorithms can be combined to create systems more capable than either approach alone
- Electronic housing design — accounting for thermal considerations, component expansion, and modularity when designing enclosures for embedded electronics
- Material and mechanical optimization — tuning tire material, magnetic force, and motor torque together as a system to achieve reliable adhesion and smooth locomotion on a vertical surface
- Git and collaborative development — pushing, pulling, branching, and working with AI coding agents (Claude, Codex) across a shared repo in a fast-paced hackathon environment
What's Next for MagClean 2.0
Onboard Sensor Fusion:
- Accelerometer — for dead-reckoning global position estimation
- Gyroscope — for heading correction and drift compensation
- IR sensors — to detect the whiteboard edge before the robot falls off
- Time-of-Flight sensors — to detect obstacles directly in front of the robot
Automatic Writing Detection:
- Move from webcam-dependent dirty zone detection to fully onboard perception, enabling the robot to operate without an external laptop and camera setup
Fully Autonomous Operation:
- With onboard sensing, MagClean 2.0 could scan the entire board independently, identify dirty regions, plan its own path, and erase — no user input required.
Built With
- autodesk-fusion-360
- bambu-studio
- c++
- claude
- codex
- eleven-labs
- gemini
- python
- vscode
- whisper


Log in or sign up for Devpost to join the conversation.