-
-
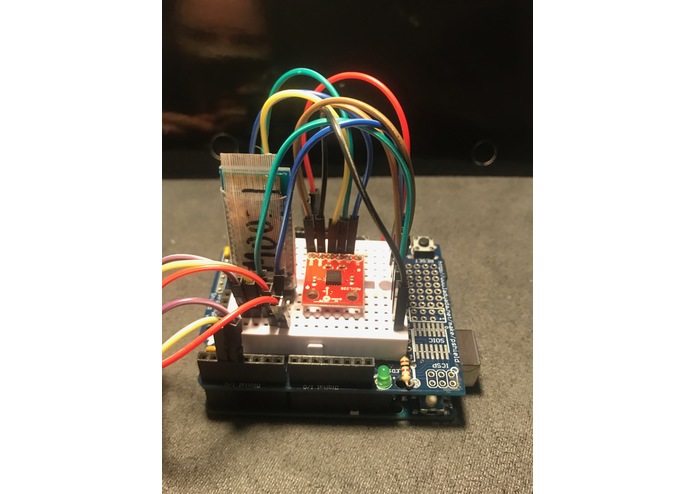
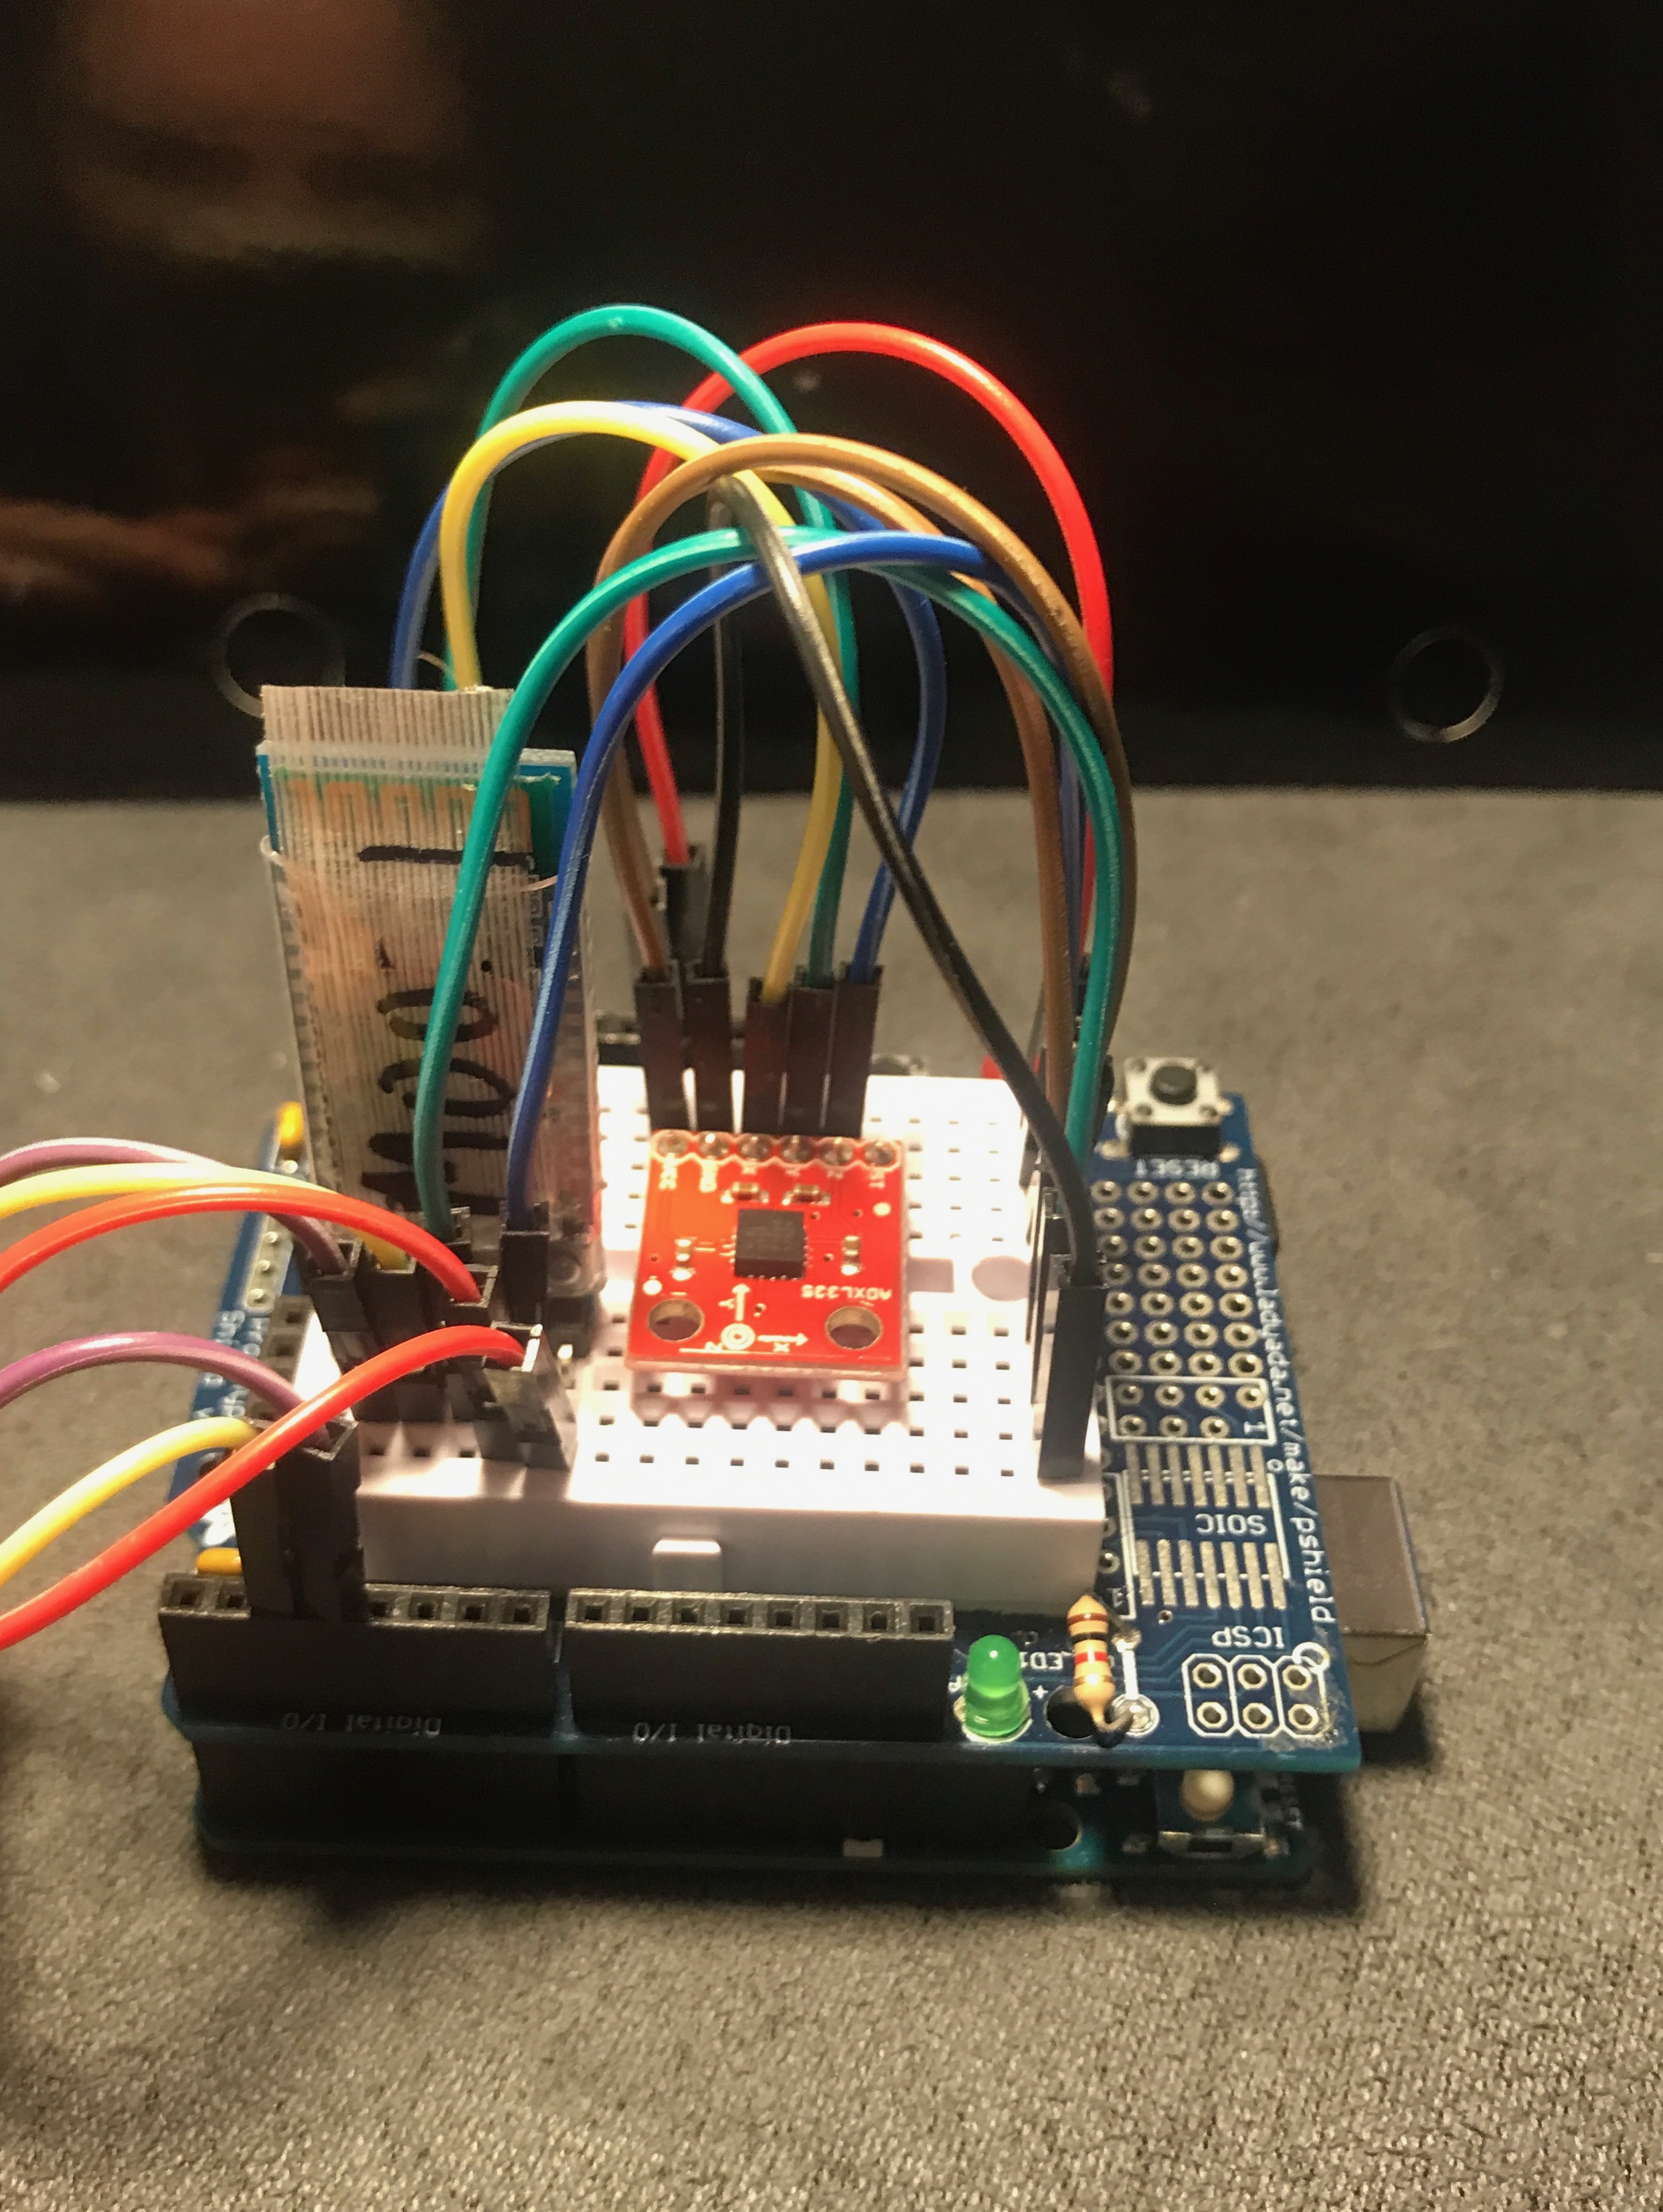
Sender Circuit
-
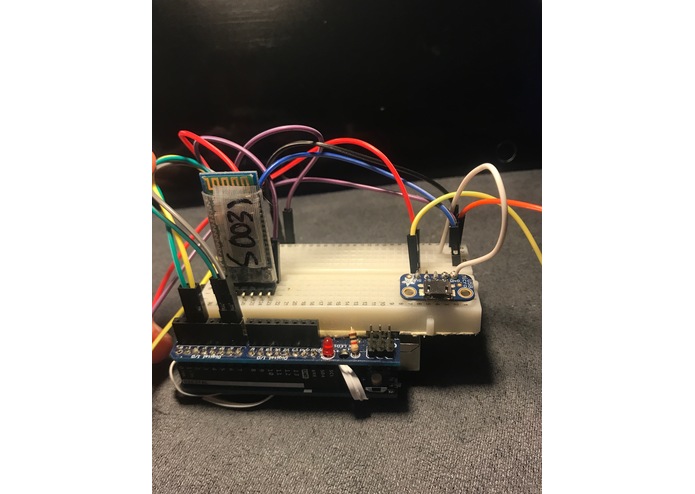
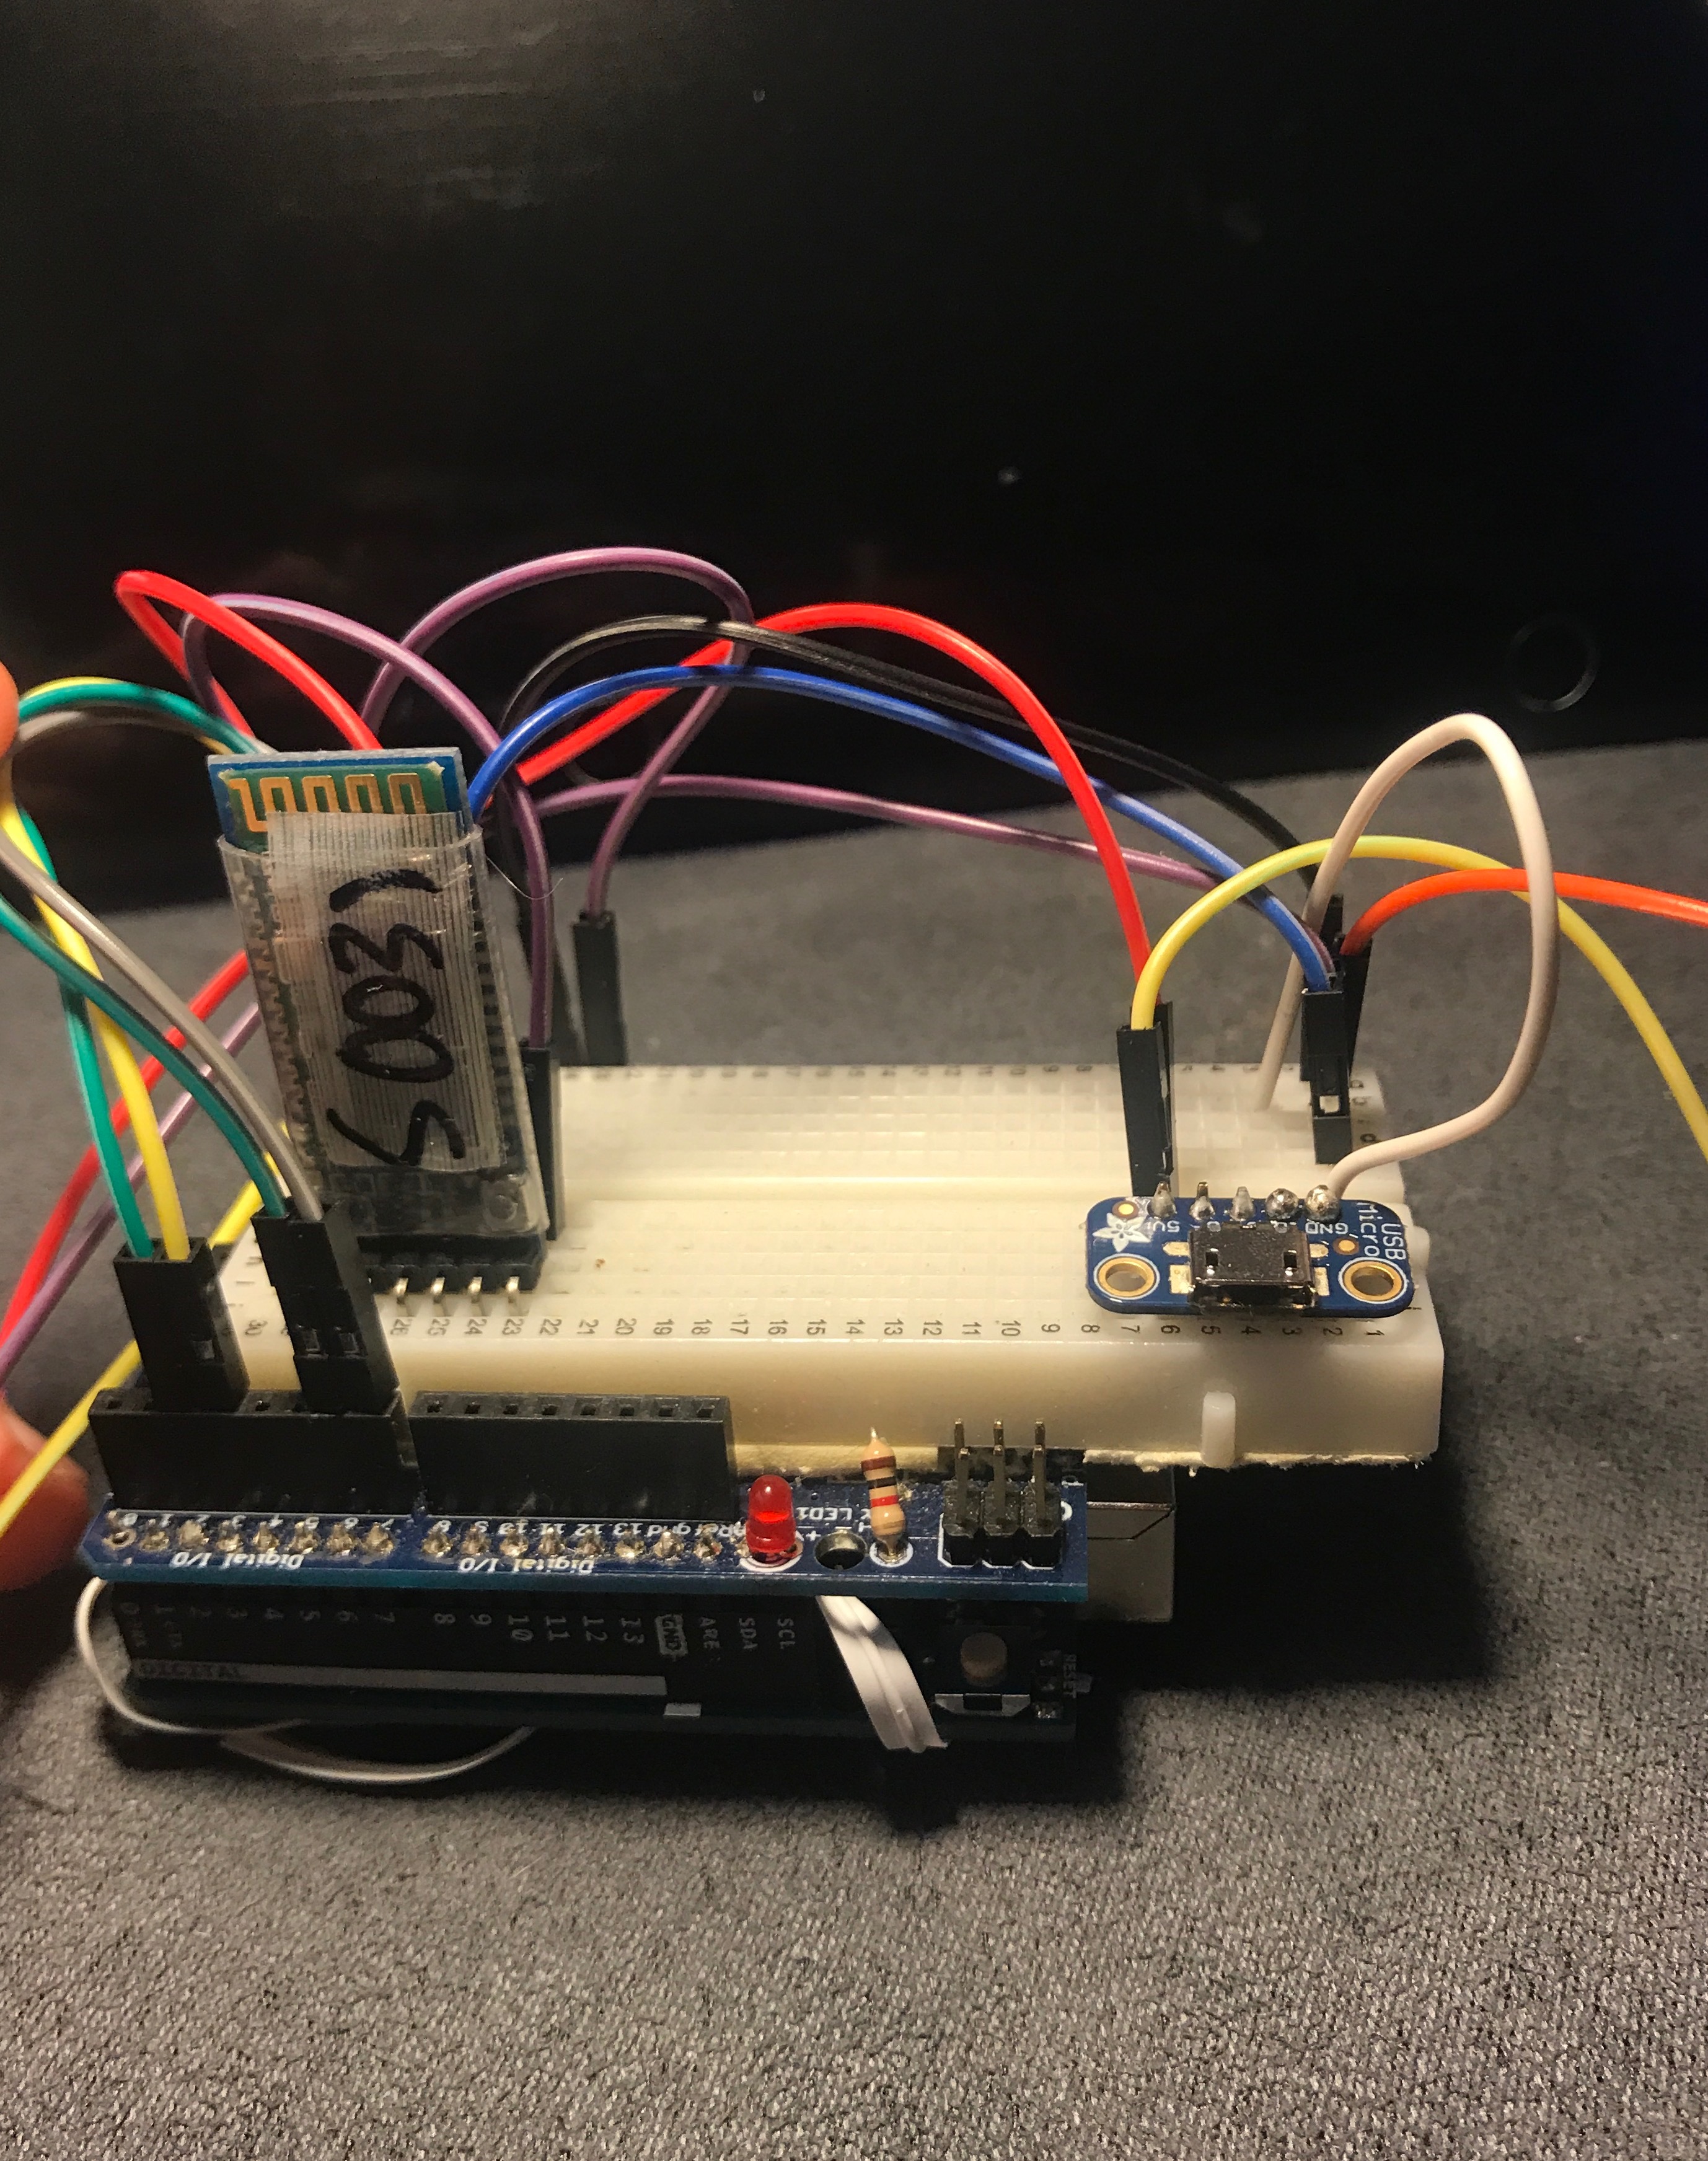
Receiver Circuit
-
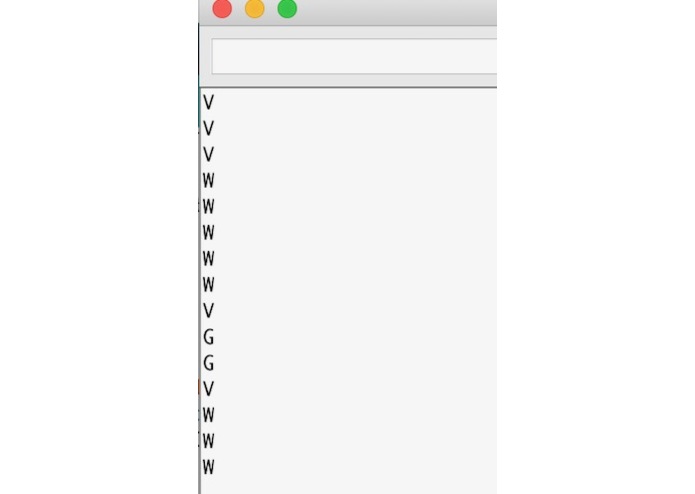
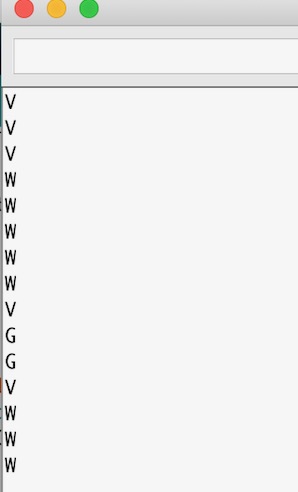
Code output
-
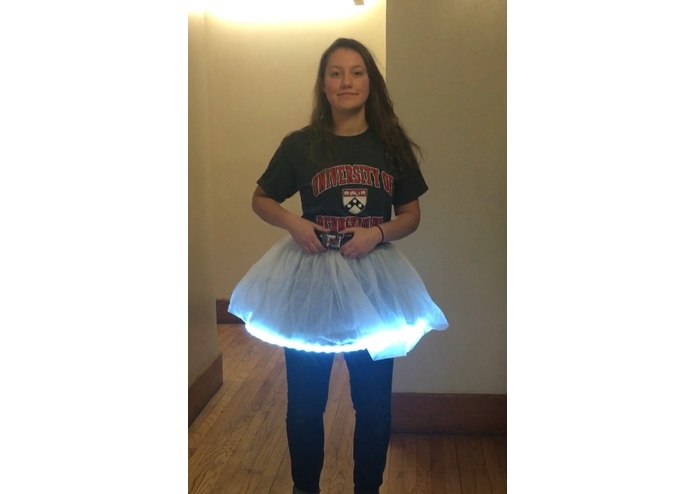
Still/Straight Line
-
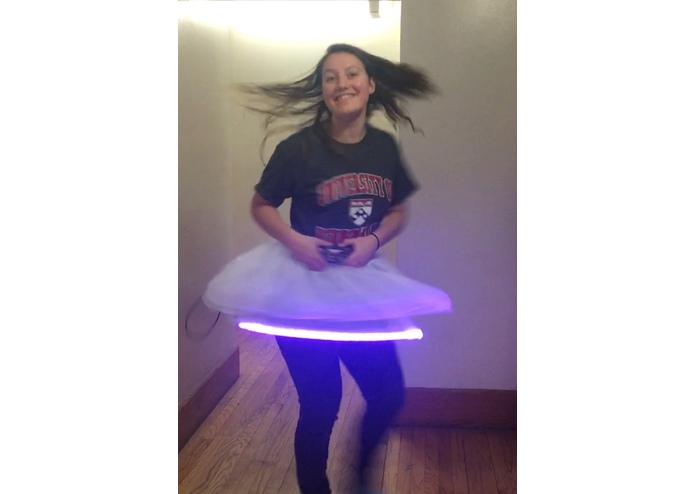
Slow
-

Fast
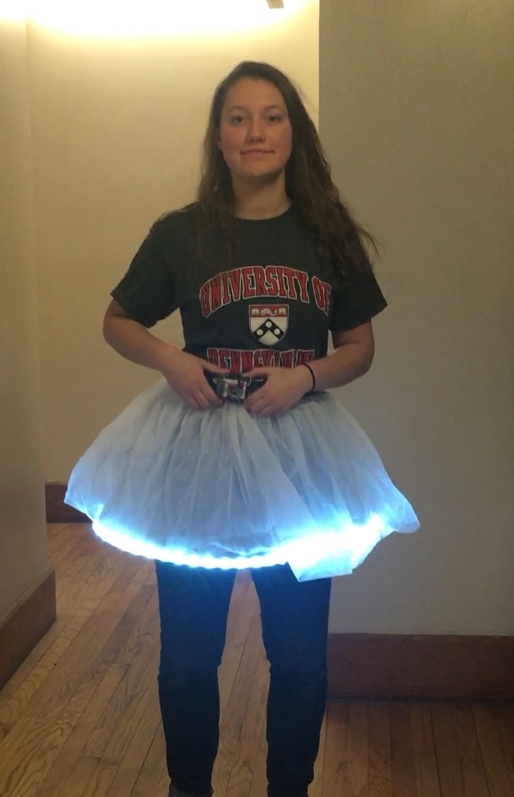
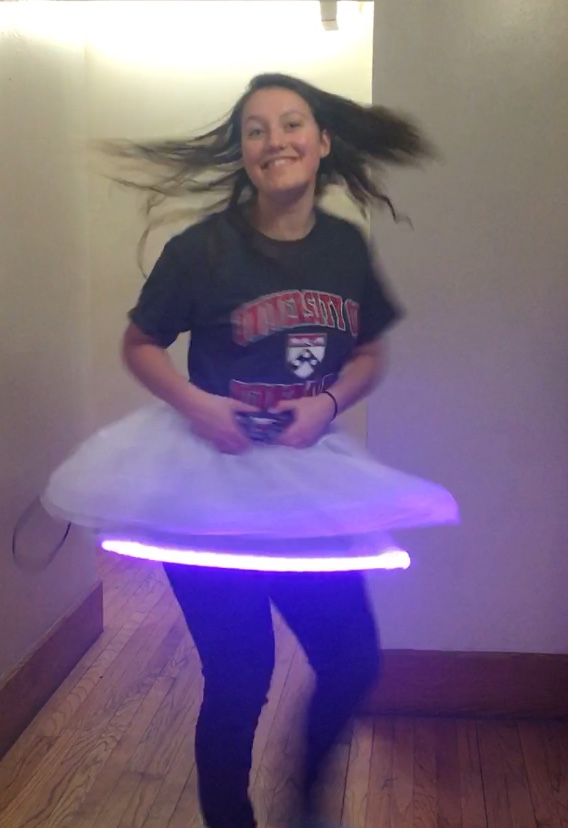

Our project is the “Spin to Light Skirt” which is a ballerina skirt that will light up once you reach a certain angular velocity. We will be using an accelerometer, an LED strip, the mini arduino, and IOT to transmit the frequency signal. We will market it as an innovative way to make a multimedia performance by combining technology and the art of dance.
Chloe Prezelski and Eleanor Cohen ESE 111 Final Project Report
Skrrrt Skirt
In our project, we designed a color and speed coordinating skirt that lights up different colors depending on the speed of rotation. This is accomplished using two Arduino powered circuits and Bluetooth signaling. The skirt could be used as an accessory for any dance performance, costume, or anyone who wants to add some pizazz to their dancing.
The first circuit is comprised of an accelerometer and a Bluetooth master chip. It takes in the data of the x and z components from the accelerometer and sends a signal over Bluetooth to the receiver circuit notifying it how to power the LED strip at the bottom of the skirt. The x and z components were chosen because of the orientation of the accelerometer on the model. Both the x and z components have to simultaneously be within a certain range for the color to change. For example, when both the x and z components measure to be ‘5,’ the skirt lights up white. One of these can change without changing the color of the skirt. The Bluetooth signal is a character corresponding to the color the LED should be lit. A ‘W’ (white) is sent when the model is still or moving in a straight line, ‘V’ (violet) when the model is spinning slowly, and ‘G’ (green) when the dancer is spinning very fast.
The receiver circuit contains a Bluetooth slave chip and a micro USB port which enables us to use a battery pack to power the LEDs so that they could receive more current than the Arduino can provide. In order to do this, we sautered a 5 pins to a micro USB port and integrated into the circuit via a breadboard. The Bluetooth slave chip receives a signal from the sender circuit and does what it is told. The Arduino is programmed to change the color of the LED if and only if the character received was different from the last one. This prevents the lights from flashing a color every time a character is received.
In more time, we would be able to improve the product by using an Arduino Light Blue Bean so that the circuits can be more compact, thus making the product more wearable. The Light Blue Bean for the sender circuit would be placed in a loop at the waist band of the skirt so that the circuit would be fastened to the model. The Light Blue bean would also enable the users to be able to create an interactive light show by uploading the code to their phone and changing the colors as they wish.
Link to a demonstration of the Skrrrt Skirt: https://youtu.be/Bh4vsGJeEkQ
Pictures of the Skrrrt Skirt at each color change: See the gallery above
Sender Circuit: Receiver Circuit: See the gallery above
Code:
Sender Code //Analog read pins for accelerometer const int xPin = 0; const int yPin = 1; const int zPin = 2;
'#include SoftwareSerial BTSerial(2, 3); //TX RX //const int button = 9; //int val = 0;
//The minimum and maximum values that came from //the accelerometer while standing still //You very well may need to change these int minVal[3] = {300, 300, 300}; int maxVal[3] = {700, 700, 700};
//default resting values
int restingX = 5; int restingZ = 5;
void setup(){ Serial.begin(9600); BTSerial.begin(9600);
//Set the PWM pins connected to RGB LED as output // pinMode(redPin, OUTPUT); //pinMode(greenPin, OUTPUT); //pinMode(bluePin, OUTPUT); }
void loop(){
//read the analog values from the accelerometer int xRead = analogRead(xPin); int yRead = analogRead(yPin); int zRead = analogRead(zPin);
//The analogWrite takes a range from 0-255 //map function converts a given range int xVal = map(xRead, minVal[0], maxVal[0], 0, 10); int yVal = map(yRead, minVal[1], maxVal[1], 0, 10); int zVal = map(zRead, minVal[2], maxVal[2], 0, 10);
//Output read values to Serial monitor Serial.print("x: "); Serial.print(xVal); Serial.print(" | y: "); Serial.print(yVal); Serial.print(" | z: "); Serial.println(zVal);
//resting- send white if ((xVal == restingX) && (zVal == restingZ)) { BTSerial.print("W"); Serial.print("W"); }
//spinnning in a circle (slow)- send violet if ((xVal < restingX && xVal >= 4) || (xVal > restingX && xVal <= 6) && ((zVal < restingZ && zVal >= 4) || (zVal > restingZ && zVal <= 6))) { BTSerial.print("V"); Serial.print("V"); }
//spinning in a circle (fast)- send green if (((xVal < 4 && xVal >= 0) || xVal > 6 && xVal <= 10) && ((zVal < 4 && zVal >= 0) || (zVal > 6 && zVal <= 10))) { BTSerial.print("G"); Serial.print("G"); }
delay(500); //slow down the serial display to be able to read easier }
Receiver Code '#include "LPD8806.h" '#include "SPI.h" // Comment out this line if using Trinket or Gemma '#ifdef 'AVR_ATtiny85 '#include '#endif
// Number of RGB LEDs in strand: int nLEDs = 32;
// Chose 2 pins for output; can be any valid output pins: int dataPin = 2; int clockPin = 3;
// First parameter is the number of LEDs in the strand. The LED strips // are 32 LEDs per meter but you can extend or cut the strip. Next two // parameters are SPI data and clock pins: LPD8806 strip = LPD8806(nLEDs, dataPin, clockPin);
//--------------------------------------------------------
#include SoftwareSerial BTSerial(6, 7); //TX RX
void setup() { BTSerial.begin(9600); //begin bluetooth communication Serial.begin(9600); //begin serial communication // Start up the LED strip strip.begin();
// Update the strip, to start they are all 'off' strip.show(); } void loop() { char current; char previous;
while(BTSerial.available()) {
  char inChar = (char) BTSerial.read();
  Serial.println(inChar);

  current = inChar;
  previous = 'W';
  colorWipe(strip.Color(127, 127, 127), 0);  // White

  if (current == previous) {
    } else if (current == 'W') {
      colorWipe(strip.Color(127, 127, 127), 0);  // White
        previous = 'W';
      } else if (current  == 'V') {
        colorWipe(strip.Color(127, 0, 127), 0);  // Red
        previous = 'R';
      } else if (current == 'G') {
        colorWipe(strip.Color(0, 127, 0), 0);  // Green
        previous = 'G';
        }

}
}
// Fill the dots progressively along the strip. void colorWipe(uint32_t c, uint8_t wait) { int i;
for (i=0; i < strip.numPixels(); i++) { strip.setPixelColor(i, c); strip.show(); delay(wait); } }

Log in or sign up for Devpost to join the conversation.