-
-

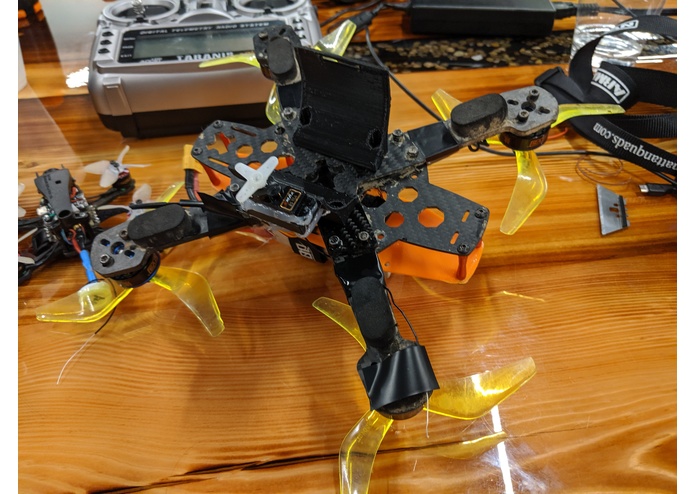
The whole setup
-
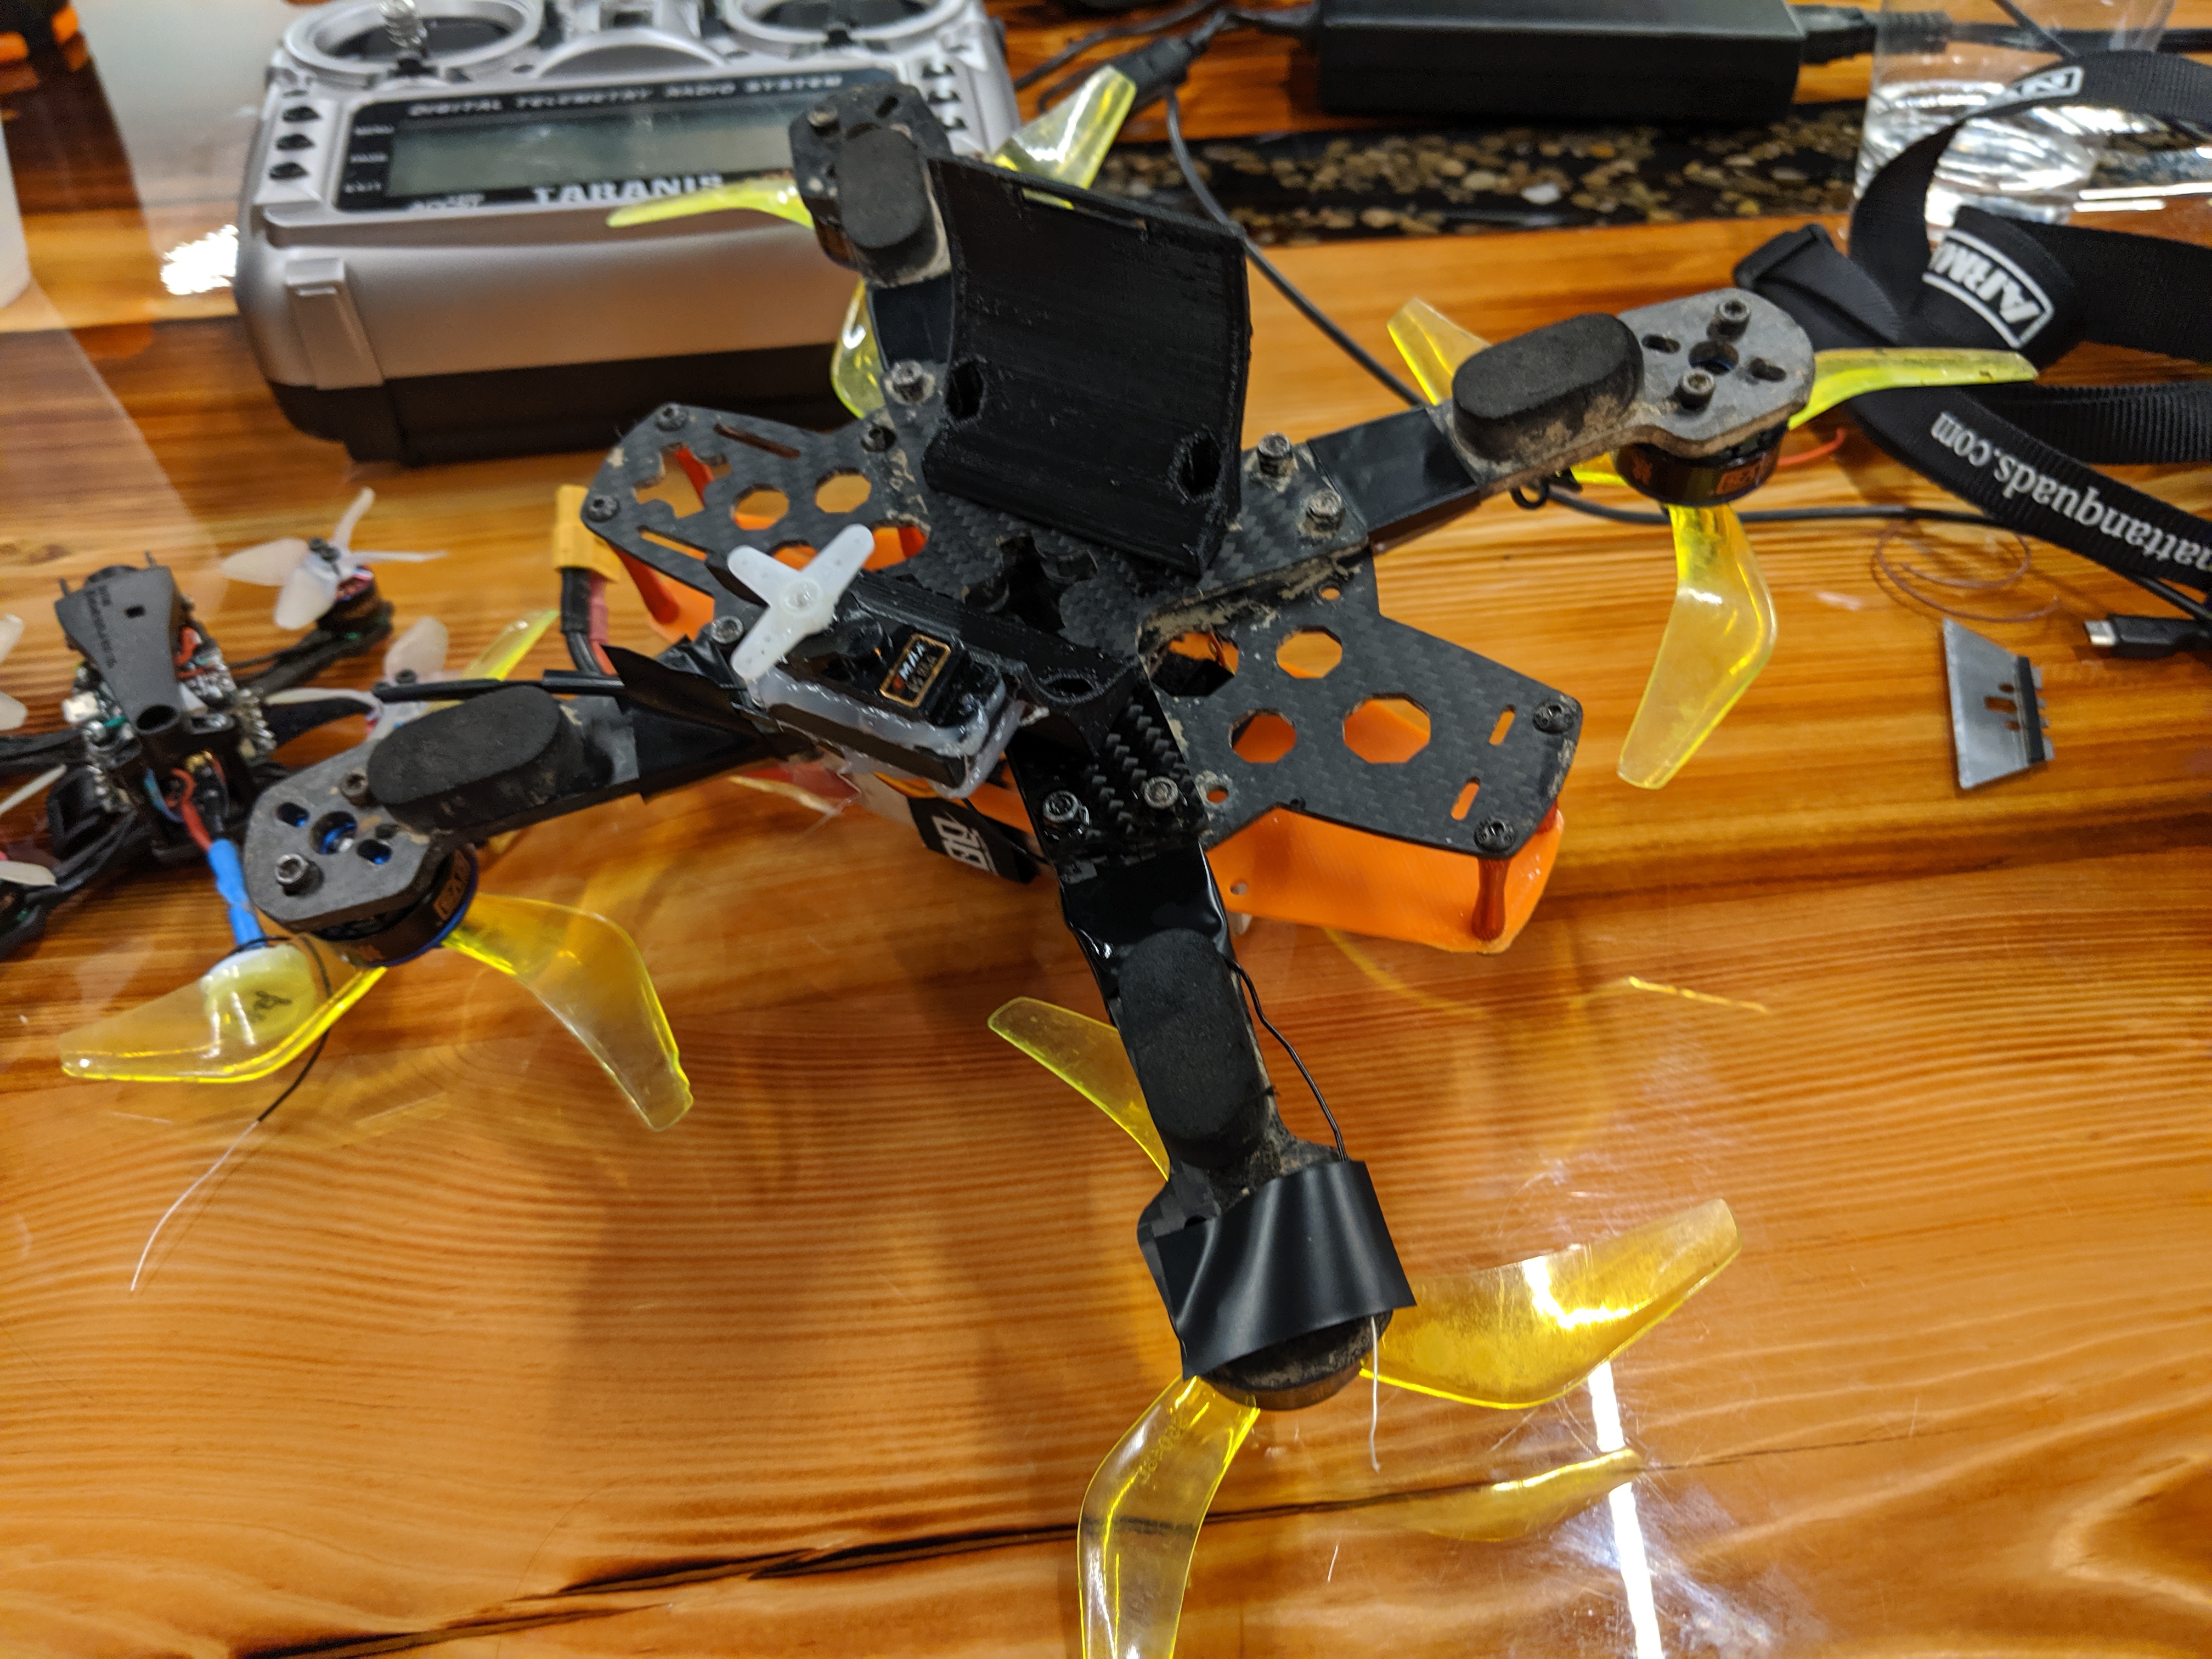
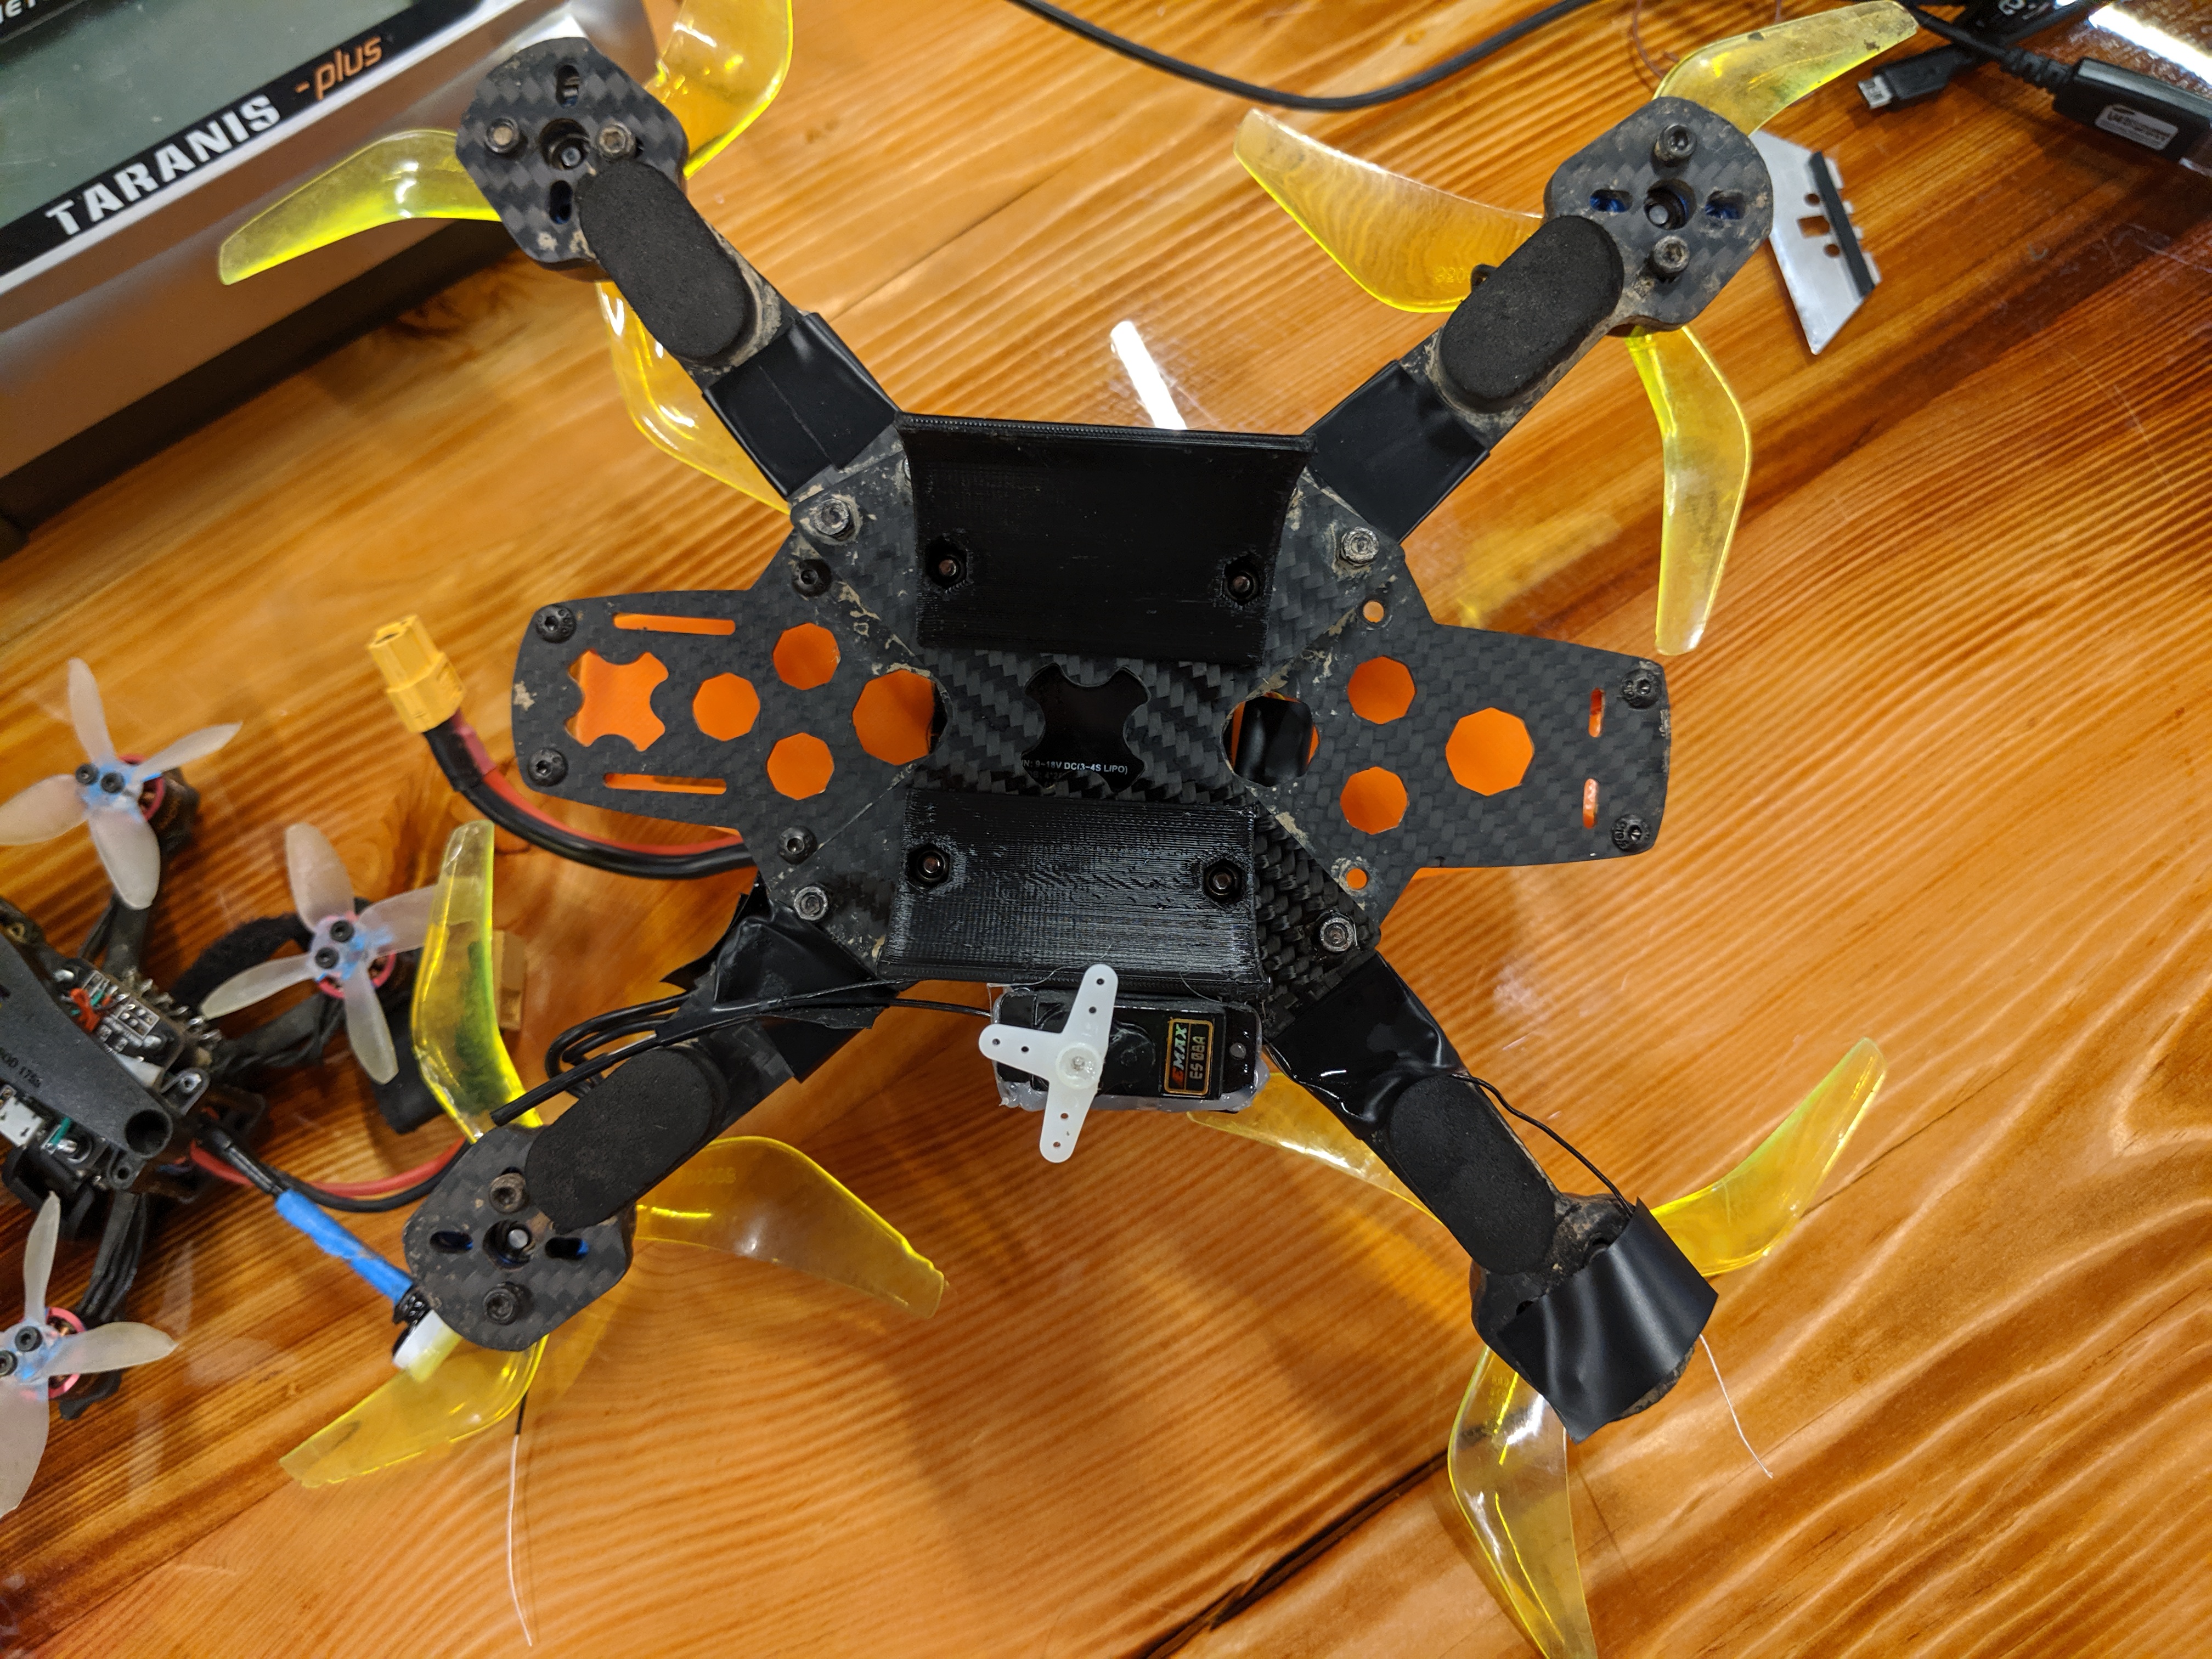
Bottom Angle
-
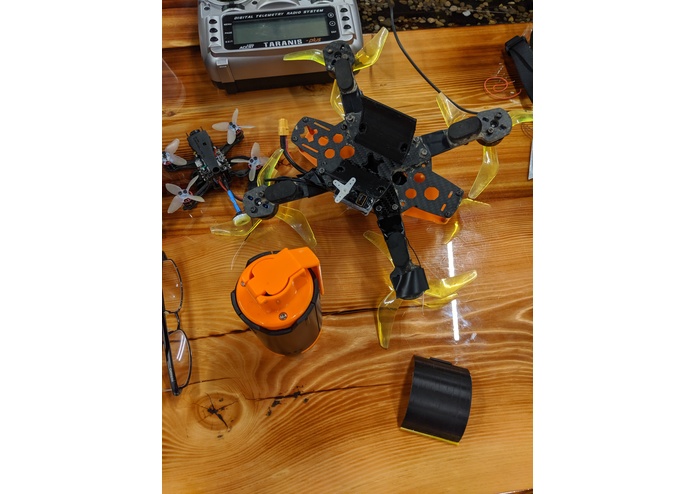
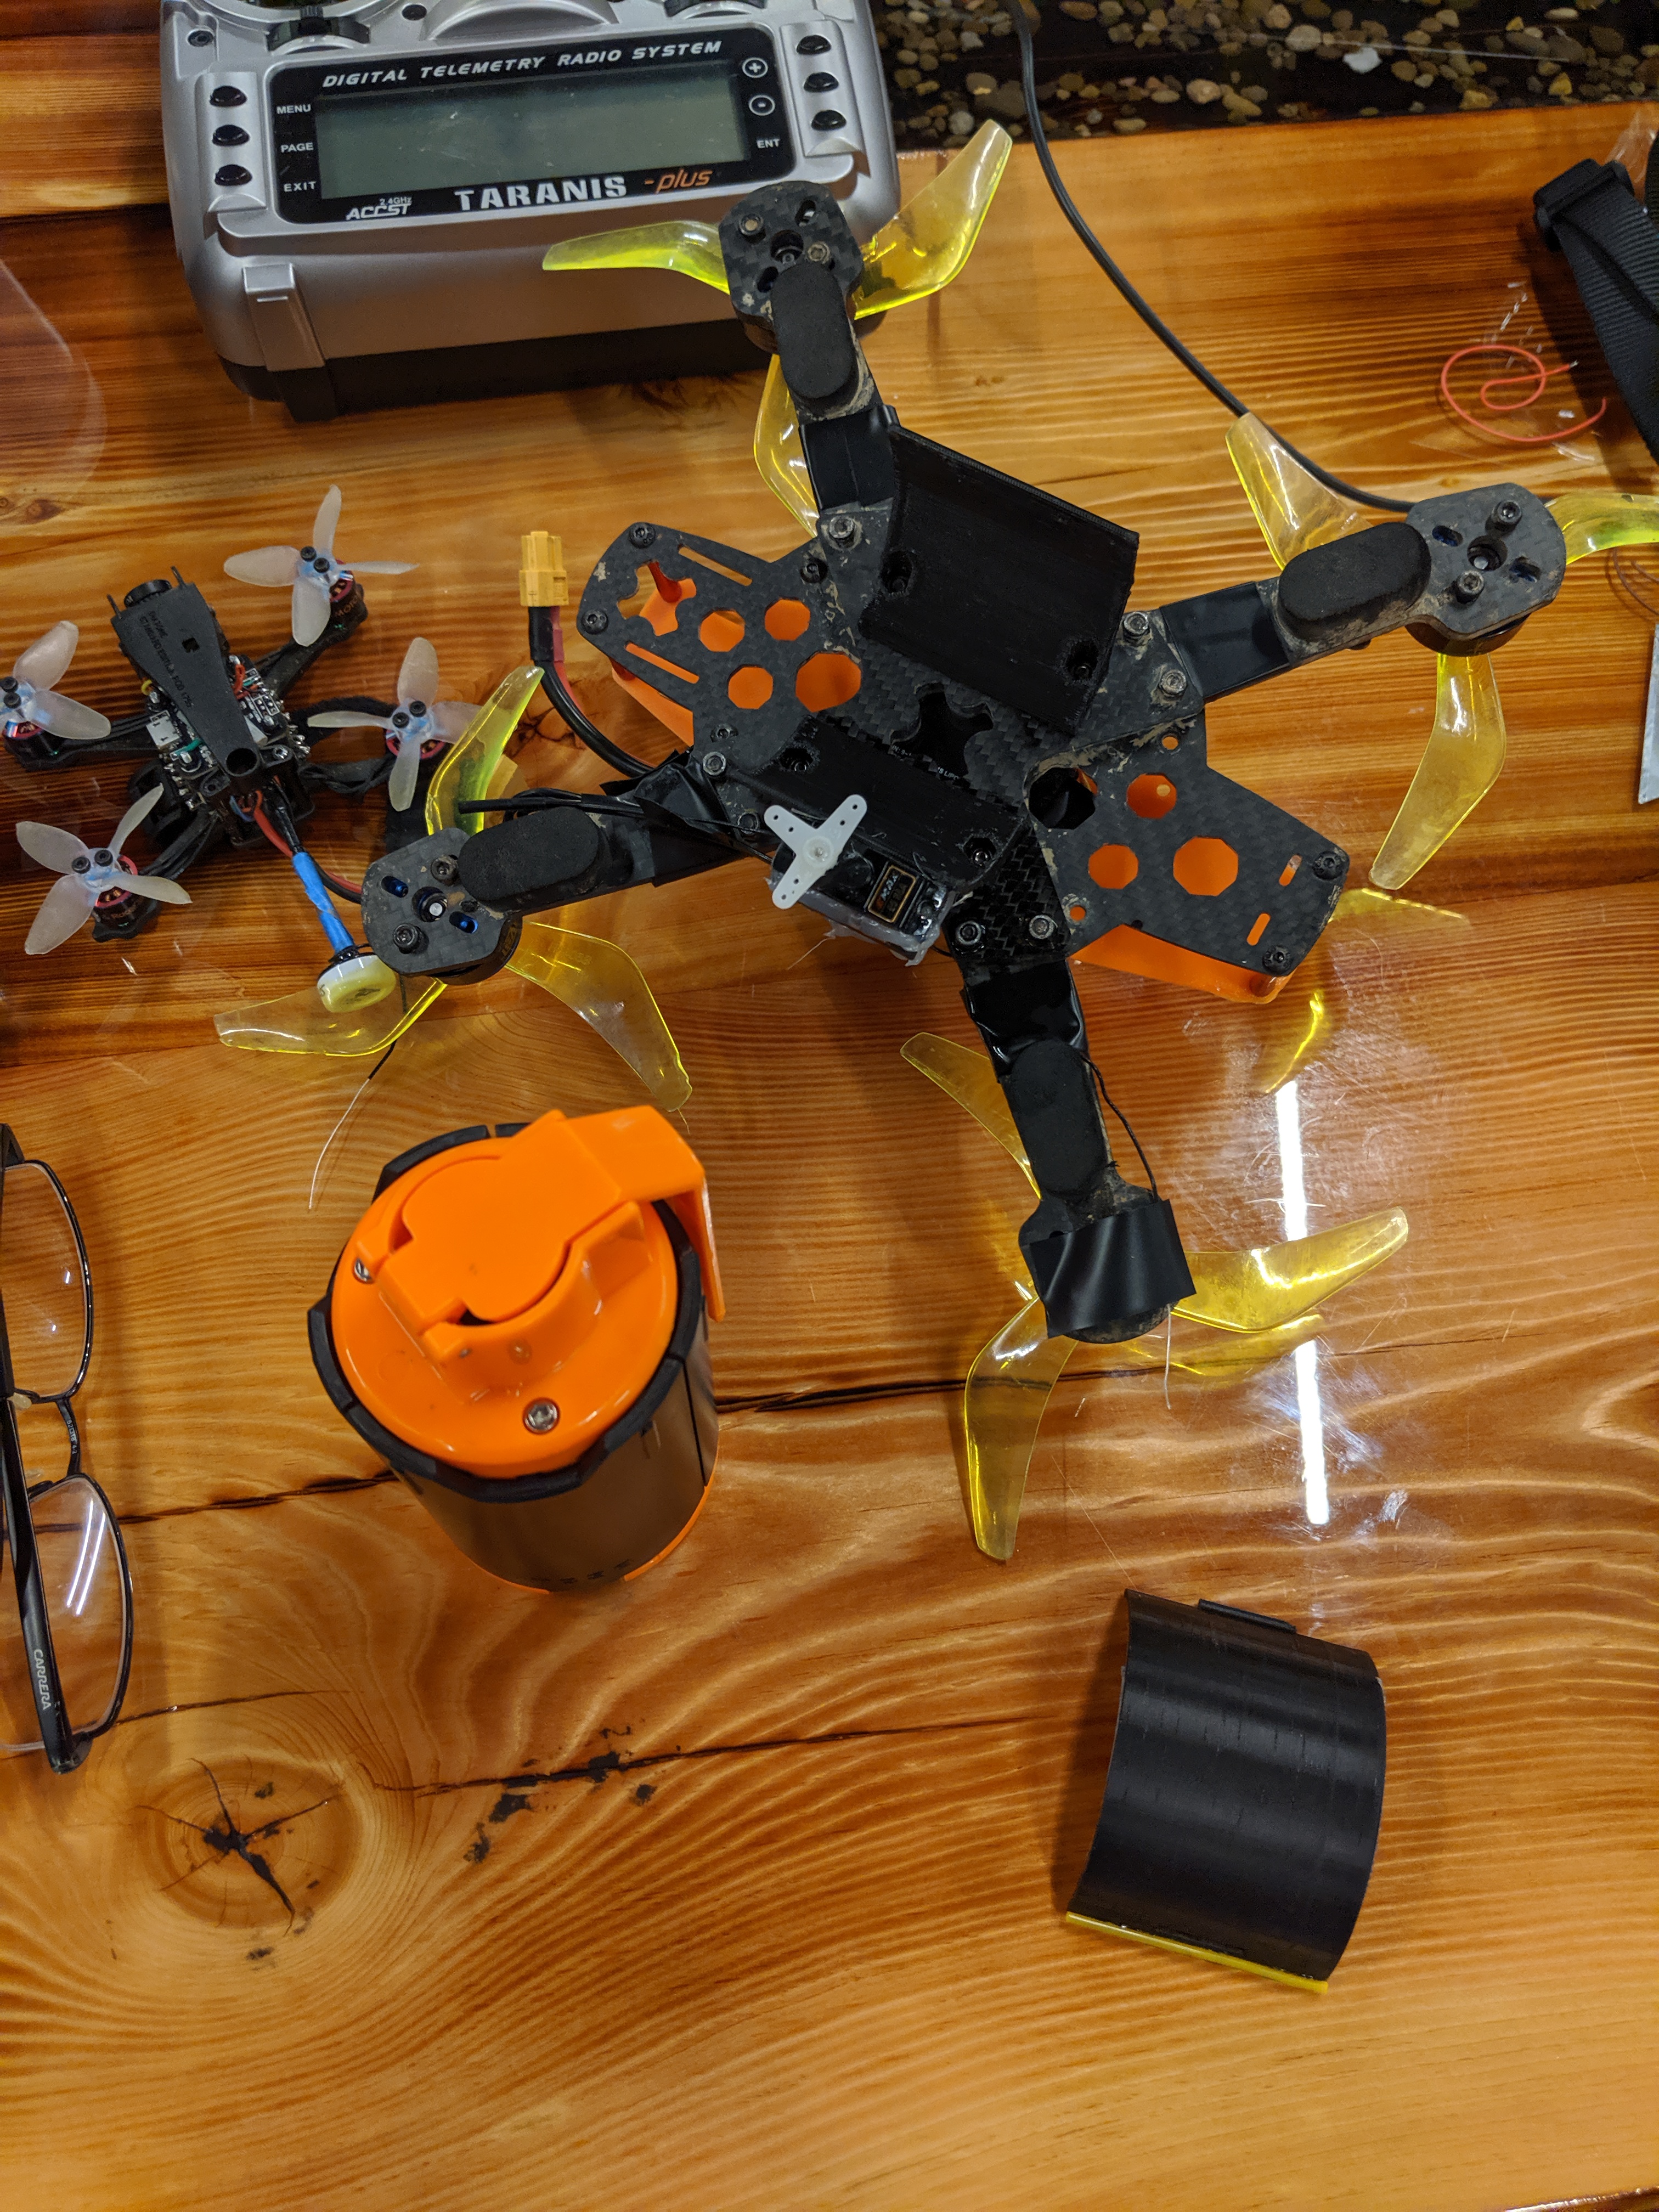
Grenade and bottom
-
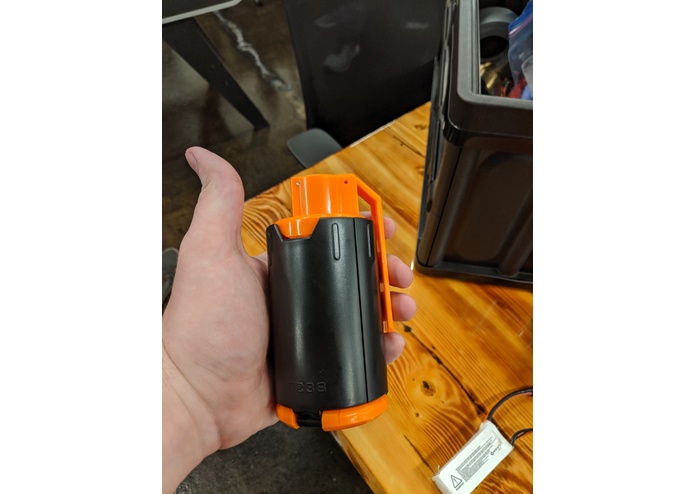
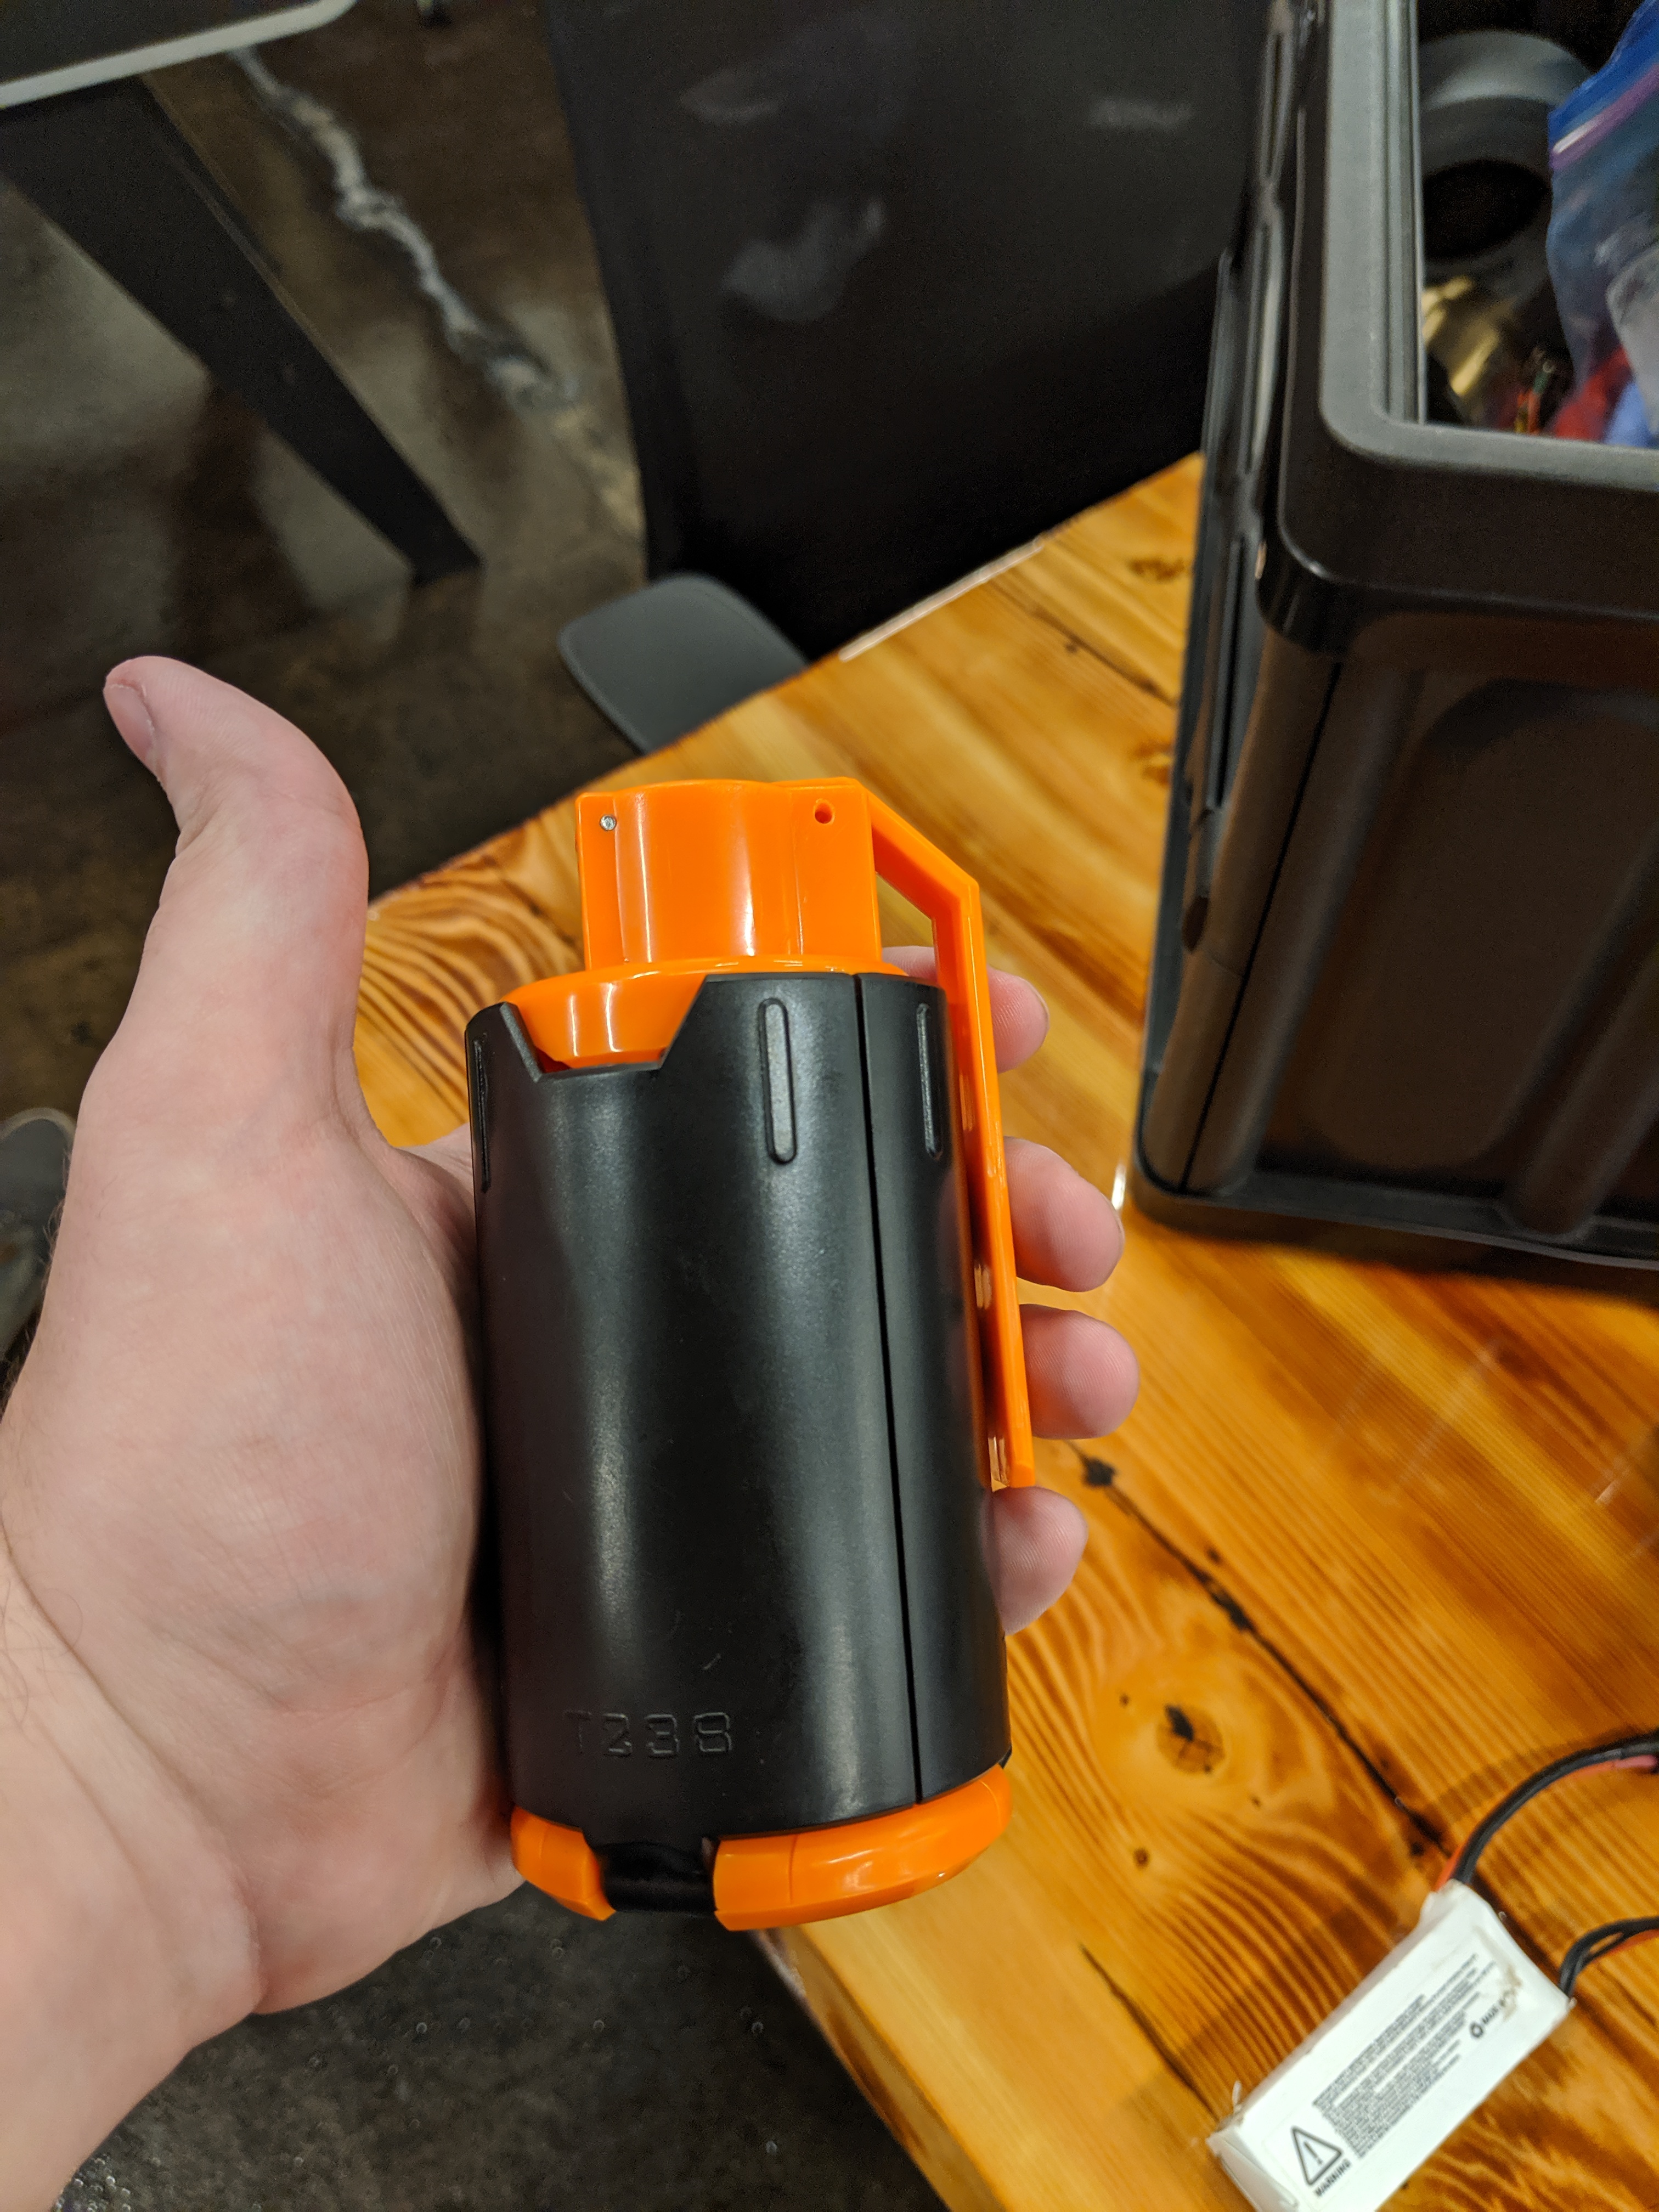
The 'nade.
-
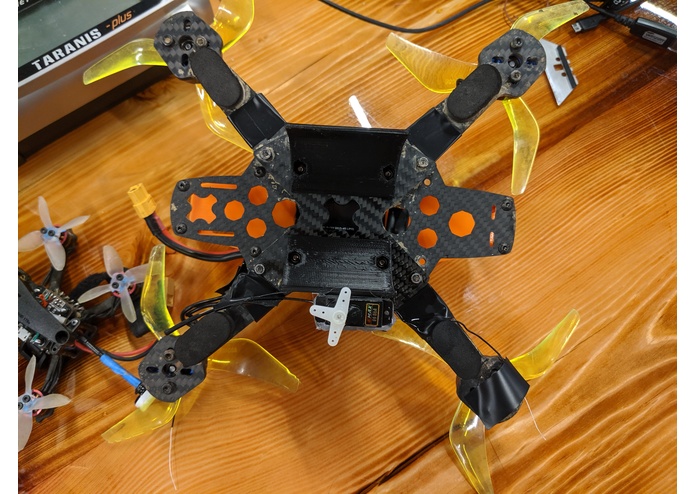
Bottom from Top
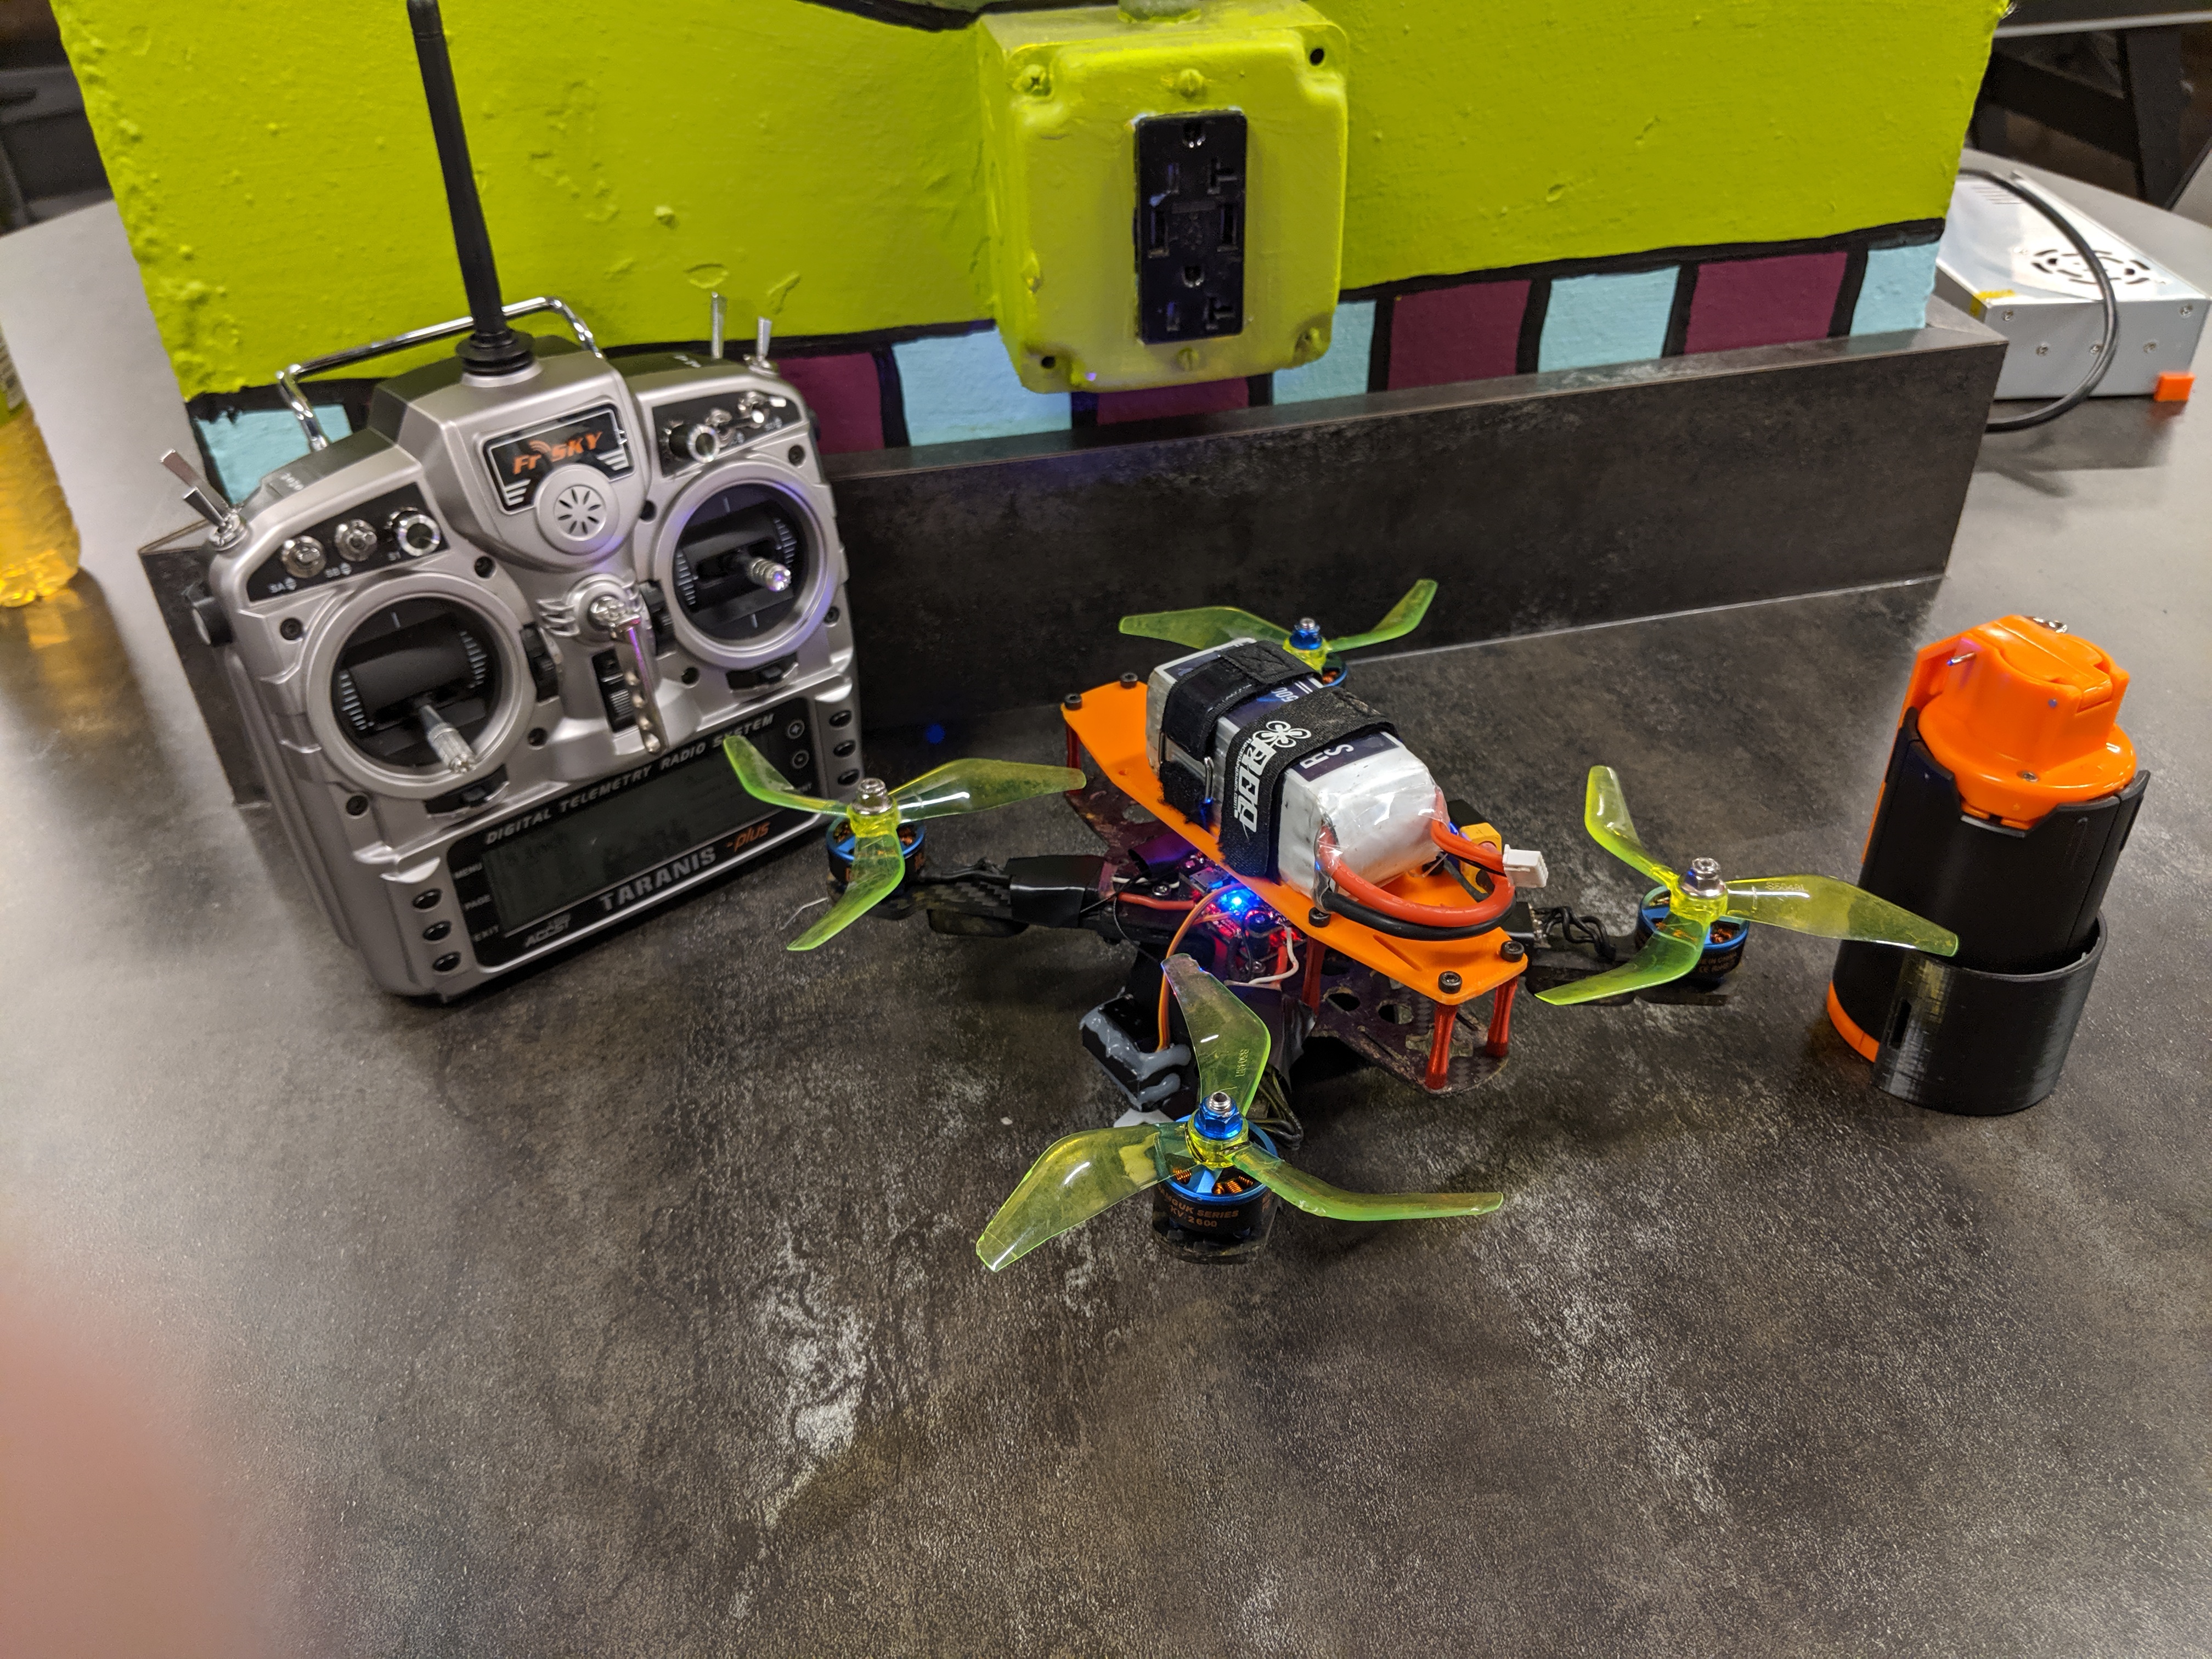
Light Cargo Delivery Drone System
We wanted to build a drone to drop Nerf Grenades for Akron's HvZ club, kind of like a Call of Duty killstreak. We also figured that this idea could be used to drop light payloads relatively far distances, as the drone (after upgrades) has a theoretical range of 10km. This could be used to drop supplied to survivors of a natural disaster, medical aid to those in need, stranded hikers, or anyone that needs help. The drone can carry up to 1.5Kg, so while not a lot, it would be enough for a basic first-aid kit or other supplies. The mounted battery can be changed out, a bigger and heavier battery may make it loose maneuverability, but would allow for farther range.
Betaflight configuration
To configure Betaflight, you must have a basic understanding of how servos are controlled. Servos take a pulse-width-modulation signal between one and two milliseconds. The length of this determines what position the servo will take in it's movement. First, enable servo_tilt under the configuration tab of Betaflight. Second, if you're not running in expert mode, turn that on up by the connection settings. This will add panels to the side which includes one for controlling servos. Up next, Connect your servo to a spare PWM or motor port. You will then use the command line interface (CLI) to remap the pin to a servo. In our case, we remapped motor 5 on a Matek F722-STD to be servo 1. Save your configuration, and navigate to the servo tab. This will show an array of check boxes which correspond to auxiliary channels on your radio. Channels one through four correspond to Throttle, Roll, Pitch, and Yaw in whatever order your radio is set to output. A1-A12 correspond to your auxiliary switches. In our case, we used the momentary switch on a Taranis X9D to "open" our servo. Select how you want to control your servo, save everything, and test it out!
Built With
- 3dprinting
- betaflight
- servo


Log in or sign up for Devpost to join the conversation.