Inspiration
We got inspired when we attended the LEGO presentation on Friday during the Hackathon introduction. It was then when we thought we could figure out a new interesting way to teach children a concrete field that could be related with physics and electricity. We realized that we could use LEGO bricks to show how an electrical circuit works in a safe environment.
What it does
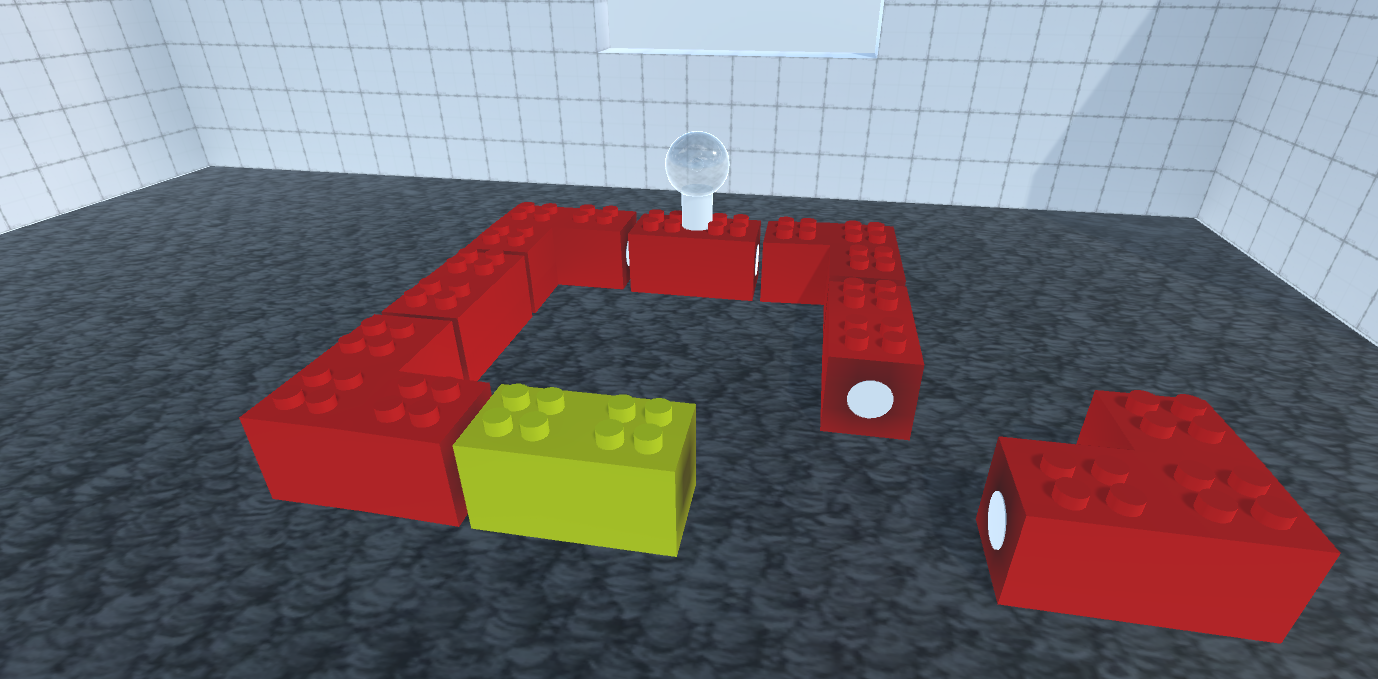
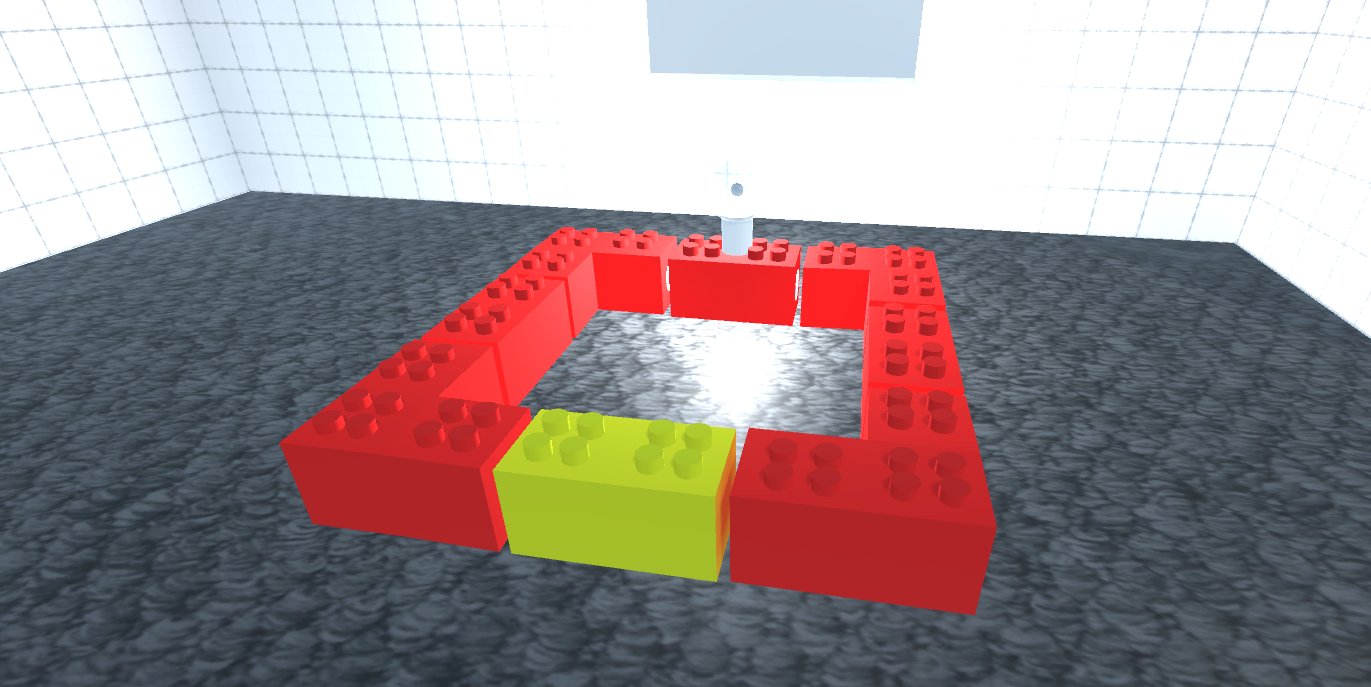
Our concept enables children to learn about electricity and electricity circuits in their own safe environment. It supports the creativity and intuitive approach children have to learning. The bricks can be moved around, they can play with them and even make a house with the LEGO bricks, just as long as the circuit is closed. It makes an abstract concept tangible using LEGO bricks, that most people know.
How we built it
We have used Unity to create a virtual demonstration model of the circuit. Various scripts control the different aspects of the model. We have also created the 3D models onto which the scripts are attached, these have been made inside Unity with the ProBuilder tool from the ProCore set. The scripts control the power source, the null point in the circuit, the individual circuit components as well as the sending and receiving aspects of the circuitry where electricity is sent from one component to the next, coupling receiving parts to be part of whichever circuit the sending part is on. If the circuit becomes full (closed) by connecting to the null, the electric components are activated, if it breaks they deactivate. In our case that means that the lamp turns on and off.
Challenges we ran into
At the beginning we tried to develop the idea and a proof of concept with an Arduino-UNO and a Arduino-101 boards and some micro-controllers. We used different sensors and components like a breadboard, LEDs, the Touch sensor and the Ultrasonic sensor. We got them work, however, we realized that they were not appropriate when having complex structures because of the amount of pieces they could detect where very limited. For instance, the Ultrasonic sensor could just detect and return the value of a single piece at a time instead of several of them, so we could not use it for making a digital representation of physical structures.
Then we decided to discard that idea and going on with the Unity Engine to prepare an environment that simulated the behavior of a circuit.
Accomplishments that we're proud of
- We have been able to simulate alternating current and design 3D LEGO components using Unity
- We have set up micro-controllers for detecting touch pressure and calculate the distance to objects using ultrasounds scanning.
- Making a new learning environment for children that supports creative play without any kind of danger
What we learned
In those 2 days we have learned how to model 3D objects in Unity and define some logic associated to them. We have also learned how to set up an Arduino board and some of its sensors using the Arduino IDE.
What's next for LEGO Education - Electrical Circuits
In our demo we set up the configuration to simulate the working of a LED component. However there are still other circuit components that can be simulated like condensers or resistors, that would allow the creation of more complex circuits. These representations can be used at schools to teach children between 8 - 14 years old the logic behind electricity and physics in an very graphical and entertaining way.
In the future all this could potentially be expanded with a more professional circuit simulator that might even be used by university students, sort of like a different branch of the concept.


Log in or sign up for Devpost to join the conversation.