-
-
LED Cube
-
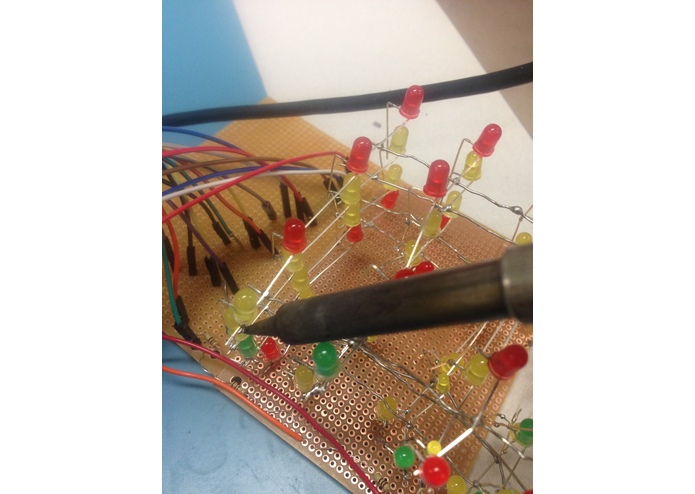
Soldering
-
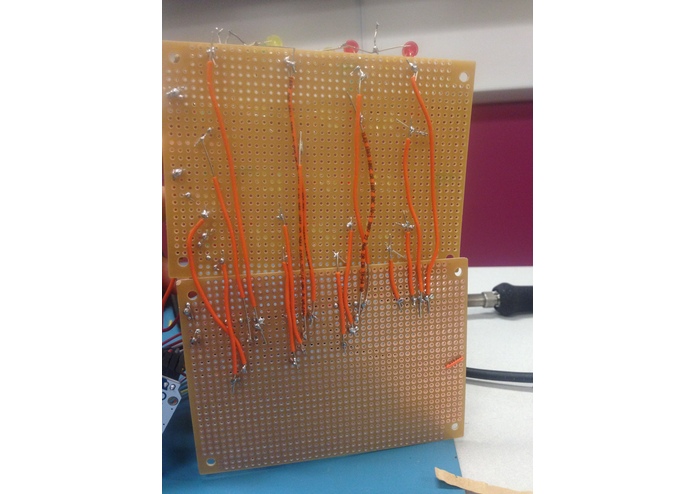
Wiring scheme
-
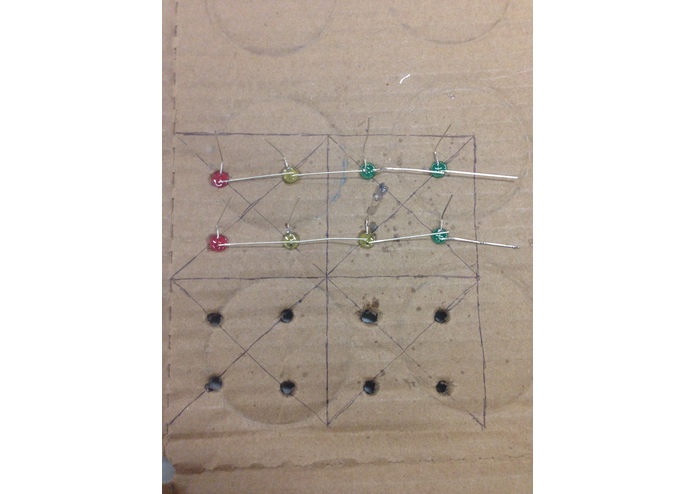
Layer scheme
Inspiration
Both of us have little experience in hardware coding so we decided to use HackUmass as an opportunity to learn some arduino. As we explored the possible projects for arduino, we came across a cool demo video of LED cube on youtube link Thus we decided to try it out.
What it does
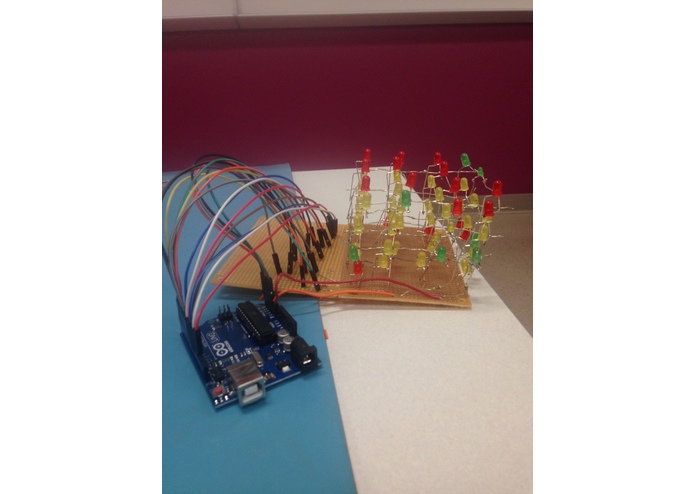
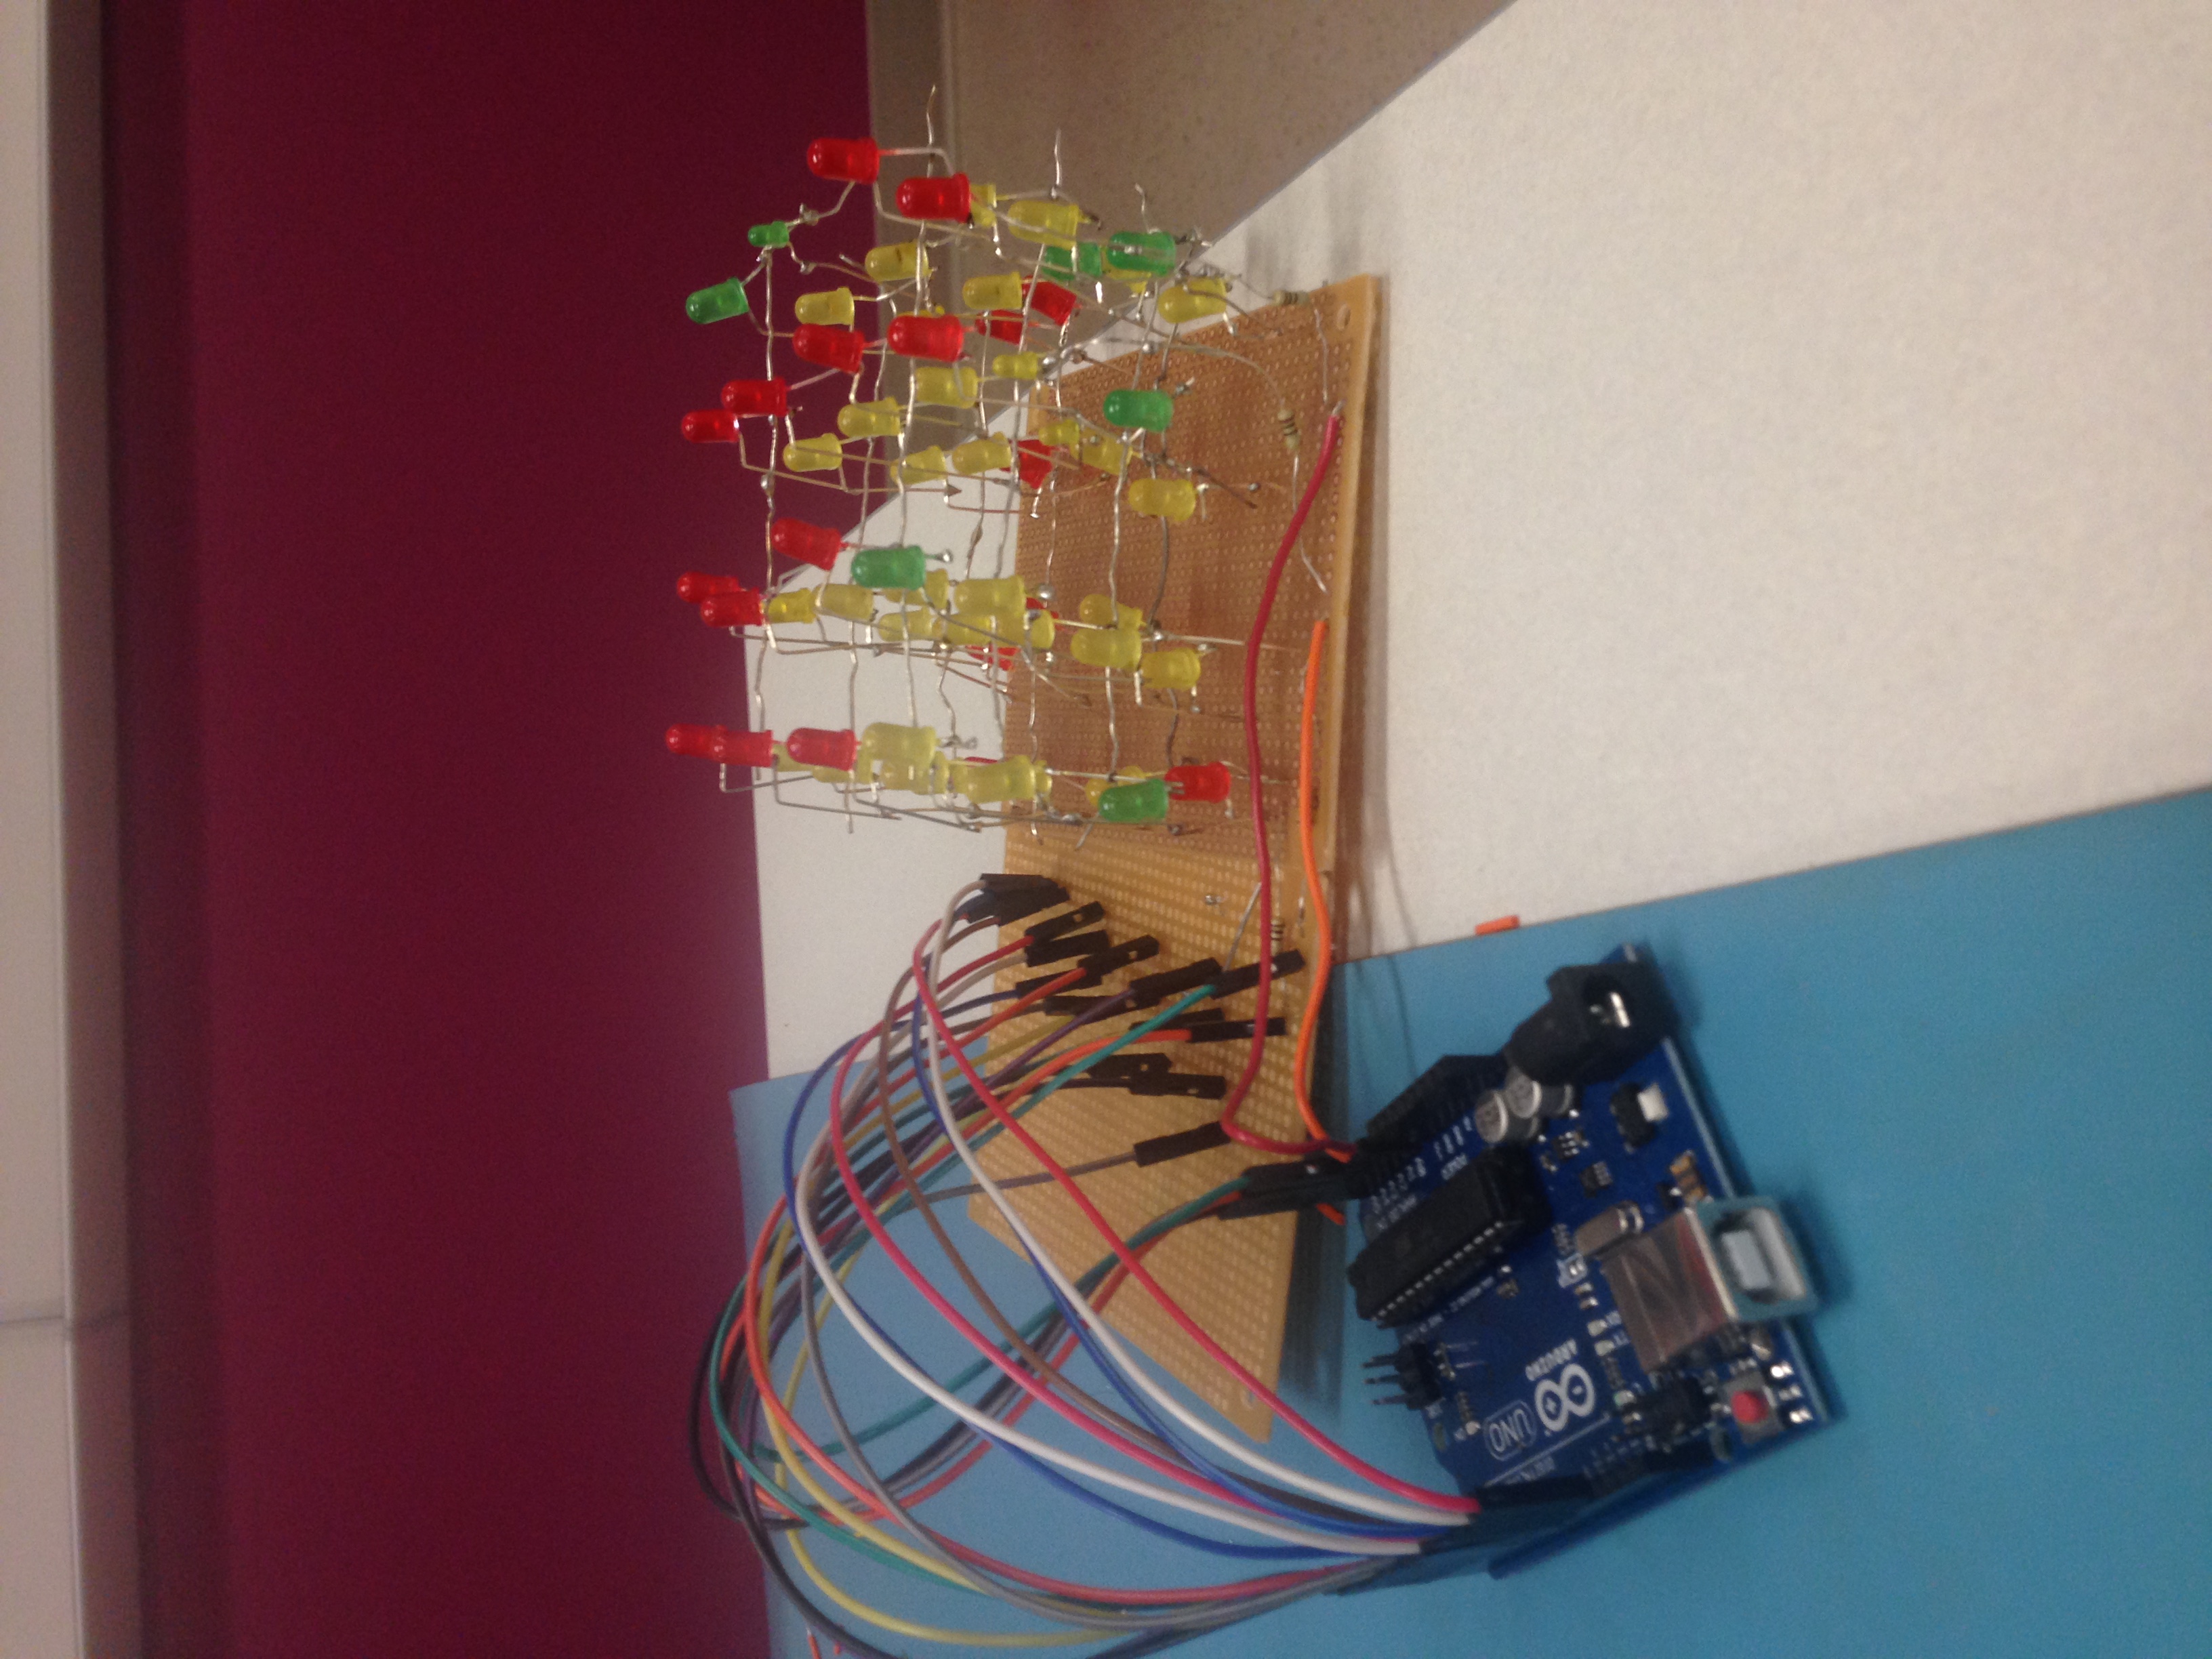
Our project is a 4x4x4 led cube. The circuit is designed to have the 16 columns (4 in each) distinctively controlled by 16 pins on Arduino UNO. The LED cube animation includes flickers, wave, circling
How we built it
Materials Preparation
- 100 LED lights
- Arduino
- 4 100-Ohm resistors
- wires
- Breaker Board
- Soldering iron
- cardboard
Building the cube
- Test LED light Before we soldered the LED light together, we tested each LED lights.
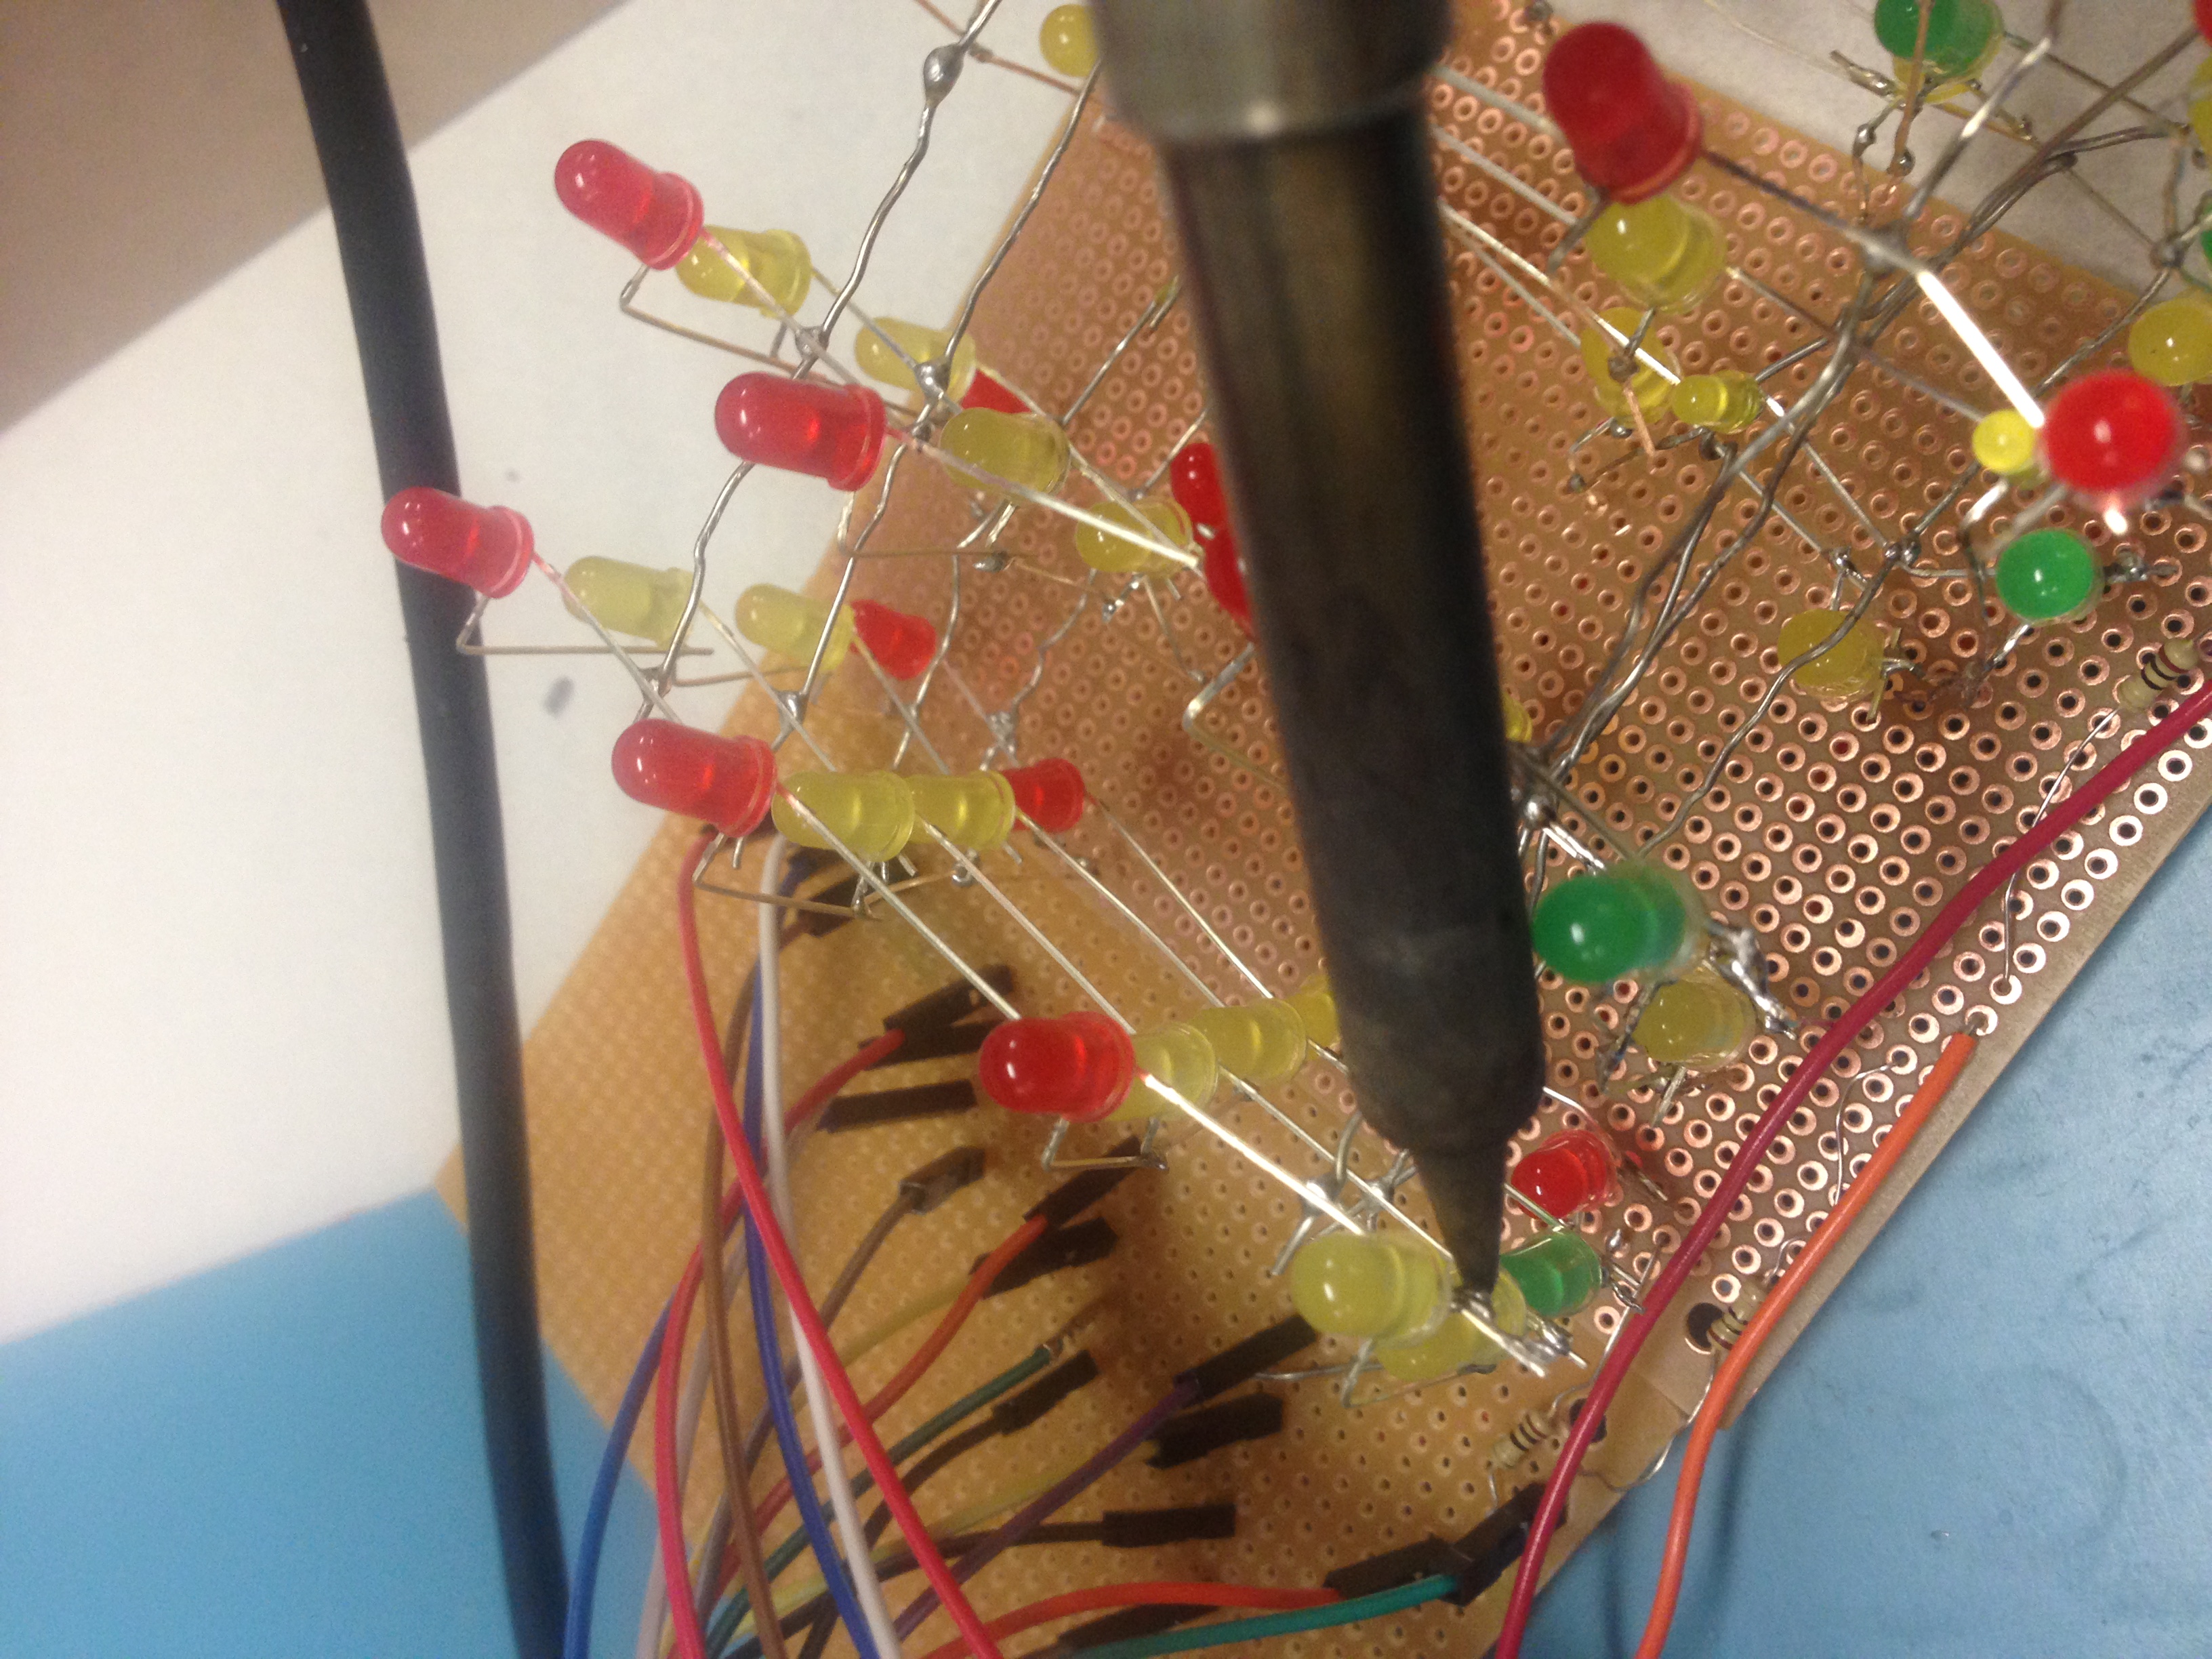
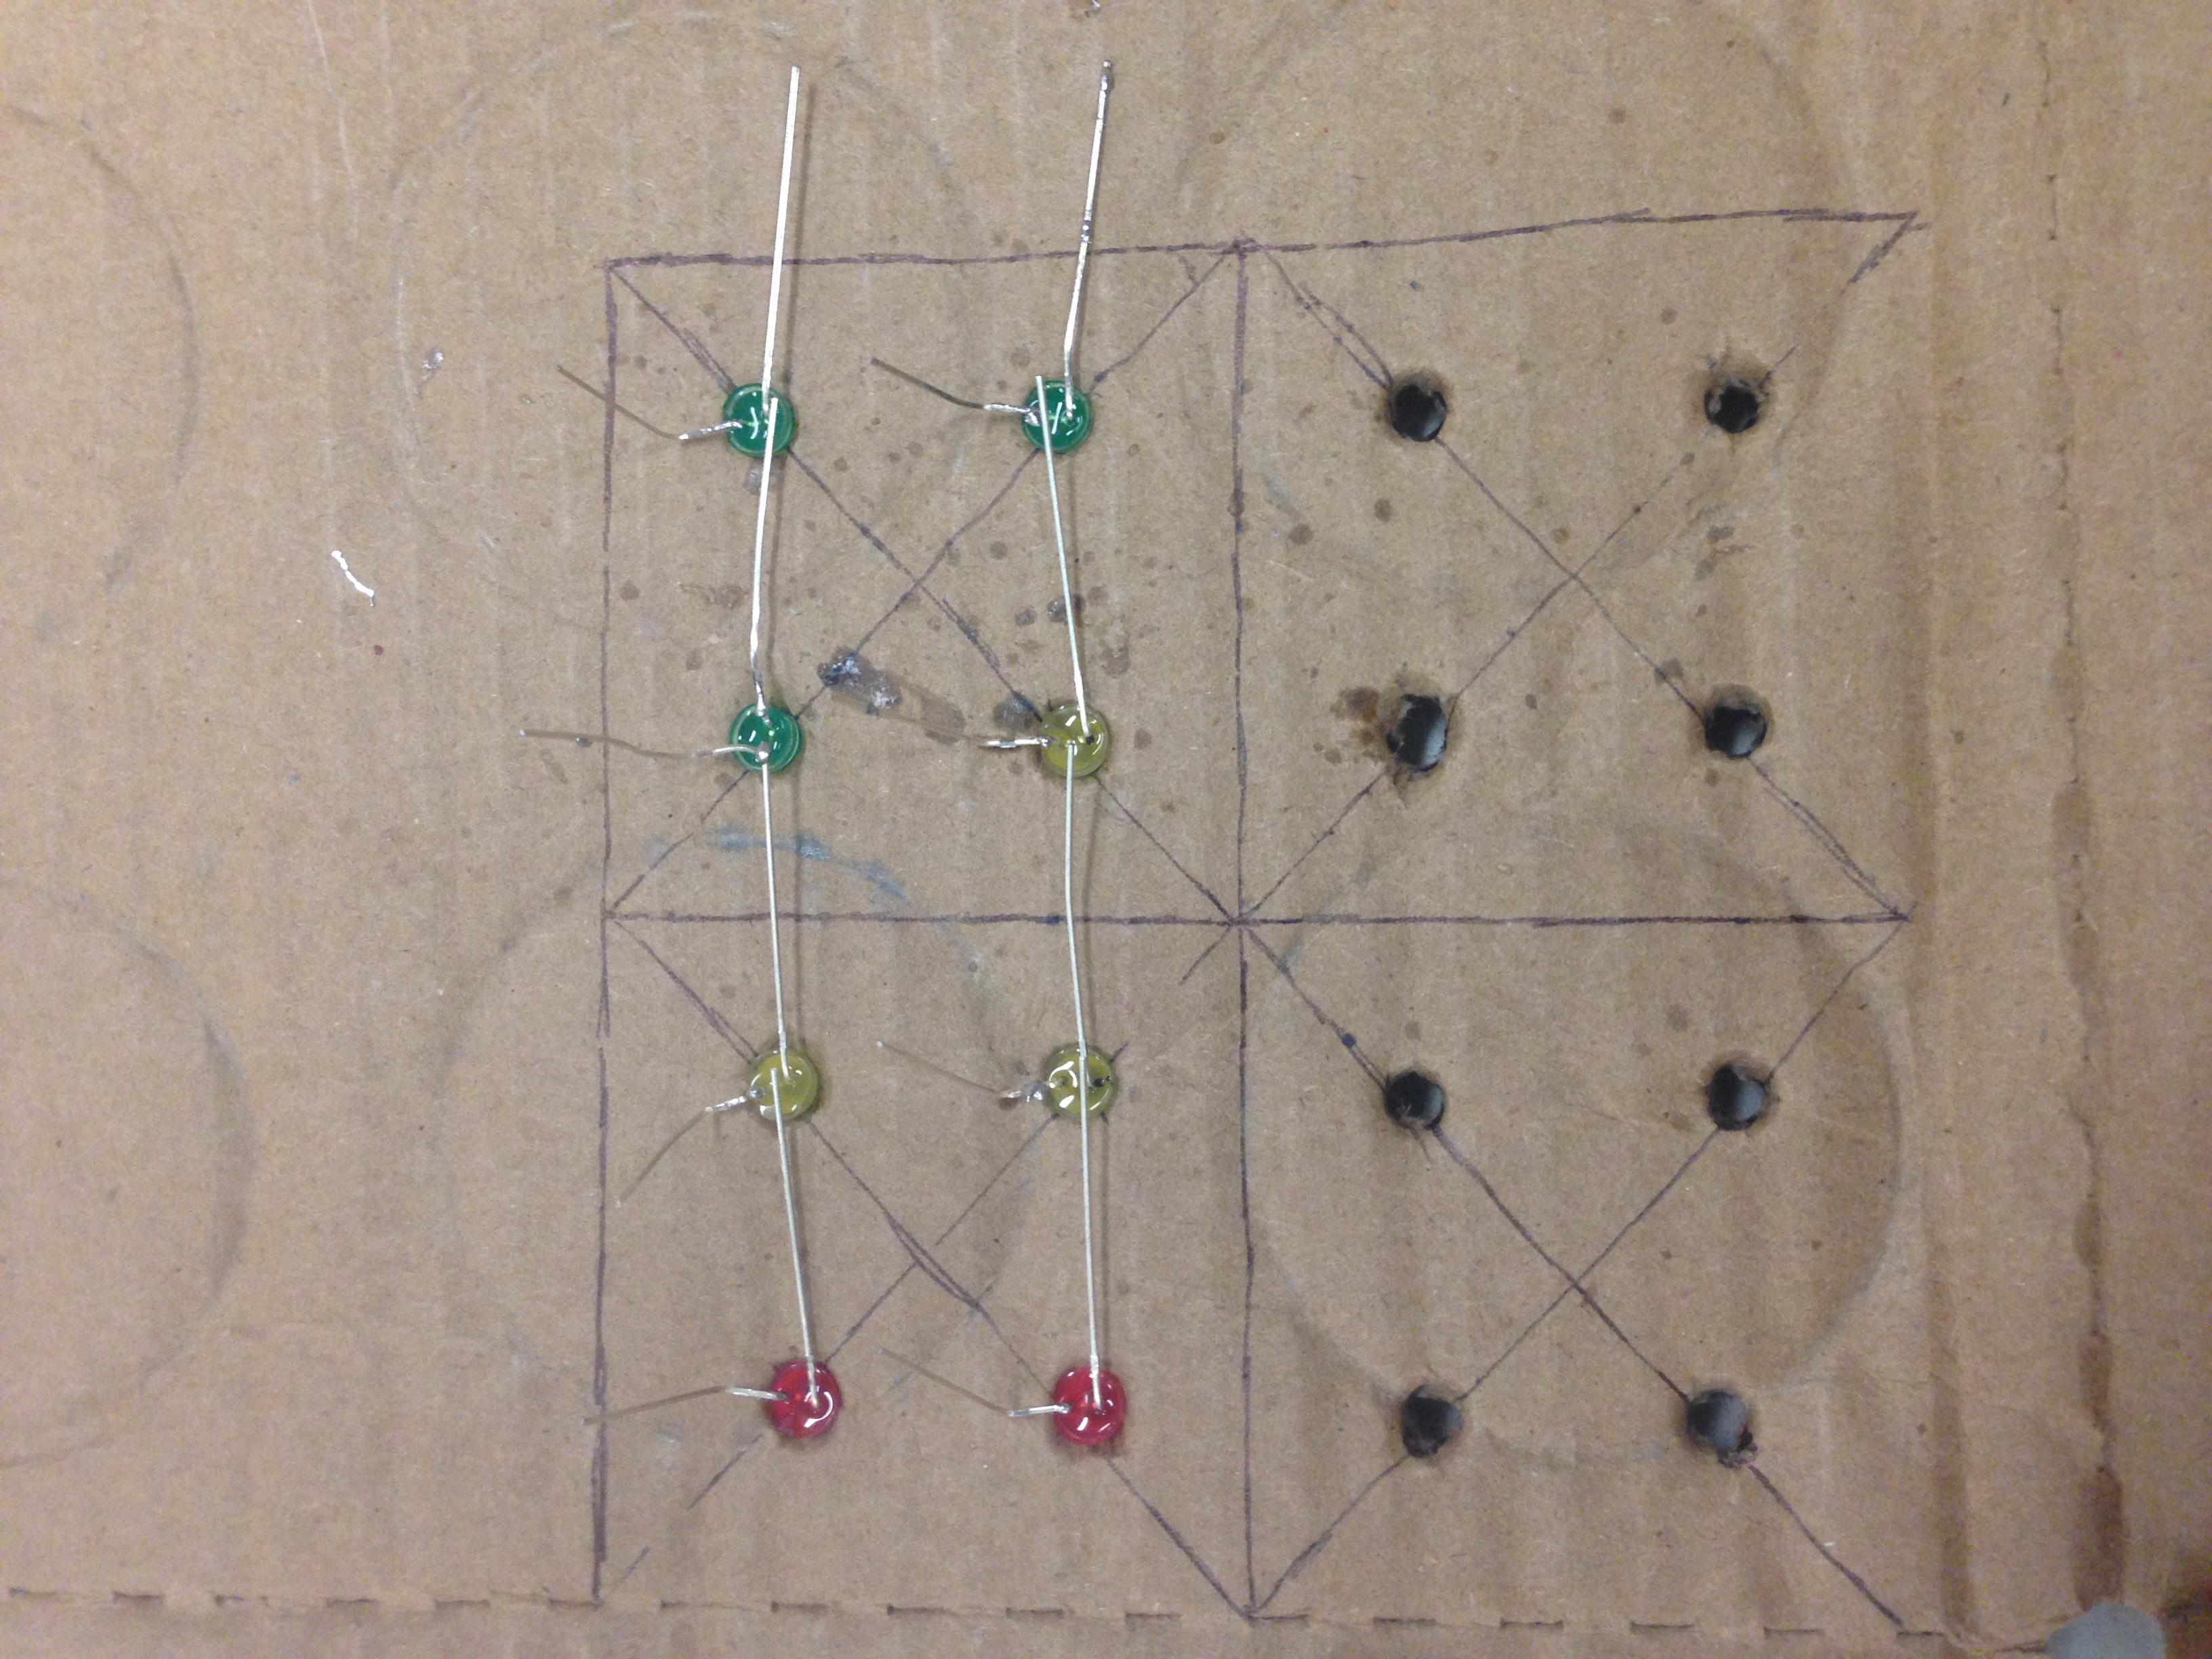
- Build the cube by layer We used cardboard to set up the structure of the cube. As shown in the image, the anodes of the led lights line up while the cathodes point upward. Then we soldered the LED lights from anode to anode.
- Solder layers together We soldered four layers together from cathode to cathode.
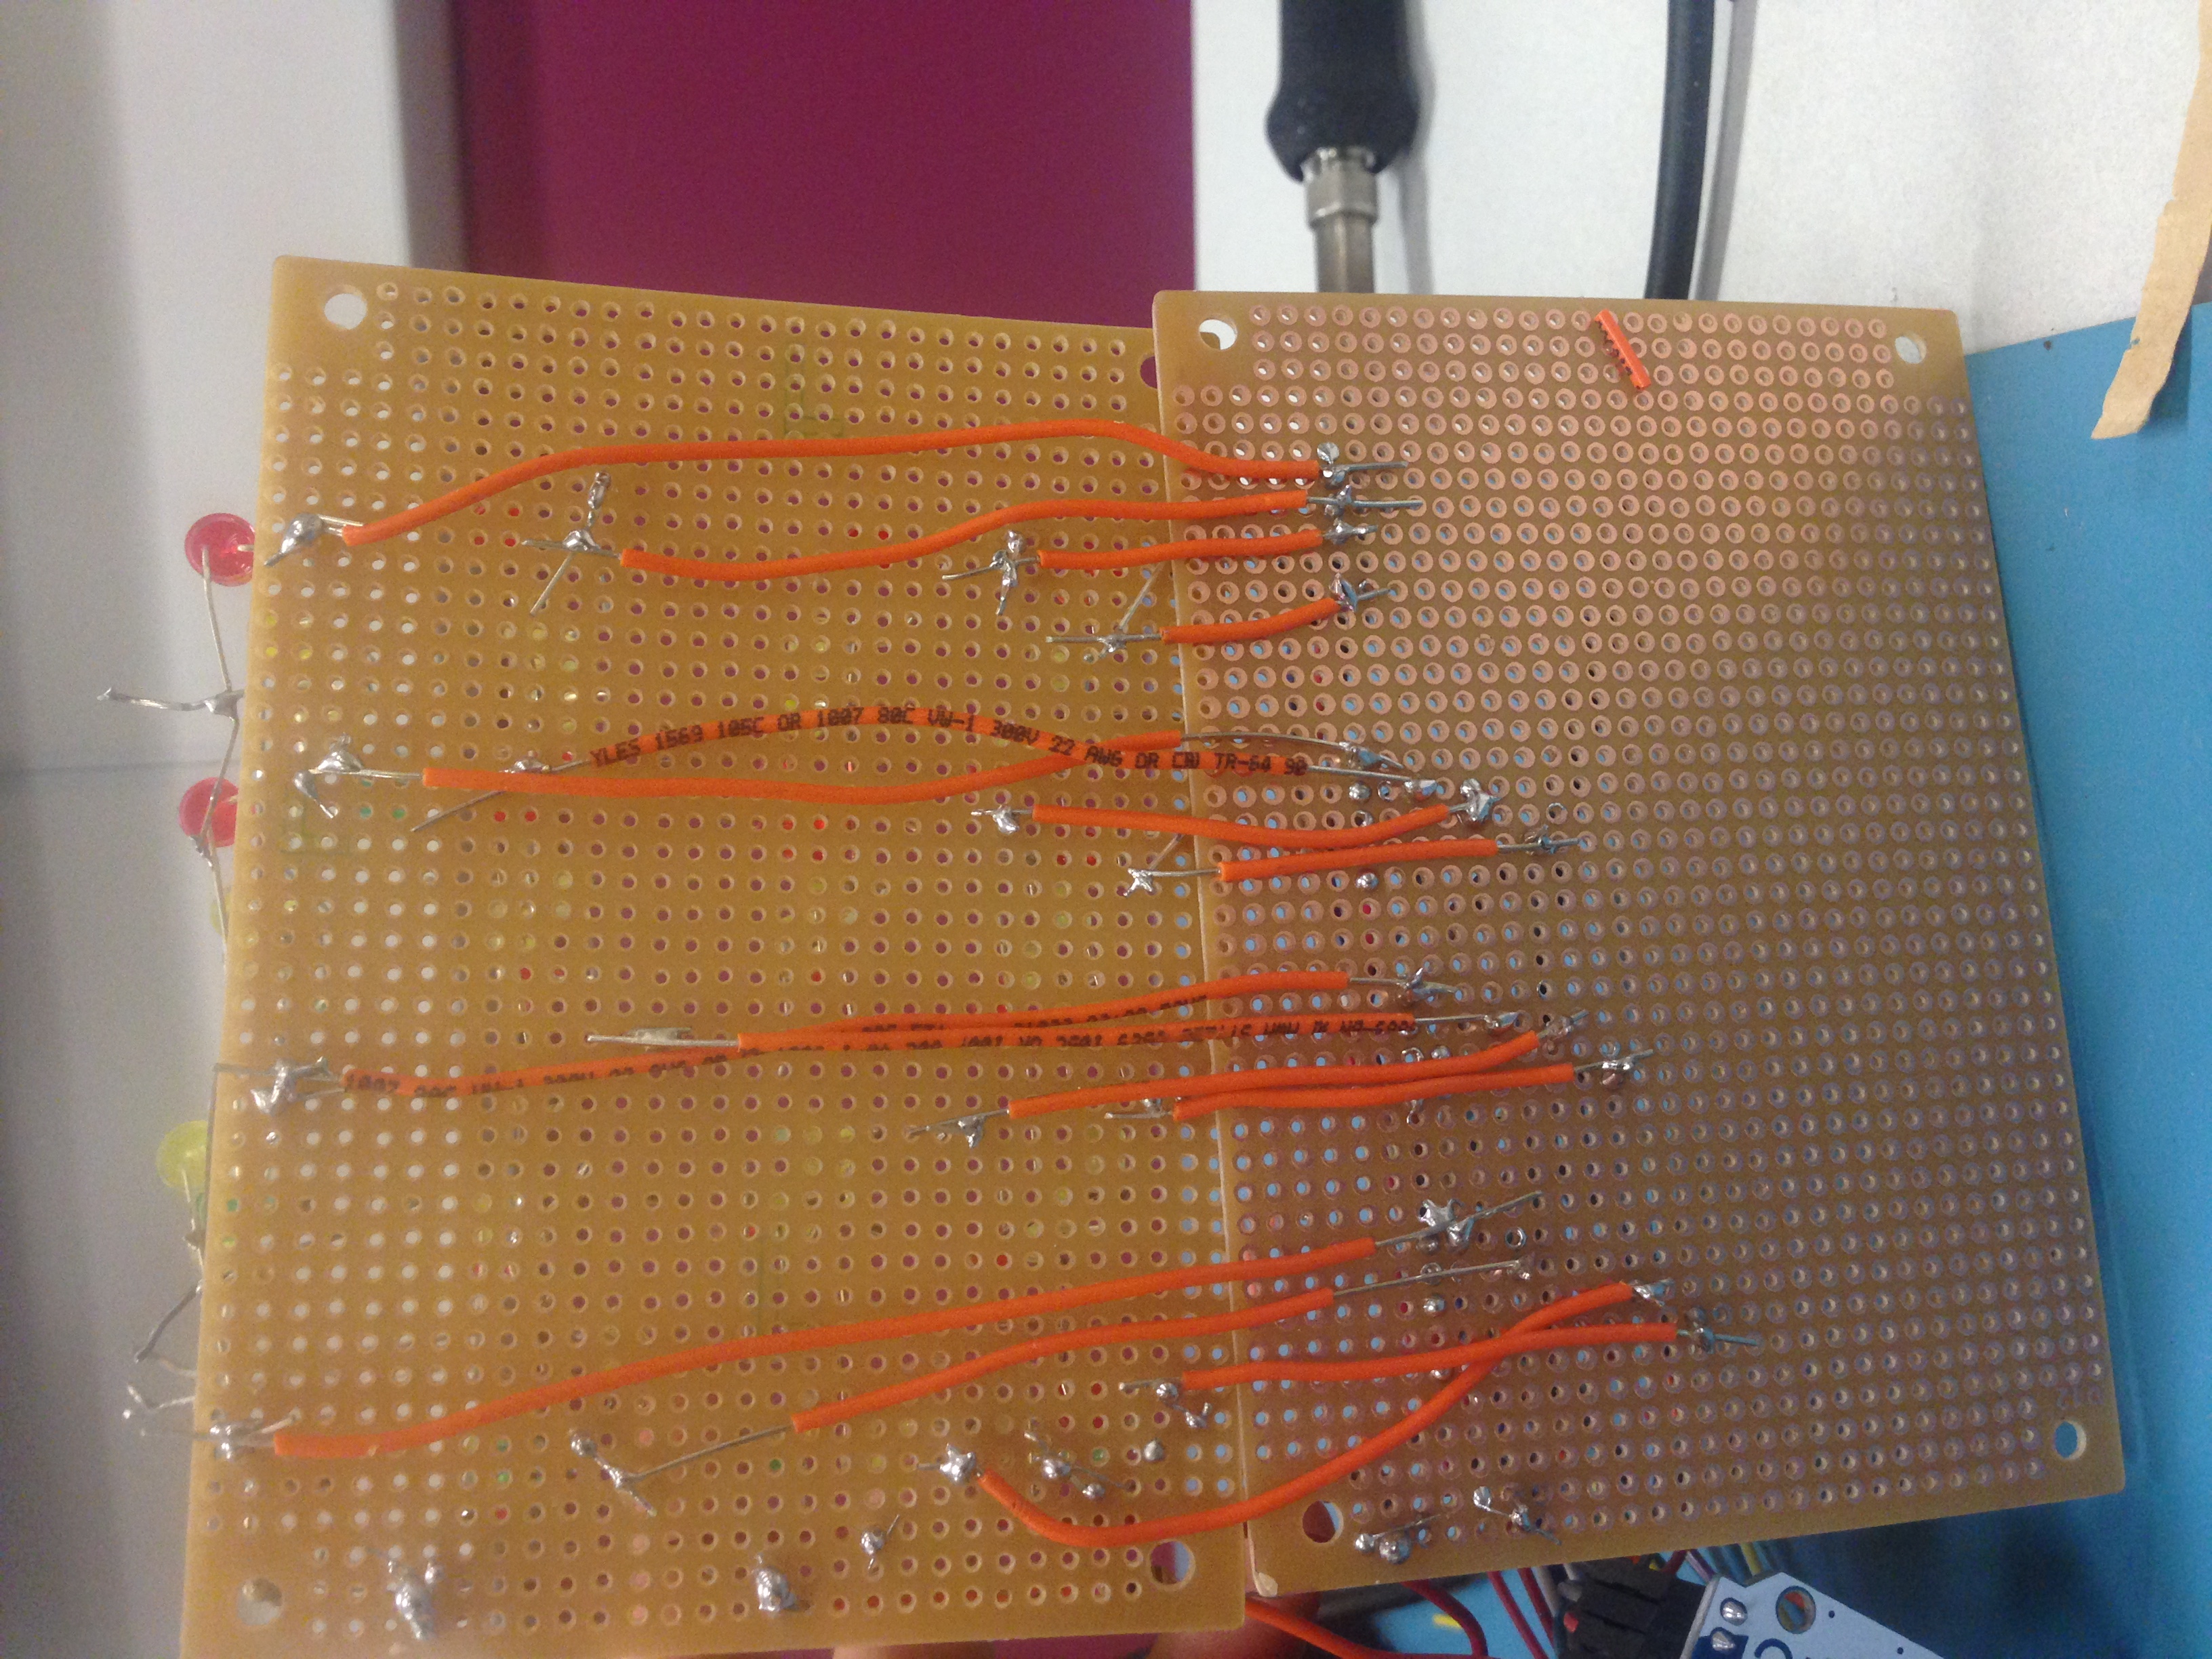
- Build circuit We connected each column of the cube to a pin on the arduino. Layers have separate input voltage control.
- Arduino We defined animation pattern using Arduino. Code is stored at GitHub: link
- test and debug We tested and debugged our circuit.


Challenges we ran into
Soldering the cube We realized that it is hard to solder the circuit and not overheat the LED light. We constructed the cube twice because, at the first time, many LED lights were broken because of overheat. Also, it is challenging to avoid short circuit which always happened when wires mistakenly attached to each other.
Debugging circuit During the process of constructing the cube, we found its challenging to debug the circuit. Without a consistent pattern, the circuit conditions can be complicated (e.g. A short circuit being misinterpreted as a broken circuit)
Monitoring circuits using Arduino It was challenging to monitor the input to the circuit using Arduino. We first mistakenly assigned 1, or high voltage to Led pins, but the lights didn't turn on. Then we realized the Led pins were connected to the cathode, so we changed assigned digit value to 0.
Accomplishments that we're proud of
We are proud of successfully building the cube and creating animation using Arduino.
After the first attempt, we analyzed our failure and continued with our second attempt.
What we learned
As our first attempt on hardware coding, we learned how to use Arduino to control circuits. Circuit schemes are very different from the real structure. The design of the real structure needs to consider construction difficulty, wires arrangement, structure steadiness, cost, etc. We learned to design the structure based on the circuits scheme. Also, building an LED cube is a great hand-on experiences for us as both of us are now excelled in soldering and designing circuit schemes.
What's next for LED cube
We can add a motion sensor to the LED cube. Instead of following a pre-written animation pattern, the motion-censored LED cube can light up in the patterns of the user's hand motion.
We can also turn LED cube into other shapes, such as an LED globe.
Built With
- arduino
- led-light


Log in or sign up for Devpost to join the conversation.