-
-
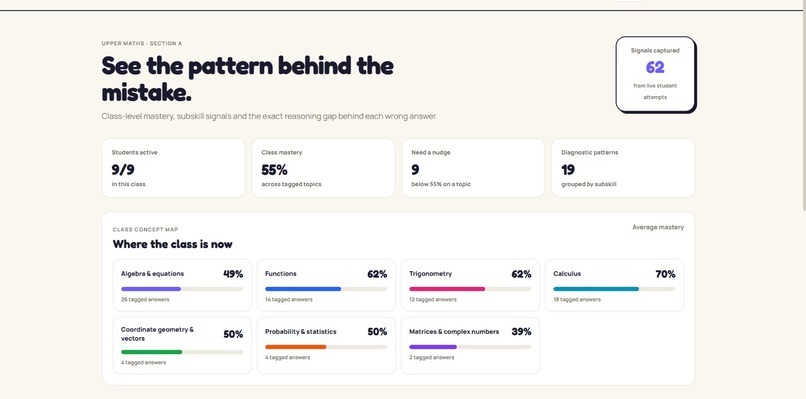
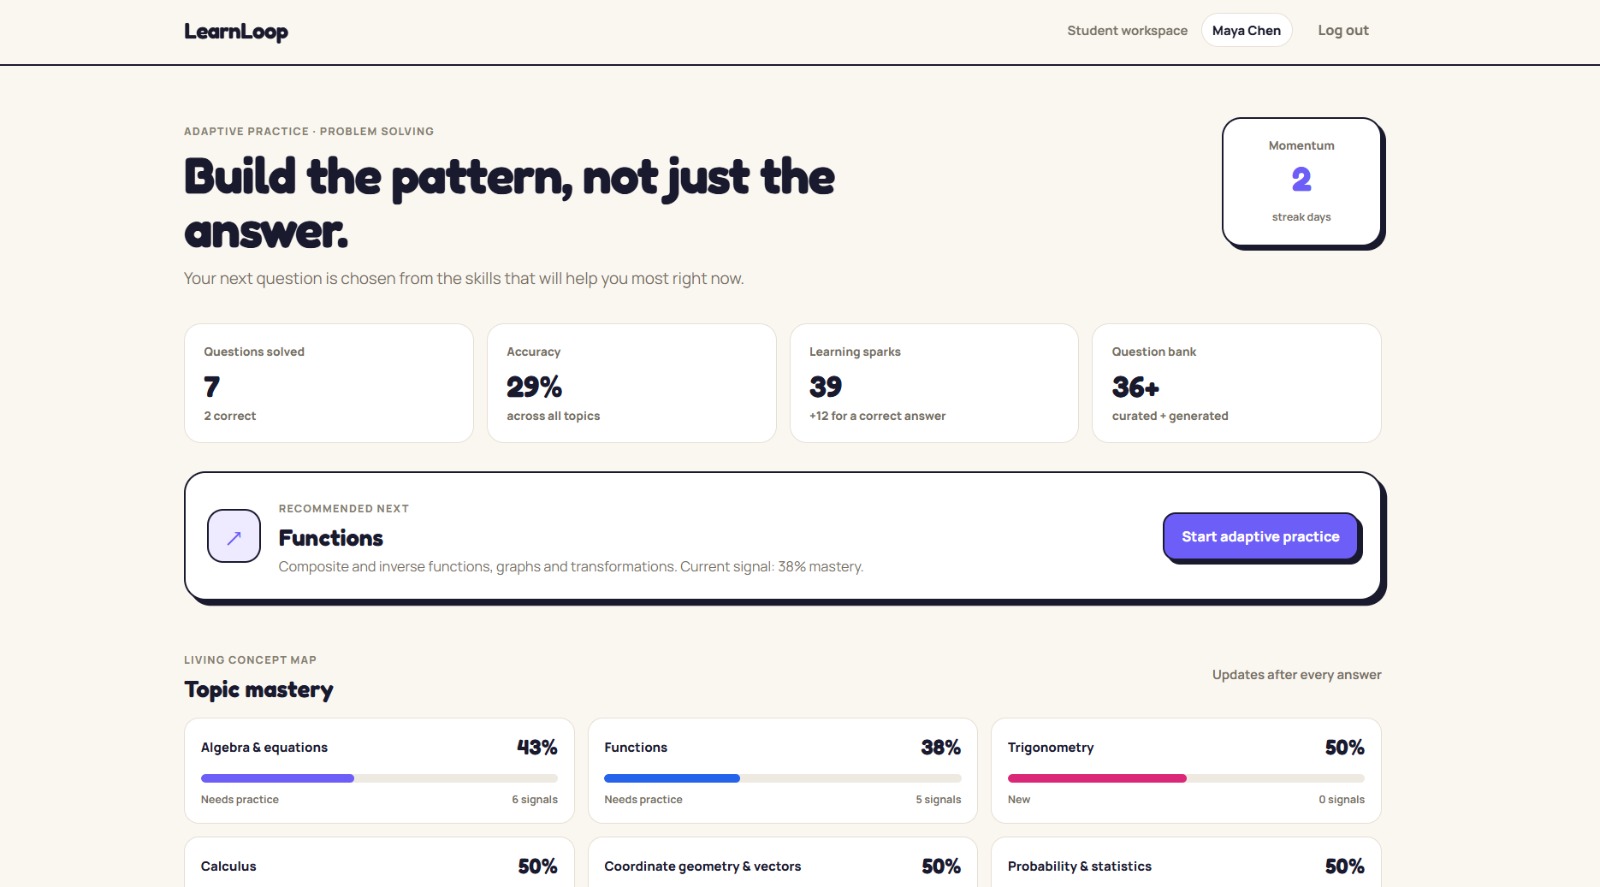
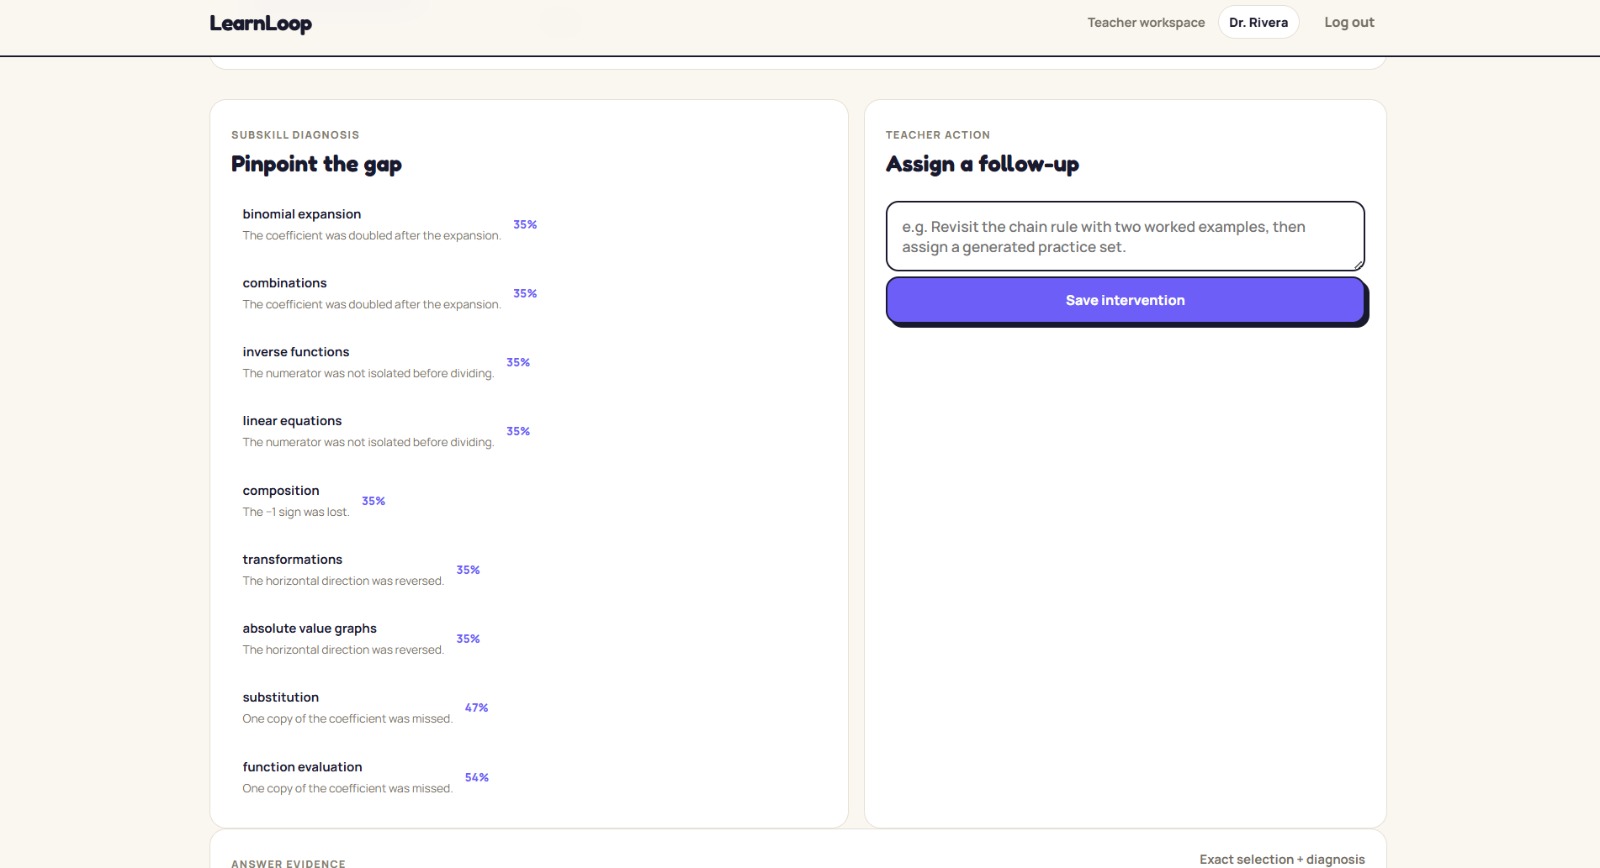
Teacher Dashboard
-
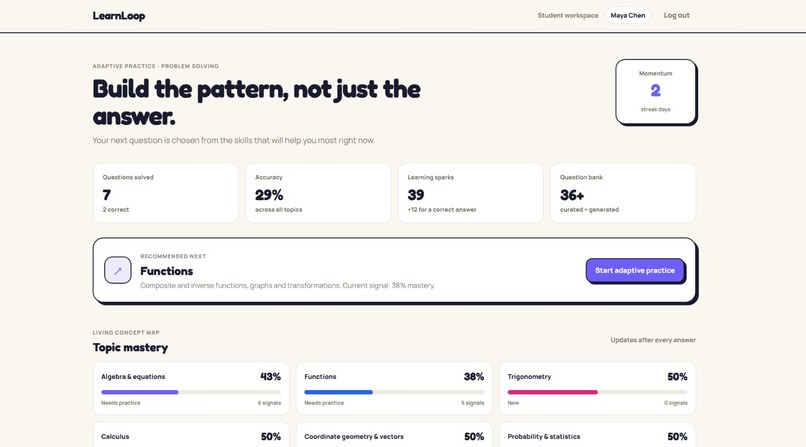
Student Dashboard
-
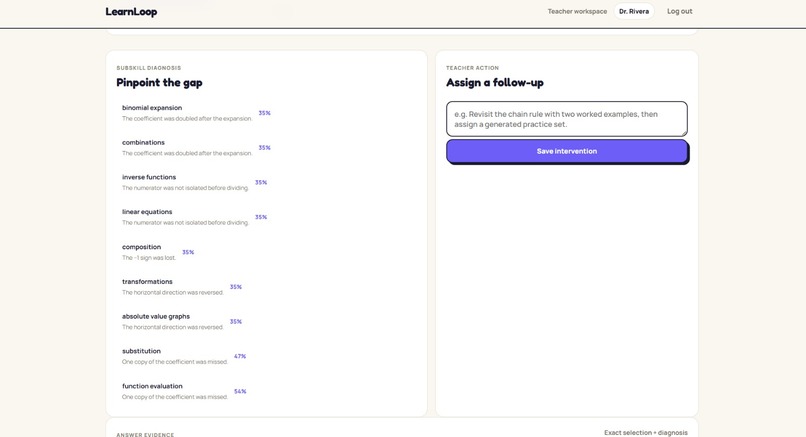
Teacher_Page
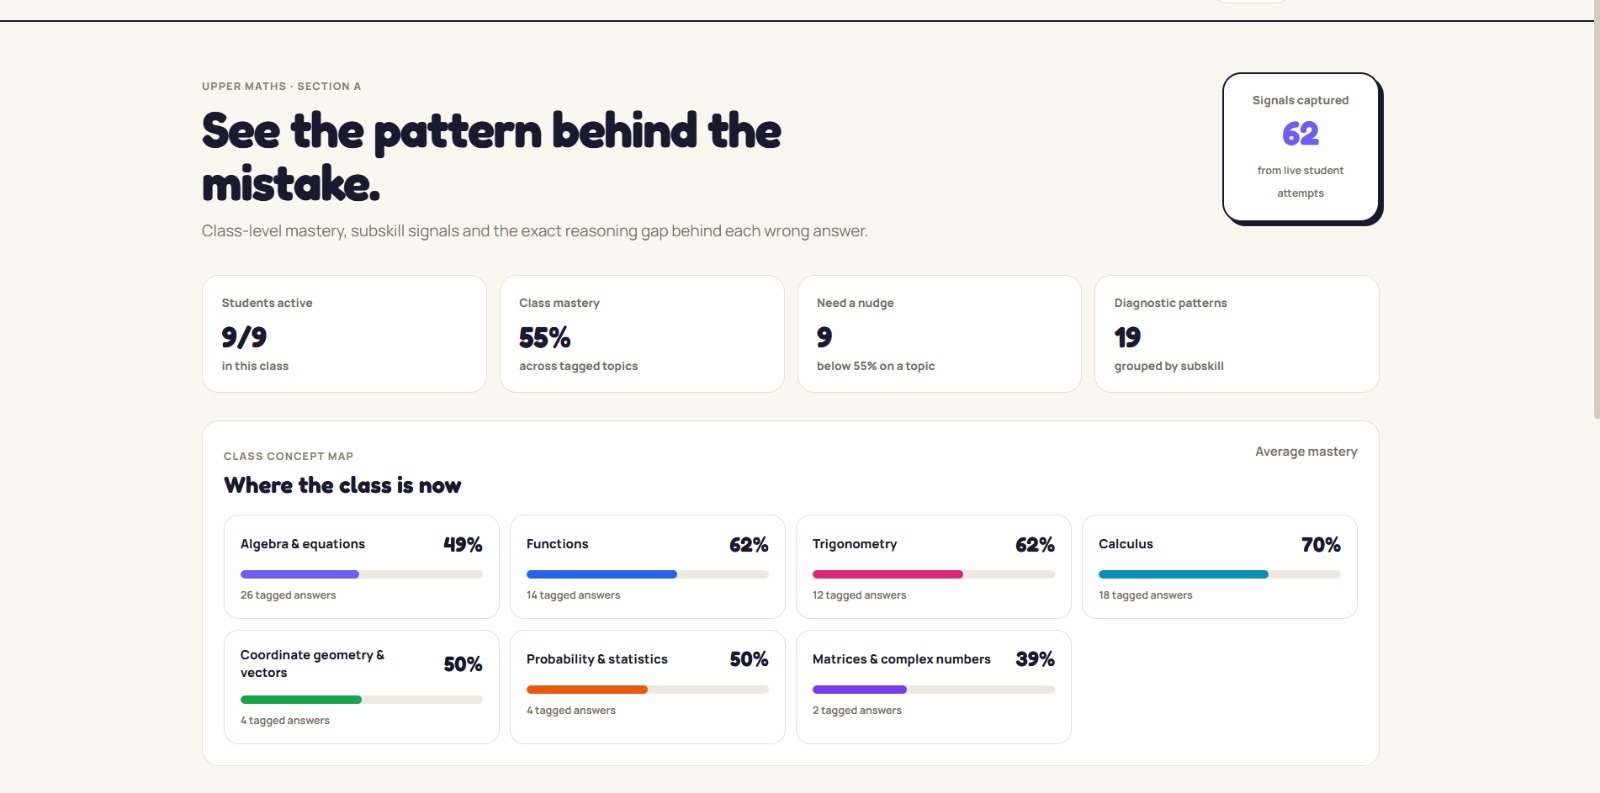
About Learn Loop
Stop grading, start diagnosing.
Inspiration
The initial spark for Learn Loop came from observing the friction in traditional learning environments. We noticed that while students often struggle with specific, localized misconceptions—such as incorrectly applying the rule for adding fractions:
$$\frac{a}{b} + \frac{c}{d} \neq \frac{a+c}{b+d}$$
—educators simply do not have the time to diagnose the root cause for every single incorrect answer in a classroom of 30+ students.
We wanted to build something that bridges this gap: a tool that doesn't just grade an answer as "wrong," but actually understands why it is wrong, using AI to reverse-engineer the student's logic. We were heavily inspired by the highly gamified, tactile UI of modern language apps, recognizing that a soothing, interactive interface lowers the cognitive load and makes the learning process less intimidating for all ages.
What We Learned
Building Learn Loop was an incredible exercise in merging high-level AI reasoning with low-friction UX design.
Prompt Engineering for Diagnosis: We learned that to get reliable outputs from GPT-5.6, we had to structure our prompts to act as a "Misconception Autopsy" engine, forcing the model to hypothesize the underlying Python AST (Abstract Syntax Tree) that would produce the student's incorrect result.
The Power of Tactile UI: We discovered that by moving away from abstract web forms and utilizing mechanical, physical-feeling inputs (like our digital rollers), we could capture much cleaner telemetry data from the user while making the app feel more like a premium tool than a test.
Data Clustering: We learned how to effectively take raw, unstructured string outputs from an LLM and map them into actionable data visualizations for our Teacher Dashboard.
How We Built It
Learn Loop is built as a highly responsive, single-page React application.
Frontend: We utilized React (with Hooks for state management) and Tailwind CSS to construct the complex "Ambient Tactile" UI. The interface relies heavily on custom CSS variables to manage the frosted glass effects, inset shadows, and smooth transitions that give the app its premium feel. We used lucide-react for clean, scalable iconography.
The AI Engine: The core diagnostic loop is simulated in the frontend but designed to seamlessly hook into an OpenAI backend. When a student submits a combination, the system passes the telemetry vector (e.g., Vector[Num: 2, Den: 5]) to the model, which then checks against a deterministic library of common errors before synthesizing a candidate logic block to explain the mistake.
The Dual Interface: The application is architected to flip seamlessly between the "Student Sandbox" and the "Teacher View," ensuring that the data captured in one state instantly renders as clustered, actionable insights in the other.
Challenges We Faced
Balancing Gamification and Utility: Our biggest iteration loop was finding the right visual identity. We initially explored chaotic, hyper-gamified designs but realized they detracted from the core educational utility. We pivoted to land on our "Ambient Tactile" design, which feels playful yet sophisticated enough for a teacher to use as a serious diagnostic tool.
Representing Mathematical Logic Code: It was challenging to figure out how to visualize the AI's diagnostic reasoning for the hackathon judges without overwhelming the user interface. We solved this by creating the "AutoPsy Engine" side-panel, which acts as a live, dark-mode terminal stream running parallel to the clean user UI.
State Management: Managing the state between the physical roller inputs, the AI diagnostic loop (with simulated timeouts), and the Teacher Dashboard's clustering logic required careful orchestration of React's useEffect and useState hooks to prevent race conditions during the evaluation phase.
Built With
- css3
- express.js
- html5
- javascript
- node.js
- openai
- python
- react
- vercel

Log in or sign up for Devpost to join the conversation.