-
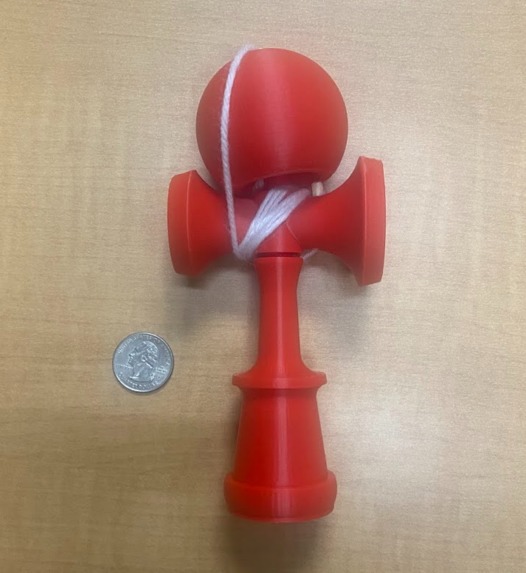
Assembled
-
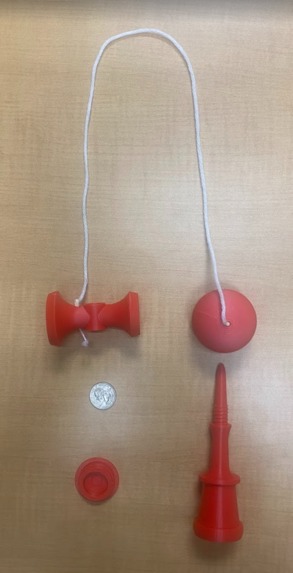
Disassembled
-
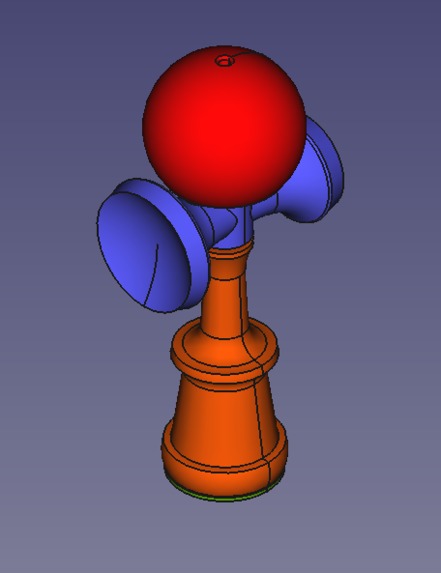
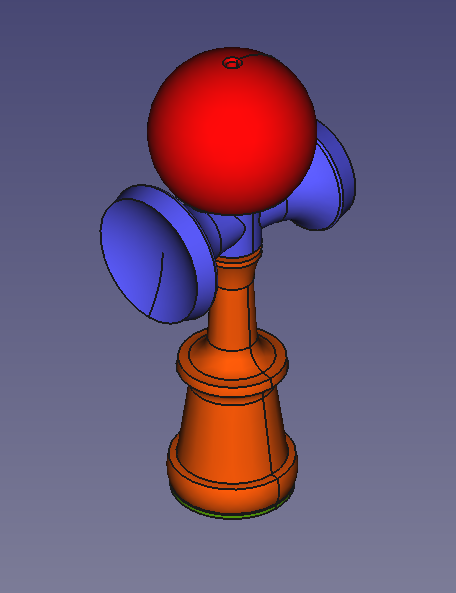
Isometric View
-
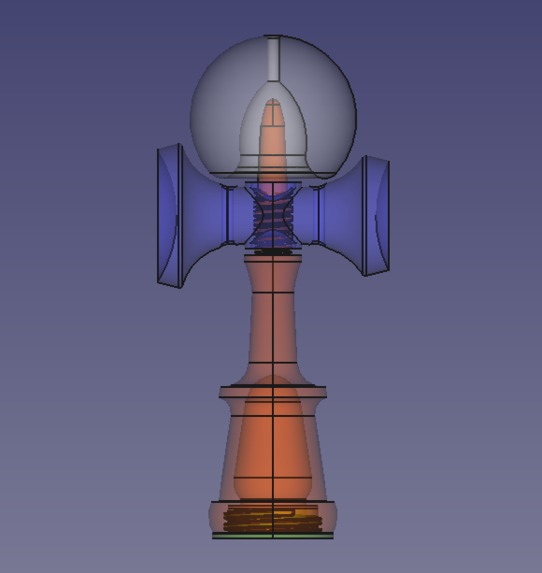
Side View, Translucent


Inspiration
- I first wanted to make something that would be entertaining but also keep you from doom-scrolling.
- I was inspired by the high levels of customizability that people with other physical hobbies are often able to exert on their relevant tools (skateboards, paint brushes, keyboards & game controllers, etc).
What it does
There's 2 parts:
The FreeCAD File:
- FreeCAD is a FOSS CAD tool with highly intuitive features.
- The method in which the CAD was done, allows the existing file to be easily edited in order to make changes to whatever parameters you'd like.
- Publishing the 3D files allow for anyone with access to a 3D printer to make a kendama.
- Anyone can 1) print and 2) customize, a new kendama
Interchangeable Parts:
- The kendama is designed to be easily deconstructed for the sake of further customization.
- The 'cup' section unscrews from the main body, so beginners may install a wider cup for ease of use, you may also use the kendama without a handle as a challenge.
- The main body is hollow and weights can be placed inside in order to change the assembly's overall balance.
- Using set of wooden pegs the ball and string are both secured and simultaneously capable of being removed for the sake of repair, replacement, or customization. Users who want a kendama challenge can make a kendama that's hard to use, whereas beginners can make one that's easy, and people in the middle can customize a new kendama for the novelty of it.
How we built it
- I used FreeCAD and the provided 3D printer to make the plastic parts, and I sourced the peg material from several branches I found before whittling them down to the right shape.
Challenges we ran into
- The first print of the kendama's shaft broke upon assembly, so I needed to edit that part's geometry to be more resilient given the slicer settings.
- I was unable to print suitable pegs, so I sourced some twigs from a nearby tree and whittled them down to fit.
Accomplishments that we're proud of
- The thread, the pegs, and the string worked first try.
What we learned
- Hackathons are fun, even if you're not a CS student!
What's next for Julian Stoller
- Lots of fun with my new kendama!
- Develop the project further through OpenSCAD.
- More hackathons?
Built With
- freecad


Log in or sign up for Devpost to join the conversation.