-
-
Waow!
-

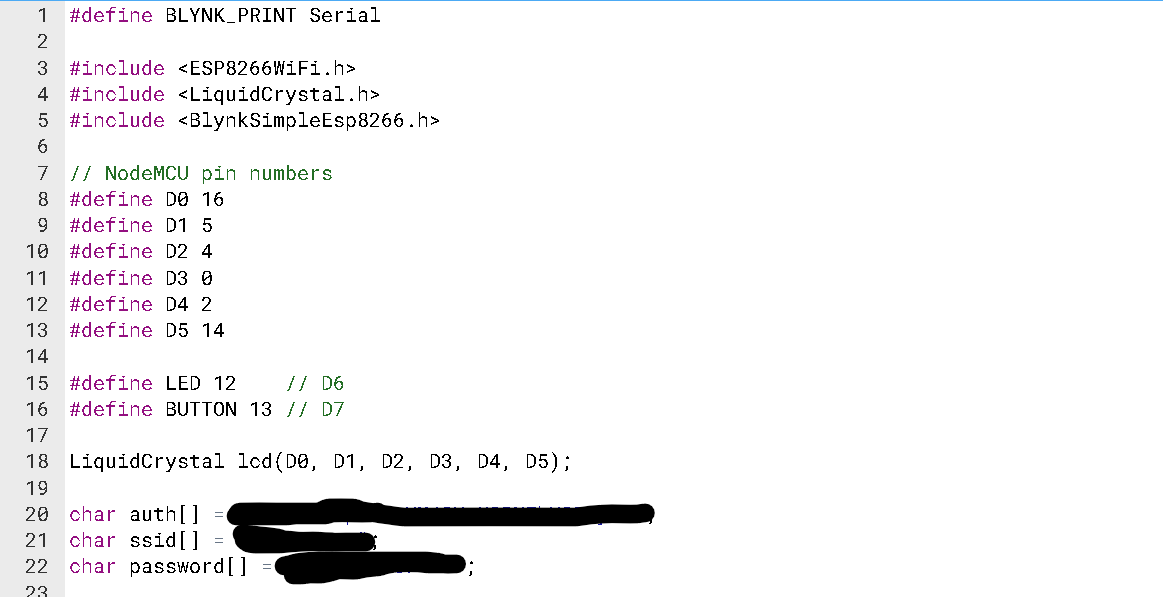
Code that initializes variables
-

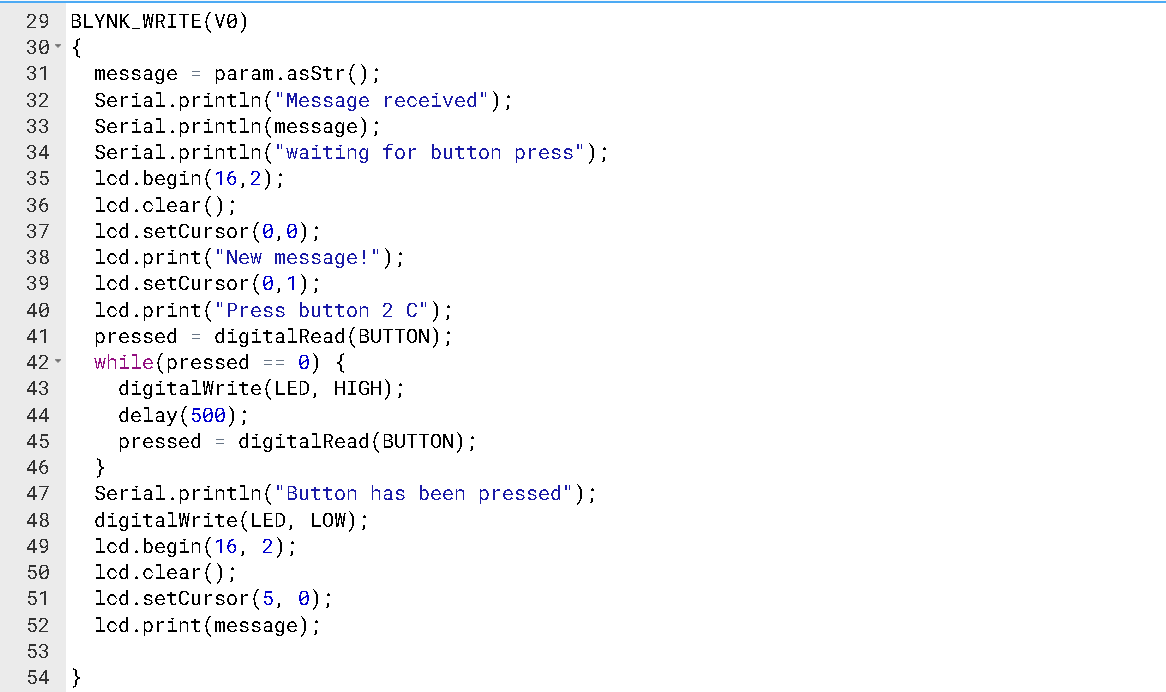
Code that turns the LED on when a message is received and displays it after the button is pressed.
-

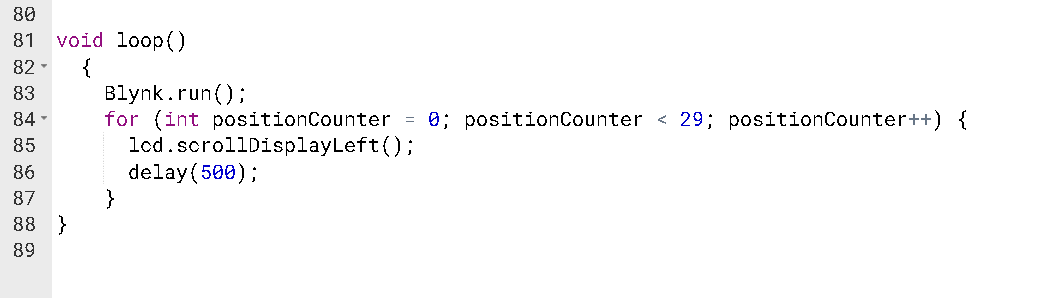
Code that constantly checks the Blynk app for new messages and moves the current message on the screen from side to side.
-
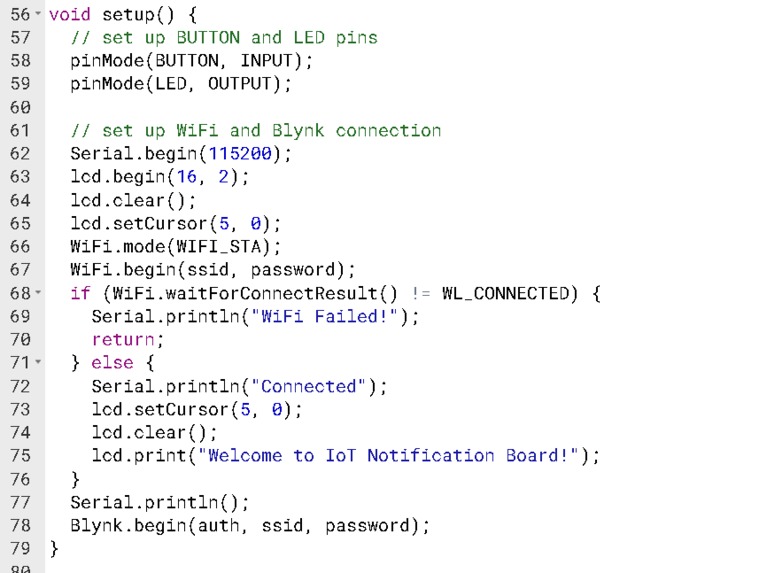
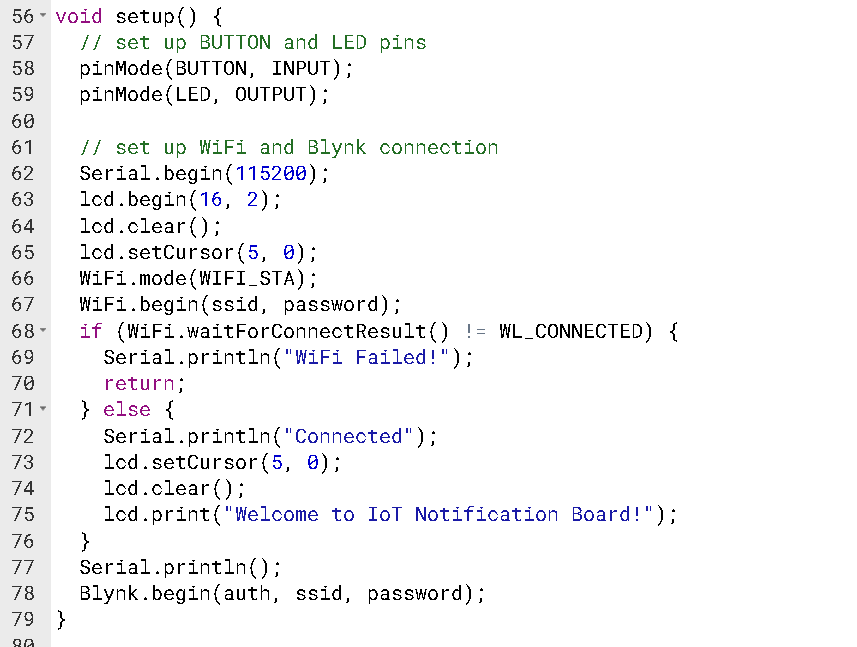
Code to setup the display and get the board connected to WiFi
-
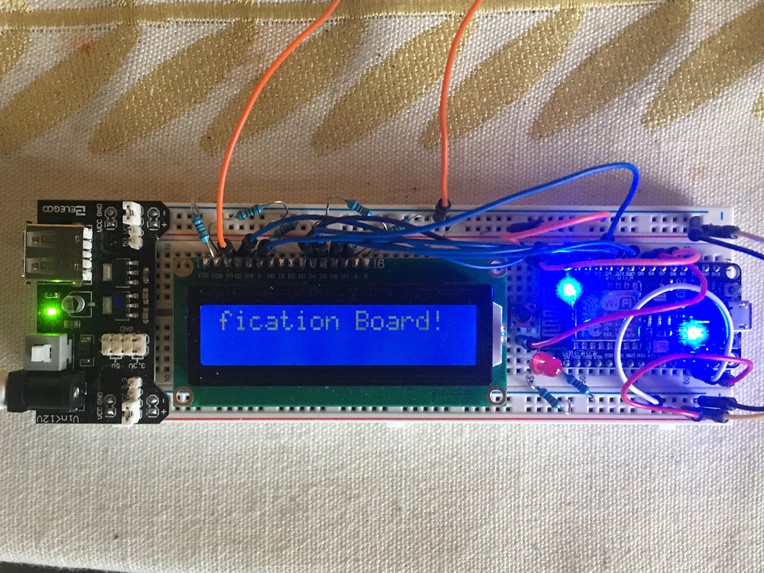
Up close picture so you can see our wiring!


Inspiration
Have you ever wanted to send a message to a friend, without the modern convenience of simply opening a messaging app and pinging them? So did we! #MakeSendingMessagesFunAgainxd
What it does
Our project consists of a circuit with a display that is connected to the Internet. From the Blynk app, a user can send a message to the device. An LED lights up to indicate a new message is available, and with the push of a button, the light turns off, and the message is printed to the display screen.
The notification board can be a cute way to send messages to your friends. A larger-scale version can be put on the side of a road to notify drivers to "slow down" or that there is "roadwork ahead."
How we built it
We built the notification board on a single breadboard with a NodeMCU, a LCD display, an LED, and a button. The NodeMCU connects the display to the internet. We used the Blynk app to connect a user's phone to the NodeMCU.
Challenges we ran into
One of the hardest parts of the project was getting the display to work. The first time we wired up the display, we were unable to get a message to show up. It took us a while to solve this problem because we were not sure if the error was caused by our code, the wiring, or if the display was defective. We determined that the error was not in the code because we were able to turn on an LED with the same code. We determined the error was not the display because we hooked it up to an Arduino and were able to display a message. Therefore, we isolated the problem to be how we were connecting the display to the NodeMCU. After re-wiring, we got the display to work.
Accomplishments that we're proud of
The project works! We think that it is pretty cool that we were able to fit all of the components onto a single breadboard.
What we learned
We are always learning! We learned how to wire a display to a NodeMCU and how to send messages using the Blynk app. Connecting devices to the internet is not as intimidating anymore.
What's next for IoT Notification Board
We are thinking of making another notification board: one for Susan and one for Nathan! We also think that it would be cool to 3D print an enclosure for the board so that people do not have to see all of the wires. The device can then be mounted on a wall.
Built With
- arduino
- nodemcu


Log in or sign up for Devpost to join the conversation.