-
-
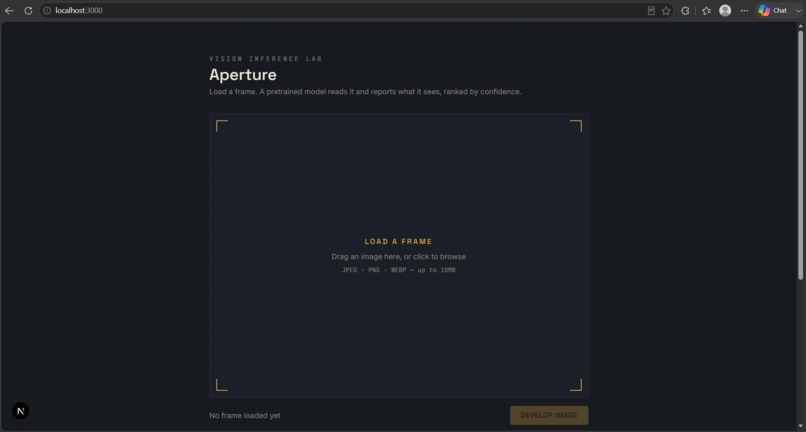
Home Page
-

giving image for classifying
-
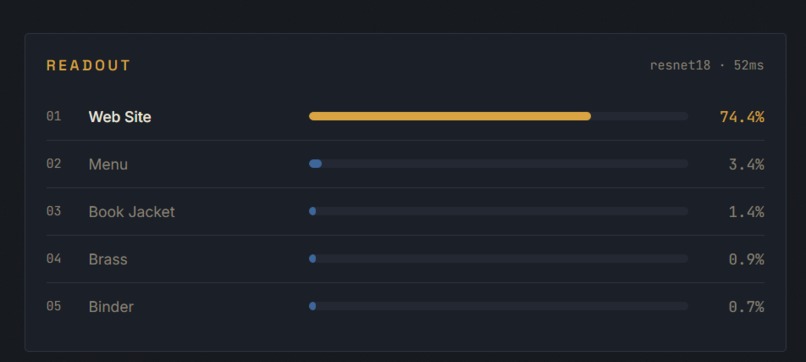
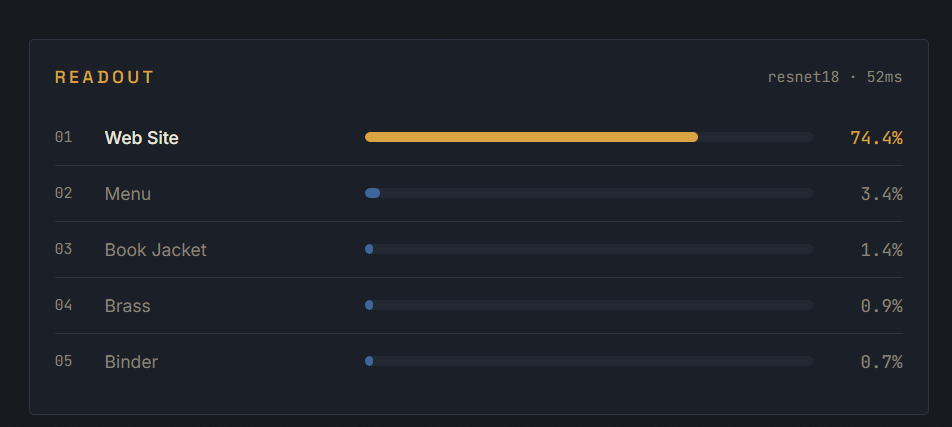
Result
-
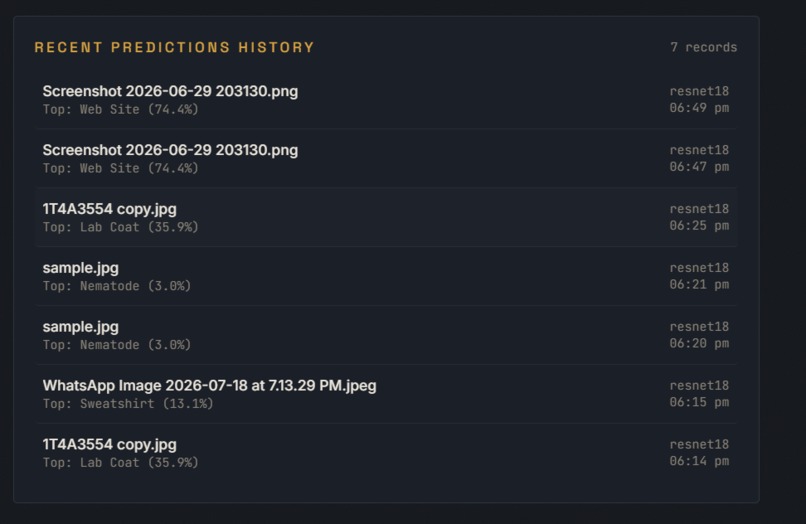
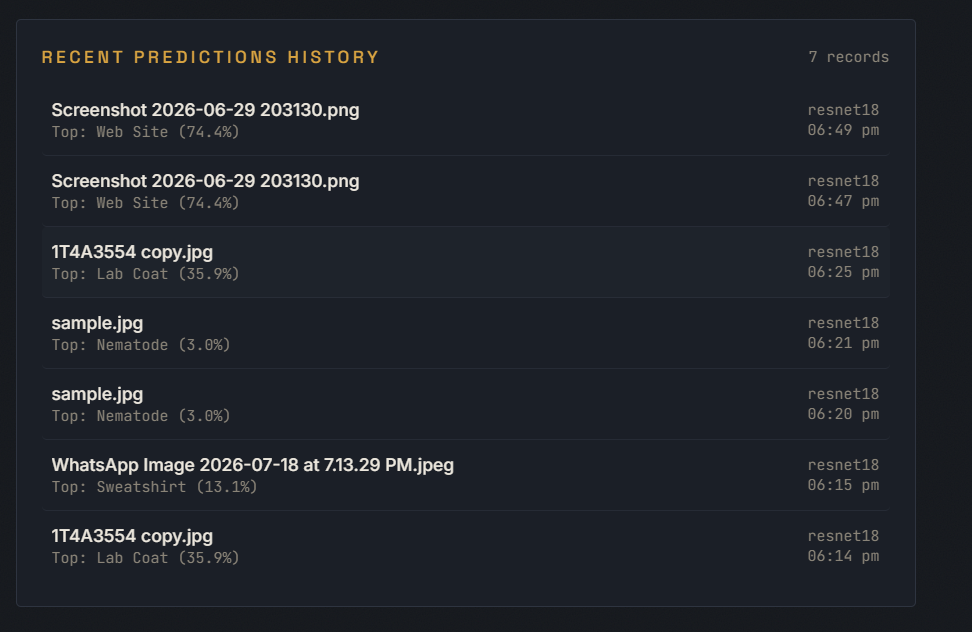
History or Recent Activity
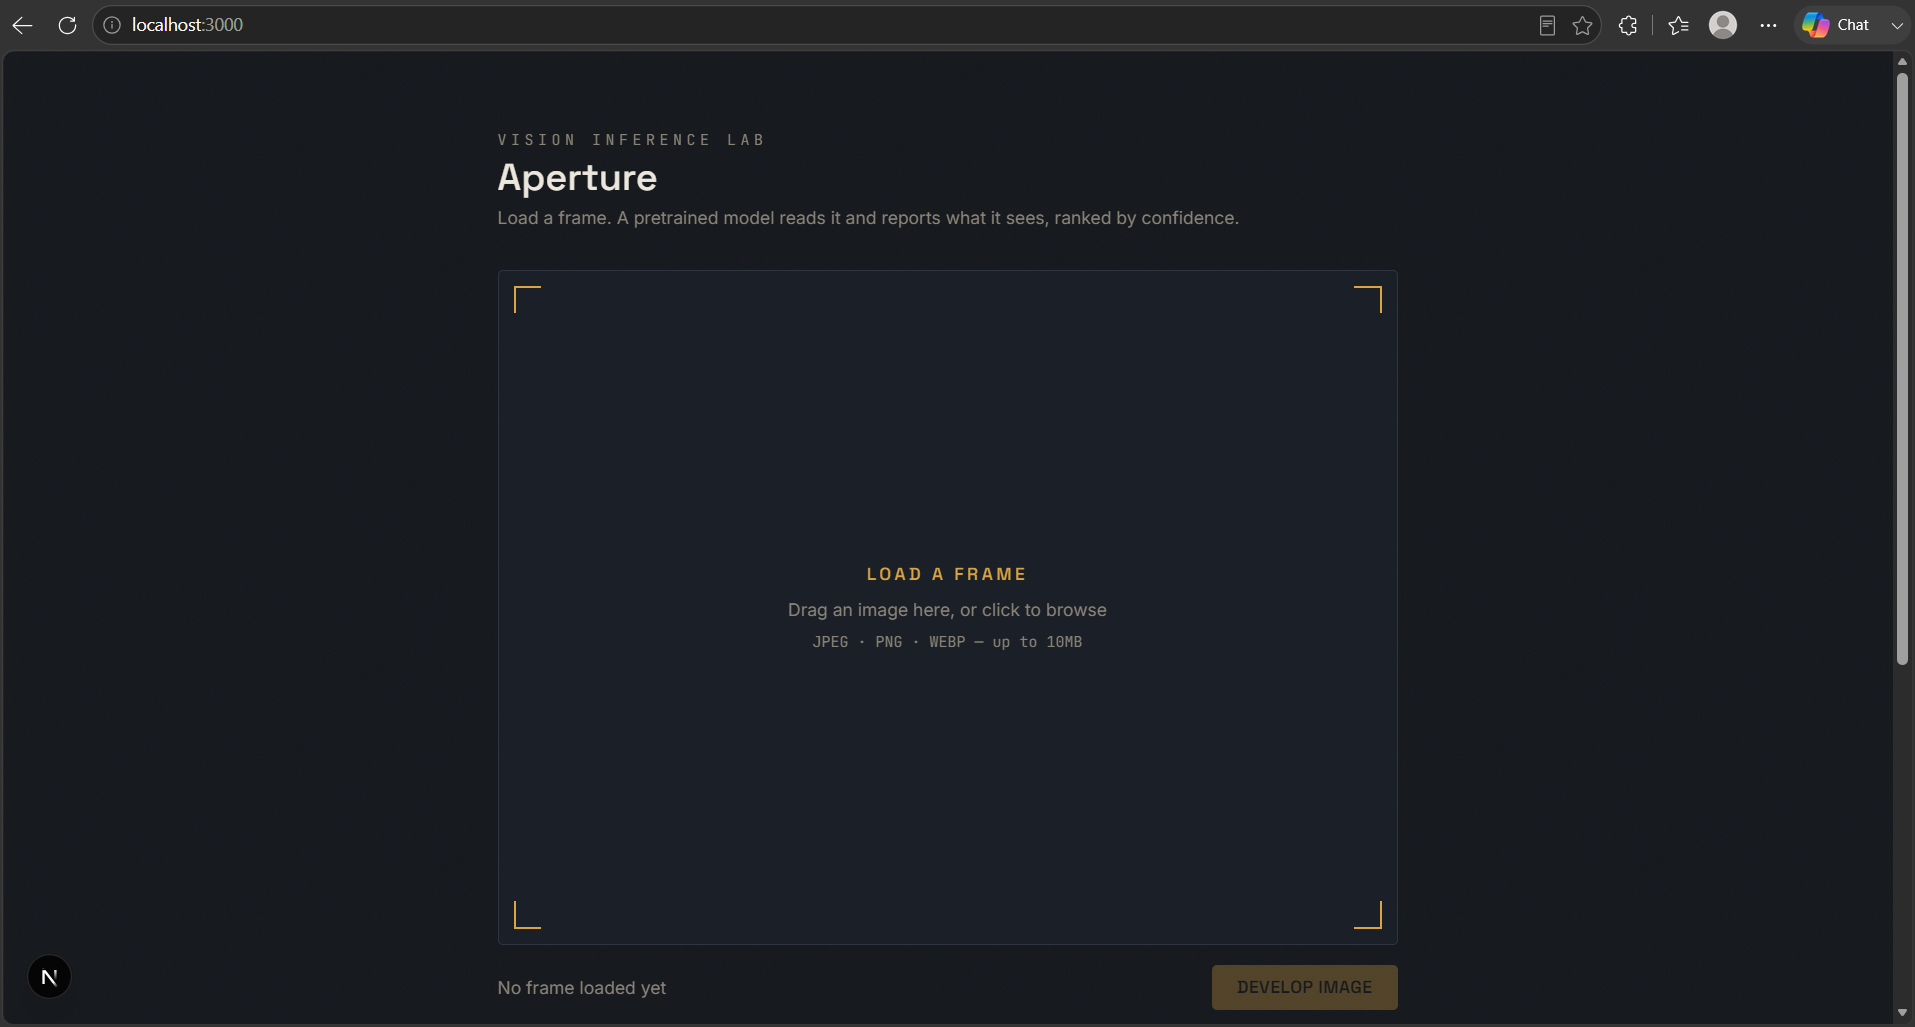

Aperture — Image Classifier Dashboard
Aperture is a modern, high-performance vision inference dashboard. Load an image frame into the viewfinder, and Aperture streams it to a deep learning vision pipeline powered by PyTorch, returning top-ranked predictions, confidence score distributions, and inference latency metrics in real time.
🌟 Project Overview
Aperture bridges modern web interfaces with deep learning computer vision backends. It features an interactive, dark-mode reticle viewfinder for image uploads, real-time prediction readouts, and a persistent classification history database.
Core Features
- 📷 Interactive Frame Viewfinder: Drag-and-drop or upload JPEG, PNG, and WebP images up to 10MB.
- ⚡ Deep Learning Vision Inference: Leverages pre-trained TorchVision models (
ResNet18,ResNet50,MobileNetV3) to compute ImageNet category probabilities. - 📊 Real-time Readout: Displays ranked classification results with confidence percentage bars and millisecond inference timing.
- 📜 Persistent Prediction History: Automatically logs classification results into a database (PostgreSQL / SQLite via Async SQLAlchemy) and renders past predictions.
- 🛡️ Robust Input Validation: Deep binary stream verification prevents corrupt or malformed image files from causing server errors.
💡 What Inspired Me
The inspiration for Aperture came from camera viewfinders and high-tech optical equipment interface design. Machine learning model inference often feels like a "black box" buried inside Jupyter notebooks or hidden behind command-line scripts.
I wanted to build a web application that makes vision AI tangible and visually captivating—where uploading an image feels like capturing a frame through a camera lens, with instant feedback on what the machine vision system "sees".
🚀 How I Built My Project
Aperture is designed as a decoupled full-stack application with clean separation of concerns between backend inference/data persistence and frontend interactive rendering.
       ┌────────────────────────┐
       │   Next.js 16 Frontend  │
       │ (React 19, Tailwind)   │
       └───────────┬────────────┘
                   │ HTTP / REST
                   ▼
       ┌────────────────────────┐
       │    FastAPI Backend     │
       └─────┬────────────┬─────┘
             │            │
             ▼            ▼
   ┌──────────────┐  ┌───────────────────┐
   │ PyTorch      │  │ Async SQLAlchemy  │
   │ Inference    │  │ (PostgreSQL/DB)   │
   └──────────────┘  └───────────────────┘
Stack & Technologies
Backend:
- Framework: FastAPI (Python 3.14)
- Machine Learning: PyTorch & Torchvision (
resnet18,resnet50,mobilenet_v3) - Database & ORM: Async SQLAlchemy 2.0, Alembic migrations, AsyncPG / AIOSQLite
- Validation & Settings: Pydantic v2 & Pydantic-Settings
- Testing: Pytest & Pytest-Asyncio with in-memory SQLite fixtures
Frontend:
- Framework: Next.js 16 (App Router, Turbopack) & React 19
- Language: TypeScript
- Styling: Tailwind CSS with custom view-finder animations and sleek dark aesthetic
📚 What I Learned
Building Aperture provided hands-on experience in full-stack AI application development:
- Async Web Architecture with FastAPI & SQLAlchemy: Designing non-blocking async endpoints that perform model inference and asynchronous database writes without blocking the main event loop.
- PyTorch Tensor Pipelines in Production: Normalizing image uploads, converting color channels, executing model transforms, and computing softmax probability distributions over ImageNet categories.
- Browser Memory Lifecycle Management: Handling client-side image previews efficiently by revoking blob object URLs (
URL.revokeObjectURL) to prevent memory leaks during repeated uploads. - Test-Driven Reliability: Structuring isolated test suites with Pytest and async fixtures to ensure API edge-case handling (e.g. corrupt files, empty uploads, oversized files) is robust.
⚡ Challenges Faced & Solutions
1. AsyncPG Event Loop Conflicts in Automated Tests
- Challenge: Pytest-asyncio creates fresh asyncio event loops per test. Global database engine connections bound to previous event loops resulted in
InterfaceError: cannot perform operation: another operation is in progress. - Solution: Implemented an isolated in-memory SQLite test fixture (
sqlite+aiosqlite:///:memory:) intests/conftest.pythat overrides the FastAPIget_dbdependency during test runs. This keeps unit tests isolated, super fast (passing in under 1s), and independent of external database state.
2. Handling Corrupt & Edge-case Image Binary Streams
- Challenge: Standard file extension checking can be bypassed by spoofed MIME types or truncated binary data, causing unhandled 500 server crashes during inference tensor transforms.
- Solution: Implemented deep binary verification using Pillow's
Image.open()andimage.load()insideload_validated_image. Wrapped decoding exceptions (UnidentifiedImageError,OSError,ValueError,SyntaxError) to return clean HTTP 400 responses with descriptive user error messages.
3. Preventing Front-End Blob Object URL Memory Leaks
- Challenge: Repeatedly dropping new images into the upload area generated temporary
blob:preview URLs without releasing old memory references. - Solution: Enhanced
ImageUploader.tsxstate update callbacks to explicitly revoke previous URLs (URL.revokeObjectURL(prevUrl)) prior to creating new preview URLs.
🛠️ Getting Started
Prerequisites
- Python >= 3.14 (or standard Python 3.10+)
- Node.js >= 18
uv(recommended) or standardpip&npm
1. Backend Setup
cd backend

# Install dependencies (using uv)
uv sync

# Run database migrations (optional if using PostgreSQL)
uv run alembic upgrade head

# Start FastAPI server
uv run uvicorn app.main:app --reload --port 8000
The backend server will start at http://localhost:8000. You can inspect API docs at http://localhost:8000/docs.
2. Running Backend Tests
cd backend
.venv\Scripts\pytest
3. Frontend Setup
cd frontend

# Install dependencies
npm install

# Start Next.js development server
npm run dev
Open http://localhost:3000 in your browser to launch the dashboard.
Built With
- codex
- fastapi
- machine-learning
- next.js
- node.js
- postgresql
- python
- sqlalchemy
- tailwindcss
- typescript
- uv
- uvicorn
- vscode


Log in or sign up for Devpost to join the conversation.