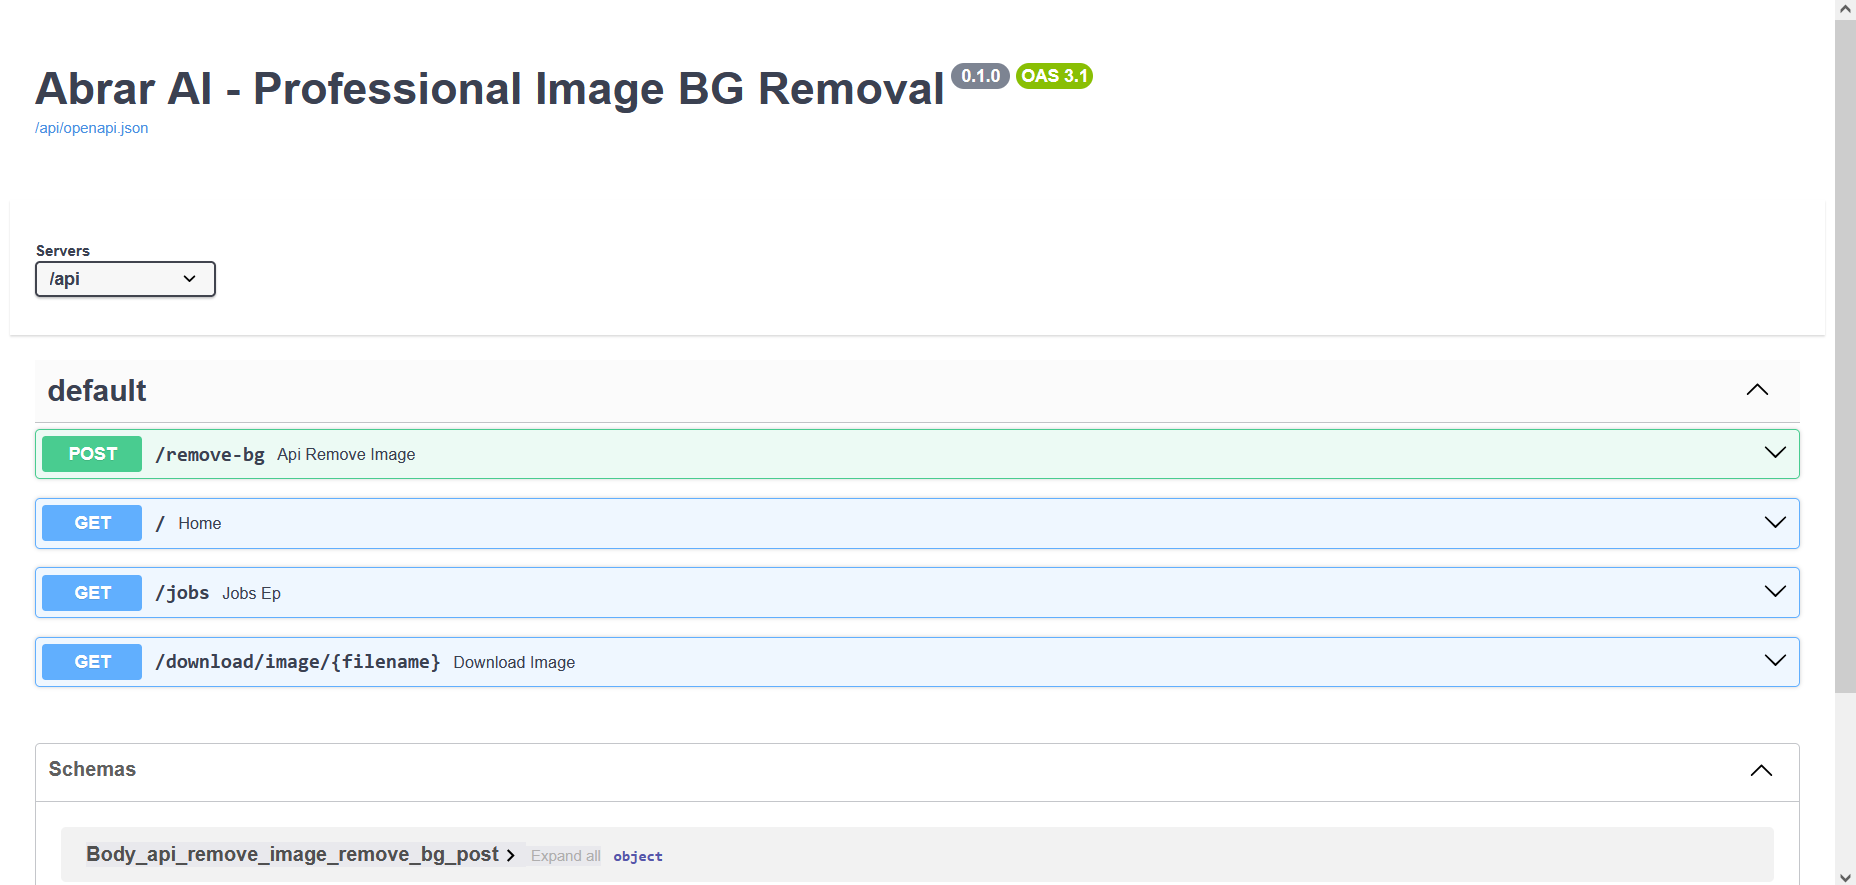
Abrar AI - Professional Background Remover
A production-grade API and Dashboard for removing backgrounds from Images and Videos.
Unlike standard tools that use a single AI model, Abrar AI features an Intelligent Dual-Pipeline Engine. It automatically detects the type of image (Photo vs. Logo) and switches between Deep Learning and Precision Color Keying to ensure perfect results for every use case.
🚀 Key Features
- Auto-Detection Brain: Instantly analyzes image content to choose the best algorithm.
- AI Mode (Photos): Uses
isnet-general-use(Rembg) for complex subjects like people, cars, and animals. - Logo Mode (Graphics): Uses precision math to preserve internal details (e.g., white text inside a white logo) that AI models often destroy.
- Video Support: Full video background removal using RVM (Robust Video Matting) with smart downsampling for low-res inputs.
- Custom Backgrounds: Upload any image to automatically resize and use as the new background for your subject.
- Batch Processing: Drag & Drop 50+ images at once; the system handles the queue automatically.
🖼️ The "Dual-Pipeline" Difference
Standard AI models often fail on logos because they treat internal white spaces as "background." Abrar AI solves this.
1. Complex Photos (AI Mode)
Perfect for: People, Products, Animals, Real-world scenes.
- Input: A woman holding a monkey with a complex street background.
- Result: The background is cleanly removed, preserving hair and fur details.
| Original | Processed |
|---|---|
 |
 |
| Original | Processed |
|---|---|
 |
 |
2. Logos & Graphics (Logo Mode)
Perfect for: Icons, Text, Vector graphics, Solid backgrounds.
- Input: A blue "ibrar ai" logo with white text on a white background.
- Result: The white background is removed, but the white 'i' and text inside are preserved perfectly.
| Original | Processed (Transparent) |
|---|---|
 |
 |
🛠️ Installation & Local Development
Prerequisites
- Docker & Docker Compose
- (Optional) Python 3.10+ for local dev
1. Clone the Repository
git clone [https://github.com/yourusername/abrar-ai-backend.git](https://github.com/yourusername/abrar-ai-backend.git)
cd abrar-ai-backend
2. Create Environment File
Create a .env file in the root directory:
API_KEY=super-secret-key
MAX_UPLOAD_SIZE_MB=500
ALLOWED_ORIGINS=*

# Processing Settings
RMBG_IMAGE_MODEL=isnet-general-use
SOLID_BG_TOLERANCE=10
COLOR_KEY_TOLERANCE=20

# Rate Limits
RATE_LIMIT_IMAGE=1000/minute
RATE_LIMIT_VIDEO=100/minute
3. Run with Docker (Recommended)
This will start the API on port 8000 and the Dashboard on port 8090.
docker compose up -d --build
Access the App:
- Dashboard:
http://localhost:8090 - API Docs:
http://localhost:8000/docs
☁️ Deployment Guide (VPS)
Deploying to a DigitalOcean, AWS, or Azure VPS is simple.
Step 1: Prepare the Server
Install Docker and Docker Compose on your VPS.
# Ubuntu Example
apt update
apt install docker.io docker-compose -y
Step 2: Deploy Code
SSH into your VPS and clone the repo.
git clone [https://github.com/yourusername/abrar-ai-backend.git](https://github.com/yourusername/abrar-ai-backend.git)
cd abrar-ai-backend
Step 3: Configure
- Create the
.envfile (copy the example above). - Important: Edit
dashboard.htmland changeconst API_URLto your VPS Public IP.javascript const API_URL = "http://YOUR_VPS_IP:8000";
Step 4: Launch
docker compose up -d --build
Your app is now live!
- Share this link:
http://YOUR_VPS_IP:8090
🔌 API Usage
You can integrate this API into any app (React, Mobile, etc.).
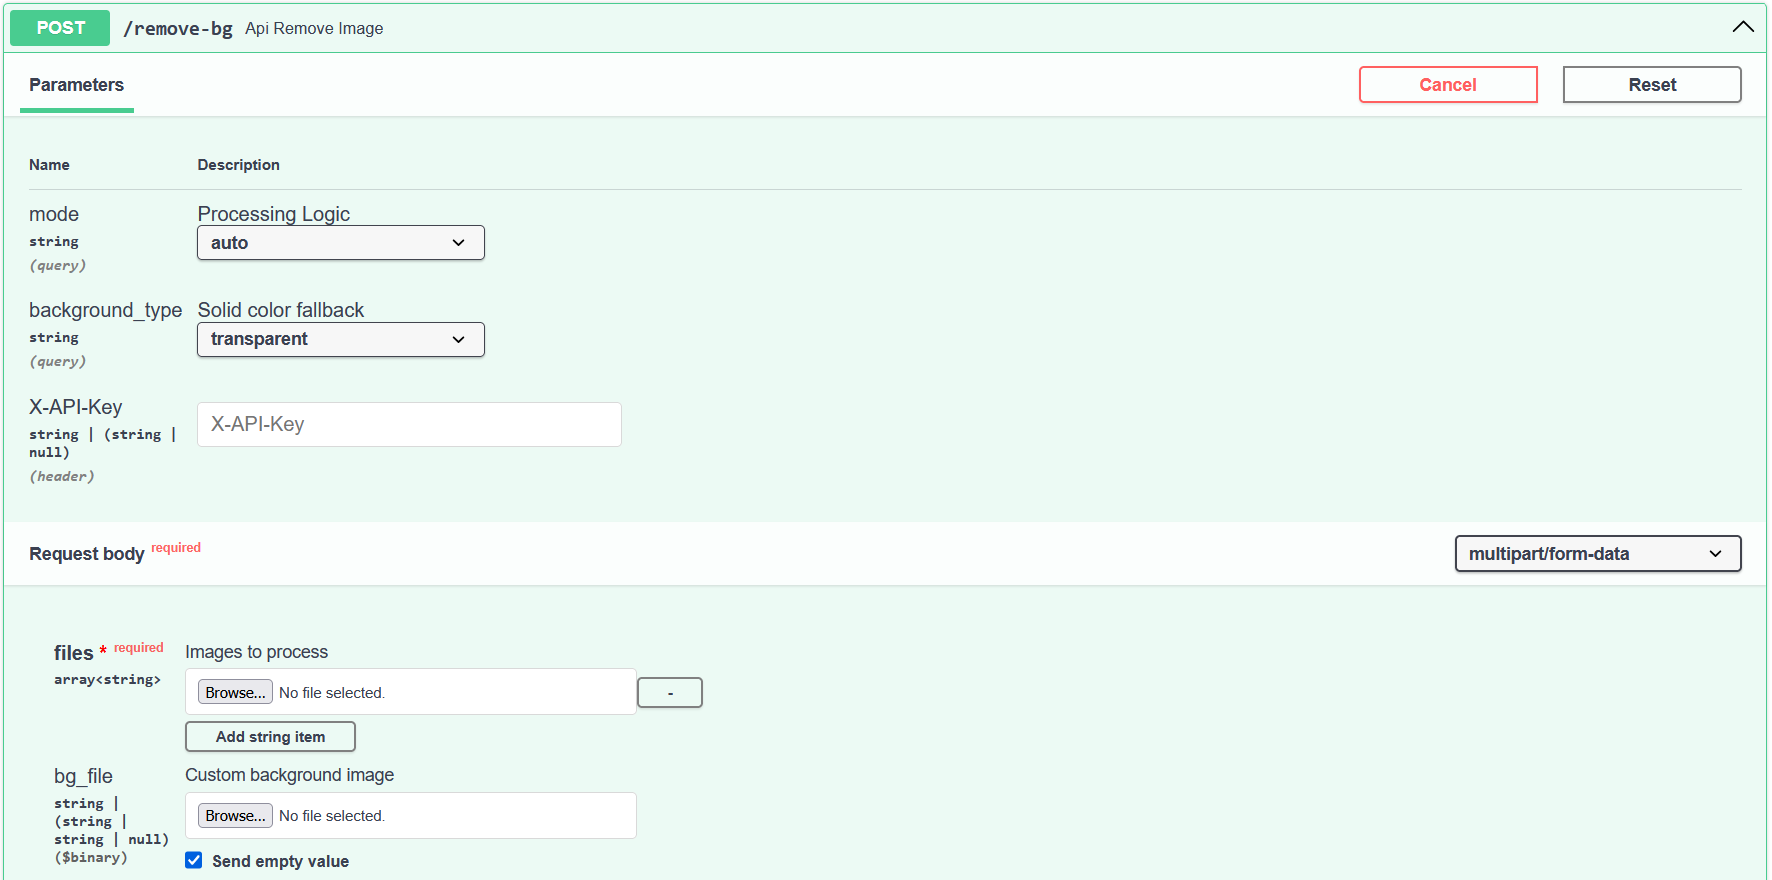
Endpoint: POST /remove-bg
Removes background from an image.
| Parameter | Type | Description |
|---|---|---|
files |
File | The source image (Required) |
bg_file |
File | A custom background image to place behind the subject (Optional) |
mode |
String | auto (default), ai, or color_key |
background_type |
String | transparent, white, black, green (Ignored if bg_file is used) |
Example (Python):
import requests

url = "http://localhost:8000/remove-bg"
files = {
    'files': open('photo.jpg', 'rb'),
    'bg_file': open('beach.jpg', 'rb') # Optional
}
headers = {'X-API-Key': 'super-secret-key'}

response = requests.post(url, files=files, headers=headers)
print(response.json())

Log in or sign up for Devpost to join the conversation.