-
-
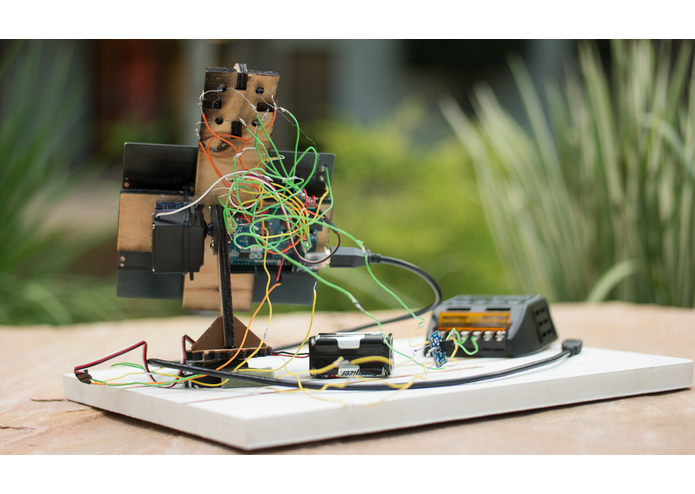
Back View
-
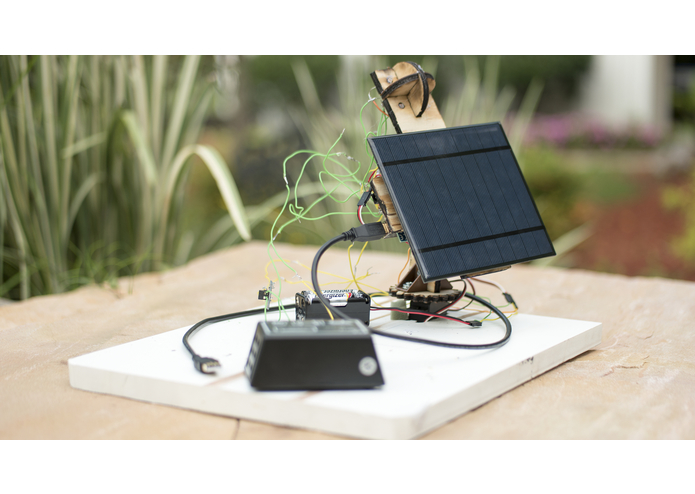
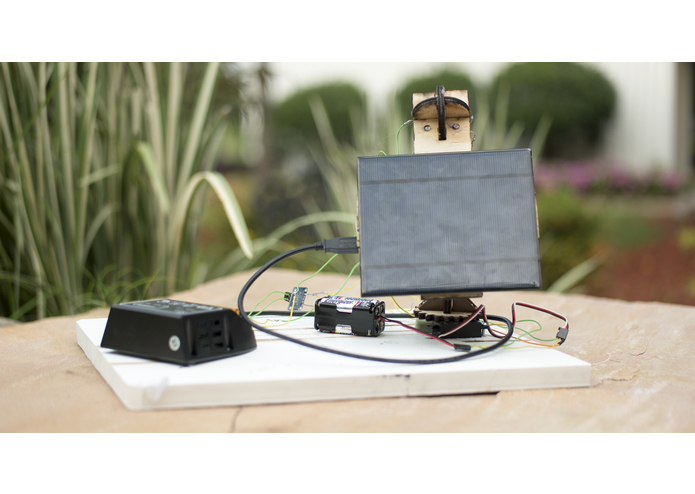
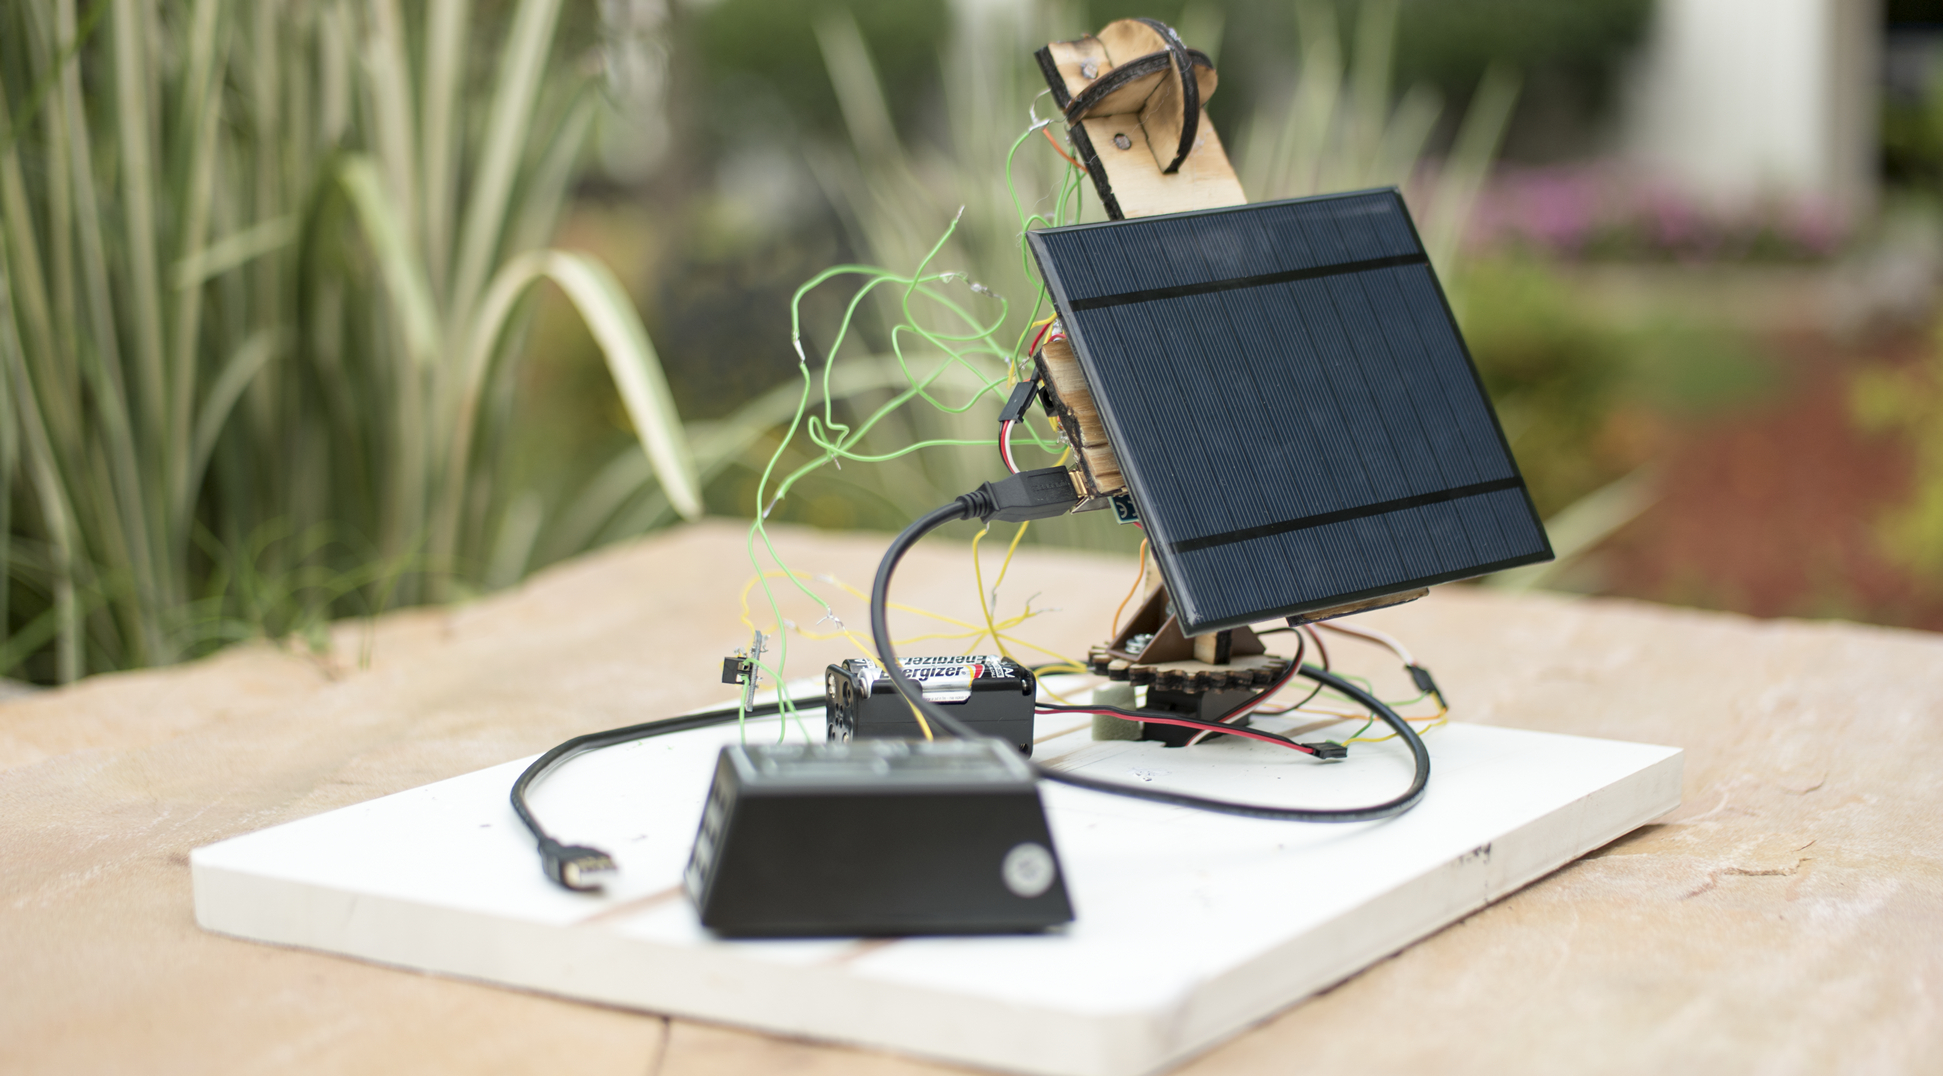
Angled View
-
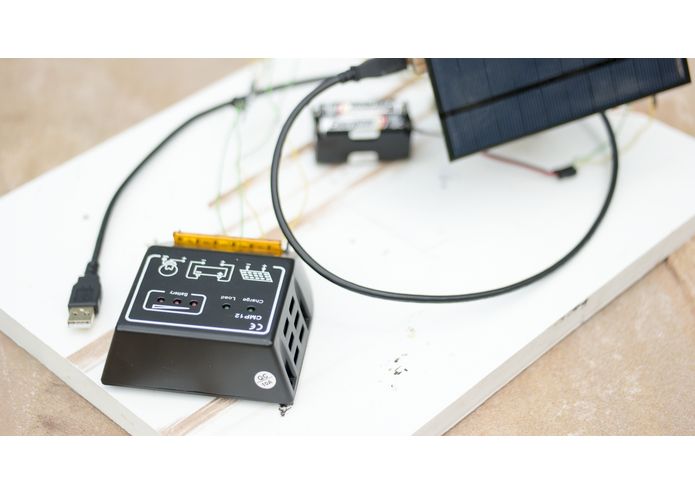
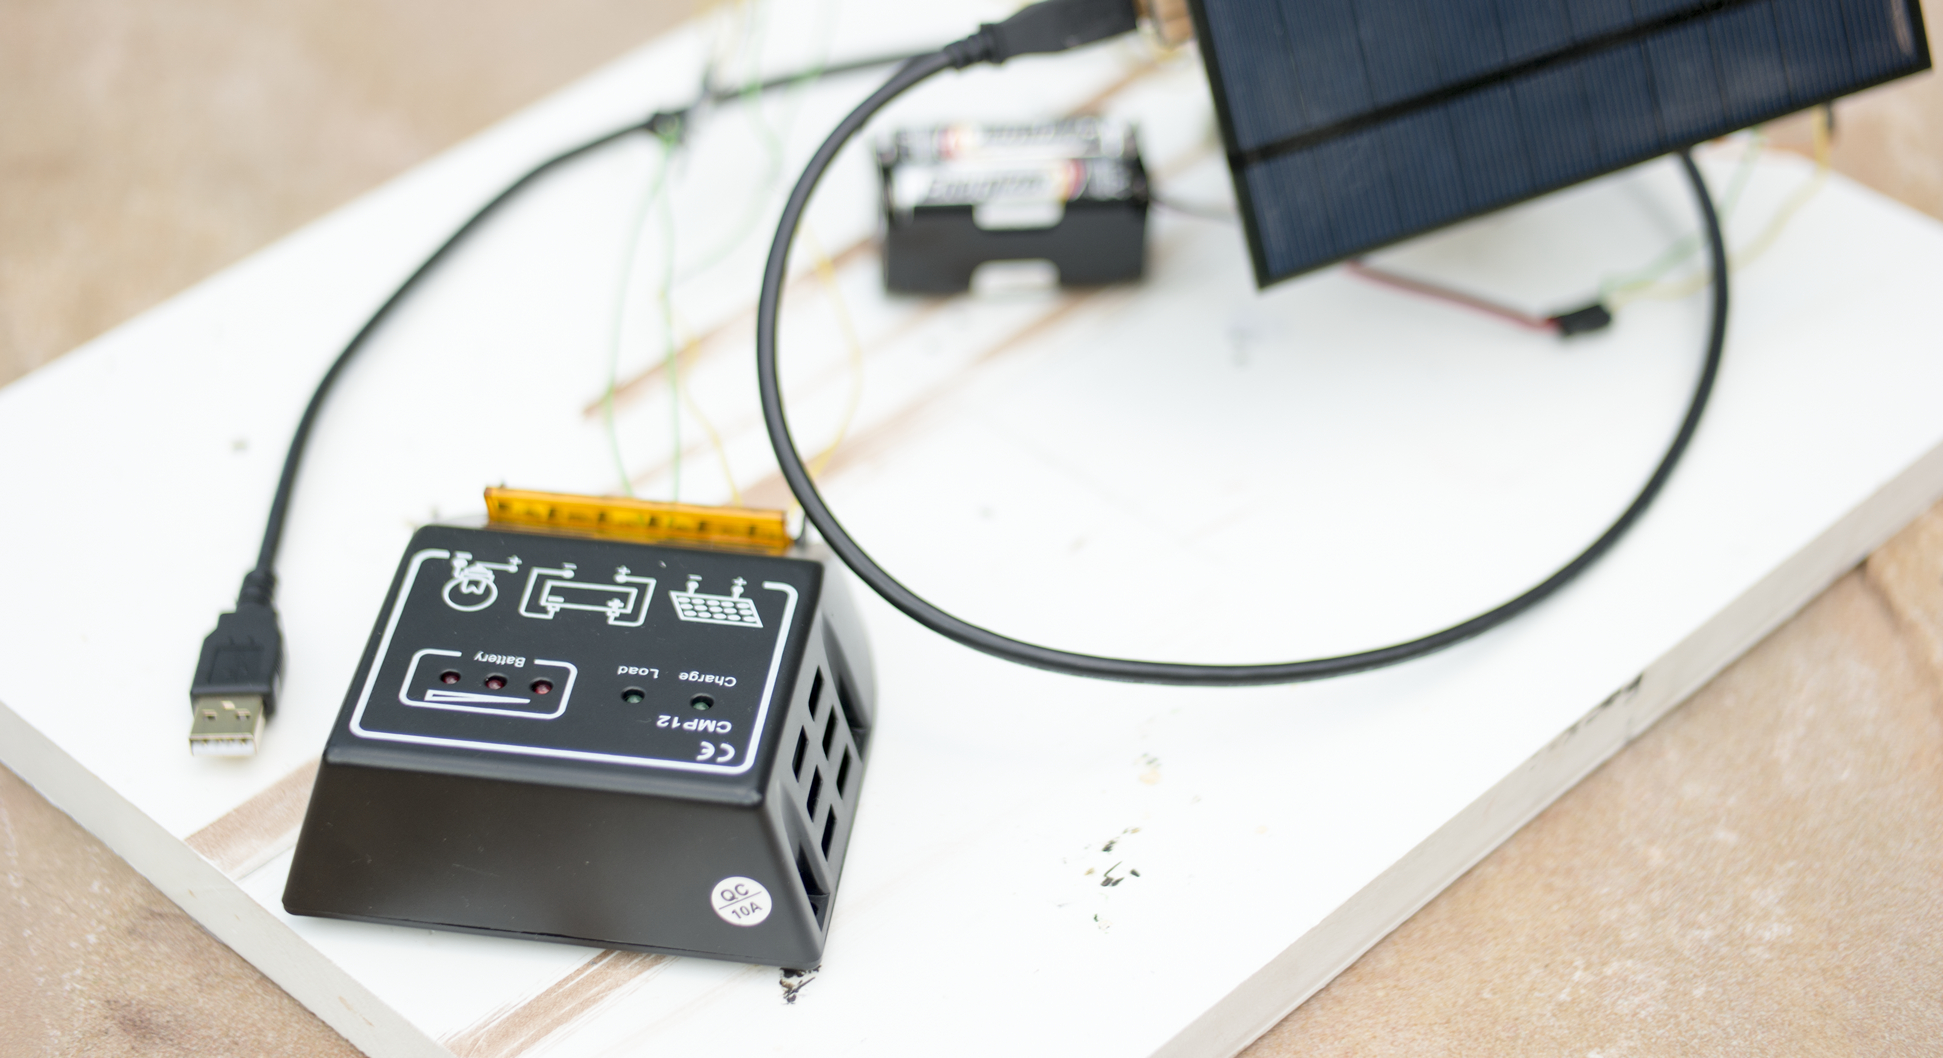
Solar Charge Controller
-
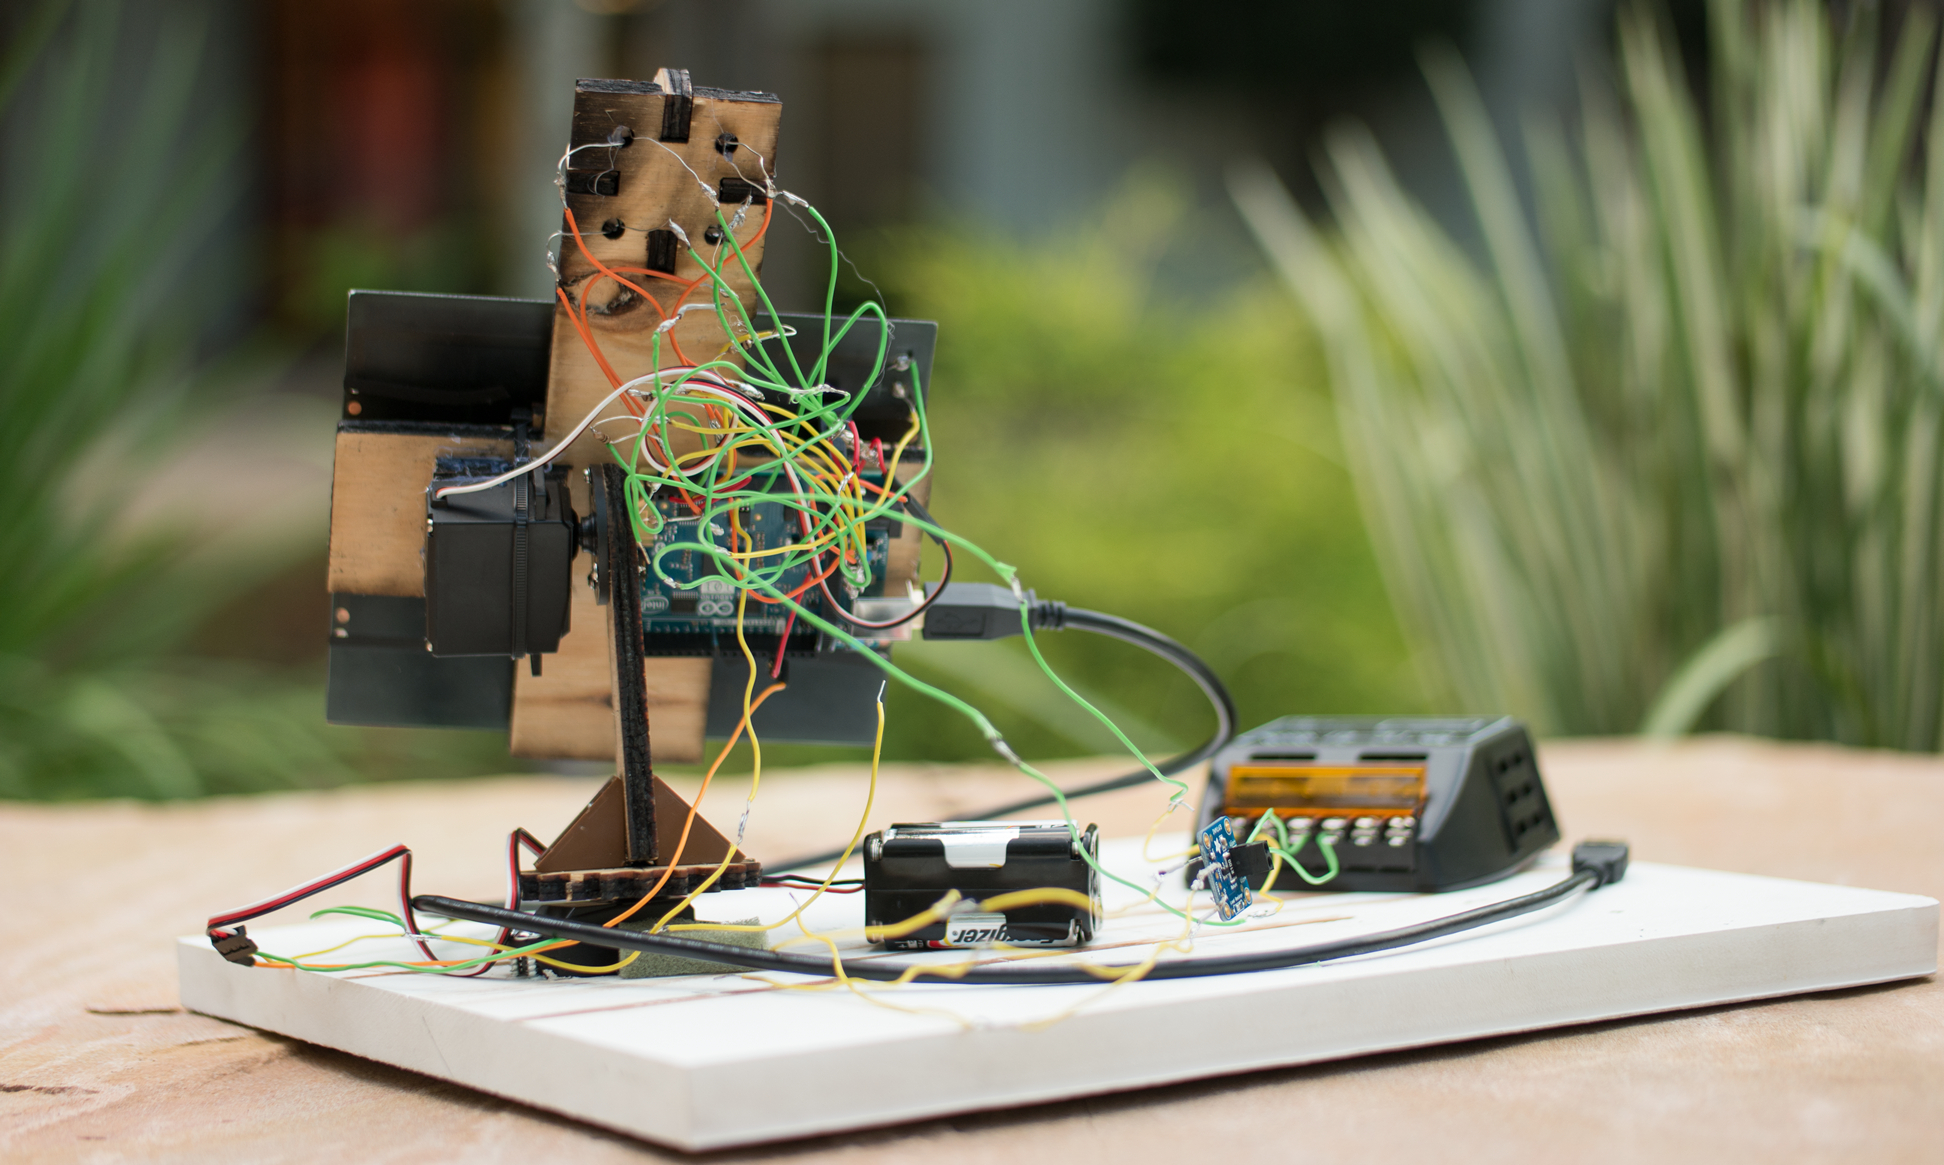
Wiring
-
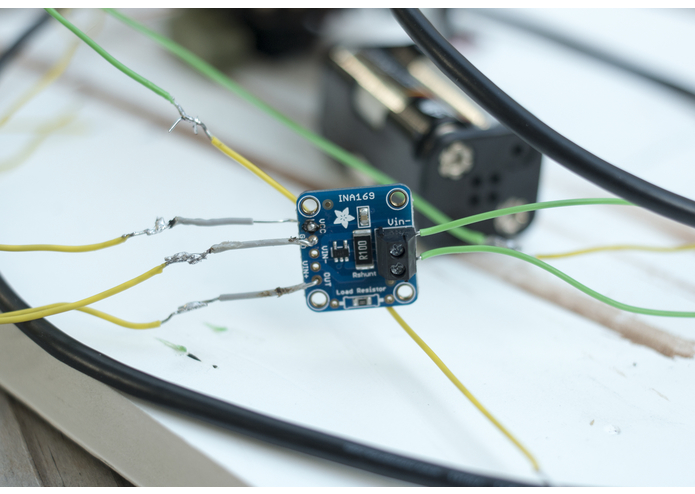
DC Current Sensor
-
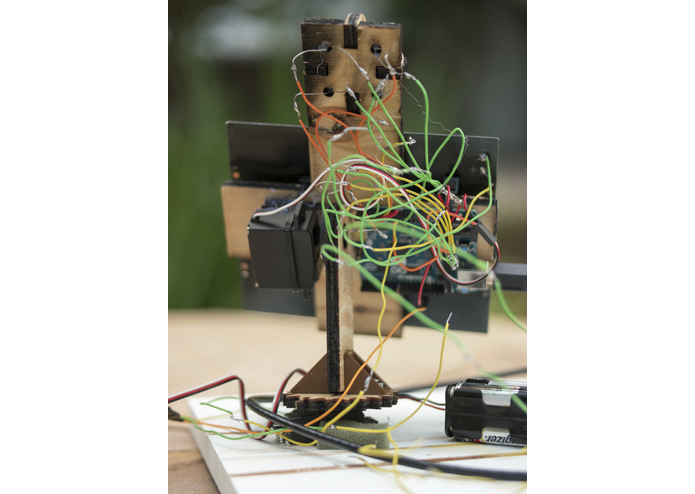
Front View
-
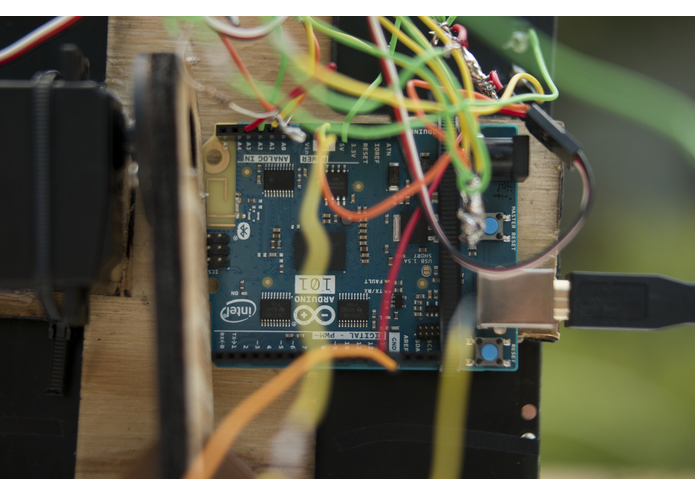
Arduino 101
-

Top View
-
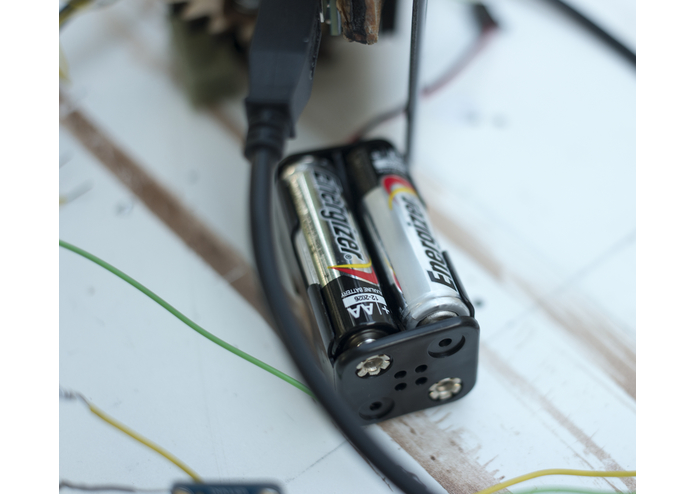
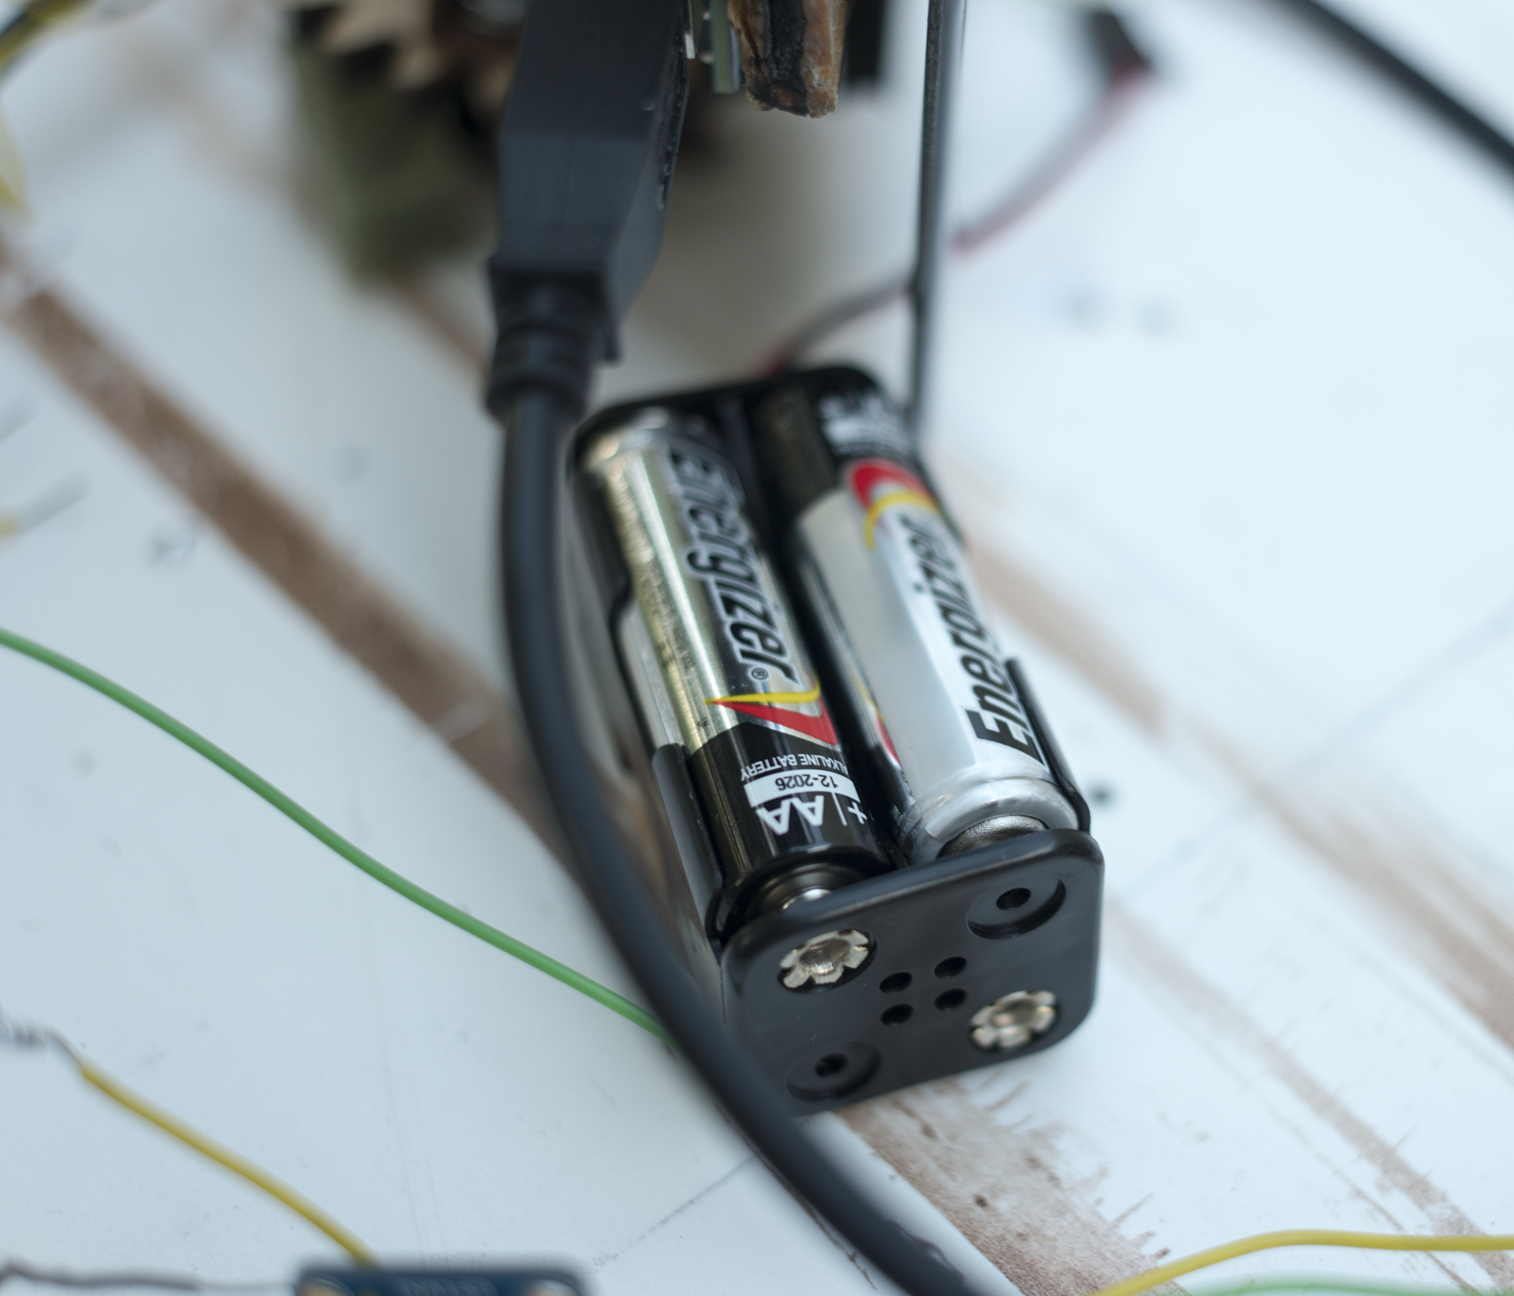
Batteries to power pan motor
-
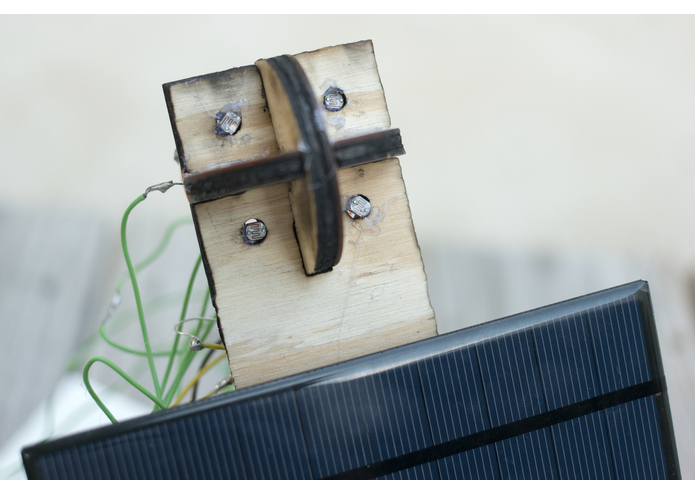
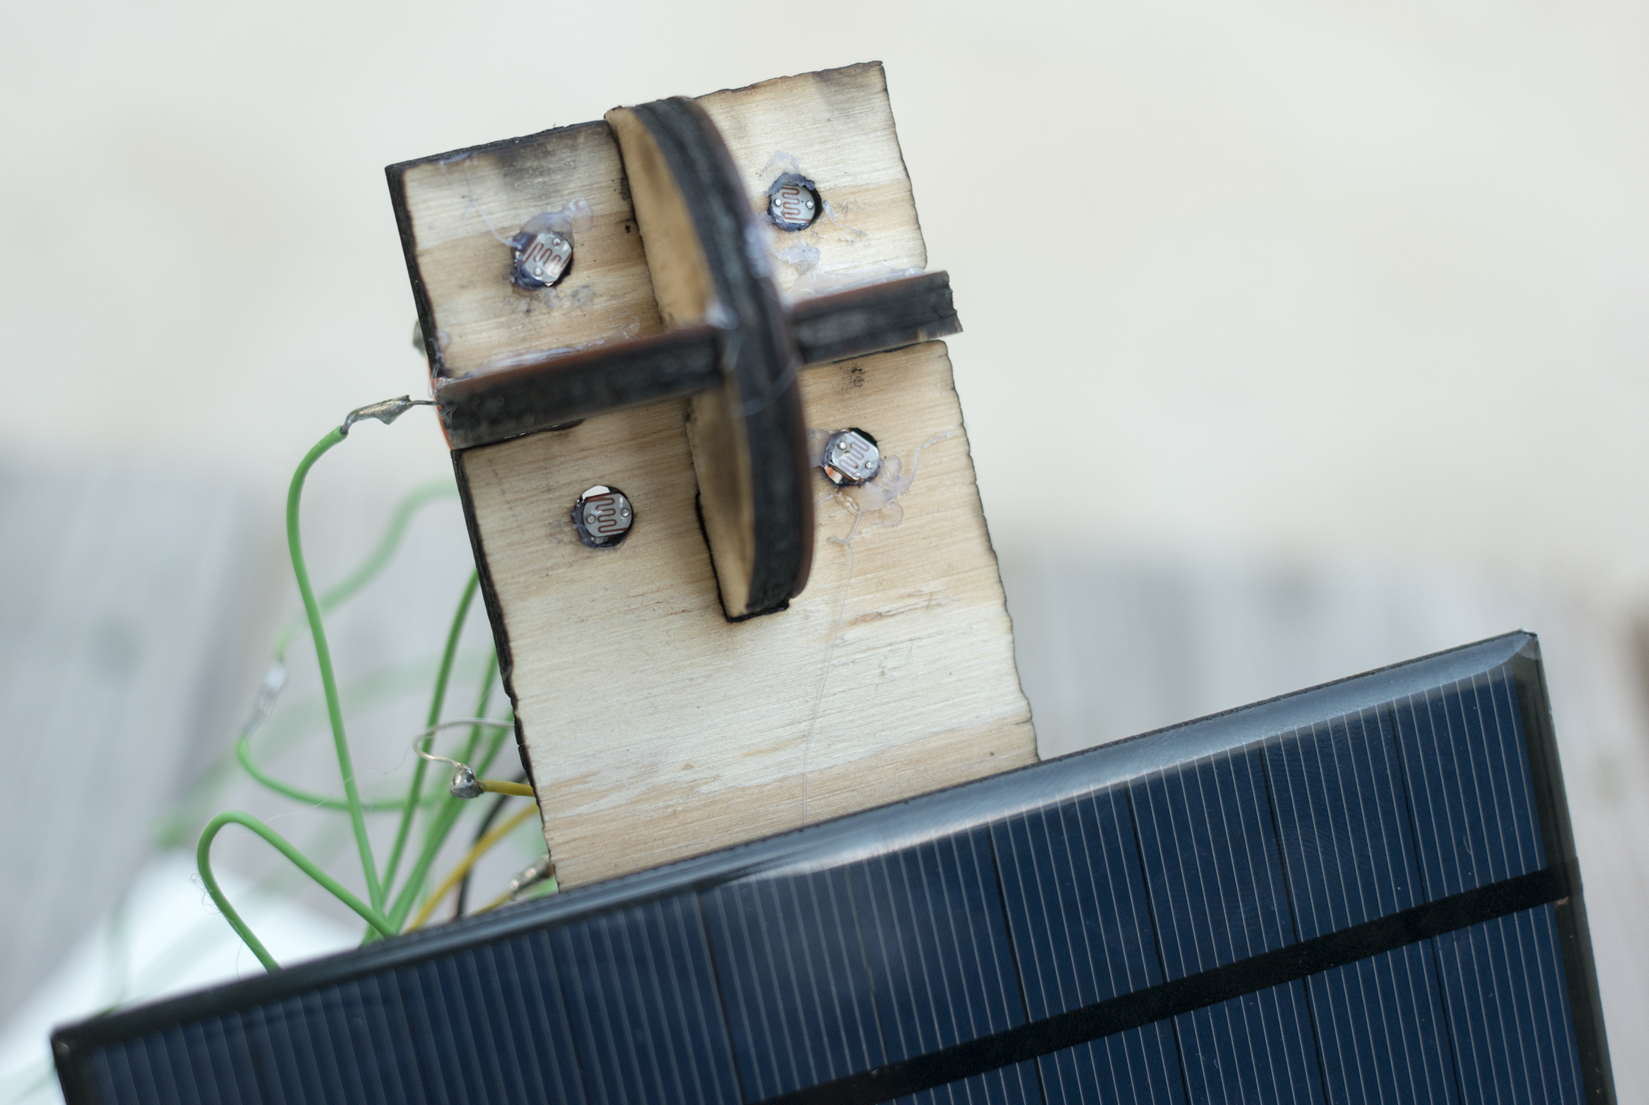
Photoresistors

Inspiration
The inspiration for this project came from the popularization of green and renewable energy use. Initially, our idea was to only make a solar tracking device. As we considered many green energy-related ideas, we had decided that in addition to solar tracking, the device should be used to power electric cars via solar power so that it would more align with the Internet of Things theme.
We wanted to prove that generating enough power to at least drive from work to home would be possible. Using the Nissan Leaf for basic power calculations, we found that it has a 24 kWh battery. We then calculated that using four 100 W solar panels would generate about 300-350 Wh on average throughout the day. Active tracking panels, like Helios, would perform significantly better than a static panel. 350 Wh * 8 hours average time on = 2800 Wh = 2.8 kWh a day, and on the Nissan Leaf, 2.8 kWh is roughly 12% of its charge. Full charge on the Leaf can travel about 90 miles, so 12% charge could take you around 11 miles. An average commute is less than 15 miles for 68% of American commuters (http://www.statisticbrain.com/commute-statistics/).
Once we found out that this device could potentially generate the energy required to drive from home to work or work to home, we knew that this would be our project idea.
What It Does
Helios’s main purpose is to find and track the movement of The Sun from sunrise to sunset in order to generate the most amount of solar panel. To achieve this, the library SolarTracking is used which defines methods to search for a significant light source, track the movement of that light source, and make the device face the direction of East for when it thinks it’s sunset.
Helios also provides through its Android application output of the Light Dependent Resistors’ readings as a percentage and the amount of power generated in Wh starting when the device is turned on. In addition to this, the application allows the user to find a nearby Helios device via Bluetooth connectivity, turn the device on or off, and initiate a search for The Sun at any point.
How We Built It
Before any ordering of parts or assembly was performed, the wiring diagram was finished first. Using this, we were able to accurately and quickly find out which parts we needed and which could be added on for effect (the DC current sensor was not in the very first wiring diagram but was added so power generated could be measured).
Using the wiring diagram, we ordered all the parts required. Because of their close proximity, Rishi and Dharshan would do all of the hardware assembly while Nikola coded Arduino sketches. If any problems came up (which they did), we would schedule a group call and explain whatever problem arose.
We worked in these two isolated spheres for the entire process of assembly, but the group calls were very helpful and would often fix any problems that would arise.
Challenges We Ran Into
The greatest challenge to this project which frequently stymied progress was our geographic distance from one another. Rishi Raj is interning this summer in Georgia, Dharshan Rammohar is staying at our university for the summer, and Nikola Istvanic is interning this summer in Ohio.
Even though Rishi and Dharshan were relatively close, a drive from Rishi to Dharshan would have taken nearly an hour; we quickly found that it wouldn’t be feasible for a group effort to work hardware assembly for this project after work/school. This limited our working time mostly to Fridays and Saturdays.
One of the most difficult challenges which came as a result of this is communication to one another when we were all in our own areas. If there was a hardware problem, solving it often meant filming/taking photos of the malfunctioning hardware followed by inspection using, more often than not, grainy photos/videos. And because we often experienced problems with the Arduino 101’s Serial COM ports, it didn’t help.
Another large challenge we had to deal with was that our continuous Servo motor which we used to control panning of the device was either too strong for one solar panel or malfunctioning. We determined this by writing the value 90 to the motor which should stop it. However when writing this after writing a non-90 value, the motor never stopped and repeatedly caused wire tangling and shorting.
In one of the last few weeks, we decided to switch to using two 180 degree Servo motors. In order to circumnavigate the fact that full 360 motion could not be achieved with one 180 motor, we decided that whenever the angle for the panning motor went from 180 to 181 or 181 to 180, the other motor (in charge of tilting the pane) would completely mirror its angle and the panning motor would do the same. Using this method, we were able to achieve full--though somewhat makeshift--360 degree panning motion.
Accomplishments That We're Proud Of
The moment we saw that using two 180 Servo motors to “simulate” 360 degree panning motion was successful, we were all impressed as Nikola wrote the code in Ohio without ever seeing the code being run and without testing and modifying the code for several iterations: it ran perfectly the first time!
One part of the project which took an enormous amount of time was getting Bluetooth Low Energy (BLE) working. We found that the documentation for Android BLE was not particularly amazing, and we oftentimes found ourselves switching between the official Android BLE library and a third-party library. In the end , though, we decided on using both, and seeing the app screen update photosensor values in real-time and react to covering one of them was an amazing feeling.
Finishing this project on time despite our far distance apart from one another was something we were very proud of. In previous hackathons, we were always in the same room working, but this time, we were in different cities and states. Finishing this project felt very rewarding.
What We Learned
Despite the nature of this project, none of us are electrical engineering majors. In spite of this we all learned more than any school course could teach you about wiring an entire circuit comprised of sensors, a microcontroller, a DC current sensor, batteries, resistors, and motors. We all feel much more comfortable with electrical engineering and are now much more prepared for another hardware-focused hackathon like this one.
More so than in any other project, we learned about the importance of communication. Given that we were all miles (or even states) away from one another, effective communication was a necessity. Whenever a group call was being held, whoever was physically present with the hardware had to explain clearly and succinctly what the problem was and describe what output (if any) was being given that lead to the conclusion there was an error. This skill can come in handy if, for example, you are working at a company and have to do much of the same: describe to people (perhaps not even in the same country) through some kind of communication medium what kinds of problems exist not only in electronics but in any area of computer science.
What's Next For Helios
Due to financial and time constraints (as well as hardware limitations), we were only able to purchase a small solar panel. The original concept of Helios was to have a cluster of Light Dependent Resistors surrounded by four solar panels and be the size of an average sedan roof.
Solar panels reaching that size begin costing up to $160+. Also the combined weight of four larger solar panels would be too massive for the Servo motors we used. Because we didn’t want to risk such an investment in four larger solar panels, we chose to use one significantly smaller solar panel which cost $7.
The caveat with using a smaller, cheaper solar panel is that its power output is much lower than using four larger panels. The one we chose generated 2.5 W under ideal conditions; larger panels are capable of generating 100 W. Because of this we had to extrapolate in the long run how much energy would be generated by this smaller pane. Our next goal, if possible, would be to purchase these larger solar panels and stronger Servo motors to run the same code, but generate much more power.
As previously stated, the continuous motor we were using for panning the pane 360 degrees was either too powerful or malfunctioning. Because of this we decided to switch to two 180 degree motors; as a result, 360 degree motion could be achieved, though somewhat cruder. Another goal of ours would be to figure out what was wrong with our continuous Servo motor or buy a new, less powerful model so that 360 degree motion can be achieved in a more common sense way.


Log in or sign up for Devpost to join the conversation.